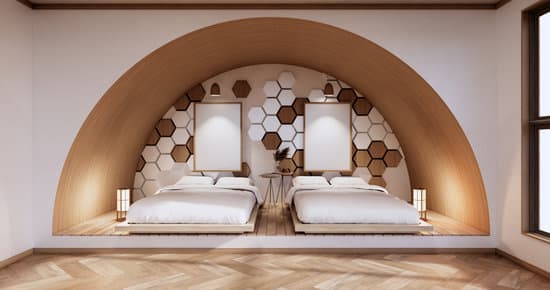
Are you in need of an extra bedroom in your house but don’t have the space? Don’t worry, we’ve got you covered. In this article, we’ll show you how to maximize the functionality of your existing space to create an additional bedroom. By utilizing multifunctional furniture, converting nooks or alcoves, transforming a home office, creating a loft or mezzanine, and utilizing Murphy beds or sofa beds, you can easily add that much-needed extra room while ensuring safety for everyone in your home.
Utilizing Multifunctional Furniture
One way to make an extra bedroom in your house is by utilizing multifunctional furniture. When it comes to maximizing space, creative storage solutions are key. Look for furniture pieces that serve multiple purposes, such as a sofa bed or a loft bed with built-in drawers. These clever designs not only save precious square footage but also provide additional storage options for your belongings.
For example, a sleeper sofa can easily transform from a comfy couch during the day to a cozy bed at night, offering a comfortable sleeping space for guests without taking up too much room. Similarly, a loft bed with built-in drawers underneath provides both sleeping quarters and ample storage for clothes, linens, and other essentials.
By incorporating multifunctional furniture into your home, you can create an extra bedroom without sacrificing safety or style. So start exploring the market for innovative and practical pieces that will help you maximize every inch of available space while keeping your belongings organized and accessible.
Converting a Nook or Alcove
To convert a nook or alcove, you can start by measuring the space and determining if it can accommodate a bed. Creating a hidden nook is an excellent way to maximize small spaces in your house. Once you’ve confirmed that the area is suitable for a bed, consider adding curtains or room dividers to create privacy. This will give the illusion of a separate bedroom while still utilizing the existing space. Safety should always be a priority, so make sure to secure any furniture or shelves nearby to prevent accidents. Additionally, choose lighting fixtures that are both functional and safe, such as wall-mounted sconces or overhead lights with dimmer switches. By transforming this unused nook or alcove into an extra bedroom, you can make the most of your home’s square footage without sacrificing safety and comfort.
Transforming a Home Office
If you’re looking to convert a nook or alcove into a functional home office, start by considering the layout and functionality of the space. Maximize the limited space by carefully planning where to position your desk, chair, and storage units. Repurpose furniture to save money and create a cohesive look. Look for compact desks that fit well in small spaces and offer sufficient surface area for your work needs. Utilize wall-mounted shelves or floating shelves to free up floor space while providing additional storage options. Consider investing in multifunctional furniture pieces like ottomans with hidden storage compartments or file cabinets that double as side tables. Don’t forget about lighting! Install task lighting to ensure proper illumination for working long hours. By following these tips, you can transform your nook or alcove into a productive and efficient home office while maximizing every inch of available space.
Creating a Loft or Mezzanine
When creating a loft or mezzanine, consider utilizing the vertical space in your home to add an additional functional area. Building a suspended loft can be a great way to create an extra bedroom in your house. However, safety should be your top priority. Make sure to consult with a professional before starting any construction work, and ensure that the structure is properly supported and meets all building codes. Installing a pull-out staircase is also essential for easy access to the loft, especially if you plan on using it as a bedroom. This will provide convenience while maintaining safety. Remember to secure the staircase properly and regularly check for any signs of wear or damage. By following these guidelines, you can create a cozy and safe extra bedroom in your home.
Utilizing Murphy Beds or Sofa Beds
Utilizing Murphy beds or sofa beds can provide a practical solution for maximizing space in your home. When you have limited square footage, these versatile pieces of furniture offer a comfortable sleeping area while also serving as functional seating during the day. Safety is paramount when considering these options, so make sure to choose high-quality beds with sturdy mechanisms and secure attachments to the wall. Additionally, opt for models that come with built-in safety features such as locking mechanisms and supportive frames. These clever designs allow you to transform any room into a cozy bedroom without sacrificing valuable floor space. To further maximize space, look for Murphy beds or sofa beds with creative storage solutions like built-in shelves or hidden compartments for storing extra pillows, blankets, or other items.
Conclusion
So there you have it, now you know how to make an extra bedroom in your house! By utilizing multifunctional furniture, converting a nook or alcove, transforming a home office, creating a loft or mezzanine, or using Murphy beds or sofa beds, you can easily add another sleeping space to your home. Whether you have guests staying over frequently or need an additional room for a growing family, these tips can help maximize the space in your house and provide a comfortable and functional extra bedroom.

