Are you tired of rummaging through a messy linen closet, struggling to find what you need? In this article, we will guide you through the process of creating an organized and functional linen closet that not only maximizes storage space but also ensures safety. From decluttering and categorizing your linens to utilizing smart storage solutions and adding personal touches, follow these simple steps to transform your linen closet into a well-organized haven. Say goodbye to chaos and hello to convenience!
Assessing and Decluttering Your Current Linen Closet
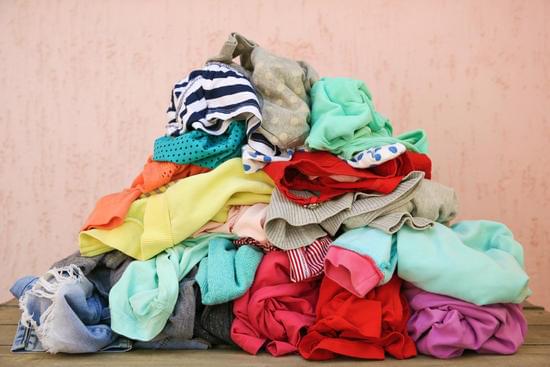
Now it’s time to take a look at your current linen closet and figure out what needs to go. Start by separating linens into categories such as sheets, towels, and blankets. Check each item for wear and tear or stains that can’t be removed. Safety is important, so if you find any frayed edges or holes in the linens, it’s best to repurpose them rather than keep using them. You can turn old towels into cleaning rags or donate them to animal shelters. As for worn-out sheets, they can be repurposed as drop cloths for painting projects or cut up to use as dusting cloths. By decluttering and repurposing your linens, you’ll create a safer and tidier space in your linen closet.
Organizing Linens by Category and Frequency of Use
To keep linens organized in a closet, separate them by category and how frequently they are used. This will help you easily locate the linens you need while ensuring they stay neat and wrinkle-free. Start by folding techniques for linens to maximize space and prevent creases. For example, fold flat sheets into thirds lengthwise, then fold in half or quarters depending on the size of your shelves. Next, consider choosing the right linens for different seasons. Store heavy blankets and flannel sheets towards the back during warmer months, while lightweight quilts and cotton sheets can be easily accessible for summer use. By organizing your linens this way, you’ll not only maintain order but also create a safe environment within your linen closet.
Utilizing Storage Solutions and Containers
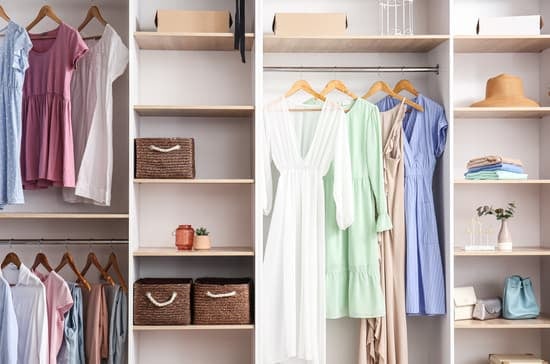
When organizing your linens, you can utilize storage solutions and containers to keep everything neat and easily accessible. Maximizing space is key when it comes to creating a functional linen closet. Start by choosing the right storage bins that will fit your shelves and maximize every inch of available space. Look for stackable bins or ones with adjustable dividers to customize the storage according to your needs. Opt for clear bins so you can easily see what’s inside without having to open each one. This not only saves time but also keeps your linens organized and prevents them from getting misplaced or forgotten. Additionally, consider using baskets or fabric bins for smaller items like hand towels or washcloths. By utilizing these storage solutions, you’ll create a linen closet that is both efficient and aesthetically pleasing while keeping safety in mind.
Labeling and Maintaining Your Linen Closet
Labeling and maintaining your linen closet is crucial for keeping it organized and easily accessible. Proper ventilation is important to prevent musty odors in your linen closet. To ensure proper ventilation, make sure there is enough space between the linens and the walls of the closet. Avoid overcrowding the shelves to allow air circulation. Additionally, use breathable storage solutions like fabric bins or baskets instead of plastic containers that can trap moisture. Another tip to prevent musty odors is to regularly clean your linens before storing them, as dirt and oils can contribute to a stale smell. Consider using scented sachets or dryer sheets to keep your linens smelling fresh. Lastly, check your linen closet periodically for any signs of mold or mildew and address them promptly to maintain a safe environment for your linens.
Adding Aesthetic Touches and Personalization
Adding aesthetic touches and personalization can help transform your linen closet into a stylish and unique storage space. Start by choosing decorative linens that not only add visual appeal but also provide a soft touch to your linens. Consider selecting linens with intricate patterns or vibrant colors to create a visually pleasing display. Another way to add charm is by incorporating scented sachets, which not only keep your linens smelling fresh but also add a touch of elegance. Opt for lavender or rose-scented sachets for a calming effect. Remember, safety should always be a priority when personalizing your linen closet, so ensure that any decorative items are securely placed and do not obstruct access to the linens. With these simple additions, you can turn your linen closet into an inviting space that reflects your unique style while keeping everything organized and accessible.
Conclusion
In conclusion, creating a linen closet that is organized and functional is easier than you may think. By assessing your current space, decluttering unnecessary items, and organizing your linens by category and frequency of use, you can easily find what you need when you need it. Utilizing storage solutions such as bins or baskets, labeling everything clearly, and maintaining the organization will help keep your linen closet tidy in the long run. Don’t forget to add some aesthetic touches and personalization to make it feel like a beautiful space in your home.

