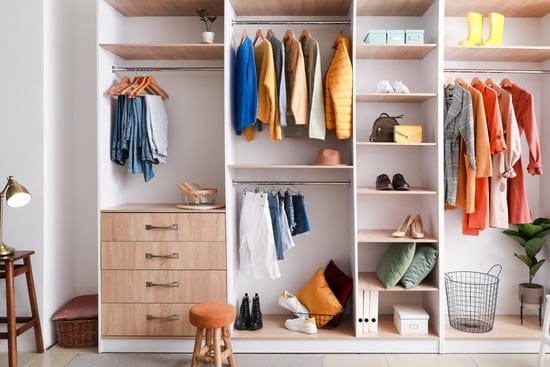
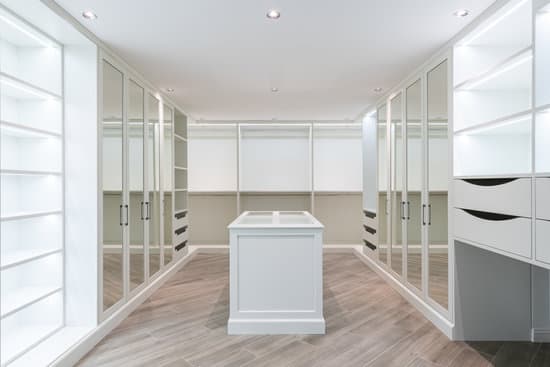
Are you tired of your cluttered closet? Do you wish you had more storage space for your belongings? Look no further! In this article, we will guide you through the process of building cubbies in your closet. By following our step-by-step instructions, you’ll be able to maximize your closet’s potential and keep everything neatly organized. Get ready to transform your messy closet into a functional and safe storage solution. Let’s get started!
Assessing Your Closet Space
Assessing your closet space is crucial before building cubbies. It’s important to prioritize safety when customizing your closet layout and maximizing storage efficiency. Begin by measuring the dimensions of your closet, taking into account any obstructions such as vents or light fixtures. This will help you determine the ideal size and shape for your cubbies. Consider the items you plan to store in the cubbies and their sizes, as this will affect the number and spacing of each compartment. Take note of any existing shelves or rods that may need to be removed or repositioned to accommodate the cubbies. Additionally, evaluate the structural integrity of your closet walls and floors to ensure they can support the weight of the cubby system. By carefully assessing your closet space, you can create a safe and efficient storage solution with well-designed cubbies.
Gathering Materials and Tools
To get started, you’ll need to gather all the necessary materials and tools for this project. Safety is key, so make sure you choose the right materials that are sturdy and durable. Opt for strong wood or particleboard that can withstand the weight of your belongings. Additionally, essential tools for building cubbies in a closet include a measuring tape, level, drill, screws, and a saw. These tools will help ensure precise measurements and secure installation. When selecting screws, opt for ones that are long enough to securely attach the wood but not too long that they penetrate through the other side of the closet wall. Remember to wear safety goggles when using power tools and gloves when handling sharp objects like screws or nails.
Measuring and Cutting the Cubby Pieces
Once you have gathered the necessary materials and tools, start by measuring and cutting the pieces for the cubbies. It is important to use proper cutting techniques to ensure a safe and accurate result. Begin by measuring the dimensions of your closet space and determining the size of each cubby. Remember to leave enough space between each cubby for easy access. Next, choose the right wood for your project. Opt for sturdy and durable options like plywood or particle board that can withstand heavy items being placed on them. Measure carefully before making any cuts to avoid wasting materials. Always wear safety goggles and gloves when using power tools such as a circular saw or jigsaw, ensuring your fingers are kept away from the blade at all times.
Markdown list:
- Safety goggles
- Gloves
- Sturdy wood choices
Assembling the Cubbies
For the assembly process, it’s important to carefully follow the provided instructions to ensure a secure and stable structure. Start by laying out all the cubby pieces in front of you, making sure they are easily accessible. Begin by attaching the sides of each cubby to the back panel using screws or nails, following the pre-drilled holes for guidance. Make sure everything is aligned properly before tightening any fasteners. Next, attach the top and bottom panels to complete the basic cubby shape. If you encounter any issues during assembly, such as misaligned pieces or difficulty fitting them together, double-check your measurements and make any necessary adjustments. It’s also helpful to have an extra set of hands available for holding pieces steady while you work. By employing these assembling techniques and troubleshooting any issues that arise, you will be able to create a sturdy and functional set of cubbies for your closet.
Finishing Touches and Organization Tips
Now that you have completed assembling the cubbies, it’s time to add the finishing touches and organize them to maximize their functionality. When it comes to maximizing storage in small closets, there are a few tips to keep in mind. Firstly, consider using vertical space by adding shelves or hooks on the walls. This will help you make the most of every inch available. Additionally, think creatively about how you can personalize and decorate your cubbies. You can use colorful bins or baskets to store smaller items and add a pop of color to your closet. Don’t forget to label each cubby so you can easily find what you need. Lastly, safety should always be a priority when organizing your closet, so make sure heavy items are placed on lower shelves for stability and avoid overloading any one cubby. With these tips, your newly built cubbies will not only look great but also serve as an efficient storage solution for your closet.
Conclusion
Now that you have built the cubbies in your closet, it’s time to enjoy the benefits of a more organized space. With careful planning and preparation, you have created functional storage solutions that will help you keep your belongings neatly arranged. By utilizing the available space and implementing organization tips, you can easily find what you need without any hassle. So go ahead and enjoy your newly organized closet!


