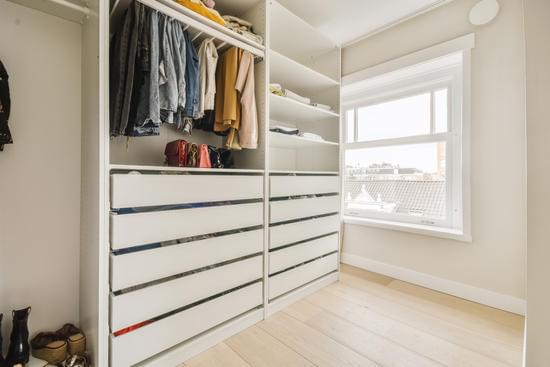
Are you tired of tripping over shoes scattered throughout your closet? Do you want to maximize your closet space and keep your footwear organized? Look no further! In this article, we will guide you through the process of building a shoe rack for your closet. By following our step-by-step instructions, you can create a sturdy and functional shoe rack that will help keep your shoes neatly stored and easily accessible. Let’s get started on this exciting DIY project!
Assessing Your Closet Space
You’ll need to take measurements of your closet space before building a shoe rack. Safety should always be a priority when maximizing storage in your closet. Start by emptying out the closet and removing any existing shelves or racks. Use a tape measure to carefully measure the width, height, and depth of the closet. Take note of any obstructions such as light fixtures or vent openings that may affect the placement of your shoe rack. Once you have accurate measurements, consider alternative solutions if space is limited. For example, you can utilize over-the-door shoe organizers or hanging shoe racks to make use of vertical space. Remember to leave enough room for easy access and maneuverability within the closet. With careful planning and consideration, you can create an organized and functional shoe rack for your closet while ensuring safety at all times.
Gathering the Necessary Materials
To get started, gather all the materials needed. You’ll want to make sure you have everything before diving into the project. Here’s a list of what you’ll need:
- Measuring tape: This will help you accurately measure your closet space and ensure that your shoe rack fits perfectly.
- Wood or metal: Depending on your preference, choose either wood or metal for the frame of your shoe rack. Make sure it’s sturdy enough to hold multiple pairs of shoes.
- Screws and a screwdriver: These are essential for securing the pieces together and ensuring the stability of your shoe rack.
Choosing the right design is crucial when building a shoe rack for your closet. Consider factors like how many shoes you have and how you want to organize them. You can opt for shelves, compartments, or even hanging organizers to maximize space and keep everything neat and tidy in your closet. With these materials and design considerations in mind, you’re ready to build a practical shoe rack that will beautifully organize your shoe collection while keeping safety in mind.
Measuring and Cutting the Wood
First, measure the dimensions of your space using a measuring tape to ensure an accurate fit for the wooden pieces. Measuring accuracy is crucial to avoid any potential problems later on. Make sure to take into account the height, width, and depth of your closet before cutting the wood. Once you have the measurements, it’s time to choose the right saw for the job. A circular saw or a miter saw would be ideal for cutting through the wooden planks with precision. Safety should always be a priority when using power tools, so make sure you wear protective gloves and goggles. Take your time and make smooth, straight cuts according to your measurements. Remember, accuracy is key in creating a sturdy and functional shoe rack for your closet.
Assembling the Shoe Rack
Now that the wood is cut, it’s time to put the shoe rack together. Start by gathering all the necessary tools and materials: screws, a screwdriver, and wood glue. Lay out the pieces of wood on a flat surface, making sure they are lined up correctly according to your design. Apply a thin layer of wood glue along the edges where two pieces will connect for added stability.
Next, carefully attach the pieces together using screws. Make sure each screw is securely fastened but be careful not to overtighten and risk damaging the wood. Double-check that everything is level and aligned before moving on.
Once all the pieces are assembled, allow sufficient time for the glue to dry completely. This will ensure that your shoe rack is sturdy and durable.
Incorporating shoe storage solutions like this can greatly improve closet organization!
Adding Finishing Touches
After the pieces are securely fastened together, it’s time to add the finishing touches. When choosing the right paint or stain for your shoe rack, opt for a non-toxic option that won’t emit harmful fumes into your closet space. Look for paints or stains specifically designed for wood and make sure to apply multiple coats for a durable finish. To enhance the functionality and style of your shoe rack, consider adding decorative hooks for accessories. These hooks can be used to hang items like scarves, belts, or even small bags, keeping them organized and easily accessible. Make sure to choose sturdy hooks that can support the weight of your accessories without bending or breaking. By incorporating these final touches, you’ll not only have a functional shoe rack but also a safe one that adds style to your closet.
Conclusion
In conclusion, building a shoe rack for your closet is a practical and rewarding project. By assessing your closet space, gathering the necessary materials, measuring and cutting the wood, assembling the shoe rack, and adding finishing touches, you can create a customized storage solution that fits your needs perfectly. With just a little time and effort, you’ll have a functional and stylish shoe rack that will keep your closet organized for years to come. So get started on this DIY project today and enjoy the benefits of an organized closet!


