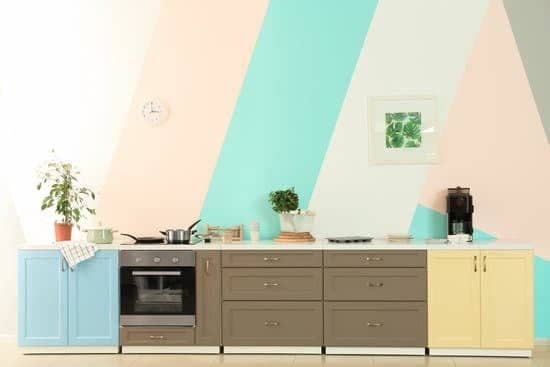
Are you struggling to find space for all your appliances in your small kitchen? Don’t worry, we’ve got you covered. In this article, we will guide you on how to arrange your appliances efficiently and safely in order to maximize the limited space. By utilizing vertical space, grouping similar appliances together, investing in compact and multi-functional appliances, using cabinet and drawer organizers, and creating a dedicated appliance station, you can create a clutter-free and organized kitchen that is both functional and safe.
Utilizing Vertical Space
One way to maximize space in a small kitchen is by utilizing vertical storage options. This is especially important for those who prioritize safety and want to keep their appliances out of reach from children or pets. By utilizing wall space, you can free up valuable countertop real estate and create a clutter-free environment. Install shelves or floating cabinets that go all the way up to the ceiling, providing ample storage for your appliances and other kitchen essentials. Make sure to secure these storage options properly to prevent accidents. Additionally, consider using hooks or magnetic strips on the walls to hang smaller appliances like knives, measuring spoons, or pot holders. This not only saves space but also keeps these items within easy reach while cooking.
Grouping Similar Appliances Together
To maximize space, it’s best to group similar appliances together in a small kitchen. This not only helps in maximizing counter space but also creates a functional layout that is safe for you to work in. By grouping appliances like the microwave, toaster oven, and blender together on one designated countertop area, you can easily access them when needed without cluttering up other areas. Additionally, keep all your cooking utensils and tools near the stove for convenience. This way, you won’t waste time searching for them and risk any accidents while cooking. Remember to always prioritize safety by keeping sharp objects out of reach of children and ensuring proper ventilation for appliances that produce heat or steam. With these simple steps, you can arrange your appliances efficiently and make the most of your small kitchen space.
Investing in Compact and Multi-functional Appliances
Invest in compact and multi-functional appliances to make the most of your limited kitchen space. These appliances are designed to save space while maximizing functionality, allowing you to have all the necessary tools without overcrowding your small kitchen. Look for appliances that serve multiple purposes, such as a combination microwave and convection oven or a toaster oven with built-in air fryer capabilities. These compact appliances not only take up less counter space but also provide you with versatile cooking options. Additionally, consider investing in stackable or collapsible appliances that can be easily stored when not in use. This will help keep your countertops clear and create a safer environment in your small kitchen. By choosing compact and multi-functional appliances, you can optimize your limited space while still enjoying the convenience of modern kitchen technology.
Using Cabinet and Drawer Organizers
Using cabinet and drawer organizers can help maximize storage space in your compact kitchen. When it comes to organizing your appliances, safety should be a top priority. By utilizing storage solutions such as cabinet and drawer organizers, you can create a clutter-free environment that not only maximizes counter space but also reduces the risk of accidents. These organizers come in various sizes and designs, allowing you to customize them according to your needs. You can use them to neatly store small appliances like blenders, toasters, and coffee makers, keeping them easily accessible yet out of the way. Additionally, they provide a designated spot for each item, preventing them from getting lost or damaged. So why not invest in these space-saving solutions today and enjoy a well-organized and safe kitchen?
Creating a Dedicated Appliance Station
Create a designated station in your compact kitchen solely for your appliances. This will help you maximize counter space and keep everything organized. Here are three tips to help you create an efficient appliance station:
- Utilize wall space: Hang shelves or install wall-mounted racks to store smaller appliances such as blenders, toasters, and coffee makers. This will free up valuable counter space and keep these items easily accessible.
- Keep safety in mind: When setting up your appliance station, ensure that outlets are conveniently located nearby. Avoid overcrowding plugs by using power strips with surge protectors. Also, make sure all cords are properly secured and out of the way to prevent tripping hazards.
- Use storage containers: Store larger appliances like slow cookers or food processors in labeled storage containers on shelves or cabinets within the appliance station area. This not only organizes them but also protects them from dust and potential damage.
By following these tips, you can efficiently arrange your appliances in a small kitchen while maximizing counter space and ensuring safety at the same time.
Conclusion
In conclusion, arranging appliances in a small kitchen can be a challenging task, but with some strategic planning and organization, it is possible to create an efficient and functional space. By utilizing vertical space, grouping similar appliances together, investing in compact and multi-functional appliances, using cabinet and drawer organizers, and creating a dedicated appliance station, you can make the most out of your limited kitchen area. So get creative and start rearranging your appliances to maximize both functionality and style in your small kitchen!

