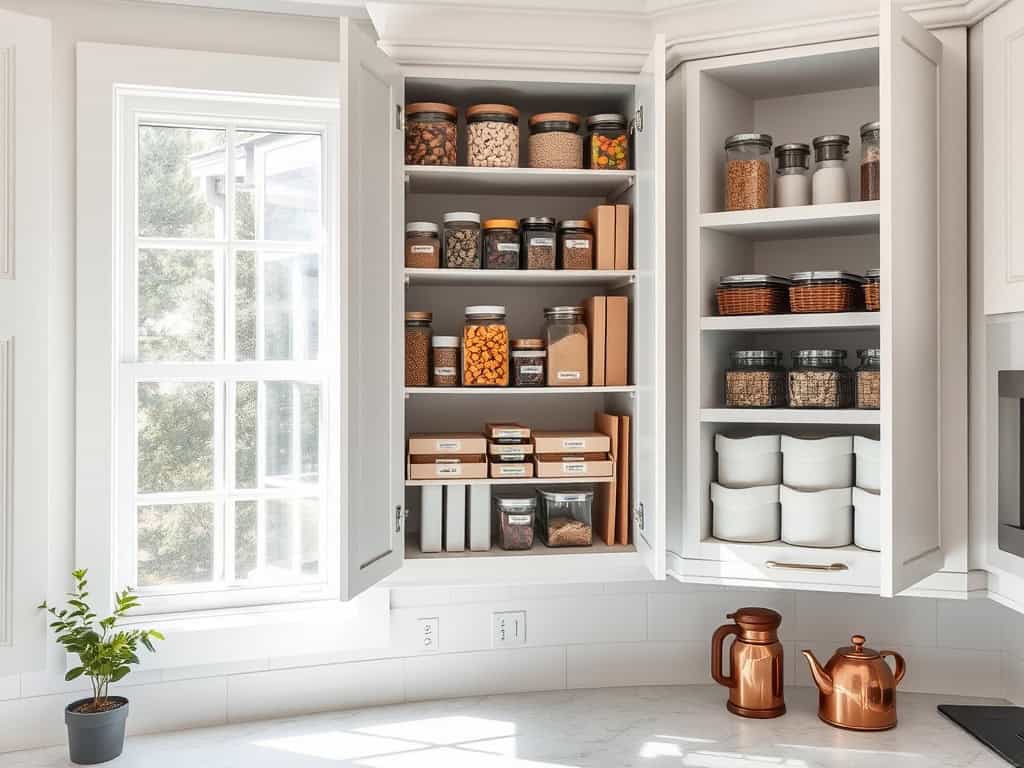
Like Marie Kondo meets MacGyver, transforming your kitchen cabinets can spark both joy and efficiency. You’ve probably stared into your cabinets wondering how that avalanche of tupperware and tangled mess of pots became your reality. I’ve been there too, and after years of testing different organization methods, I’ve discovered eight game-changing strategies that’ll revolutionize your kitchen storage. Let me share these sanity-saving solutions that’ll turn your cabinet chaos into kitchen zen.
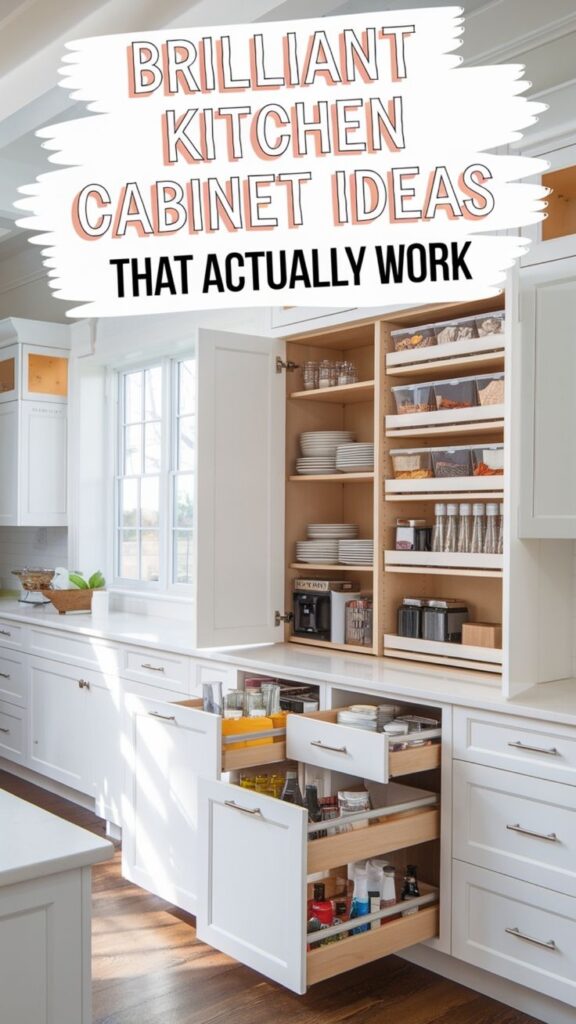
Zone Your Kitchen Cabinets by Activity
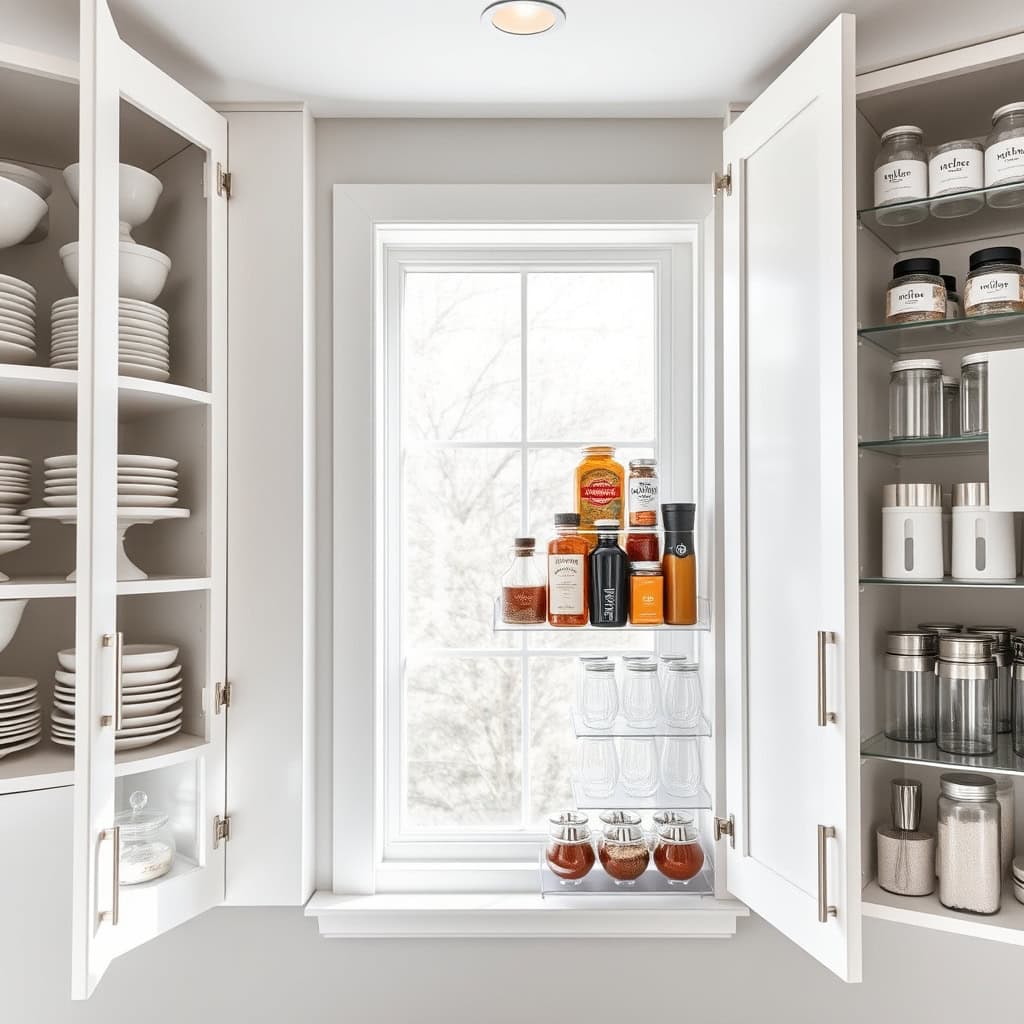
Creating activity zones in your kitchen cabinets is a game-changing organizational strategy that transforms how you use your kitchen space. By grouping items based on their function and the activities they support, you can streamline your cooking process and make everyday tasks more efficient.
Kitchen zoning reduces the time spent searching for items and minimizes unnecessary movement while cooking or preparing meals. This systematic approach ensures that everything you need for specific tasks is readily available in one designated area, whether you’re baking, preparing beverages, or storing leftovers.
Required Items:
- Paper and pen for planning
- Sticky notes or labels
- Cleaning supplies
- Storage containers
- Cabinet organizers
- Shelf risers
- Drawer dividers
- Measuring tape
Start by identifying the main activities in your kitchen: food prep, cooking, baking, beverage station, and food storage. Map out these zones based on your kitchen’s layout and workflow.
Place cooking items near the stove, with pots, pans, and cooking utensils in adjacent cabinets. Position food prep tools and cutting boards near your main work surface. Create a dedicated baking zone with measuring tools, mixing bowls, and baking sheets grouped together. Establish a beverage station containing mugs, glasses, and coffee/tea supplies near the refrigerator or water source.
Consider frequency of use when assigning zones – daily-use items should be easily accessible at eye level or in the most convenient cabinets. Less frequently used items can be stored in higher or lower cabinets. Group similar items together within each zone, using drawer dividers, shelf risers, and containers to maximize vertical space and keep items organized.
For optimal organization maintenance, regularly review and adjust your zones based on changing needs and habits. Label cabinet contents initially to help household members adapt to the new system. Remove items that aren’t used regularly and consider rotating seasonal items to maintain efficient use of space.
Remember to keep heavy items in lower cabinets and lighter items up high for safety and practicality.
Maximize Vertical Space With Cabinet Risers
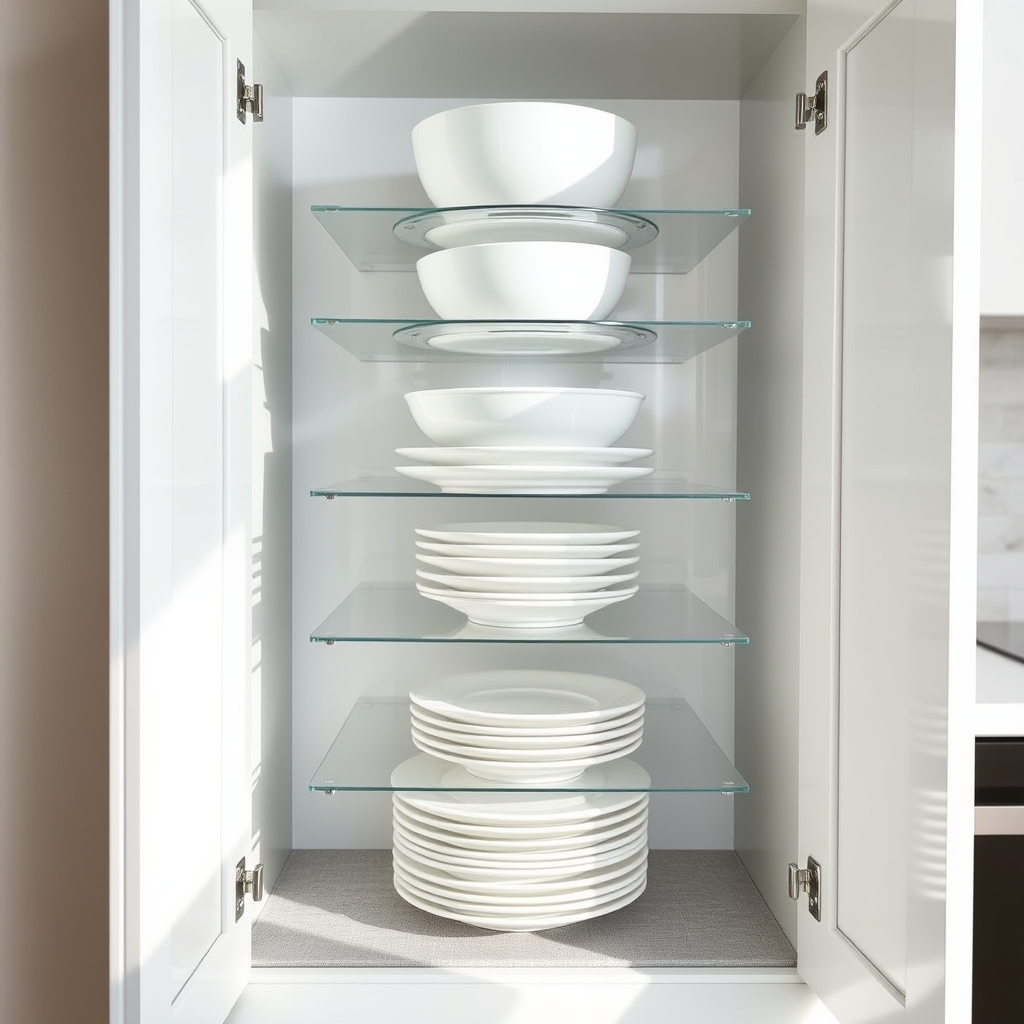
Vertical space in kitchen cabinets often goes underutilized, creating wasted storage potential that could be maximizing your kitchen’s efficiency.
Cabinet risers are game-changing organizational tools that effectively double your storage capacity by creating additional levels within existing cabinets, allowing you to store more items while maintaining easy visibility and access.
When properly implemented, cabinet risers transform cluttered, cramped spaces into well-organized storage solutions. This organization method is particularly valuable for storing plates, bowls, canned goods, spices, and other stackable items that typically consume valuable cabinet real estate.
Required Items:
- Cabinet shelf risers (various sizes)
- Measuring tape
- Cabinet liner (non-slip)
- Labels (optional)
- Clear storage containers (optional)
- Cleaning supplies
- Notepad and pen
Start by removing all items from the target cabinet and measuring the available space, including height, width, and depth.
Select appropriate risers that fit your cabinet dimensions while leaving enough clearance for items to be stored both above and below. Place non-slip liner on the cabinet’s base and on each riser platform to prevent sliding.
Position the risers strategically – shorter items should go in front or on top levels, while taller items can be stored underneath or in back.
For optimal organization, group similar items together and consider their frequency of use. Daily-use items should be placed in easily accessible positions, while occasional-use items can be stored in less convenient spots.
If using multiple risers, create a logical flow by positioning them in ascending height order from front to back, ensuring all items remain visible and reachable.
Additional optimization tips: Regularly assess and adjust riser positions based on your changing needs.
Consider using clear storage containers in conjunction with risers for smaller items. Label shelves or sections to maintain organization long-term.
Clean risers periodically to prevent dust accumulation and ensure smooth sliding of items. Remember to measure item heights when planning riser placement to avoid stacking items too high, which could lead to instability or difficulty accessing them.
Create a Smart System for Pots and Pans
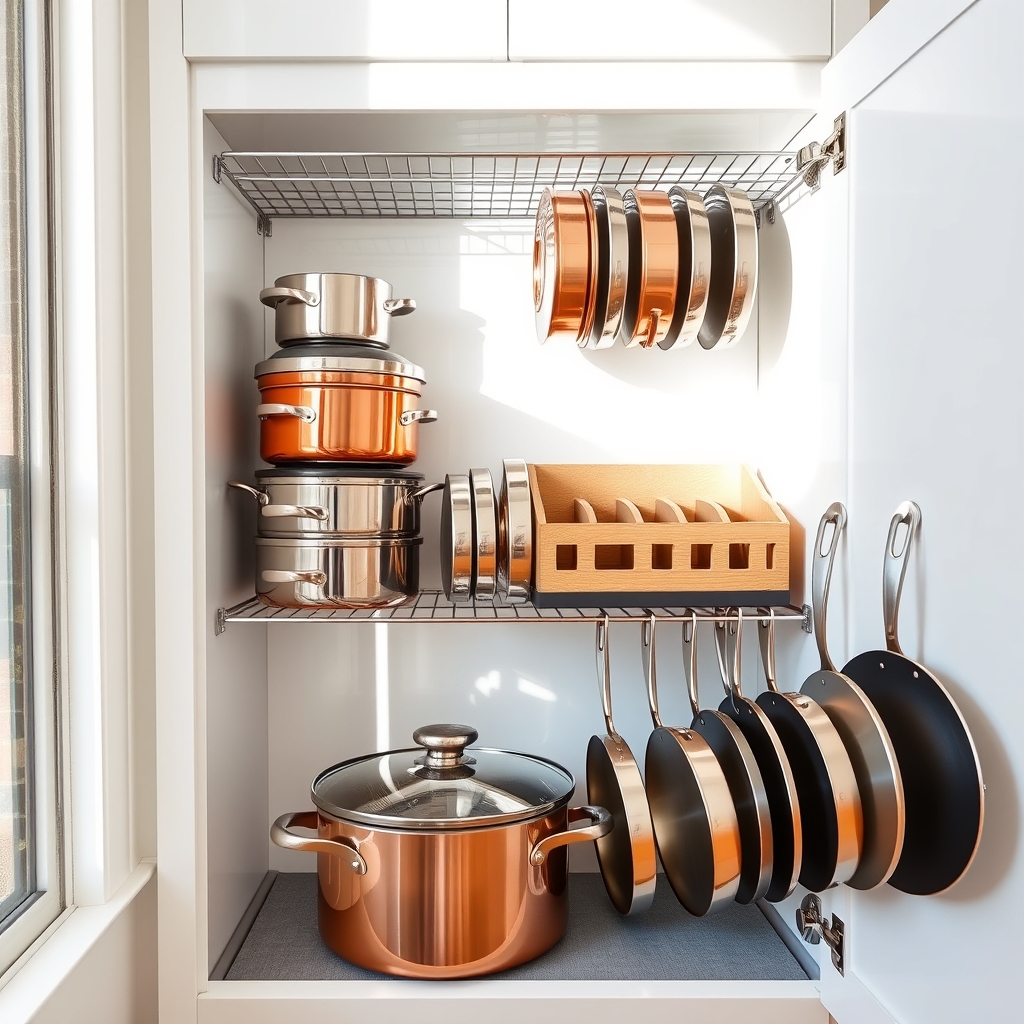
A well-organized pot and pan storage system serves as the backbone of an efficient kitchen. When cooking equipment is properly arranged, meal preparation becomes smoother, cooking feels more enjoyable, and valuable cabinet space is maximized. The frustration of digging through stacks of mismatched cookware becomes a thing of the past.
Creating an effective organization system for pots and pans not only protects your investment in quality cookware but also prevents unnecessary wear and tear from improper stacking. An organized cabinet reduces the time spent searching for the right piece and eliminates the noisy clatter of moving multiple items to reach what you need.
Required Items:
- Pan organizers or rack systems
- Cabinet shelf dividers
- Pot lid organizers
- Adhesive hooks
- Label maker
- Measuring tape
- Cabinet liner
- Cleaning supplies
Start by removing all pots, pans, and lids from your cabinets and sorting them by frequency of use and type. Group frequently used items together and consider retiring or donating rarely used pieces.
Install a rack system or pan organizer that best fits your cabinet dimensions, ensuring adequate space between items to prevent scratching. Position frequently used items at eye level or in easily accessible locations.
For maximum efficiency, store pot lids vertically using a dedicated lid organizer or install adhesive hooks on cabinet doors. Place protective liner material between stacked pans if vertical storage isn’t possible.
Consider using upper cabinet space for lighter items and lower cabinets for heavier pots and Dutch ovens. Label shelves or sections to maintain the system long-term.
Additional tip: Review your organization system every three months to ensure it still meets your cooking needs. Keep track of which items you actually use and adjust accordingly.
Consider implementing a “one in, one out” rule when acquiring new cookware to prevent cabinet overcrowding, and always store pots and pans completely dry to prevent rust and maintain their condition.
Master the Art of Clear Food Storage
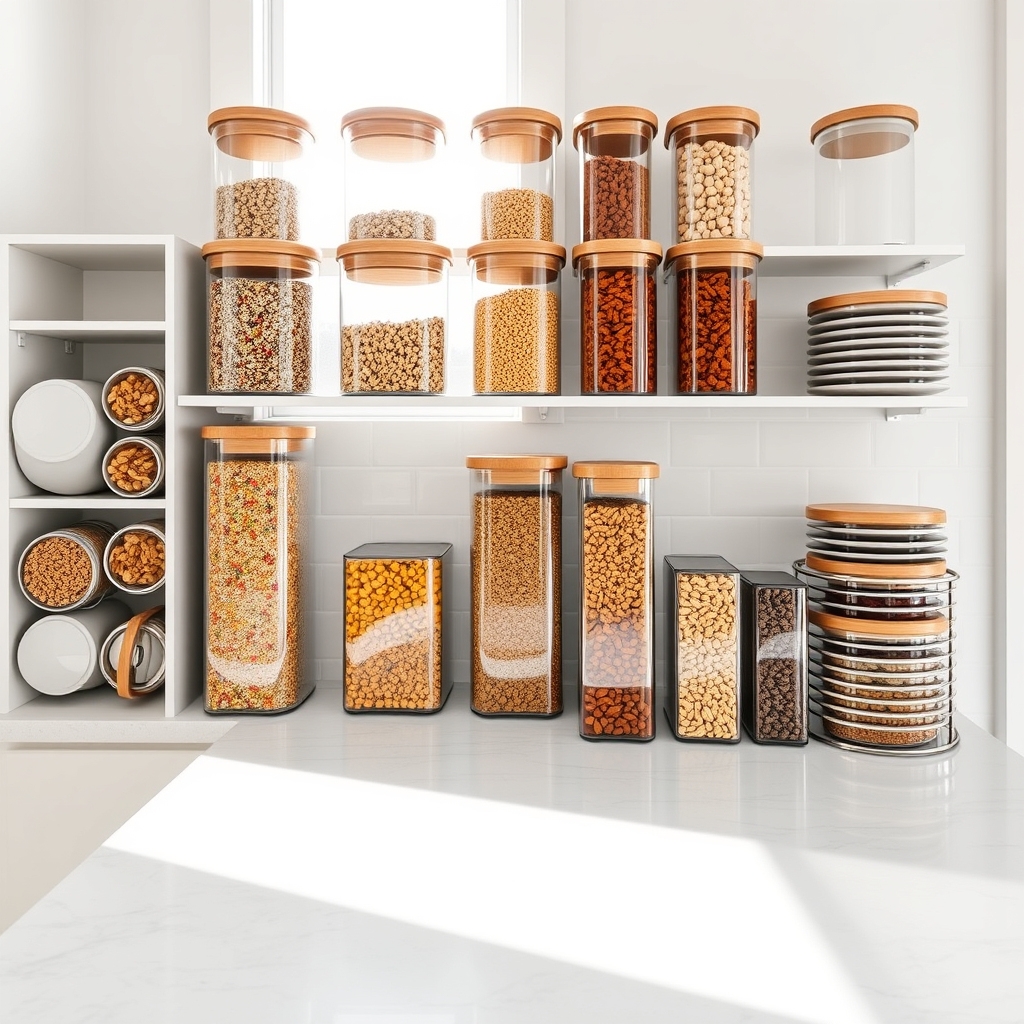
Clear food storage organization is essential for maintaining a functional kitchen and reducing food waste. When storage containers are properly organized, you can quickly locate ingredients, monitor expiration dates, and make the most of your available space. This systematic approach not only saves time during meal preparation but also helps prevent duplicate purchases and ensures food safety.
A well-organized food storage system allows you to see inventory at a glance and maintain freshness through proper container selection. Whether storing dry goods, leftovers, or bulk items, an organized system transforms chaotic cabinets into efficient storage spaces that complement your cooking routine.
Required Items:
- Clear storage containers (various sizes)
- Labels and marker
- Measuring cups/spoons
- Container lid organizer
- Shelf risers
- Drawer dividers
- Food-grade silica gel packets
- Airtight canisters
- Container cleaning supplies
- Storage basket for loose lids
Start by removing all storage containers and matching them with corresponding lids. Discard damaged items and those without matches. Sort containers by size and type, then designate specific zones in your cabinets for different categories: everyday use, specialty storage, and bulk storage.
Install shelf risers to maximize vertical space and use drawer dividers to keep containers organized.
Next, transfer dry goods into clear, airtight containers, noting expiration dates on labels. Stack similar-sized containers together, with frequently used items at eye level. Implement a rotation system where newer items go behind older ones. Use drawer dividers or specialized organizers to store lids vertically, making them easily accessible while maximizing space.
Additional Tips: Consider implementing a quarterly audit of your storage container collection to maintain organization. Remove containers that show signs of wear, staining, or deterioration. When purchasing new containers, stick to one or two brands with interchangeable lids to minimize confusion and clutter.
Store containers nested when not in use, and always allow containers to dry completely before stacking to prevent moisture-related issues.
Install Pull-Out Solutions for Deep Cabinets
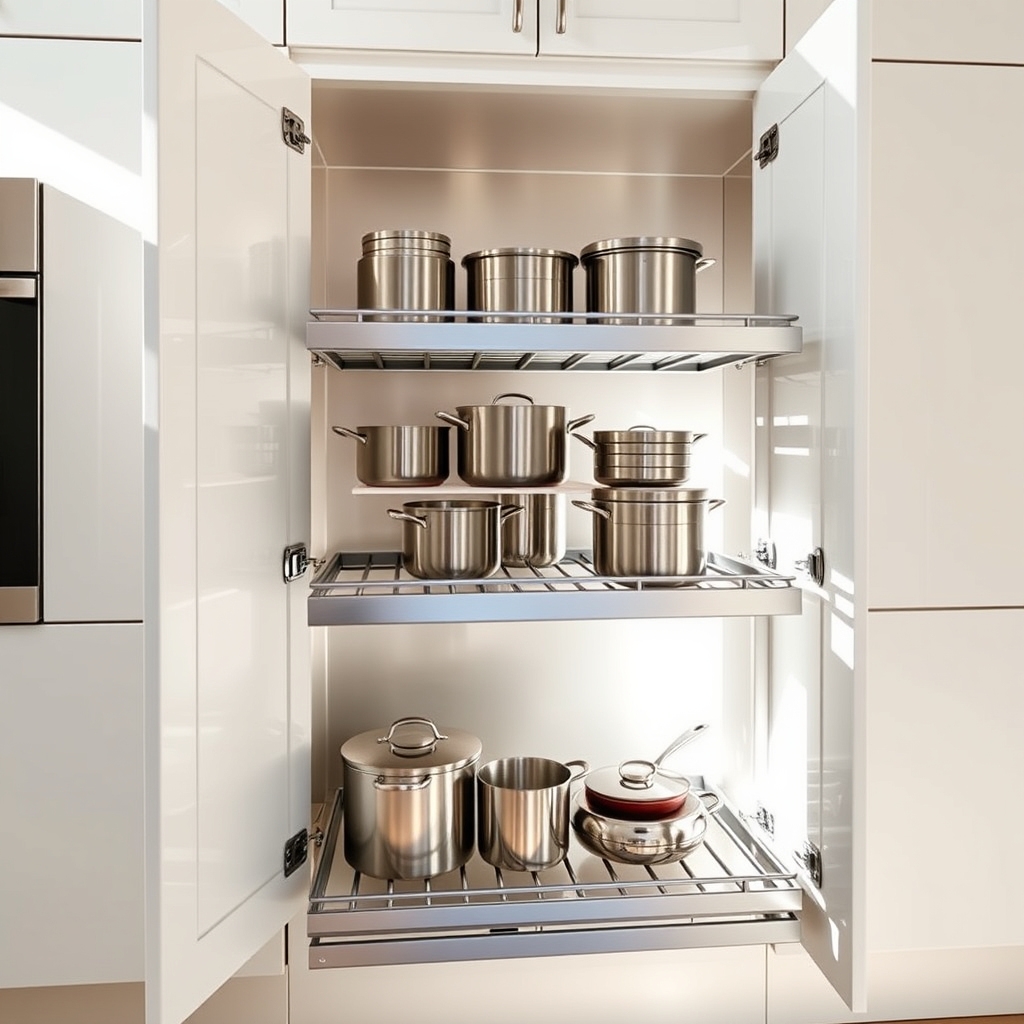
Deep kitchen cabinets often become black holes where items disappear into the far reaches, making it frustrating to access necessary cookware and ingredients.
Installing pull-out solutions transforms these problematic spaces into efficient storage areas that maximize every inch while keeping contents visible and accessible.
Pull-out organizers are particularly valuable for corner cabinets and base cabinets where items typically get lost or forgotten. These solutions can double your usable space while reducing the physical strain of bending, reaching, and searching for items stored in the back of deep cabinets.
Required Items:
- Pull-out drawer systems
- Measuring tape
- Screwdriver
- Power drill
- Level
- Mounting brackets
- Wood screws
- Installation manual
- Pencil
- Safety glasses
Installing pull-out solutions begins with accurate measurements of your cabinet’s interior dimensions, including width, depth, and height.
Remove existing shelves and thoroughly clean the cabinet interior.
Mount the sliding track system according to the manufacturer’s specifications, ensuring it’s perfectly level for smooth operation.
Attach the drawer or basket unit to the tracks, testing the movement before securing all components permanently.
For multi-tier systems, work from bottom to top, installing each level separately.
Ensure proper weight distribution and leave adequate clearance between levels.
Most pull-out systems come with adjustable features – take time to customize the height and position of shelves or baskets to accommodate your specific items.
To maximize your new pull-out storage, group similar items together and consider using additional containers or dividers within the pull-out units.
Regular maintenance of the sliding mechanisms, including cleaning and occasional lubrication, will ensure smooth operation and extend the life of your organization system.
When loading items, place heavier objects at the bottom and frequently used items toward the front for optimal functionality.
Tame Under-Sink Clutter With Strategic Storage
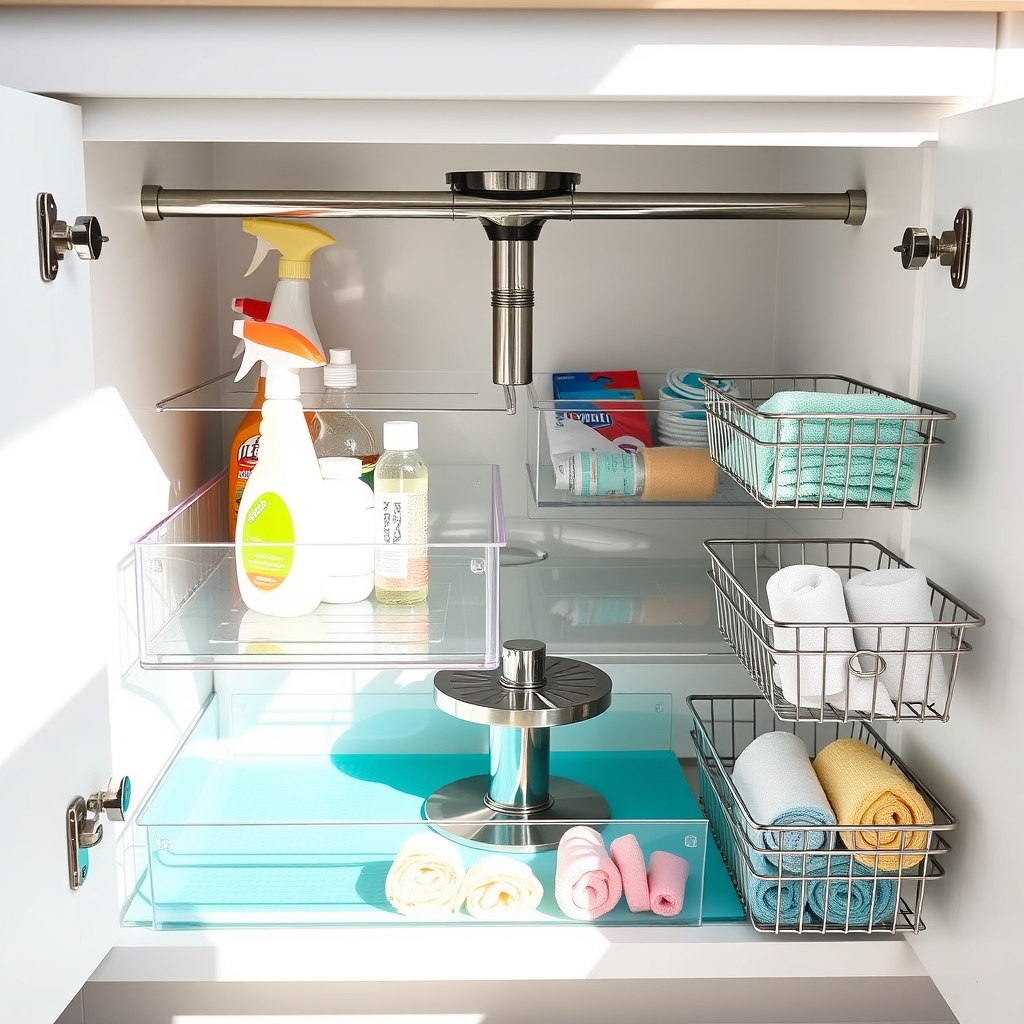
The area under the kitchen sink often becomes a chaotic dumping ground for cleaning supplies, extra bags, and miscellaneous household items. This high-traffic storage space needs particular attention because it houses essential cleaning products and tools that we use daily, making organization crucial for efficiency and safety.
Proper under-sink organization not only saves time when searching for specific items but also protects the cabinet’s interior from potential leaks and spills. A well-organized under-sink area maximizes vertical space, creates clear zones for different categories of items, and ensures that frequently used products remain easily accessible.
Required Items:
- Pull-out drawer organizers
- Clear plastic bins
- Tension rods
- Over-cabinet door organizers
- Label maker
- Cleaning cloths
- Waterproof liner
- Small lazy Susan
- Command hooks
- Plastic caddy
Start by removing everything from under the sink and thoroughly cleaning the area. Install a waterproof liner to protect the cabinet bottom from potential water damage. Group similar items together: cleaning supplies, dishwashing items, trash bags, and recycling materials. Position frequently used items toward the front for easy access.
Install a tension rod near the top of the cabinet to hang spray bottles, keeping them elevated and freeing up floor space. Use clear bins or pull-out organizers to create designated zones for different categories. Place smaller items in a rotating lazy Susan for better accessibility. Mount an over-cabinet door organizer to store additional supplies or frequently used items.
To maintain the organization long-term, implement a regular review system every three months. Check for expired products, refill supplies as needed, and wipe down containers and the cabinet interior.
Consider installing battery-operated motion sensor lights for better visibility, and always store hazardous chemicals in locked containers away from children’s reach. Keep a small notepad inside the cabinet door to maintain an inventory of supplies that need replenishing.
Design an Efficient Spice Organization Method
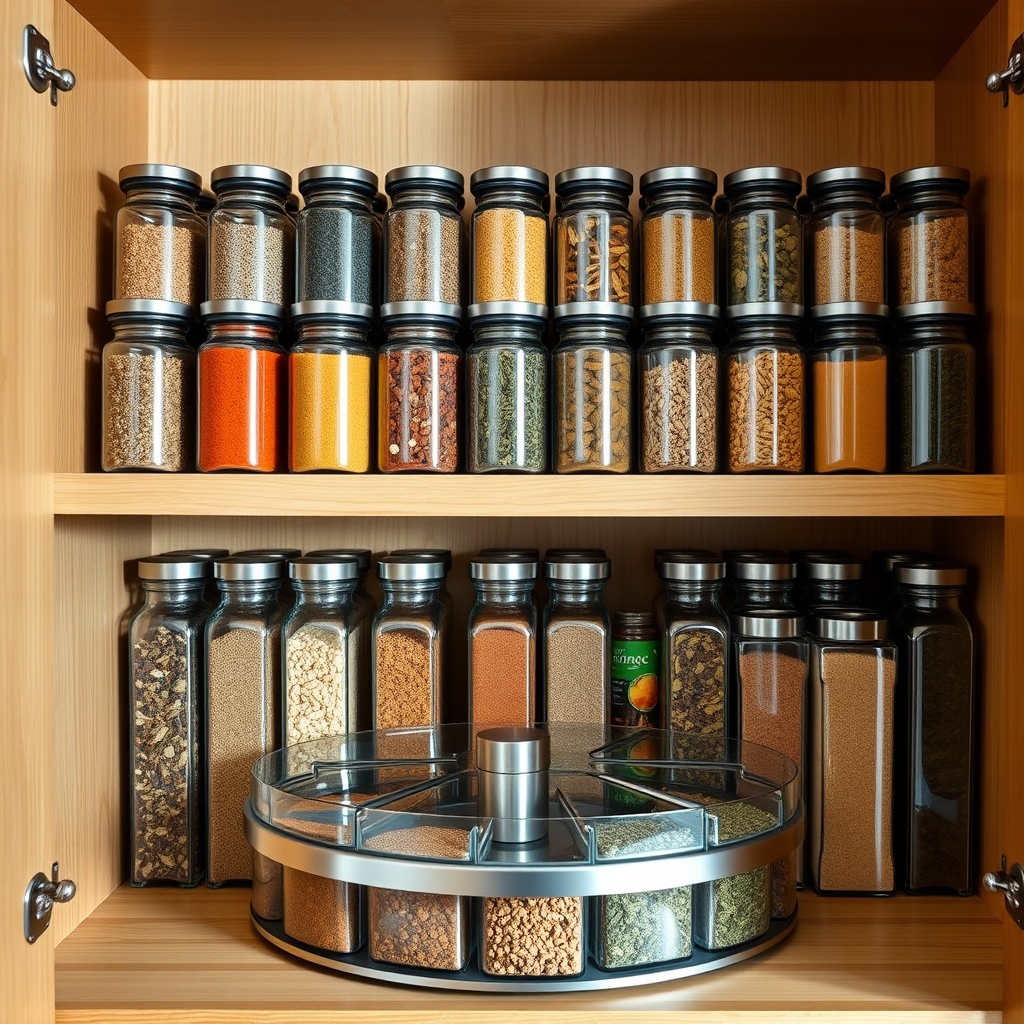
A well-organized spice collection is fundamental to efficient cooking and meal preparation. When spices are properly arranged, you can quickly locate ingredients, prevent duplicate purchases, and maintain the freshness of your seasonings. This organization system not only saves time during cooking but also helps preserve the potency and flavor of your spices.
Creating an effective spice organization method transforms a cluttered cabinet into a functional cooking station. Whether you’re an occasional home cook or a culinary enthusiast, having immediate access to your spice collection can spark creativity in the kitchen and make following recipes more enjoyable.
Required Items:
- Clear spice jars or containers
- Labels and marker
- Measuring funnel
- Shelf risers or tiered organizers
- Lazy Susan (optional)
- Drawer dividers (optional)
- Storage basket or bin
- Airtight containers for bulk spices
Start by removing all spices from their current location and checking expiration dates. Discard any expired items and consolidate duplicate spices. Transfer remaining spices into uniform containers, which creates a cohesive look and maximizes space efficiency. Label each container clearly with the spice name and purchase date.
Choose a dedicated storage space based on your kitchen layout and cooking habits. Install tiered shelving or a lazy Susan if using cabinet space, or implement drawer dividers for pull-out storage. Arrange spices alphabetically or by frequency of use, keeping everyday seasonings at eye level or within easy reach.
Group specialty spices used for specific cuisines together, creating zones that align with your cooking patterns. Store bulk spices in larger airtight containers in a separate area, using smaller containers for daily use that can be refilled as needed.
Additional Tips:
Store spices away from heat sources and direct sunlight to maintain freshness. Consider creating a spice inventory list inside the cabinet door to track what needs replenishing. Review your spice collection every six months, rotating older items to the front and replacing those that have lost their potency.
For frequently used spice blends, create your own mixtures in separate containers to save time during meal preparation.
Implement a Labeling System That Sticks
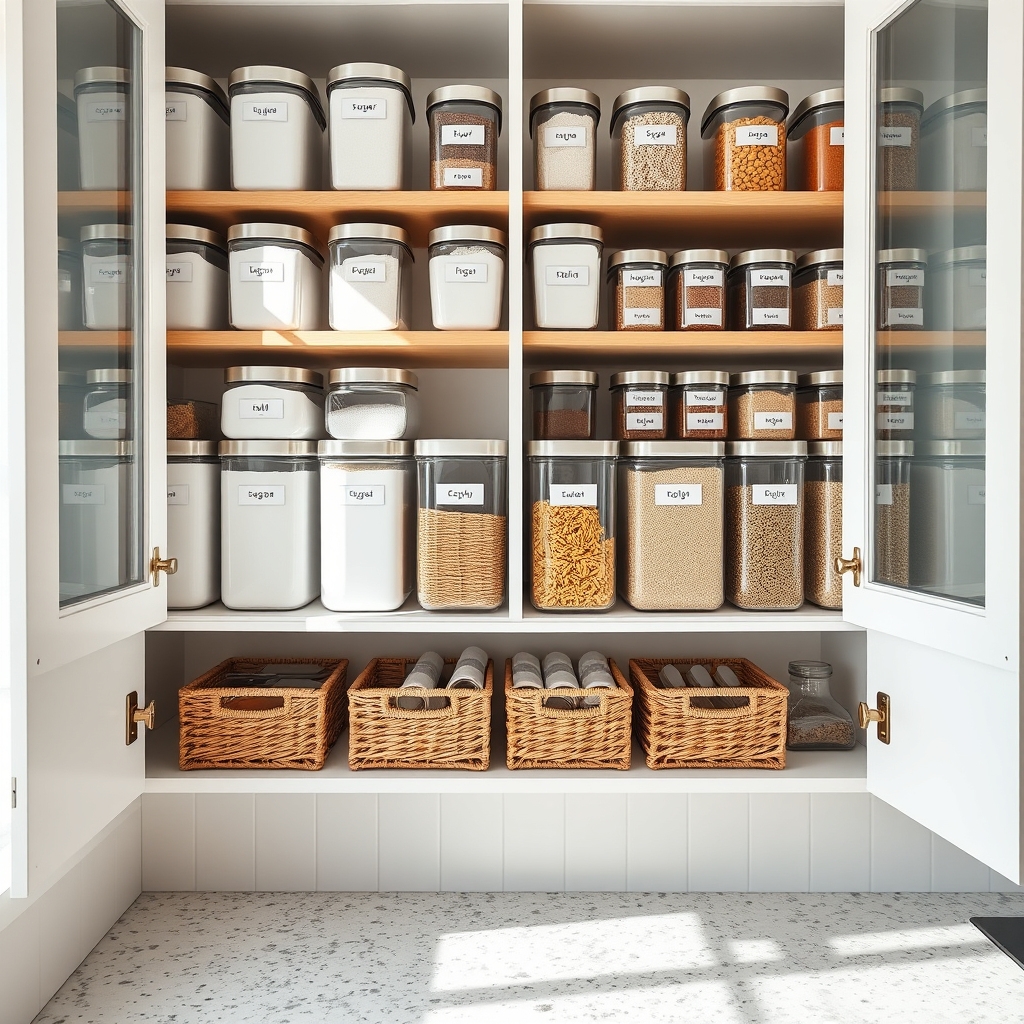
A well-executed labeling system transforms chaotic kitchen cabinets into an efficient, user-friendly space where items are easily located and maintained. When family members and guests can quickly identify where items belong, the kitchen stays organized longer, reducing the frustration of searching through multiple cabinets for specific items.
Clear, consistent labeling serves as the foundation of lasting kitchen organization, preventing the common scenario of cabinets reverting to disorder within weeks. A proper labeling system not only maintains order but also saves time during meal preparation and cleanup, making it an essential component of a functional kitchen.
Required Items:
- Label maker or waterproof labels
- Clear packaging tape
- Permanent markers
- Scissors
- Cleaning supplies
- Measuring tape
- Small level
- Container sets (if needed)
- Category dividers
- Adhesive label holders (optional)
Start by removing items from cabinets and grouping them by category. Clean all surfaces thoroughly and allow them to dry completely. Create a labeling hierarchy using broad categories for cabinet doors (such as “Baking Supplies” or “Everyday Dishes”) and specific labels for individual containers or shelves within each cabinet.
Choose a consistent font style and size for all labels, and position them at eye level when possible. Apply labels to both containers and cabinet surfaces using high-quality adhesive or clear packaging tape for reinforcement. For glass or metal containers, consider using removable labels to allow for future adjustments.
Place category labels on the inside of cabinet doors rather than the outside for a cleaner appearance, unless the household includes young children learning to navigate the kitchen.
Additional Tips: Test labels in inconspicuous areas first to ensure they don’t damage surfaces. Use heat-resistant labels for areas near the stove or dishwasher. Consider incorporating color-coding for different zones or family members. Review and update labels every six months to maintain relevance and replace any that show wear. For frequently accessed items, skip individual labels and focus on broad category markers to reduce visual clutter while maintaining organization.

