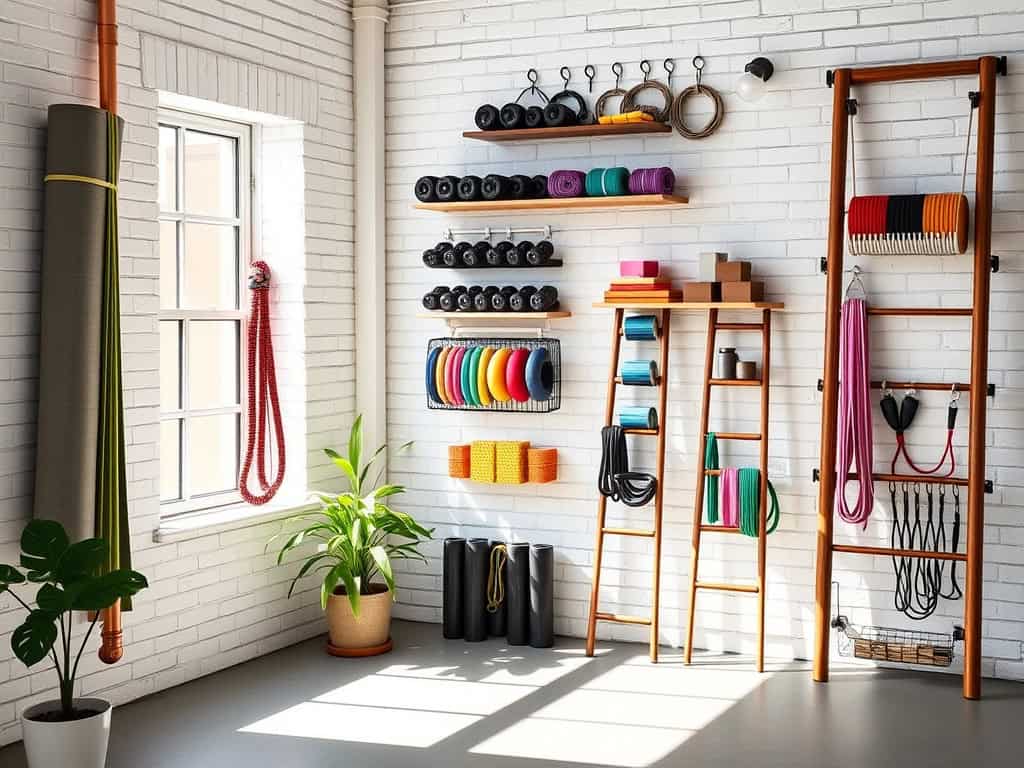
You know that feeling when your home gym equipment is scattered everywhere, and you can barely find what you need for your workout? I’ve been there! After testing dozens of storage solutions in my compact exercise space, I’ve discovered seven genius ways to transform those blank walls into organized fitness zones. These creative hacks won’t just clear your floor space—they’ll actually make your workouts more efficient and your gym look Instagram-worthy. Ready to maximize every inch of your workout area?
Transform Your Walls With Customizable Pegboards
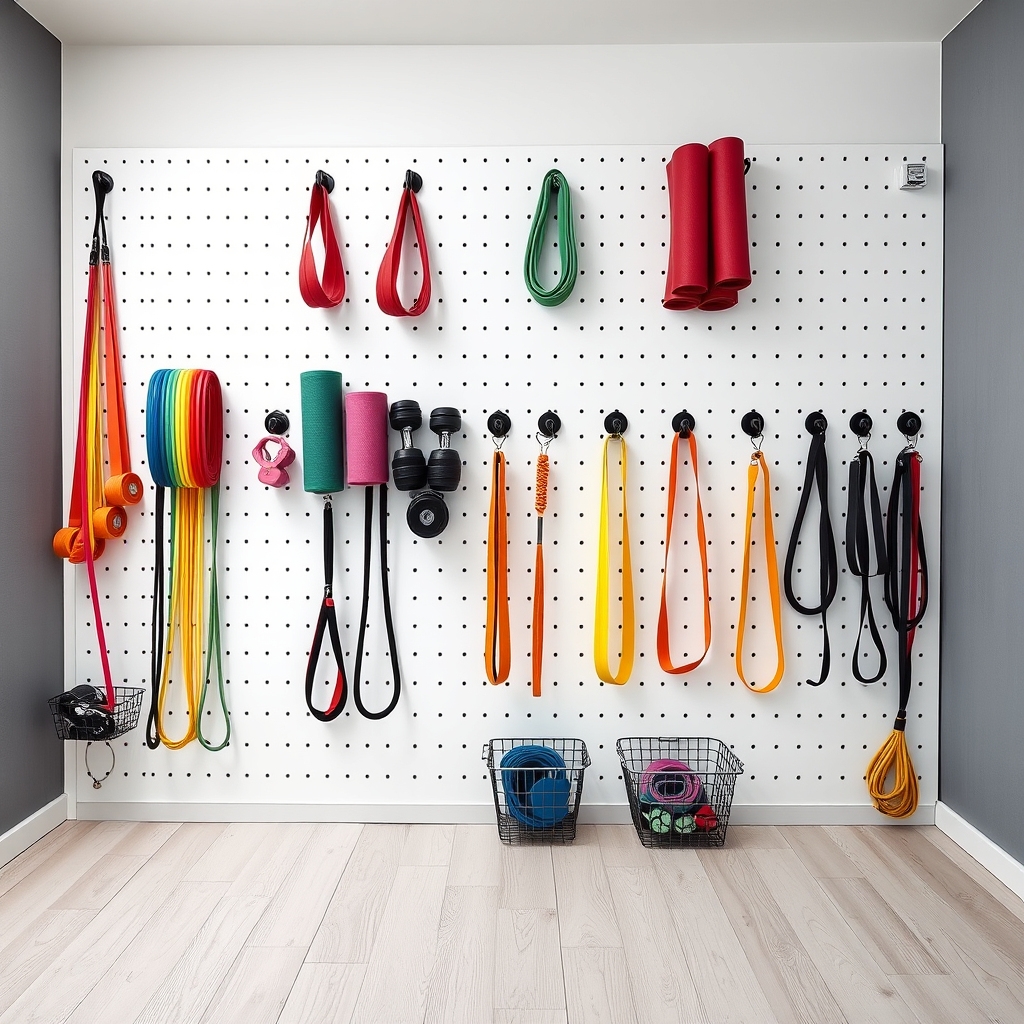
A well-organized home gym maximizes available space while keeping equipment easily accessible, making workouts more efficient and enjoyable.
Pegboards offer an adaptable storage solution that can evolve with changing fitness needs and equipment collections, turning ordinary walls into functional storage spaces.
Pegboards transform vertical space into a customizable organizational system that can hold everything from resistance bands to yoga mats. This versatile solution not only keeps equipment off the floor but also creates an aesthetic display that can motivate and inspire regular exercise while maintaining a clutter-free environment.
Required Items:
- Pegboard panels
- Wall mounting hardware
- Pegboard hooks (various sizes)
- Mounting brackets
- Level
- Drill
- Stud finder
- Measuring tape
- Pencil
- Pegboard accessories (bins, shelves, holders)
- Safety gear (goggles, gloves)
Start by measuring your wall space and planning the pegboard layout. Use a stud finder to locate wall studs and mark their positions.
Install mounting brackets at these points, ensuring they’re level and properly secured. Attach the pegboard panels to the brackets, leaving enough space between the wall and board for hook insertion.
Once mounted, begin organizing equipment by category and frequency of use. Position frequently used items at eye level and arrange similar items together.
Install various hooks, holders, and accessories to accommodate different equipment types. Consider using color-coding or labels to create designated zones for different workout gear.
To maximize your pegboard organization system, regularly assess and adjust the layout based on usage patterns. Keep heavy items lower on the board and maintain proper weight distribution.
Consider adding LED strip lighting to illuminate the storage area and create ambiance. Leave room for expansion and periodically evaluate if the current configuration still serves your workout needs effectively.
Install Adjustable Wall-Mounted Weight Racks
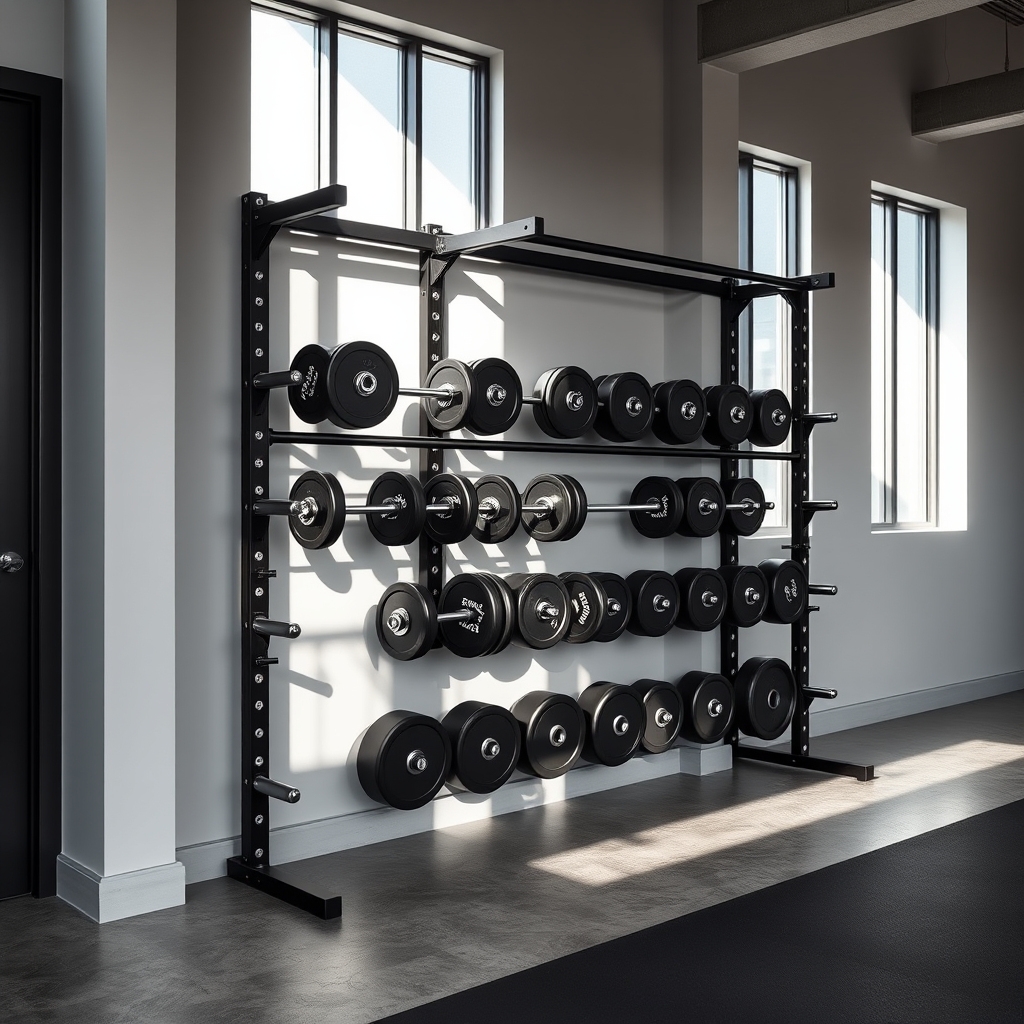
Proper storage of free weights and weight plates is crucial for maintaining an organized and safe home gym environment. Wall-mounted weight racks not only save valuable floor space but also protect your weights from damage while keeping them easily accessible during workouts.
Installing adjustable wall-mounted weight racks transforms your workout space by creating a professional gym atmosphere while maximizing storage efficiency. These racks can be customized to accommodate different weight sizes and can be adjusted as your equipment collection grows.
Required Items:
- Adjustable wall-mounted weight rack system
- Stud finder
- Level
- Drill and drill bits
- Mounting hardware (heavy-duty bolts and anchors)
- Measuring tape
- Pencil
- Socket wrench set
- Safety glasses
- Heavy-duty wall anchors
- Assistant for installation help
Begin by using the stud finder to locate and mark wall studs. Measure and mark the desired height for your weight rack, ensuring it’s at a comfortable reaching level while allowing space below for larger plates. For optimal support, the rack should be mounted into at least two wall studs.
Position the rack against the wall, use a level to ensure it’s straight, and mark mounting holes. Drill pilot holes into the studs, then secure the rack using appropriate heavy-duty mounting hardware. Test the stability of the rack before loading weights.
Once mounted, organize weights by size with heavier plates at the bottom for stability. Consider arranging weights symmetrically and leaving space between pegs for easy access. If installing multiple racks, maintain consistent spacing between them for a clean, professional appearance.
Additional Tips: Install rubber bumpers on the rack’s weight pegs to prevent metal-on-metal contact and reduce noise. Consider adding weight labels above each peg for quick identification. Always check weight capacity ratings for your specific wall-mounted system and perform regular maintenance checks on mounting hardware to ensure continued safety and stability.
Create a Resistance Band Storage Station
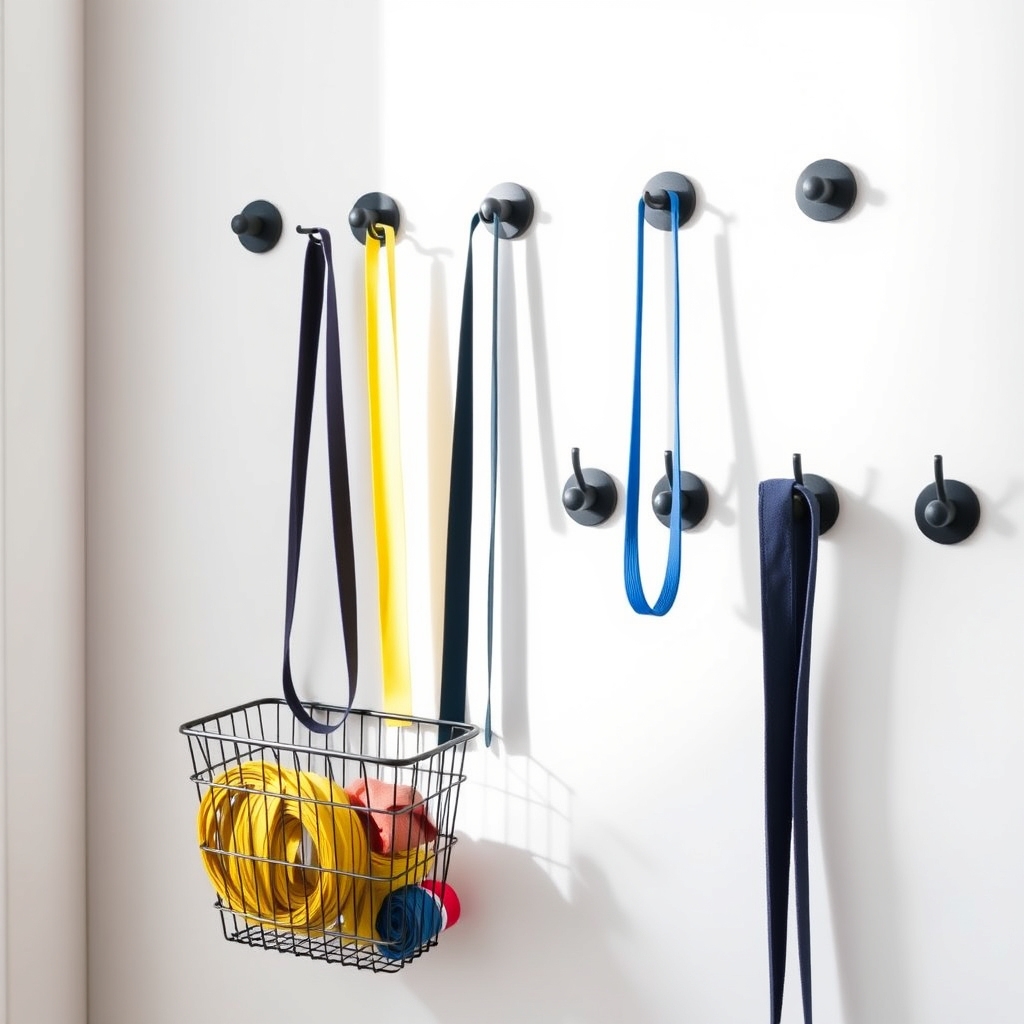
Proper storage of resistance bands is crucial for maintaining their longevity and preventing tangles, knots, or potential safety hazards. When bands are left on the floor or stuffed in drawers, they can become damaged, develop weak spots, or become a tripping hazard during workouts.
A well-organized resistance band storage station not only protects your investment but also makes your workout space more efficient. Having bands neatly displayed and easily accessible allows you to quickly switch between exercises and resistance levels, maximizing your workout time and maintaining proper form.
Required Items:
- Heavy-duty wall hooks or pegs
- Wall anchors
- Power drill
- Level
- Measuring tape
- Pencil
- Screwdriver
- Storage basket or container (optional)
- Label maker (optional)
- Small carabiners (optional)
Installation begins with selecting an appropriate wall space that’s easily accessible but out of the main workout area. Measure and mark points for hooks approximately 6-8 inches apart, ensuring they’re level. Install wall anchors if mounting into drywall, then securely attach hooks or pegs.
For multiple resistance levels, consider installing hooks in vertical rows, with heavier bands at bottom hooks for stability. Sort bands by resistance level or type, and hang them individually on designated hooks, making sure they’re not stretched or stressed while stored.
Additional tips: Consider using clear labels to mark resistance levels for quick identification. Install a small basket beneath the hooks for storing mini bands or accessories. Regularly inspect the mounting hardware and bands for wear, and avoid hanging bands in direct sunlight or near heat sources that could degrade the material.
When storing multiple bands on one hook, use carabiners to keep them organized and prevent tangling during removal.
Maximize Vertical Space With Floating Shelves
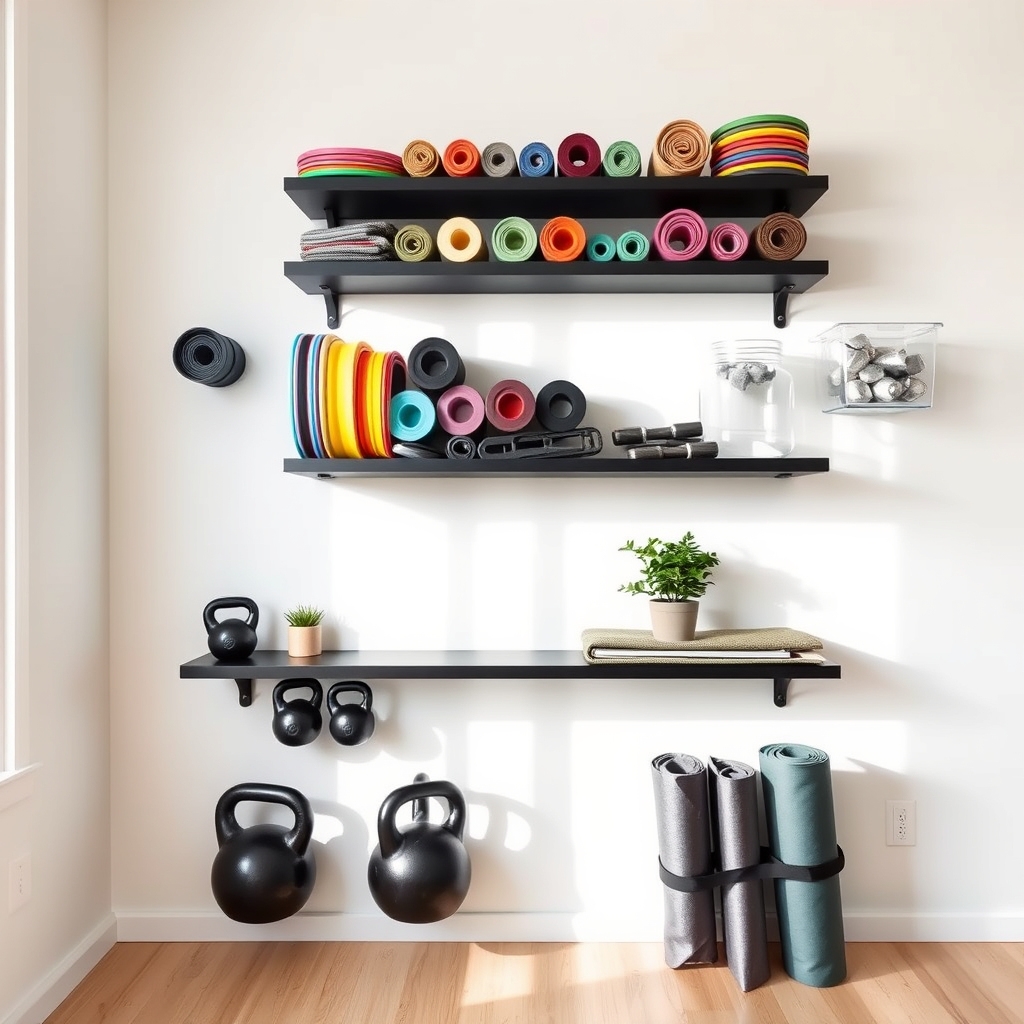
Vertical space is often the most underutilized asset in home gyms, where floor space comes at a premium. Floating shelves offer an elegant solution to this common challenge, providing a sleek, modern way to store equipment while keeping your workout area organized and clutter-free.
By implementing a strategic floating shelf system, you can transform your walls into efficient storage zones that not only organize your gear but also create an inspiring workout environment. Proper placement and installation of floating shelves can double or triple your storage capacity while maintaining easy access to all your equipment.
Required Items:
- Heavy-duty floating shelves
- Stud finder
- Level
- Drill and drill bits
- Screwdriver
- Wall anchors
- Measuring tape
- Pencil
- Safety glasses
- Storage bins or baskets
- Cable ties or hooks
- Wall brackets (if needed)
Start by mapping out your wall space using the measuring tape and pencil, marking stud locations with the stud finder. Install the heaviest-duty shelves at the bottom, spacing them approximately 18-24 inches apart vertically to accommodate various equipment heights.
Ensure each shelf is properly anchored into wall studs for maximum support, using appropriate wall anchors when studs aren’t available. Organize equipment by weight and frequency of use, placing heavier items on lower shelves and lighter, frequently-used items at eye level.
Create designated zones for different types of equipment: resistance bands, dumbbells, yoga accessories, and supplements. Use storage bins or baskets to group smaller items together and prevent them from rolling off shelves.
For optimal organization and safety, label each storage zone clearly and implement a “return to home” system where equipment has a designated spot. Consider adding small LED strip lights under each shelf to improve visibility and create ambiance.
Always leave some open shelf space for future equipment additions and maintain weight limits specified by the shelf manufacturer to ensure long-term durability and safety.
Design a Compact Yoga Equipment Corner
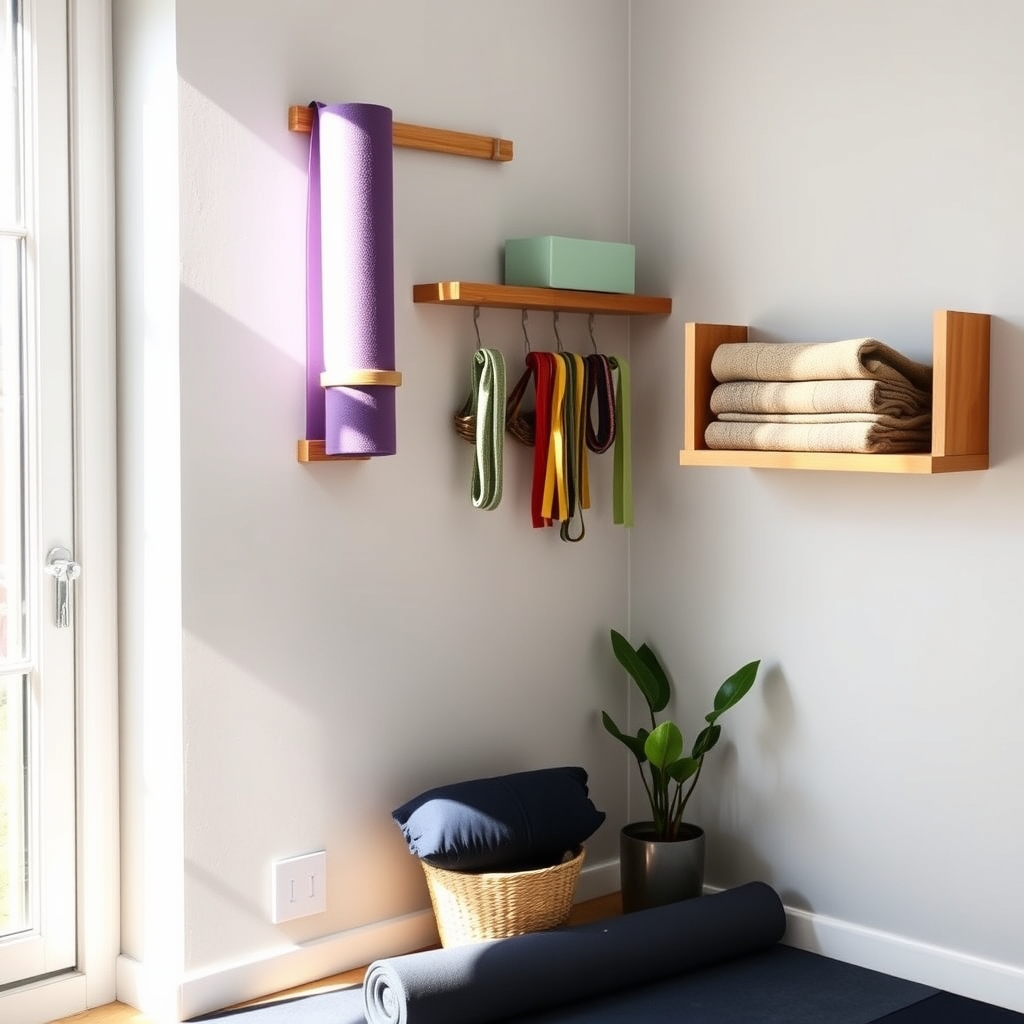
A well-organized yoga corner is essential for maintaining a consistent practice and creating a peaceful environment for your workouts. Having your yoga equipment readily accessible and neatly stored not only saves space but also helps maintain the quality of your gear while keeping you motivated to practice regularly.
Creating a dedicated yoga equipment corner transforms any space into an inviting area for mindful movement. When yoga props and accessories are thoughtfully organized, transitions between poses become smoother, and the overall practice experience becomes more enjoyable and efficient.
Required Items:
- Wall-mounted hooks
- Floating shelves
- Storage baskets or bins
- Yoga mat holder
- Tension rods
- Command strips or mounting hardware
- Mesh bags
- Label maker
- Clear containers
- Door-mounted organizer
Start by selecting a corner or wall space that provides enough clearance for rolling out your mat and performing various poses. Install a vertical yoga mat holder at eye level, ensuring it’s securely mounted to support heavier mats. Below the mat holder, attach floating shelves for storing meditation cushions, yoga blocks, and other props.
Position hooks at varying heights for hanging resistance bands, straps, and towels. Create zones within your corner by designating specific areas for different types of equipment. Store smaller items like therapy balls and hand towels in clear containers on the shelves. Use mesh bags hung on hooks for items that need ventilation after use.
Install a tension rod between two walls or in a closet space to hang yoga blankets, keeping them wrinkle-free and easily accessible. To maximize your yoga corner’s functionality, consider implementing a rotation system for frequently used items versus occasional props. Store seasonal items (like hot yoga accessories) in labeled containers on higher shelves.
Maintain proper ventilation around stored items to prevent moisture buildup, and periodically assess the organization system to ensure it continues meeting your practice needs effectively.
Build a Foldable Wall-Mounted Storage System
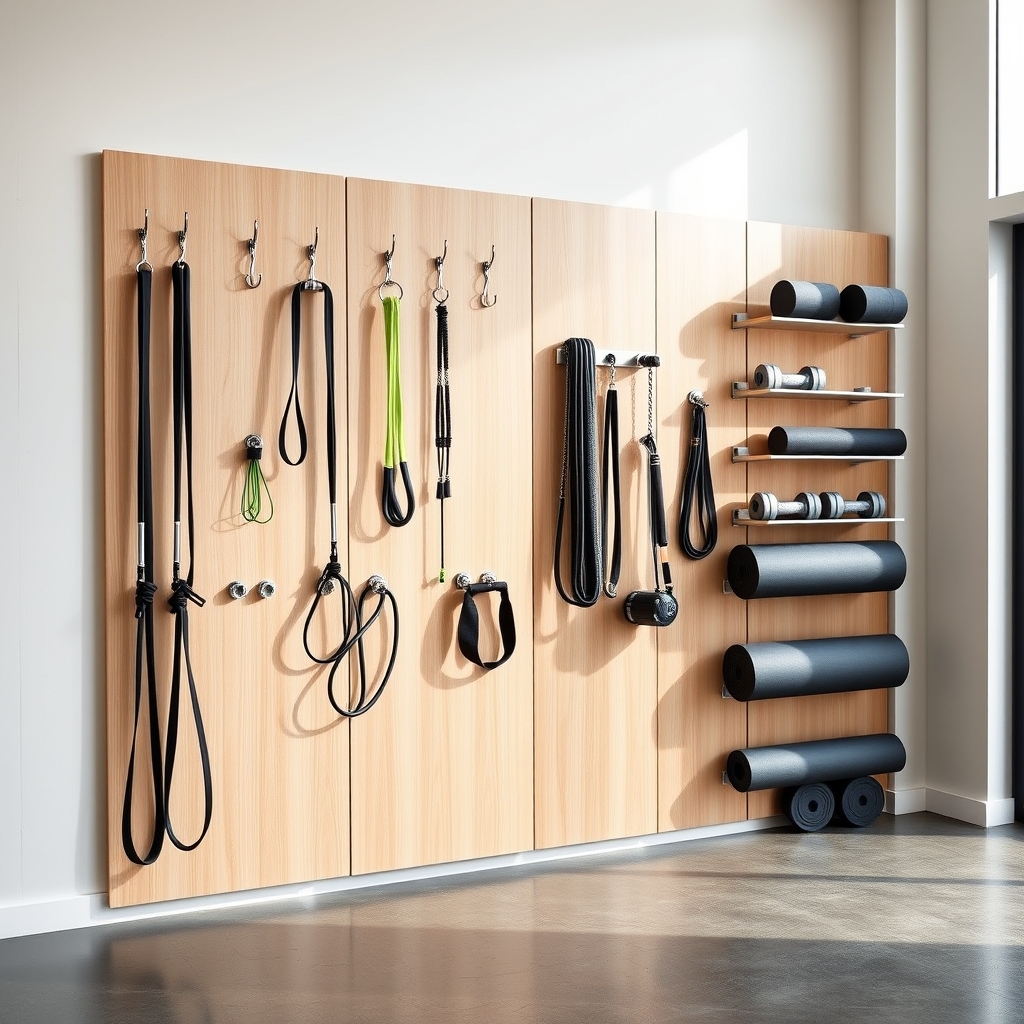
A well-organized home gym maximizes limited space while keeping equipment easily accessible, making workouts more efficient and enjoyable. Wall-mounted storage systems, particularly foldable ones, represent the perfect solution for home fitness enthusiasts who need to balance equipment access with space management.
Creating a foldable wall-mounted storage system transforms your home gym from a cluttered space into a functional workout area that can be expanded or contracted as needed. This adaptable storage solution allows you to store equipment safely while maintaining the ability to reclaim floor space when necessary.
Required Items:
- Heavy-duty wall brackets
- Plywood sheets (3/4 inch thickness)
- Heavy-duty hinges
- Wall anchors and screws
- Drill and drill bits
- Level
- Measuring tape
- Pencil
- Stud finder
- Screwdriver
- Storage hooks
- Weight-rated equipment hangers
- Safety latches or magnetic catches
The installation process begins with careful planning and wall preparation. Using a stud finder, locate and mark wall studs, then determine optimal mounting heights for different equipment types.
Install the main support brackets into wall studs, ensuring they’re level and properly secured. Next, attach hinges to both the wall brackets and plywood panels, creating fold-out sections that can support various equipment types.
Create different zones on the panels for specific equipment categories. Install appropriate hooks and hangers, considering weight distribution and equipment sizes. Ensure each panel can fold flat against the wall when not in use, and install safety latches or magnetic catches to keep panels secure in both open and closed positions.
Additional Tips: When designing your layout, position frequently used items at eye level and heavier equipment closer to the floor for stability. Include buffer space between items to prevent crowding and potential damage.
Regularly check all mounting hardware and hinges for wear, and consider adding rubber bumpers to prevent wall damage when folding panels closed.
Set Up an Equipment Display Grid Wall
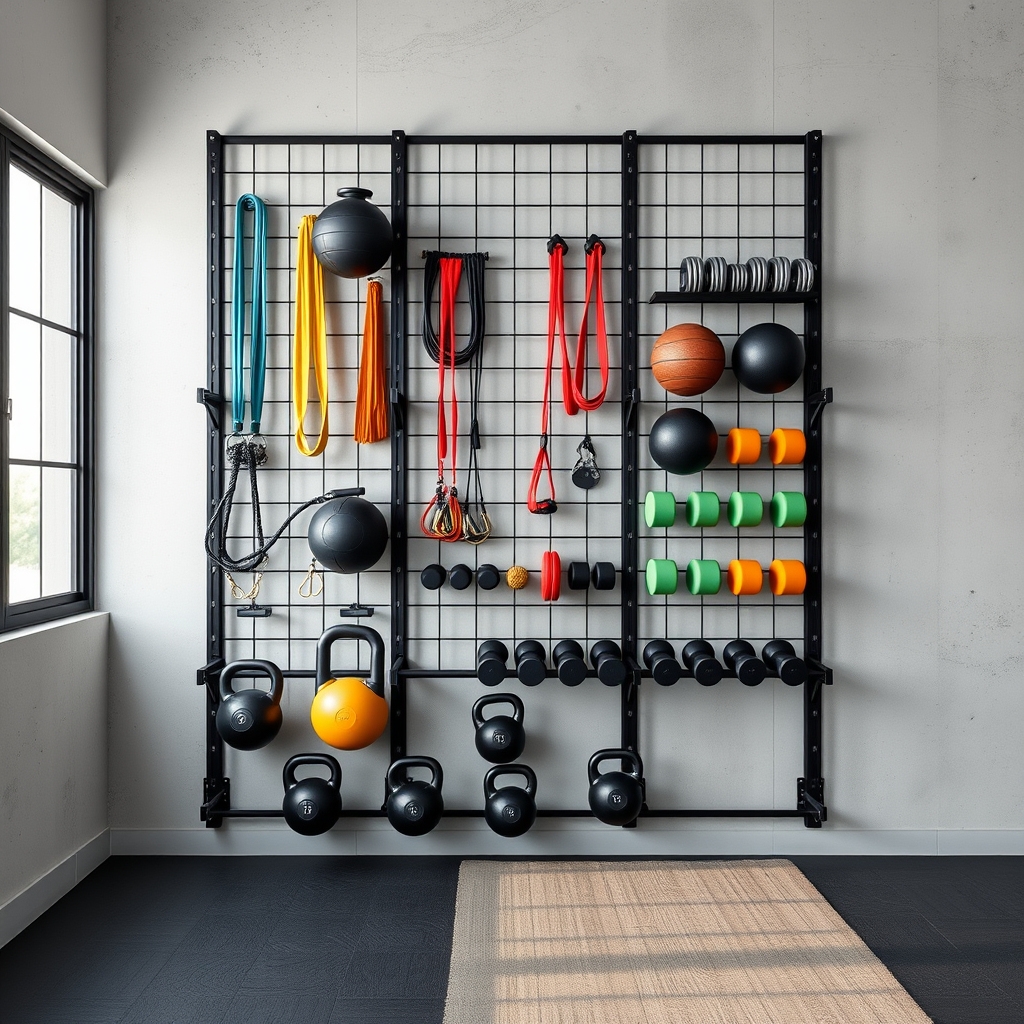
A well-organized equipment display grid wall transforms a home gym from a cluttered space into an efficient workout zone.
Beyond just storage, it creates a professional gym atmosphere that can boost motivation and make workouts more enjoyable by having everything visible and readily accessible.
Strategic placement of equipment on a grid wall system maximizes vertical space while protecting expensive gear from damage. This organization method also helps track inventory, making it easier to identify when equipment needs maintenance or replacement, and ensures proper weight distribution across the wall surface.
Required Items:
- Metal grid panels or wire mesh sheets
- Wall anchors and screws
- Power drill
- Level
- Measuring tape
- Pencil
- Various hooks and clips
- Equipment hanging brackets
- Wire cutters
- Work gloves
- Safety goggles
Start by measuring your wall space and marking the locations for the grid panels.
Install wall anchors at regular intervals, ensuring they can support the combined weight of the grid and equipment.
Mount the grid panels using heavy-duty screws, checking for level alignment as you progress. For larger walls, connect multiple panels using cable ties or mounting brackets for seamless integration.
Once the grid is secure, plan your equipment layout based on frequency of use and weight distribution.
Install various hooks, clips, and brackets at appropriate heights and intervals. Heavier items should be mounted at lower levels, while lighter equipment can be placed higher up.
Group similar items together for easy access during circuit training.
Consider organizing equipment by workout type or muscle group targeted.
Use different colored hooks or zones to create a visual system that speeds up equipment selection during workouts.
Leave adequate space between items to prevent tangling or interference, and always test the security of mounted items before regular use.
Periodically inspect the mounting hardware and grid integrity to maintain safety and functionality.

