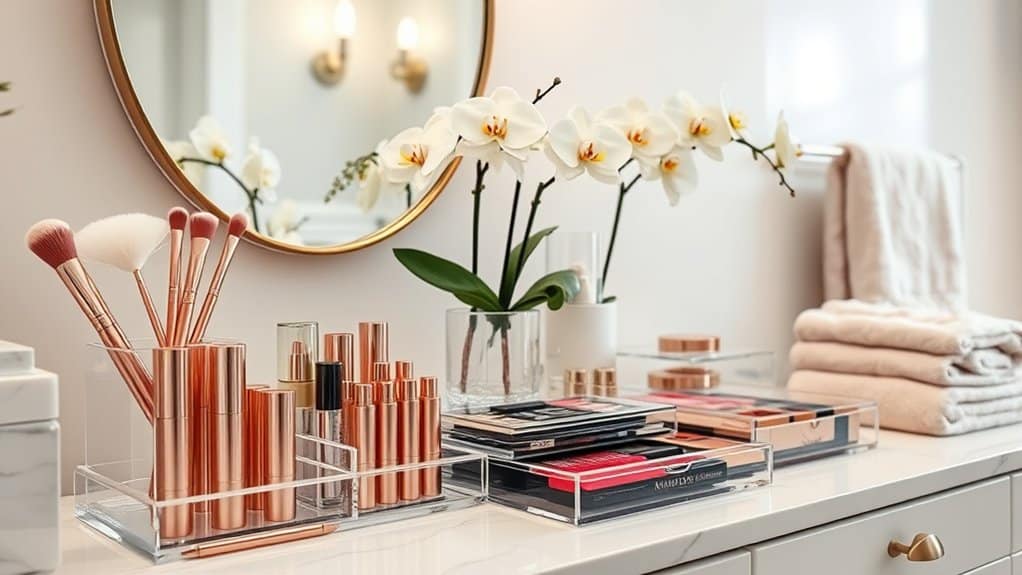
If you’re tired of rummaging through cluttered drawers and messy countertops to find your favorite lipstick, you’re not alone! As someone who’s transformed countless chaotic bathroom spaces, I can tell you that organizing your makeup doesn’t have to be a chore. With these seven smart and stylish solutions, you’ll turn your bathroom into an Instagram-worthy beauty station that’ll make your morning routine a breeze. Let’s explore how to create a space that’s both functional and fabulous.
Clear Acrylic Organizers: Your Beauty Products on Display
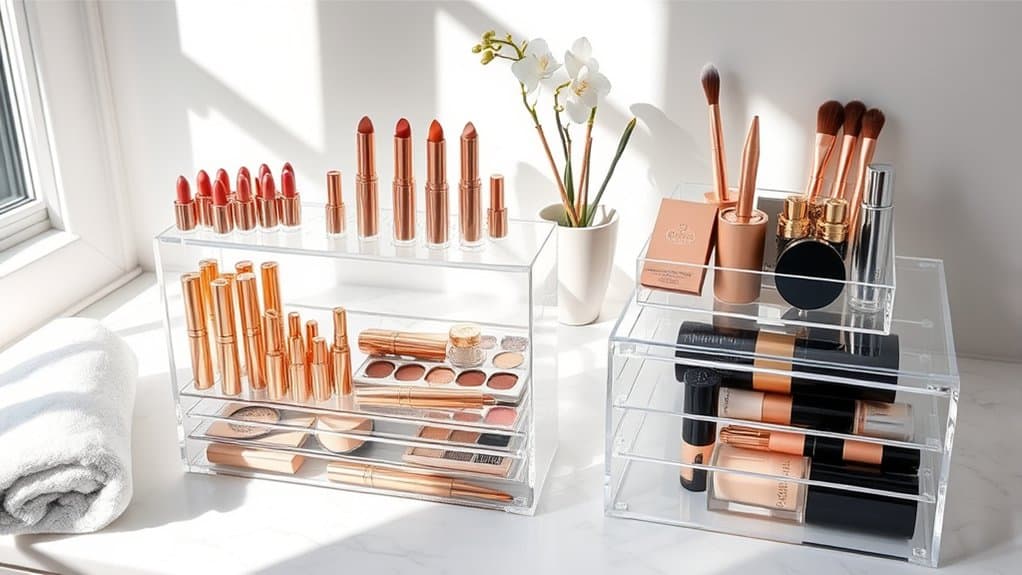
Organizing makeup with clear acrylic organizers transforms a cluttered bathroom counter into an elegant, boutique-like display. These transparent storage solutions not only protect cosmetics from bathroom moisture and dust but also make it easier to locate specific products quickly during daily routines.
Clear acrylic organizers represent the perfect balance between functionality and aesthetics, allowing you to showcase your beauty collection while keeping everything within arm’s reach. Their versatile nature accommodates various product sizes, from tall foundations to small eyeshadow singles, creating a customized storage system that works for your specific collection.
Required Items:
- Clear acrylic drawer organizers
- Stackable makeup holders
- Lipstick organizers
- Brush holders
- Drawer dividers
- Small bins for samples
- Clear container labels
- Measuring tape
- Cleaning cloth
- Drawer liner (non-slip)
Start by measuring your available counter space or drawer dimensions to determine the appropriate size of acrylic organizers. Sort makeup items by category: face products, eye products, lip products, and brushes. Place frequently used items in easily accessible front sections of organizers, while keeping special occasion products in back compartments or lower drawers.
Arrange products vertically when possible to maximize visibility and space utilization. For drawer organization, use various-sized compartments to create designated spaces for different product types. Position taller items like foundation bottles and setting sprays in the back, gradually decreasing height toward the front for optimal visibility.
Group similar items together, such as all lipsticks in one section and eye products in another, ensuring each category has sufficient space for easy access.
Additional Tips: Consider using drawer liner material beneath acrylic organizers to prevent sliding and protect surfaces. Clean organizers weekly with a gentle, non-abrasive cleaner to maintain clarity and prevent product buildup. Rotate products seasonally, bringing summer items forward during warmer months and winter products during cooler seasons. Label compartments discretely if needed, especially for extensive collections.
Magnetic Board Solutions for Metal Makeup Items
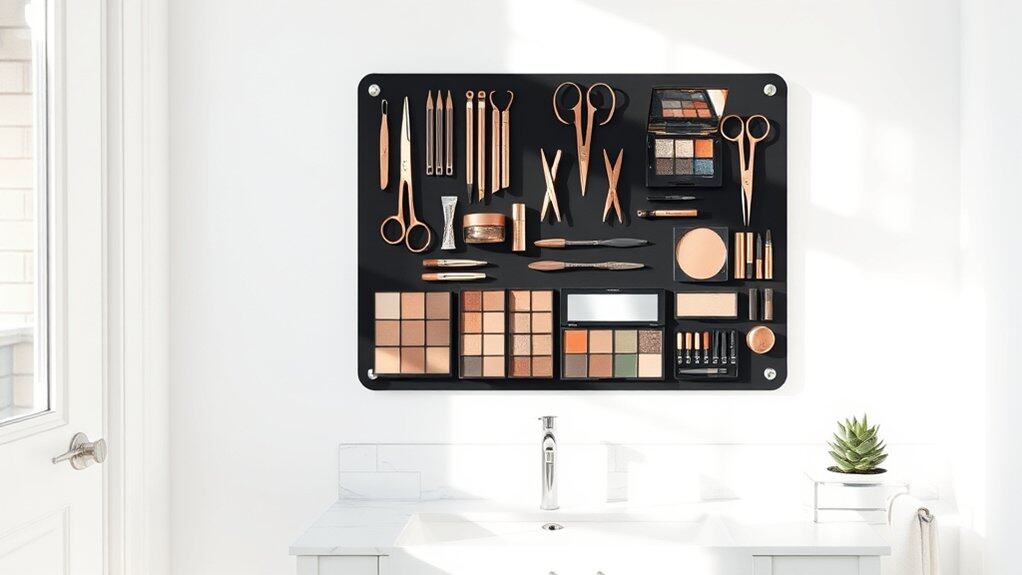
Organizing metal makeup items like tweezers, scissors, and certain palettes can quickly become a cluttered mess in bathroom drawers or makeup bags. A magnetic board system creates an efficient, visible storage solution that keeps these items easily accessible while maximizing vertical wall space in your bathroom.
Using magnetic organization transforms your daily makeup routine by eliminating the need to dig through drawers or containers. This system allows you to instantly spot and grab exactly what you need, while also creating an aesthetically pleasing display that can be customized to match your bathroom décor.
Required Items:
- Magnetic board or sheet
- Strong mounting tape or screws
- Level
- Measuring tape
- Small magnets (various strengths)
- Metal makeup items
- Magnetic strips
- Scissors
- Cleaning supplies
Select a suitable location on your bathroom wall and mount the magnetic board securely using appropriate hardware. Ensure the board is level and positioned at a comfortable height for daily use.
Clean all metal makeup items thoroughly before arranging them on the board. Test the magnetic strength needed for each item – heavier pieces may require additional magnetic strips attached to the back. Group similar items together, creating designated zones for tools, palettes, and accessories.
Consider your daily routine when positioning items, placing frequently used products at eye level. For maximum functionality, incorporate a combination of magnetic surfaces. While some items naturally stick to the board, others may need reinforcement.
Attach small, strong magnets to non-metallic items using adhesive strips. Create hierarchy by positioning everyday essentials in the most accessible spots and occasional-use items toward the periphery.
For optimal organization maintenance, regularly clean both the magnetic board and makeup items to ensure proper magnetic contact. Rotate items seasonally, bringing frequently used products to prime positions.
Consider adding labels or creating designated spaces for specific items to maintain organization long-term. Review the system monthly to adjust placement based on changing needs and usage patterns.
Vertical Storage: Making the Most of Wall Space
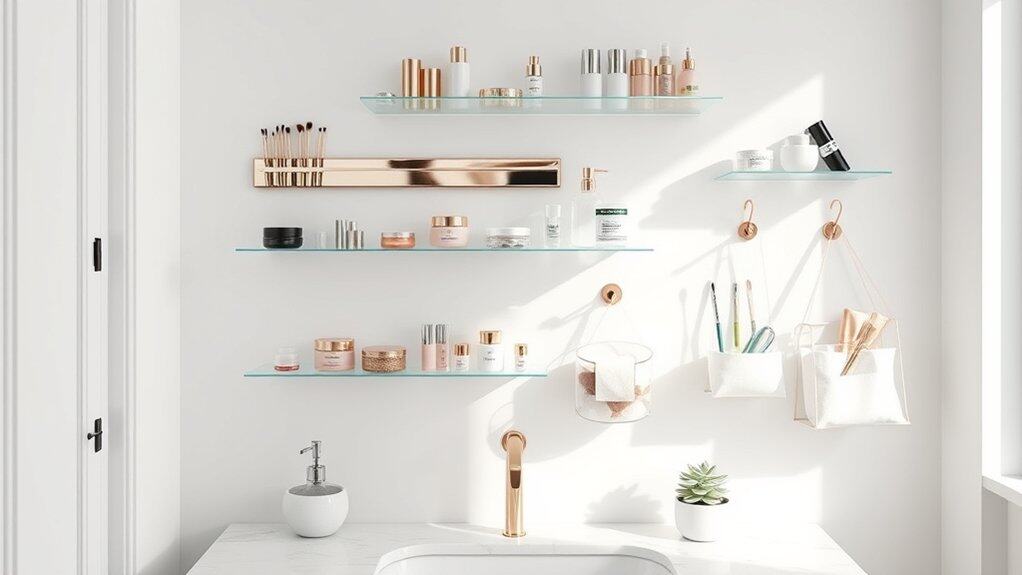
Making the most of wall space in your bathroom is crucial for maximizing storage potential, especially in smaller spaces. Vertical storage helps keep countertops clear while making products easily accessible, creating a more organized and visually appealing environment.
Utilizing wall space effectively can transform a cluttered bathroom into an efficient beauty station. Vertical organization not only saves valuable counter space but also allows you to see all your products at a glance, making your morning routine smoother and preventing forgotten products from expiring unused in drawers.
Required Items:
- Wall-mounted shelving units
- Adhesive hooks
- Magnetic strips
- Over-the-door organizer
- Wall-mounted acrylic holders
- Drill and screws
- Level
- Measuring tape
- Pencil
- Wall anchors
- Command strips
Start by measuring your available wall space and marking potential mounting areas, ensuring they’re within comfortable reach. Install wall-mounted shelving units using appropriate wall anchors, placing frequently used items at eye level.
For lighter items, utilize adhesive hooks or command strips to hang organizers without damaging walls. Create zones by category – daily essentials closest to the mirror, occasional products on higher shelves, and backup supplies on top shelves.
Position magnetic strips at eye level for metal items like tweezers and scissors. Install acrylic holders in a cascade pattern, allowing easy access to products while maintaining visual organization.
Consider using an over-the-door organizer for additional storage if wall space is limited. For optimal organization maintenance, regularly assess product placement and adjust based on usage patterns.
Label shelves or sections to maintain organization, and consider using clear containers to easily identify products. Rotate seasonal items to more accessible spots as needed, and always ensure heavier items are properly secured to prevent accidents.
Drawer Dividers and Custom Inserts
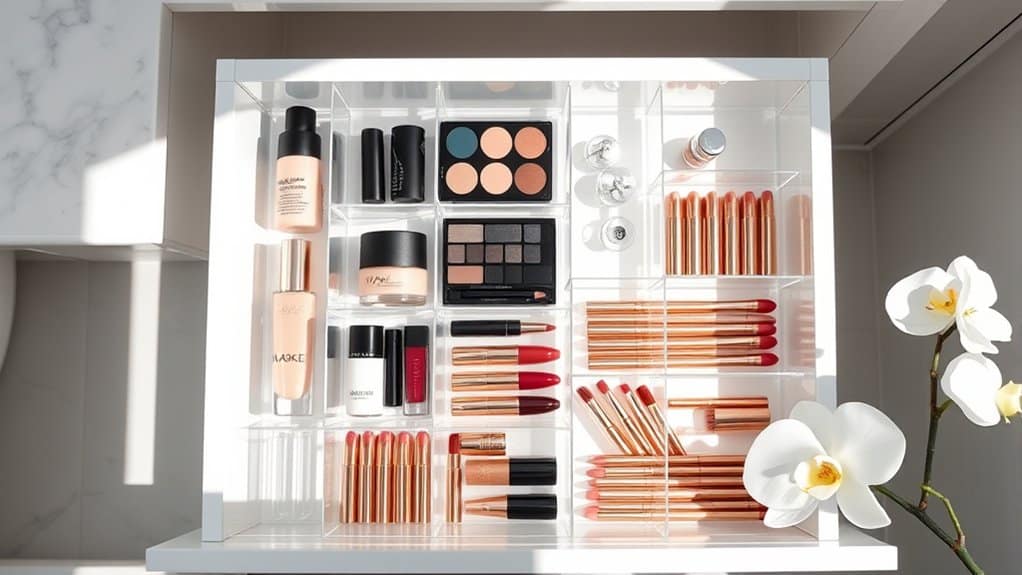
Organizing makeup drawers with proper dividers and custom inserts transforms a chaotic mess into an efficient, easy-to-navigate space. When cosmetics are properly separated and categorized, you save valuable time during your daily routine and extend the life of your products by preventing damage from disorganization.
Custom drawer organization systems protect your investment in makeup products while making it simple to inventory what you have and what needs replacement. This systematic approach prevents duplicate purchases and ensures you can quickly locate specific items, whether getting ready for work or preparing for a special event.
Required Items:
- Drawer dividers (adjustable or fixed)
- Custom drawer inserts or organizer trays
- Measuring tape
- Drawer liner (non-slip)
- Labels or label maker
- Cleaning supplies
- Small containers for loose items
- Clear plastic bags for backup products
Start by removing everything from the drawer and measuring the interior dimensions carefully. Clean the drawer thoroughly and install non-slip liner material. Sort makeup items into categories: face products, eye products, lip products, and tools.
Select drawer dividers or custom inserts that fit your drawer measurements and accommodate your specific collection of products. Install the dividers or inserts, ensuring they’re securely positioned. Place your most frequently used items in the front sections for easy access.
Arrange products vertically when possible to maximize visibility and space efficiency. For items that don’t fit standard compartments, use small containers or specialized makeup organizers that can nest within your drawer system.
Position items strategically based on frequency of use and maintain a logical flow from one product category to the next. Create designated spaces for everyday essentials versus special occasion products, and consider using clear containers for items that need to stand upright.
For optimal long-term organization, implement a regular maintenance schedule to clean organizers and assess product expiration dates. Use clear labels to maintain your system and consider photographing your organized layout to remember proper item placement.
Periodically evaluate your organization system and adjust divider configurations as your collection changes or your needs evolve.
Rotating Carousel Systems for Easy Access
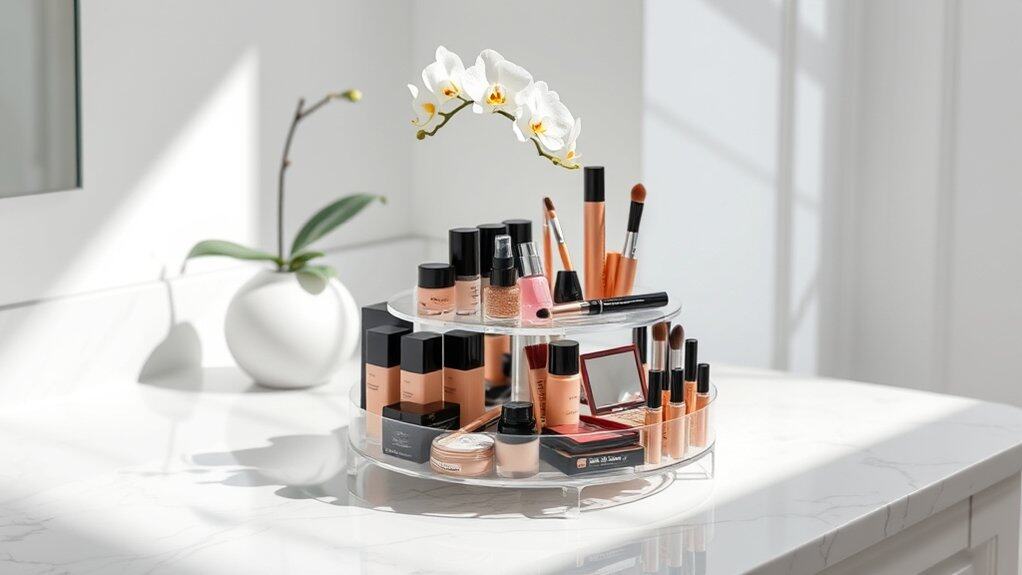
A well-organized rotating carousel system transforms chaotic makeup storage into an efficient, accessible arrangement that maximizes counter space while keeping products within arm’s reach.
By implementing a rotating organization system, you can eliminate the frustration of digging through drawers or shuffling items around to find what you need.
Rotating carousel systems are particularly effective for daily makeup routines, as they allow you to group frequently used items together and access them with a simple spin. This organization method not only saves time during your morning routine but also helps maintain order and prevent products from getting lost or forgotten in the back of drawers.
Required Items:
- Rotating makeup carousel or lazy Susan
- Clear acrylic organizer inserts
- Dividers or small containers
- Labels
- Measuring tape
- Cleaning supplies
- Storage bins for overflow items
Start by measuring your available counter space and selecting an appropriately sized rotating carousel. Clean the carousel thoroughly and insert acrylic organizers or dividers to create designated spaces for different makeup categories.
Group similar items together – face products in one section, eye products in another, and so on. Position the most frequently used items toward the front of each section for quick access.
When arranging products, consider your daily routine and place items in a logical sequence. For instance, position primer, foundation, and setting powder together, followed by bronzer and blush. Ensure taller items are placed in the center or back of the carousel to maintain visibility of smaller products.
Label each section clearly to maintain organization over time.
For optimal organization, regularly review and rotate out expired products, clean the carousel surfaces monthly, and adjust the arrangement based on seasonal makeup changes.
Consider keeping backup products and less frequently used items in separate storage bins to prevent overcrowding the carousel system. Implement a “one in, one out” rule to maintain a manageable collection that fits comfortably in your rotating system.
Under-Sink Storage Maximization
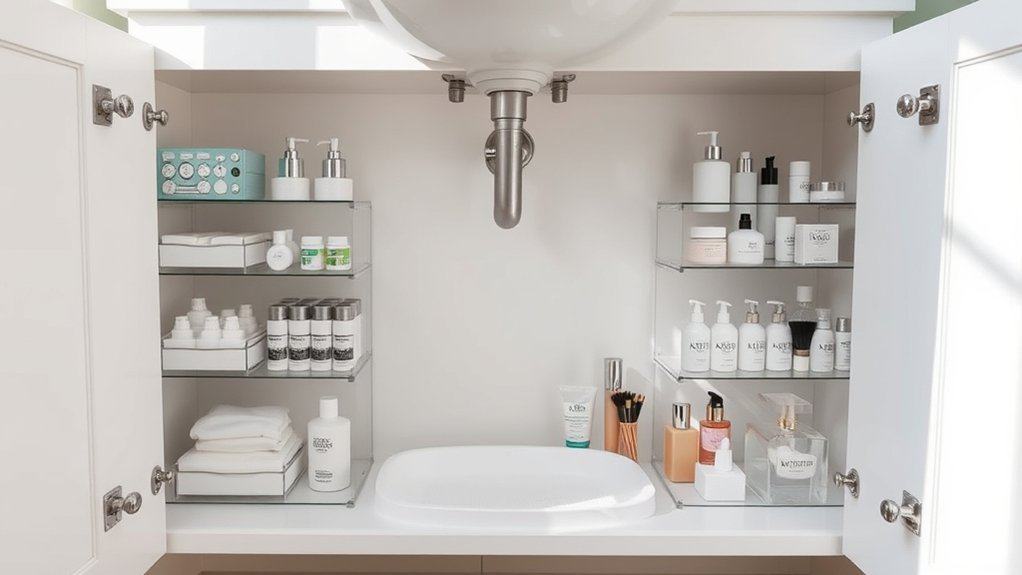
Making the most of under-sink storage space is crucial for maintaining an organized and functional bathroom. This often-overlooked area can become a catch-all for various products, leading to chaos and forgotten items pushed to the back of dark cabinets.
Proper organization of this space not only maximizes storage capacity but also ensures easy access to daily essentials. An efficiently organized under-sink area can reduce morning routine stress, prevent product waste, and maintain the overall tidiness of your bathroom environment.
Required Items:
- Clear plastic bins or organizers
- Pull-out drawer systems
- Tension rods
- Stackable shelves
- Labels and label maker
- Measuring tape
- Cabinet liner
- Small lazy Susan
- Over-cabinet door organizers
- Command hooks
Start by removing everything from under the sink and thoroughly cleaning the area. Measure the cabinet dimensions, accounting for plumbing fixtures, to determine the best storage solutions.
Install a cabinet liner to protect against moisture damage. Position pull-out drawers or stackable shelves on either side of the plumbing, utilizing vertical space effectively. Group similar items together in clear containers – face products, hair tools, backup supplies – and label each container clearly.
Place frequently used items at the front of the cabinet for easy access. Install a tension rod to hang spray bottles, creating additional space below. Utilize door-mounted organizers for smaller items like cotton swabs or makeup brushes. Position a lazy Susan in corner spaces to maximize accessibility to products that might otherwise be difficult to reach.
Additional Tips: Consider implementing a regular maintenance schedule to prevent clutter accumulation. Review products monthly for expiration dates and remove empty containers promptly.
Use clear containers exclusively to easily identify contents, and maintain an inventory list of backup supplies to avoid overbuying. Position items strategically based on frequency of use, with daily essentials at eye level and occasional-use items stored deeper in the cabinet.
Counter-Top Vanity Stations That Work
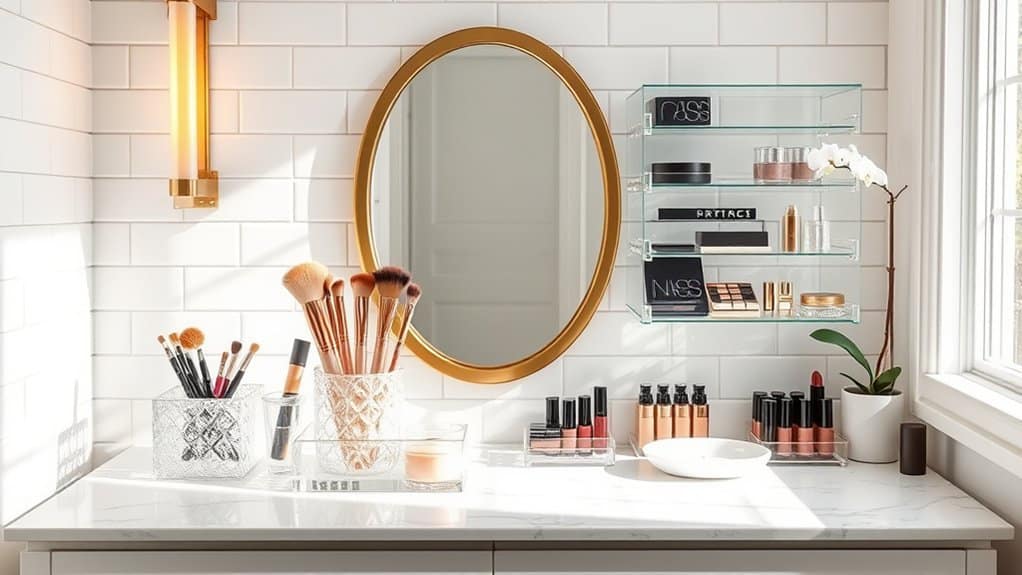
A well-organized counter-top vanity station transforms your daily makeup routine from a chaotic search through scattered products into a smooth, enjoyable experience. The right setup not only saves precious morning minutes but also helps preserve your cosmetics and keeps them within easy reach.
Creating an efficient vanity station on your bathroom counter requires careful consideration of your available space, daily routine, and most frequently used items. A properly organized station prevents product buildup, reduces clutter, and maintains a clean, hygienic environment for your beauty products.
Required Items:
- Clear acrylic organizers
- Drawer dividers
- Small containers or cups
- Makeup brush holder
- Tiered shelf organizer
- Mirror
- LED lighting
- Cleaning supplies
- Labels
- Small trays
- Cotton swab/cotton ball containers
Start by thoroughly cleaning your counter space and sorting all makeup items by category (face products, eye products, lips, tools). Remove expired products and those you rarely use.
Position your mirror in a well-lit spot, ideally near natural light, and arrange LED lighting if needed. Place frequently used items closest to the mirror in clear organizers for easy access.
Utilize vertical space by incorporating tiered shelves toward the back of the counter. Store daily essentials on the lower tiers and occasional-use items on upper levels. Arrange brushes upright in dedicated holders, keeping them dust-free and properly shaped.
Use small trays to create distinct zones for different makeup categories, making it easier to maintain organization over time.
For optimal organization maintenance, implement a weekly cleaning schedule and monthly inventory check. Store products away from direct sunlight and bathroom humidity when possible.
Consider rotating seasonal items to storage boxes under the counter, and always keep cleaning supplies nearby for quick touch-ups. This proactive approach ensures your vanity station remains functional and organized long-term.

