Did you know that the average person only wears 20% of their wardrobe regularly? If you’re tired of wrestling with overflowing drawers and chaotic closets, you’re not alone! I’ve spent years perfecting storage solutions for my own clothing collection, and I’ve discovered eight game-changing strategies that’ll transform your bedroom from cluttered to calm. Whether you’re working with a tiny space or just want to maximize what you’ve got, these clever organizing tricks will help you take control of your wardrobe once and for all.
Maximize Vertical Space With Over-Door Organizers
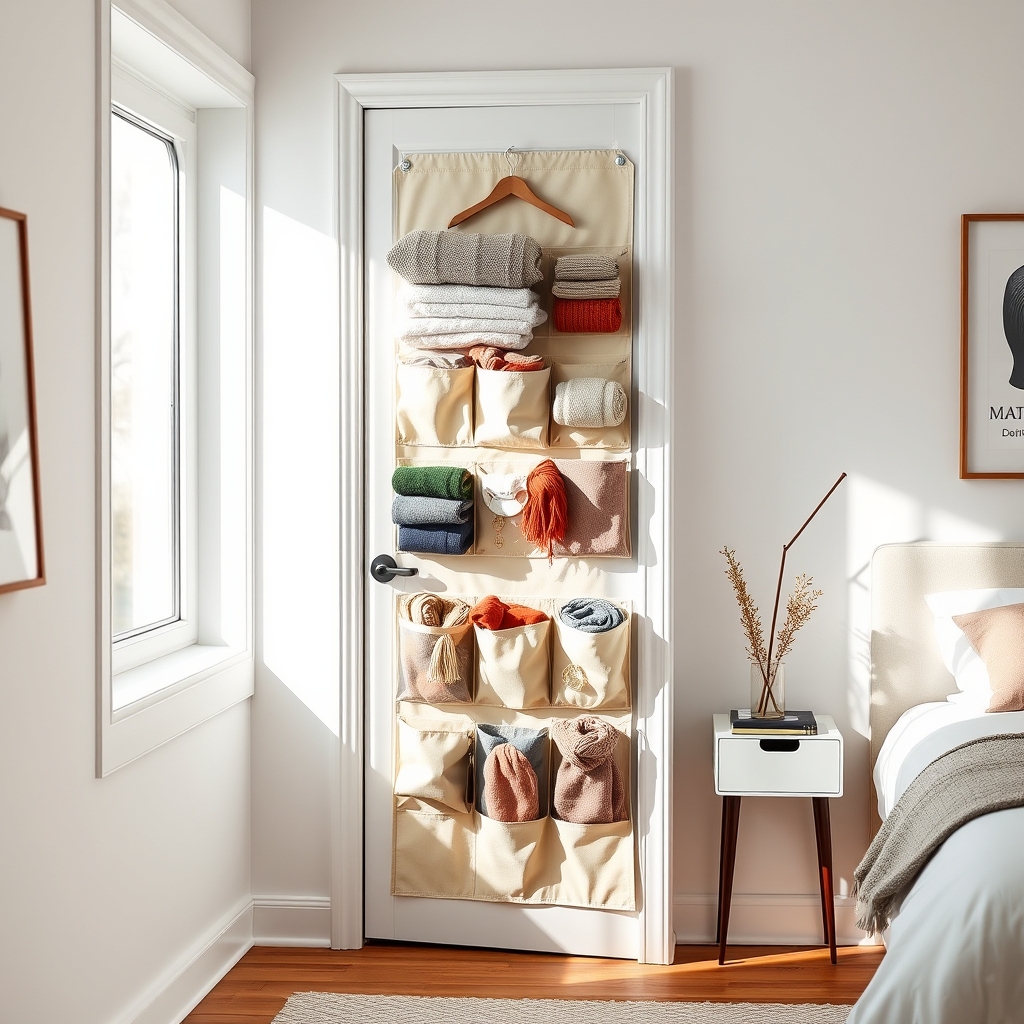
Making the most of vertical space in your bedroom is crucial for efficient storage, especially in smaller living spaces. Over-door organizers represent an often overlooked opportunity to utilize otherwise wasted space while keeping clothing and accessories easily accessible.
These practical storage solutions transform the back of any door into valuable storage real estate, helping to declutter your living space and create a more organized environment. When properly implemented, over-door organizers can store everything from shoes and accessories to seasonal clothing items without taking up precious floor or closet space.
Required Items:
- Over-door hanging organizer
- Door hooks or hanging brackets
- Measuring tape
- Level
- Screwdriver (if mounting hardware is needed)
- Storage bins or baskets (optional)
- Labels (optional)
- Command strips (optional for securing)
Select an over-door organizer that fits your door’s dimensions, ensuring it won’t interfere with the door’s operation. Install the hanging brackets or hooks at the top of the door, making sure they’re level and secure.
If using an organizer with multiple pockets or shelves, start by organizing items by category – placing frequently used items at eye level and seasonal items in lower or higher pockets. Consider using clear storage bins within larger pockets to keep smaller items contained and visible.
For maximum stability, secure the bottom of the organizer using command strips or the provided stabilizing hardware to prevent swinging when the door moves. Sort items by type, size, or frequency of use, placing heavier items in lower pockets to maintain balance. If storing shoes, alternate their direction to maximize space efficiency.
Additional Tip: To maintain organization long-term, implement a regular review system – every three months, assess the contents of your over-door organizer, remove items that haven’t been used, and reorganize based on seasonal needs. Consider using labels to maintain organization and make it easier for family members to return items to their designated spots.
Install Space-Saving Drawer Dividers
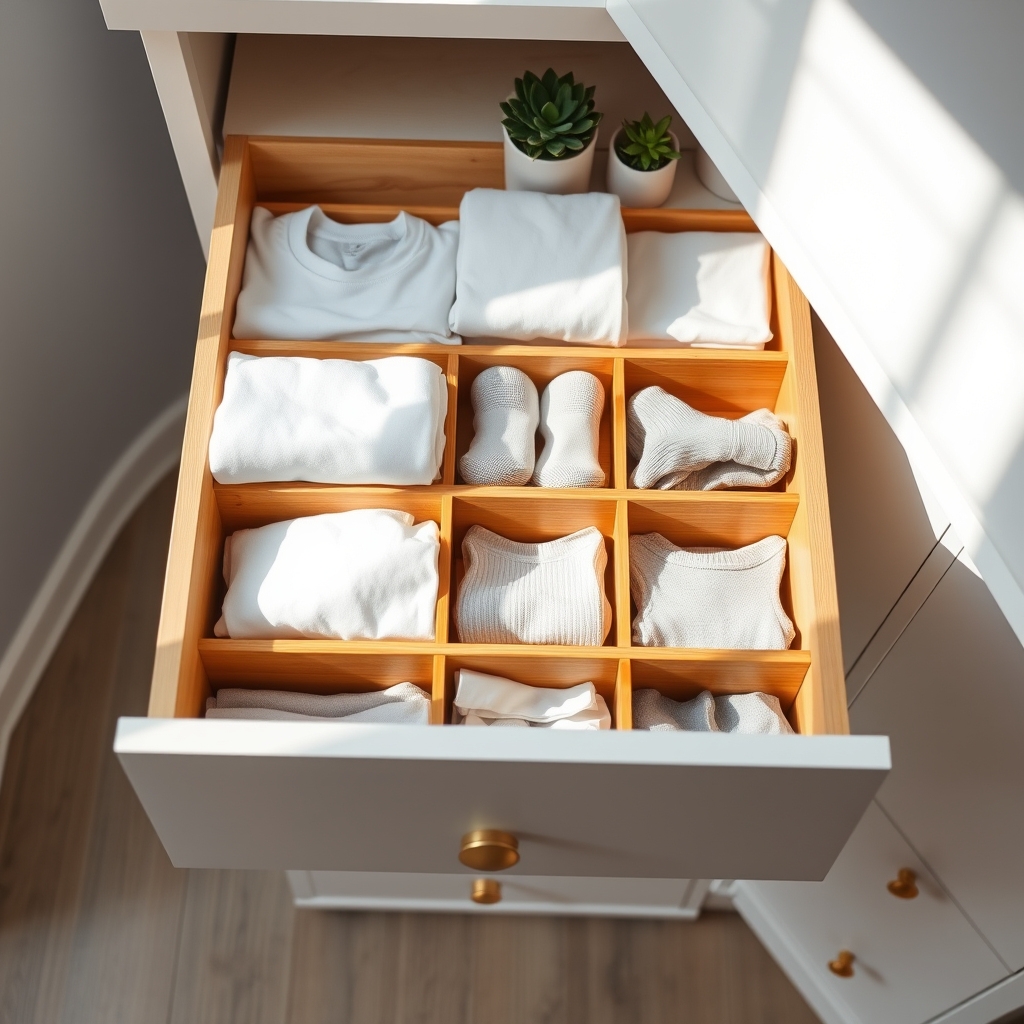
Drawer dividers are essential tools for maintaining order in clothing storage, preventing items from becoming jumbled and making it easier to find specific pieces when needed. When properly installed, these organizers transform chaotic drawers into well-structured storage spaces that maximize every inch of available space.
By compartmentalizing your drawers, you create designated spaces for different clothing categories, making it simpler to maintain organization long-term. This system not only saves time during daily routines but also helps protect delicate items from damage and extends the life of your clothing by preventing unnecessary wrinkles and stretching.
Required Items:
- Adjustable drawer dividers
- Measuring tape
- Drawer liner (non-slip)
- Scissors
- Cleaning supplies
- Labels (optional)
- Small storage boxes or bins (optional)
- Drawer organizer inserts (optional)
Start by removing all items from the drawer and cleaning the interior thoroughly. Measure the drawer’s dimensions to determine the number and size of dividers needed. Install the drawer liner first, cutting it to fit precisely.
Position the dividers perpendicular to the drawer’s length, creating sections based on the types of clothing you plan to store. Adjust the dividers to create compartments of appropriate sizes for different items – wider spaces for bulky sweaters, narrower ones for rolled t-shirts or undergarments. Secure each divider according to its specific mechanism, ensuring they’re firmly in place.
For optimal organization, make sure the compartments align with your daily routine and clothing categories. Consider creating sections based on frequency of use, keeping frequently worn items more accessible. Organize items within each compartment using appropriate folding or rolling techniques to maximize visibility and prevent wrinkles.
Additional Tips:
Regular maintenance is key to keeping drawer dividers effective. Review your organization system every few months, adjusting divider positions as needed based on changing seasonal wardrobes or storage needs.
Consider using small boxes or fabric bins within larger compartments for storing smaller items like socks or accessories, and label compartments if helpful for maintaining organization. Remember to periodically clean both the dividers and drawer interior to prevent dust accumulation and maintain a fresh storage environment.
Utilize Under-Bed Storage Solutions
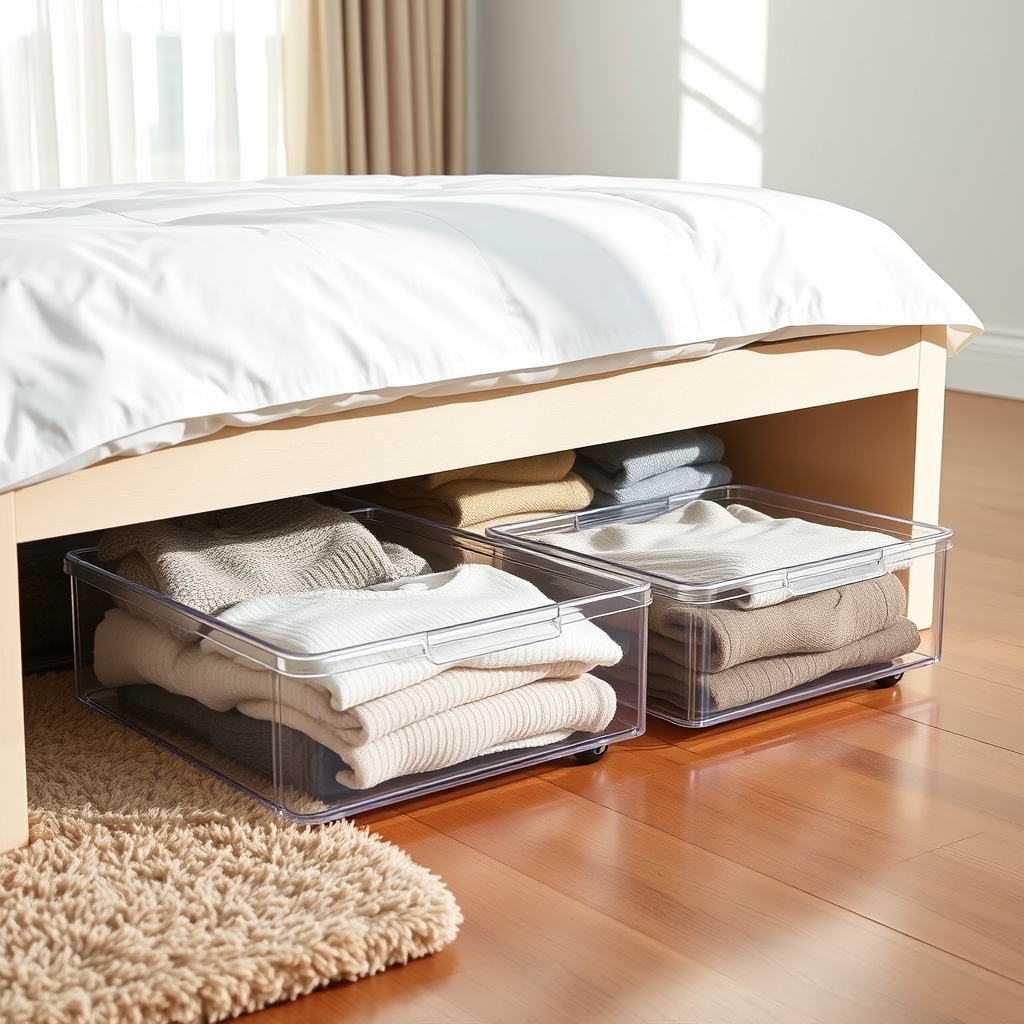
Making use of under-bed space is one of the most effective ways to maximize storage in any bedroom, particularly in smaller living spaces. This often-overlooked area can provide substantial storage capacity for seasonal clothing, accessories, and other garments that aren’t needed on a daily basis.
Proper under-bed storage organization not only helps declutter your closet and drawers but also protects clothing from dust, pests, and moisture when done correctly. With the right storage solutions and systematic organization, this space can become a valuable extension of your clothing storage system.
Required Items:
- Under-bed storage containers (plastic or fabric)
- Bed risers (if needed)
- Labels
- Vacuum storage bags
- Measuring tape
- Cedar blocks or lavender sachets
- Dust-proof covers
- Clean cloth for wiping containers
Start by measuring the available space under your bed, including height, width, and depth. Select storage containers that maximize this space while allowing for easy sliding in and out.
Sort clothing by season or category, then pack items into vacuum storage bags to reduce bulk and protect against moisture. Place these bags into the containers, positioning frequently accessed items toward the front for easier retrieval.
Label each container clearly on multiple sides to ensure visibility from different angles. When placing containers under the bed, arrange them according to frequency of use, with less-needed items toward the head of the bed and more frequently accessed items near the foot. If using multiple containers, create a simple map or inventory of what’s stored where.
Additional Tips: Rotate seasonal items twice yearly to maintain organization and assess clothing condition. Use cedar blocks or lavender sachets in containers to repel moths and maintain freshness.
Consider installing wheels on storage containers for easier access, and maintain a clear path around the bed for smooth removal of containers. Regular cleaning of the under-bed area prevents dust accumulation and protects stored clothing.
Create a Capsule Wardrobe System
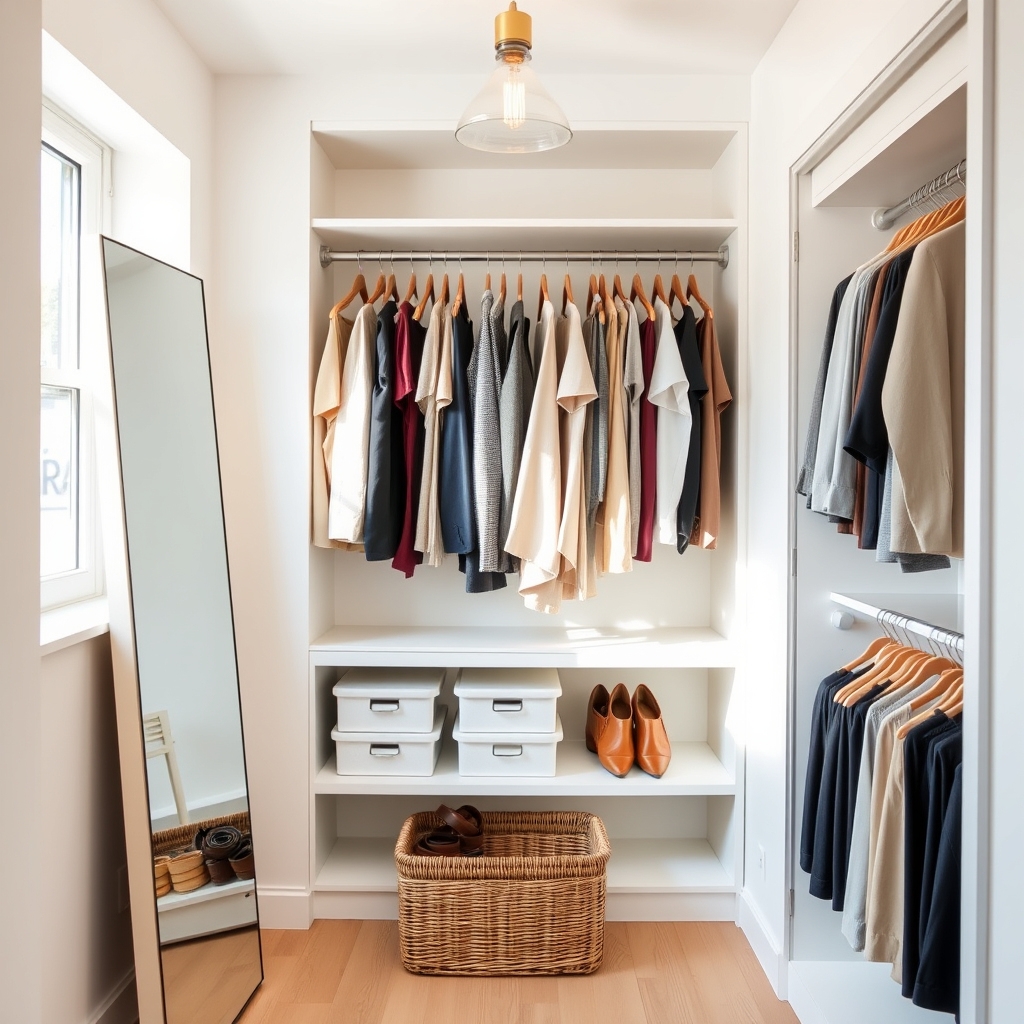
A capsule wardrobe system revolutionizes how you approach clothing storage and daily dressing by reducing your wardrobe to a carefully curated selection of versatile pieces that work seamlessly together. This minimalist approach not only saves valuable storage space but also eliminates the daily stress of deciding what to wear.
Creating a capsule wardrobe transforms your bedroom storage from a cluttered maze of unused items into an efficient, purposeful collection. By focusing on quality over quantity and ensuring each piece serves multiple functions, you’ll maximize your storage space while building a wardrobe that truly reflects your lifestyle and personal style.
Required Items:
- Large sorting bins
- Donation bags
- Storage containers
- Hangers (preferably matching)
- Wardrobe planning worksheet
- Full-length mirror
- Seasonal storage containers
- Clothing rack
- Labels
- Notebook for inventory
The process of creating a capsule wardrobe begins with a complete closet audit. Remove everything from your closet and sort items into categories: keep, donate, sell, and seasonal storage.
Select a color palette centered around 2-3 neutral colors and 1-2 accent colors. Choose approximately 30-40 versatile pieces that can create multiple outfits and align with your lifestyle needs, including work, casual, and special occasions.
Next, organize your selected pieces by category (tops, bottoms, dresses, etc.) and ensure each item coordinates with at least three other pieces in your collection. Store your capsule wardrobe items front and center in your closet, using matching hangers and clear organizational dividers.
Place seasonal items in vacuum-sealed bags or storage containers, clearly labeled and stored in less accessible areas.
Additional Success Tips:
Before purchasing new items for your capsule wardrobe, implement a one-in-one-out rule to maintain the system’s efficiency. Document successful outfit combinations in your phone or notebook, and regularly assess your capsule wardrobe’s functionality, making adjustments based on your lifestyle changes and seasonal needs.
Consider taking photos of complete outfits to create a digital lookbook for quick reference.
Implement Double-Hanging Closet Rods
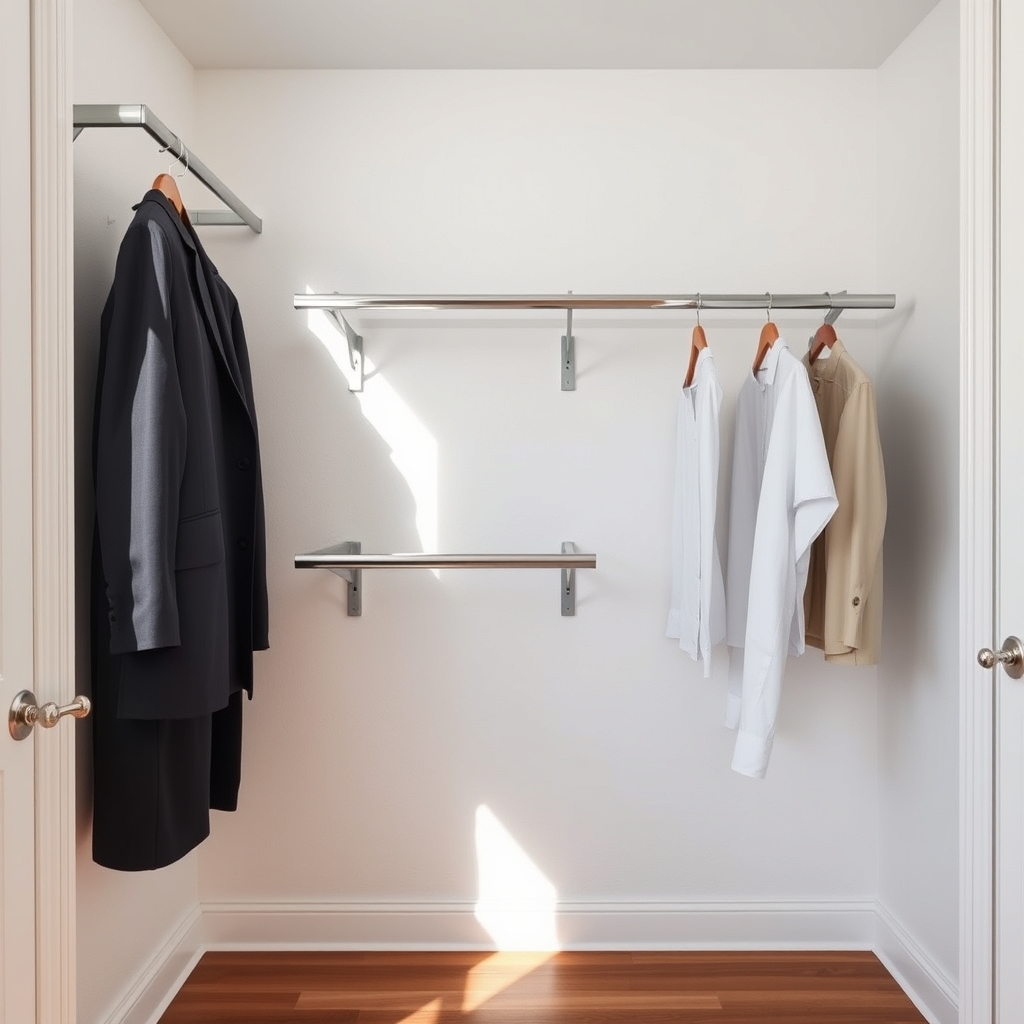
Maximizing vertical space in your closet is essential for creating efficient storage solutions, particularly in bedrooms with limited square footage. Double-hanging closet rods can effectively double your hanging space, allowing you to organize clothes more systematically while keeping them easily accessible.
Installing double-hanging rods transforms an inefficient single-rod closet into a well-organized storage system that can accommodate twice the amount of clothing. This setup is particularly useful for storing shorter items like shirts, blouses, jackets, and folded pants, making it easier to see and access your entire wardrobe.
Required Items:
- Measuring tape
- Pencil
- Level
- Power drill
- Wall anchors
- Screws
- Double-rod hanging brackets
- Closet rods (2)
- Rod supports
- Stud finder
- Screwdriver
- Safety glasses
Start by removing all clothing and the existing rod from your closet. Measure the width of your closet and mark the location of wall studs.
Install the first bracket set approximately 80-84 inches from the floor for the upper rod, ensuring it’s level and secured into wall studs or using appropriate wall anchors. Position the second bracket set approximately 40-42 inches below the upper bracket, allowing adequate space for hanging clothes without touching the floor.
Secure the closet rods into the brackets, ensuring they’re firmly in place. Additional consideration should be given to weight distribution and accessibility. For optimal organization, hang longer items like dresses and coats on the upper rod, while shorter items like shirts and folded pants can go on the lower rod.
Consider installing additional support brackets for rods longer than 48 inches to prevent sagging under heavy loads. Regular maintenance checks of the brackets and rods will ensure long-term stability and functionality of your double-hanging system.
Add Floating Shelves for Folded Items
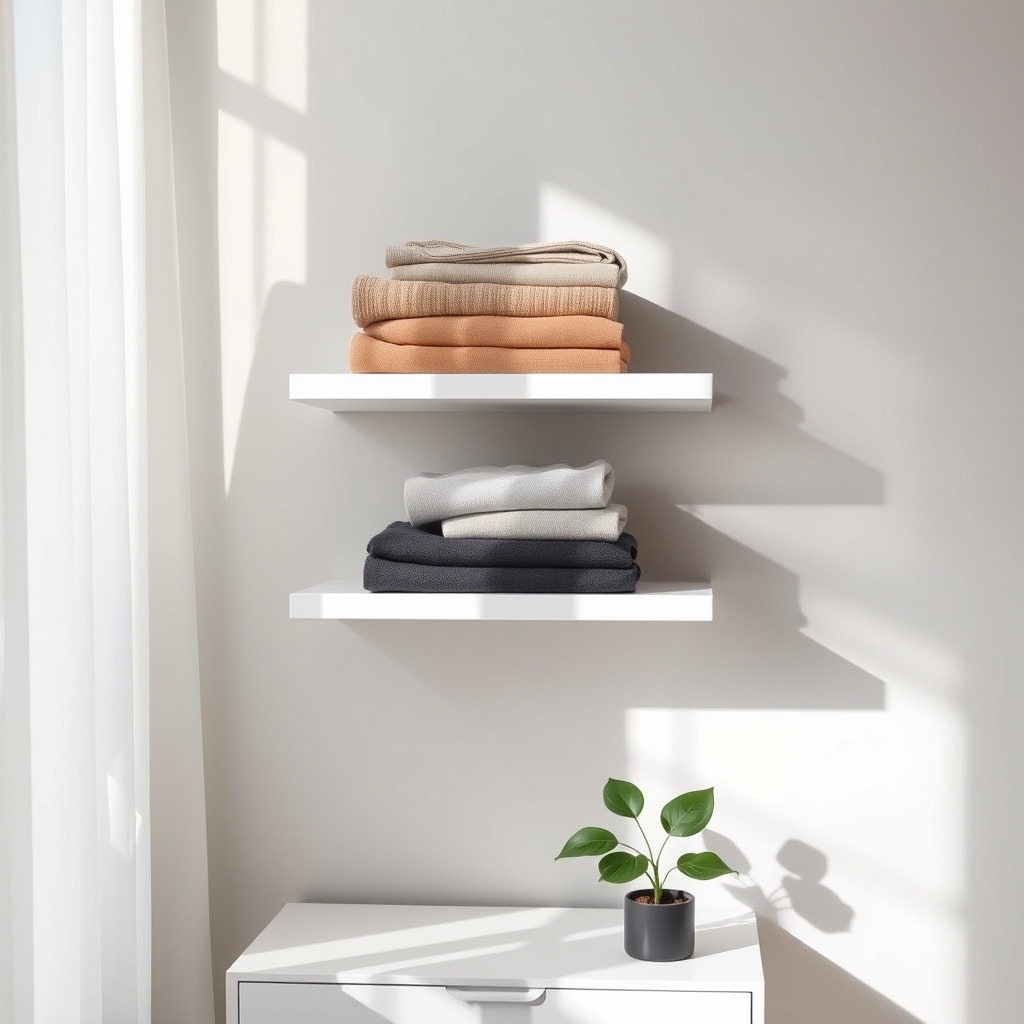
Floating shelves provide an elegant and space-saving solution for storing folded clothing items in your bedroom. These versatile installations transform empty wall space into functional storage areas while maintaining a clean, modern aesthetic that complements any bedroom decor.
Strategic placement of floating shelves creates easily accessible storage zones for frequently used items like sweaters, jeans, and t-shirts. This organization method not only maximizes vertical space but also helps protect delicate garments from excessive stacking weight that can occur in traditional dresser drawers.
Required Items:
- Floating shelves (appropriate weight capacity for clothing)
- Level
- Stud finder
- Drill and drill bits
- Screwdriver
- Wall anchors
- Measuring tape
- Pencil
- Clean microfiber cloths
- Non-slip shelf liners
Install the floating shelves at comfortable reaching height, spacing them 12-15 inches apart vertically to accommodate folded clothing stacks. Begin by using the stud finder to locate wall supports and mark shelf positions with a pencil. Install the shelf brackets securely into studs or use appropriate wall anchors.
Once shelves are mounted, line them with non-slip shelf liners to prevent clothing from sliding. Sort clothing by category and fold items using consistent techniques to create uniform stacks that maximize shelf space while remaining visually appealing.
For optimal organization and maintenance, implement a rotation system where frequently worn items are placed at eye level and within easy reach. Limit stack height to 6-8 items to prevent toppling and maintain neat appearance. Consider using shelf dividers for smaller items or to separate different clothing categories.
Regularly dust shelves and refold items to maintain organization and prevent clothing from becoming wrinkled or misshapen.
Use Vacuum Storage Bags for Seasonal Clothing
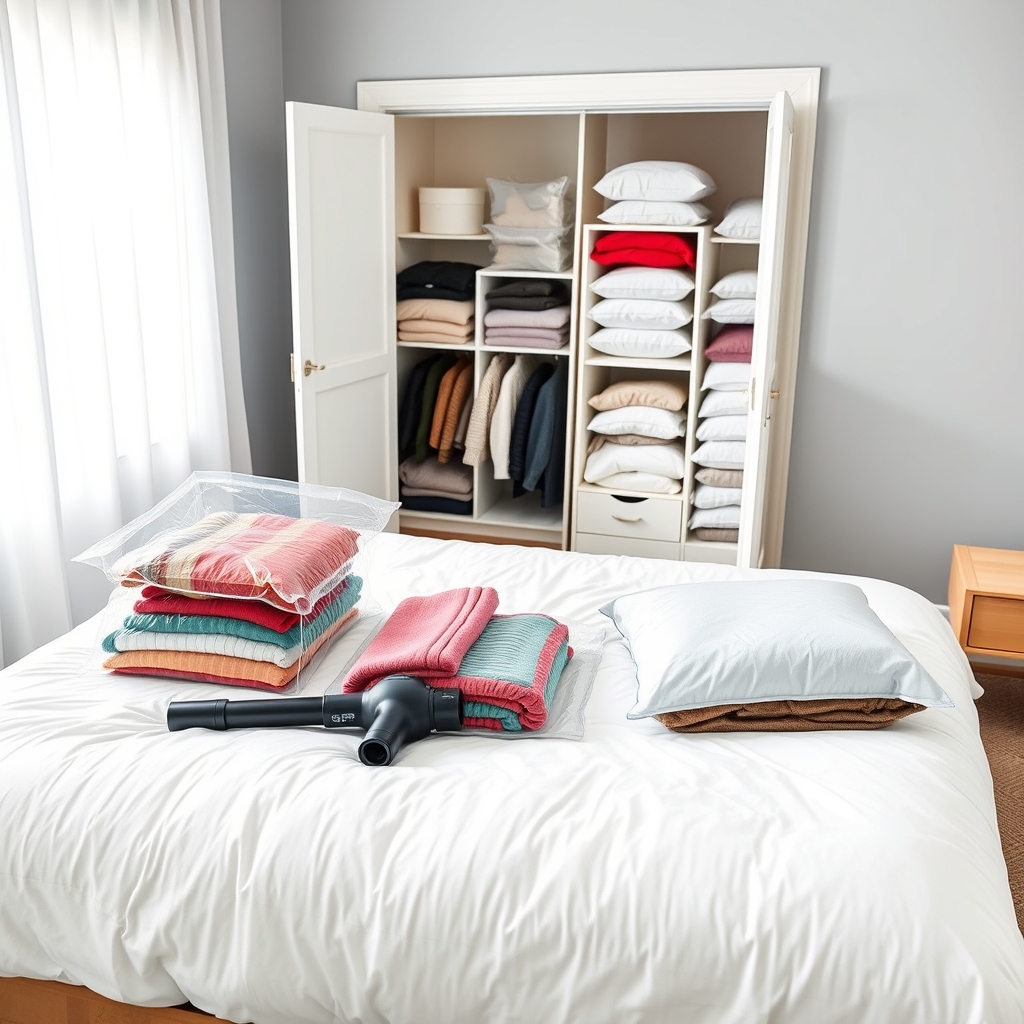
Storing seasonal clothing efficiently is crucial for maintaining an organized bedroom and maximizing available space. When clothes for different seasons compete for the same storage areas, closets and drawers become overcrowded, making it difficult to find and access the items you currently need.
Vacuum storage bags offer an innovative solution to this common storage challenge. These specialized bags compress bulky seasonal items like winter coats, sweaters, and bedding to a fraction of their original size, protecting them from dust, moisture, and insects while creating valuable extra space in your storage areas.
Required Items:
- Vacuum storage bags (various sizes)
- Vacuum cleaner with hose attachment
- Clean, dry seasonal clothing
- Labels and marker
- Laundry detergent
- Dryer sheets (optional)
- Storage container or under-bed box
- Inventory list
Sort all seasonal clothing and ensure each item is clean and completely dry before storage. Place similar items together in appropriately sized vacuum bags, being careful not to overfill them. Remove as much air as possible by hand, seal the bag’s zipper closure completely, then insert your vacuum cleaner’s hose into the bag’s valve and activate the vacuum to remove remaining air.
As the bag compresses, smooth out any wrinkles to ensure efficient storage. Once compressed, double-check the seal and label each bag with its contents and the date of storage.
For optimal results, store compressed bags in a cool, dry place such as under the bed, on high closet shelves, or in plastic storage containers. Avoid storing vacuum bags in areas prone to temperature fluctuations or moisture, such as garages or basement floors. Consider creating zones for different seasons and maintaining an inventory list to track stored items.
Additional Tips: Place dryer sheets in bags to maintain freshness, and avoid compressing delicate items or those with down filling, as they may lose their shape. Check stored items every few months to ensure the bags maintain their seal, and recompress if necessary.
When retrieving items for the next season, allow them to air out and hang them to restore their natural shape before use.
Transform Empty Wall Space With Mounted Racks
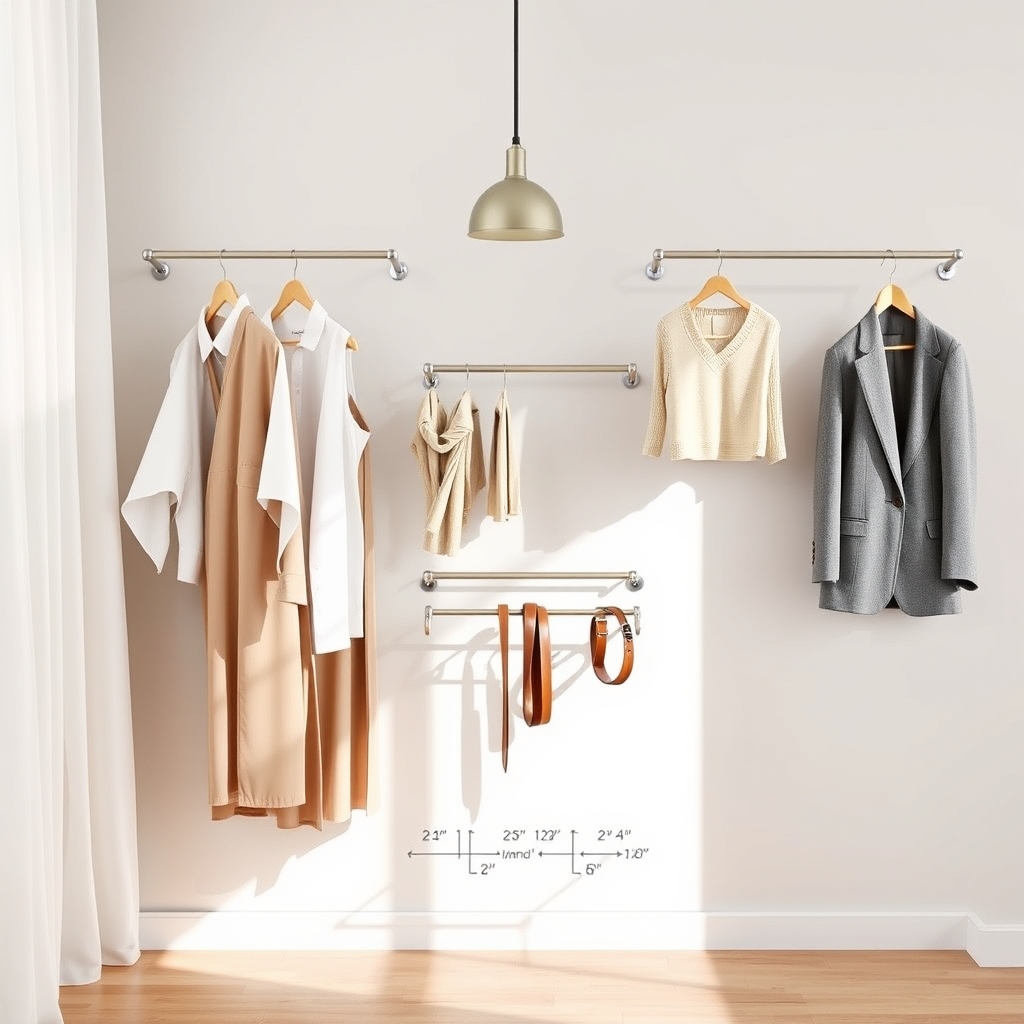
Making use of vertical wall space is one of the most overlooked opportunities in bedroom organization. Empty walls represent valuable square footage that can be transformed into functional storage areas, reducing clutter and maximizing the room’s potential. When properly utilized, wall-mounted racks can double or triple your storage capacity without consuming precious floor space.
Wall-mounted clothing storage solutions offer exceptional visibility and accessibility to your wardrobe while creating an attractive display. This approach not only helps maintain organization but also encourages better clothing care habits since items are easily visible and within reach, reducing the tendency to create clothing piles or overcrowd drawers.
Required Items:
- Wall-mounted clothing racks
- Stud finder
- Level
- Drill and drill bits
- Screwdriver
- Wall anchors
- Measuring tape
- Pencil
- Step ladder
- Assorted hangers
Installation and organization begins with locating wall studs using a stud finder and marking their positions with a pencil. Measure and mark the desired height for your racks, using a level to ensure straight lines. Install the mounting brackets securely into the studs using appropriate screws, or use heavy-duty wall anchors for areas between studs.
Once the racks are firmly mounted, arrange clothing by category, color, or frequency of use, maintaining at least two inches of space between hangers for proper air circulation. Arrange items strategically by placing frequently worn pieces at eye level and seasonal items higher up. Consider installing multiple racks at different heights to accommodate various clothing lengths and create a layered storage solution.
For optimal organization, implement a system where similar items are grouped together, such as work clothes, casual wear, or special occasion attire. To maintain the effectiveness of wall-mounted storage, regularly assess the weight distribution on the racks and inspect mounting hardware for security.
Rotate seasonal clothing to prevent overcrowding and use slim, uniform hangers to maximize space and maintain garment shape. Consider adding small hooks between racks for accessories like scarves or belts, and install a small shelf above the highest rack for storing boxes or less frequently used items.


