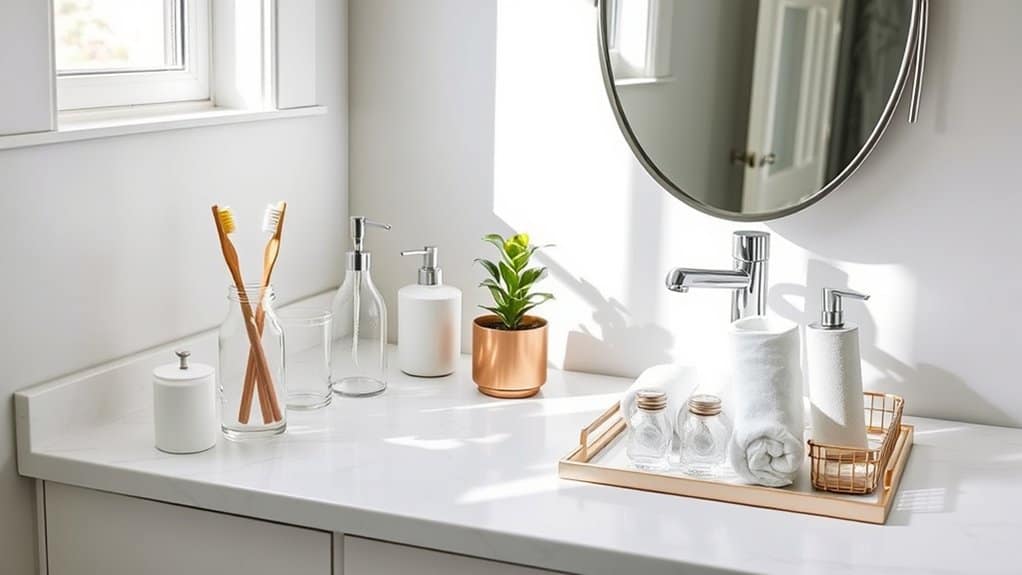
If you’re tired of bathroom counter clutter stealing your morning zen, you’re not alone! I’ve discovered that creating a sleek, organized sink area isn’t just about tidying up – it’s about transforming your daily routine into a spa-like experience. From maximizing vertical space to incorporating smart storage solutions, there’s an art to keeping essentials within reach while maintaining that minimalist appeal. Let’s explore seven game-changing ideas that’ll revolutionize your bathroom counter setup.
Invest in Stylish Tiered Storage Trays
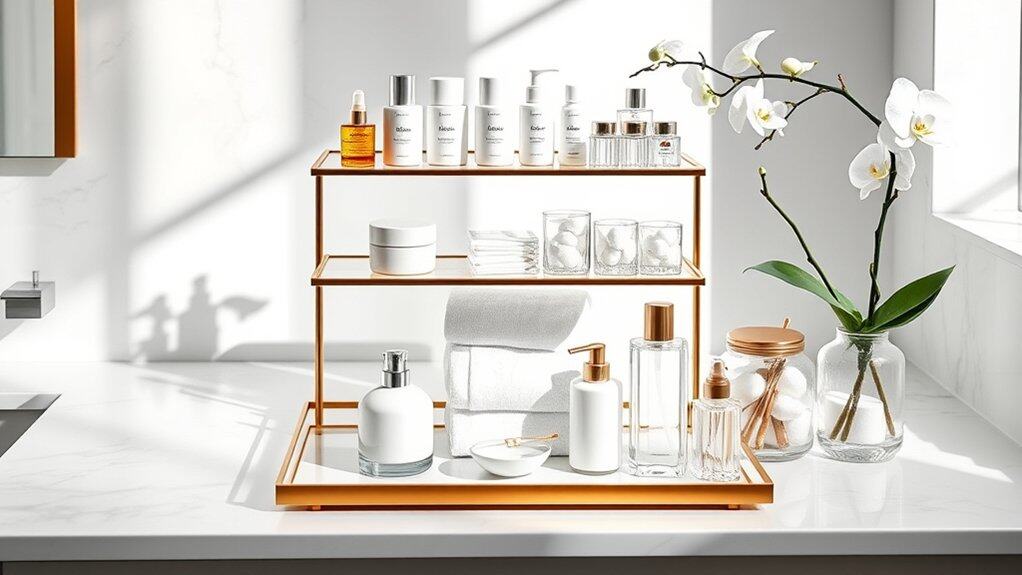
A well-organized bathroom sink area creates a peaceful start and end to each day, transforming a typically cluttered space into an efficient, aesthetically pleasing environment.
Tiered storage trays offer a practical solution by maximizing vertical space while keeping essential items easily accessible. The multi-level design of tiered trays allows for smart categorization of bathroom items, preventing counter clutter and creating designated spaces for everything from skincare products to dental care essentials.
This organized approach not only streamlines daily routines but also adds a touch of sophistication to your bathroom decor.
Required Items:
- 2-3 tier storage tray (metal, acrylic, or bamboo)
- Small containers or dividers
- Label maker or labels
- Cleaning cloth
- Measuring tape
- Anti-slip pad (optional)
- Small storage bins (optional)
Select a tiered tray that complements your bathroom’s style and measure your counter space to ensure proper fit. Clean the counter thoroughly before placing the tray.
Arrange items by frequency of use, with daily essentials on the top tier for easy access. Place taller items like lotions and facial cleansers on the back of each tier, with smaller items like cotton swabs and dental care products in front. Consider using small containers within the tray to further organize tiny items and prevent them from sliding around.
Group similar items together on each level – for example, dedicate the top tier to morning routine products, the middle tier to evening skincare items, and the bottom tier to less frequently used products or backup supplies. If using containers within the tray, label them clearly to maintain organization.
For stability, place heavier items on lower tiers and consider using an anti-slip pad underneath the tray to prevent movement.
Additional Tip: Review and rotate items on your tiered tray every month, wiping down each level and discarding expired products. This maintenance keeps the organization system functional and prevents product buildup.
Consider adding small hooks on the sides of the tray for hanging items like facial cloths or small tools, maximizing the storage potential of your tiered system.
Create Designated Zones With Decorative Containers
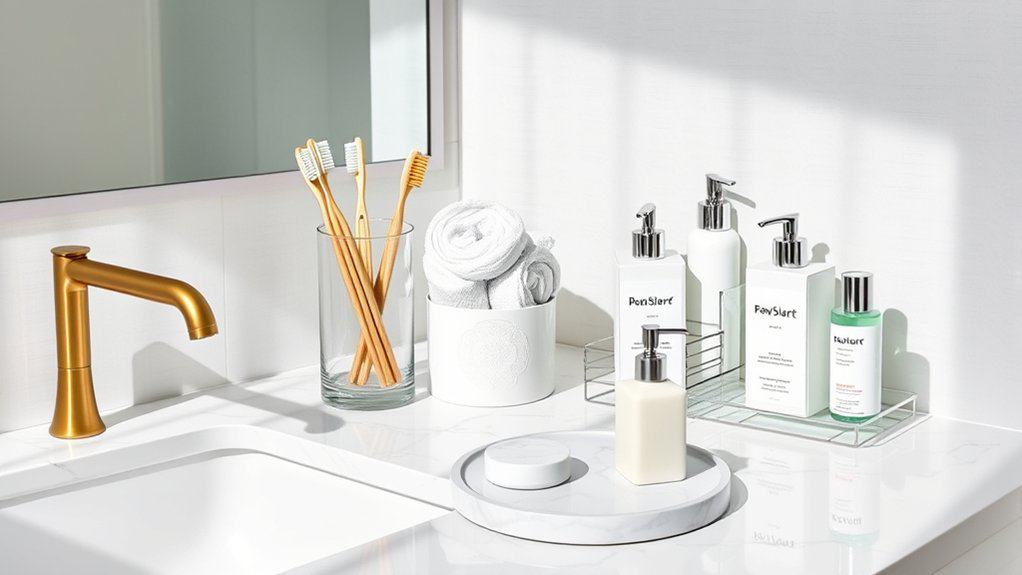
Creating organized zones around your bathroom sink transforms a cluttered space into a functional and aesthetically pleasing area. When items are grouped logically and stored in attractive containers, daily routines become more efficient, and the entire bathroom feels more intentionally designed.
Designated zones with decorative containers not only keep essential items within easy reach but also protect them from moisture and dust while adding a cohesive design element to your bathroom. This organization method allows you to maximize limited counter space while maintaining a clean, uncluttered appearance.
Required Items:
- Clear acrylic containers
- Glass jars with lids
- Ceramic or porcelain holders
- Small trays or dishes
- Labels or label maker
- Drawer dividers
- Storage baskets
- Cleaning supplies
- Measuring tape
Start by emptying the entire sink area and grouping similar items together: dental care, skincare, hair accessories, makeup, and daily essentials. Measure your available space and select appropriately sized containers that complement your bathroom’s style.
Position frequently used items closest to the sink, creating intuitive zones based on your morning and evening routines. Place taller items toward the back and shorter ones in front for easy visibility and access.
For optimal organization, designate specific containers for each category: glass jars for cotton swabs and balls, ceramic holders for toothbrushes and razors, and clear acrylic containers for makeup and skincare products. Use small trays to corral frequently used items and create visual boundaries between zones.
Consider vertical storage solutions, such as tiered stands or wall-mounted containers, to maximize counter space.
Additional Tips: Regularly assess and declutter your zones every few months to maintain organization. Choose containers with sealed lids for items sensitive to moisture, and opt for easy-to-clean materials that resist water damage.
Consider using removable labels to help family members maintain the system, and keep a small basket under the sink for backup supplies to avoid counter clutter.
Utilize Vertical Space With Wall-Mounted Solutions
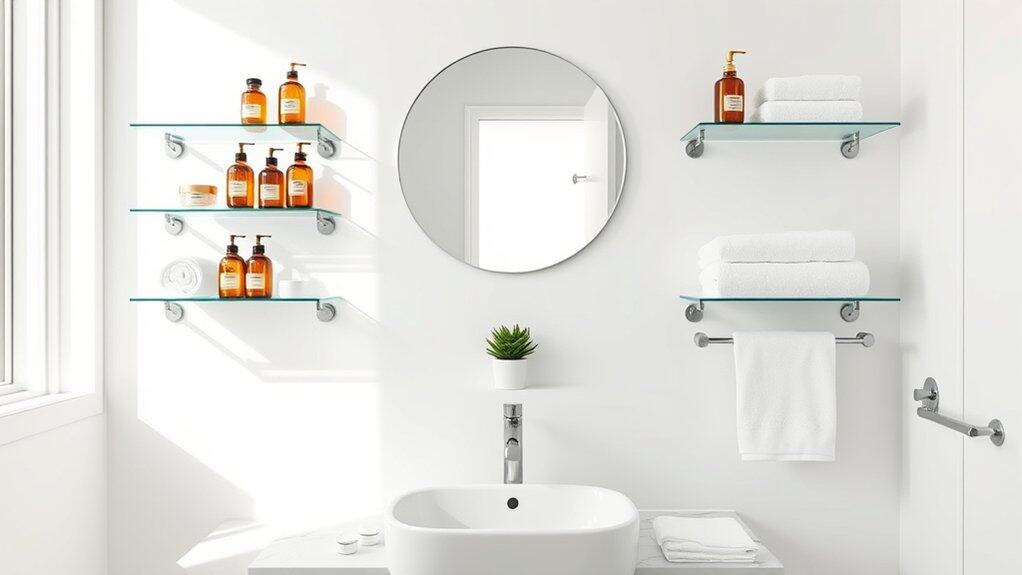
Making the most of vertical space in your bathroom is essential for maximizing storage and maintaining a clutter-free environment. Most bathrooms have limited counter space, making wall-mounted solutions an invaluable approach to organization that keeps frequently used items easily accessible while freeing up valuable surface area.
Wall-mounted storage solutions create a streamlined look while taking advantage of otherwise unused space. This organizational method not only improves functionality but also adds visual interest to your bathroom, turning storage solutions into design elements that can complement your existing décor.
Required Items:
- Wall-mounted shelving units
- Bathroom-safe mounting hardware
- Drill and drill bits
- Level
- Measuring tape
- Pencil
- Wall anchors
- Screwdriver
- Storage containers or baskets
- Command hooks or adhesive strips
- Towel bars or rings
Start by measuring your available wall space and marking potential mounting locations, ensuring they don’t interfere with cabinet doors or mirror access. Install the largest pieces first, such as shelving units or towel bars, using appropriate wall anchors for your wall type.
Position frequently used items at eye level, with less-used items stored higher up. Create zones for different categories of items – one shelf for skincare, another for hair products, and so on.
When mounting storage solutions, maintain a consistent spacing between elements to create a cohesive look. Consider installing a combination of open shelving for decorative items and enclosed storage for personal products. Use clear containers or labeled baskets to keep items organized within the mounted storage systems.
To maximize your wall-mounted organization system, rotate items seasonally and regularly assess what you actually use. Install adjustable shelving when possible to accommodate changing storage needs, and consider using waterproof materials or treating wooden elements to protect against bathroom humidity.
Remember to leave some visual breathing room between items to prevent a cluttered appearance.
Maximize Corner Space With Rotating Organizers
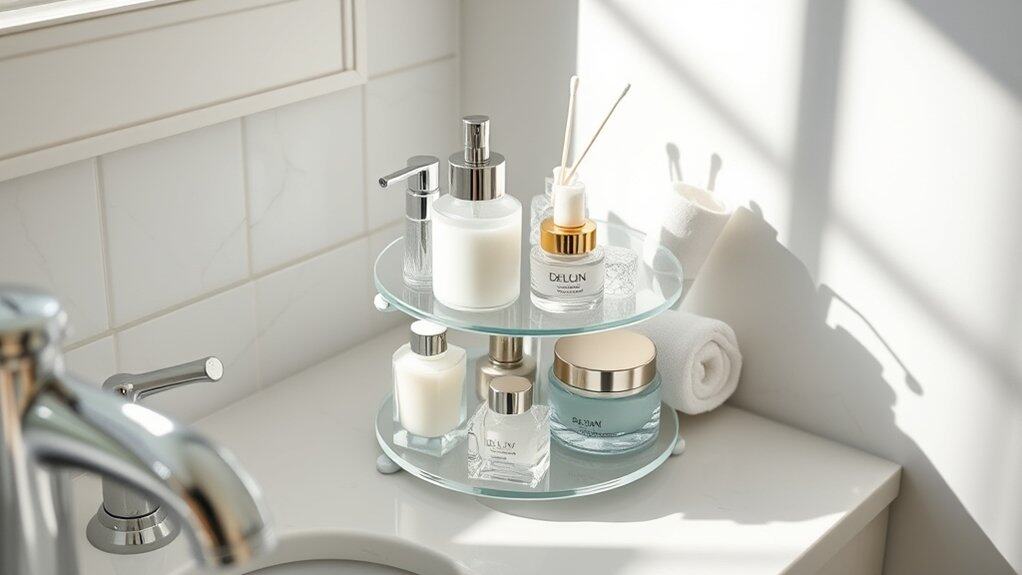
Corner spaces in bathroom sink areas often become dead zones where items get lost or forgotten. By implementing rotating organizers, these traditionally awkward spaces transform into highly functional storage areas that keep essential items within easy reach while maximizing every inch of available space.
Installing rotating organizers in corner spaces creates an efficient system that allows quick access to daily items while maintaining a clean, uncluttered appearance. This solution is particularly valuable in smaller bathrooms where space optimization is crucial for maintaining organization and functionality.
Required Items:
- Lazy Susan or rotating corner organizer
- Measuring tape
- Clear storage containers
- Labels
- Non-slip mat
- Small organizing bins
- Cleaning supplies
- Level
- Screwdriver (if mounting)
Start by thoroughly cleaning the corner space and measuring the available area to ensure proper fit of your rotating organizer. Place a non-slip mat in the corner to prevent movement and protect the surface.
Position the rotating organizer, ensuring it spins freely without hitting walls or other items. Divide items into categories (dental care, hair products, skincare, etc.) and place them in clear containers or small bins before arranging them on the rotating tray. Position frequently used items toward the front for easy access while placing less-used items toward the back.
When organizing multiple levels, follow the principle of storing heavier items on the bottom tier and lighter items on top for stability. Label each section clearly to maintain organization and make items easy to locate. Consider using stackable containers to maximize vertical space within the rotating system.
Additional Tip: Review and adjust your organization system after a week of use to optimize placement based on your daily routine. Remove items that haven’t been used and redistribute space as needed. Clean the rotating mechanism monthly to ensure smooth operation and consider adding small rubber bumpers to prevent noise when rotating the organizer.
Install Under-Sink Pull-Out Systems
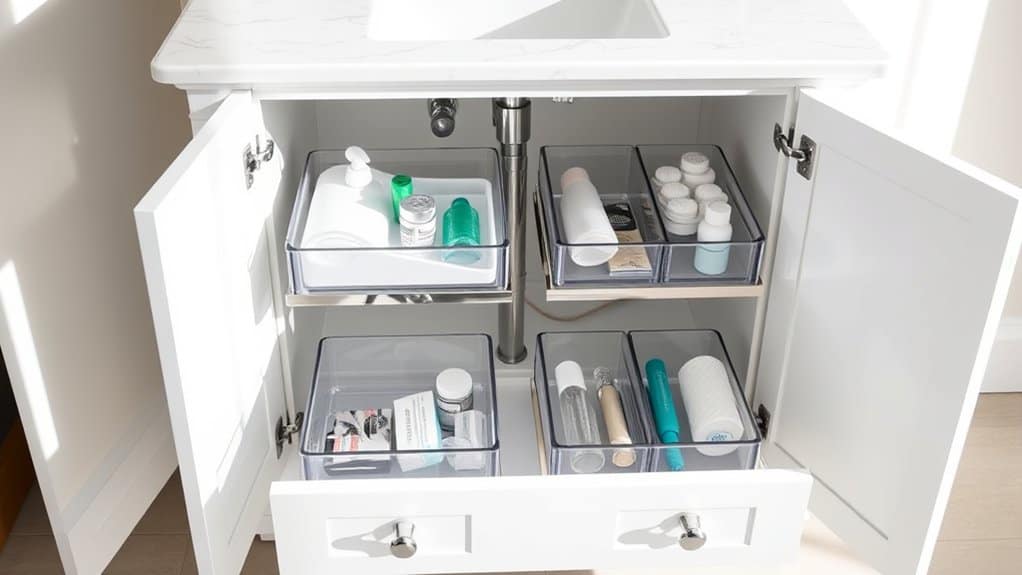
The space under your bathroom sink often becomes a chaotic collection of cleaning supplies, toiletries, and forgotten items pushed to the back of dark cabinets. Installing pull-out systems transforms this typically underutilized space into an efficient storage solution that maximizes every inch while keeping items easily accessible.
Pull-out systems eliminate the need to crawl on hands and knees searching for items in the depths of your cabinet. These organizers create designated spaces for different categories of items and allow you to view all contents at once, making it simpler to maintain organization and track inventory of supplies.
Required Items:
- Pull-out drawer system (measured to fit cabinet dimensions)
- Screwdriver
- Measuring tape
- Pencil
- Level
- Mounting screws
- Drill
- Cabinet liner (optional)
- Drawer organizers or bins
- Labels
Start by removing everything from under the sink and measuring the interior cabinet dimensions, accounting for any plumbing fixtures. Purchase a pull-out system that fits these measurements while leaving adequate clearance around pipes.
Install the mounting brackets according to the manufacturer’s instructions, ensuring they’re level and securely fastened to the cabinet walls. Once the framework is secure, attach the sliding mechanisms and drawers.
Configure the drawer heights to accommodate taller items like cleaning bottles on the bottom and shorter items on upper levels. Consider using additional drawer organizers or bins within each pull-out to create designated spaces for specific categories of items.
Before returning items to the newly installed system, sort them by frequency of use and category. Position frequently used items in easily accessible front areas of the pull-outs, with less-used items toward the back.
Consider installing cabinet liner to protect the surface and prevent items from sliding around.
Additional Tips:
Maintain the organization by implementing a regular review system every three months. Remove expired products, restock essentials, and adjust the layout as needed. Use clear containers to easily identify contents and consider adding battery-operated motion sensor lights to illuminate the space.
Regular cleaning of the tracks will ensure smooth operation of the pull-out system for years to come.
Group Items in Clear Acrylic Holders
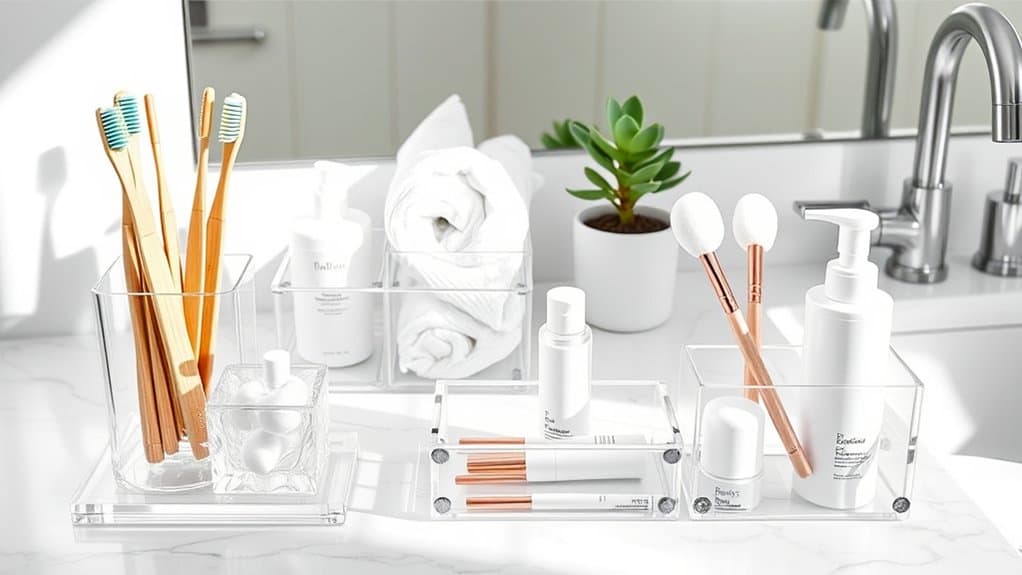
A well-organized bathroom sink area is essential for maintaining a clutter-free and efficient morning routine. Clear acrylic holders not only keep items neatly arranged but also allow you to quickly locate what you need without rummaging through drawers or cabinets.
Using clear acrylic organizers brings a sleek, modern aesthetic to your bathroom while protecting your items from water damage and bathroom humidity. These versatile containers can be arranged in various configurations to maximize counter space and create designated zones for different categories of items.
Required Items:
- Clear acrylic organizers (various sizes)
- Drawer dividers
- Small acrylic cups
- Large rectangular holders
- Stackable containers
- Labels (optional)
- Measuring tape
- Cleaning cloth
Start by measuring your available counter space and determining which items need to be readily accessible. Sort bathroom items into categories such as dental care, skincare, hair accessories, and daily essentials. Select appropriately sized acrylic containers for each category, ensuring they fit comfortably in your space while allowing easy access.
Position taller items like toothbrush holders and soap dispensers at the back of the counter, with smaller containers for cotton swabs and beauty tools toward the front. For optimal organization, place frequently used items closest to the sink. Utilize stackable containers to maximize vertical space and create levels of storage.
Consider adding small drawer organizers inside bathroom drawers to maintain the same organizational system throughout the space. Keep similar items together and arrange them in a way that follows your daily routine.
To maintain this organized system, regularly clean the acrylic containers with a gentle cleaner and soft cloth to prevent water spots and buildup. Evaluate your storage needs every few months and adjust the configuration as needed.
Consider using clear labels on the bottom of containers to maintain designated spots for specific items, making it easier for everyone in the household to maintain the organization system.
Incorporate Built-In Vanity Organizers
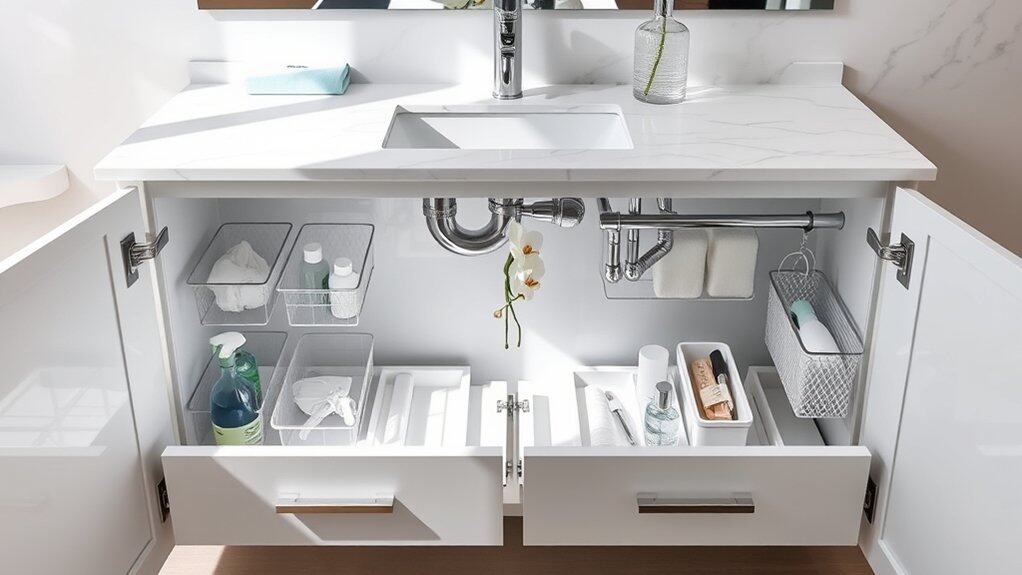
Built-in vanity organizers represent a game-changing solution for maintaining an orderly and efficient bathroom space. These custom-fitted systems maximize the often-underutilized space beneath your sink while providing dedicated spots for toiletries, cleaning supplies, and personal care items.
Installing built-in vanity organizers transforms chaotic under-sink storage into a well-planned system that makes items easily accessible and prevents the accumulation of unused products. This organization method not only saves time during daily routines but also helps maintain cleanliness and extends the life of your bathroom essentials by keeping them properly stored.
Required Items:
- Measuring tape
- Pull-out drawer systems
- Mounting brackets
- Screwdriver
- Cabinet-grade plywood (if custom building)
- Door-mounted organizers
- Tension rods
- Clear storage bins
- Label maker
- Cleaning supplies
Start by removing everything from under your sink and thoroughly cleaning the space. Measure the cabinet’s interior dimensions, accounting for plumbing fixtures and available space around them.
Install pull-out drawers or sliding organizers on either side of the plumbing, ensuring they’re properly secured with mounting brackets. Position tension rods horizontally to create additional hanging space for spray bottles.
Create designated zones within the organizers based on frequency of use and item categories. Place daily essentials in easily accessible front drawers or bins, while storing backup supplies and less frequently used items in rear compartments.
If using door-mounted organizers, attach them securely and organize items by type – hair products, cleaning supplies, or personal care items.
Additional Tip: Maximize vertical space by incorporating stackable containers and utilizing the full height of the cabinet. Consider installing battery-operated LED motion sensor lights to illuminate dark corners, and implement a quarterly review system to dispose of expired products and reassess your organization needs.

