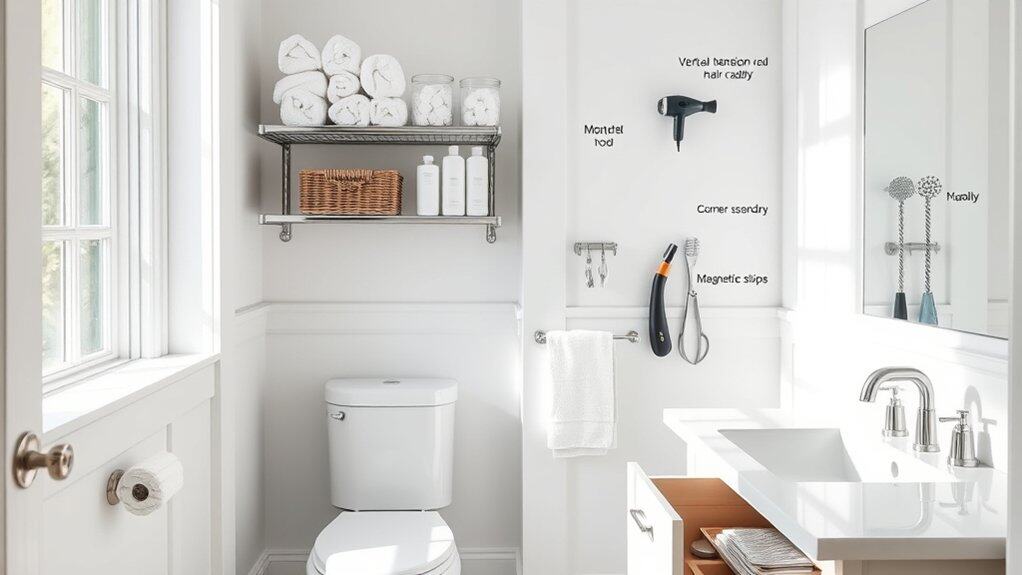
Is your bathroom feeling more chaotic than calming? Trust me, I’ve been there – trying to juggle toiletries while balancing on one foot during my morning routine. But here’s the good news: you don’t need a complete remodel to create an organized oasis. I’ve discovered seven clever organization hacks that’ll transform your cramped bathroom into a well-ordered space. From hidden storage tricks to vertical solutions, these ideas will make you wonder why you didn’t try them sooner.
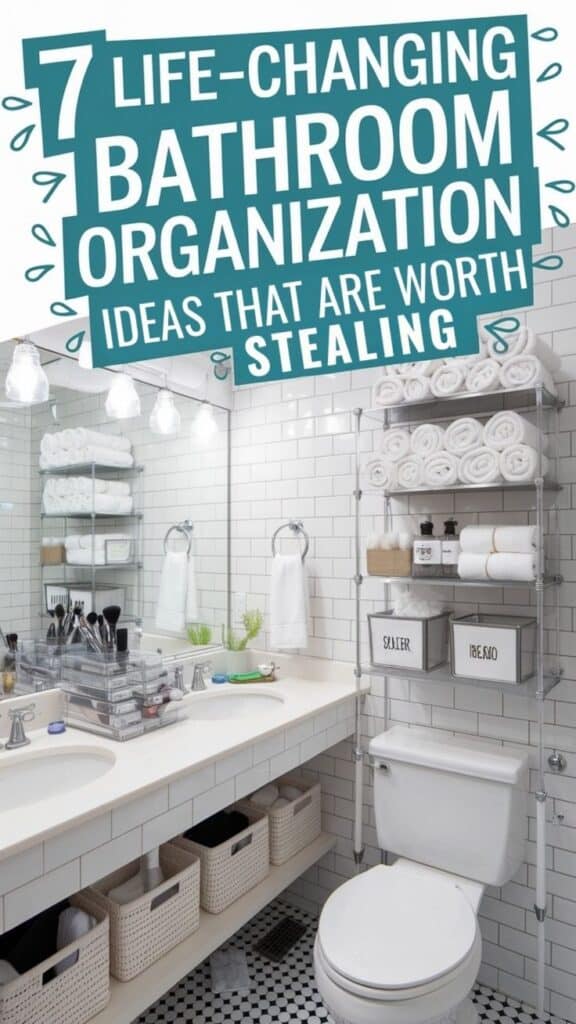
Over-the-Toilet Storage Solutions That Actually Work
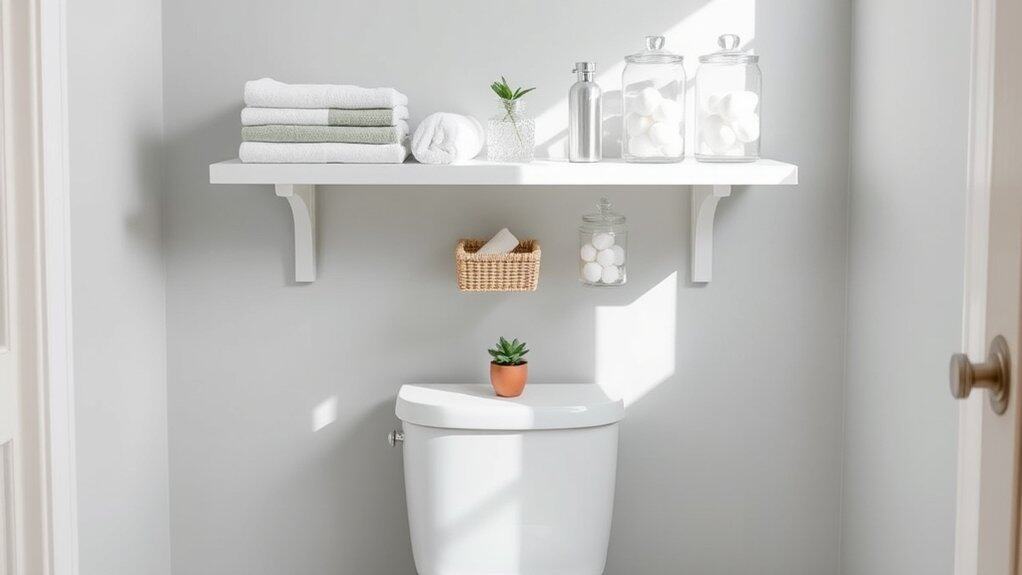
Making the most of vertical space in a bathroom is crucial, especially in smaller homes or apartments where every square inch counts. The area above the toilet often represents prime real estate for storage that goes largely unused. When properly utilized, this space can transform from dead air into a functional storage zone that keeps toiletries, towels, and other bathroom essentials within easy reach.
Implementing an effective over-the-toilet storage system not only maximizes space but also creates a more organized and visually appealing bathroom environment. The key lies in selecting appropriate storage solutions that combine practicality with stability, ensuring items remain secure while maintaining accessibility.
Required Items:
- Over-the-toilet storage unit or shelving system
- Wall anchors and screws
- Level
- Drill
- Measuring tape
- Decorative baskets or containers
- Clear storage containers
- Labels
- Non-slip shelf liners
- Cleaning supplies
Start by thoroughly cleaning the area and measuring the space above your toilet, including height from the tank to the ceiling and width between walls. Select an over-the-toilet storage unit that fits these dimensions while leaving at least 2 inches of clearance on all sides.
If installing a wall-mounted unit, locate the wall studs and mark their positions. Secure the unit following manufacturer instructions, ensuring it’s level and properly anchored.
Once the main storage structure is in place, organize items by frequency of use, placing daily essentials at eye level and less frequently used items on higher shelves. Group similar items together in labeled containers or decorative baskets that complement your bathroom’s aesthetic.
Consider using clear containers for items you need to identify quickly. For optimal organization success, implement a regular maintenance schedule to prevent clutter accumulation. Periodically review stored items, discarding expired products and reorganizing as needed.
Use shelf liners to protect surfaces and prevent items from sliding, and consider installing small hooks on the sides of the unit for hanging lightweight items like loofahs or hand towels.
Mason Jar Wall Organizers for Small Essentials
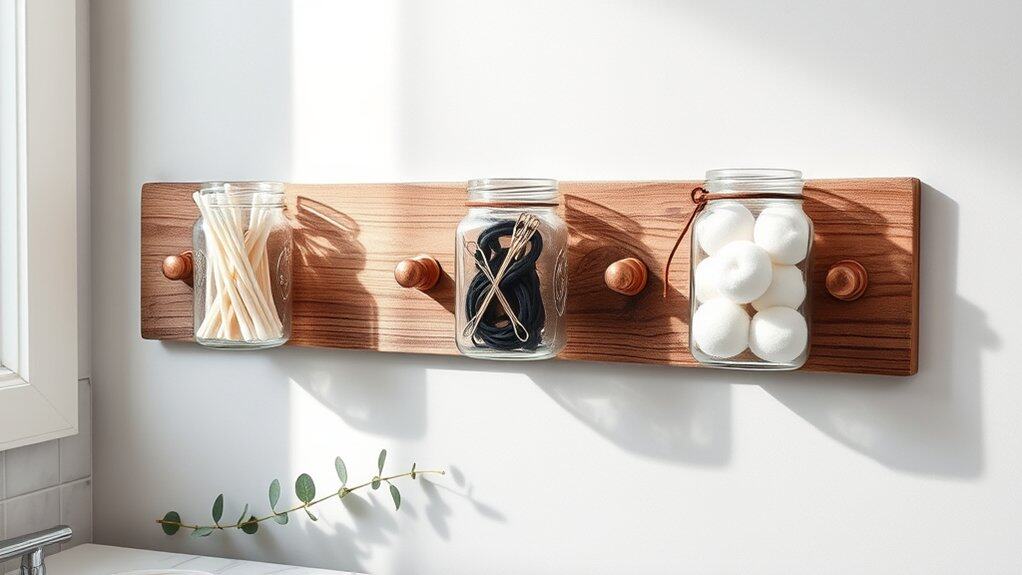
Organizing small bathroom essentials can be a constant challenge, especially when counter space is limited. Cotton swabs, hair ties, bobby pins, and other miniature items often end up scattered across drawers or lost in the depths of medicine cabinets, creating unnecessary frustration during daily routines.
Mason jar wall organizers offer an elegant, space-saving solution that transforms bathroom organization while adding a touch of rustic charm. This practical approach keeps frequently used items visible, accessible, and protected from bathroom moisture while freeing up valuable counter and drawer space.
Required Items:
- Mason jars (various sizes)
- Heavy-duty pipe clamps or hose clamps
- Mounting board or wooden plank
- Screws and wall anchors
- Power drill
- Screwdriver
- Level
- Pencil
- Sandpaper
- Paint or stain (optional)
- Wood sealer
Mount the organizing system by first preparing your wooden board – sand it smooth and apply paint, stain, or sealer as desired. Once dry, measure and mark spots for the pipe clamps, ensuring even spacing.
Attach the pipe clamps to the board using screws, then secure the mason jars by tightening the clamps around their necks. Mount the completed organizer to the wall using appropriate anchors and screws, ensuring it’s level.
Fill each jar with specific categories of items – one for cotton swabs, another for hair accessories, and others for items like dental floss, cotton balls, or small cosmetics. Consider labeling each jar for easy identification and maintaining organization.
For optimal results, position the organizer at a convenient height and away from direct water splashes. Clean the jars periodically to prevent buildup, and consider using jar lids for items that need extra protection from humidity.
When selecting jar sizes, choose wider mouths for items you’ll access frequently and smaller ones for less-used supplies. This system works best when you commit to returning items to their designated jars immediately after use.
Hidden Cabinet Door Storage Tricks
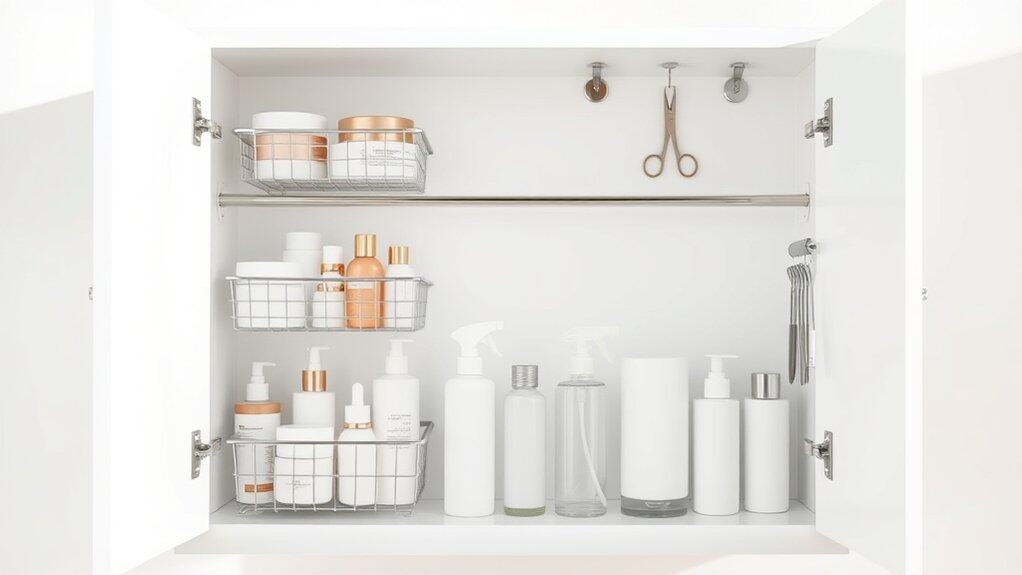
Making the most of cabinet door space in your bathroom is a game-changer for organization and accessibility. The often-overlooked interior surface of cabinet doors represents valuable real estate that can transform a cluttered bathroom into an efficiently organized space.
Cabinet door storage solutions maximize vertical space while keeping frequently used items within arm’s reach. This strategic approach to organization not only creates additional storage but also helps maintain counter space and cabinet interiors free from clutter, making daily routines more streamlined and enjoyable.
Required Items:
- Over-the-door hanging organizers
- Adhesive hooks
- Command strips
- Small plastic bins
- Tension rods
- Measuring tape
- Clear pouches
- Magnetic strips
- Wire baskets
- Mounting screws
- Drill (optional)
Install over-the-door organizers or adhesive hooks at varying heights on the cabinet door interior, ensuring proper weight distribution. Position smaller items like hair tools, cleaning supplies, or beauty products in clear pouches or wire baskets attached to the door. For enhanced stability, secure heavier organizers with screws if the door material allows, being careful not to penetrate the outer surface.
Create zones based on frequency of use, keeping daily items at eye level and less-used products toward the bottom. Consider installing a tension rod horizontally across the width of the cabinet door to hang spray bottles by their triggers, maximizing vertical space. Use magnetic strips to hold metal items like bobby pins, tweezers, or small scissors. Ensure all organizers and attachments are secured firmly and test the door’s ability to close completely with the new storage solutions in place.
Pro tip: Before installing any permanent fixtures, map out your organization plan using painter’s tape to mark placement. Leave adequate space between items to prevent crowding and ensure smooth door operation. Consider using clear containers to easily identify contents, and label everything for maximum efficiency. Regularly assess and adjust the system based on your changing needs and usage patterns.
Magnetic Storage Strips for Metal Items
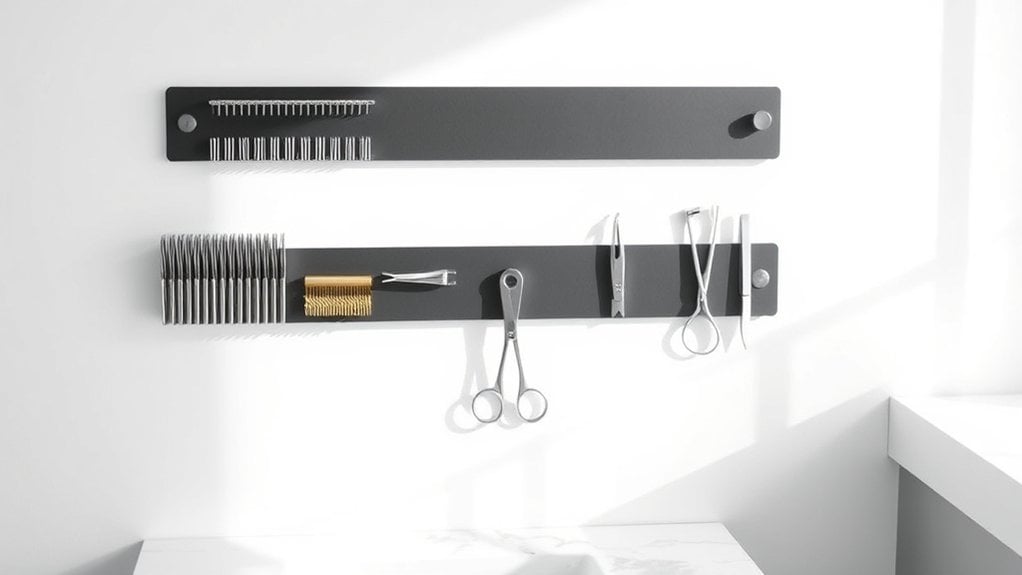
Organizing metal items in the bathroom can be a constant challenge, with small items like bobby pins, tweezers, and nail clippers often getting lost in drawers or falling behind counters. Magnetic storage strips offer an innovative solution that keeps these essential items visible, accessible, and safely secured to the wall, eliminating the frustration of searching through cluttered drawers.
Installing magnetic strips in your bathroom transforms unused wall space into functional storage while creating a sleek, modern appearance. This organization method not only saves valuable counter and drawer space but also helps prevent rust by keeping metal items off potentially wet surfaces.
Required Items:
- Magnetic strips with adhesive backing
- Level
- Pencil
- Measuring tape
- Cleaning supplies
- Drill and screws (optional for permanent installation)
- Scissors
- Metal items to organize
Mount the magnetic strips by first determining the ideal location – typically at eye level and away from water sources. Clean the mounting surface thoroughly with alcohol and let it dry completely. Measure and mark the desired placement, using a level to ensure straight alignment.
If using adhesive backing, remove the protective layer and press firmly against the wall, holding for 30 seconds. For a more permanent solution, secure the strip with screws.
Arrange metal items on the strip with frequently used pieces at eye level. Group similar items together, such as hair accessories in one section and grooming tools in another. Test the magnetic hold of each item to ensure it’s secure, as some lighter objects may need to be clustered together for better grip.
For optimal organization, rotate items seasonally and regularly clean both the magnetic strip and metal items to prevent buildup. Consider installing multiple strips at different heights for varied storage needs, and label sections if sharing the bathroom with family members. Keep heavier items toward the bottom of the strip to prevent potential falling hazards.
Shower Curtain Rod Organization Hacks
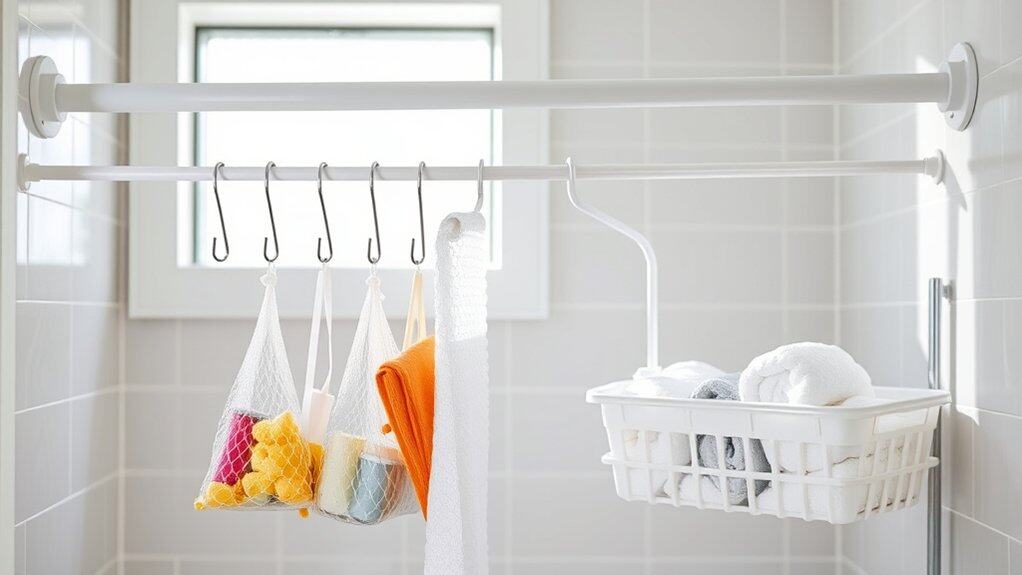
The shower curtain rod represents one of the most underutilized storage spaces in the bathroom. While its primary function is to hold your shower curtain, this sturdy bar can serve multiple organizational purposes, transforming dead space into valuable storage real estate. Proper utilization of this area can significantly reduce counter clutter and maximize vertical space in your bathroom.
By implementing shower curtain rod organization techniques, you can create an efficient system for storing frequently used items like shampoo bottles, loofahs, and children’s bath toys. This approach not only frees up precious shower caddy and tub ledge space but also allows wet items to dry properly, preventing mildew and extending the life of your bath accessories.
Required Items:
- S-hooks (plastic or rust-resistant)
- Small storage baskets with hooks
- Shower curtain rings
- Command hooks
- Mesh organizer bags
- Waterproof storage containers
- Tension rod (optional secondary rod)
- Cable ties
- Carabiners
Start by thoroughly cleaning and drying your shower curtain rod. Install a secondary tension rod if desired, positioning it parallel to your existing rod but closer to the wall. This creates additional hanging space without interfering with shower curtain functionality.
Attach S-hooks at regular intervals along both rods, ensuring they’re evenly spaced and secure.
Next, sort your bathroom items by category (hair care, body products, children’s toys) and assign specific zones along the rod. Using shower curtain rings or S-hooks, hang mesh organizer bags and small storage baskets in their designated areas. Position frequently used items within easy reach and heavier items closer to the rod’s mounting brackets for better stability.
For optimal organization maintenance, regularly inspect hooks and holders for rust or wear, replacing them as needed. Consider using clear storage containers to easily identify contents and rotate items seasonally to prevent overcrowding.
Remember to leave adequate space between hanging items to promote proper air circulation and prevent items from tangling or bumping into each other during shower use.
Repurposed Ladder Shelving for Towels
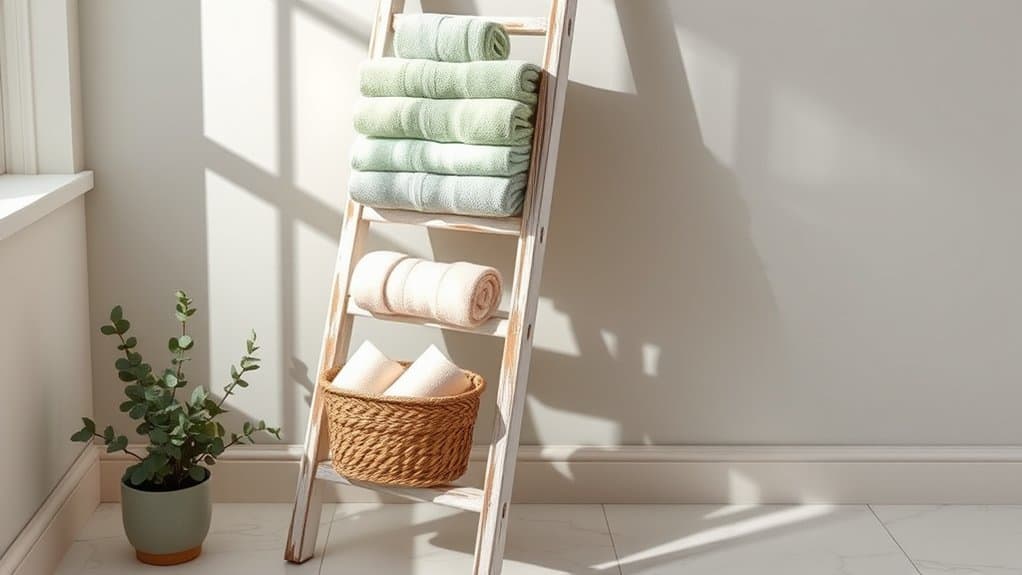
A well-organized bathroom storage system not only enhances the room’s aesthetic appeal but also creates a spa-like atmosphere that can transform your daily routine.
Repurposed ladder shelving offers a creative and practical solution for towel storage, combining vintage charm with modern functionality while maximizing vertical space in even the smallest bathrooms.
Traditional towel racks often limit storage capacity and can look cluttered when overcrowded. A repurposed ladder provides multiple levels for organizing different types of towels, from bath sheets to hand towels, while adding an architectural element that serves as both storage and decor.
Required Items:
- Wooden ladder (4-6 feet tall)
- Sandpaper (medium and fine grit)
- Wood cleaner
- Wood sealant or paint
- Clean cloth
- Level
- Wall anchors
- Screws
- Power drill
- Safety gear (gloves, protective eyewear)
Start by thoroughly cleaning the ladder with wood cleaner and letting it dry completely.
Sand any rough spots or splinters, working from medium to fine-grit sandpaper until smooth.
Apply wood sealant or paint according to product instructions, allowing proper drying time between coats.
Once finished, position the ladder at a 15-20 degree angle against the wall, ensuring it’s level.
Secure the top of the ladder to the wall using anchors and screws for safety.
Organize towels by size and frequency of use, placing daily-use items on the middle rungs for easy access.
Roll larger bath towels and stack them on wider bottom rungs, while storing smaller hand towels and washcloths on upper rungs.
Consider using the top rungs for decorative items or less frequently used guest towels.
To maintain the organization system, regularly rotate towels to prevent wear on specific items, and consider adding small hooks to the sides of the ladder for hanging washcloths or loofahs.
Maximize space efficiency by rolling towels instead of folding them, which not only saves space but also adds to the visual appeal of your bathroom’s decor.
Under-Sink Space Maximizing Tips
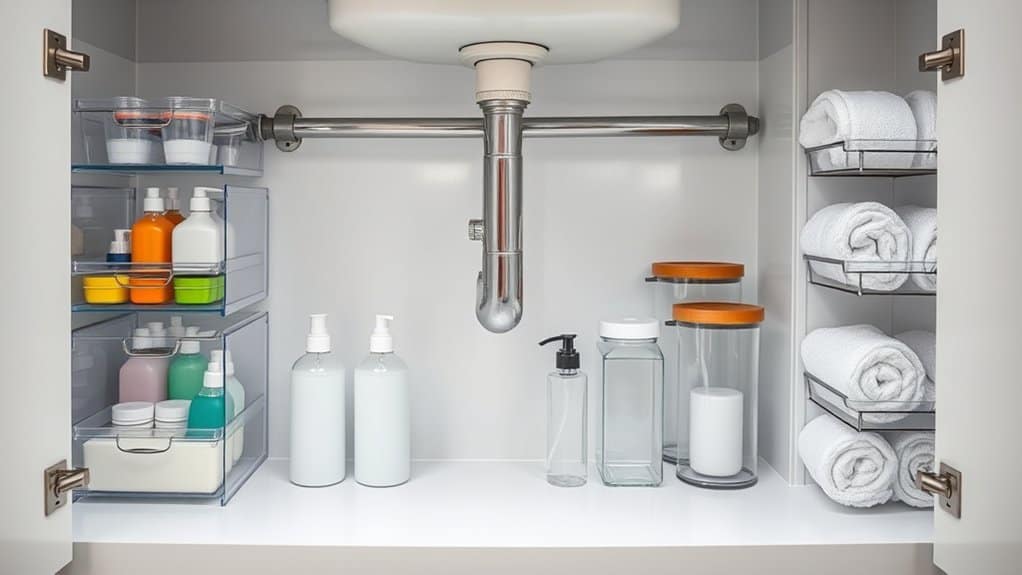
The space under your bathroom sink represents prime real estate for storage, yet it often becomes a cluttered catch-all for cleaning supplies, toiletries, and forgotten items. A well-organized under-sink area not only maximizes available space but also ensures easy access to frequently used items while protecting the cabinet from potential water damage.
Proper organization of this space can transform your daily routine, eliminating the frustration of searching for items and preventing the waste of duplicate purchases. With strategic planning and the right organizational tools, even the most awkward under-sink spaces can become efficient storage solutions that accommodate plumbing while maximizing every square inch.
Required Items:
- Clear plastic bins or containers
- Pull-out drawer organizers
- Over-the-door cabinet organizers
- Tension rods
- Clear shelf liner
- Label maker or labels
- Measuring tape
- Command hooks
- Stack-able storage containers
- Cabinet shelf risers
Start by removing everything from under the sink and thoroughly cleaning the area. Measure the available space, accounting for plumbing fixtures and their placement. Install a water-resistant shelf liner to protect the cabinet bottom.
Create zones based on frequency of use: daily items at the front, occasional items in the middle, and rarely used items at the back. Use pull-out drawers or bins that can slide around plumbing pipes for easy access.
Stack-able containers and shelf risers maximize vertical space, while tension rods installed horizontally can hold spray bottles. Utilize the cabinet doors by adding over-the-door organizers or command hooks for frequently used items. Group similar items together in clear containers, ensuring all labels face forward for easy identification.
Additional Tips: Consider installing motion-sensor lights to illuminate dark corners, and implement a quarterly review system to prevent accumulation of expired products. Keep a small absorbent mat near the pipes to catch any potential leaks, and maintain a list of stored items taped inside the cabinet door for quick inventory checks.
Regularly assess the usefulness of stored items and adjust the organization system as your needs change.

