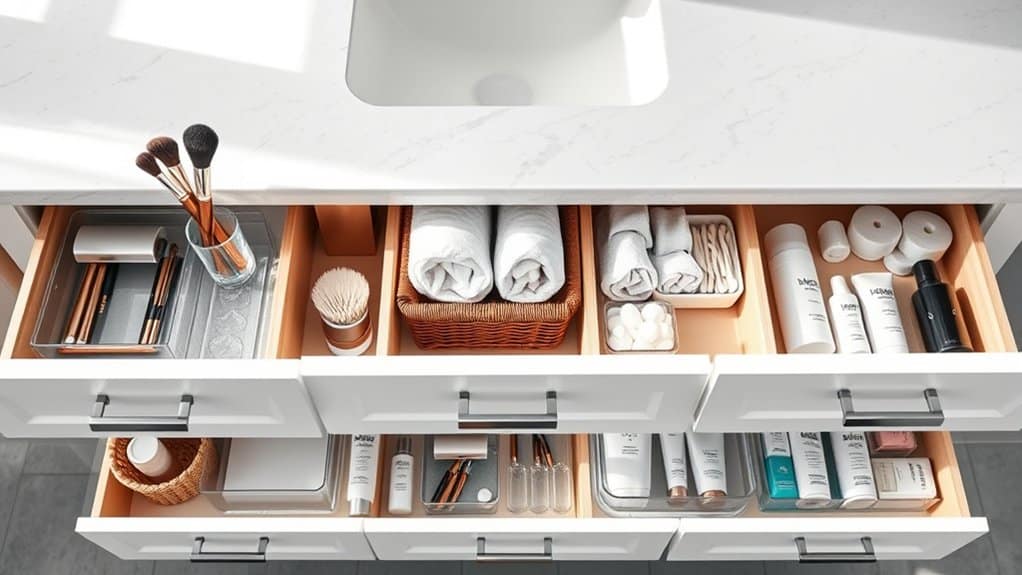
Did you know that the average person spends 416 days of their life in the bathroom? With all that time spent in one space, you’d think we’d have mastered bathroom organization by now! But I’ll be honest – my drawers were a disaster until I discovered these game-changing solutions. From magnetic strips that’ll keep your bobby pins in check to custom organizers that maximize every inch of space, I’ve got seven clever tricks that’ll transform your morning routine from chaotic to calm. Let’s tackle that bathroom clutter together!
Drawer Dividers: The Ultimate Storage Solution
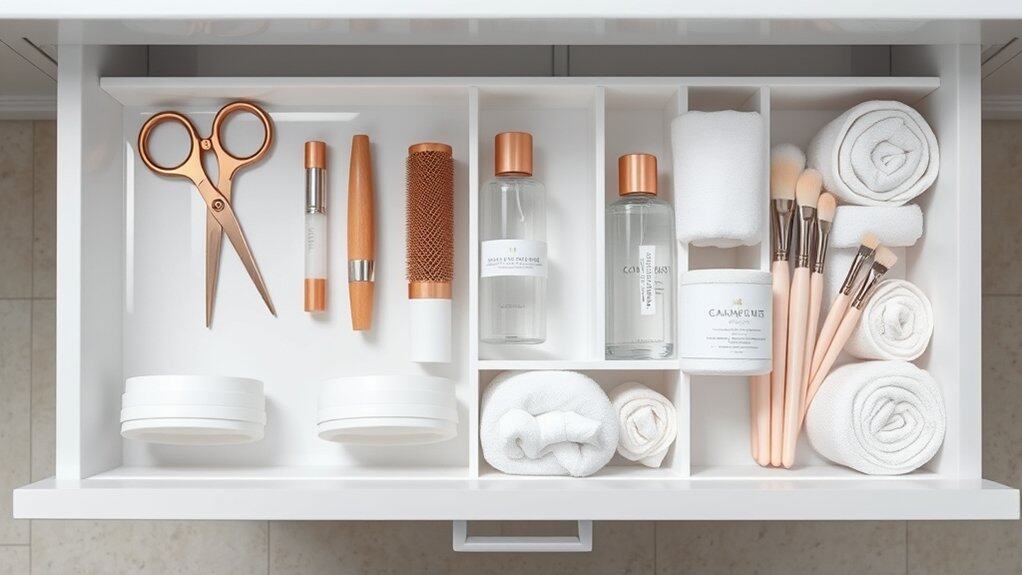
Organizing bathroom drawers with dividers transforms a chaotic space into an efficient storage system that saves time and reduces stress during daily routines. When items have designated spots, you’ll never waste precious morning minutes searching for essential toiletries or grooming tools.
Drawer dividers create clear boundaries between different categories of items, preventing them from sliding around and becoming mixed together. This systematic approach not only maintains organization but also helps track inventory levels of personal care items, making it easier to know when supplies need replenishing.
Required Items:
- Drawer dividers (adjustable or fixed)
- Measuring tape
- Drawer liner (non-slip)
- Labels or label maker
- Small containers or bins
- Cleaning supplies
- Notepad and pen
Start by removing everything from the drawer and thoroughly cleaning the interior. Measure the drawer’s dimensions carefully, accounting for both width and depth to ensure proper fit of dividers. Install non-slip liner material to prevent dividers and containers from sliding.
Position the drawer dividers to create appropriately sized sections based on the items you plan to store – larger sections for hair tools and skincare products, smaller ones for makeup and dental care items.
Sort all items into categories before returning them to the drawer. Place frequently used items toward the front for easy access. Position taller items at the back of the drawer to maintain visibility of smaller items in front. Arrange products vertically when possible to maximize space utilization and visibility.
Consider implementing a regular maintenance schedule, reviewing drawer contents every three months to remove expired products and readjust divider positions as needed. Store items in clear containers within divided sections for additional organization, and use labels to maintain the system, especially in shared bathrooms.
Remember to measure product heights to ensure drawers will close properly after divider installation.
Smart Stacking With Clear Storage Containers
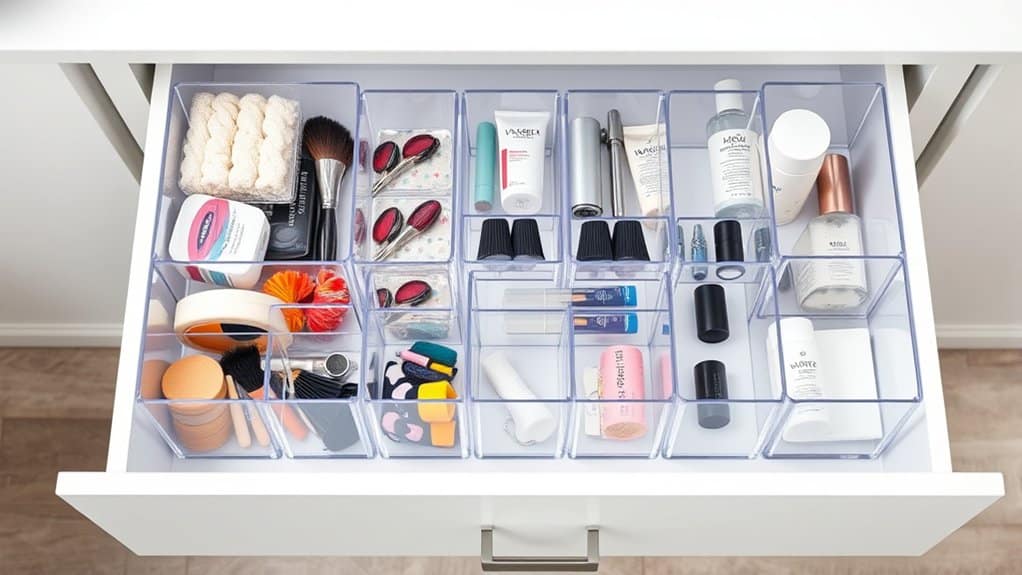
Organizing bathroom drawers with clear storage containers transforms chaotic spaces into functional, easy-to-navigate storage areas. The transparency of these containers eliminates the frustration of searching through drawers, allowing you to instantly locate items while maintaining a clean, orderly appearance.
Clear storage containers create a system that maximizes vertical space and prevents items from becoming jumbled or lost. This method particularly benefits deep drawers where items often get buried beneath others, ensuring frequently used products remain visible and accessible while protecting them from bathroom moisture and dust.
Required Items:
- Various sizes of clear storage containers
- Drawer measuring tape
- Drawer liner
- Label maker or labels
- Scissors
- Cleaning supplies
- Small grip mat pieces
- Drawer dividers (optional)
Start by emptying the drawer completely and cleaning it thoroughly. Measure the drawer’s dimensions, accounting for height, width, and depth to determine the appropriate container sizes. Sort bathroom items into categories such as dental care, hair accessories, makeup, or first aid supplies.
Select clear containers that fit your drawer measurements and leave small gaps between containers for easy removal. Stack containers strategically, placing frequently used items in front or on top, and arrange similar-height containers together to maintain stability.
Position taller containers toward the back of the drawer and shorter ones in front for optimal visibility. Use small grip mat pieces between stacked containers to prevent sliding. If using drawer dividers, install them to create separate zones for different container categories. Label each container clearly, even if contents are visible, to maintain organization long-term.
Additional Success Tips: Reassess container arrangements every few months, adjusting based on usage patterns. Consider using smaller containers within larger ones for tiny items like hair ties or cotton swabs. Keep a small amount of extra space in each container to accommodate new items, and regularly declutter to maintain the system’s efficiency.
Clean containers monthly to prevent product residue buildup and maintain visibility.
Custom DIY Organizer Inserts
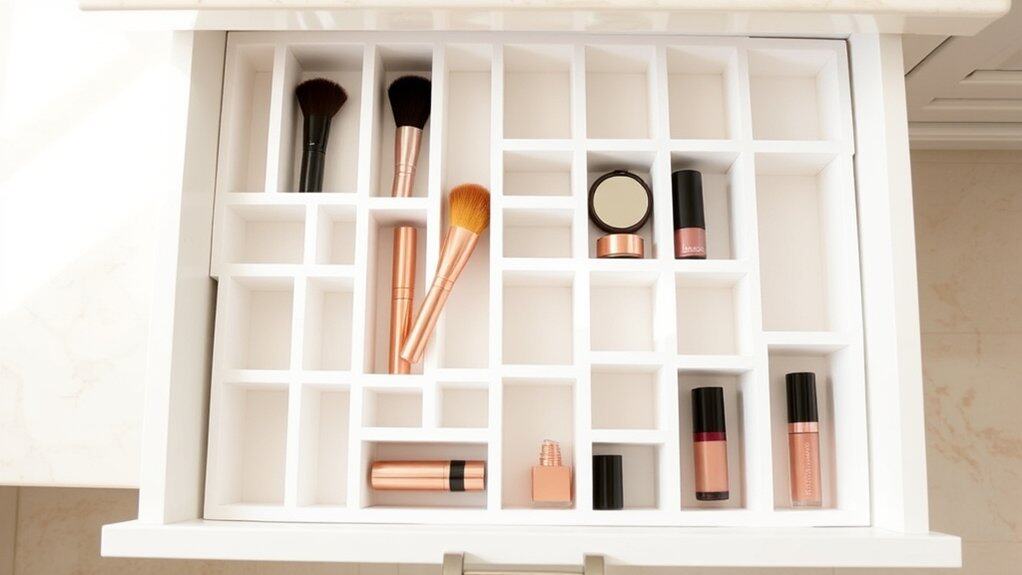
Creating custom drawer organizers transforms chaotic bathroom storage into a perfectly tailored system that maximizes every inch of space. Unlike store-bought solutions, DIY inserts can be designed to fit your specific drawer dimensions and accommodate your exact collection of toiletries, cosmetics, and personal care items.
Custom organizers eliminate the frustration of ill-fitting commercial products while allowing you to group items logically based on your daily routine. This personalized approach not only keeps items secure and visible but also prevents products from sliding around when opening and closing drawers.
Required Materials:
- Measuring tape
- Cardboard or foam board
- Utility knife
- Ruler
- Pencil
- Hot glue gun and glue sticks
- Contact paper or drawer liner (optional)
- Scissors
- Self-adhesive velcro strips (optional)
Start by emptying the drawer completely and measuring its interior dimensions. Draw a detailed plan on paper, mapping out compartment sizes based on the items you need to store. Cut your chosen material (cardboard or foam board) according to these measurements, creating both vertical and horizontal divider pieces.
For stability, design a grid system where dividers interlock through small slits cut halfway through each piece at intersection points. Assemble the grid by sliding the pieces together at the intersection points. Once the basic structure is in place, secure the joints with hot glue for added durability.
If desired, cover the entire organizer with contact paper or drawer liner for a more polished look and water resistance. Test the fit inside your drawer and make any necessary adjustments before adding your items.
For maximum longevity and effectiveness, consider using self-adhesive velcro strips to secure the organizer to the drawer bottom, preventing shifting. Create labels for each compartment to maintain organization long-term, and periodically reassess your storage needs to ensure the layout continues to serve your purposes effectively.
Remember to measure items at their widest points when designing compartments, and include a small buffer space to prevent items from getting stuck.
Separate and Sort by Daily Routines
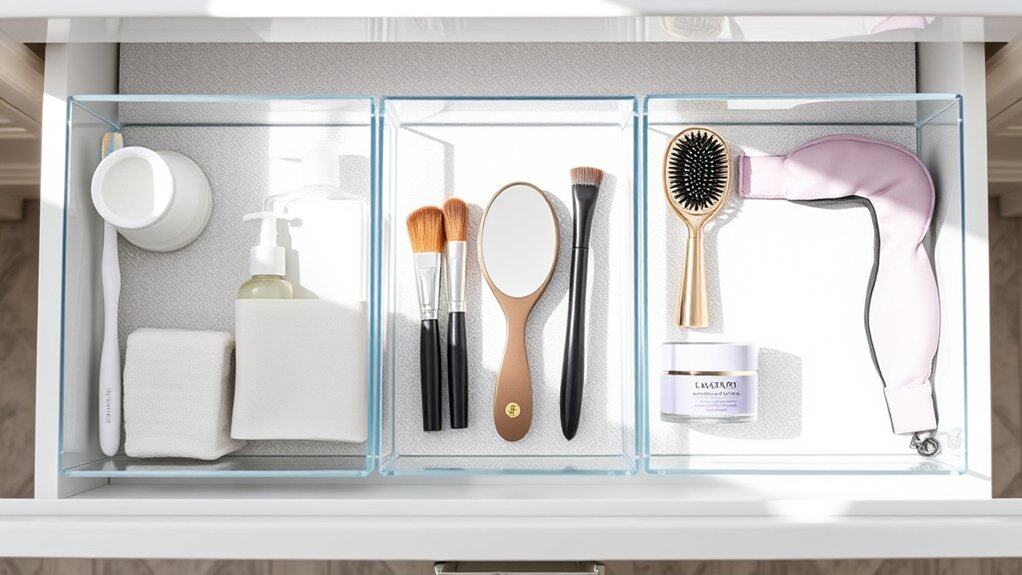
Organizing bathroom drawers according to daily routines transforms a chaotic space into a systematic, time-saving solution. When items are arranged based on when and how they’re used throughout the day, morning and evening routines become smoother, more efficient, and less stressful.
Creating designated zones for different times of the day ensures that everything needed for specific routines stays together, eliminating the frustration of searching through multiple drawers. This method of organization also helps maintain order long-term, as items naturally return to their designated spaces after use.
Required Items:
- Drawer dividers or organizers
- Small containers or bins
- Labels or label maker
- Measuring tape
- Drawer liner
- Clear storage boxes
- Ziplock bags
- Cleaning supplies
Start by removing everything from the drawers and grouping items according to when they’re used: morning routine (toothbrush, face wash, moisturizer), midday touch-ups (cosmetics, hair products), and evening routine (night cream, facial treatments).
Once grouped, measure the drawers and select appropriate organizers that fit the spaces and accommodate the items in each category. Place morning routine items in the most accessible drawer, followed by midday items in the middle drawer, and evening items in the bottom drawer.
Consider creating sub-sections within each drawer using smaller containers or dividers. For instance, the morning routine drawer might have separate sections for dental care, skincare, and hair styling. Use clear containers to maintain visibility and prevent items from becoming lost or forgotten in the back of drawers. Label each section clearly to ensure items return to their designated spots.
Additional Tips: Regularly assess the effectiveness of your organization system and adjust as needed. Keep frequently used items at the front of drawers and less-used items toward the back.
Consider implementing a “one in, one out” rule to prevent accumulation of unnecessary products, and review contents every three months to dispose of expired items or products no longer in use.
Magnetic Solutions for Small Metal Items
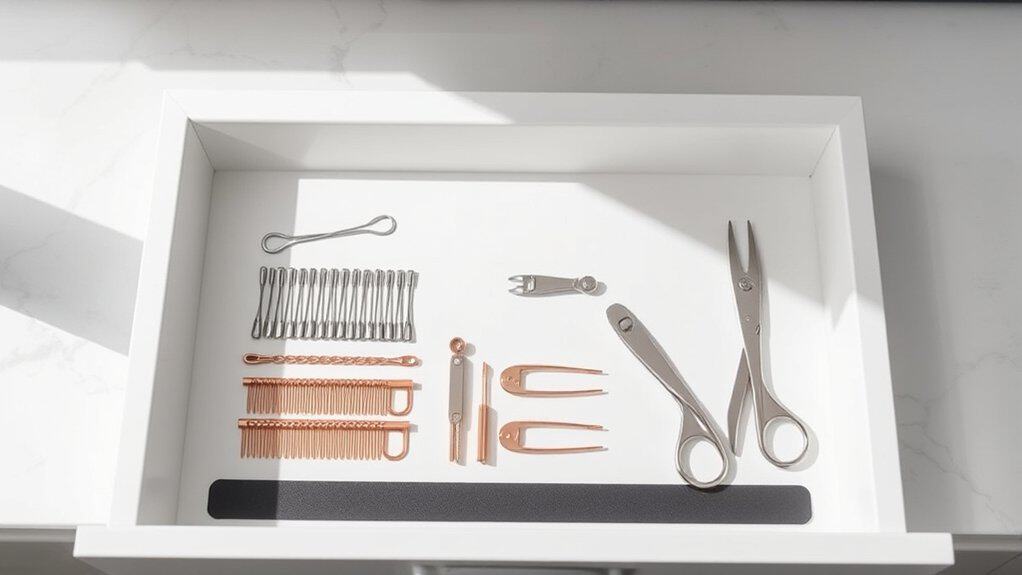
Organizing small metal items in bathroom drawers can be a constant challenge, with bobby pins, hair clips, tweezers, and nail clippers often becoming a jumbled mess. Without proper organization, these essential items get lost in drawer corners or scatter about, leading to frustration and wasted time during daily grooming routines.
Implementing magnetic solutions provides an elegant and practical way to keep metal items visible, accessible, and neatly arranged. This system not only maximizes drawer space but also ensures that items stay exactly where you place them, eliminating the need to dig through cluttered drawers or purchase replacement items for those that have gone missing.
Required Items:
- Magnetic strips or sheets
- Adhesive backing (if not included with magnetic materials)
- Scissors
- Measuring tape
- Ruler
- Cleaning supplies
- Small metal containers (optional)
- Magnetic hooks (optional)
- Double-sided tape
Begin by measuring your drawer’s dimensions and cleaning the surface thoroughly. Cut magnetic strips or sheets to fit the drawer bottom or sides, depending on your preference. If using adhesive-backed magnetic materials, carefully peel and stick them in place, ensuring no air bubbles form. For non-adhesive magnets, apply double-sided tape to secure them.
Create designated zones for different categories of items – one area for hair accessories, another for grooming tools, and a separate space for smaller items like safety pins. Consider mounting magnetic strips vertically on the drawer’s sidewalls to maximize space and visibility. For frequently used items, position them toward the front of the drawer. Test the magnetic strength before committing to final placement, as some items may require stronger magnets than others.
For optimal organization maintenance, regularly clean the magnetic surfaces and review the arrangement every few months. Consider adding small magnetic containers for items that might be too light to stick directly to the magnetic surface. Label different sections if sharing the bathroom with family members, and keep backup magnetic strips on hand for replacement when needed.
Remember that heat and moisture can affect adhesive strength, so ensure proper ventilation in your bathroom to extend the life of your magnetic organization system.
Roll and Store Technique for Hair Tools
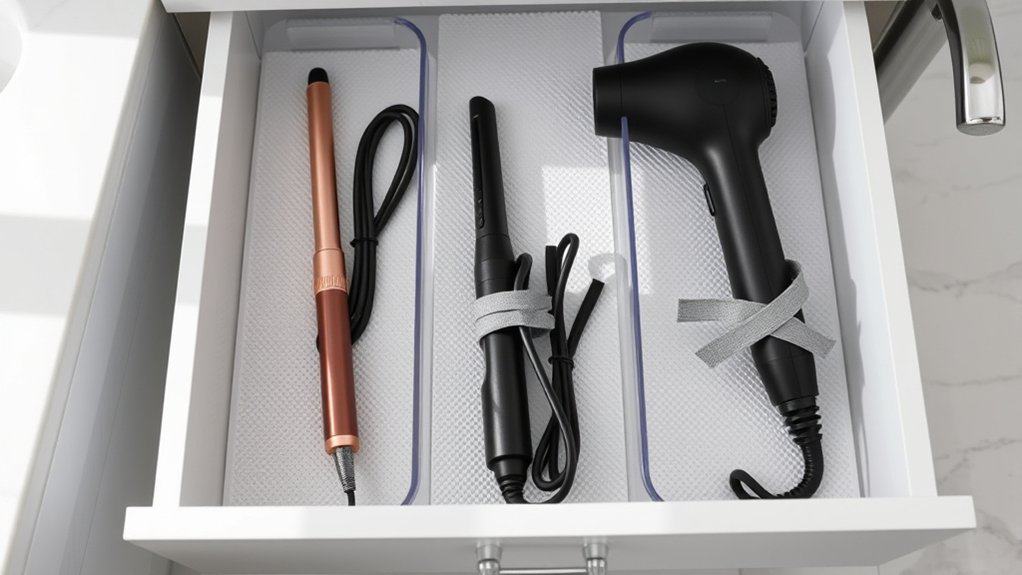
Managing hair tools in bathroom drawers can quickly become chaotic, with tangled cords and disorganized styling equipment creating frustration during daily grooming routines. A well-organized hair tool drawer not only saves precious morning time but also extends the life of expensive styling equipment by preventing cord damage and reducing clutter-related wear and tear.
The roll and store technique transforms the way you store hair tools, utilizing vertical space efficiently while keeping cords neat and preventing the common problem of tangled or knotted cables. This method also allows for quick access to specific tools while maintaining a clean, professional appearance in your bathroom storage space.
Required Items:
- Heat-resistant silicone mat
- Drawer dividers or organizer blocks
- Velcro cable ties
- Drawer liner
- Labels (optional)
- Storage basket or container
- Heat-resistant pouch
- Measuring tape
The roll and store process begins with cleaning your drawer and installing a non-slip liner. Measure your drawer’s dimensions and position dividers to create sections based on tool sizes.
For each hair tool, start by wrapping the cord neatly using the figure-eight method, securing it with a velcro tie. Place the heat-resistant mat in the designated section, then roll each tool in the mat, starting from the working end (barrel, plates, etc.).
Position the rolled tools vertically in their designated sections, with handles facing up for easy identification and access. For smaller tools like flat irons or crimpers, multiple items can share one section as long as they’re properly separated by the heat-resistant material.
Ensure each tool has enough space to prevent overcrowding and maintain proper airflow for cooling.
Additional tip: Create a rotation system where recently used hot tools can cool safely before being rolled and stored. Consider marking your most frequently used tools with colored labels or tags for quick identification, and always ensure tools are completely cool before storing them.
Implement a quarterly cleanup routine to check for damaged cords or worn-out tools, maintaining the organization system’s effectiveness over time.
Label Everything: A Place for Every Item
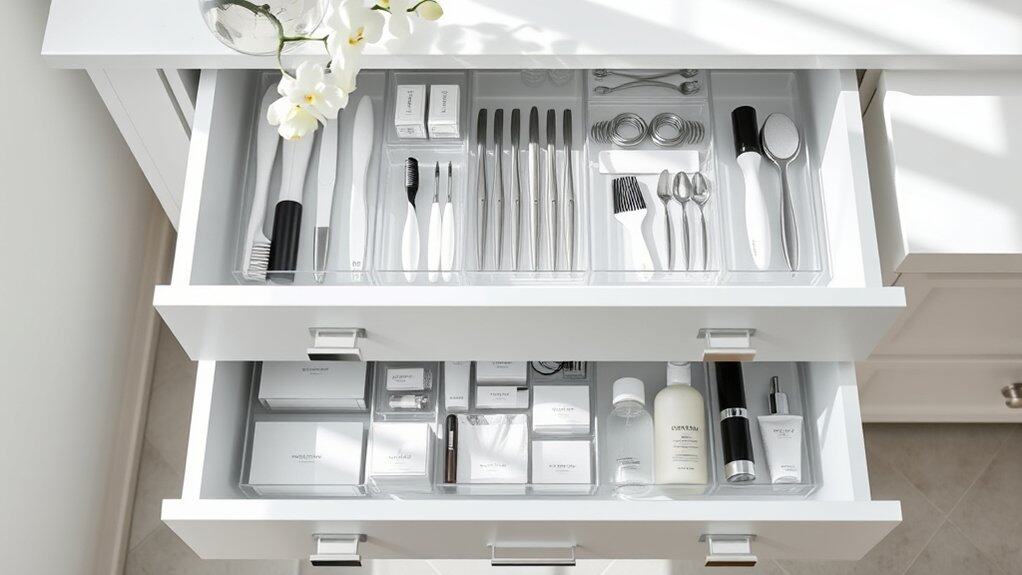
Labeling your bathroom drawers is a crucial step in maintaining long-term organization and creating an efficient daily routine. When every item has a designated spot and clear label, you eliminate the frustration of searching through multiple drawers while getting ready, especially during busy mornings.
Clear labeling systems not only help you maintain order but also make it easier for family members or guests to find items and, more importantly, return them to their proper places. This simple organizational method can transform a chaotic bathroom drawer system into a streamlined, hotel-like experience.
Required Items:
- Label maker or waterproof labels
- Clear drawer organizers/dividers
- Measuring tape
- Pencil and paper
- Clear bins or containers
- Waterproof marker
- Adhesive label holders (optional)
- Clear pouches (optional)
- Drawer liner (optional)
Start by removing everything from your drawers and sorting items into categories (dental care, hair products, skincare, etc.). Measure your drawers and plan the layout using appropriate-sized organizers or dividers. Place the sorted items into their designated sections, ensuring frequently used products are easily accessible.
Create clear, legible labels for each section using your label maker or waterproof labels, and affix them to the front of containers or directly onto drawer dividers. When labeling, use specific yet simple terms that everyone in the household can understand. For example, instead of just “hair,” use specific categories like “Hair Ties,” “Brushes,” or “Styling Products.”
Consider using symbols alongside text for younger family members or those who prefer visual cues.
Additional Tips: Review your labeling system every few months to ensure it still meets your needs and make adjustments as necessary. Use clear containers whenever possible to provide visual cues alongside labels, and consider implementing a color-coding system for different family members or categories of items.
Remember to use water-resistant labels and adhesives suitable for bathroom humidity to prevent peeling or fading over time.

