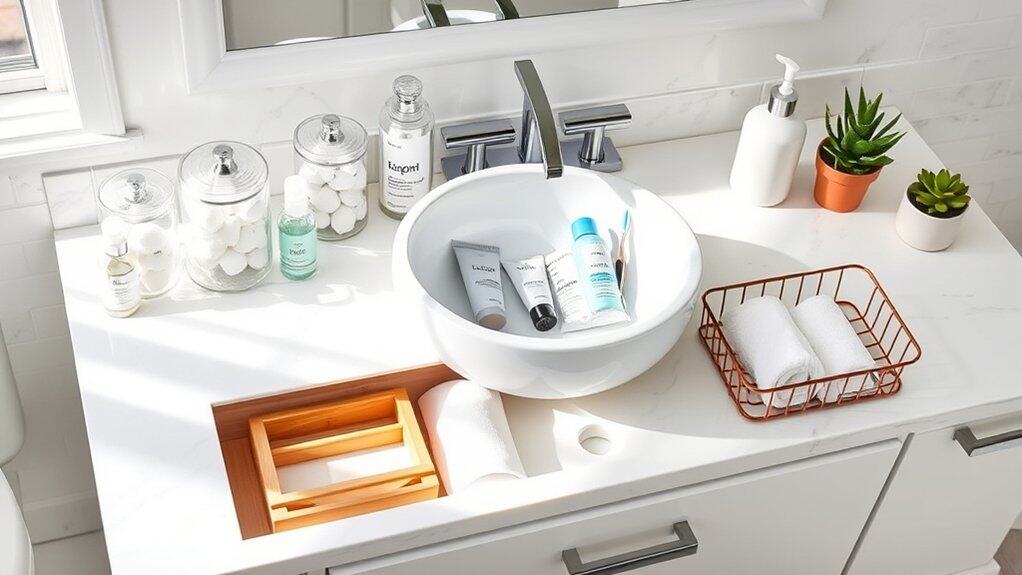
Picture your bathroom counter on a hectic Monday morning – everything’s scattered, you can’t find your favorite moisturizer, and you’re already running late. We’ve all been there! After spending countless hours testing different organization methods in my own cramped bathroom, I’ve discovered seven game-changing solutions that’ll transform your counter from chaos to calm. These aren’t just any ordinary tips – they’re practical, stylish fixes that’ll make your morning routine feel less like a scavenger hunt and more like a spa experience.

Invest in Clear Acrylic Storage Solutions
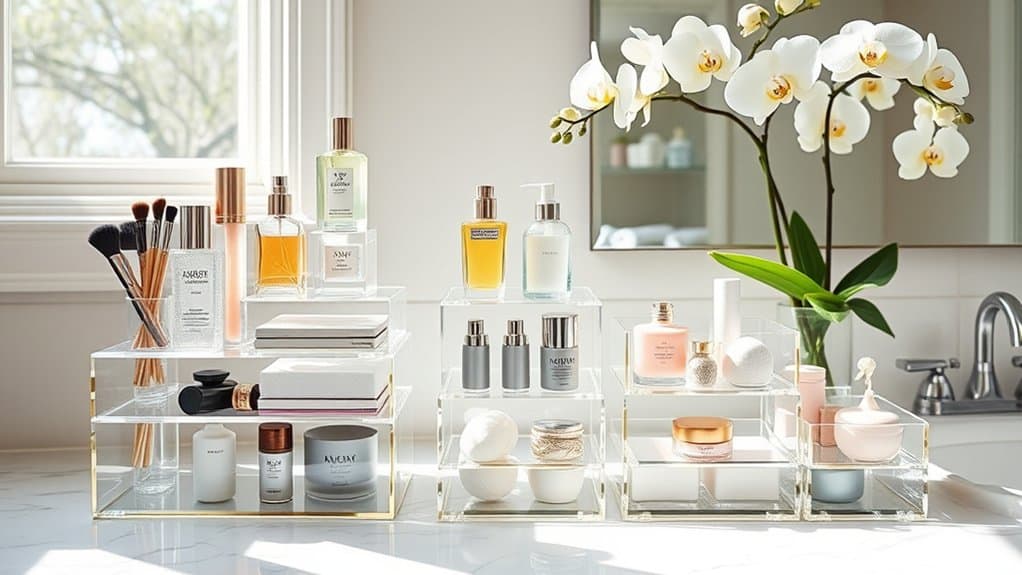
Clear acrylic organizers have become a staple in modern bathroom organization due to their sleek appearance and practical functionality. These transparent containers not only keep items neatly arranged but also allow for easy visibility of products, preventing overbuying and ensuring essentials are always within reach.
The durability and water-resistant nature of acrylic makes it perfect for bathroom environments, while its crystal-clear appearance maintains a clean, minimalist aesthetic. Unlike plastic or wooden alternatives, acrylic storage solutions complement any bathroom décor and create an illusion of more space by remaining visually unobtrusive.
Required Items:
- Clear acrylic drawer organizers
- Acrylic makeup holders
- Bathroom counter bins
- Clear storage boxes with lids
- Stackable acrylic containers
- Drawer dividers
- Measuring tape
- Cleaning cloths
- Label maker (optional)
Start by measuring your counter space and mapping out zones for different categories of items: daily essentials, makeup, skincare products, and hair accessories. Select appropriately sized acrylic containers that fit within these designated areas.
Group similar items together in their respective containers, using smaller compartments for items like cotton swabs, makeup brushes, and dental products.
For drawer organization, utilize drawer inserts with various compartment sizes to accommodate different products. Stack larger acrylic containers toward the back of the counter, keeping frequently used items in front for easy access.
Consider using tiered organizers to maximize vertical space and create visual interest while maintaining functionality.
Additional Tips: Clean acrylic organizers regularly with a soft, non-abrasive cloth to maintain clarity and prevent water spots. Rotate products seasonally and assess organization needs quarterly.
Consider adding non-slip padding underneath containers to prevent sliding, and use clear labels on the bottom of containers to maintain consistent organization when cleaning or rearranging items.
Create Vertical Space With Tiered Organizers
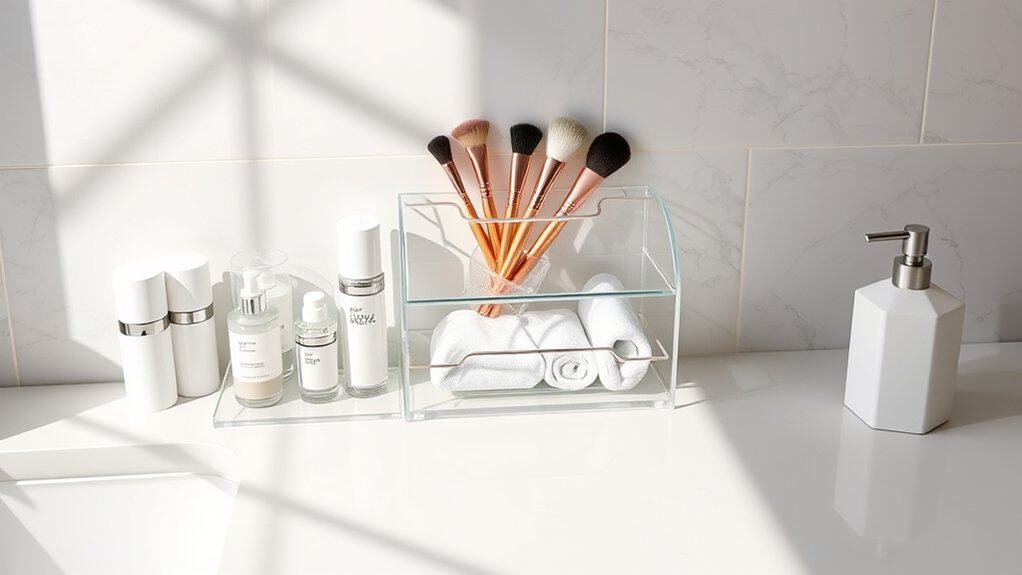
Making the most of limited bathroom counter space is essential for maintaining a clutter-free and functional environment. Traditional flat organization often leads to overcrowded surfaces, making it difficult to find items quickly and keep the area clean.
Tiered organizers revolutionize bathroom counter storage by utilizing vertical space, effectively multiplying your usable surface area while keeping essential items visible and accessible. This smart storage solution creates distinct zones for different categories of items while maintaining a sleek, organized appearance.
Required Items:
- 2-3 tier bathroom organizer
- Clear storage containers
- Non-slip drawer liner
- Labels or label maker
- Measuring tape
- Cleaning supplies
- Small containers for sorting
Position your tiered organizer at the back of the counter, ensuring it doesn’t interfere with the mirror or light fixtures. Start by placing frequently used items on the bottom tier for easy access. Reserve the middle tier for items used several times weekly, such as hair products or skincare items. The top tier should house items used less frequently or backup supplies.
Sort items by category and consider using small containers within the tiers to prevent items from toppling. Ensure all containers and products are properly labeled for quick identification.
Additional Organization Tips:
Keep the front portion of the counter clear for daily grooming activities. Clean and sanitize the organizer regularly to prevent product buildup. Evaluate the contents monthly and adjust the arrangement based on usage patterns.
Consider installing a small LED strip light behind the organizer to illuminate items on higher tiers, making them easier to locate in low-light conditions. Rotate seasonal items to maintain relevance and prevent overcrowding.
Maximize Corner Space With Rotating Caddies
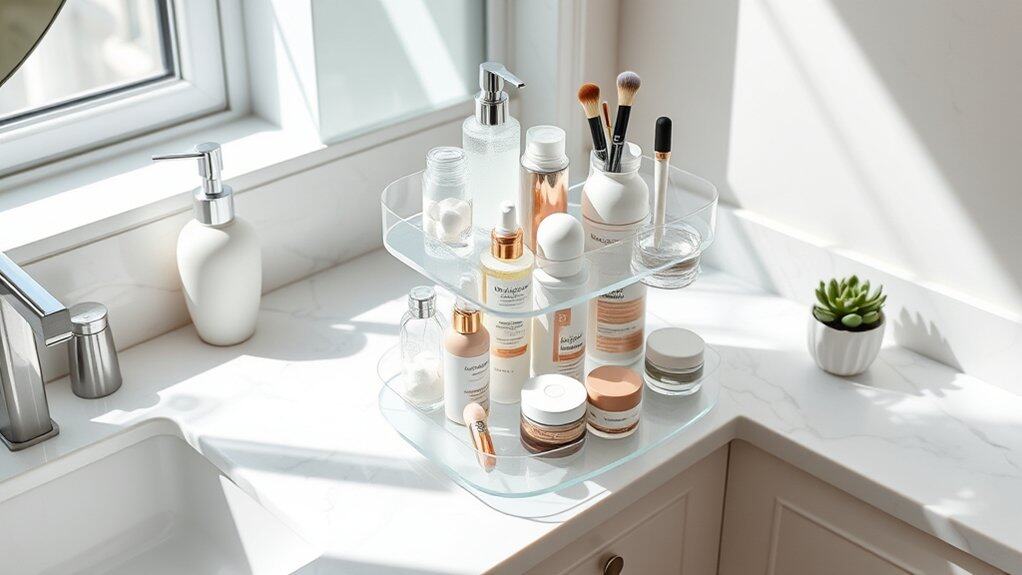
Corner spaces in bathrooms often become dead zones where items get lost or forgotten. These awkward angles can actually be transformed into prime storage real estate with the strategic use of rotating caddies. By utilizing lazy Susan-style organizers, you can unlock full access to these traditionally difficult-to-reach areas while keeping everyday items within easy grasp.
Making the most of corner spaces not only maximizes your available counter area but also creates a more efficient morning routine. When toiletries, cosmetics, and personal care items are properly organized in rotating caddies, you eliminate the frustration of reaching into dark corners or knocking items over while searching for what you need.
Required Items:
- Corner-designed rotating caddy
- Small containment bins or cups
- Non-slip drawer liner
- Clear dividers
- Measuring tape
- Cleaning supplies
- Label maker (optional)
- Small risers or platforms (optional)
Start by thoroughly cleaning the corner space and measuring the available area to ensure your rotating caddy fits properly. Place non-slip liner material on the counter where the caddy will sit to prevent unwanted movement.
Position the rotating organizer in the corner, ensuring it can spin freely without hitting walls or other items. Organize your items by category, placing frequently used products toward the front of each section and lesser-used items toward the back. Use small containers or dividers within the caddy to create designated spaces for different types of items, preventing them from toppling when the unit rotates.
For maximum effectiveness, consider utilizing multiple levels within your rotating system. Place taller items in the back and shorter ones in front for better visibility. If your caddy has multiple tiers, organize by frequency of use, with daily items on the most accessible level. Ensure the weight is evenly distributed across the caddy to maintain smooth rotation.
Additional Tip: Review and adjust your corner caddy organization system every few months to eliminate items you no longer use and refine the arrangement based on your changing needs.
Consider using clear containers to easily identify contents and maintain a clean, cohesive look. Keep heavier items closer to the base of the rotating caddy for better stability, and always ensure the rotation mechanism stays clean and free from debris for optimal performance.
Use Decorative Trays for Everyday Essentials
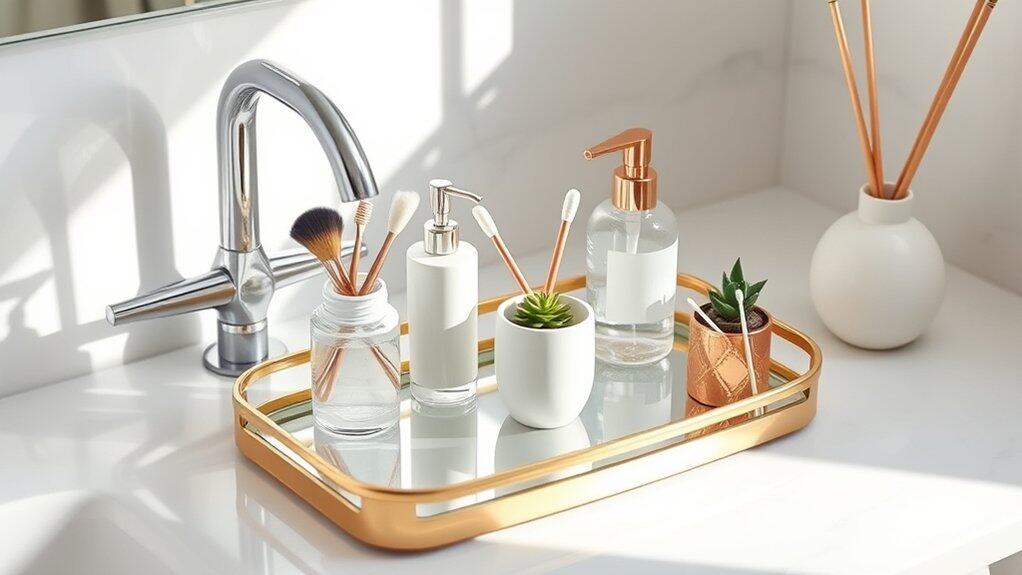
Organizing bathroom essentials on decorative trays creates an intentional, spa-like atmosphere while keeping frequently used items easily accessible. Rather than having products scattered across the counter, trays establish designated zones that prevent clutter and make cleaning simpler.
Decorative trays transform necessary bathroom items into stylish vignettes while providing clear boundaries for storage. This organization method not only enhances the visual appeal of your bathroom but also helps maintain order by giving every item a proper home.
Required Items:
- 1-2 decorative trays (ceramic, metal, or acrylic)
- Small containers or cups for vertical storage
- Drawer organizers or small bins
- Labels (optional)
- Cleaning supplies
- Mirror-safe adhesive strips (if mounting)
Start by clearing the entire counter surface and cleaning it thoroughly. Select appropriately sized trays that complement your bathroom’s style while leaving enough counter space for daily activities.
Position the main tray in an easily accessible spot, typically near the faucet. Group daily essentials by category – for example, skincare items together, dental care in one section, and hair products in another. Place taller items toward the back of the tray and shorter items in front for easy visibility and access.
For frequently used items like toothbrushes and soap dispensers, consider using smaller containers within the tray to keep them upright and organized. Use vertical space by incorporating small cups or containers on your tray to hold items like makeup brushes, cotton swabs, or toothbrushes. This maximizes space while keeping items visible and accessible.
Consider adding a second, smaller tray for items used less frequently or for decorative elements like candles or small plants to enhance the overall aesthetic.
Additional Tips: Rotate items seasonally and reassess your tray organization every few months to ensure it still serves your needs. Keep only daily essentials on the trays and store backup supplies elsewhere.
Clean trays weekly to prevent product residue buildup and maintain their appearance. Consider using clear containers within trays to easily identify contents while maintaining a cohesive look.
Install Under-Cabinet Magnetic Storage
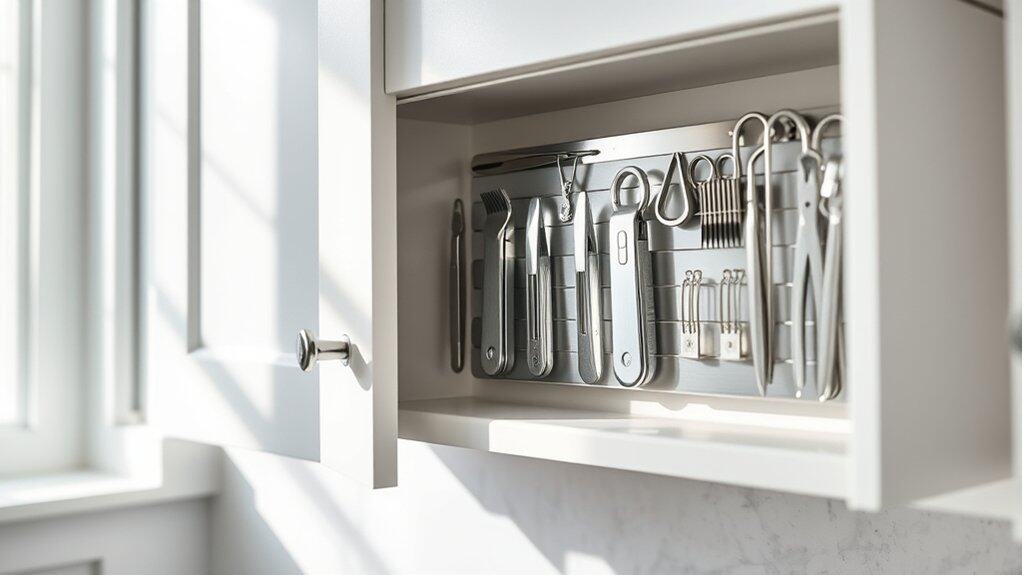
Maximizing bathroom storage space becomes increasingly important as our daily routines involve more products and tools. Under-cabinet magnetic storage offers an innovative solution to declutter countertops while keeping essential items within easy reach. This organization method utilizes the often-overlooked space beneath bathroom cabinets, creating a clean, streamlined appearance while maintaining accessibility.
Installing magnetic storage under bathroom cabinets transforms unused space into a practical storage area for metal items like tweezers, nail clippers, bobby pins, and small grooming tools. This system not only frees up valuable counter and drawer space but also prevents small items from getting lost in the shuffle of daily life.
Required Items:
- Magnetic strips or magnetic tape
- Adhesive mounting squares
- Measuring tape
- Scissors
- Cleaning supplies
- Small metal containers (optional)
- Screwdriver and screws (if permanent installation is desired)
- Level
- Pencil for marking
The installation process begins with thoroughly cleaning the underside of the cabinet to ensure proper adhesion. Measure the available space and cut magnetic strips to size, leaving at least an inch of clearance from cabinet edges.
If using adhesive mounting squares, apply them evenly across the back of the magnetic strip, then carefully position and press the strip firmly against the cabinet underside. For a more permanent solution, pre-drill holes and secure the magnetic strip with small screws, ensuring they don’t penetrate through the cabinet’s interior.
For optimal organization, consider creating designated zones on the magnetic strip for different categories of items. Small metal containers can be attached to the strip to hold groups of similar items together, such as hair pins or safety pins. Test the magnetic strength before fully committing to the arrangement, as some items may require stronger magnets or additional support.
To maintain the effectiveness of your under-cabinet magnetic storage, periodically check the security of the mounting and clean both the magnetic surface and stored items. Avoid overloading any single section of the magnetic strip, and regularly assess which items are frequently used versus those that could be stored elsewhere.
Consider applying small labels beneath different sections to maintain organization and ensure items return to their designated spots after use.
Group Items by Daily Routines
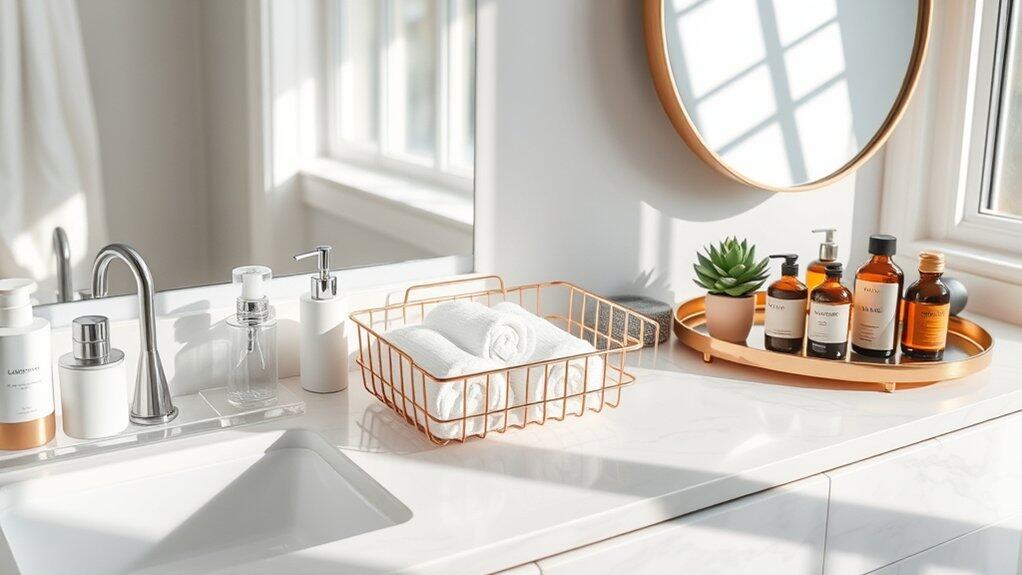
Arranging bathroom items according to daily routines transforms a cluttered countertop into an efficient, time-saving space. When products and tools are grouped based on when you use them, your morning and evening routines become seamless, reducing stress and saving precious minutes during busy times.
Creating designated zones for different parts of your routine eliminates the need to search for items and helps maintain organization long-term. This system also makes it easier to spot when supplies are running low and ensures that less-used items don’t take up prime counter space.
Required Items:
- Small bins or organizers
- Drawer dividers
- Countertop trays
- Labels or label maker
- Clear containers
- Storage baskets
- Bathroom-safe cleaning supplies
- Measuring tape
Start by separating all bathroom items into distinct routine categories: morning essentials (facial cleanser, toothbrush, deodorant), evening necessities (makeup remover, night cream), and occasional-use items.
Position morning routine items closest to the sink in clear containers or designated trays. Place evening routine products in a separate zone, typically toward the back of the counter or in easily accessible drawers.
Create a third zone for items used throughout the day, such as hand soap and lotion. Consider vertical storage solutions to maximize counter space, using tiered organizers or wall-mounted holders. Keep occasional-use items in drawers or cabinets to prevent counter clutter.
To maintain this organization system, regularly assess whether items truly belong in their assigned zones and adjust as needed. Clean containers weekly, restock products before they run empty, and remove any items that haven’t been used in three months.
Consider keeping a small basket under the sink for backup supplies, ensuring your countertop remains clutter-free while maintaining easy access to essential items.
Style With Mason Jars and Glass Containers
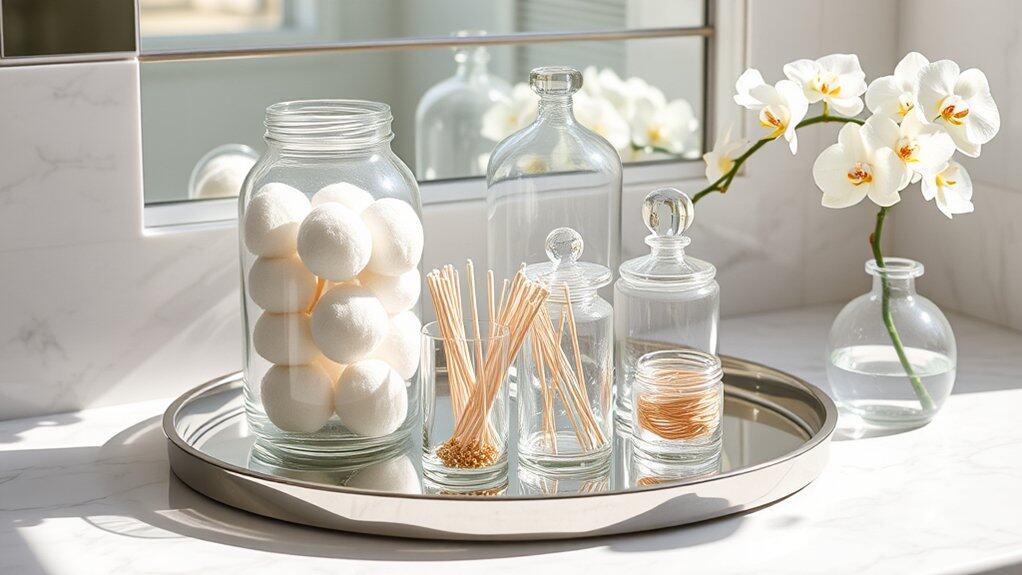
Mason jars and glass containers bring both functionality and aesthetic appeal to bathroom organization. Their versatility allows for clear visibility of contents while adding a touch of vintage charm or modern sophistication to your bathroom decor. These containers keep everyday items easily accessible while protecting them from moisture and dust.
Organizing bathroom essentials in glass containers creates a cohesive, intentional look that transforms cluttered countertops into an organized, spa-like display. This method eliminates the visual chaos of multiple product packaging and creates a serene environment that’s both practical and pleasing to the eye.
Required Items:
- Various sized mason jars
- Glass apothecary jars
- Glass containers with sealed lids
- Labels or label maker
- Decorative trays
- Cotton swabs
- Cotton balls
- Hair ties
- Bobby pins
- Small toiletries
- Cleaning cloth
- Optional: Ribbon or twine for decoration
Start by thoroughly cleaning all glass containers and allowing them to dry completely. Sort bathroom items by category and frequency of use, determining which items will be stored in each container. Choose appropriate-sized containers for each item group – larger jars for cotton balls and swabs, medium-sized ones for hair accessories, and smaller containers for items like dental floss or makeup supplies.
Place containers on decorative trays to create organized zones and prevent water spots on countertops. For optimal organization, position frequently used items at the front of the display and less-used items toward the back. Create levels using risers or varying container heights to add visual interest and improve accessibility. Consider using clear, water-resistant labels to identify contents, especially if multiple family members share the bathroom.
Additional Tips: Regularly clean and maintain your glass containers to prevent buildup of bathroom moisture and dust. Replace items as needed and adjust container positions based on usage patterns. Consider seasonal rotations of items and containers to keep the space fresh and functional. Keep spare containers on hand for new organization needs, and periodically assess if the current system meets your changing requirements.

