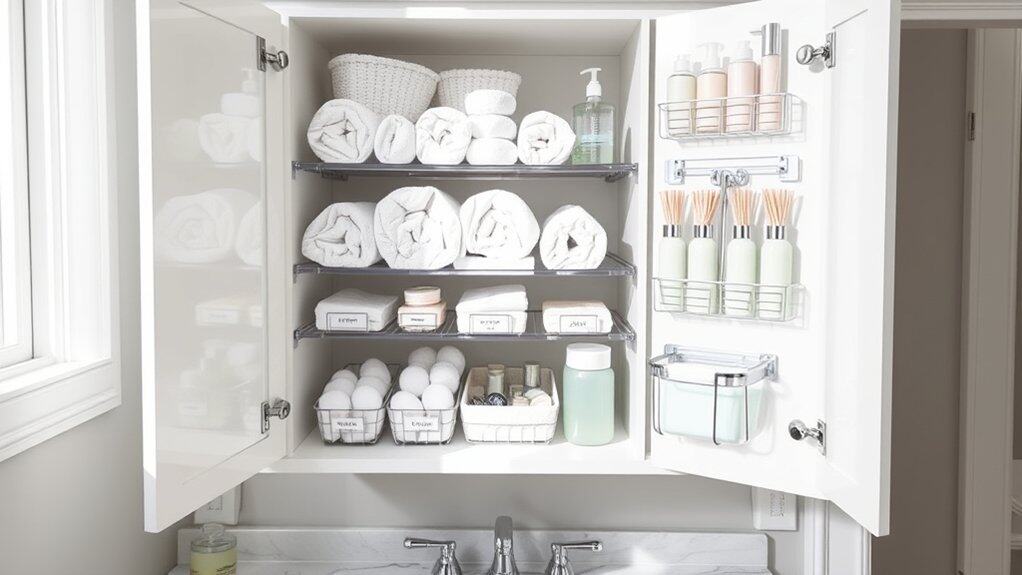
You’ve probably experienced that frustrating moment when you’re rushing to get ready and can’t find your favorite hair product buried in your bathroom cabinet. Trust me, I’ve been there! With bathroom storage space always at a premium, it’s time to turn that chaotic cabinet into an organized oasis. I’ll share nine smart solutions that’ll transform your cramped space into an efficiently arranged haven. These game-changing ideas will make your morning routine so much smoother.
Install Pull-Out Drawer Systems
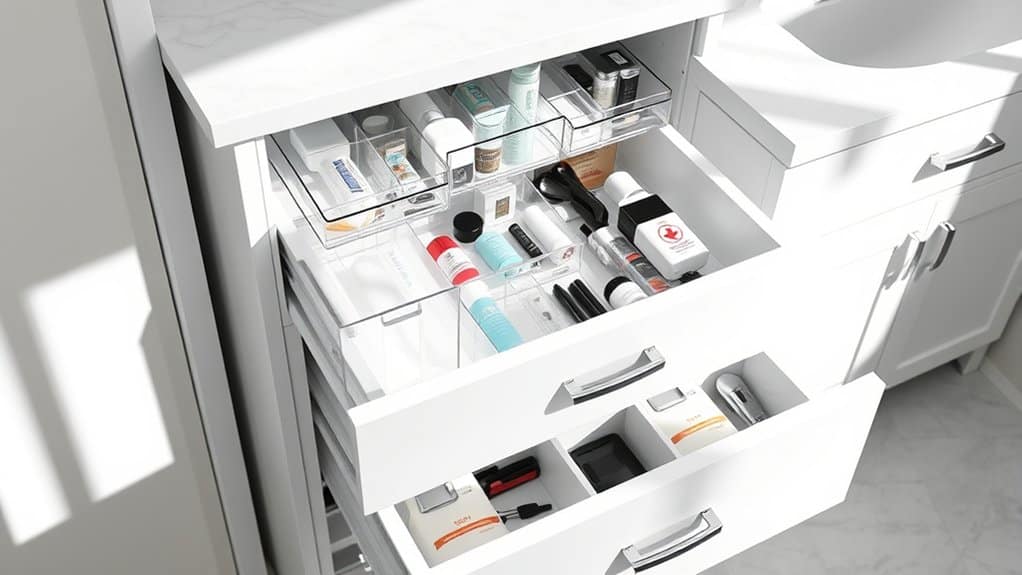
Installing pull-out drawer systems in bathroom cabinets transforms cluttered, hard-to-reach spaces into easily accessible storage solutions. These systems maximize vertical space while keeping items visible and within arm’s reach, eliminating the need to constantly shuffle through deep cabinets to find essential items.
Pull-out drawers are particularly valuable in bathroom environments where organization is crucial for daily routines. With proper installation and organization, these systems can double your usable storage space while keeping toiletries, cleaning supplies, and personal care items neatly categorized and readily available.
Required Items:
- Pull-out drawer system kit
- Screwdriver
- Power drill
- Level
- Measuring tape
- Pencil
- Cabinet hardware mounting screws
- Clear bins or drawer organizers
- Label maker
- Safety goggles
Installation and organization begins with measuring your cabinet interior dimensions carefully. Remove existing shelving and mark mounting points for the drawer slides, ensuring they’re level and properly aligned.
Install the drawer slides according to manufacturer specifications, typically starting with the bottom drawer and working upward. Once the hardware is secure, insert the drawers and test their movement to confirm smooth operation.
Sort bathroom items into categories (hair care, dental hygiene, first aid, etc.) before placing them in the drawers. Use clear bins or drawer organizers to create designated spaces within each pull-out drawer. Position frequently used items in easily accessible drawers, while storing backup supplies and rarely used items in lower drawers.
For optimal organization maintenance, implement a quarterly review system to assess the functionality of your drawer layout. Remove expired products, reorganize items based on changing needs, and clean the drawer systems regularly.
Consider using drawer liners to protect against moisture and spills, and always leave some space in each drawer for future additions to prevent overcrowding.
Use Clear Storage Containers and Labels
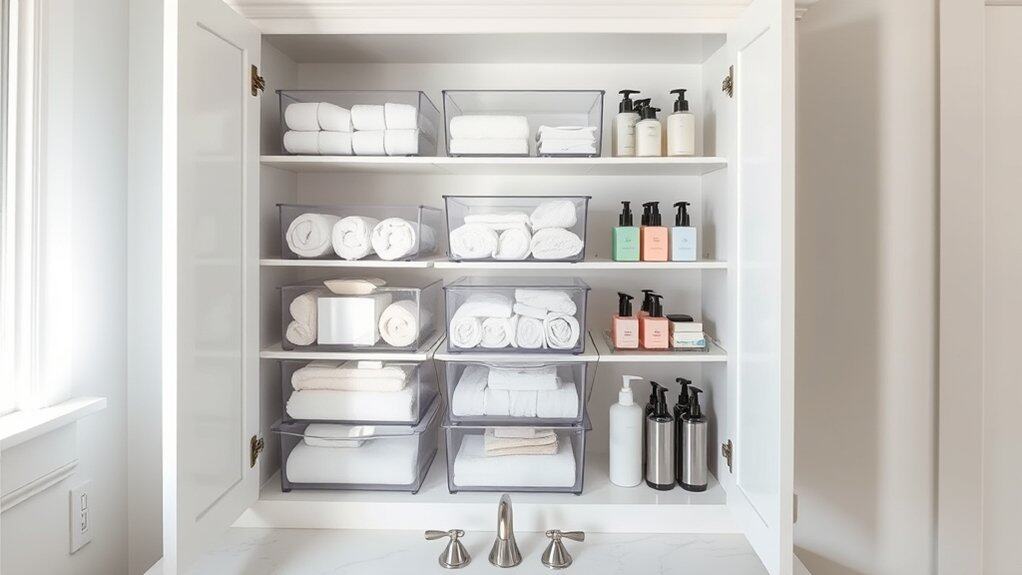
Organizing bathroom cabinets with clear containers and labels transforms a cluttered space into an efficient, easy-to-navigate storage system. When items are visible and properly labeled, finding what you need becomes effortless, saving precious time during busy mornings or when guests need to locate essential items.
Clear storage containers eliminate the frustration of rummaging through opaque boxes or bags, while proper labeling ensures everyone in the household can maintain the organizational system. This method also helps prevent overbuying products since you can easily see when supplies are running low.
Required Items:
- Clear plastic containers (various sizes)
- Label maker or waterproof labels
- Measuring tape
- Pen and paper
- Cleaning supplies
- Waterproof marker
- Drawer dividers
- Small clear bins
- Stackable containers
Start by removing everything from your bathroom cabinets and sorting items into categories such as dental care, first aid, hair products, and skincare. Measure your cabinet space and select appropriately sized clear containers that maximize vertical and horizontal space.
Group similar items together in containers that best fit their size and quantity. Once items are sorted into containers, create clear, legible labels for each category. Position labels on the front of containers at eye level for easy visibility.
When placing containers back in the cabinet, arrange them with frequently used items at the front and occasional-use items toward the back. Stack containers strategically, ensuring taller items don’t block access to smaller ones.
For optimal maintenance, implement a quarterly review system to check expiration dates and reorganize as needed. Consider using drawer dividers within larger containers to separate smaller items, and leave some extra space in each container for future purchases.
Using transparent containers with secure lids also protects items from bathroom humidity while keeping everything visible and accessible.
Add Door-Mounted Organization Racks
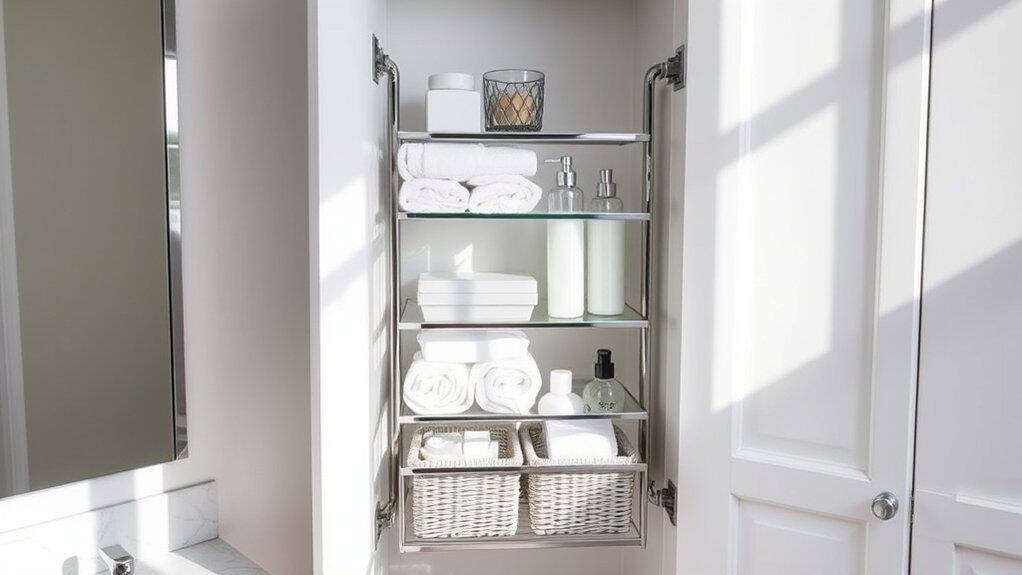
Maximizing storage space in bathroom cabinets is crucial for maintaining an organized and clutter-free environment. Door-mounted organization racks provide an often-overlooked opportunity to utilize vertical space efficiently, transforming unused door surfaces into valuable storage areas.
Door-mounted organizers can double or even triple your storage capacity while keeping frequently used items easily accessible. This organization method is particularly beneficial for smaller bathrooms where counter and cabinet space is limited, allowing you to store everything from hair products to cleaning supplies in a systematic way.
Required Items:
- Over-the-door organizer or cabinet door rack
- Measuring tape
- Screwdriver
- Mounting hardware (if not included)
- Level
- Pencil
- Command strips (optional)
- Shelf liner (optional)
Installation and organization begins with measuring both your cabinet door and the intended organizer to ensure proper fit. Remove the cabinet door and place it flat on a work surface. Mark the mounting points for your rack, ensuring they won’t interfere with the door’s closing mechanism.
Install the rack according to manufacturer instructions, typically using screws or strong adhesive strips. Before rehanging the door, test that it closes properly with the rack installed.
Once mounted, organize items by frequency of use and category. Place frequently accessed items at eye level and heavier items at the bottom of the rack. Consider using clear containers or labels to maintain organization. Ensure all items are secured and won’t fall when the door is opened or closed.
Additional Tips: Line the rack’s shelves with non-slip material to prevent items from shifting. Regularly review and adjust the organization system based on your needs.
Consider installing door bumpers to prevent the rack from banging against the cabinet frame. For homes with children or pets, ensure the door-mounted rack is securely fastened and check the mounting hardware periodically for stability.
Implement Tiered Shelf Risers
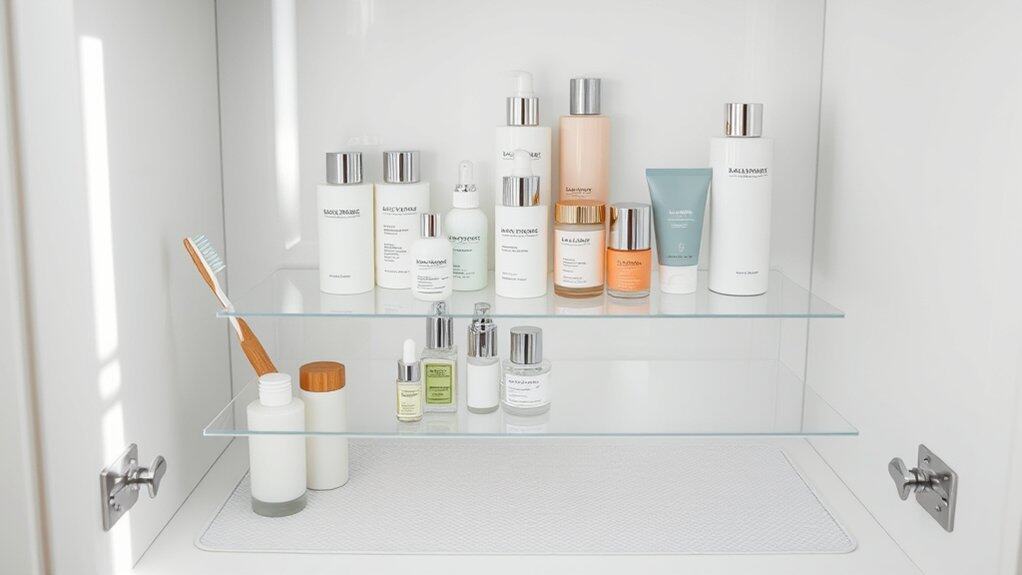
Maximizing vertical space in bathroom cabinets is crucial for creating an organized and efficient storage system. Tiered shelf risers transform unused vertical space into valuable storage real estate, allowing you to see and access items that would otherwise be hidden behind taller products.
When properly implemented, shelf risers create distinct zones within your cabinet space, preventing items from getting lost or forgotten in the back. This organization method is particularly effective for storing smaller items like medications, cosmetics, and personal care products, ensuring everything remains visible and within easy reach.
Required Items:
- Tiered shelf risers (expandable or fixed)
- Measuring tape
- Cabinet liner (non-slip)
- Label maker
- Container bins (optional)
- Cleaning supplies
- Clear storage containers (optional)
Start by removing all items from the cabinet and measuring the available space, including height clearance between shelves. Cut non-slip liner to fit the cabinet base and each shelf riser.
Position the risers toward the back of the cabinet, ensuring taller items can fit in front without blocking access to elevated products. Arrange items by frequency of use, placing daily essentials on the front tier and less frequently used items on higher tiers.
Group similar items together, such as dental care products, hair accessories, or first aid supplies. For maximum organization, categorize items before placing them on the risers. Consider using clear containers to group smaller items together, preventing them from toppling off the elevated shelves.
Label each section clearly to maintain the system long-term.
Additional Tip: Review and adjust your tiered organization system every three months, removing expired products and reassessing placement based on usage patterns. Consider installing battery-operated LED strips under each tier for better visibility, especially in deep cabinets with limited natural light.
Clean the risers regularly to prevent dust accumulation and maintain a hygienic storage environment.
Create Designated Storage Zones
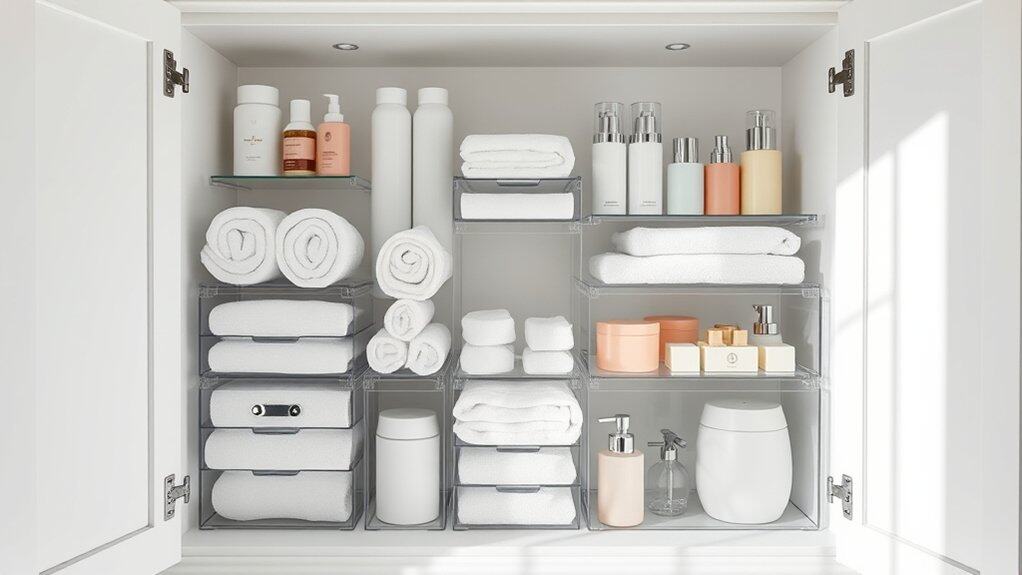
Organizing bathroom cabinets through designated storage zones transforms a chaotic space into an efficient, easily maintainable system. When items have specific homes, daily routines become smoother, and finding products becomes effortless, eliminating the frustration of rummaging through cluttered drawers and shelves.
Creating designated zones within your bathroom cabinets allows you to group similar items together, making it easier to track inventory and maintain organization long-term. This systematic approach not only maximizes available space but also helps prevent overbuying products and ensures frequently used items remain easily accessible.
Required Items:
- Clear storage bins
- Drawer dividers
- Labels or label maker
- Measuring tape
- Small containers or baskets
- Shelf liner
- Clear plastic bags
- Cleaning supplies
Start by removing everything from your cabinets and sorting items into categories: daily essentials, backup supplies, cleaning products, first aid, hair care, skincare, and dental care. Measure your cabinet space and determine the best container sizes for each category.
Position daily-use items at eye level or in easily accessible drawers. Store backup supplies and less frequently used items in higher or lower spaces. Use clear containers to maintain visibility and label each zone clearly.
Consider vertical space by implementing stackable containers or adding small shelves within larger cabinets. Create a “prime real estate” zone for your most-used items within arm’s reach. Establish a cleaning supplies zone away from personal care items, preferably in a lower cabinet with childproof locks if necessary. Dedicate a specific area for first aid supplies where they won’t get mixed with regular toiletries.
For optimal maintenance, review your zones quarterly, removing expired products and reassessing the effectiveness of your system. Consider implementing a “one-in-one-out” rule to prevent overflow, and use clear containers that can be easily wiped clean.
Remember to leave some empty space in each zone for future additions, preventing the system from becoming overcrowded and disorganized over time.
Maximize Vertical Space With Stackable Bins
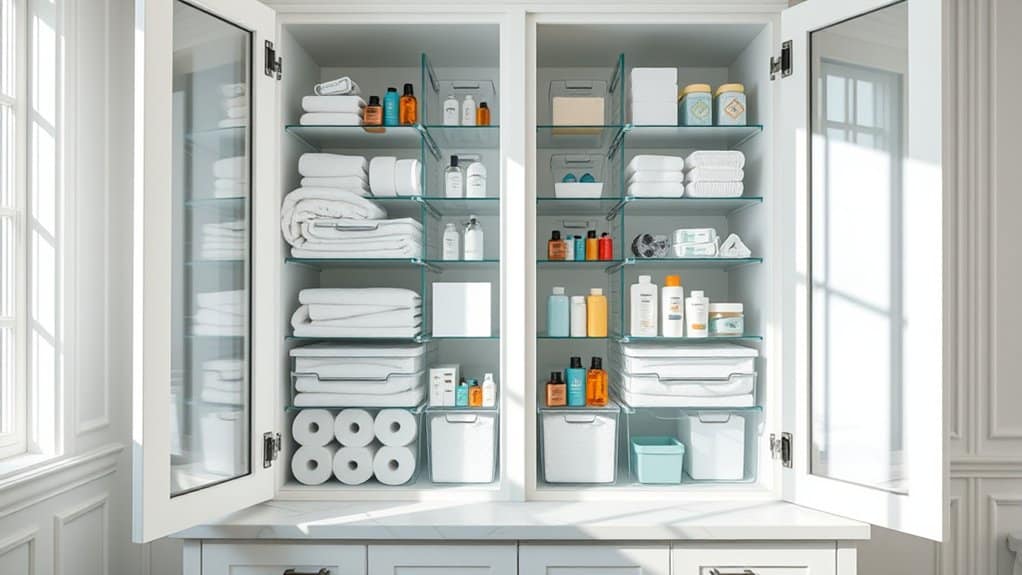
Making the most of vertical space in bathroom cabinets is crucial for creating an organized and efficient storage solution. Many bathrooms suffer from limited square footage, making it essential to utilize every inch of available space, particularly the often-overlooked vertical areas.
Stackable bins transform unused vertical space into a practical storage system, allowing you to categorize and access items easily while maintaining a clean, clutter-free environment. This organization method prevents items from getting lost in the depths of cabinets and creates designated spaces for different categories of bathroom essentials.
Required Items:
- Clear stackable storage bins (various sizes)
- Label maker or labels
- Measuring tape
- Drawer liner or non-slip mat
- Cabinet shelf dividers (optional)
- Storage bin risers (optional)
- Container lid organizer (optional)
Start by measuring your cabinet’s interior dimensions, including height, width, and depth. Select stackable bins that fit these measurements while maximizing vertical space.
Sort bathroom items into categories such as first aid supplies, hair products, dental care, and cleaning supplies. Place frequently used items in easily accessible bins at eye level or below. Position less frequently used items in higher stacks.
Arrange the bins by stacking them strategically, with heavier items at the bottom for stability. Use clear bins to easily identify contents and consider implementing a color-coding system for different categories.
Install shelf dividers if needed to keep stacks separate and prevent toppling. Place non-slip mats between stacks for additional stability.
Additional Tips: Consider using drawer organizers within larger bins to further compartmentalize small items. Rotate items seasonally and review contents every few months to maintain organization.
Keep a step stool nearby if utilizing high vertical spaces, and always ensure stack heights remain manageable for safe access. Label both the front and top of bins for easy identification from multiple angles.
Incorporate Drawer Dividers and Organizers
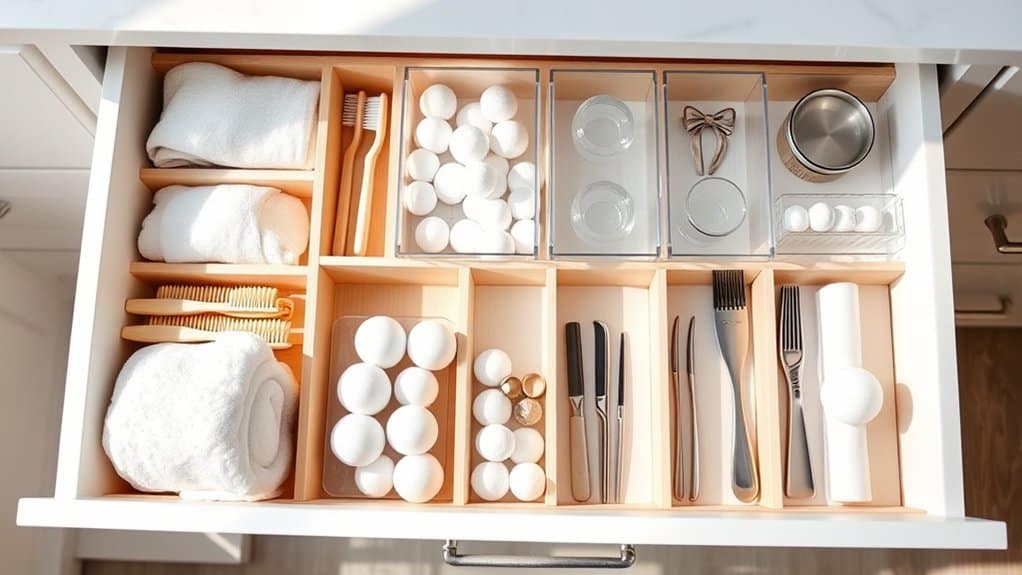
Organizing bathroom drawers is crucial for maintaining an efficient morning routine and keeping essential items easily accessible. Without proper organization, drawers can quickly become cluttered catch-alls where items get lost, damaged, or forgotten, leading to unnecessary duplicate purchases and daily frustration.
Implementing drawer dividers and organizers creates designated spaces for specific items, making it simple to locate what you need quickly. This system also helps maintain organization long-term, as family members are more likely to return items to their designated spots when clear boundaries exist.
Required Items:
- Drawer dividers (adjustable or fixed)
- Small organizing bins
- Drawer liner
- Measuring tape
- Label maker
- Cleaning supplies
- Storage containers in various sizes
- Clear plastic organizers
- Drawer-depth containers
Start by removing everything from the drawers and thoroughly cleaning them. Measure each drawer’s dimensions, accounting for both width and depth, to ensure proper fit of organizers. Sort items into categories such as dental care, hair accessories, makeup, first aid supplies, and daily essentials.
Select appropriate dividers or containers that fit your drawer dimensions and accommodate your sorted categories. Install drawer liners first to prevent items from sliding and protect the drawer surface. Position larger dividers to create main sections, then use smaller organizers within these sections for detailed organization.
Place frequently used items toward the front of drawers and lesser-used items toward the back. Consider using clear containers to easily identify contents, and implement a labeling system for precise organization.
Additional Tip: Review and adjust your drawer organization system every three months. Remove expired products, relocate rarely-used items, and assess whether the current configuration still serves your needs effectively.
Consider using drawer organizers with removable dividers to allow flexibility as your storage needs change over time.
Utilize Under-Sink Storage Solutions
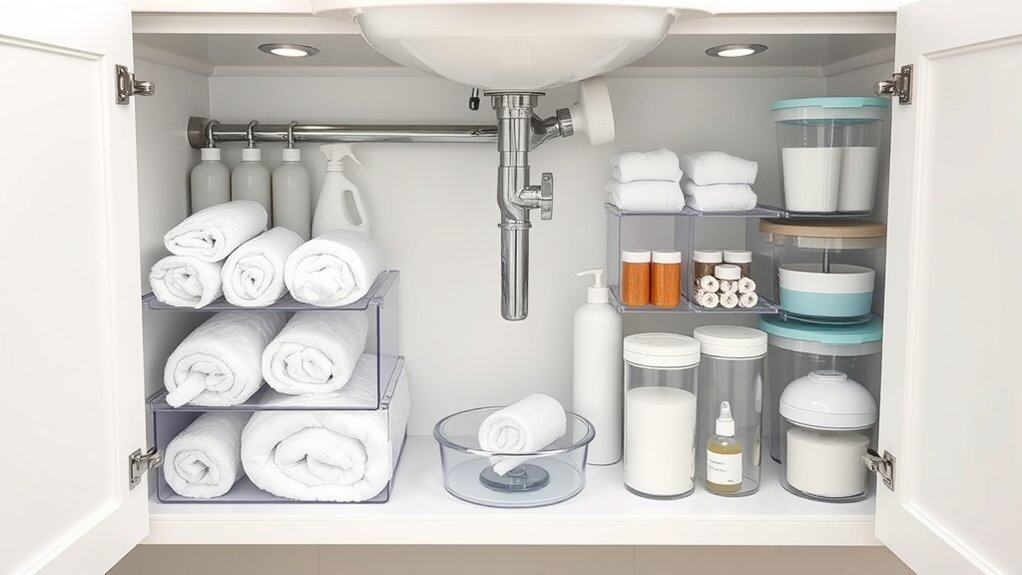
The area under the bathroom sink often becomes a chaotic catch-all space for cleaning supplies, toiletries, and miscellaneous items. This valuable storage area, when properly organized, can transform into an efficient system that maximizes every square inch while keeping essential items easily accessible.
Organizing the under-sink area not only creates a more functional bathroom but also helps prevent forgotten expired products, reduces cleaning time, and eliminates the frustration of searching for items in a cluttered space. A well-organized under-sink cabinet can double your storage capacity while maintaining a clean, systematic arrangement.
Required Items:
- Clear plastic bins or organizers
- Pull-out drawer systems
- Tension rods
- Over-the-door cabinet organizers
- Labels and label maker
- Measuring tape
- Cabinet liner
- Small lazy Susan (optional)
- Stack-able containers
- Command hooks or adhesive organizers
Start by removing everything from under the sink and thoroughly cleaning the area. Measure the cabinet’s dimensions, accounting for plumbing fixtures, to determine the best storage solutions. Install a cabinet liner to protect against water damage and create a clean foundation.
Group similar items together: cleaning supplies, backup toiletries, and daily-use products. Install pull-out drawers or slide-out organizers on either side of the plumbing, maximizing the depth of the cabinet. Use tension rods to hang spray bottles, creating an additional level of storage underneath.
Position clear bins or containers strategically, with frequently used items in front and occasional-use items toward the back. Label all containers clearly to maintain organization.
Additional Tips: Consider installing battery-operated motion sensor lights to illuminate dark corners. Create a regular maintenance schedule to review and rotate products every three months. Keep a small notepad inside the cabinet to track supplies that need replenishing.
Remember to store hazardous cleaning products in childproof containers if necessary, and always maintain proper ventilation for chemical storage.
Add Magnetic Storage Strips and Holders
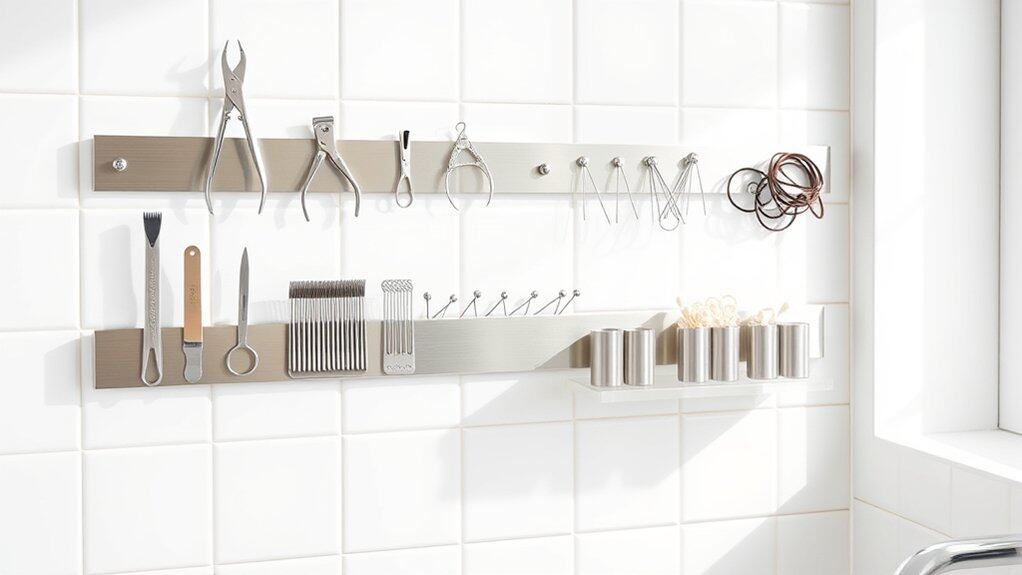
Magnetic storage solutions represent one of the most innovative and space-efficient ways to organize bathroom essentials. By utilizing vertical wall space and the power of magnetics, these systems transform unused surfaces into valuable storage areas, keeping items easily accessible while freeing up precious counter and cabinet space.
The magnetic approach is particularly effective for organizing metal items like tweezers, nail clippers, and bobby pins that often get lost in drawers or traditional organizers. This system also allows for quick access during daily routines and makes it simple to maintain an organized space since items naturally return to their designated spots.
Required Items:
- Magnetic strips (various lengths)
- Magnetic holders/containers
- Mounting hardware
- Drill and screwdriver
- Level
- Pencil
- Measuring tape
- Wall anchors
- Cleaning supplies
- Small magnetic containers (optional)
Installation and organization begins with selecting appropriate wall spaces, ideally near where items will be used most frequently. Measure and mark the intended locations for magnetic strips, ensuring they’re level. Install the strips securely using proper wall anchors and screws, making sure they can support the weight of intended items.
For areas that may experience moisture, choose rust-resistant magnetic strips and mount them away from direct water exposure. Consider installing multiple strips at different heights to accommodate various item sizes.
Once mounted, organize items by category and frequency of use. Place frequently used items at eye level and group similar items together. Small magnetic containers can be added to hold items like cotton swabs or hair ties that aren’t naturally magnetic. Test the magnetic hold strength of each item to ensure secure placement.
For optimal results, regularly clean both the magnetic strips and stored items to maintain strong magnetic connections. Consider labeling sections of the strips to maintain organization and make it easier for family members to return items to their proper places.
Periodically assess the arrangement and adjust based on usage patterns and needs. Remember to keep heavy items closer to the bottom of the strips and lighter items toward the top for better stability and safety.

