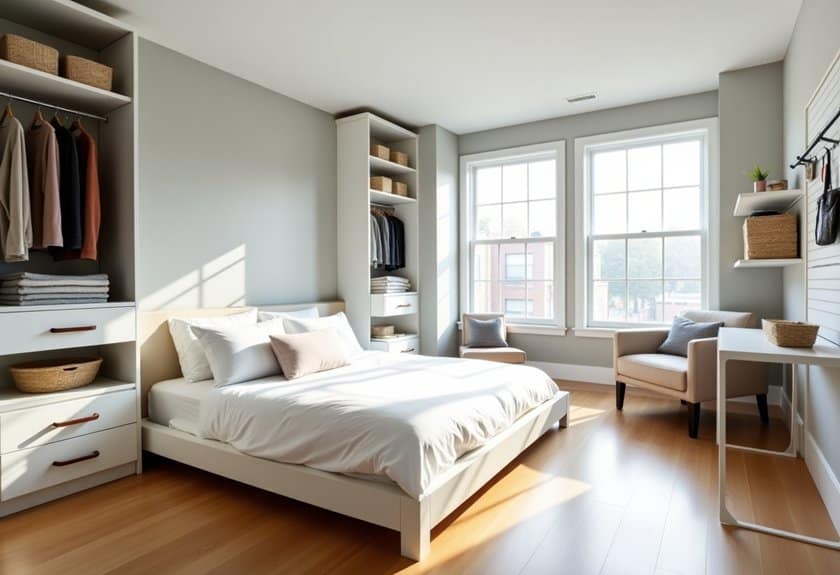
Did you know that the average person spends nearly one-third of their bedroom space on inefficient storage solutions? I’ve transformed countless chaotic bedrooms into serene sanctuaries using surprisingly simple organizational tricks. Whether you’re working with a tiny space or a master suite, these ten game-changing ideas will help you maximize every square inch while creating a system that actually stays organized. Let me show you how to turn your bedroom into an organization enthusiast’s dream!
Transform Your Closet With a Smart Zone System
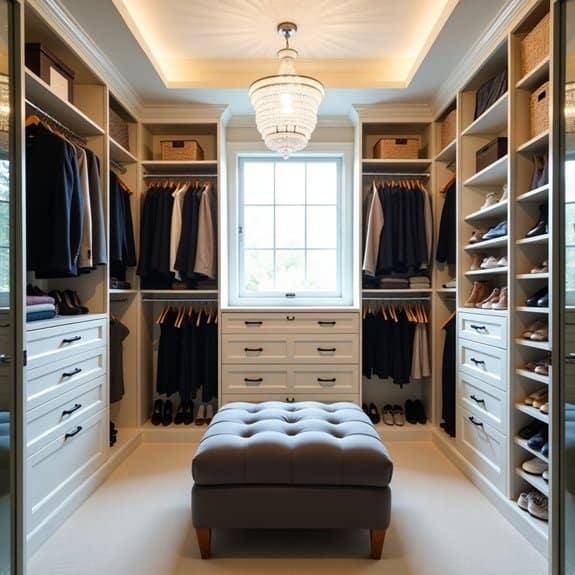
A well-organized closet with designated zones can transform your daily routine from chaotic to seamless. By implementing a smart zone system, you’ll save precious minutes each morning and eliminate the frustration of searching for specific items when you need them most.
Creating distinct zones within your closet space allows you to group similar items together based on function, season, or frequency of use. This systematic approach not only maximizes your available space but also helps maintain organization long-term, making it easier to put things away and find them when needed.
Required Items:
- Hangers (uniform style)
- Drawer organizers or dividers
- Storage boxes or bins
- Labels or label maker
- Measuring tape
- Closet rod dividers
- Storage baskets
- Shelf organizers
- Hooks
Start by completely emptying your closet and measuring the available space. Divide your closet into distinct zones based on your lifestyle and needs: work clothes, casual wear, formal attire, accessories, shoes, and seasonal items.
Install double hanging rods where possible to maximize vertical space, with longer items like dresses and coats on the higher rod and shorter items below.
Create specific zones by category and function. Designate the prime real estate (eye-level space) for frequently used items. Position work clothes front and center if you use them daily.
Arrange seasonal items in less accessible areas, using clear storage bins for off-season clothing. Install hooks or specialized organizers for accessories, and use drawer organizers for smaller items like undergarments and socks.
Group similar items together within each zone, organizing by color or style for easy identification. Use shelf dividers to prevent stacked items from toppling, and implement box or basket systems for items that don’t hang well.
Label everything clearly to maintain the system long-term.
Additional Tip: Conduct a quarterly review of your zone system to adjust for seasonal changes and evaluate its effectiveness. Remove items that haven’t been used in the past year, and reassess zone placement based on changing needs or lifestyle shifts.
Consider using space-saving hangers and installing motion-sensor lights to make each zone more accessible and functional.
Master the Art of Under-Bed Storage Solutions
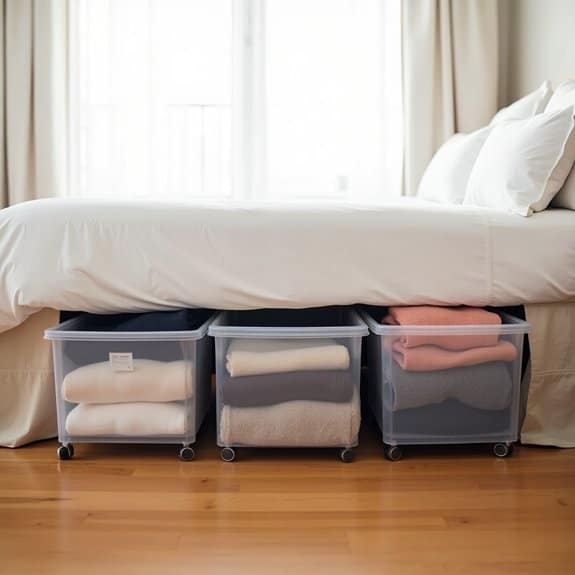
Making use of under-bed space is one of the most effective ways to maximize storage in any bedroom. This often-overlooked area can provide significant square footage for storing seasonal items, extra bedding, clothing, and other belongings that aren’t needed daily.
When properly utilized, under-bed storage can help maintain a clutter-free environment while keeping essential items easily accessible. Strategic under-bed storage not only helps declutter your living space but also protects stored items from dust and damage.
With proper organization, this space can effectively house everything from off-season clothing to spare linens, helping maintain organization throughout the entire bedroom while preserving valuable closet space for frequently used items.
Required Items:
- Under-bed storage containers or drawers
- Bed risers (if needed)
- Storage bags or vacuum-seal bags
- Labels and marker
- Measuring tape
- Dust ruffle or bed skirt
- Anti-moisture packets
- Cleaning supplies
Start by measuring the available space under your bed, including height, width, and depth. Clear out the area completely and thoroughly clean the floor underneath.
If additional height is needed, install bed risers to create more storage space. Select appropriately sized storage containers that maximize the available space while allowing easy sliding in and out.
Sort items into categories before storing them, using vacuum-seal bags for soft items like clothing or bedding to reduce bulk. Place frequently accessed items toward the front for easy reach, while seasonal or rarely used items can go toward the back.
Label all containers clearly on multiple sides to quickly identify contents without pulling everything out.
Additional Success Tips:
Create a detailed inventory of stored items and their locations for quick reference. Use clear containers when possible to easily identify contents, and consider adding wheels to heavier storage bins for easier access.
Regularly inspect stored items every few months to prevent moisture buildup and ensure everything remains in good condition. Place scented sachets or cedar blocks in containers storing clothing to maintain freshness and deter pests.
Create a Streamlined Nightstand Command Center
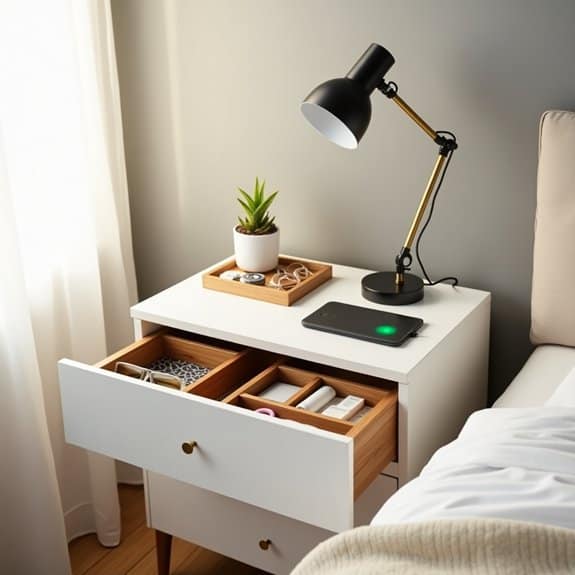
A well-organized nightstand serves as the command center for your bedroom, housing essential items within arm’s reach while maintaining a clutter-free environment.
This small but crucial space impacts both the functionality of your morning and evening routines and the overall aesthetic of your bedroom.
An organized nightstand command center can significantly reduce stress and improve sleep quality by eliminating visual chaos and ensuring everything you need is readily accessible.
When items have designated spots, you’ll spend less time searching for necessities and more time relaxing in your personal space.
Required Items:
- Small drawer organizers or dividers
- Cable management solutions
- Decorative tray or dish
- Small storage boxes or containers
- Drawer liner (non-slip)
- Label maker
- Cleaning supplies
- Multi-outlet surge protector
- Bedside lamp
- Storage basket (if applicable)
Start by completely clearing the nightstand, including drawers and surface areas.
Clean all surfaces thoroughly.
Install a surge protector for electronics and use cable management solutions to contain cords neatly behind or along the side of the nightstand.
Place frequently used items like reading glasses, remote controls, or hand cream on a decorative tray on top of the nightstand.
For drawer organization, insert drawer liners and use small organizers or dividers to create designated spaces for different categories of items.
The top drawer should contain daily essentials like medications, lip balm, or a sleep mask.
Reserve lower drawers for less frequently used items such as extra charging cables, books, or personal care items.
Additional Tips:
Consider implementing a regular weekly maintenance schedule to prevent clutter accumulation.
Remove any items that haven’t been used in the past month.
Keep a small waste basket nearby to dispose of tissues or other disposable items promptly.
Maximize vertical space by using a tiered organizer or wall-mounted shelf above the nightstand if additional storage is needed.
Maximize Vertical Space With Wall-Mounted Organizers
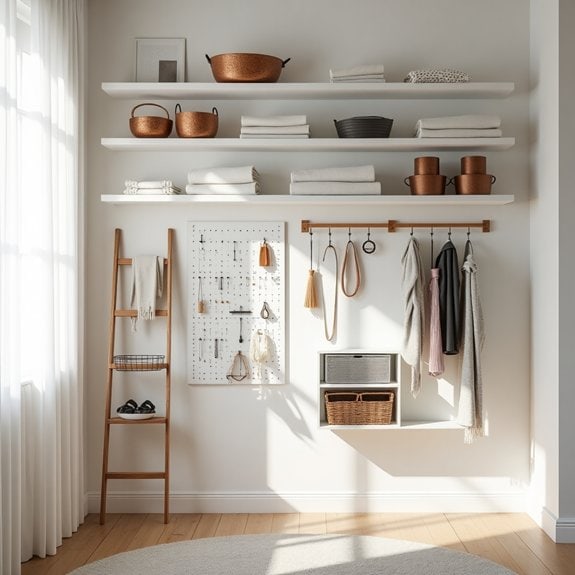
Making the most of vertical space in your bedroom is essential for maximizing storage capacity while maintaining floor space for movement and functionality. Wall-mounted organizers provide an efficient solution by utilizing often-overlooked wall areas, creating storage opportunities that don’t intrude on your living space.
Vertical organization transforms dead wall space into valuable storage real estate, perfect for everything from accessories and shoes to books and decorative items. This approach is particularly valuable in smaller bedrooms where floor space is limited, allowing you to store more items while maintaining a clean, uncluttered appearance.
Required Items:
- Wall studs finder
- Level
- Drill and drill bits
- Screwdriver
- Wall anchors
- Measuring tape
- Pencil
- Wall-mounted shelving units
- Hanging organizers
- Hook racks
- Storage baskets
- Cable ties
- Cleaning supplies
Start by mapping out your wall space using a measuring tape and pencil, marking the areas where you plan to install organizers. Use a stud finder to locate wall studs for secure mounting points. Install the largest units first, such as floating shelves or hanging rod systems, ensuring they’re level and properly anchored.
Follow with smaller organizational elements like hook racks and basket systems, spacing them strategically to maximize accessibility and visual appeal. For optimal organization, group similar items together and assign specific zones for different categories. Install frequently used items at eye level, with seasonal or less-used items stored higher up.
Consider using clear storage containers on upper shelves to easily identify contents, and implement a labeling system for better organization.
Additional Tips: Regularly assess and adjust your vertical organization system as needs change. Leave some wall space empty to prevent visual overcrowding, and consider using coordinating storage containers or baskets to maintain a cohesive look. Remember to factor in the weight capacity of both your wall anchors and the items you plan to store to ensure long-term stability and safety.
Design a Clutter-Free Dresser Top Display
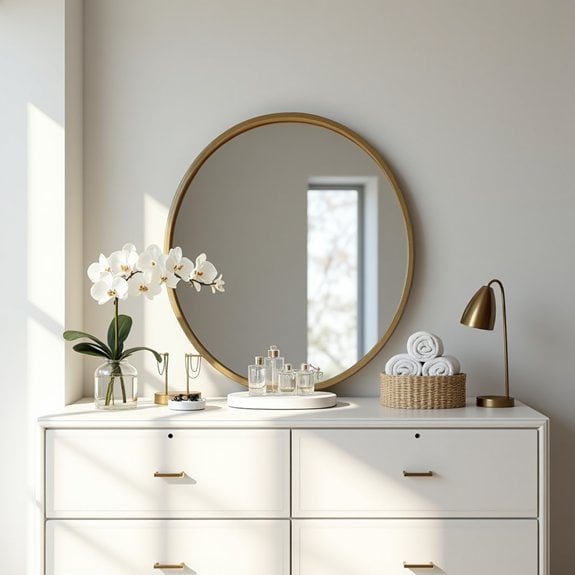
A well-organized dresser top serves as both a functional space and an aesthetic focal point in your bedroom. When properly arranged, this surface can provide easy access to daily essentials while maintaining a calm, organized atmosphere that promotes relaxation and peace of mind.
Creating an intentional display on your dresser top not only prevents random items from accumulating but also transforms this space into a curated area that reflects your personal style. The key lies in striking the perfect balance between practicality and visual appeal, ensuring that frequently used items remain accessible without creating visual chaos.
Needed Items:
- Decorative tray
- Small storage boxes or containers
- Jewelry stand or dish
- Catchall dish
- Glass containers for beauty items
- Cloth or paper napkins
- Basic cleaning supplies
- Storage bins for overflow items
- Drawer organizers
- Measuring tape
Start by completely clearing the dresser top and thoroughly cleaning the surface. Group similar items together and assess which ones truly need to remain on display versus those that can be stored elsewhere.
Select a focal point for your display, such as a mirror or artwork, and position it centrally against the wall. Create designated zones using decorative trays or containers – one for daily essentials, another for jewelry, and perhaps a third for beauty items.
Incorporate height variation in your display by using items of different sizes and elevations. Place taller items toward the back and shorter ones in front for visual interest and easy access. Maintain clear space between groupings to prevent a cluttered appearance and ensure practical use of items.
To maintain your organized dresser top, implement a daily reset routine where items are returned to their designated spots. Consider rotating decorative elements seasonally to keep the display fresh while maintaining its organized structure.
Remember that less is more – if the surface begins to feel crowded, it’s time to reassess and edit your display items.
Install Space-Saving Drawer Dividers and Organizers
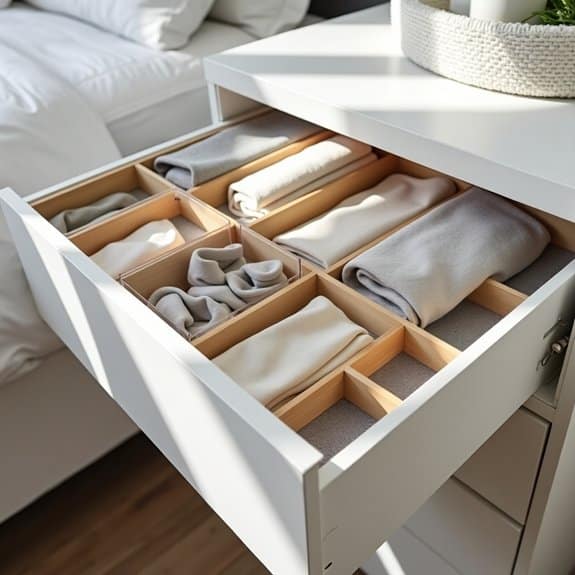
Drawer organization is fundamental to maintaining an orderly bedroom, as drawers often become cluttered catch-alls that waste valuable storage space. Without proper division and organization systems, drawers quickly transform into chaotic spaces where items become lost, wrinkled, or forgotten.
Installing drawer dividers and organizers creates designated spaces for specific items, making it easier to find what you need while maximizing available space. This systematic approach not only keeps belongings neat but also protects delicate items and extends the life of your clothing and accessories.
Required Items:
- Drawer dividers (adjustable or fixed)
- Small organizing boxes or containers
- Drawer liner material
- Measuring tape
- Scissors
- Labels (optional)
- Storage bins in various sizes
- Drawer organizer inserts
- Folding template (optional)
Start by removing everything from the drawer and cleaning it thoroughly. Measure the drawer’s dimensions, accounting for both depth and width, to ensure proper fit of organizing materials.
Install drawer liners first to protect the drawer bottom and prevent items from sliding. Next, position adjustable dividers or place organizing boxes strategically to create sections based on the items you plan to store. Consider the size and quantity of items when determining compartment sizes.
When positioning organizers, create zones for different categories – such as undergarments, socks, accessories, or folded clothing. Arrange items vertically when possible, allowing you to see all items at once rather than stacking them. For clothing drawers, implement the file folding method, where items are stored vertically like files in a filing cabinet, making each piece visible and accessible.
For optimal organization maintenance, regularly assess the effectiveness of your drawer layout and adjust dividers as needed. Consider using clear containers for better visibility and invest in drawer organizers with adjustable compartments to accommodate changing storage needs.
Label sections if sharing the space with others, and periodically review contents to remove unused items that take up valuable drawer space.
Utilize Door Space for Hidden Storage

Making the most of every square inch in your bedroom is essential for maintaining an organized and clutter-free space. Door storage solutions offer valuable vertical storage opportunities that are often overlooked, providing hidden organization without taking up precious floor or wall space.
Door storage systems can transform an underutilized surface into a practical storage powerhouse, perfect for everything from shoes and accessories to daily essentials and beauty products. This optimization of space is particularly valuable in smaller bedrooms or shared living spaces where maximizing storage potential is crucial.
Required Items:
- Over-the-door hanging organizer
- Door-mounted rack system
- Heavy-duty hooks
- Mounting hardware
- Measuring tape
- Level
- Screwdriver
- Command strips or adhesive mounting solutions
- Door stoppers
Begin by measuring your door’s dimensions, including width, height, and thickness, to ensure proper fit of storage solutions. Install door stoppers to prevent damage to walls from added weight. For over-the-door organizers, simply hang the unit over the top of the door, ensuring it’s centered and secure.
For mounted systems, mark mounting points using a level, then secure brackets according to manufacturer instructions, typically using screws or heavy-duty adhesive strips. Position storage components at comfortable reaching heights, with frequently used items at eye level and heavier items toward the bottom for stability.
Additional organization can be achieved by categorizing items within the storage system. Place daily essentials in easily accessible pockets, organize accessories by type or color, and rotate seasonal items as needed. Consider using clear pockets for visibility or labeling opaque compartments for easy identification.
Remember to periodically check mounting hardware and adjust weight distribution to maintain door function and prevent strain on hinges.
Success Tips: When organizing door storage, conduct regular audits of stored items to prevent overcrowding and maintain functionality. Choose storage solutions with adjustable components to adapt to changing needs, and always respect the door’s weight capacity limits.
For shared spaces, assign specific sections to different users to maintain organization and prevent confusion. Consider using door-mounted mirrors with hidden storage to maximize functionality while maintaining aesthetic appeal.
Implement a Seasonal Rotation System
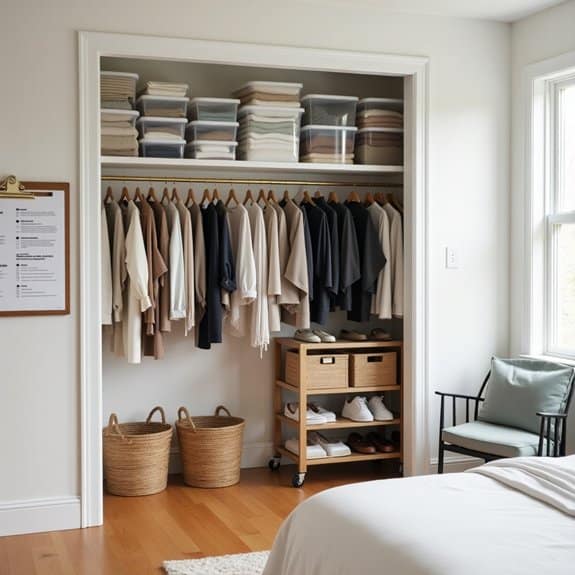
A seasonal rotation system for your bedroom is essential for maximizing space and maintaining an organized environment throughout the year. By rotating clothing and accessories based on the current season, you can free up valuable closet and drawer space while ensuring easy access to items you actually need.
This systematic approach not only prevents cluttered drawers and overstuffed closets but also helps preserve the quality of your clothing by properly storing off-season items. Additionally, rotating your wardrobe forces you to regularly assess your belongings, making it easier to identify items that need repair or should be donated.
Required Items:
- Storage containers or vacuum bags
- Labels and marker
- Garment bags
- Cedar blocks or mothballs
- Inventory list
- Storage bins
- Clean sheets or tissue paper
- Plastic hangers
- Moisture absorbers
The seasonal rotation process begins with a complete assessment of your current wardrobe. Sort items into categories: keep for current season, store for next season, and donate/discard.
Clean all items thoroughly before storage, ensuring they’re completely dry to prevent mold and mildew. Pack off-season clothing in airtight containers or vacuum bags, using cedar blocks or mothballs to protect against insects.
Label each container clearly with contents and season, and store in a cool, dry place such as under the bed, in high closet shelves, or in another room. Create an inventory list of stored items to prevent unnecessary purchases and make the next rotation easier.
As you transition between seasons, allow enough time to air out stored clothing and assess each piece for damage or wear. For optimal results, schedule your rotations during transitional weather periods, typically early spring and early fall.
Keep a small selection of versatile pieces accessible year-round for unexpected weather changes. Consider using this rotation opportunity to implement a one-in-one-out rule, where new purchases must replace existing items to maintain an organized, clutter-free space.
Set Up a Coordinated Clothing Color System
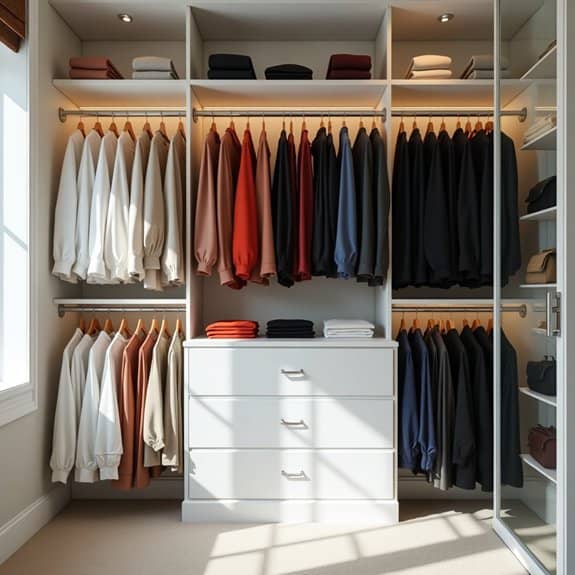
A coordinated clothing color system transforms your closet from a chaotic collection into an organized, visually appealing space that simplifies your daily routine. When clothes are arranged by color, you can quickly locate specific items, create outfits more efficiently, and maintain a better awareness of your wardrobe inventory.
This organization method not only saves time during morning routines but also helps prevent unnecessary purchases by clearly showing what colors dominate your wardrobe. A color-coordinated closet also reduces decision fatigue and creates a more peaceful, boutique-like atmosphere in your bedroom space.
Required Items:
- Hangers (uniform style)
- Color sorting bins or boxes
- Labels or tags
- Drawer dividers
- Clothing rack (temporary, for sorting)
- Storage containers for off-season items
- Clear plastic bags for protection
- Basic cleaning supplies
- Note-taking materials
Start by removing all clothing items from your closet and sorting them into basic color groups: whites, blacks, greys, browns, reds, blues, greens, yellows, purples, and prints. Within each color group, arrange items from lightest to darkest shades. Consider the spectrum of the rainbow as your guide, moving from warm to cool colors.
For maximum effectiveness, separate your clothes by category within each color group (shirts, pants, dresses, etc.). Arrange your clothing in your closet following the color progression, starting with whites on one end, moving through neutrals, then continuing through the color spectrum. Position frequently worn colors at eye level and in easily accessible locations.
For items that contain multiple colors, categorize them based on the dominant shade. Create a separate section for patterns and prints at the end of your color sequence.
To maintain your newly organized system, implement a “one in, one out” rule when adding new clothing items, and conduct monthly assessments to ensure items remain in their designated color sections. Consider using color-coded hangers or tags for an additional visual organization layer, and keep a small section at the front of your closet for planning outfits in advance.
Regular maintenance of this system will ensure long-term organization success and continued efficiency in your daily routine.
Establish a Daily Reset Routine for Lasting Order
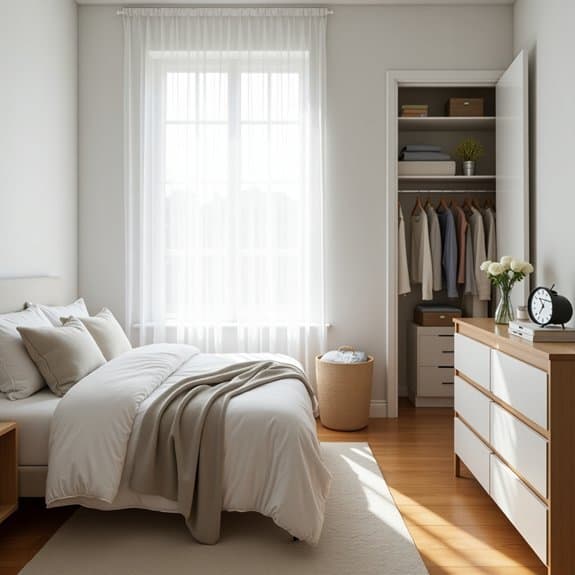
A daily reset routine is fundamental to maintaining an organized bedroom, serving as the cornerstone of long-term tidiness and peace of mind. Just 10-15 minutes of daily maintenance can prevent the common cycle of major cleanup sessions and subsequent disorder that many people experience with their bedroom spaces.
Creating a structured reset routine transforms your bedroom from a constantly cluttered space into a serene sanctuary that stays organized effortlessly. This systematic approach not only maintains order but also reduces stress, improves sleep quality, and starts each day on a positive note.
Required Items:
- Laundry basket
- Small trash bin
- Storage containers
- Cleaning cloth
- Basic cleaning spray
- Drawer organizers
- Hangers
- Storage boxes
- Timer (optional)
The daily reset routine should be divided into morning and evening components. In the morning, begin by making your bed immediately upon waking – this creates an instant sense of accomplishment and order. Next, collect any clothes from the floor or furniture, placing clean items in drawers or on hangers and dirty ones in the laundry basket. Remove any dishes, water glasses, or trash that accumulated overnight.
The evening reset focuses on preparing the space for rest. Clear all flat surfaces of items that don’t belong, returning them to their designated spots. Arrange pillows and decorative elements neatly, and ensure pathways are clear. Take five minutes to do a quick declutter of any items that have migrated to the bedroom throughout the day. Finally, prepare tomorrow’s outfit and place it in an accessible location.
To maximize the effectiveness of your daily reset routine, set a specific time for both morning and evening resets and stick to it religiously. Consider creating a checklist to follow until the routine becomes habitual, and use the timer feature on your phone to ensure you don’t get caught up in extended organizing sessions.
Remember that consistency is more important than perfection – even a partial reset is better than none at all.

