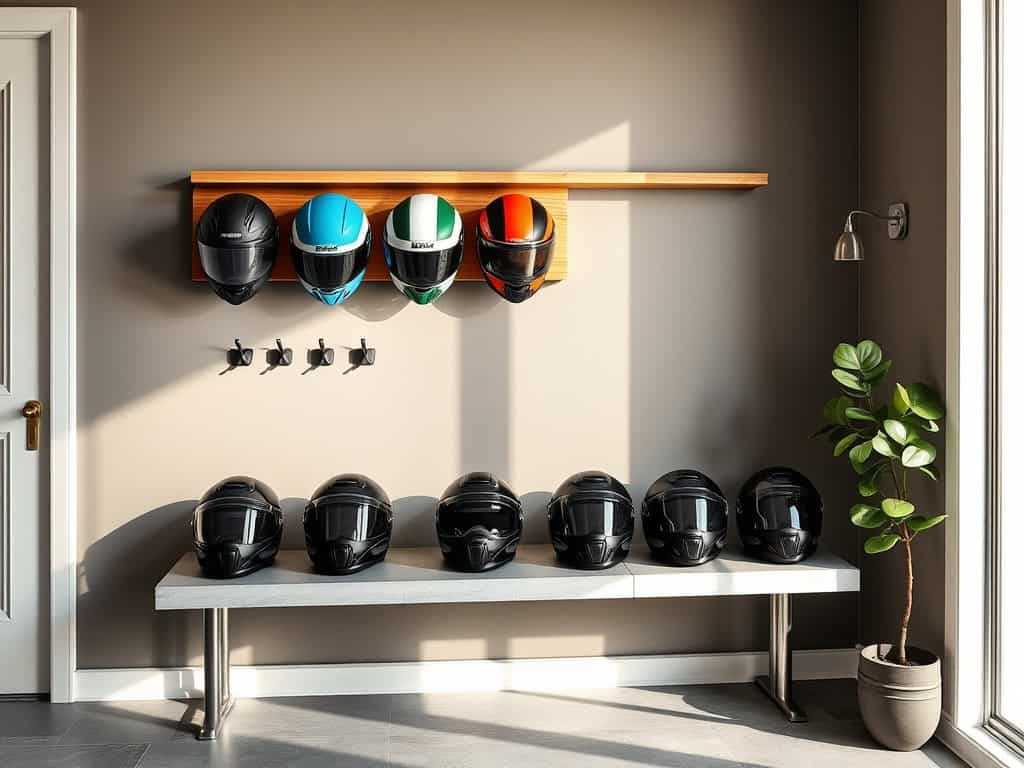
If you’re a helmet enthusiast like me, you know the struggle of keeping your collection organized and protected. I’ve tried everything from stacking them precariously in my closet to displaying them on my dresser (not my proudest decorating moment). But after years of trial and error, I’ve discovered eight clever storage solutions that’ll transform your helmet chaos into an organized display. Let me share these game-changing ideas that’ll help you reclaim your space while showing off your gear.

Wall-Mounted Helmet Racks
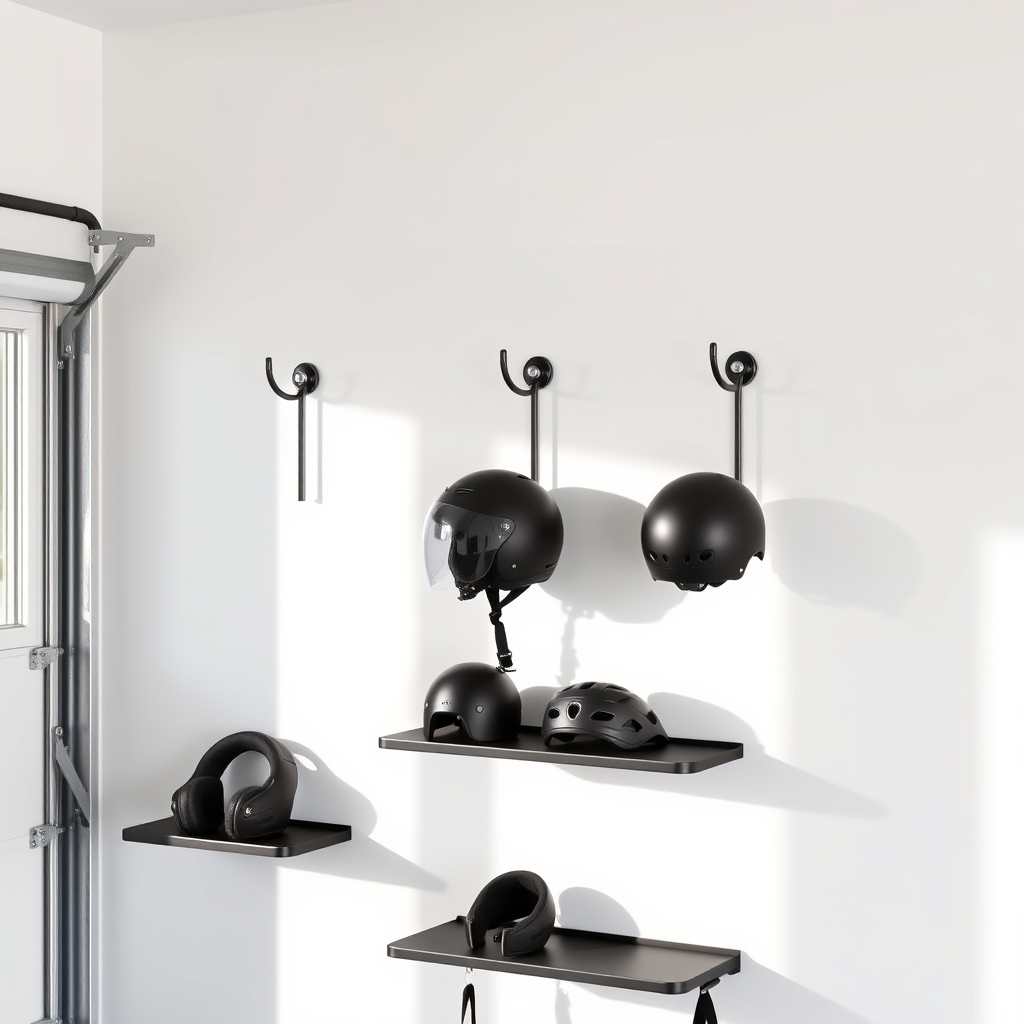
Proper helmet storage is crucial for maintaining the integrity and longevity of protective headgear while maximizing space efficiency in your garage, mudroom, or storage area. Wall-mounted helmet racks provide an organized solution that keeps helmets off the ground, preventing damage and creating easy access when needed.
Wall-mounted storage systems not only protect your investment in quality helmets but also create an attractive display that can showcase your gear while maintaining cleanliness and order. This organization method is particularly beneficial for households with multiple helmets for different activities or family members.
Required Items:
- Wall-mounted helmet hooks or racks
- Drill
- Level
- Pencil
- Measuring tape
- Wall anchors
- Screws
- Stud finder
- Screwdriver
- Safety glasses
Installation and organization begins with selecting an appropriate wall space that provides easy access while keeping helmets protected from direct sunlight and extreme temperatures. Using a stud finder, locate and mark wall studs for secure mounting.
Measure and mark mounting points, ensuring proper spacing between helmets (typically 12-16 inches apart). Install wall anchors if mounting directly into drywall, or secure directly into studs using appropriate screws. Mount the hooks or racks according to manufacturer specifications, ensuring they’re level and can support the weight of your helmets.
For optimal organization and longevity of your wall-mounted helmet storage system, rotate helmets periodically to prevent stress on specific mounting points, and inspect the mounting hardware every few months for security.
Consider installing hooks at varying heights to accommodate different helmet sizes and styles, and place frequently used helmets at eye level for convenient access. Add small hooks or shelving nearby for related accessories such as gloves or goggles to create a complete storage station.
Over-the-Door Helmet Organizers
Proper helmet storage is crucial for maintaining the integrity and safety features of these essential protective items. When helmets are stored haphazardly, they can become damaged, take up unnecessary space, or become obstacles in living areas, potentially leading to accidents or deterioration of the helmet’s protective capabilities.
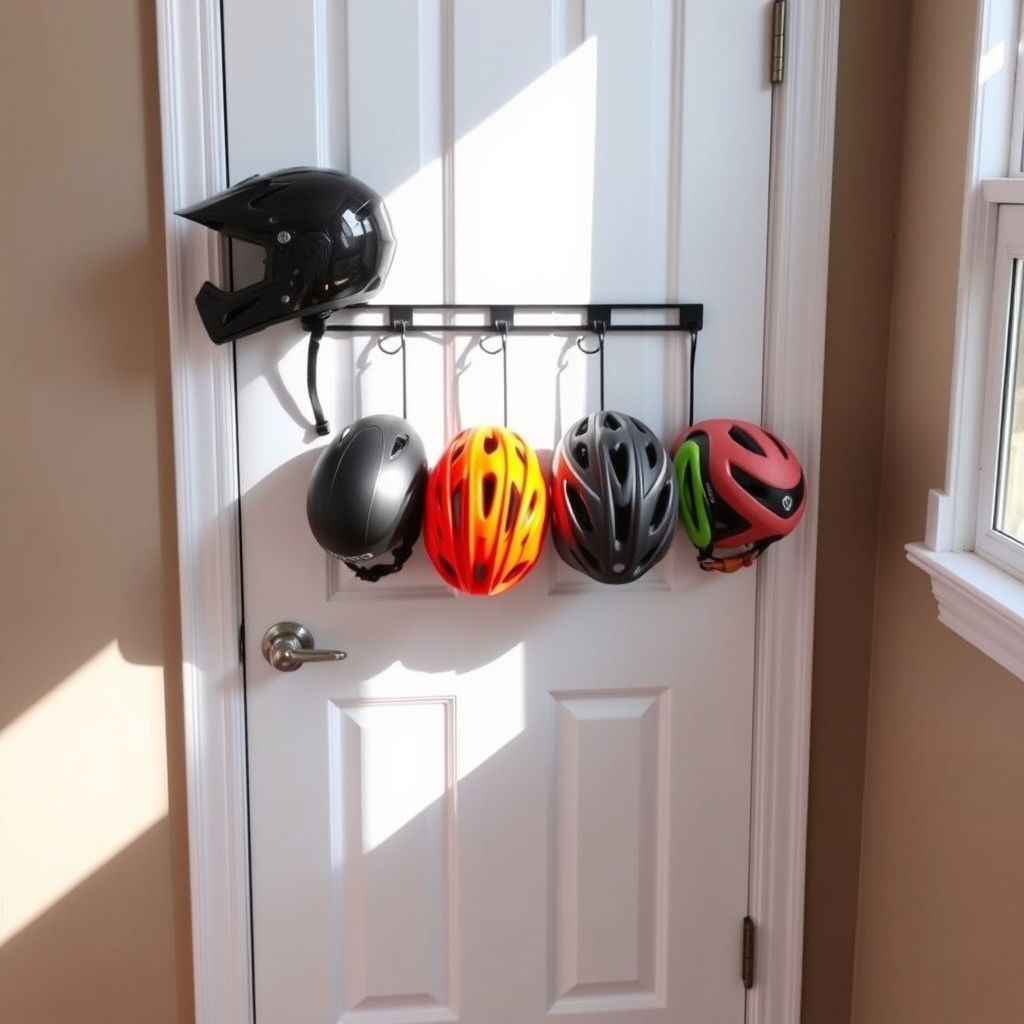
Over-the-door helmet organizers offer an efficient solution for homes where space is at a premium. This storage method utilizes vertical space that often goes unused, keeping helmets easily accessible while protecting them from damage. It’s particularly beneficial for families with multiple helmets or those who engage in various activities requiring different types of protective headgear.
Required Items:
- Over-the-door hooks or rack system
- Measuring tape
- Pencil
- Level
- Screwdriver
- Wall anchors (if needed)
- Door protector pads
- Protective helmet bags (optional)
Installation and organization begins with measuring the door’s width and height to select an appropriately sized organizer system. Position the over-the-door hooks or rack at a height that allows easy access while preventing helmets from touching the floor.
When installing multiple hooks, space them approximately 12 inches apart to prevent helmets from bumping into each other. If using a rack system, secure it properly over the door, ensuring it’s level and stable.
Place the heaviest helmets at the bottom of the organizer to maintain stability. For motorcycle or sports helmets with straps, utilize these to secure the helmet firmly to the hooks. Consider using protective bags for each helmet to prevent dust accumulation and minor scratches. Label each hook or section if multiple family members are sharing the storage space.
For optimal organization maintenance, regularly inspect the hooks or rack system for stability and tightness. Consider adding a small shelf or basket near the helmet storage for related items like gloves or goggles.
During seasonal changes, rotate helmets based on usage frequency, keeping the most commonly used ones at eye level for convenient access. Clean the storage area monthly to prevent dust buildup and maintain the integrity of both the storage system and the helmets.
Custom Shelf Storage Solutions
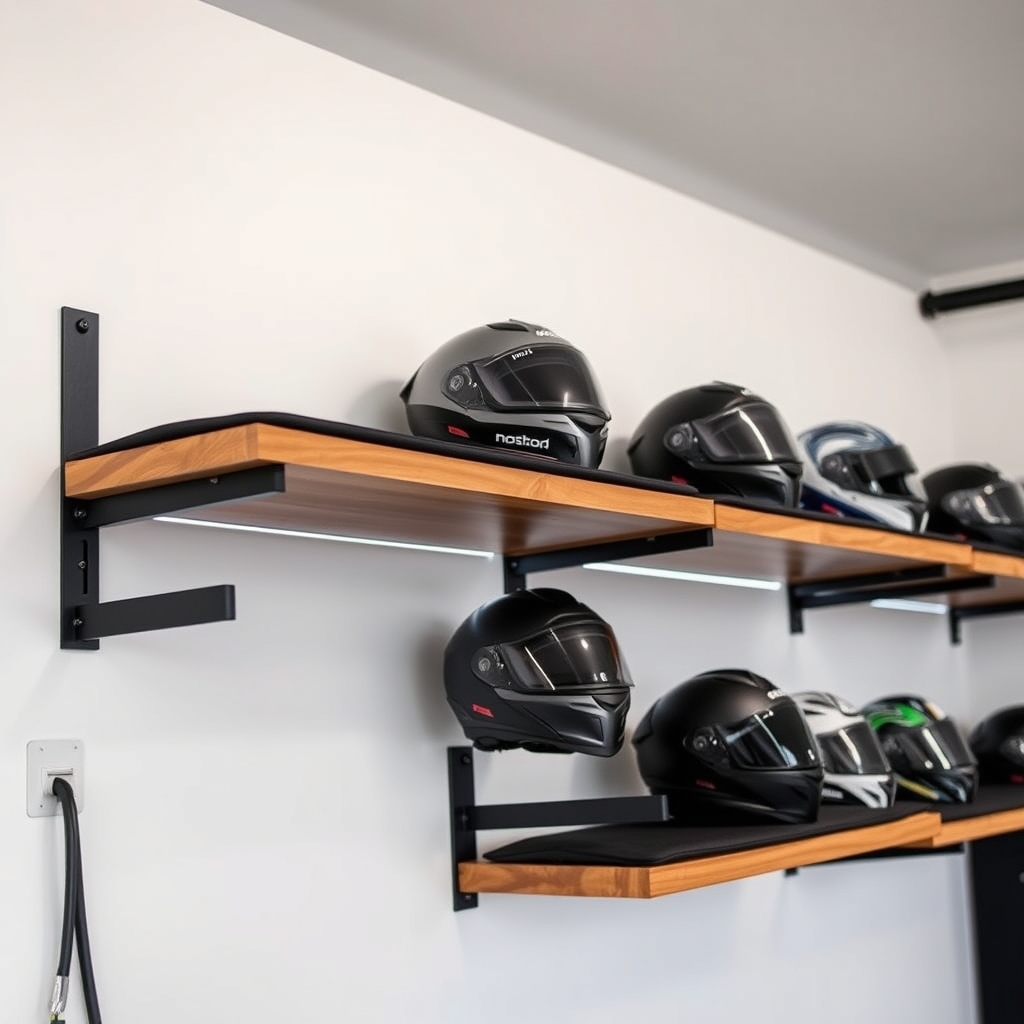
Proper helmet storage not only protects your valuable gear but also creates an organized and efficient space in your home or garage. Custom shelf solutions specifically designed for helmets prevent damage, keep them easily accessible, and can transform a cluttered area into an attractive display of your protective equipment.
Creating a dedicated helmet storage system with custom shelving allows you to maximize vertical space while keeping each helmet dust-free and within reach. The right shelf configuration can accommodate multiple helmets of different sizes and styles, from motorcycle helmets to sports gear, ensuring each piece has its designated spot.
Required Items:
- Wooden planks or shelving material
- Wall brackets or mounting hardware
- Measuring tape
- Level
- Power drill
- Screwdriver
- Wall anchors
- Pencil
- Helmet hooks or pegs (optional)
- Padding material
- Safety glasses
- Work gloves
Start by measuring your wall space and the dimensions of your helmets to determine proper shelf spacing. Install the first row of brackets at least 14 inches from the ceiling, ensuring they’re properly anchored into wall studs.
Mount additional brackets at 12-15 inch intervals vertically, depending on helmet sizes. Secure wooden planks or shelving material to the brackets, making sure each shelf is level and can support the weight of multiple helmets.
For enhanced protection, add padding material to each shelf surface where helmets will rest. Install optional hooks or pegs beneath the shelves for hanging additional gear or smaller items. Consider incorporating dividers between helmet spaces to prevent contact and potential scratching.
To maximize your custom shelf storage system, rotate helmets periodically to ensure even weight distribution and prevent pressure points. Keep frequently used helmets at eye level for easy access, and consider adding LED strip lighting under shelves to improve visibility and create an attractive display effect.
Clean shelves regularly to prevent dust accumulation and maintain the condition of your protective gear.
Freestanding Helmet Display Stands
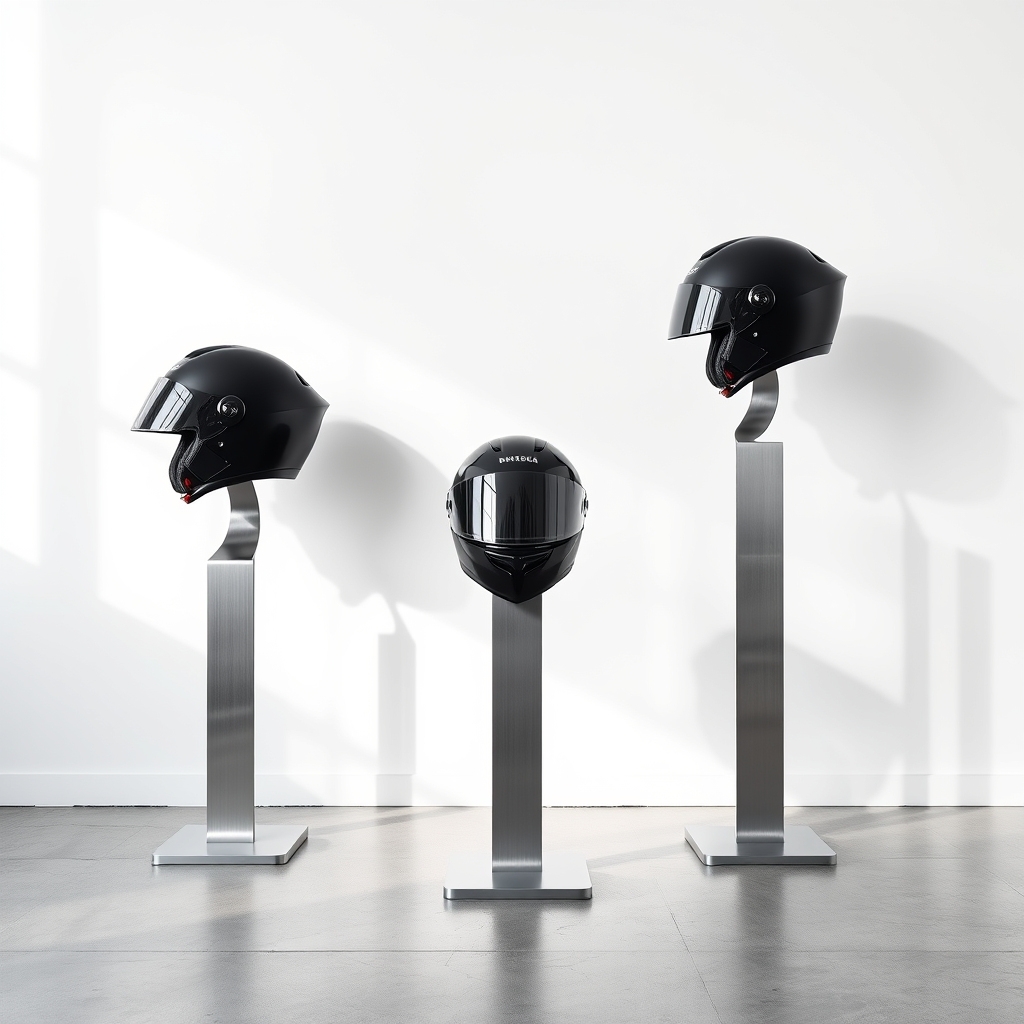
Properly displaying helmets not only keeps them protected but also turns them into attractive decorative pieces in your space. Whether you’re a motorcycle enthusiast, sports player, or collector, organizing your helmets on freestanding display stands prevents damage while making them easily accessible.
Freestanding helmet displays create an organized system that extends the life of your protective gear by preventing scratches and maintaining proper ventilation. These displays also make efficient use of vertical space and allow you to showcase special edition or custom helmets as conversation pieces in your home or garage.
Required Items:
- Helmet display stands
- Measuring tape
- Cleaning cloth
- Level
- Cable ties (optional)
- Display risers (optional)
- LED lighting (optional)
- Heavy-duty shelf liner
- Dust covers
Select a stable, level surface away from direct sunlight and high-traffic areas to position your freestanding displays. Measure the space and arrange stands with enough clearance between each helmet to prevent contact. Clean each stand thoroughly before placing helmets, and consider using shelf liner underneath to prevent sliding.
Position frequently used helmets at easily accessible heights, with special or display-only pieces elevated for visual impact. For optimal organization, group helmets by type, size, or frequency of use. Ensure the display stands are rated for your helmet weights and feature padding or protective surfaces where the helmet makes contact.
Consider incorporating LED lighting to highlight specific pieces and add ambient lighting to the display area.
Additional Tips: Rotate your helmet positions periodically to ensure even exposure to environmental conditions. Use dust covers when helmets aren’t being displayed actively, and maintain a regular cleaning schedule for both the stands and helmets.
Consider adding small labels or tags to identify each helmet’s purpose or significance, especially in collections with multiple similar pieces.
Cabinet and Drawer Storage Systems
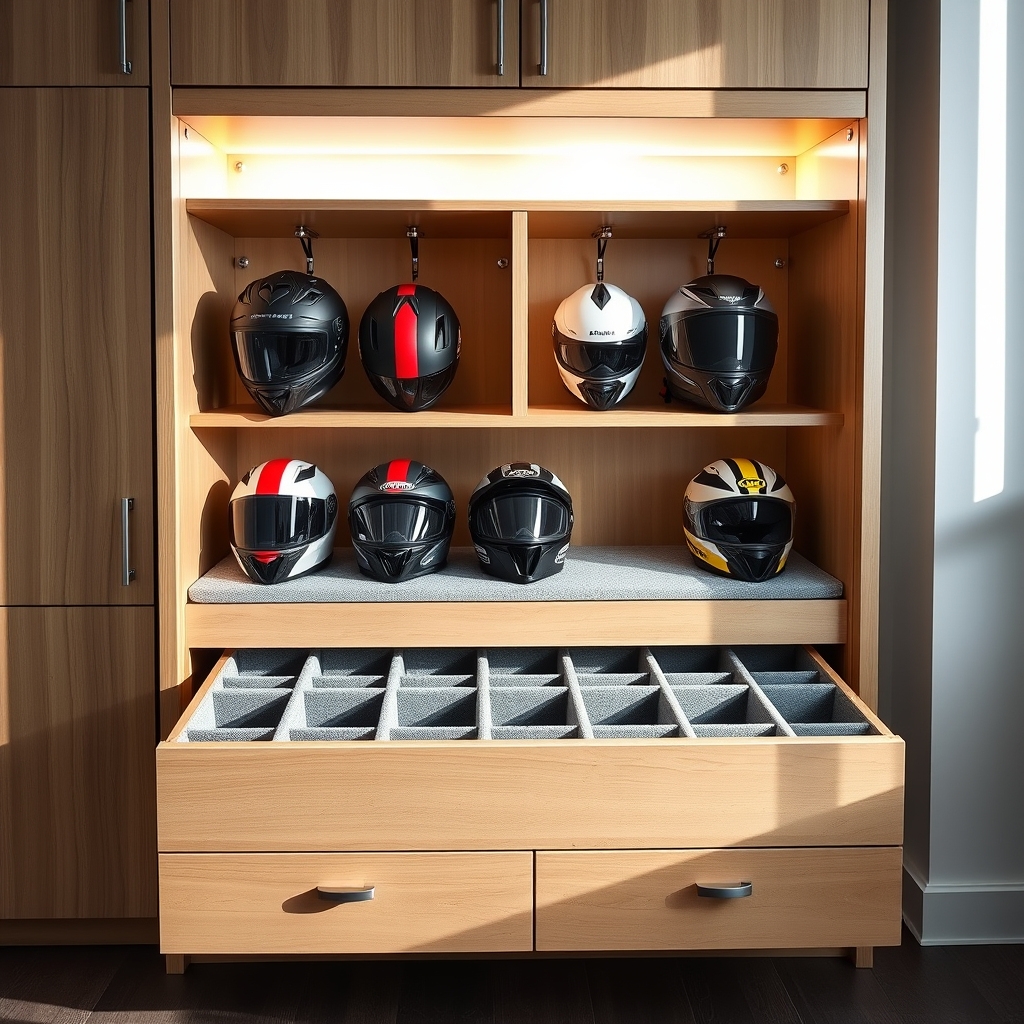
Proper helmet storage in cabinets and drawers is essential for maintaining the integrity of protective gear while maximizing available space. Well-organized storage systems prevent damage to helmet shells and interior padding, extending their lifespan and ensuring they’re ready when needed.
Creating dedicated storage spaces within cabinets and drawers not only protects your investment in safety equipment but also makes helmets easily accessible. An organized system eliminates the frustration of searching for specific helmets and prevents them from being knocked around or scratched by other items.
Required Items:
- Cabinet or drawer unit
- Shelf liner material
- Helmet hooks or mounting brackets
- Drawer dividers
- Measuring tape
- Screwdriver
- Wall anchors
- Label maker
- Microfiber cleaning cloth
- Storage bins (optional)
Begin by measuring your cabinet or drawer space and planning the layout based on helmet sizes and quantities. Install shelf liner material to prevent scratching and provide cushioning. For cabinets, mount helmet hooks or brackets at appropriate intervals, ensuring proper weight distribution and clearance between helmets.
In drawers, install dividers to create individual compartments that prevent helmets from touching each other. For vertical cabinet storage, position hooks at least 12 inches apart and stagger them at different heights to maximize space usage. When using drawers, create a single layer of helmets with padded dividers between each one.
Consider installing pull-out drawer slides for easier access to helmets stored in deep cabinets. To optimize your storage system, regularly clean both the storage space and helmets before placing them in their designated spots. Use labels to identify specific helmets or assign spaces to family members.
Consider adding small bins for storing related items like cleaning supplies or extra padding. Keep heavier helmets on lower shelves or in bottom drawers for better stability and easier access.
Pegboard Helmet Organization
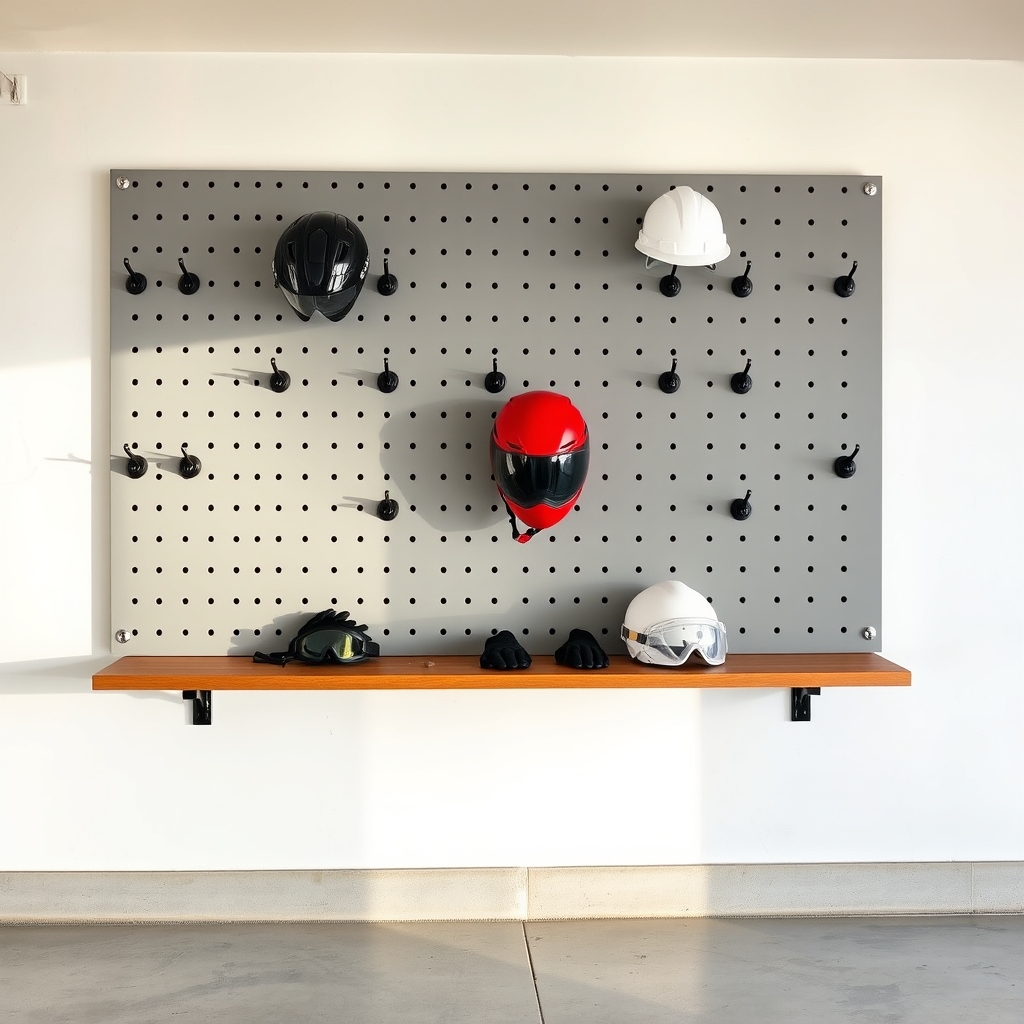
Organizing helmets on a pegboard system represents one of the most efficient and visually appealing storage solutions for any garage or storage space. A well-organized helmet display not only protects valuable safety equipment but also makes it easily accessible while maximizing vertical wall space that might otherwise go unused.
Proper pegboard organization transforms cluttered spaces into functional storage areas, preventing helmets from being damaged by falling or improper storage. This system works particularly well for multiple helmet types, from motorcycle and bicycle helmets to sports and construction helmets, allowing quick identification and access while keeping them safely off the ground.
Required Items:
- Pegboard panel
- Pegboard hooks (J-hooks and straight hooks)
- Wall anchors
- Screws
- Level
- Drill
- Measuring tape
- Pencil
- Stud finder
- Rubber-coated hooks (optional)
- Spacers
Mount the pegboard securely to the wall by first locating wall studs using a stud finder. Install spacers between the wall and pegboard to allow room for hook placement, then secure the board using appropriate screws and wall anchors.
Position J-hooks at strategic points, spacing them approximately 12-15 inches apart horizontally and 14-16 inches vertically to accommodate different helmet sizes. For heavier helmets, use two hooks per helmet to distribute weight evenly.
Consider helmet frequency of use when organizing placement, keeping regularly used helmets at eye level and less frequently used ones higher or lower. Install rubber-coated hooks if concerned about helmet scratches or damage. Test the security of each hook before hanging helmets, and ensure proper weight distribution across the pegboard.
Additional Tips:
Label hook positions for specific helmets to maintain organization over time, and periodically inspect hooks for wear or loosening.
Consider installing a small shelf beneath the pegboard for related items like gloves or goggles. Install the pegboard in a location away from direct sunlight and extreme temperature fluctuations to preserve helmet integrity.
Rolling Cart Storage Solutions
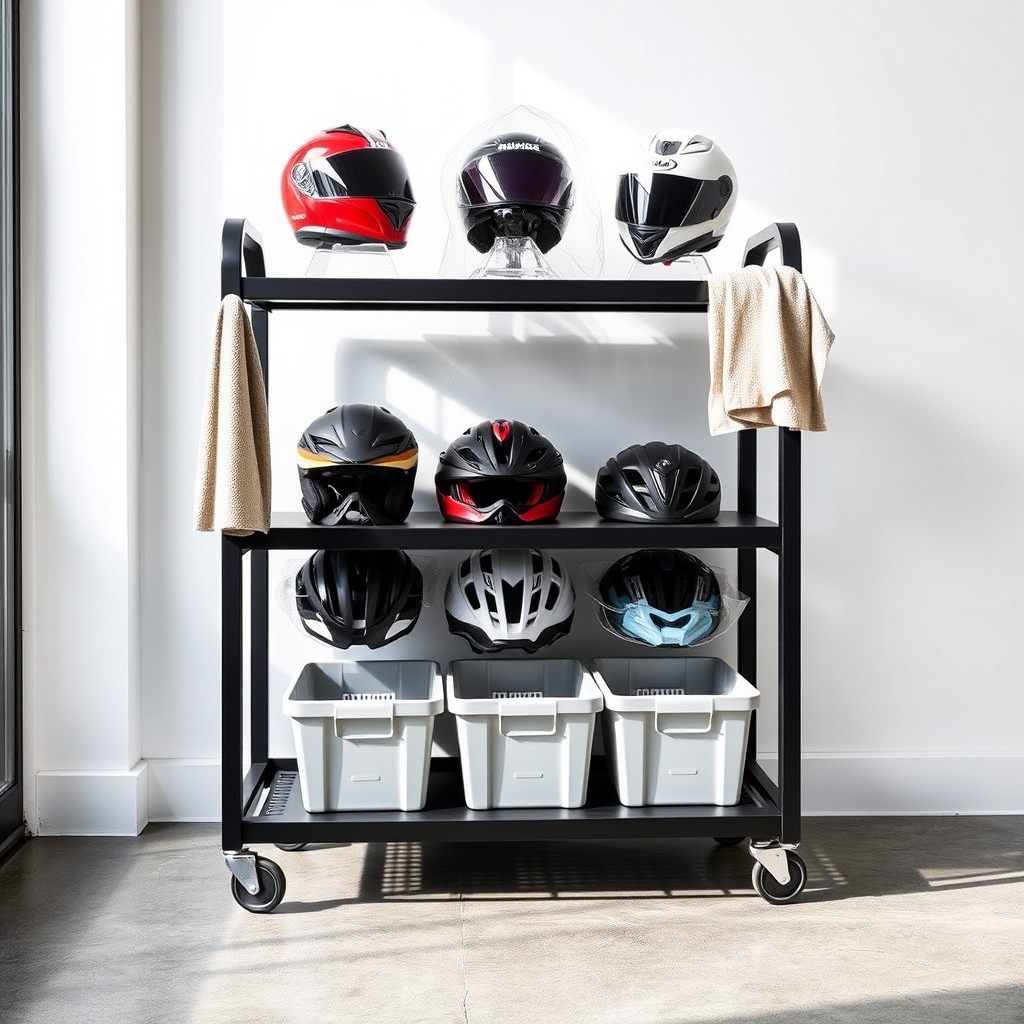
Organizing helmets using a rolling cart system provides a practical and space-efficient solution for both home and professional environments. The mobility of rolling carts allows easy access to protective gear while keeping helmets safely stored and preventing damage from stacking or improper handling.
A well-organized rolling cart system not only protects valuable helmets but also creates a designated space that promotes regular maintenance and proper storage habits. This method is particularly beneficial for families with multiple helmets, sports facilities, or motorcycle enthusiasts who need to store various types of protective headgear.
Required Items:
- Multi-tier rolling cart
- Non-slip shelf liner
- Helmet hooks or stands
- Label maker
- Microfiber cleaning cloths
- Storage bins or baskets
- Bungee cords or straps
- Dust covers
- Disinfectant spray
- Measuring tape
Start by selecting an appropriately sized rolling cart with multiple tiers, ensuring each shelf can accommodate your helmet collection with adequate spacing. Line each shelf with non-slip material to prevent movement and protect the helmets’ exterior. Install helmet hooks or stands on the sides of the cart for additional storage options, spacing them according to helmet size.
Organize helmets by category, frequency of use, or user, placing frequently accessed items at eye level. For optimal organization, dedicate specific areas within the cart for related accessories such as visors, padding, or cleaning supplies. Use storage bins or baskets on lower shelves to contain smaller items. Secure the helmets using bungee cords or straps when moving the cart, and implement dust covers to protect stored helmets from debris.
To maintain the organization system, regularly clean both the helmets and cart surfaces, inspect for any wear or damage, and adjust the layout as needed. Consider implementing a check-out system for shared environments, and keep a maintenance log to track cleaning and inspection dates.
Position the cart in a temperature-controlled area away from direct sunlight to preserve the integrity of both the helmets and storage materials.
Floating Shelf Helmet Storage
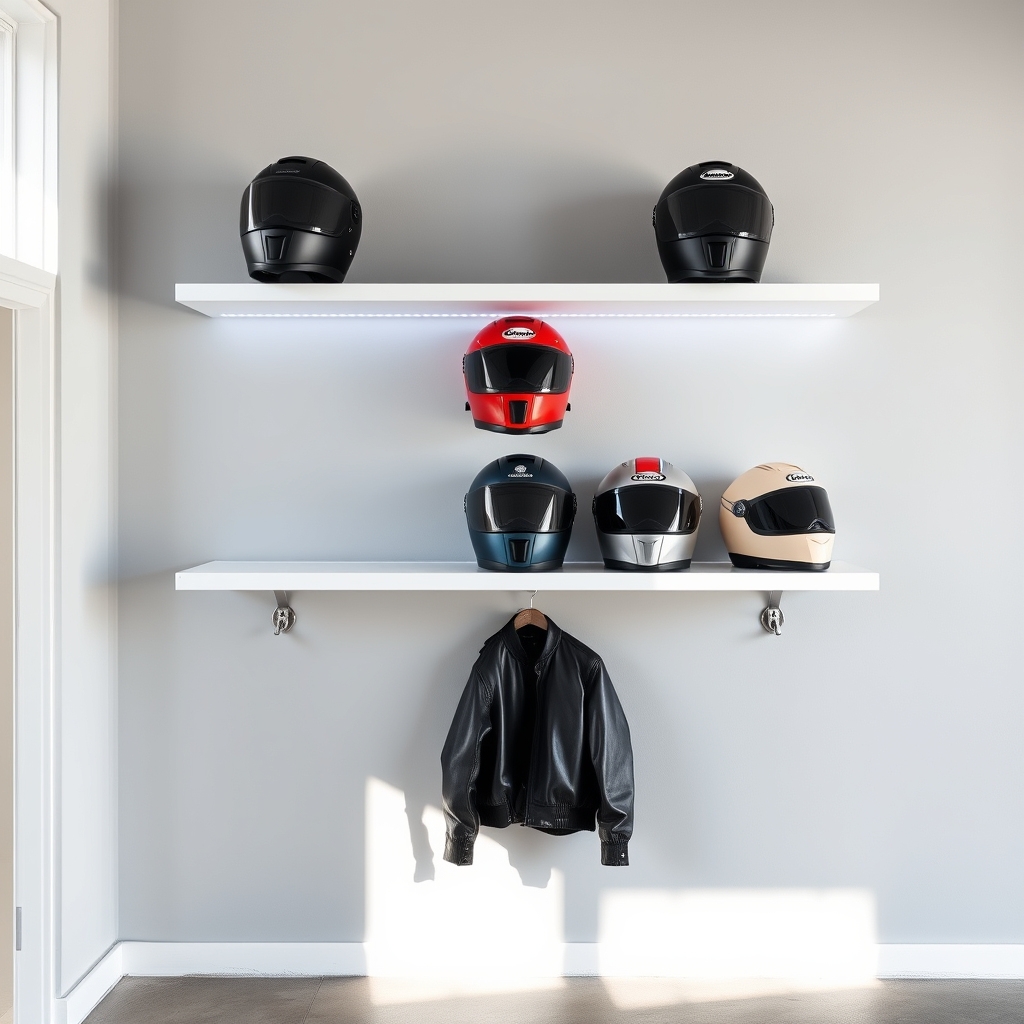
Proper helmet storage is crucial for maintaining the integrity and longevity of protective headgear while keeping your space organized and clutter-free.
Floating shelves offer an elegant solution that combines functionality with aesthetic appeal, transforming helmets into displayable items rather than mere safety equipment tucked away in closets.
Floating shelf helmet storage maximizes vertical wall space while keeping helmets easily accessible and visible. This storage method prevents helmets from getting knocked around or damaged, and the open-air display allows proper ventilation, preventing moisture buildup that could lead to unpleasant odors or deterioration of interior padding.
Required Items:
- Heavy-duty floating shelves
- Wall anchors
- Level
- Drill
- Screwdriver
- Measuring tape
- Pencil
- Stud finder
- Helmet hooks or brackets (optional)
- Decorative elements (optional)
Install floating shelves by first locating wall studs using a stud finder and marking their positions. Measure and mark shelf placement, ensuring adequate vertical spacing between shelves (typically 12-16 inches) to accommodate different helmet sizes.
Mount shelves according to manufacturer instructions, using appropriate wall anchors for added security. Position helmets with enough space between them to prevent contact and potential scratches. For motorcycle or bicycle helmets, consider installing additional hooks or brackets beneath the shelves to hang related gear like gloves or goggles.
For optimal organization and preservation, maintain at least 2-3 inches of space between helmets and ensure shelves are mounted securely enough to support the combined weight of multiple helmets.
Position shelves away from direct sunlight and heat sources to prevent damage to helmet materials. Consider adding LED strip lighting beneath shelves for both practical visibility and aesthetic enhancement.
Clean shelves regularly to prevent dust accumulation, and periodically check mounting hardware to ensure continued stability and security.

