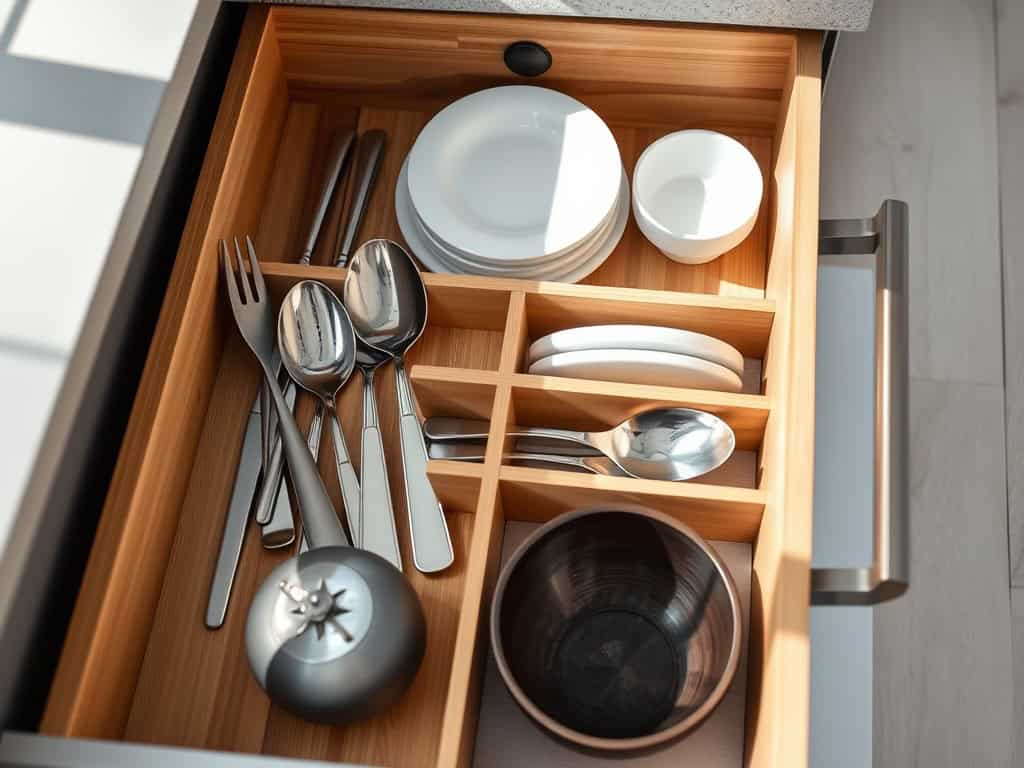
If your kitchen cabinets look like they’ve hosted one too many dinner parties, you’re not alone! I’ve discovered nine genius organization ideas that’ll transform your chaotic cookware into a beautifully arranged space. As someone who’s battled the endless cycle of cluttered countertops and jumbled drawers, I’m excited to share these game-changing solutions that have saved my sanity (and my favorite plates). Ready to turn your kitchen into an Instagram-worthy showcase?
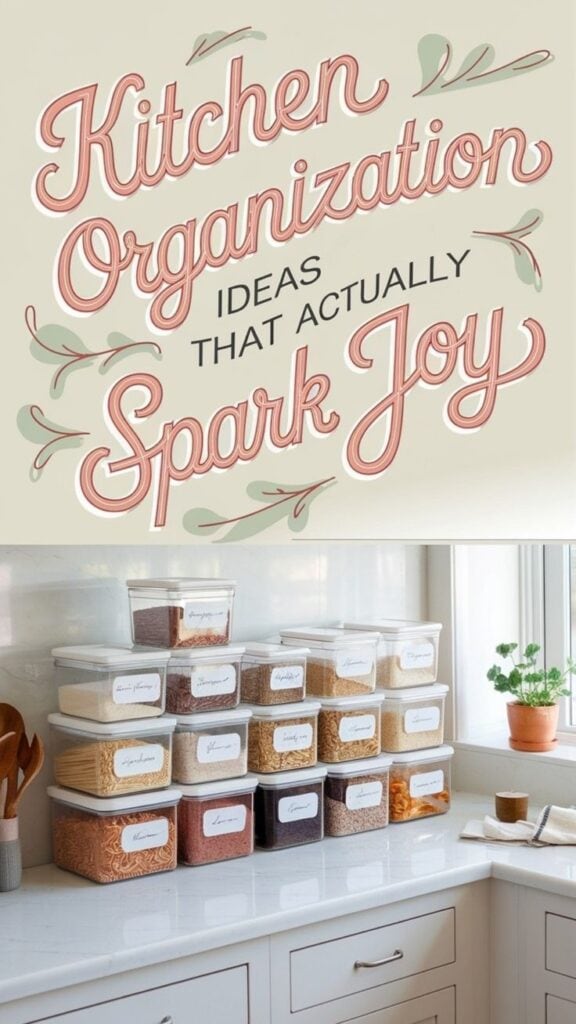
Vertical Plate Racks: The Space-Saving Solution
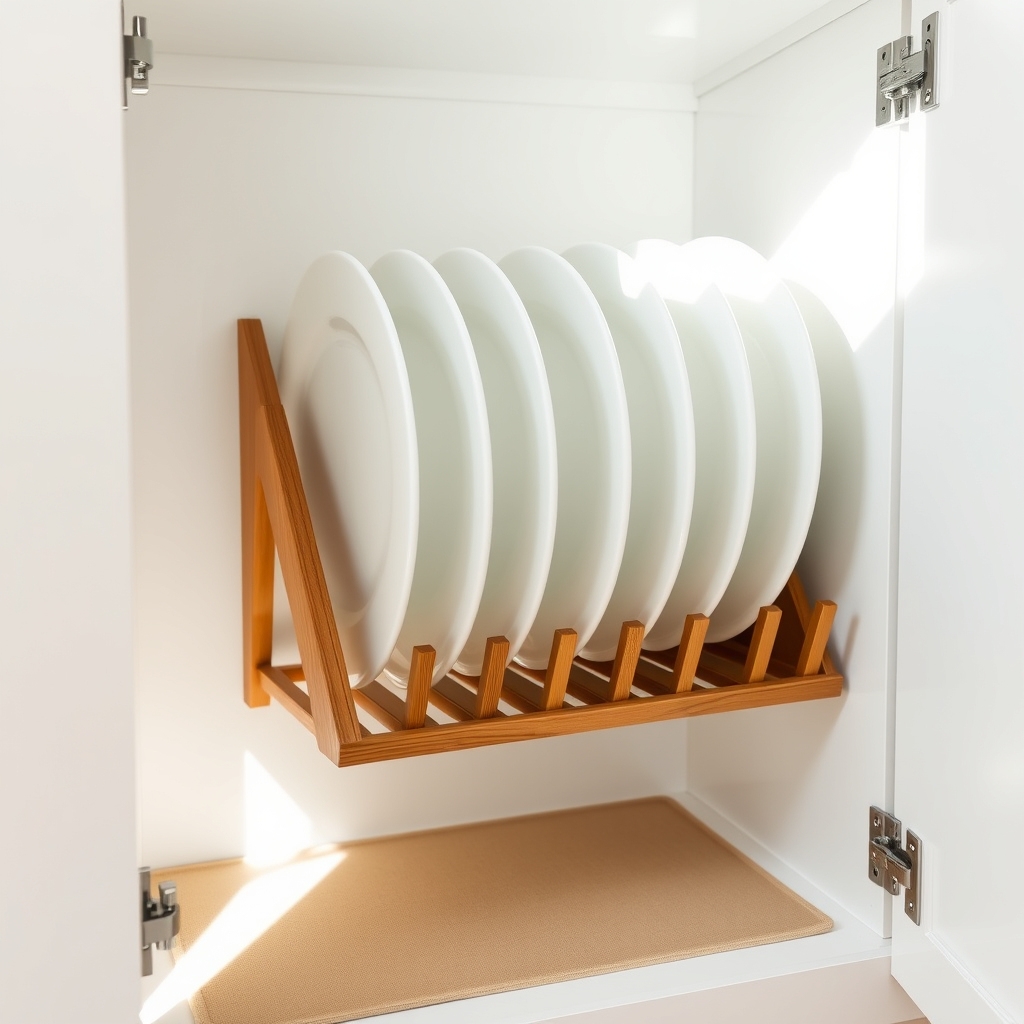
Vertical plate storage represents one of the most efficient ways to maximize kitchen cabinet space while keeping dishes easily accessible. Traditional horizontal stacking can lead to cluttered cabinets, difficulty accessing items, and potential damage to plates when stacked too high.
Vertical organization eliminates these issues while creating a visually appealing storage solution. Implementing vertical plate racks transforms awkward cabinet spaces into functional storage areas, reducing the footprint needed for dish storage by up to 50%.
This organization method not only protects plates from chips and cracks but also makes it easier to see and select specific dishes without unstacking multiple items.
Required Items:
- Vertical plate rack (wood or metal)
- Measuring tape
- Screwdriver
- Wall anchors
- Level
- Pencil
- Cabinet liner (non-slip)
- Cleaning supplies
- Labels (optional)
Installation and organization begins with measuring your cabinet space and selecting an appropriately sized vertical rack. Place non-slip liner at the bottom of the cabinet to prevent movement.
Mount the rack securely using proper anchors, ensuring it’s level and stable. When positioning plates, arrange them by size, with dinner plates followed by salad plates and bread plates. Leave adequate space between each dish to prevent contact and potential damage.
For optimal functionality, consider arranging plates by frequency of use, keeping everyday dishes at eye level and special occasion pieces in less accessible spots. If using multiple racks, group similar items together and maintain consistent spacing.
Label sections if sharing the kitchen with family members or roommates to maintain organization.
Additional Tips:
Store plates with minimal gaps to maximize space while ensuring easy removal. Clean the rack regularly to prevent dust accumulation and maintain hygiene.
Consider installing rubber bumpers on the rack’s contact points to protect plate edges and reduce noise when sliding dishes in and out. Periodically check the rack’s stability and tighten any loose screws to maintain safety and effectiveness.
Stack Smart With Adjustable Cabinet Dividers
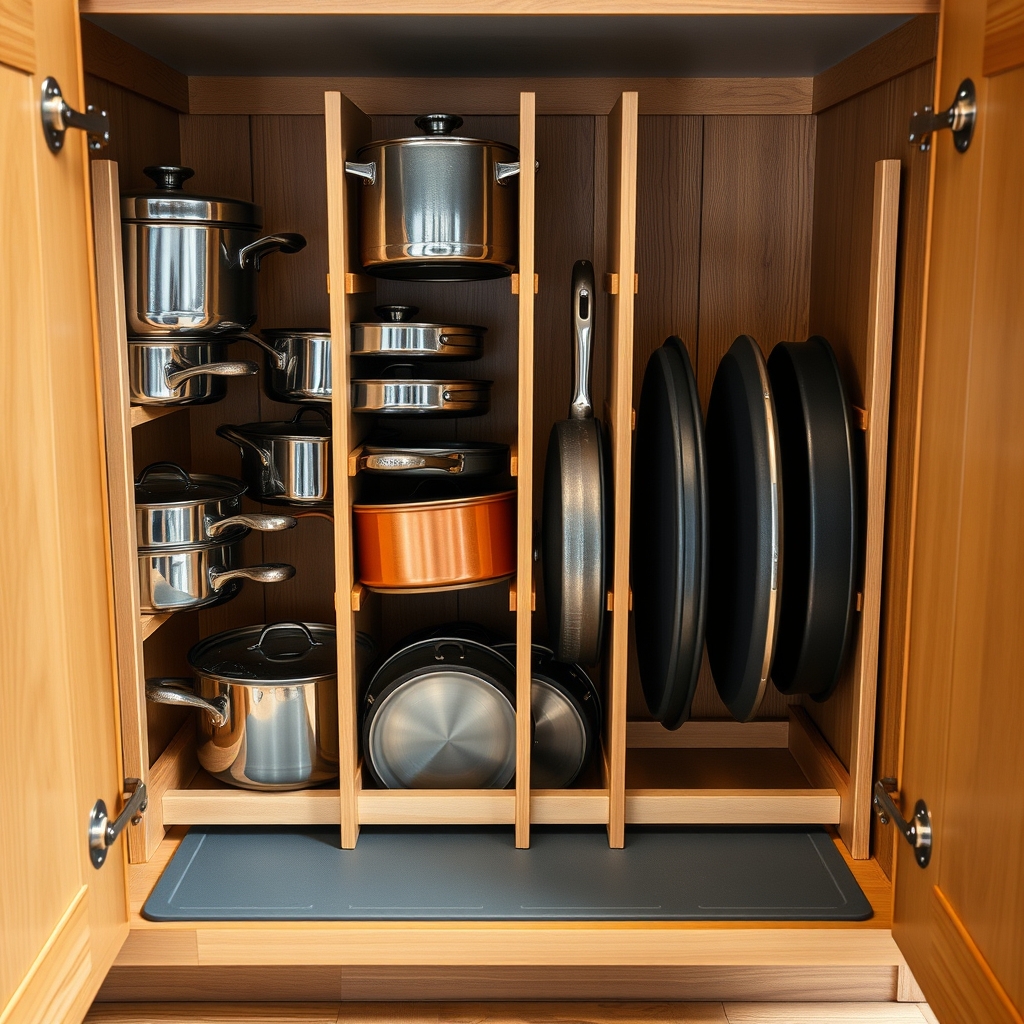
Cabinet organization can make or break a functional kitchen. When pots, pans, and lids are stacked haphazardly, finding the right item becomes a frustrating treasure hunt that wastes valuable time and creates unnecessary noise and clutter. Properly divided cabinet space transforms chaos into order, making cooking more enjoyable and efficient.
Adjustable cabinet dividers are the secret weapon of well-organized kitchens. These versatile tools can be customized to fit any cabinet size and accommodate different types of cookware, creating designated spaces that prevent items from tumbling over or becoming trapped beneath heavier pieces.
Required Items:
- Adjustable cabinet dividers
- Measuring tape
- Pencil
- Cabinet liner (non-slip)
- Clean cloth
- Label maker (optional)
- Storage bins (optional)
Start by removing everything from the cabinet and measuring the interior dimensions. Install non-slip liner on the cabinet bottom to prevent dividers from shifting. Position the adjustable dividers vertically or horizontally based on your cookware sizes, ensuring proper spacing for easy access.
Create sections for different categories: large pots, small pots, frying pans, and lids. Stack similar items together, keeping frequently used pieces toward the front. For deep cabinets, consider using stepped organizers to maximize vertical space.
When placing items back in the cabinet, position the heaviest pieces on the bottom. Store lids vertically using the dividers as support, or invest in a dedicated lid organizer. Leave enough space between sections to prevent scratching and allow for easy removal without disturbing other items.
Additional Tip: Review your organization system every three months to ensure it still meets your needs. Adjust divider positions as your cookware collection changes, and consider adding labels to help family members maintain the system.
Remember to measure your largest cookware pieces when spacing dividers to prevent future storage challenges.
Clear Counters With Wall-Mounted Dish Storage
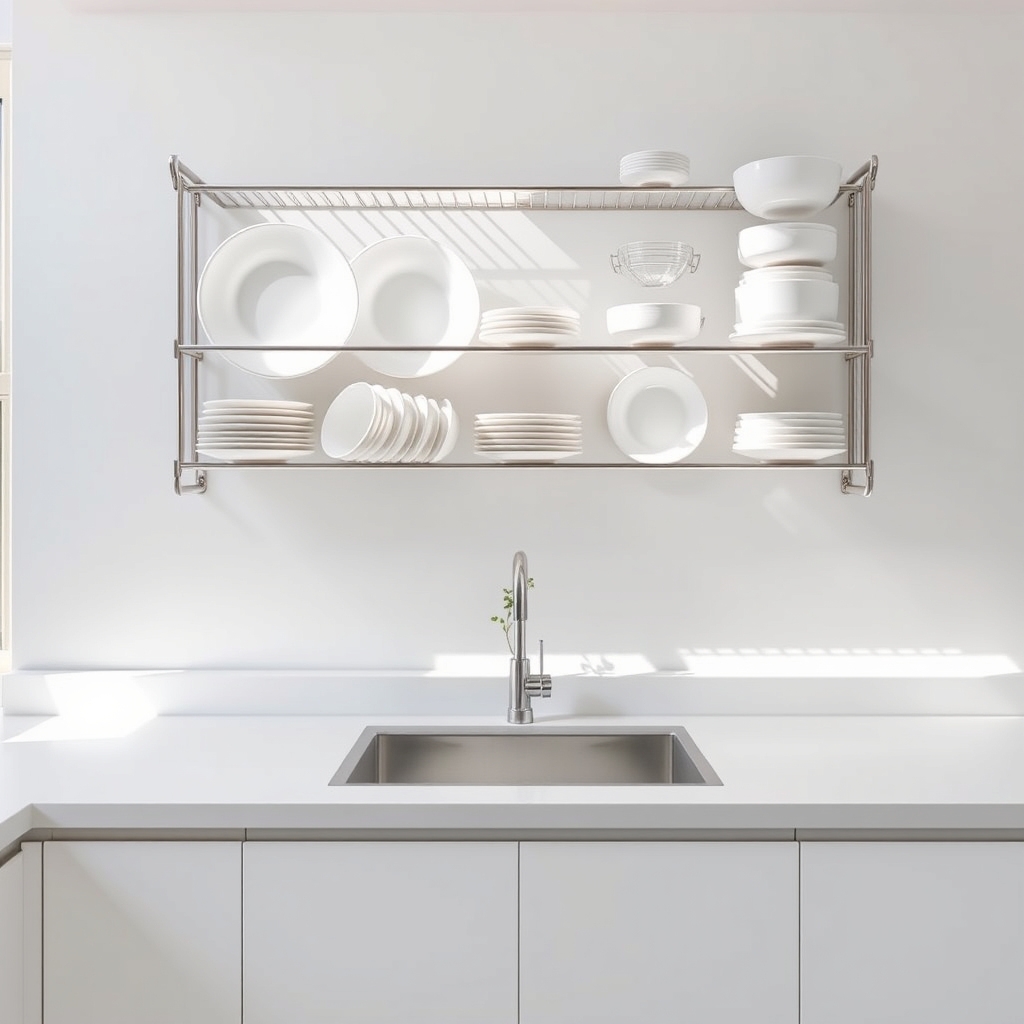
Counter space is one of the most valuable commodities in any kitchen, yet it’s often cluttered with drying dishes, frequently used plates, and cooking essentials. Wall-mounted dish storage offers an innovative solution that transforms vertical wall space into functional storage while freeing up precious counter real estate.
By moving dishes to the wall, you not only create a more spacious cooking environment but also add an element of visual interest to your kitchen. Wall-mounted dish storage can serve both practical and decorative purposes, displaying your favorite pieces while keeping them easily accessible for daily use.
Required Items:
- Wall-mounted dish rack or plate holders
- Wall anchors and screws
- Level
- Drill
- Measuring tape
- Pencil
- Stud finder
- Screwdriver
- Clean microfiber cloths
- Optional: decorative backing board
Installation and Organization Process:
First, select an appropriate wall space near your prep area or dishwasher, ensuring it’s easily accessible but protected from cooking splatter. Use a stud finder to locate wall studs and mark their positions.
Measure and mark the desired height and spacing for your dish rack, keeping in mind the sizes of various dishes you’ll be storing. Install wall anchors where needed, then mount the rack securely to the wall, ensuring it’s perfectly level.
Once mounted, organize dishes by size and frequency of use, placing everyday items at eye level and less-used pieces higher up. Consider incorporating a mix of open shelving and hanging racks to accommodate different types of dishes and create visual interest.
Clean all dishes thoroughly before placing them on the rack to prevent water spots or stains on your wall.
Additional Tips:
To maximize the effectiveness of your wall-mounted dish storage, rotate dishes regularly to prevent dust accumulation and consider installing subtle lighting to highlight your display.
Use rubber-coated hooks or racks to prevent scratching on delicate dishes, and maintain adequate spacing between items to prevent chipping. Periodically check the mounting hardware to ensure it remains secure, especially in areas with high humidity or frequent temperature changes.
Drawer Organization Systems for Daily Dinnerware
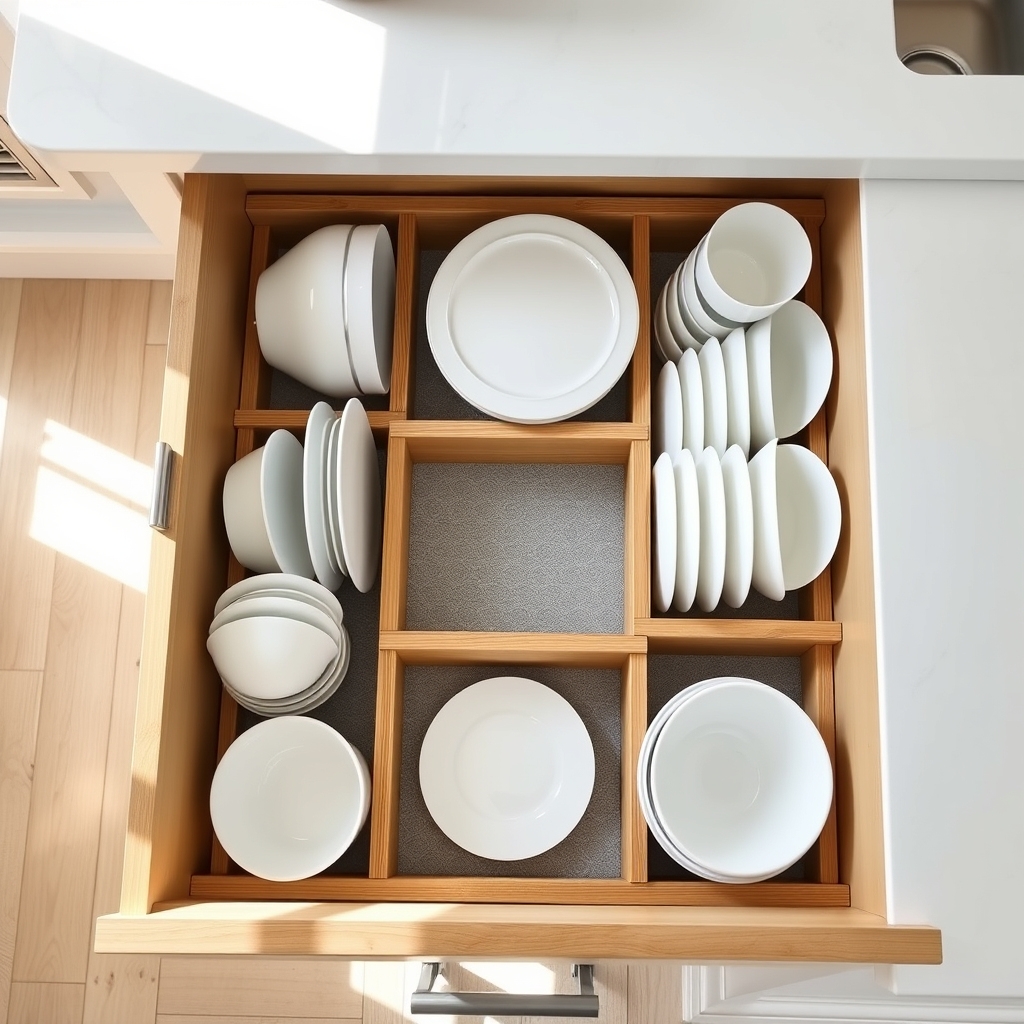
Organizing daily dinnerware in drawers represents a modern approach to kitchen storage that can dramatically improve your cooking and serving efficiency. Well-organized drawers eliminate the need to stretch or strain when reaching for plates and bowls in upper cabinets, making meal preparation and table setting more ergonomic and enjoyable.
Proper drawer organization for dinnerware not only protects your dishes from chips and cracks but also maximizes valuable kitchen storage space. When everything has a designated spot, you can quickly assess your inventory, maintain cleanliness, and ensure that items are returned to their proper places after washing.
Required Items:
- Drawer dividers or adjustable organizers
- Non-slip drawer liner
- Measuring tape
- Foam plate separators
- Drawer depth extenders (if needed)
- Protective felt pads
- Labels
- Cleaning supplies
Start by emptying the drawer completely and measuring its dimensions. Install non-slip liner material to prevent dishes from sliding and provide cushioning.
Place adjustable drawer dividers to create separate sections based on your dinnerware sizes, ensuring each compartment can accommodate the height and width of specific items. Position larger plates at the back of the drawer, with smaller plates and bowls toward the front for easy access. Stack similar items together, using protective separators between plates to prevent scratching.
Consider weight distribution when organizing, placing heavier items toward the drawer’s center and back to maintain smooth operation. Create designated zones for different types of dinnerware: dinner plates, salad plates, soup bowls, and everyday serving pieces. If storing multiple sets, arrange them vertically rather than stacking too high to prevent excess weight and potential damage.
For optimal maintenance, regularly assess the organization system and adjust dividers as needed. Clean drawer liners monthly to prevent dust accumulation, and periodically check for signs of wear on protective materials.
Consider implementing a rotation system for frequently used items to ensure even wear, and always lift items straight up rather than sliding them to maintain the integrity of both the dishes and the organizational materials.
Open Shelving Display That Works
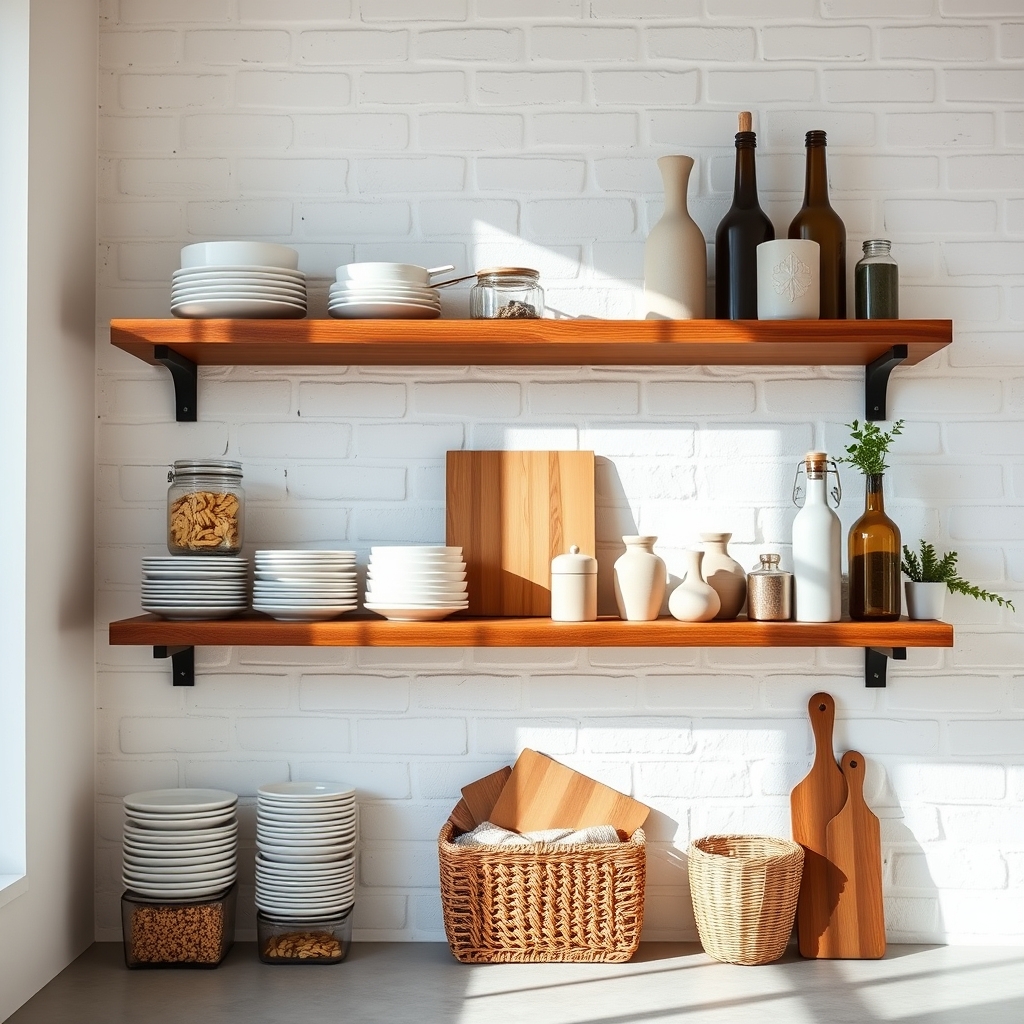
Open shelving has become increasingly popular in modern kitchens, offering both aesthetic appeal and practical functionality. When properly organized, these displays can transform a kitchen into an inviting space while keeping frequently used items within easy reach. The key is striking the perfect balance between style and practicality.
Creating an effective open shelving display requires careful planning and consideration of both form and function. A well-organized system not only showcases your favorite pieces but also maintains a clutter-free environment that makes cooking and entertaining more enjoyable. The right arrangement can make your kitchen feel more spacious while keeping essential items accessible.
Required Items:
- Shelf brackets and hardware
- Level
- Measuring tape
- Glass or ceramic containers
- Baskets or storage bins
- Label maker
- Cleaning supplies
- Shelf risers (optional)
- Bookends or shelf dividers
- Clear glass jars
Start by removing everything from your shelves and grouping items by category: everyday dishes, cooking essentials, decorative pieces, and storage containers. Assess each item’s frequency of use and visual appeal. Position frequently used items on lower shelves within easy reach, while placing decorative or rarely used pieces on higher shelves.
Create visual balance by arranging items in groups of three or using varying heights. Stack plates and bowls neatly, and use clear containers for dry goods to maintain a cohesive look. Incorporate different textures and materials, such as wooden cutting boards, metallic containers, and ceramic pieces, to add visual interest while maintaining functionality.
For maximum impact and longevity of your organized shelving, rotate items seasonally and regularly assess their usefulness. Keep heavier items toward the back of shelves for stability, and maintain some negative space to prevent a cluttered appearance.
Consider using shelf liners to protect surfaces and make cleaning easier. Remember to dust and clean items regularly, as open shelving requires more frequent maintenance than closed cabinets.
Maximize Corner Cabinets With Rotating Systems
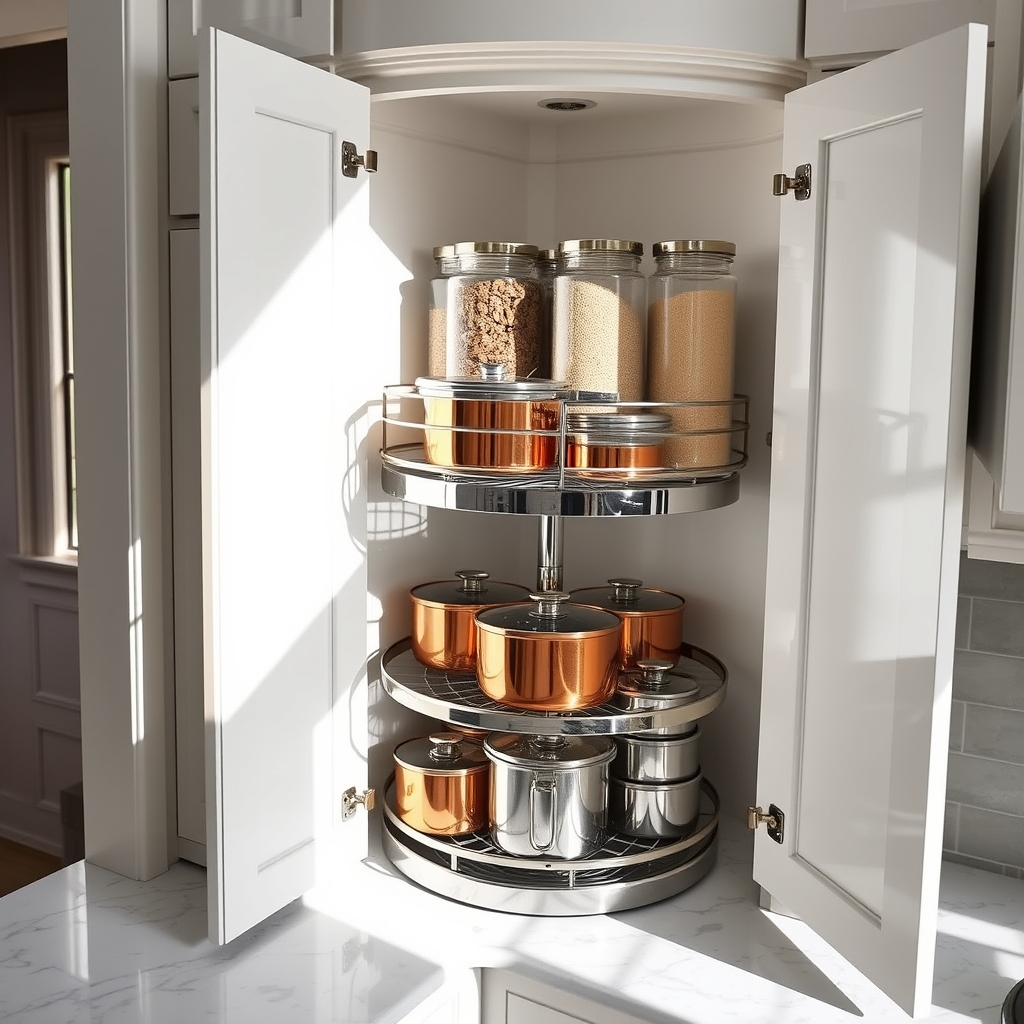
Corner cabinets often become the black holes of kitchen storage, with items disappearing into their depths never to be seen again. These awkward spaces can account for up to 20% of your kitchen storage capacity, making their proper organization crucial for an efficient kitchen. Implementing rotating systems transforms these potentially wasted spaces into highly functional storage areas.
Modern rotating systems, such as Lazy Susans and corner carousel units, have revolutionized corner cabinet functionality. These mechanisms provide easy access to items stored in the furthest reaches of corner cabinets, eliminating the need to crawl inside or use a flashlight to locate items. With proper organization, these systems can store everything from small appliances to pantry items while keeping them readily accessible.
Required Items:
- Rotating cabinet system (Lazy Susan or carousel)
- Measuring tape
- Cabinet organizers or bins
- Non-slip shelf liner
- Labels
- Cleaning supplies
- Screwdriver set
- Level
- Installation hardware (if not included)
Installing and organizing a corner cabinet rotating system starts with thorough measurement and planning. Remove all items from the existing cabinet and clean thoroughly. Install the rotating mechanism according to manufacturer specifications, ensuring it’s level and properly secured.
Consider height clearance for stored items and adjust shelves accordingly. Organize items by frequency of use, placing everyday items on the most accessible levels. Group similar items together and use containers to prevent small items from falling through gaps.
To optimize your newly organized corner cabinet system, place frequently used items at eye level and heavier items on lower shelves for stability. Consider using clear containers or bins to easily identify contents, and implement a labeling system.
Regularly maintenance checks ensure smooth operation of the rotating mechanism. Keep a small amount of space between items to prevent jamming, and periodically review and adjust your organization system based on changing needs.
Under-Cabinet Solutions for Small Kitchens
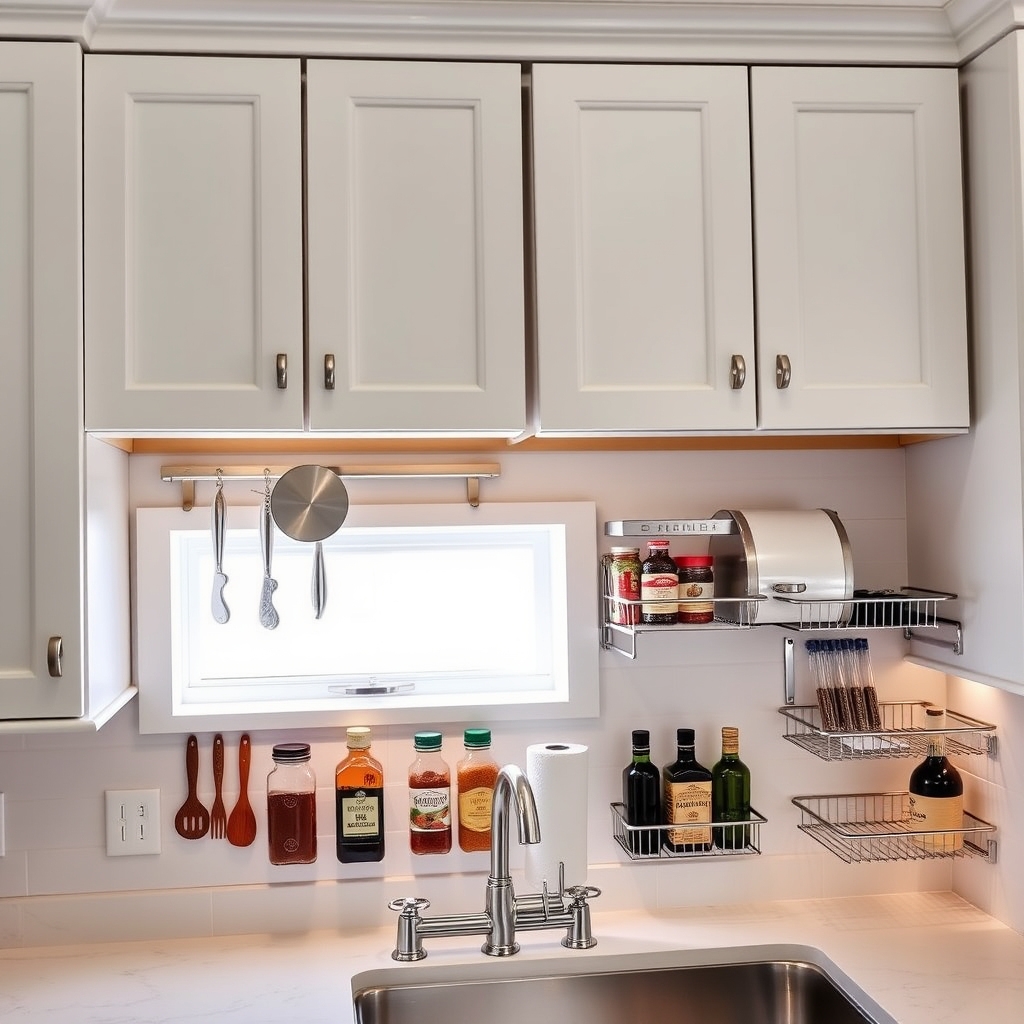
Making the most of under-cabinet space is crucial in small kitchens where every inch counts. These often-overlooked areas offer valuable storage potential that can significantly reduce counter clutter and create a more functional cooking environment. When properly utilized, under-cabinet spaces can store everything from cooking essentials to small appliances.
Under-cabinet organization transforms dead space into practical storage zones while keeping frequently used items within arm’s reach. This approach not only maximizes storage capacity but also creates a cleaner, more professional-looking kitchen environment that enhances both workflow and aesthetic appeal.
Required Items:
- Under-cabinet hooks
- Adhesive mounting strips
- Under-cabinet baskets
- Pull-out organizers
- Magnetic strips
- Cabinet door organizers
- Measuring tape
- Pencil
- Level
- Screwdriver
- Drill (if mounting hardware required)
- Cabinet-grade screws
Start by measuring the available space under each cabinet, noting any obstacles like support beams or existing fixtures. Install under-cabinet hooks or magnetic strips along the cabinet’s bottom edge for hanging frequently used utensils or lightweight cookware.
Mount pull-out organizers for items like spices or cooking oils, ensuring they’re secured properly to support the weight. For areas under sink cabinets, implement sliding organizers or stackable bins to maximize vertical space while maintaining easy access to cleaning supplies.
Install door-mounted organizers on cabinet doors to utilize often-wasted space for storing pot lids, cutting boards, or wrap dispensers.
Additional Tips:
Consider installing battery-operated under-cabinet lighting while organizing to improve visibility and functionality. Group similar items together and place frequently used items toward the front for easy access.
Regularly review and adjust your organization system based on usage patterns, removing items that aren’t frequently used to maintain optimal efficiency in your under-cabinet storage solutions.
Dish Drying Racks That Double as Storage
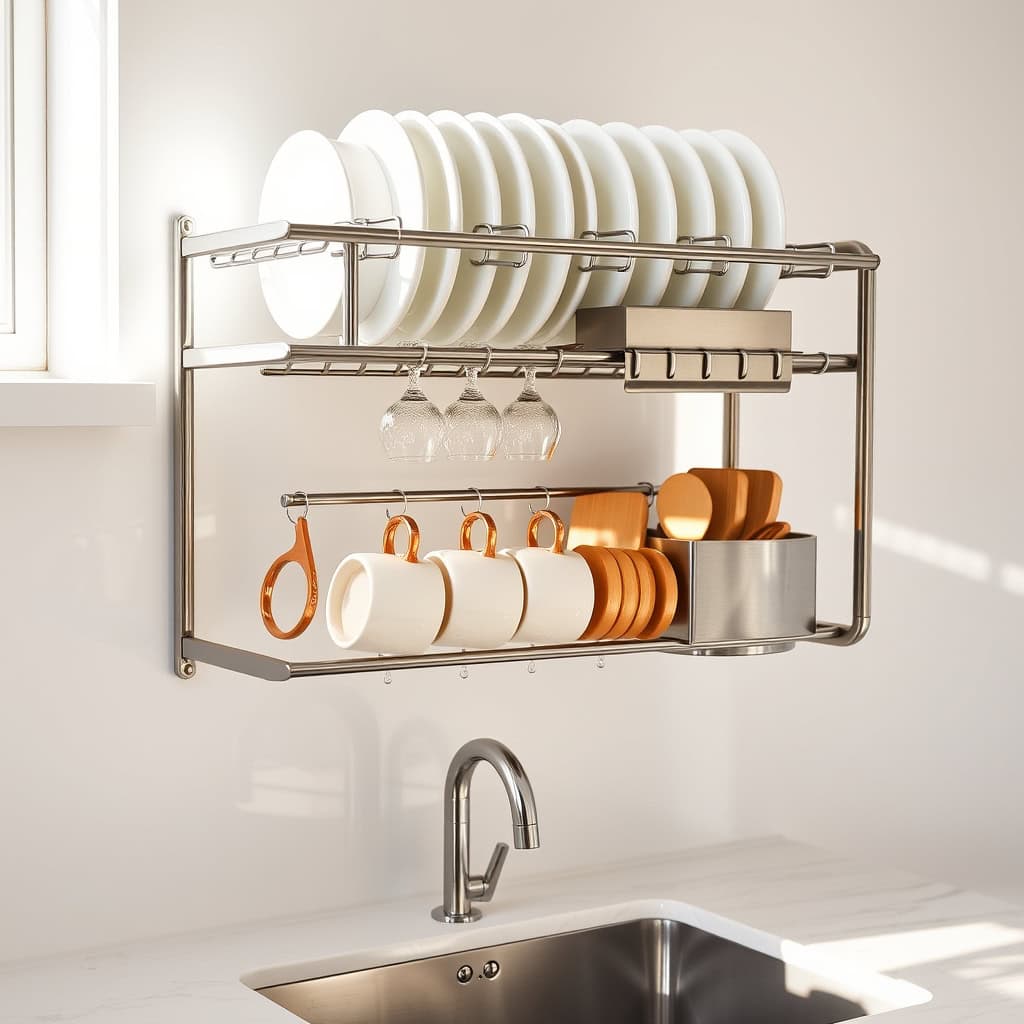
A well-organized dish drying system is essential for maintaining an efficient and clutter-free kitchen. Traditional dish racks often take up valuable counter space and serve only one purpose, but modern solutions can transform this necessary kitchen tool into a multi-functional storage area that maximizes vertical space while keeping dishes accessible.
Over-the-sink and wall-mounted dish drying racks have revolutionized kitchen organization by combining drainage functionality with storage capabilities. These systems not only free up counter space but also provide dedicated spots for frequently used items, making them easily accessible while allowing proper air circulation for drying.
Required Items:
- Over-sink or wall-mounted dish drying rack
- Measuring tape
- Wall anchors and screws
- Drill
- Level
- Silicone mat (optional)
- Cabinet-grade hooks
- Dish organization inserts
- Cleaning supplies
Installation and organization begins with measuring the space above your sink or designated wall area to ensure proper fit. Mount the rack securely using appropriate anchors and ensure it’s perfectly level.
Arrange the components strategically – plates and cutting boards in vertical slots, cups and mugs on hooks, and utensils in designated holders. Position frequently used items at eye level and lesser-used items higher up. Install any additional features like cutlery holders or soap dispensers according to your needs.
For maximum efficiency, consider your daily routine when organizing items within the rack. Place glasses and cups near the sink’s water source, and ensure heavy items are stored in the most stable sections. If using a wall-mounted system, distribute weight evenly across the unit to prevent strain on mounting points.
Additional Tips: Clean and dry the rack thoroughly before first use, and apply a thin silicone mat underneath to catch any water droplets. Regularly rotate items to prevent water accumulation in any one area, and consider adding small hooks on the sides for dishcloths or scrubbers.
Periodically check mounting hardware and tighten as needed to maintain stability and safety.
Color-Coding Method for Seamless Organization
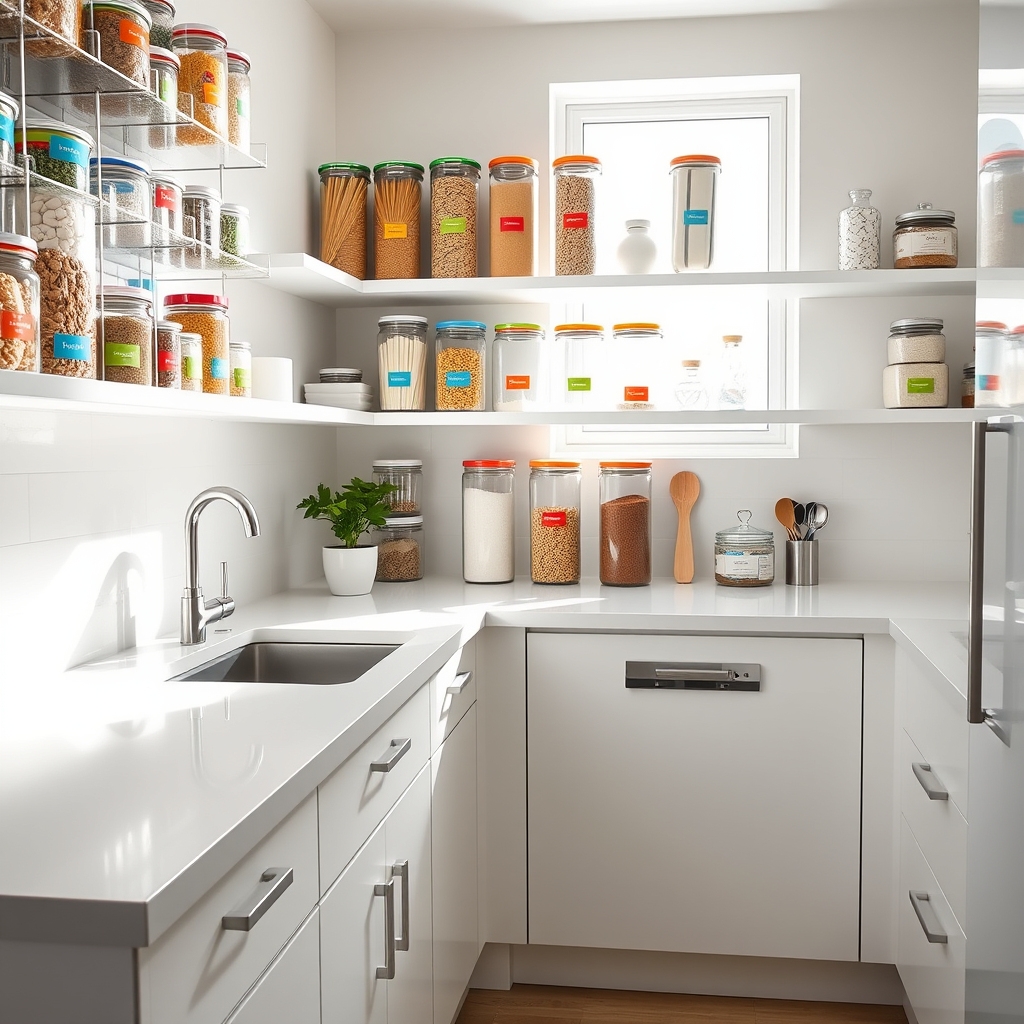
Color-coding is a powerful organizational tool that transforms kitchen management by creating an intuitive system that’s easy to maintain. When implemented properly, this method reduces time spent searching for items and helps maintain order even in busy households where multiple people access the kitchen regularly.
The color-coding approach works by assigning specific colors to different categories of items, making them instantly recognizable and simplifying the process of both storing and retrieving kitchen items. This system is particularly effective for families with children, shared living spaces, or anyone looking to streamline their kitchen workflow.
Required Items:
- Colored labels or tape
- Label maker
- Color markers
- Clear storage containers
- Colored bins or baskets
- Adhesive dots in various colors
- Color-coded drawer liners
- Permanent markers
- Small color-coded tags
- Clear drawer organizers
Start by categorizing your kitchen items into main groups such as baking supplies, breakfast items, snacks, dinner preparation tools, and cleaning supplies. Assign a specific color to each category – for example, red for baking, blue for breakfast items, green for dinner prep, and yellow for cleaning supplies.
Apply your chosen color indicators using labels, dots, or tags to both the storage containers and their designated spaces in cabinets or drawers.
Next, create a color key chart and display it in an easily visible location. Transfer items into their color-coded zones, using clear containers with colored labels when possible. For drawer organization, install color-coded liners or use adhesive strips along the edges to mark different sections.
Ensure all family members understand the system by explaining the color assignments and their corresponding categories.
Additional Tips: Maintain consistency by immediately labeling new items as they enter the kitchen. Consider using different shades of the same color for subcategories within main groups. Review and adjust the system quarterly to ensure it continues to meet your needs, and don’t hesitate to modify color assignments if certain combinations prove confusing or impractical.
Keep extra labels and markers readily available for quick updates to the system.

