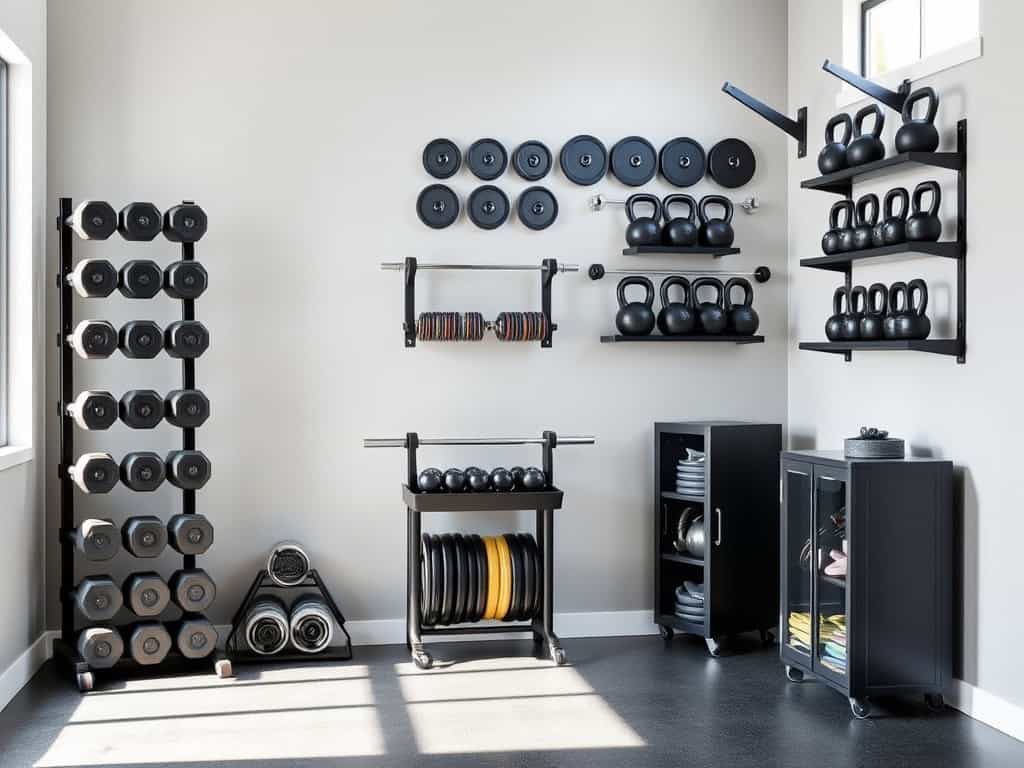
Just like Tetris taught us the art of fitting pieces together perfectly, organizing your home gym weights is all about maximizing every inch of space. Whether you’re working with a cramped corner or a spacious garage, I’ve discovered some clever storage solutions that’ll transform your workout area into an efficient fitness sanctuary. After testing dozens of setups in my own home gym evolution, I’ve narrowed down nine game-changing ideas that’ll help you create the organized training space you’ve always wanted.
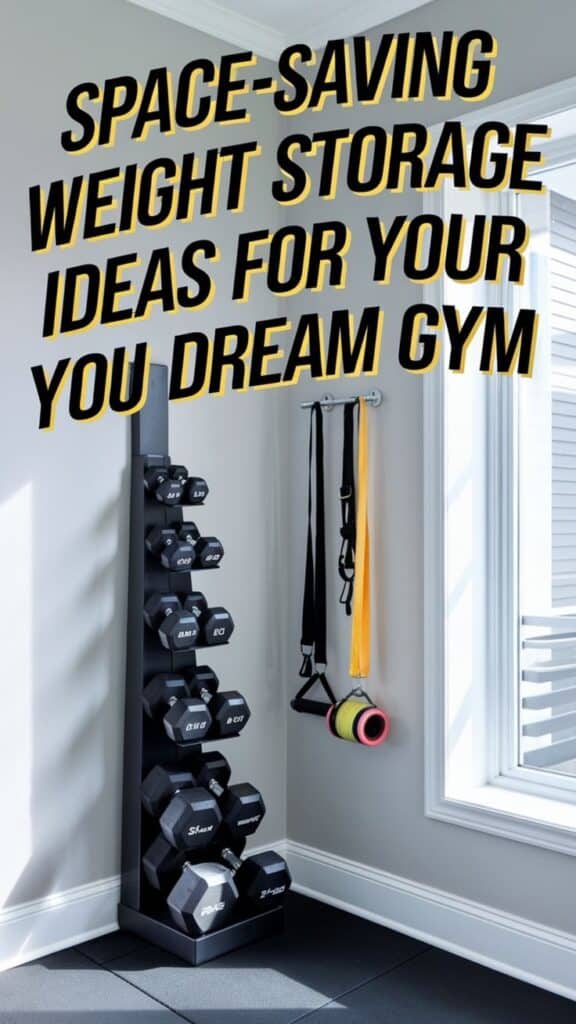
Wall-Mounted Weight Racks: Space-Saving Vertical Solutions
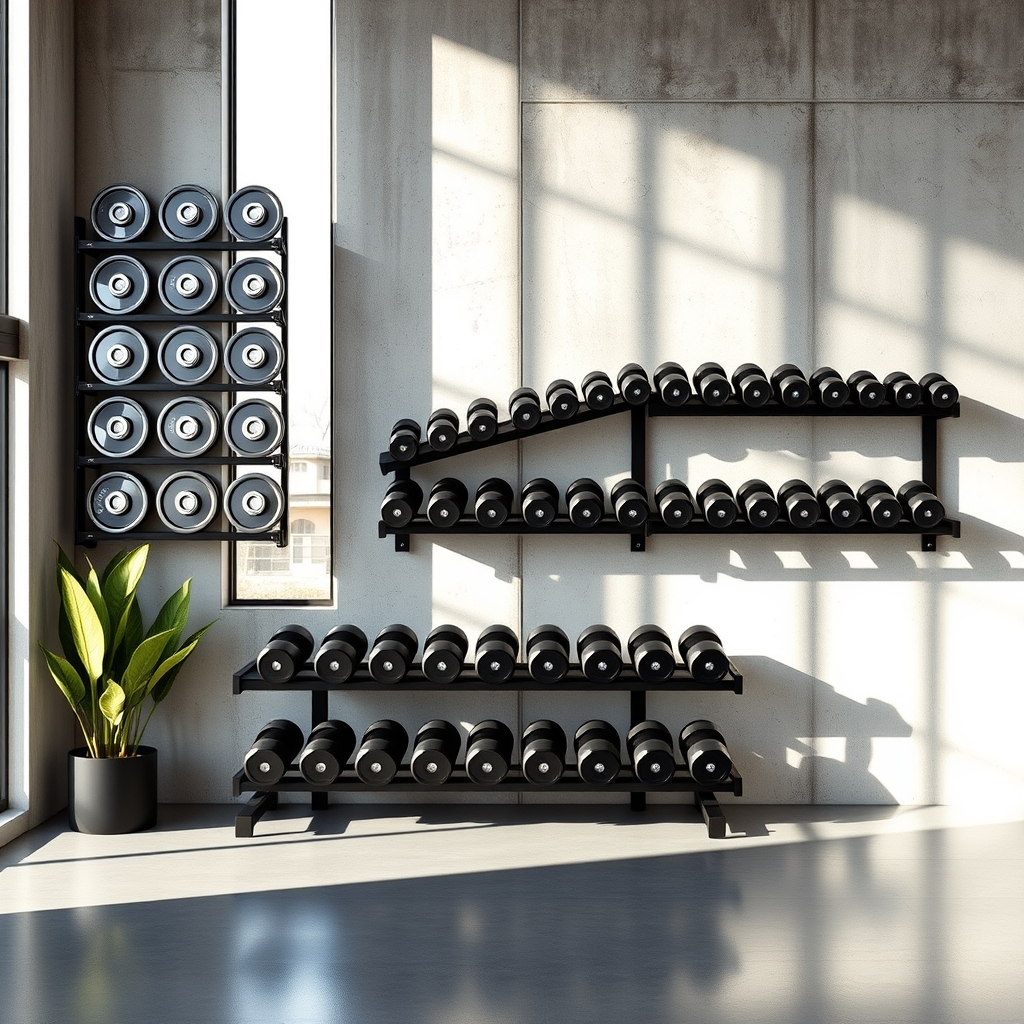
Organizing weights vertically on walls has become essential for home gym enthusiasts looking to maximize their limited space while maintaining easy access to their equipment. A well-planned wall-mounted storage system not only frees up valuable floor space but also helps prevent accidents and extends the life of your weights by keeping them off the ground.
Wall-mounted weight storage transforms your home gym into a professional-looking space while providing clear visibility of all your equipment. This systematic approach to organization ensures proper weight distribution across your wall structure and creates an efficient workflow during workouts, allowing you to quickly locate and access the weights you need.
Required Items:
- Heavy-duty wall brackets
- Wall studs finder
- Power drill
- Level
- Measuring tape
- Pencil
- Mounting hardware (lag bolts and washers)
- Weight pegs or hooks
- Anchors (if needed)
- Safety straps
- Wall reinforcement materials
The installation process begins with careful planning and wall assessment. Use a stud finder to locate and mark wall studs, ensuring they can support your weights’ total load. Measure and mark mounting points at appropriate heights, considering different weight sizes and maintaining at least 6 inches of space between pegs.
Install the heaviest-duty brackets first, securing them into wall studs using appropriate lag bolts and washers. Mount weight pegs or hooks systematically, ensuring they’re perfectly level and adequately spaced for your specific weight collection.
After installation, organize weights by type and size, placing heavier plates at the bottom and lighter ones at the top. Consider implementing a color-coding system or labels to quickly identify weight increments. Leave enough space between different sections to prevent overcrowding and allow for easy access during workouts.
Additional Tips: Install rubber backing or wall protection behind weight storage areas to prevent wall damage. Consider adding a weight capacity label near each mounting point for safety. Place frequently used weights at eye level for convenient access, and always test the security of your mounting system with gradually increasing weight before loading it fully. Periodically check and tighten all mounting hardware to ensure continued stability and safety.
Compact Storage Towers for Dumbbells and Kettlebells
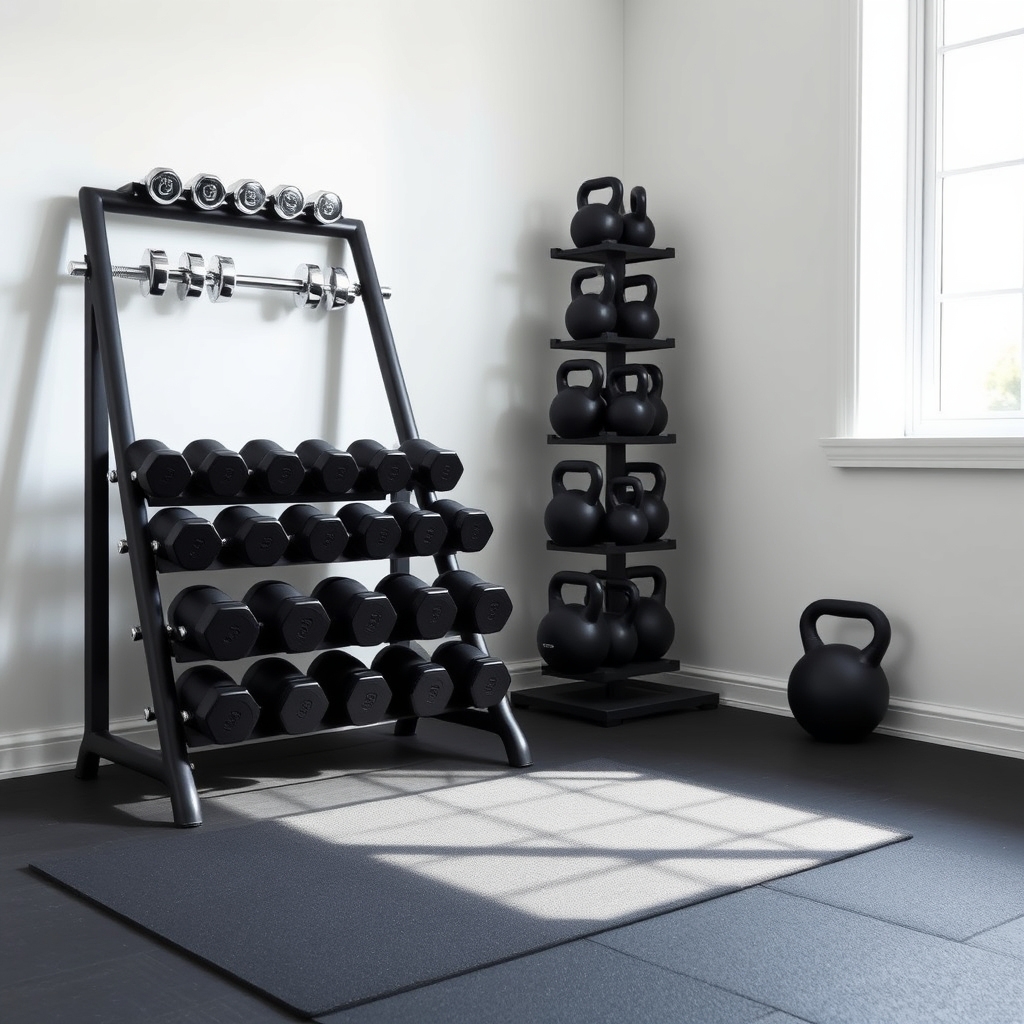
Organizing free weights in a home gym is crucial for both safety and functionality. Proper storage prevents accidents, protects your equipment from damage, and creates an inviting workout environment that motivates consistent exercise habits.
A well-designed storage system for dumbbells and kettlebells maximizes limited space while keeping weights easily accessible. Compact storage towers provide vertical organization that utilizes wall space efficiently, leaving more floor area for actual workouts and reducing trip hazards.
Required Items:
- Vertical dumbbell rack or A-frame stand
- Kettlebell storage tower
- Measuring tape
- Level
- Wall anchors (if mounting)
- Rubber matting
- Weight capacity labels
- Cleaning supplies
- Assembly tools (screwdriver, wrench)
Begin by selecting an appropriate location for your storage towers, ideally against a wall and away from high-traffic areas. Install rubber matting underneath to protect your floor and reduce noise. Assemble the storage racks according to manufacturer specifications, ensuring all connections are tight and secure.
For wall-mounted options, use appropriate anchors and verify the wall can support the total weight capacity.
Arrange dumbbells in ascending weight order, typically starting with lighter weights at the top for safety and easier access. Position kettlebells on their designated rack with heavier weights on lower shelves to maintain stability. Leave adequate space between items to prevent metal-on-metal contact and enable easy removal and replacement of weights.
Additional Tips: Label each storage slot with corresponding weight values for quick identification. Implement a “clean as you go” system, wiping down weights before returning them to storage.
Periodically inspect the storage units for stability and tighten any loose components. Consider adding anti-slip materials to shelving surfaces to prevent weights from sliding, especially in humid environments.
Rolling Weight Cart Systems for Easy Access
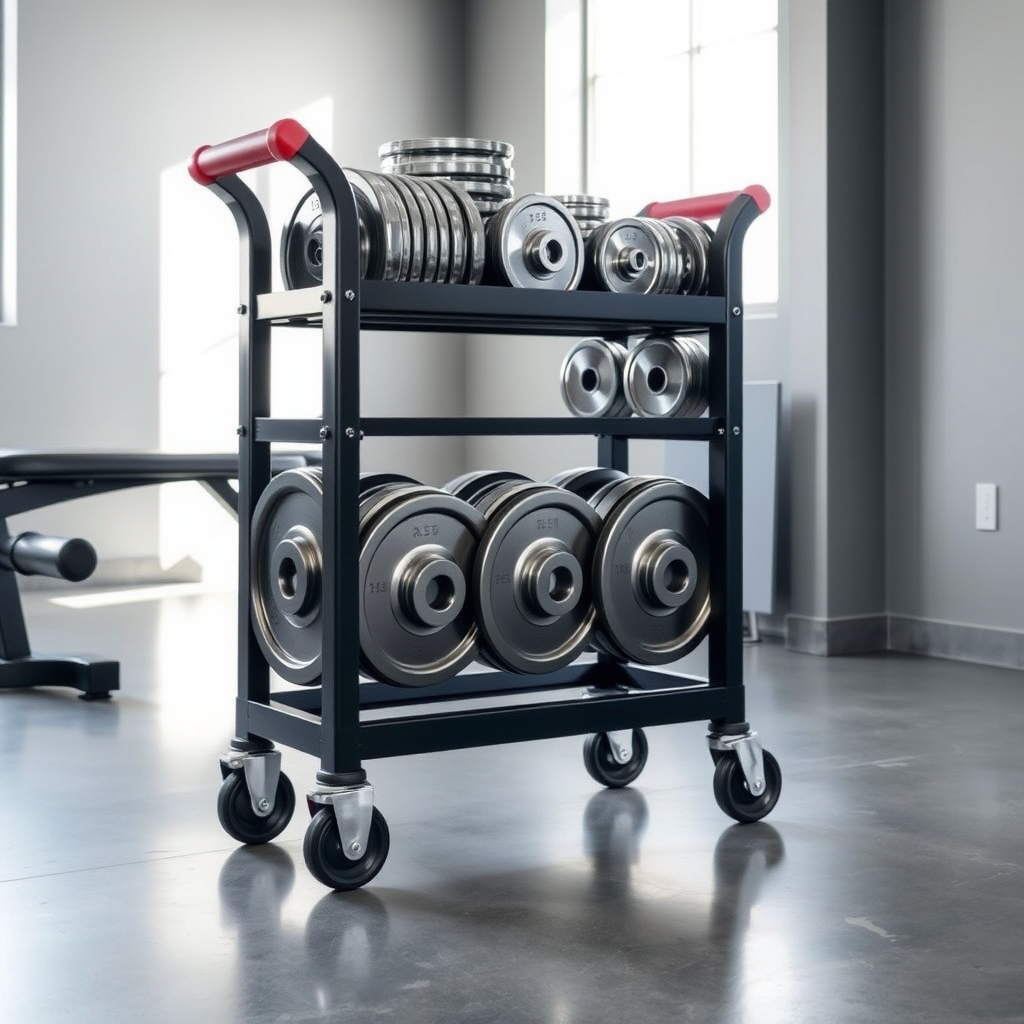
A well-organized rolling weight cart system transforms a home gym from cluttered chaos into a highly functional workout space. When weights are properly arranged on mobile carts, not only does it protect your floors and equipment, but it also creates a safer environment by preventing tripping hazards and reducing the risk of injury during weight selection.
Rolling weight cart systems serve as the cornerstone of an efficient home gym setup, allowing you to easily transport heavy weights to different workout stations without strain. This mobility becomes especially valuable in smaller spaces where versatility and space optimization are crucial for maintaining a productive exercise environment.
Required Items:
- Heavy-duty rolling cart with weight capacity appropriate for your equipment
- Weight plate holders or pegs
- Rubber mat or liner
- Cable ties or straps
- Weight collars
- Labels or markers
- Tool set for assembly
- Measuring tape
- Level
Start by assembling the rolling cart according to manufacturer specifications, ensuring all wheels are properly secured and tested for smooth movement. Position weight plate holders strategically on the cart, typically arranging larger plates (45s and 35s) on the bottom level for stability, with progressively lighter weights placed on higher levels.
Install safety features such as guardrails or lips on each level to prevent weights from sliding during transport. Sort weights by size and type, placing matching pairs together for easy access during workouts. Secure any loose components with cable ties or straps, and apply anti-slip material to each shelf level.
Ensure the cart’s weight distribution remains balanced by positioning heavier items toward the center of each shelf.
Additional Tips: Implement a regular maintenance schedule to check wheel functionality, tighten any loose components, and clean weight surfaces. Consider adding a small toolbox to the cart for quick adjustments and storing weight collars. Position the cart against a wall when not in use, with wheel locks engaged, and maintain clear pathways for easy navigation during workouts.
Multi-Tier Corner Storage Units
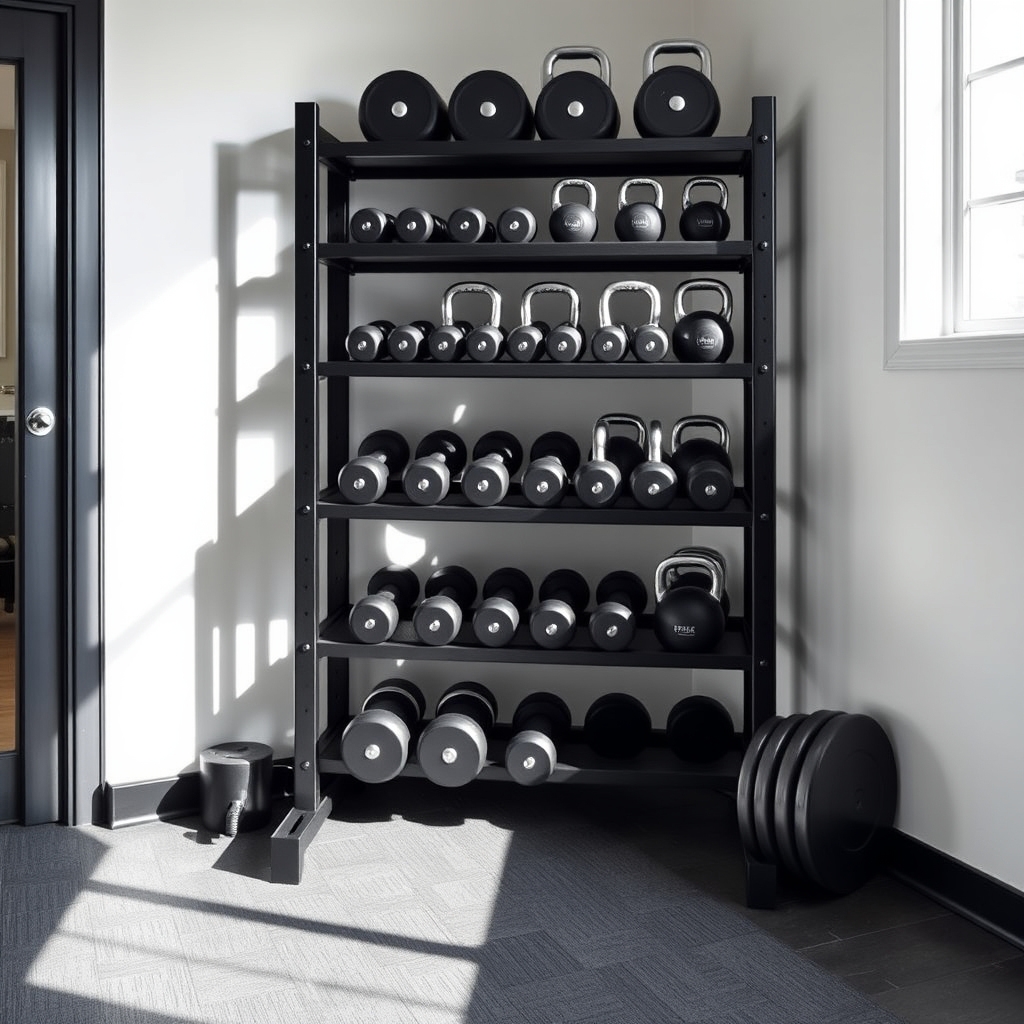
Maximizing corner space in a home gym is crucial for maintaining an organized and efficient workout environment. Corner storage units specifically designed for weights not only help preserve valuable floor space but also create a systematic approach to weight management that can significantly improve workout flow and safety.
Multi-tier corner units serve as space-saving solutions that can accommodate various weight sizes while keeping them easily accessible. When weights are properly organized in corners, the central gym space remains open for movement, and the risk of tripping hazards is minimized.
Required Items:
- Multi-tier corner rack or shelving unit
- Measuring tape
- Level
- Mounting hardware
- Wall anchors
- Power drill
- Rubber matting or shelf liner
- Weight clips or holders
- Labels
- Safety straps
Installation and organization of a multi-tier corner storage unit starts with selecting the appropriate corner space and ensuring the floor and walls can support the intended weight load.
Begin by assembling the unit according to manufacturer specifications, ensuring all shelves are level and secure. Position heavier weights on lower shelves to maintain stability, with lighter weights and accessories on upper tiers. Create designated zones for different weight types – dumbbells, weight plates, and kettlebells – arranging them in ascending order for easy identification.
Consider installing rubber matting on each shelf to prevent metal-on-metal contact and reduce noise. Implement a labeling system to mark weight categories and designated spots for specific items. Additionally, use weight clips or holders to prevent round weights from rolling, and install safety straps for additional security on upper shelves.
To maintain organization long-term, establish a “return to rack” policy after each use. Regularly inspect the unit’s stability, tighten any loose components, and adjust shelf heights as needed to accommodate changes in your weight collection.
Keep frequently used weights at easy-to-reach levels to prevent strain and maintain workout efficiency.
Hidden Weight Storage Benches and Cabinets
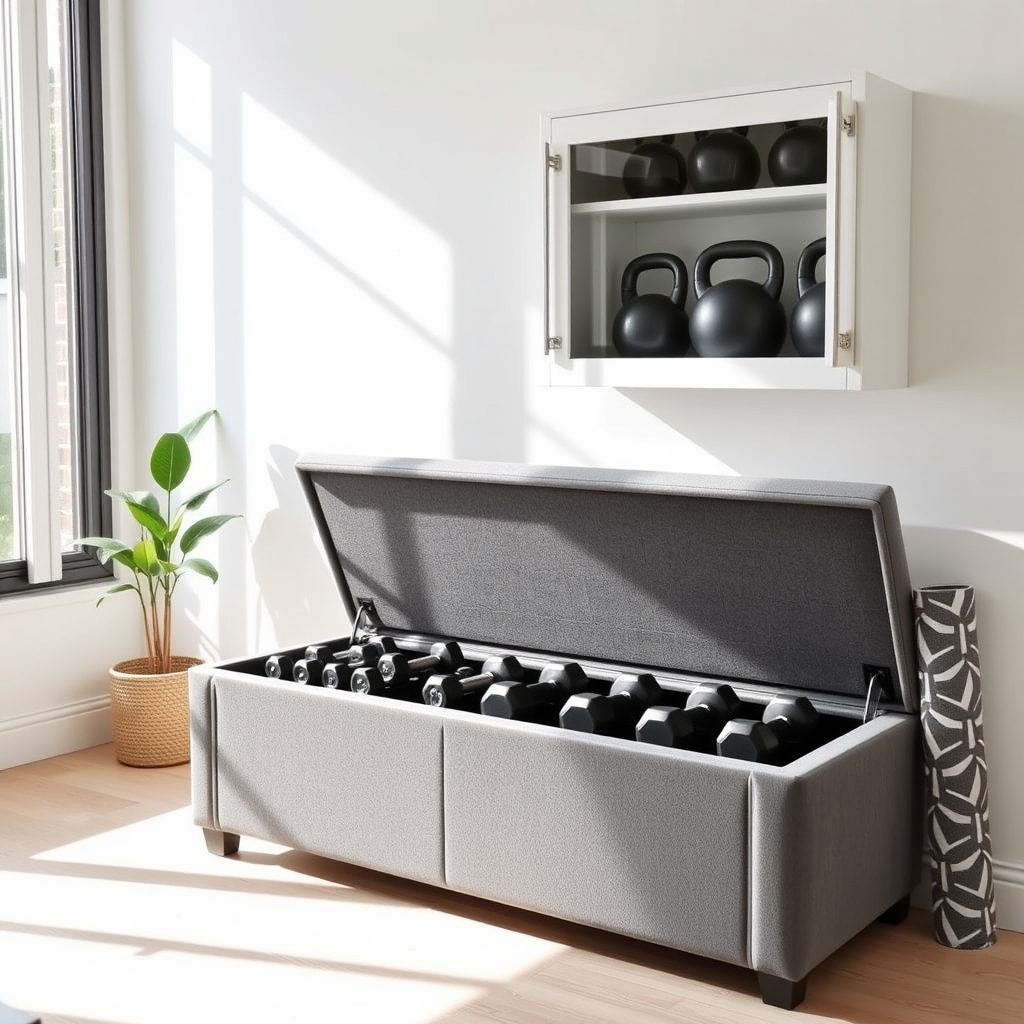
Organizing weights in hidden storage solutions serves multiple purposes in a home gym environment. These clever storage options maintain a clean, clutter-free space while keeping exercise equipment readily accessible. Hidden storage benches and cabinets also protect weights from dust and potential damage while preventing accidents and injuries from exposed equipment.
Maximizing vertical and horizontal space through concealed storage solutions allows home gym enthusiasts to create a more professional and inviting workout environment. Strategic placement of weights in benches and cabinets can also contribute to proper weight organization by size, type, and frequency of use, making workout sessions more efficient and enjoyable.
Required Items:
- Storage bench with compartments
- Wall-mounted cabinets
- Weight organizer inserts
- Cabinet liner material
- Mounting hardware
- Measuring tape
- Level
- Drill and screws
- Labels
- Safety straps
- Rubber matting
Install wall-mounted cabinets first, ensuring they’re secured to wall studs for maximum support. Line cabinet shelves with rubber matting to prevent weight damage and reduce noise. Organize weights by type and size, placing frequently used items at easily accessible heights.
For storage benches, install weight organizer inserts to create designated spaces for different weight sizes, preventing shifting during bench movement. Consider weight distribution when loading both cabinets and benches to maintain structural integrity and prevent tipping hazards.
When selecting placement of hidden storage solutions, factor in workout flow and space requirements. Position benches where they can serve dual purposes as seating and storage, typically along walls or in corners. Install cabinets away from areas where free weights are typically used to prevent accidents during workouts.
Always label storage areas clearly and implement a logical organization system that makes sense for your specific workout routine.
Additional Tip: Consider incorporating a weight capacity chart near each storage solution and regularly inspect the structural integrity of benches and cabinets. Implement a quarterly reorganization schedule to ensure weights remain properly stored and storage solutions continue functioning effectively. This maintenance routine will extend the life of both your equipment and storage solutions while maintaining a safe workout environment.
DIY PVC Pipe Storage Solutions
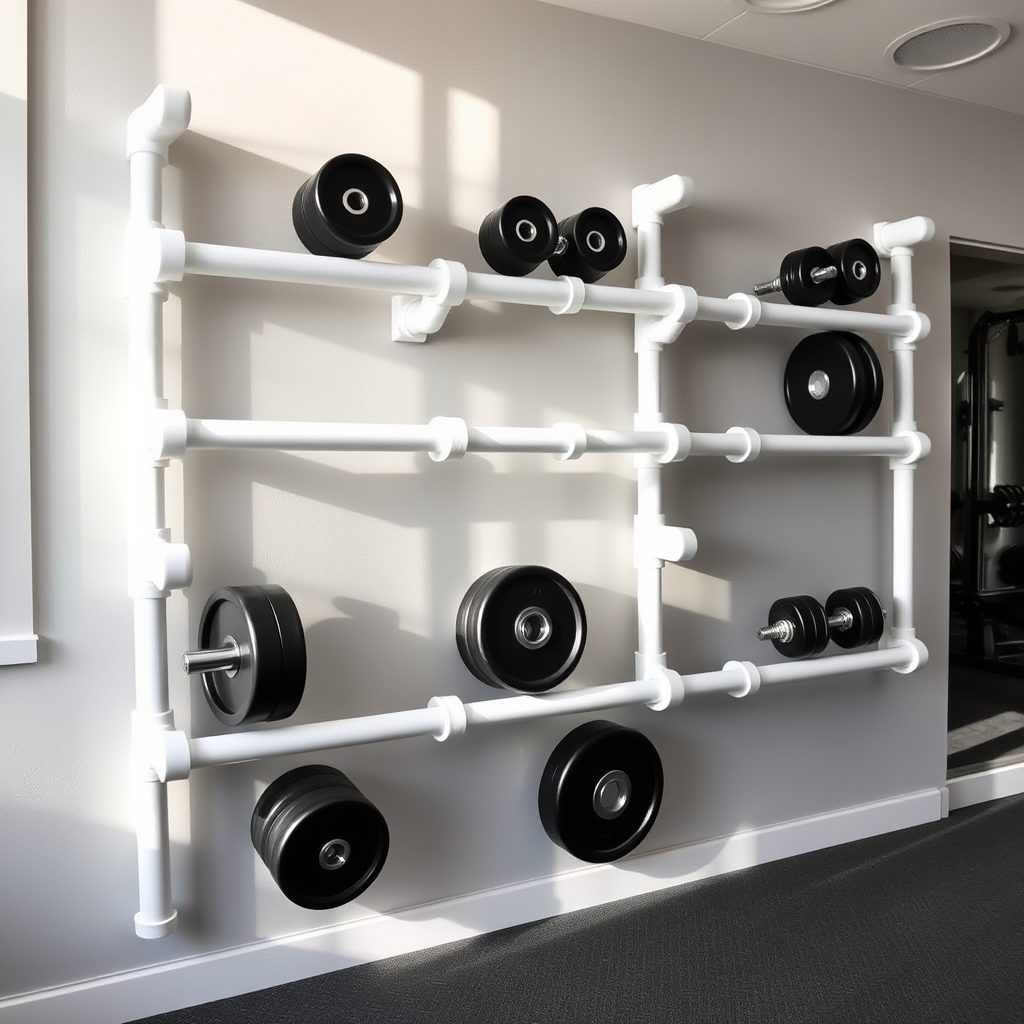
Creating an organized storage system for weights using PVC pipes is a cost-effective and efficient solution for home gym enthusiasts. A well-designed PVC storage rack not only keeps weights off the floor but also helps prevent damage to both the weights and flooring while making your workout space more inviting and functional.
Proper weight organization through PVC pipe solutions allows for quick access during workouts and helps maintain proper form by reducing the need to bend and search for weights. This DIY approach is customizable to your specific space and weight collection, making it an ideal solution for home gyms of any size.
Required Materials:
- PVC pipes (3-4 inch diameter)
- PVC pipe cutter
- PVC connectors (T-joints, elbows)
- PVC cement
- Measuring tape
- Marker
- Sandpaper
- Level
- Mounting brackets
- Screws and anchors
- Power drill
- Safety goggles
Start by measuring your space and planning the rack design based on your weight collection. Cut the PVC pipes to desired lengths using the pipe cutter, ensuring enough space between storage slots for easy access. Sand all cut edges smooth.
Create the frame by connecting pipes using T-joints and elbows, securing each connection with PVC cement. For vertical storage, attach mounting brackets to wall studs using screws and anchors. The rack should be mounted at a comfortable height, typically starting about 2 feet from the floor.
For freestanding designs, create a stable base using additional PVC pipes in an H-pattern configuration. Final assembly involves testing the structure’s stability and weight capacity. Start by loading lighter weights first, gradually increasing to heavier ones to ensure the structure can handle the load.
Consider adding rubber liner inside the pipes to prevent scratching and reduce noise when inserting or removing weights. To maximize durability and safety, regularly inspect all connections and mounting points, tighten any loose components immediately, and avoid exceeding the weight capacity of PVC pipes (typically 100-150 pounds per section).
Consider painting or labeling the pipes for weight organization and adding rubber feet to prevent sliding on smooth surfaces.
Magnetic Wall Panels for Metal Weights
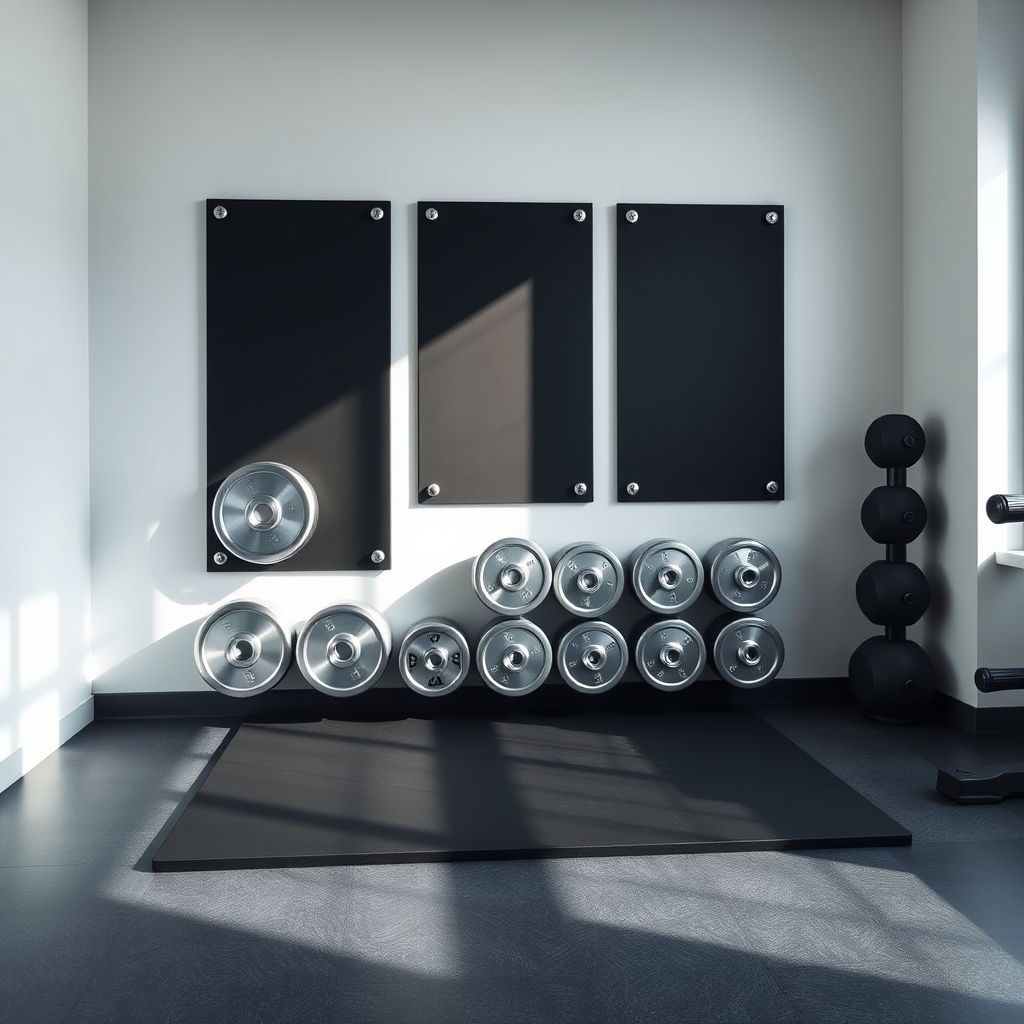
A well-organized home gym creates an inviting workout environment and maximizes available space, making it easier to maintain a consistent fitness routine. Magnetic wall panels offer an innovative solution for storing metal weights, keeping them off the floor while creating an aesthetically pleasing and functional storage system.
Magnetic wall panels transform unused wall space into valuable storage areas, preventing weights from becoming tripping hazards and protecting your floors from damage. This storage method also makes it simple to quickly locate the exact weight you need, streamlining your workout process and reducing transition times between exercises.
Required Items:
- Heavy-duty magnetic wall panels
- Wall mounting hardware
- Stud finder
- Power drill
- Level
- Measuring tape
- Pencil
- Safety glasses
- Impact-rated drill bits
- Wall anchors
- Weight capacity calculator
Installation begins with carefully mapping out your wall space using a stud finder to locate secure mounting points. Mark the studs with a pencil and use your level to ensure perfectly straight lines for panel placement.
Mount the magnetic panels using appropriate hardware, ensuring each panel is properly secured to wall studs and can handle the intended weight load. Space panels approximately 16-24 inches apart to accommodate various weight sizes and shapes.
Once mounted, organize weights by size, with heavier plates at bottom panels and lighter ones at eye level for easy access. Create clear zones for different weight increments, and consider adding weight capacity labels beneath each panel section to prevent overloading.
Additional tip: Test the magnetic strength with lighter weights first, gradually increasing the load to ensure proper adherence. Install rubber floor mats beneath the magnetic panels to protect any weights that might accidentally detach, and regularly inspect the mounting hardware and panel surfaces for signs of wear or damage that could compromise safety.
Under-Shelf and Ceiling-Mounted Options
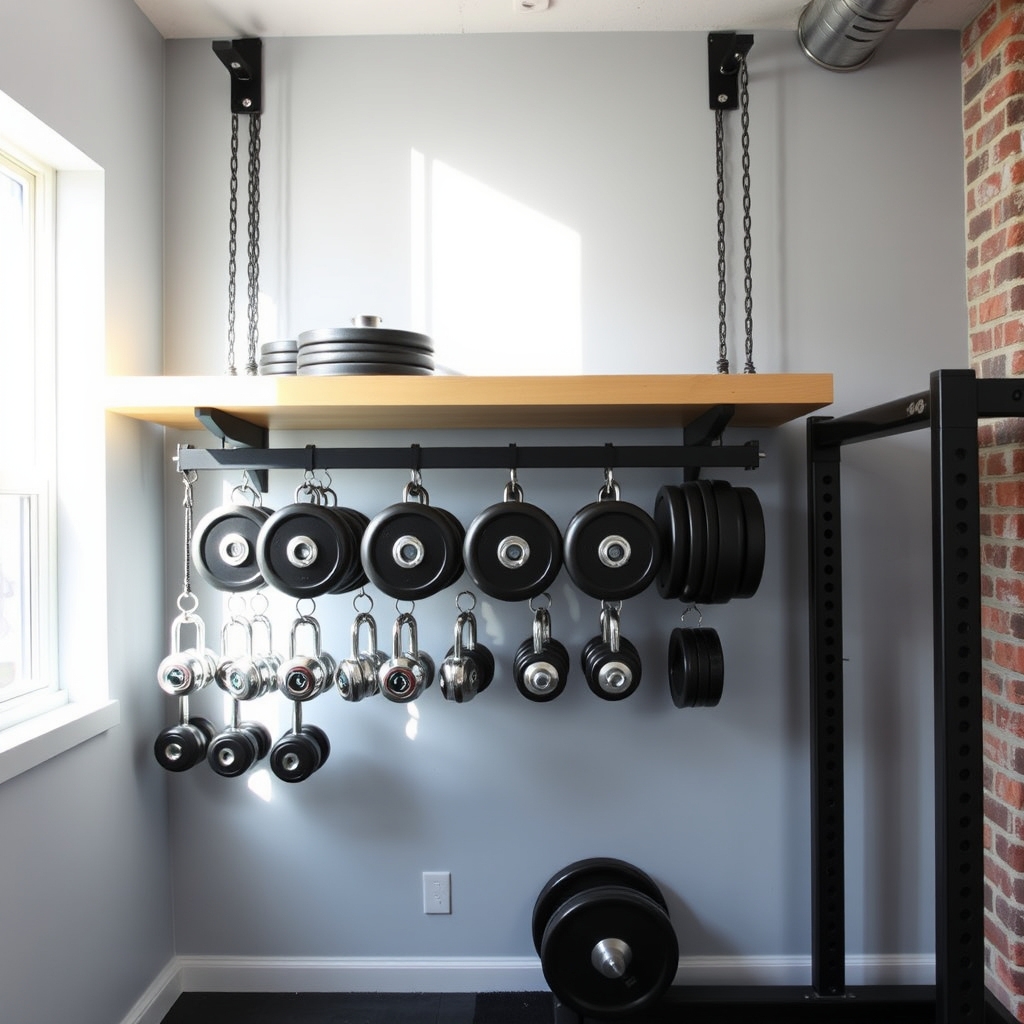
Maximizing vertical space in a home gym is crucial for maintaining an organized and efficient workout environment. Utilizing under-shelf and ceiling-mounted storage solutions allows you to keep weights accessible while freeing up valuable floor space for exercise activities and movement.
Strategic overhead storage not only creates a cleaner, more professional-looking gym space but also helps prevent accidents by keeping weights properly secured when not in use. These storage solutions can accommodate various types of weights, from dumbbells to weight plates, making them versatile options for any home gym setup.
Required Items:
- Heavy-duty mounting brackets
- Weight-rated shelving units
- Ceiling-mounted pulley systems
- Steel cables or chains
- Wall anchors
- Power drill
- Level
- Measuring tape
- Stud finder
- Safety equipment (gloves, goggles)
- Weight hooks or hangers
- Installation hardware (screws, bolts)
Begin by identifying suitable mounting locations using a stud finder to locate solid support points in both the ceiling and walls. Install heavy-duty mounting brackets into wall studs or ceiling joists, ensuring they’re rated for at least 1.5 times the weight you plan to store.
For under-shelf storage, attach weight-rated shelving units securely to the wall, then install hooks or specialized weight hangers beneath them. For ceiling mounts, secure pulley systems or fixed mounting points, using appropriate anchors and testing thoroughly before adding weights.
When mounting weight storage solutions, maintain proper spacing between items to prevent crowding and ensure easy access. Create a logical organization system, placing frequently used weights at easily accessible heights and lighter weights on higher storage points.
Always verify that all mounting hardware is properly tightened and regularly inspect the system for any signs of wear or loosening.
Additional Tips: Consider installing rubber padding or protective materials where weights make contact with storage equipment to prevent damage and reduce noise. Label storage locations clearly to maintain organization, and establish a “return to storage” rule after each use.
Keep a maintenance schedule to check all mounting points monthly, and never exceed the manufacturer’s recommended weight limits for any storage solution.
Modular Weight Storage Systems
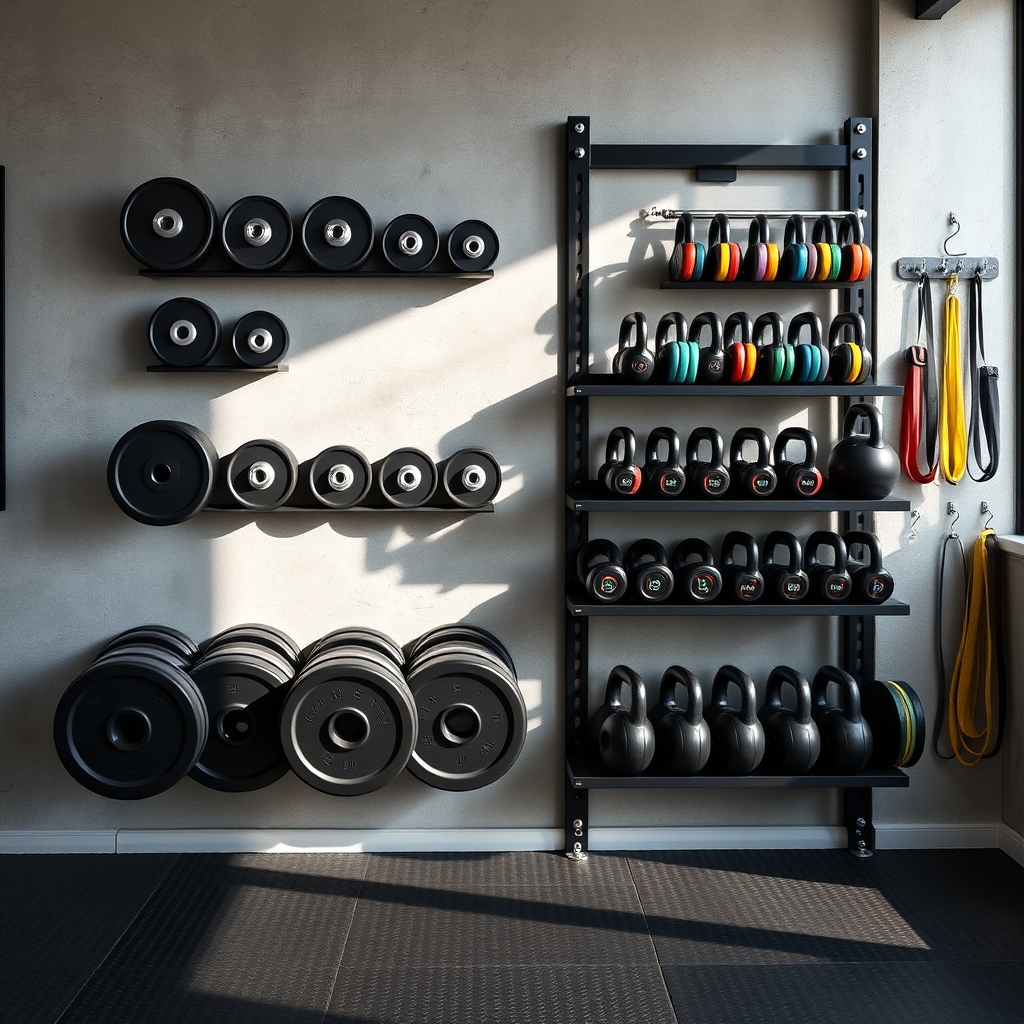
A well-organized modular weight storage system serves as the backbone of any efficient home gym setup. When weights are properly stored and easily accessible, workouts flow smoothly, safety risks decrease, and the overall gym experience becomes more professional and enjoyable.
Modular storage systems offer the flexibility to expand or modify your storage as your equipment collection grows. These systems protect your weights from damage, prevent them from rolling around, and maximize vertical space usage while maintaining a clean, organized appearance that makes your home gym feel more inviting and professional.
Required Items:
- Modular weight rack system
- Wall anchors and mounting hardware
- Level
- Drill and drill bits
- Measuring tape
- Pencil
- Stud finder
- Safety gloves
- Weight collars or clips
- Cable ties or velcro straps
Start by assessing your available wall space and measuring the dimensions carefully, ensuring enough clearance for both the rack system and proper weight access. Mount the main support brackets into wall studs using appropriate anchors, keeping the system level and secure.
Install the modular components systematically, beginning with the base units and working upward, ensuring each piece locks firmly into place. For optimal organization, arrange weights by type and size, with heavier plates stored at bottom levels for stability and safety.
Install specialized attachments for dumbbells, kettlebells, or resistance bands as needed. Ensure all components are properly secured and weight limits are observed for each section of the modular system.
Additional Tips: Create clear zones within your modular system by weight type, and label each section for quick identification. Implement a “return to rack” policy after each use to maintain organization.
Regular inspection of mounting hardware and weight capacity limits will ensure long-term safety and functionality of your modular storage system. Consider future expansion needs when planning your initial layout to accommodate additional equipment purchases.

