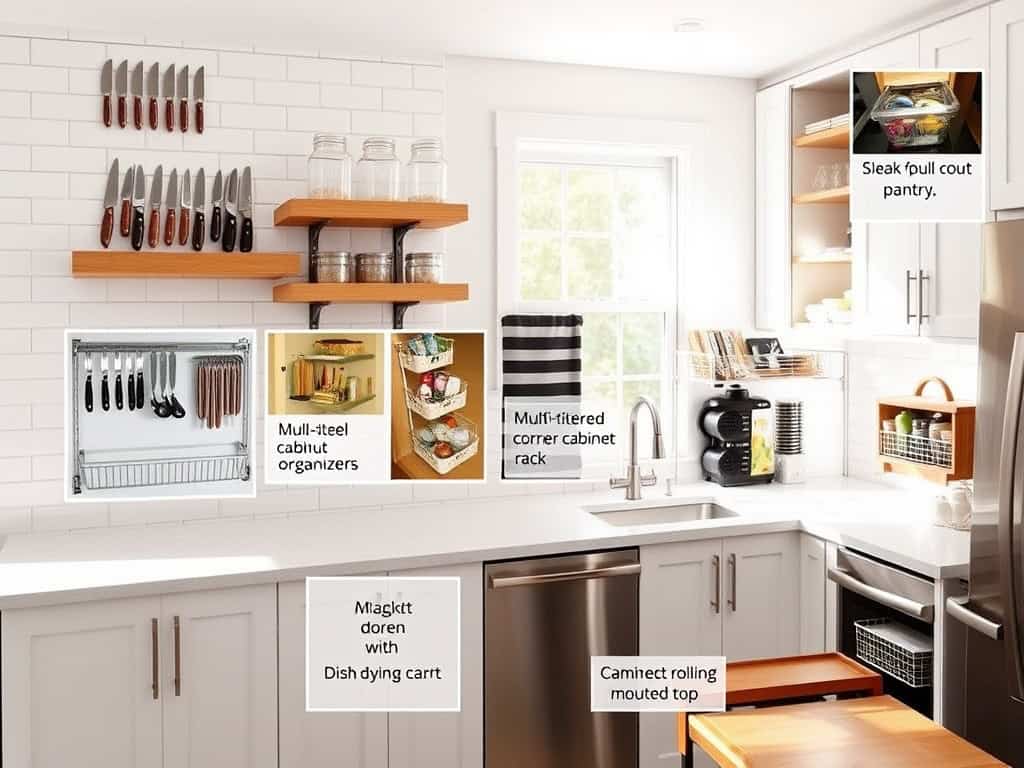
You’re not alone if you’ve ever felt frustrated by your cramped kitchen space – I’ve been there too! Whether you’re dealing with a tiny apartment galley or a cozy cottage kitchen, making the most of every square inch is essential. I’ve discovered seven game-changing storage solutions that’ll transform your small kitchen from cluttered to organized. From vertical space maximizers to multi-functional islands, these ideas will help you create a kitchen that’s both functional and stylish. Let’s explore how to make your small space work smarter, not harder.
Maximize Vertical Space With Wall-Mounted Storage
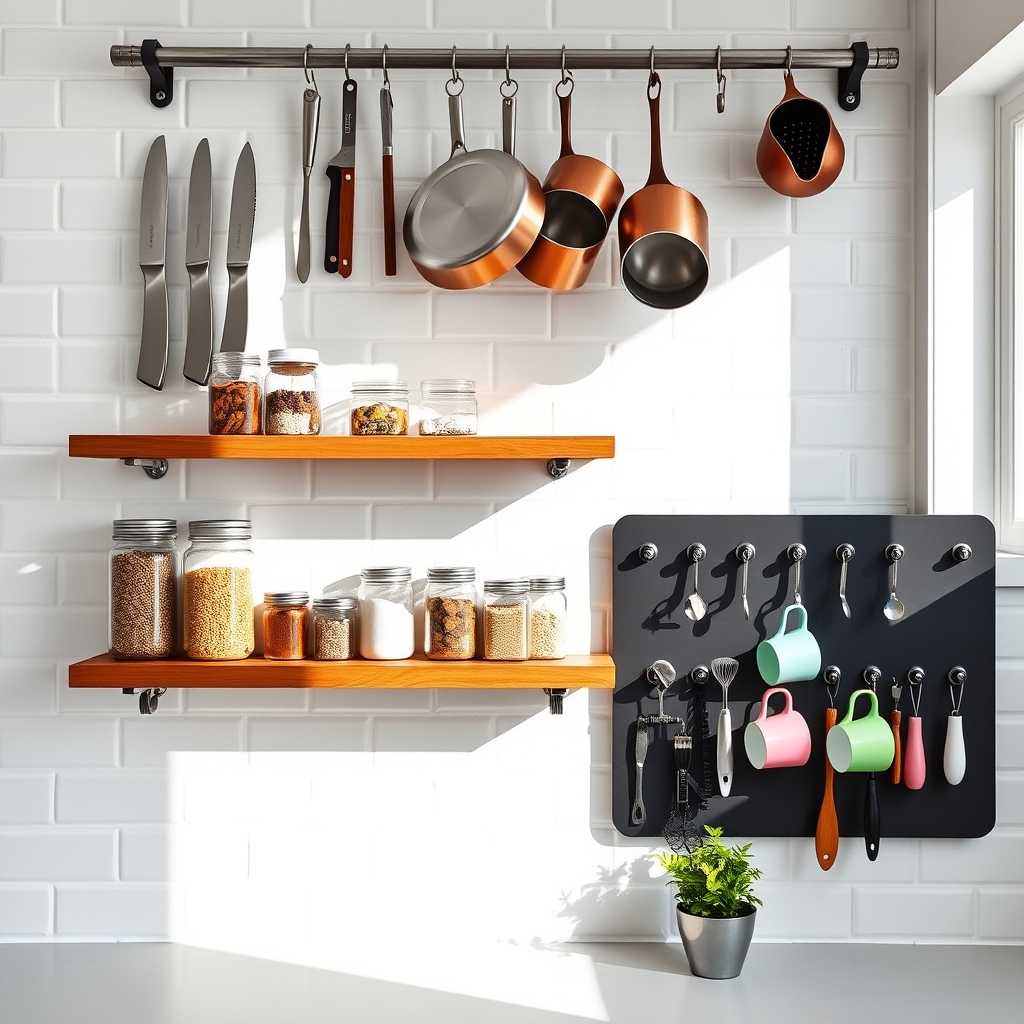
Making the most of vertical wall space is crucial in small kitchens where counter and cabinet space are limited. Wall-mounted storage solutions can transform unused wall areas into functional storage spaces, effectively doubling your kitchen’s storage capacity while keeping frequently used items within easy reach.
Vertical organization not only creates additional storage but also adds visual interest to your kitchen walls. By bringing storage up off the counter, you’ll free up valuable work surfaces and create a more organized, efficient cooking environment that makes meal preparation smoother and more enjoyable.
Required Items:
- Wall anchors and screws
- Drill and drill bits
- Level
- Measuring tape
- Pencil
- Stud finder
- Wall-mounted shelves
- Pegboard and hooks
- Magnetic knife strip
- Rail systems with hooks
- Command strips (for lighter items)
- Wall-mounted spice racks
- Mounting brackets
Start by assessing your wall space and mapping out potential storage areas, ensuring you avoid pipes and electrical wiring. Using a stud finder, mark wall studs and determine which mounting methods will work best for your chosen storage solutions.
Install the heaviest items first, such as shelving units or pegboards, ensuring they’re properly anchored into studs or using appropriate wall anchors for the weight they’ll bear.
Layer your storage by installing different types of organizers at varying heights. Position frequently used items between eye and waist level for easy access. Mount magnetic knife strips and spice racks near your primary prep area, and install rail systems with hooks for hanging cooking utensils, pots, and pans where they won’t interfere with counter work space.
For maximum effectiveness, consider installing adjustable systems that can be reconfigured as your needs change. Use clear containers on open shelving to maintain visual organization, and implement a color-coding system or labels to keep items easily identifiable.
Regular maintenance of wall-mounted storage systems is essential – check mounting hardware periodically and adjust items as needed to prevent overloading or instability.
Utilize Cabinet Door Space for Extra Storage
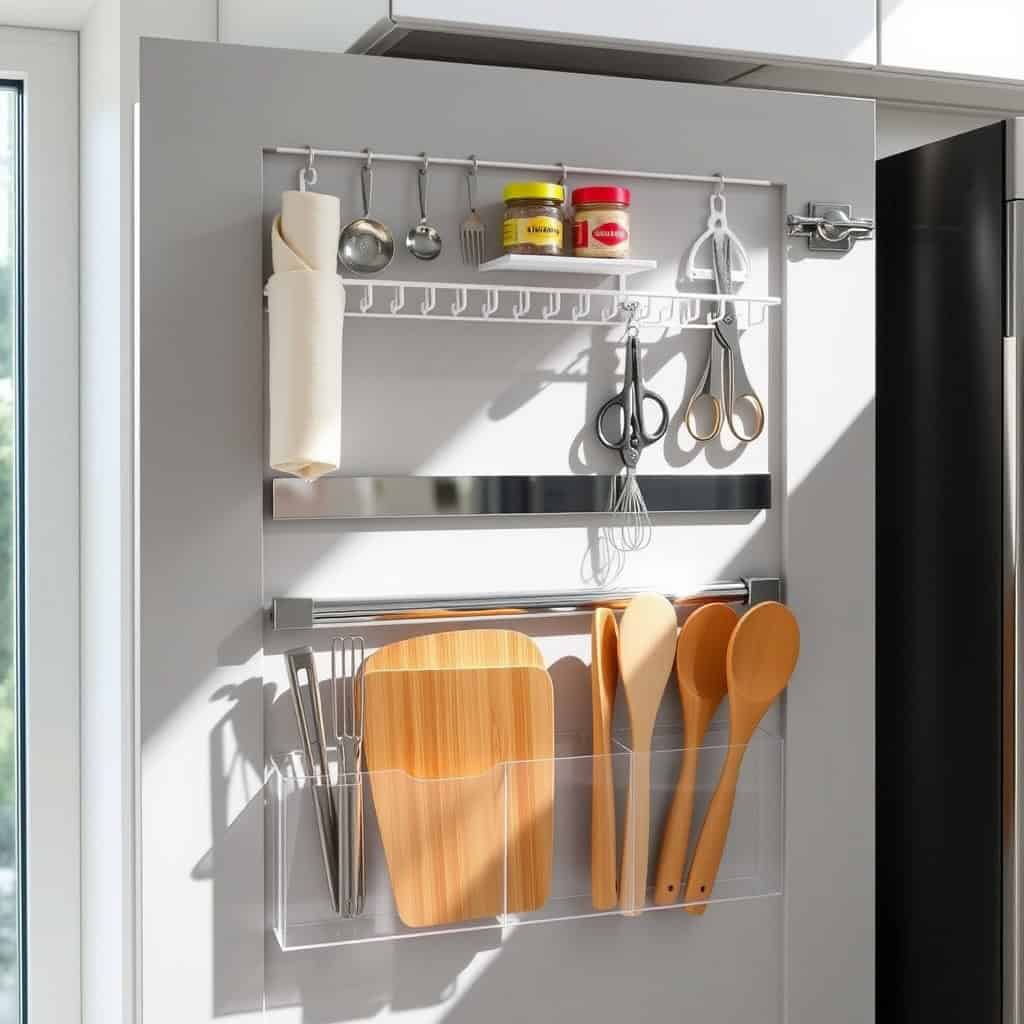
Making the most of every inch in a small kitchen is crucial for maintaining an organized and functional space. Cabinet doors represent valuable real estate that often goes unused, yet they offer excellent opportunities for additional storage solutions that can dramatically increase your kitchen’s storage capacity.
By transforming cabinet doors into storage zones, you can keep frequently used items within easy reach while freeing up precious drawer and shelf space. This approach is particularly beneficial for storing spices, cleaning supplies, cutting boards, pot lids, and other slim items that otherwise might clutter your countertops or cabinets.
Required Items:
- Over-the-door organizers
- Command hooks or adhesive hooks
- Magnetic strips
- Small tension rods
- Measuring tape
- Screwdriver
- Cabinet door mounted racks
- Pencil
- Level
Installing cabinet door storage systems starts with measuring your cabinet doors’ dimensions and clearing the interior space to ensure mounted items won’t interfere with shelves or other items. Select appropriate organizers based on your specific needs and door sizes.
For over-the-door solutions, ensure the hooks or hangers won’t damage the cabinet when the door closes. Mount magnetic strips or adhesive hooks at appropriate heights, considering the items they’ll hold and the door’s closing clearance.
When installing screw-mounted organizers, mark mounting points carefully and pre-drill holes to prevent splitting the door material. For optimal results, balance the weight distribution of stored items to prevent door strain.
Position frequently used items at eye level, and ensure all mounted items are secure and won’t shift when opening or closing the door. Group similar items together on each organizer to maintain order and efficiency.
Additional Tips: Consider installing clear organizers to maintain visibility of stored items, and regularly check mounted hardware for security. Label storage spots to maintain organization, and periodically reassess your storage needs to ensure the system continues to serve your purposes effectively.
Remember to account for door hinges and cabinet frames when planning your storage layout to prevent any interference with door operation.
Create a Smart Corner Cabinet System
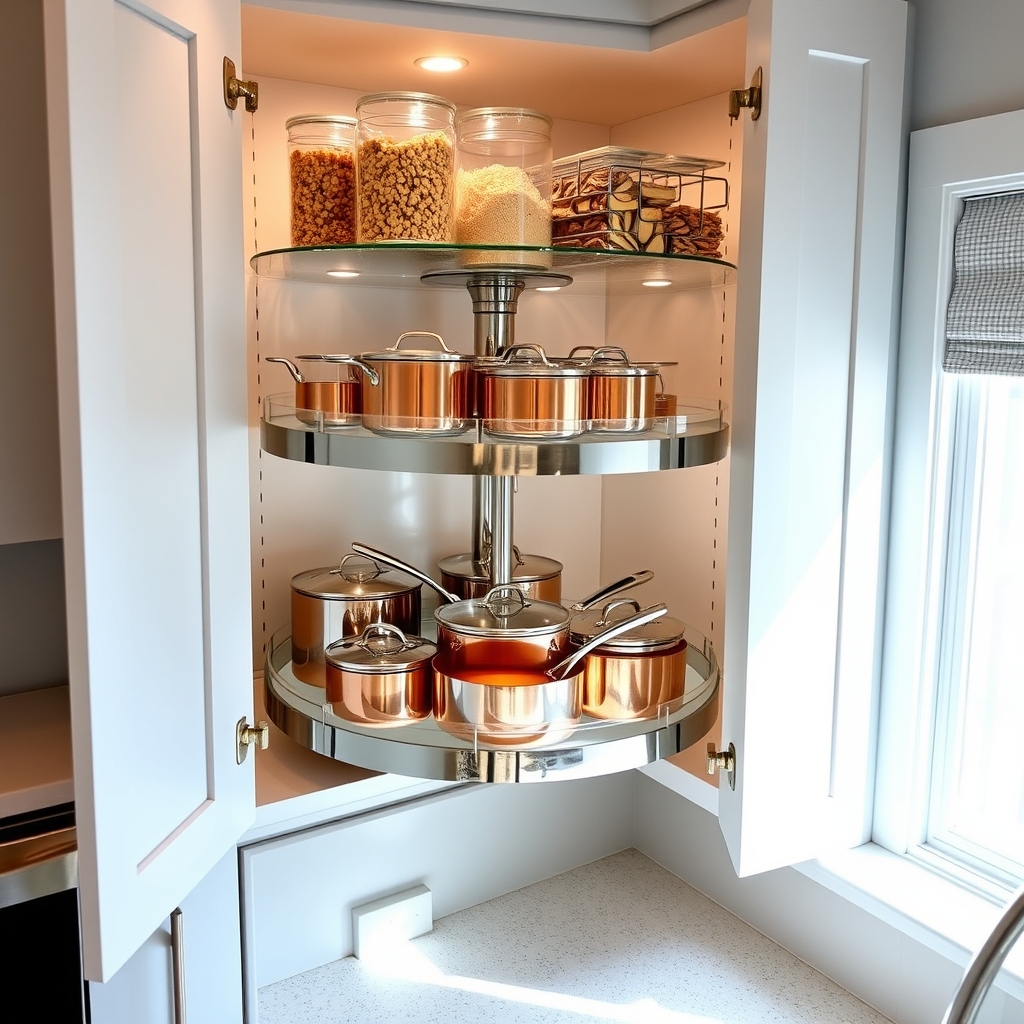
Corner cabinets often become kitchen black holes where items disappear into dark recesses, making them one of the most challenging spaces to organize effectively. When properly utilized, however, these awkward corners can transform into valuable storage spaces that maximize every inch of your kitchen’s footprint.
A well-organized corner cabinet system can save precious minutes during meal preparation and reduce frustration when accessing cookware, appliances, or pantry items. By implementing the right organizational solutions, you can turn this traditionally problematic space into a highly functional storage area that’s both accessible and efficient.
Required Items:
- Lazy Susan turntable (single or double-tier)
- Pull-out corner organizer
- Cabinet door mounting brackets
- Shelf liner
- LED puck lights (battery-operated)
- Measuring tape
- Label maker
- Storage containers
- Drawer organizers
- Corner cabinet sliding rack system
Start by completely emptying the corner cabinet and measuring the available space, including depth, width, and height. Install your chosen organizational system, whether it’s a Lazy Susan, pull-out shelves, or a sliding rack system, following the manufacturer’s instructions carefully.
Group similar items together and place frequently used items toward the front or on upper levels for easy access. For a Lazy Susan setup, position heavier items near the center of the turntable where it’s most stable. When using pull-out systems, distribute weight evenly and ensure items won’t shift during movement.
Add non-slip shelf liner to prevent items from sliding, and install battery-operated LED lights to illuminate dark corners.
Additional Tips:
Maintain your corner cabinet system by regularly reviewing its contents and adjusting the organization as needed. Consider implementing a quarterly rotation schedule to prevent items from being forgotten in the back.
Use clear containers when possible to easily identify contents, and always ensure heavy items are stored at bottom levels for safety and stability. Regular maintenance of sliding mechanisms or turntable bearings will help ensure smooth operation for years to come.
Install Pull-Out Pantry Solutions
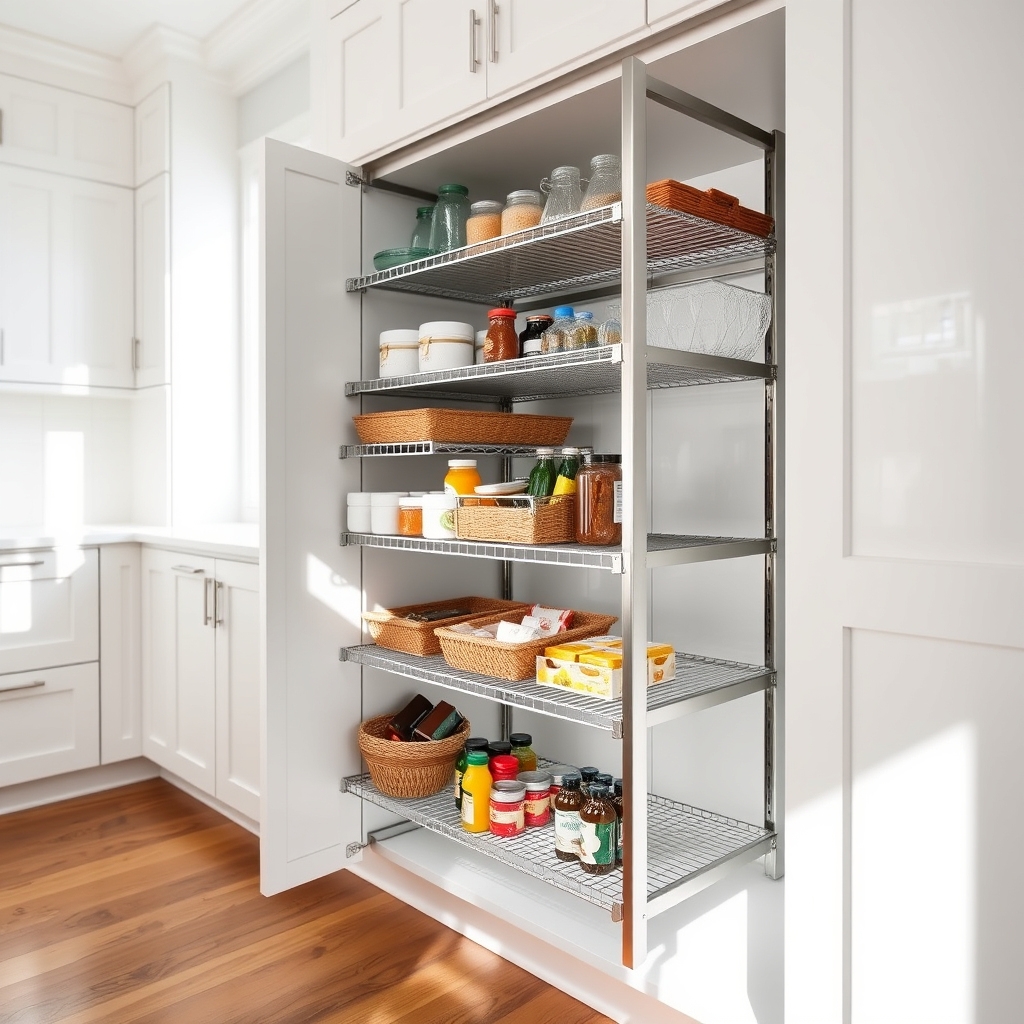
Making the most of limited kitchen space requires innovative storage solutions, and pull-out pantry systems are among the most efficient options available. These vertical storage units transform narrow spaces between cabinets or appliances into fully functional pantry areas, maximizing every inch of available space while keeping items easily accessible.
Pull-out pantry systems eliminate the common problem of forgotten items at the back of deep cabinets and reduce the need to constantly reorganize shelves to access items. When properly installed and organized, these systems can double or triple your storage capacity while maintaining a clean, streamlined appearance in your kitchen.
Required Items:
- Pull-out pantry rack system
- Mounting brackets and hardware
- Screwdriver or power drill
- Level
- Measuring tape
- Pencil
- Cabinet door hinges (if applicable)
- Wood screws
- Anchors (if needed)
- Safety glasses
Installation and organization begins with precise measurements of your available space, ensuring the pull-out unit will fit with proper clearance. Mount the sliding track system according to manufacturer specifications, typically securing it to both the floor and upper cabinet frame for stability.
Once the framework is installed, attach the wire shelves or baskets to the sliding mechanism, adjusting shelf heights to accommodate various item sizes.
Group similar items together when filling the pull-out pantry, placing heavier items at the bottom for stability. Arrange frequently used items at eye level, and consider using clear containers to store bulk items like pasta, grains, and snacks. Label shelves or containers to maintain organization and make items easy to locate.
Position items strategically by placing frequently used products toward the front of each shelf, with backup supplies behind them. For optimal functionality, avoid overloading the shelves beyond their weight capacity, and periodically check the sliding mechanism to ensure smooth operation.
Consider installing shelf liner material to prevent items from shifting when the unit is pulled out or pushed in.
Implement a Magnetic Storage Wall
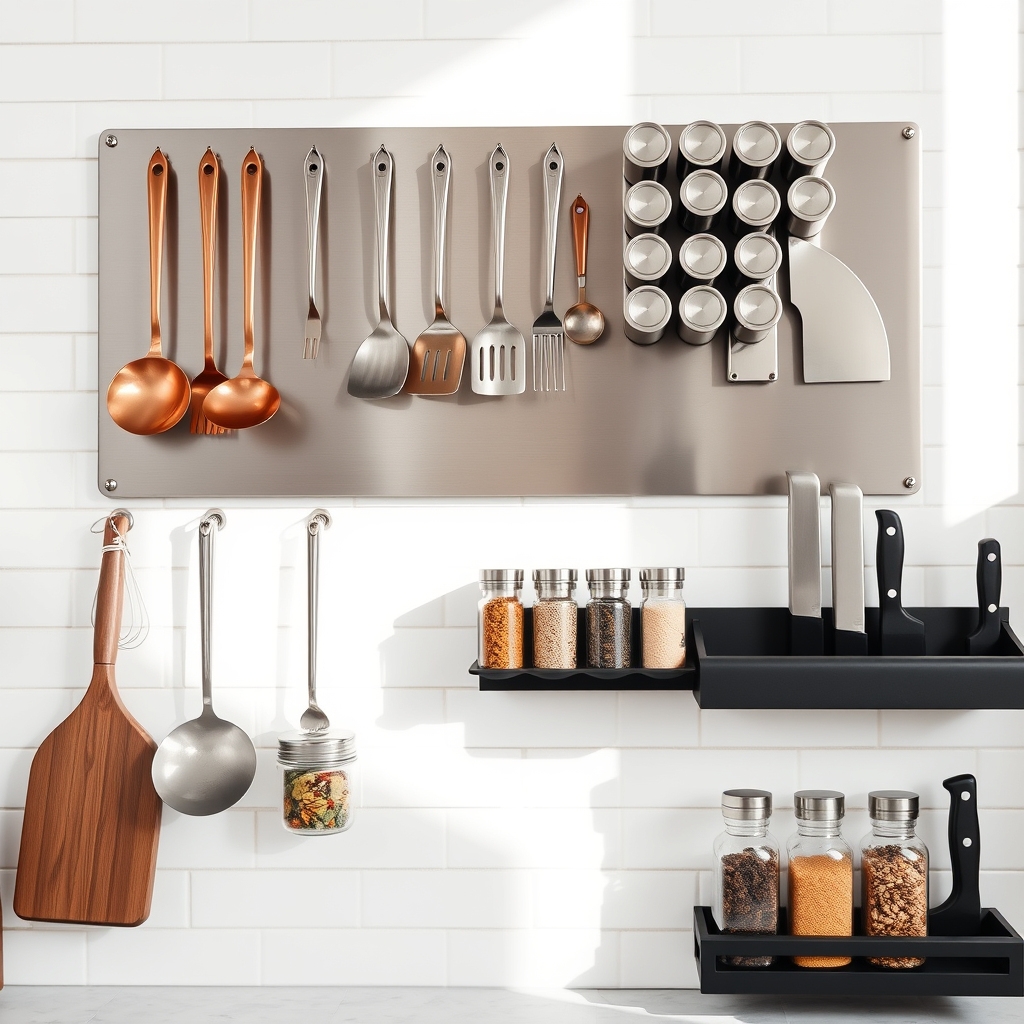
A magnetic storage wall transforms unused vertical space into a functional storage solution, perfect for small kitchens where counter and cabinet space is limited. This innovative approach keeps frequently used items within arm’s reach while creating an organized, visually appealing display that maximizes every square inch of available space.
The magnetic wall system is particularly effective for storing metal utensils, spice containers, and frequently used tools, freeing up valuable drawer space. This organization method not only improves kitchen workflow but also adds a professional, industrial touch to your kitchen décor while keeping essential items visible and easily accessible.
Required Items:
- Magnetic paint or large magnetic boards
- Strong mounting hardware
- Magnetic strips
- Magnetic hooks
- Magnetic spice containers
- Metal containers or canisters
- Magnetic knife holders
- Small magnetic shelves
- Drill and screwdriver
- Level
- Pencil and measuring tape
Start by selecting your wall space and preparing the surface. If using magnetic paint, apply several coats according to manufacturer instructions, allowing proper drying time between each layer. Alternatively, mount magnetic boards securely to the wall using appropriate hardware, ensuring they’re perfectly level.
Once the magnetic surface is ready, plan your layout by grouping similar items together and considering workflow patterns. Install magnetic strips and holders at various heights to accommodate different tools and containers.
Position frequently used items at eye level and arrange less-used items higher up or lower down. Attach magnetic hooks for hanging utensils, magnetic knife strips for knives, and magnetic spice containers in an organized grid pattern. Create zones for different activities – cooking, prep work, and storage – to maintain an efficient workflow.
For optimal results, regularly assess and adjust your magnetic wall organization. Test the magnetic strength before trusting it with heavier items, and consider adding labels to spice containers and storage bins for easy identification. Clean the magnetic surface regularly to maintain its holding power, and periodically evaluate if the current arrangement serves your needs effectively.
Design a Multi-Functional Kitchen Island
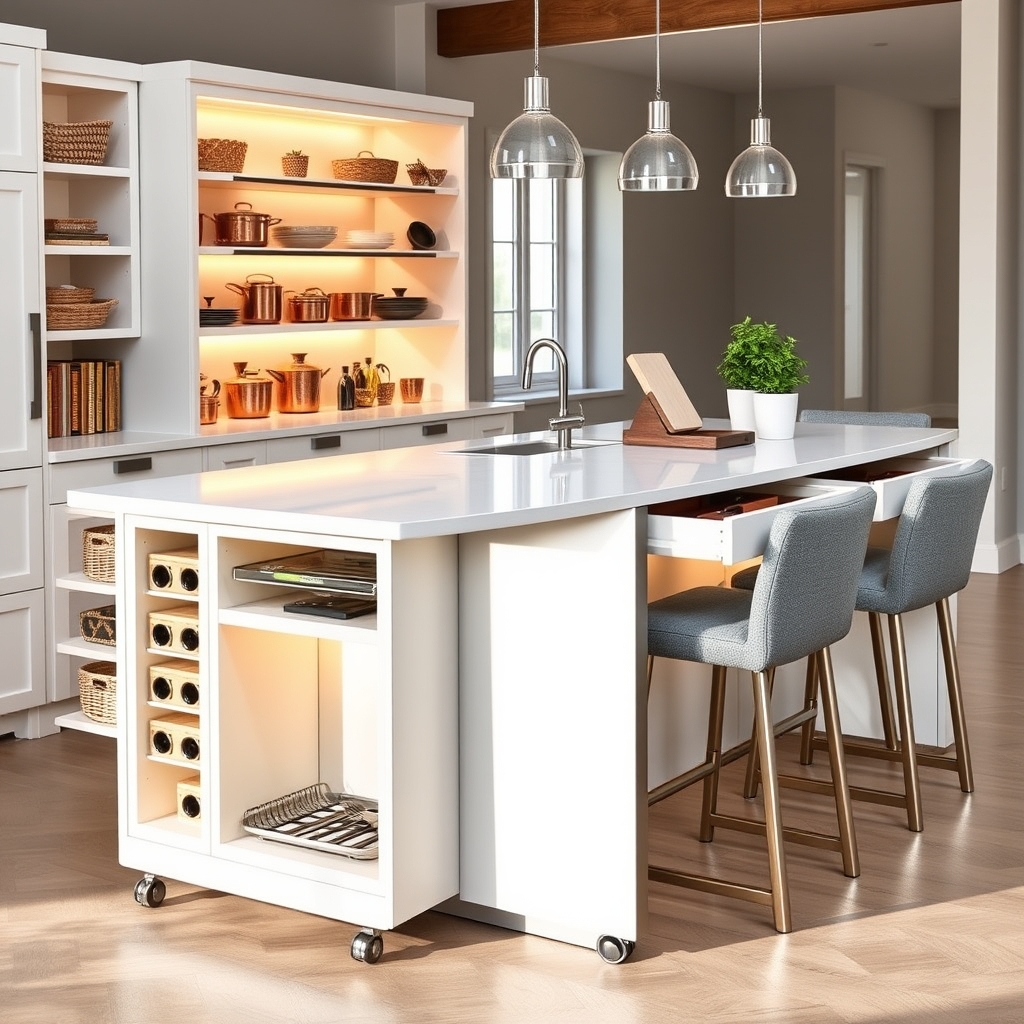
A well-designed kitchen island serves as the heart of a small kitchen, transforming limited space into a powerhouse of functionality. When properly organized, it can simultaneously serve as a prep station, storage solution, and dining area, making it an invaluable asset in compact kitchens.
Maximizing the potential of a kitchen island requires thoughtful planning and strategic organization. The key is to create designated zones that work together seamlessly while maintaining a clutter-free surface that can adapt to different needs throughout the day.
Required Items:
- Storage containers
- Drawer organizers
- Hanging hooks
- Pull-out baskets
- Cabinet dividers
- Rolling carts (if island is mobile)
- Shelf risers
- Magnetic strips
- Under-counter lighting
- Bar stools (if including seating)
Start by dividing your island into distinct zones based on your most frequent activities. Designate one side for food preparation by installing a cutting board station and keeping frequently used utensils within arm’s reach.
Create a storage system underneath with pull-out drawers for cookware and specialized compartments for smaller items. If incorporating seating, ensure there’s adequate clearance (typically 24 inches per person) and consider using stools that can be tucked completely under when not in use.
The island’s storage capacity can be maximized by installing drawer organizers and vertical dividers to separate cutting boards, baking sheets, and serving platters. Utilize the ends of the island for hanging hooks to store frequently used items like dish towels or cooking utensils.
If possible, incorporate electrical outlets into the island for small appliances, creating a flexible workspace that can accommodate various kitchen tasks.
Additional Tip: Consider installing wheels on your kitchen island if space is particularly tight, allowing you to move it aside when needed or position it differently for various functions, such as serving as a buffet during parties or creating more open floor space when entertaining.
Optimize Under-Sink Storage Space
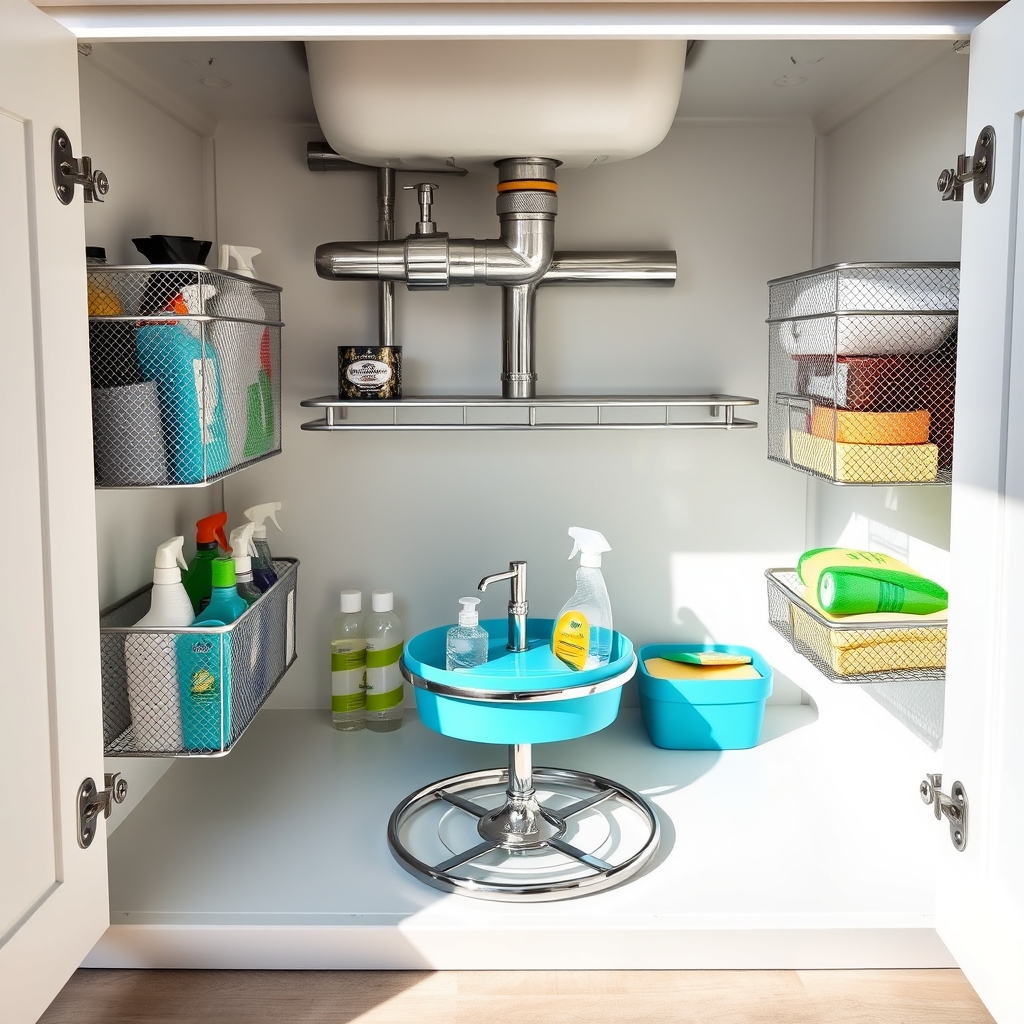
The area under the kitchen sink often becomes a chaotic catchall for cleaning supplies, bags, and miscellaneous items. This valuable storage space, when properly organized, can transform into an efficient command center for cleaning supplies and household necessities, making daily tasks more manageable and reducing clutter throughout the kitchen.
Maximizing under-sink storage requires careful planning around pipes and plumbing fixtures. The key is creating a system that not only accommodates these obstacles but turns them into natural dividers for different categories of items, while ensuring frequently used products remain easily accessible.
Required Items:
- Pull-out drawers or sliding organizers
- Clear plastic bins or caddies
- Over-the-door rack
- Tension rods
- Label maker or labels
- Shelf liner
- Small lazy Susan
- Command hooks
- Cleaning product caddy
- Leak detector (optional)
Start by removing everything from under the sink and thoroughly cleaning the area. Install a water-resistant shelf liner to protect the cabinet base from potential leaks. Position a pull-out drawer or sliding organizer on each side of the plumbing, ensuring they can move freely without hitting pipes.
Use tension rods to create an upper level for hanging spray bottles, leaving space below for taller items.
Categorize items by frequency of use and type. Place daily cleaning supplies in an easily accessible caddy at the front. Install an over-the-door rack for storing garbage bags or dishwashing supplies. Position clear bins strategically around plumbing fixtures, grouping similar items together. Use a lazy Susan in corner spaces for smaller items that might otherwise get lost.
For optimal long-term maintenance, conduct monthly inspections of the organized space, checking for leaks and expired products. Maintain clear visibility by using transparent containers and detailed labels.
Consider installing battery-operated LED lights to illuminate dark corners, and keep a small leak detector in place for early warning of potential plumbing issues. Regularly assess the items stored here, removing products that haven’t been used in six months to prevent clutter from rebuilding.

