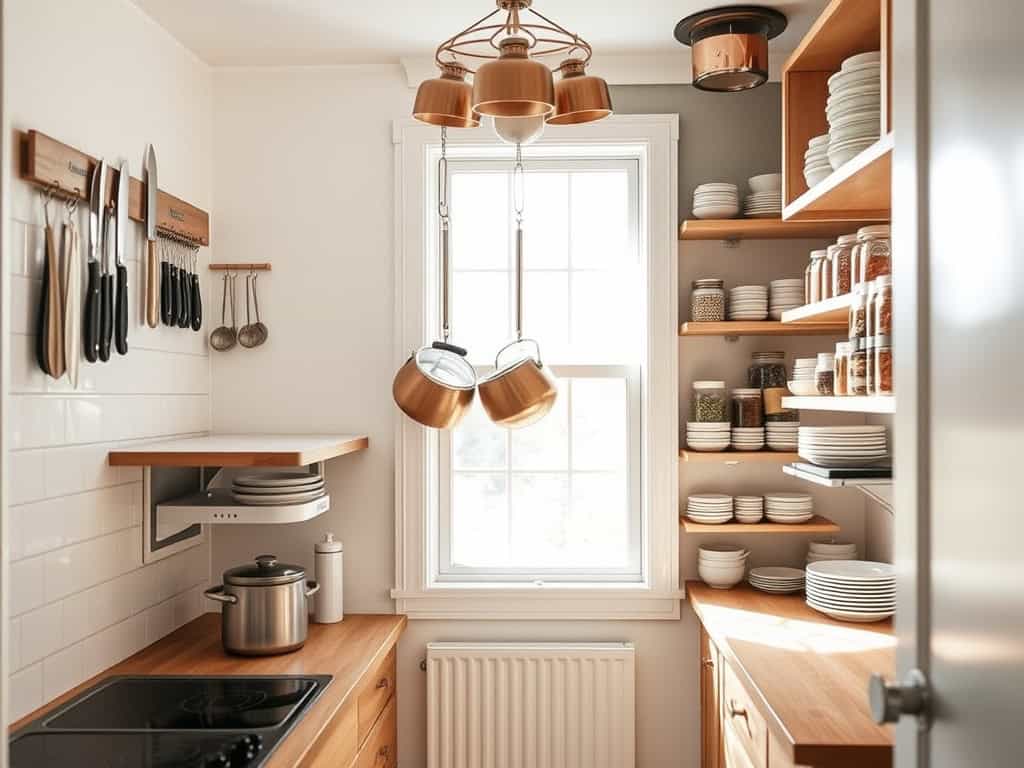
Ever felt like your tiny kitchen is playing a game of hide-and-seek with your storage space? I’ve been there, and let me tell you – maximizing every inch of a compact kitchen doesn’t mean sacrificing style or functionality. Whether you’re working with 50 square feet or 150, these nine genius storage solutions will transform your cozy cooking space into an organized oasis. From magnetic magic to pull-out perfection, you’ll discover how clever design can make your tiny kitchen feel twice its size.
Magnetic Knife Strips and Spice Racks
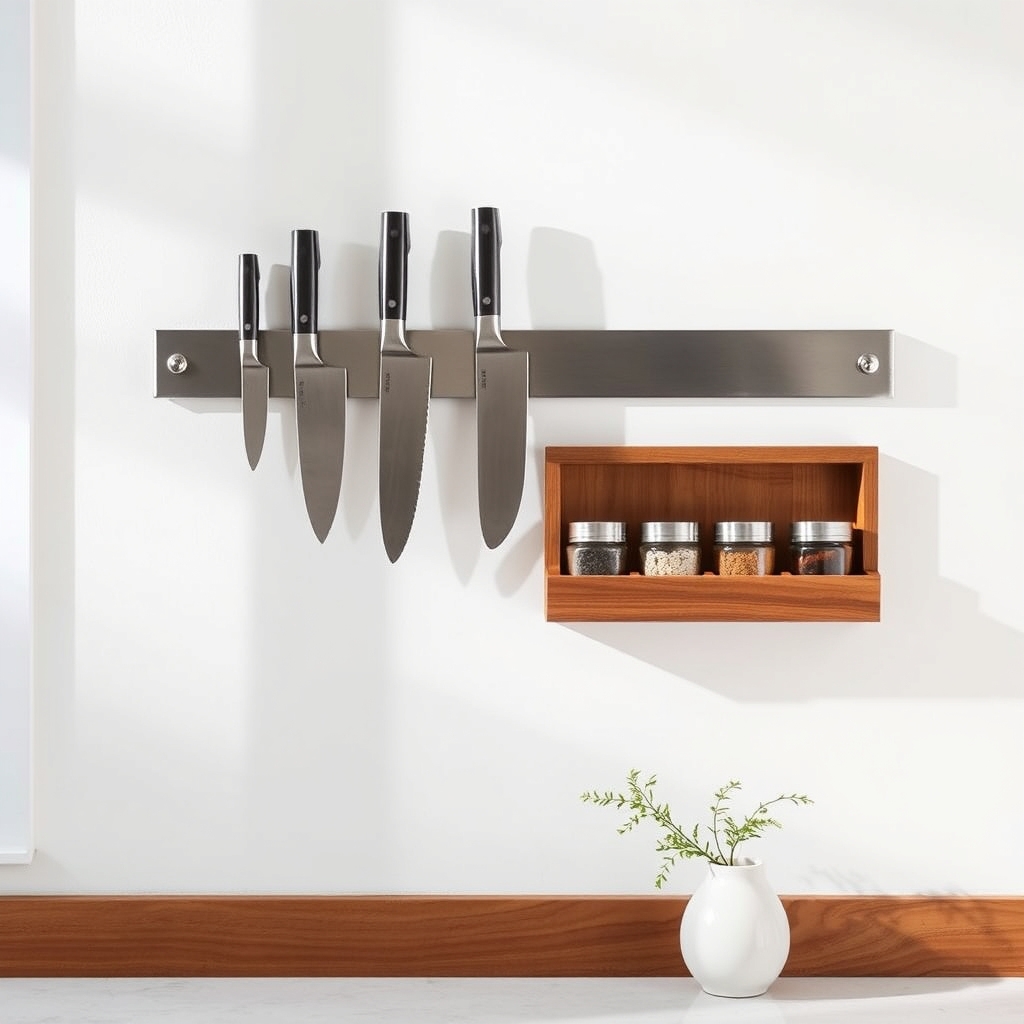
In tiny home kitchens, every inch of space counts, and proper organization of knives and spices can make the difference between a cluttered nightmare and a functional cooking space.
Magnetic knife strips and wall-mounted spice racks free up valuable drawer and counter space while keeping essential items within easy reach during meal preparation.
Wall-mounted storage solutions not only maximize vertical space but also create an attractive display of your cooking tools and ingredients. When knives and spices are visible and properly organized, cooking becomes more efficient and enjoyable, as everything you need is readily accessible.
Required Items:
- Magnetic knife strip
- Wall-mounted spice rack
- Mounting hardware (screws, anchors)
- Level
- Drill
- Screwdriver
- Pencil
- Measuring tape
- Spice containers (uniform size recommended)
- Labels
- Cleaning supplies
Start by selecting an appropriate wall space near your primary food prep area for both the magnetic knife strip and spice rack.
Install the magnetic knife strip at eye level, ensuring it’s perfectly level and securely anchored to wall studs or using proper wall anchors. Position your most frequently used knives on the strip, arranging them by size with handles facing the same direction.
For the spice rack, install it slightly above or below the knife strip, depending on your kitchen layout. Transfer spices into uniform containers and arrange them alphabetically or by frequency of use.
Additional Tips: Clean both the magnetic strip and knife blades regularly to prevent dust accumulation and maintain magnetic strength.
Consider installing under-cabinet lighting to illuminate your organization system. Replace spice labels regularly to maintain legibility, and rotate spices every six months to ensure freshness.
Keep heavier knives at the ends of the magnetic strip for better balance and stability.
Fold-Down Counter Space Solutions
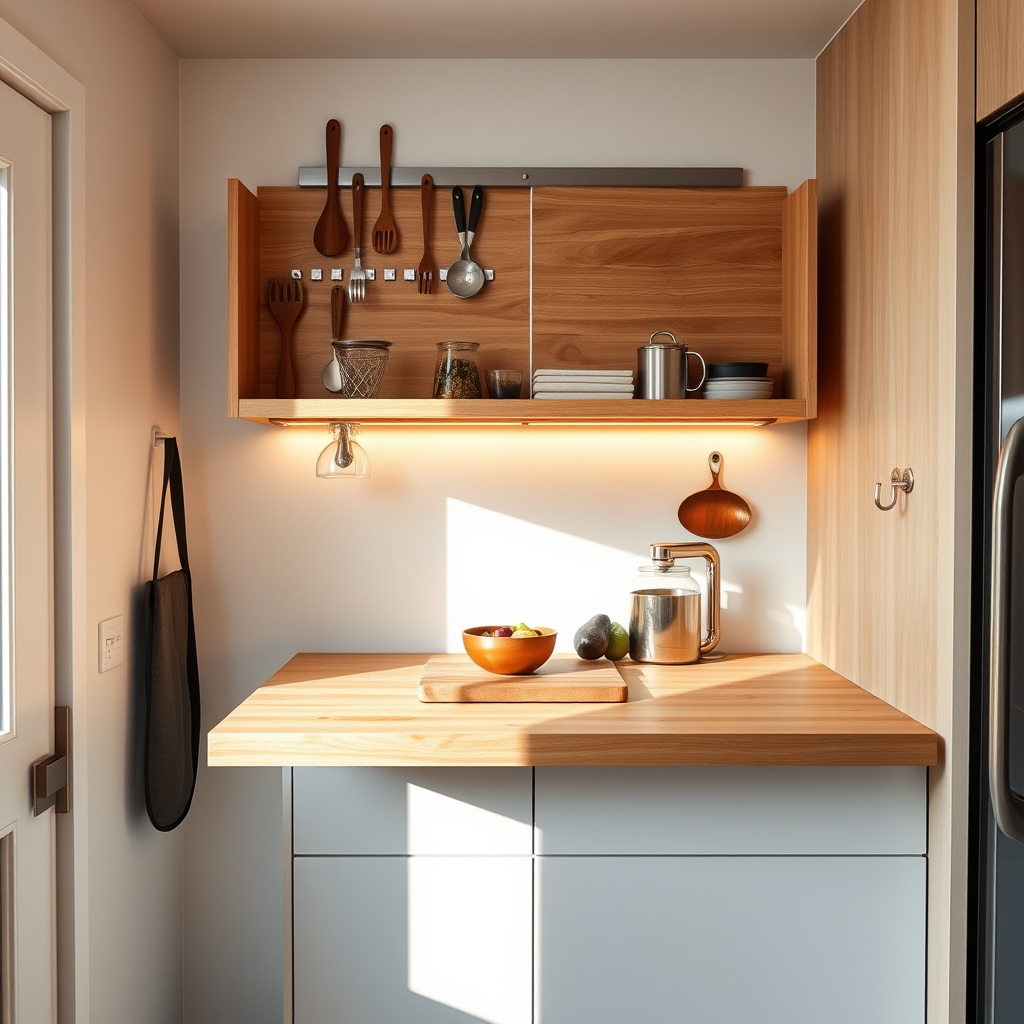
Making the most of limited counter space is crucial in tiny home living, where every inch matters. Fold-down counters serve as a brilliant solution, providing extra workspace when needed while keeping the area open and spacious when not in use. These versatile surfaces can transform from meal prep stations to dining areas and back again, making them an essential feature of any well-designed tiny kitchen.
The key to successful fold-down counter implementation lies in strategic placement and proper organization. When properly executed, these surfaces can double or even triple your available workspace without permanently consuming valuable floor area. The right organization system ensures these surfaces remain functional, accessible, and integrate seamlessly into your daily routine.
Required Items:
- Wall-mounted brackets
- Sturdy hinges
- Plywood or solid wood for counter surface
- Mounting hardware
- Level
- Drill and drill bits
- Screwdriver
- Measuring tape
- Pencil
- Wall anchors
- Safety latches
- Sandpaper
- Sealant or finish for wood
Install the fold-down counter by first determining the optimal height and location, typically 36 inches from the floor for standard counter height. Mount heavy-duty brackets securely into wall studs, ensuring they’re perfectly level and can support the weight of both the counter and items placed upon it.
Attach the counter surface to the brackets using sturdy hinges, making sure the surface sits flush against the wall when folded up and remains stable when extended.
Create designated zones on your fold-down surface based on different activities: food prep, dining, or work area. Install small hooks or magnetic strips on the wall above or below the counter to hold frequently used tools when the surface is folded up. Consider adding a slim storage pocket or shelf that remains accessible even when the counter is closed.
Maximize efficiency by establishing a routine of clearing and wiping down the surface before folding it up, preventing debris accumulation and maintaining cleanliness. Consider installing LED strip lighting underneath the counter for added functionality, and use rubber bumpers at contact points to prevent wear and tear on both the wall and counter surface.
Keep frequently used items in easily accessible storage nearby to make the transition between folded and extended positions smooth and practical.
Under-Cabinet Hanging Storage Systems
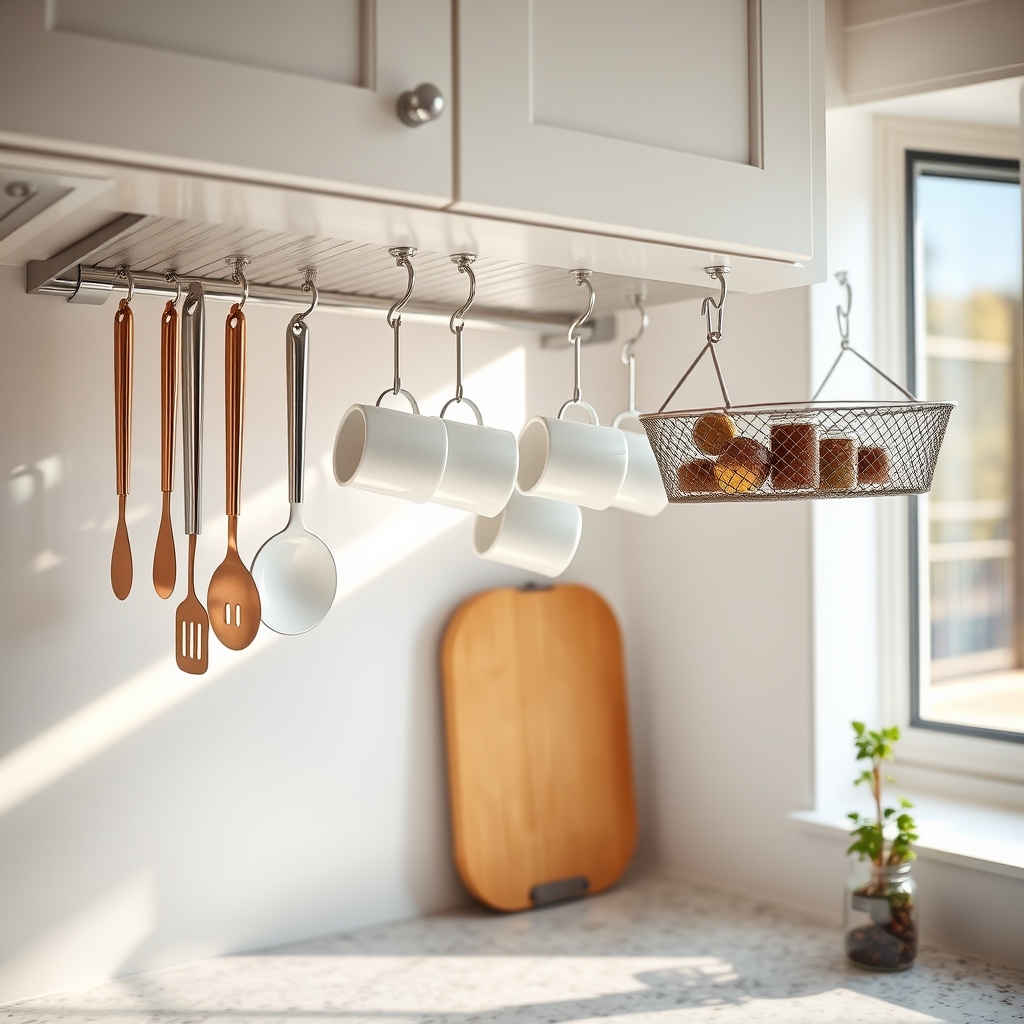
Making the most of every inch in a tiny home kitchen is crucial for maintaining functionality and order. Under-cabinet spaces often go unused, yet they offer valuable storage potential that can significantly expand your kitchen’s capacity without taking up precious counter space.
Under-cabinet hanging systems transform dead space into dynamic storage solutions, perfect for frequently used items like mugs, utensils, and even small appliances. This organization method not only maximizes vertical space but also keeps essential items within easy reach while cooking or preparing meals.
Required Items:
- Under-cabinet hooks or racks
- Measuring tape
- Pencil
- Drill and screws
- Level
- Under-cabinet mounting brackets
- Wire baskets or hanging containers
- Command strips (for non-permanent options)
- Rubber shelf liner
- Screwdriver
Start by measuring the available space under your cabinets, ensuring you account for any existing hardware or lighting. Mark mounting points with a pencil, using a level to ensure straight installation. Install mounting brackets according to manufacturer specifications, typically spacing them 16-24 inches apart for optimal support.
When securing items, ensure all hardware is properly anchored into the cabinet’s solid bottom surface rather than just the decorative molding. For a customized system, combine different types of hanging storage solutions based on your specific needs.
Install hooks for mugs and utensils toward the front of cabinets, while positioning deeper baskets or racks toward the back for less frequently used items. Consider using sliding tracks for easier access to items stored farther back.
To maximize your under-cabinet storage system, rotate items seasonally and regularly assess what you’re storing. Use rubber shelf liner on hooks or racks to prevent items from sliding, and consider adding small LED strips to illuminate darker areas.
Always check weight limits for your chosen storage solutions and distribute heavy items evenly across multiple mounting points to prevent strain on any single area.
Corner Cabinet Carousel Organizers
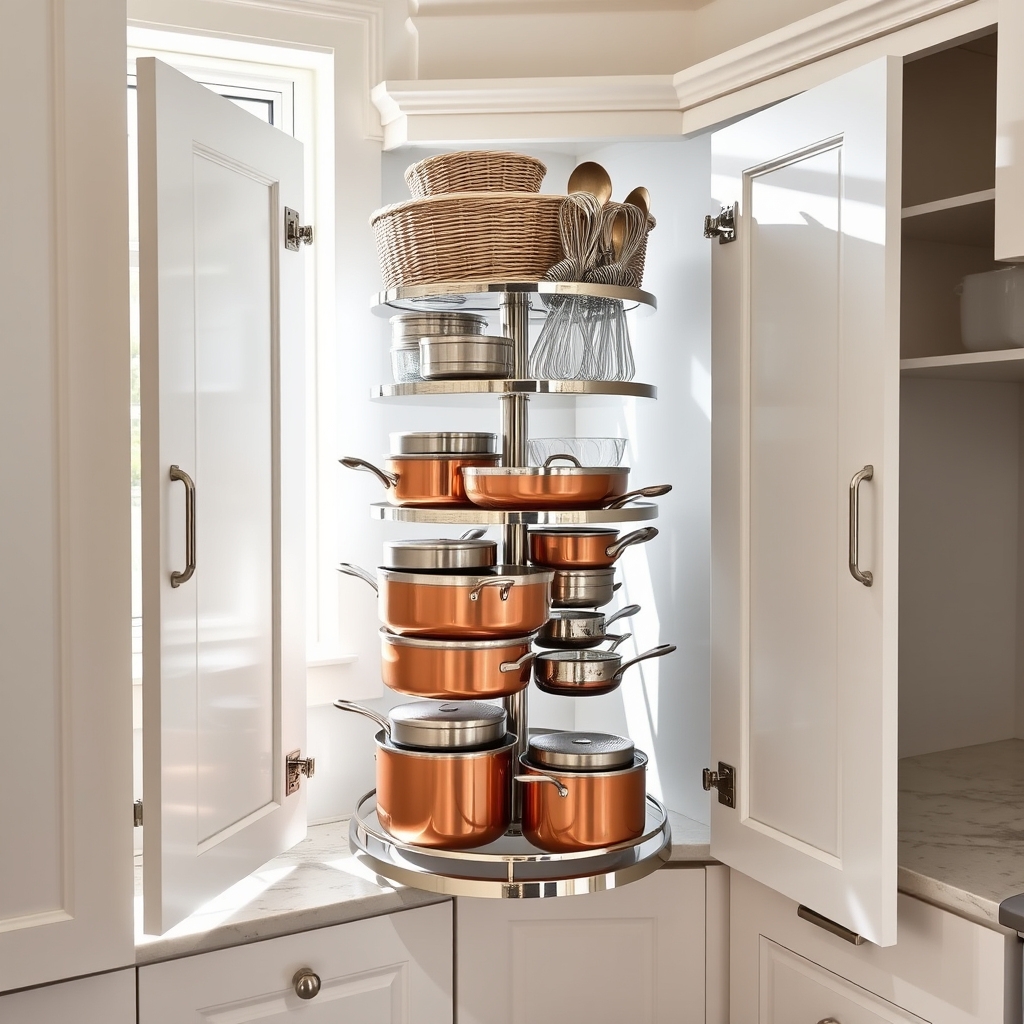
Corner cabinets often become black holes of wasted space in tiny home kitchens, with items getting lost in the deep recesses and becoming forgotten. A well-organized corner cabinet carousel can transform this traditionally awkward space into one of the most efficient storage areas in your compact kitchen, maximizing every inch of available space.
Installing and organizing a corner cabinet carousel creates easy access to items that would otherwise be difficult to reach. This rotating system allows you to store frequently used items like pots, pans, and appliances while keeping them readily accessible with a simple spin of the carousel, making it an essential solution for tiny home living.
Required Items:
- Corner cabinet carousel mechanism
- Measuring tape
- Screwdriver
- Level
- Cabinet organizing bins
- Non-slip shelf liner
- Labels
- Cleaning supplies
- Container for loose hardware
- Installation manual
Start by emptying the corner cabinet completely and cleaning all surfaces thoroughly. Measure the cabinet’s dimensions carefully to ensure your carousel mechanism fits properly, accounting for both height and width.
Install the carousel according to manufacturer specifications, ensuring it’s level and properly secured to prevent wobbling.
Group similar items together and arrange them on the carousel shelves based on frequency of use, with daily-use items placed at eye level. Position heavier items on the bottom shelf for stability, and utilize organizing bins to prevent smaller items from falling through gaps.
Consider the natural rotation of the carousel when placing items to prevent them from bumping into cabinet walls.
To maximize the effectiveness of your corner cabinet carousel, apply non-slip liner to each shelf to prevent items from shifting during rotation. Label each section clearly to maintain organization long-term, and establish a regular maintenance schedule to prevent clutter from accumulating.
Consider keeping a small step stool nearby if top shelves are difficult to reach, and periodically test the carousel’s rotation to ensure smooth operation.
Over-the-Sink Cutting Boards and Drying Racks
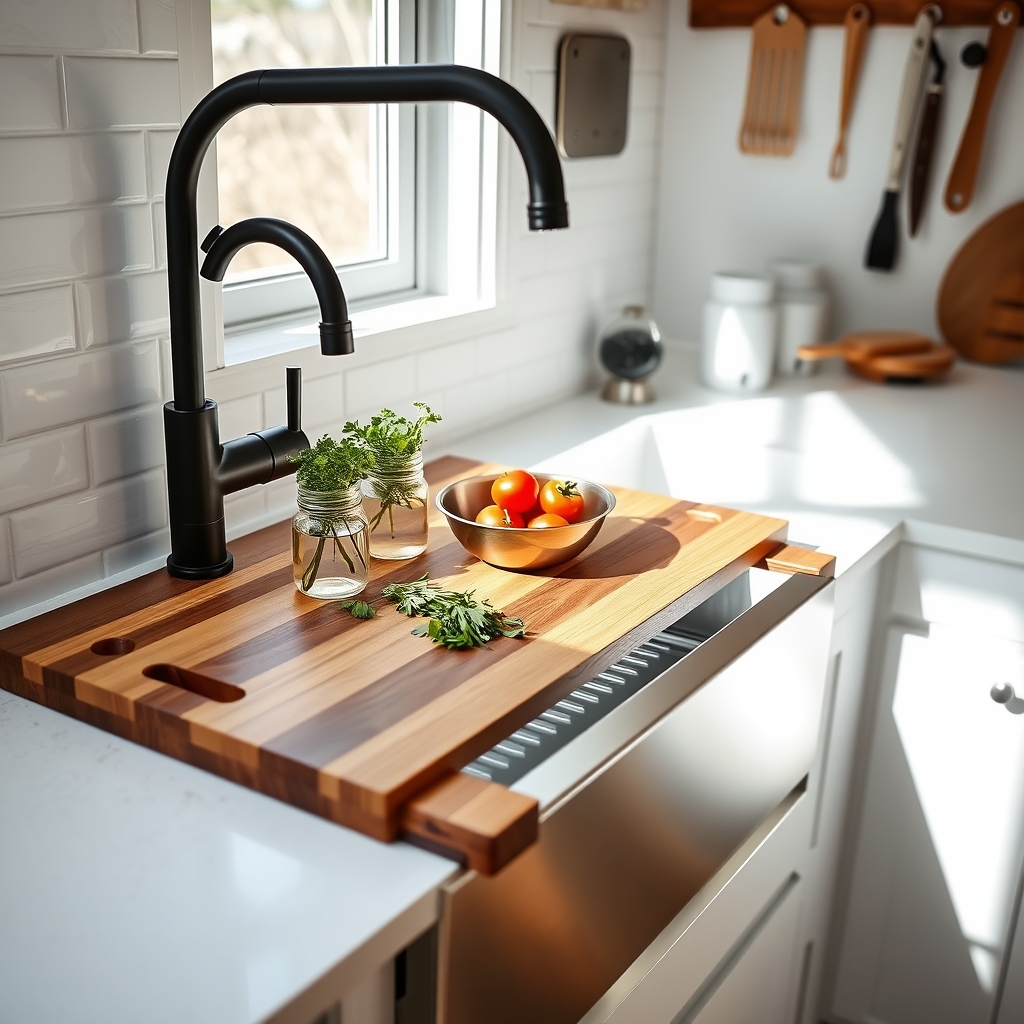
Making the most of every inch in a tiny home kitchen is crucial, and the space above your sink represents prime real estate for multi-functional storage solutions. Over-the-sink cutting boards and drying racks create an instant workspace where there previously was none, effectively doubling the utility of your sink area.
These versatile tools not only save counter space but also provide a seamless workflow for food preparation and cleanup. When properly organized, this system allows you to prep, clean, and dry dishes in one compact area, eliminating the need for separate counter space dedicated to these tasks.
Required Items:
- Adjustable over-sink cutting board
- Roll-up dish drying rack
- Sink measurements
- Non-slip grip pads
- Sink caddy for supplies
- Mounting brackets (if needed)
- Waterproof shelf liner
- Storage hooks
- Dish soap dispenser
- Sink protector mat
Position your over-sink cutting board first, ensuring it fits securely across your sink with non-slip grips in place. Install any necessary mounting brackets according to manufacturer specifications, making sure they’re level and can support the weight of both the cutting board and food items.
Place the roll-up drying rack alongside or underneath the cutting board, depending on your sink’s dimensions and your immediate needs. When not in use, store the cutting board vertically using mounted hooks or a narrow cabinet space beside the sink.
The roll-up drying rack can be easily tucked away in a drawer or hung on a command hook inside a cabinet door. Keep cleaning supplies organized in a sink caddy that can be moved as needed when deploying either the cutting board or drying rack.
For optimal performance, maintain a regular cleaning schedule for both items and inspect grip pads monthly for wear and tear. Consider investing in a secondary, smaller cutting board for quick tasks when the full over-sink system isn’t needed.
Additionally, use clear containers for under-sink storage to easily locate cleaning supplies and maximize the vertical space beneath your newly organized work area.
Vertical Pan and Lid Storage Solutions
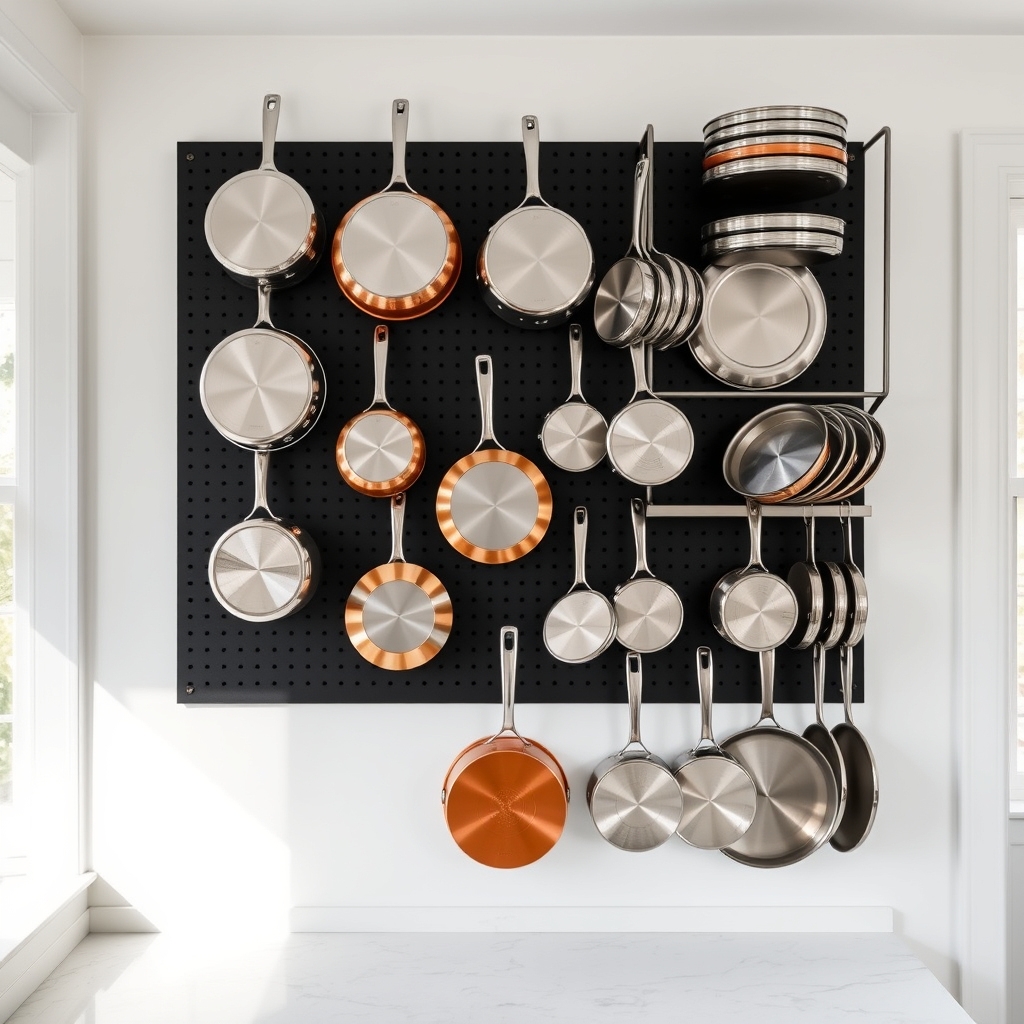
Maximizing vertical space in a tiny home kitchen is essential for maintaining functionality and accessibility. Proper pan and lid storage not only saves valuable cabinet space but also protects your cookware from scratches and damage while keeping everything within easy reach.
Vertical storage solutions transform unused wall space and cabinet interiors into efficient storage zones, eliminating the frustrating stack-and-shuffle routine common with traditional pan storage. When implemented correctly, vertical storage systems can reduce clutter, improve workflow, and make cooking in a tiny kitchen more enjoyable.
Required Items:
- Wall-mounted pot rack or pegboard system
- Heavy-duty hooks or brackets
- Cabinet door-mounted lid organizer
- Adjustable dividers
- Measuring tape
- Level
- Drill and screws
- Wall anchors
- Pencil
- Stud finder
Start by measuring your available wall space or cabinet interior and mapping out the placement of your vertical storage system. For wall-mounted solutions, use a stud finder to locate secure mounting points, and install heavy-duty anchors where needed. Mount the rack or pegboard system, ensuring it’s perfectly level. Space hooks or brackets evenly to accommodate your specific pan sizes.
For cabinet organization, install adjustable dividers vertically to create slots for pans. Position the dividers slightly wider than your largest pan’s width. If using a door-mounted system for lids, attach it securely to the cabinet door, ensuring proper clearance when closing. Arrange pans from largest to smallest, with frequently used items at eye level.
Additional Tips: Consider installing rubber or silicone tips on hooks and dividers to prevent scratching. Label positions for specific pans to maintain organization long-term. Create a designated space for frequently used pans near the cooking area, and store seasonal or rarely used items in higher or lower positions. Regularly assess your storage system and adjust as needed based on your cooking habits and pan collection.
Cabinet Door Mounted Organizers
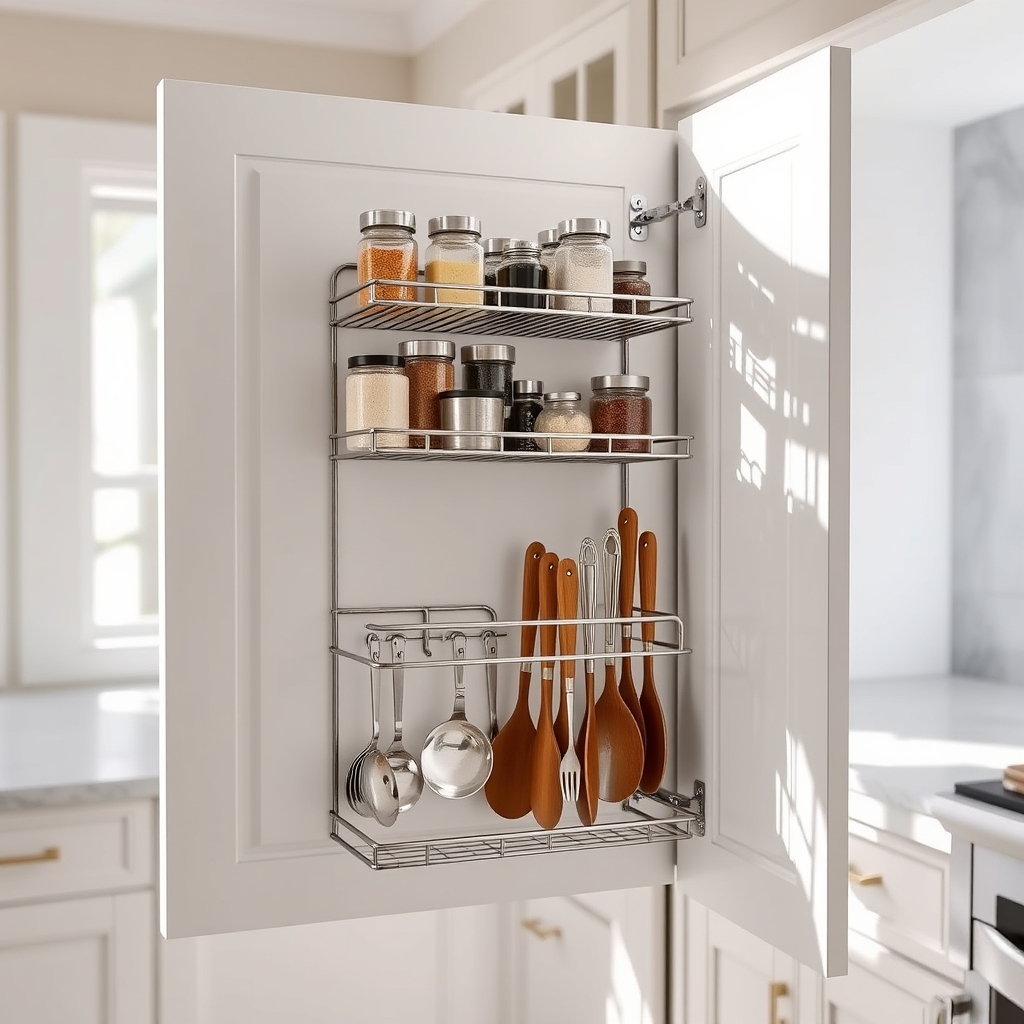
Making the most of every square inch is crucial in a tiny home kitchen, and cabinet doors represent valuable yet often overlooked storage real estate. Cabinet door mounted organizers transform dead space into functional storage zones, effectively doubling your storage capacity without requiring additional floor space or countertop area.
Door-mounted storage solutions are particularly effective for frequently used items like spices, cleaning supplies, cutting boards, and pot lids. This organization method keeps essential items within arm’s reach while maintaining a clutter-free counter space, making cooking and cleaning more efficient in compact kitchens.
Required Items:
- Over-the-door organizer racks
- Command hooks or adhesive mounting strips
- Measuring tape
- Screwdriver
- Cabinet door mounted wire baskets
- Door-mounted spice racks
- Level
- Pencil
- Mounting screws
- Drill (if needed)
Select appropriate door-mounted organizers based on your specific storage needs and cabinet door dimensions. Measure the interior space of your cabinet doors, accounting for shelves and hinges to ensure proper fit. Install wire racks or baskets using either screws for permanent installation or adhesive mounting strips for rental properties.
Position organizers to allow proper door closure and avoid interference with cabinet contents. For maximum efficiency, group similar items together and consider frequency of use when deciding what to store in door-mounted organizers. Install spice racks at eye level for easy access while cooking, and position cleaning supply caddies lower in sink cabinets.
Ensure all mounted items are securely fastened and test door closure multiple times to prevent any contact with interior cabinet contents.
Additional Tip: Regularly assess and adjust your door-mounted organization system as needs change. Consider using clear containers or labels to maintain organization, and periodically check mounting hardware to ensure everything remains secure.
Remember to distribute weight evenly across multiple organizers rather than overloading a single unit to prevent strain on cabinet doors and mounting hardware.
Pull-Out Pantry Storage Systems
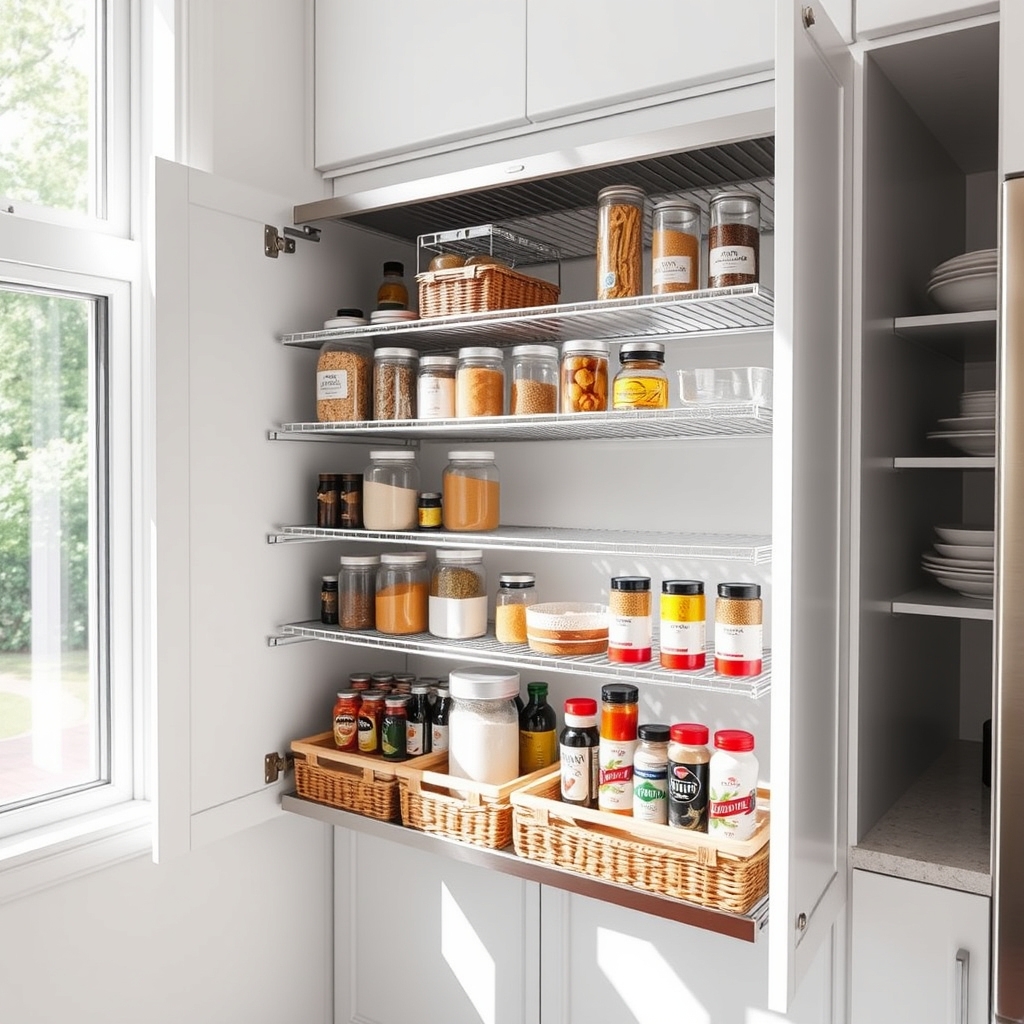
Maximizing storage space in a tiny home kitchen requires innovative solutions, and pull-out pantry systems represent one of the most efficient ways to utilize vertical space while maintaining easy access to items.
These systems transform narrow gaps between appliances or unused corners into functional storage areas that can hold a surprising amount of food and supplies.
Pull-out pantry systems work particularly well in tiny homes because they eliminate the need to reach into deep cabinets or stack items in front of each other. With smooth-sliding mechanisms, these units can be fully extended, providing clear visibility and access to all stored items, effectively doubling or tripling the usable space of a traditional static shelf system.
Required Items:
- Pull-out pantry frame system
- Mounting brackets
- Wood or wire shelves
- Drawer slides
- Screws and anchors
- Level
- Drill
- Measuring tape
- Pencil
- Screwdriver
- Storage containers
- Shelf liner
- Labels
Installing and organizing a pull-out pantry system starts with measuring the available space and selecting an appropriately sized unit.
Mount the frame according to manufacturer specifications, ensuring it’s perfectly level and secure. Install the sliding mechanism and shelves, testing the motion to ensure smooth operation.
Once the structure is in place, begin organizing items by category, placing heavier items at the bottom and frequently used items at eye level.
Sort pantry items into clear containers or bins that fit the shelf dimensions, maximizing vertical space while maintaining visibility. Create zones within the pull-out system: breakfast items, baking supplies, canned goods, and snacks.
Use shelf liners to prevent items from sliding during operation, and implement a labeling system to maintain organization over time.
For optimal functionality, establish a regular maintenance schedule to check the sliding mechanism and clean the tracks.
Consider installing LED strip lighting along the frame to illuminate contents, and use adjustable shelf heights to accommodate items of varying sizes.
Remember to periodically review and rotate stored items, ensuring nothing gets lost or expired in this efficient but compact storage solution.
Multi-Tiered Rolling Cart Solutions
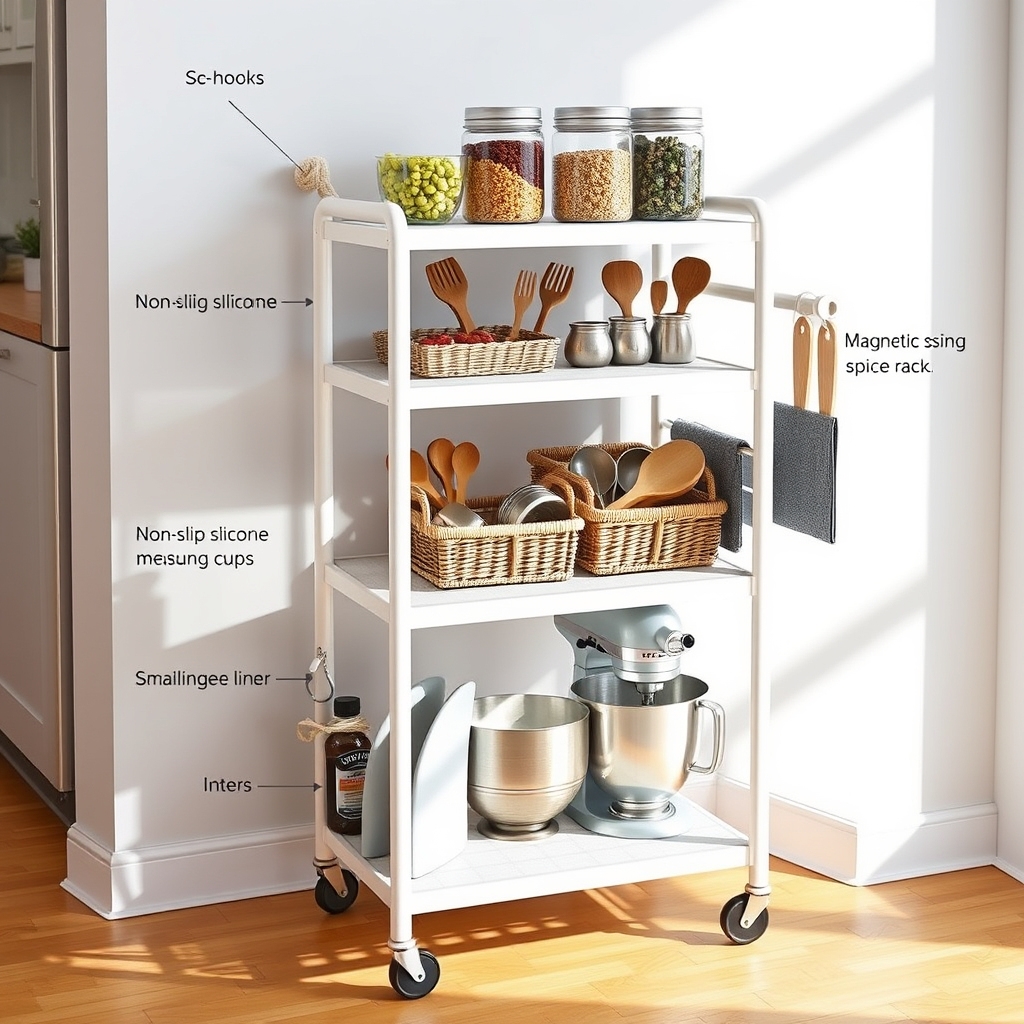
Making the most of vertical space in a tiny home kitchen is crucial for maintaining functionality and accessibility. Multi-tiered rolling carts serve as versatile storage solutions that can transform dead space into valuable storage real estate while providing mobility when needed.
Rolling carts offer the unique advantage of creating designated zones within your tiny kitchen, allowing you to group similar items together and move them as needed. Whether used for pantry storage, cooking essentials, or appliance organization, these mobile units maximize space efficiency while maintaining easy access to kitchen necessities.
Required Items:
- Multi-tiered rolling cart
- Clear storage containers
- Label maker or labels
- Shelf liner
- Small bins or baskets
- S-hooks
- Measuring tape
- Drawer organizers
- Magnetic containers (optional)
- Bungee cords or cart nets
Select a rolling cart that fits your space requirements and begin by measuring the areas between tiers to determine container sizes. Line each shelf with non-slip liner to prevent items from shifting during movement. Designate specific tiers for different categories: bottom tier for heavy items and appliances, middle tier for frequently used cooking supplies, and top tier for lightweight items and daily essentials.
Install S-hooks along the sides for hanging utensils or lightweight tools, maximizing vertical space. For optimal organization, use clear containers to store dry goods, ensuring easy visibility of contents. Implement a labeling system to maintain organization and quick identification. Consider adding magnetic containers to the sides for spices or small items. Group similar items together and place frequently used items at easily accessible heights.
Additional Tip: To prevent items from falling during movement, secure items with bungee cords or cart nets, especially on the top tier. Consider adding a fold-down side shelf for temporary workspace, and regularly reassess the cart’s organization to ensure it continues meeting your needs efficiently. Clean the wheels periodically to maintain smooth mobility and prevent kitchen floor damage.

