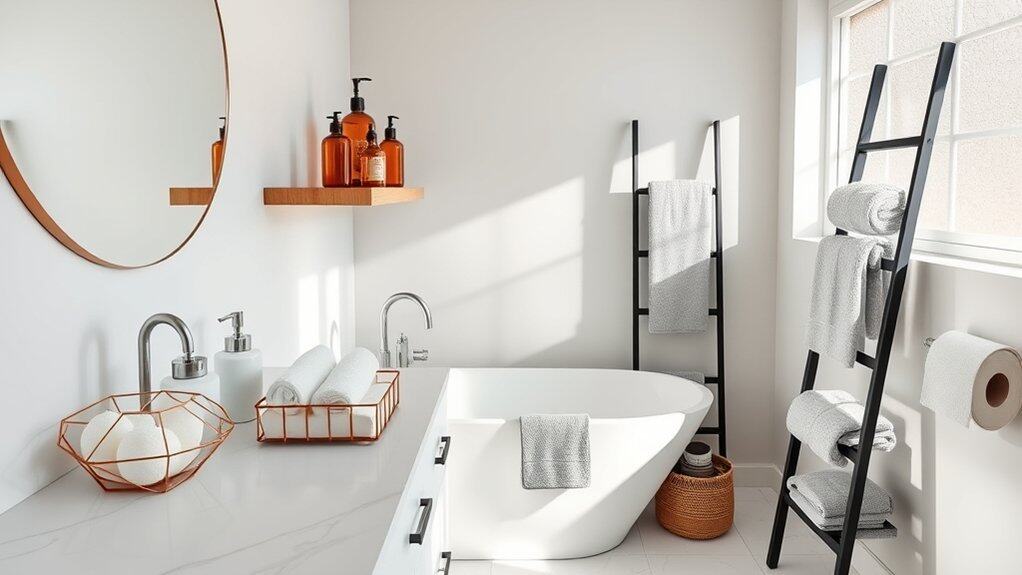
Just like Marie Kondo sparked joy in millions of homes, you’re about to discover how to transform your cluttered bathroom into an Instagram-worthy oasis. Let’s face it – we’ve all experienced that moment of frustration when searching for that one essential item buried beneath a mountain of toiletries. Whether you’re working with a tiny powder room or a spacious master bath, these seven smart and stylish organization ideas will help you reclaim your space while adding a touch of sophistication.
Floating Shelves: Maximize Vertical Space With Modern Flair
Stylish Organization Ideas for the Bathroom
Floating Shelves: Maximize Vertical Space With Modern Flair
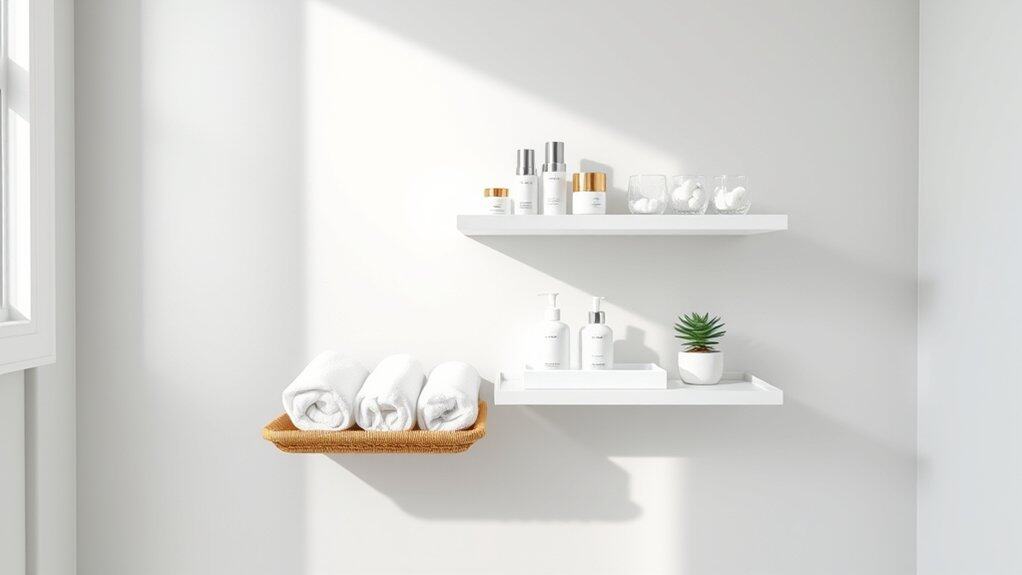
The vertical space in bathrooms often goes underutilized, yet it holds immense potential for both storage and style. Floating shelves offer a contemporary solution that combines functionality with aesthetic appeal, creating an organized space without sacrificing precious floor area or counter space.
Installing and organizing floating shelves transforms unused wall space into valuable storage real estate while maintaining a clean, minimalist look. These versatile additions can accommodate everything from daily essentials to decorative elements, making them perfect for bathrooms of any size.
Required Items:
- Floating shelves (various sizes)
- Level
- Drill and mounting hardware
- Decorative storage containers
- Clear acrylic organizers
- Small baskets or bins
- Glass jars
- Labels
- Cleaning supplies
- Measuring tape
Start by mounting your floating shelves at varying heights, ensuring proper spacing for items of different sizes. Position frequently used items on lower shelves within easy reach, while decorative pieces and less-used items can go on higher shelves.
Group similar items together using attractive containers – clear glass jars for cotton balls and swabs, woven baskets for rolled towels, and sleek acrylic organizers for skincare products. Maintain visual harmony by choosing containers that complement your bathroom’s color scheme and style.
Create designated zones on your shelves: one for daily essentials, another for backup supplies, and perhaps a third for purely decorative items that add personality to the space. This systematic approach ensures that everything has its place while maintaining an uncluttered appearance.
Consider leaving some negative space between grouped items to prevent the shelves from looking overcrowded.
Additional Tips: Regularly assess and rotate items based on seasonal needs and usage patterns. Clean shelves weekly to prevent dust accumulation, and consider using shelf liners to protect the surface.
For a cohesive look, stick to a limited color palette for storage containers and choose items that complement rather than compete with each other visually. Remember to secure heavy items properly and avoid overloading shelves beyond their weight capacity.
Clear Glass Containers: Elegant Storage Solutions
Stylish Organization Ideas for the Bathroom
Clear Glass Containers: Elegant Storage Solutions
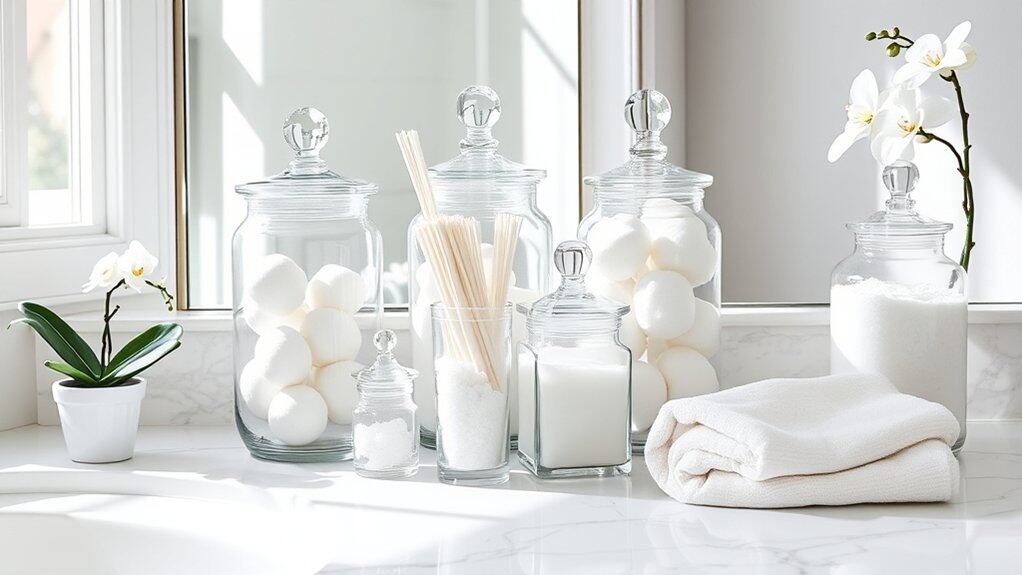
Bathroom organization goes beyond mere functionality – it transforms your daily routine into a spa-like experience. Clear glass containers add sophistication while allowing you to quickly locate items, reducing morning stress and creating an atmosphere of refined orderliness.
Glass containers serve as both practical storage solutions and decorative elements, elevating your bathroom’s aesthetic while keeping essentials within reach. Their transparency eliminates the need to search through opaque containers, while their timeless appeal complements any bathroom décor style.
Required Items:
- Assorted clear glass containers with lids
- Labels or label maker
- Cotton swabs
- Cotton balls
- Bath salts
- Small toiletries
- Decorative soaps
- Glass cleaner
- Microfiber cloth
- Small scoop or tongs
- Shelf liner (optional)
Start by thoroughly cleaning your glass containers with glass cleaner and allowing them to dry completely. Group similar items together – designate specific containers for cotton products, another for bath items, and separate vessels for frequently used toiletries.
Consider the size of items when selecting containers; choose wide-mouth jars for bulkier items and smaller containers for delicate items. When filling containers, maintain uniformity by using the same type of container for similar items. Position frequently used items at eye level or in easily accessible locations.
For items like cotton balls or bath salts, use a small scoop or tongs to maintain hygiene. If using labels, place them consistently – either all on the front or all on the lids – to maintain a cohesive look.
To maintain your organized glass container system, regularly assess contents and refill before containers are empty. Clean containers monthly with a gentle glass cleaner, avoiding harsh chemicals that might damage seals or labels.
Store containers away from direct sunlight to prevent content degradation and consider using shelf liner to prevent sliding on bathroom surfaces. When displaying containers, create visual interest by varying heights and sizes while maintaining clean lines and groupings.
Over-the-Toilet Storage Units: Making the Most of Dead Space
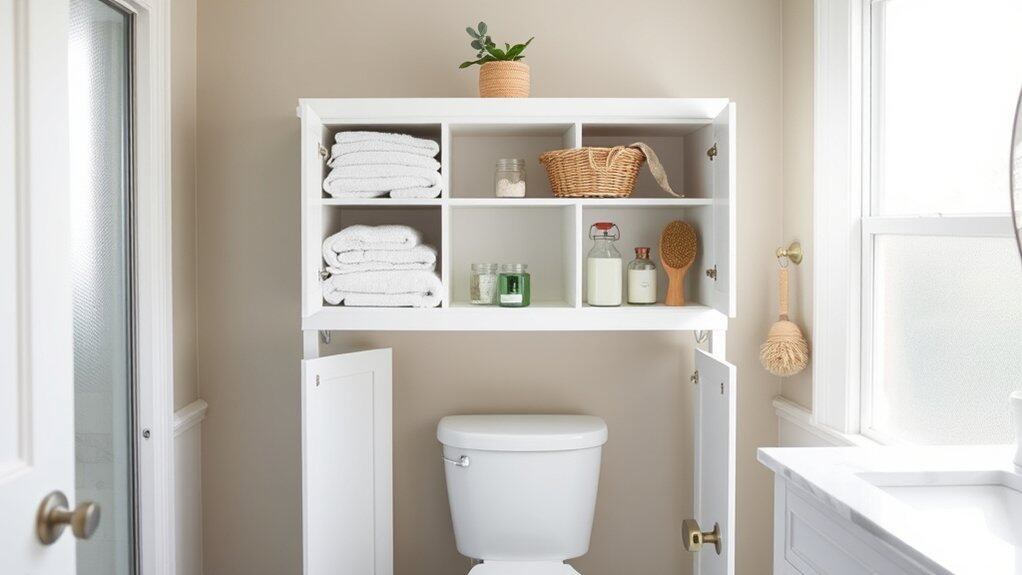
Stylish Organization Ideas for the Bathroom
Over-the-Toilet Storage Units: Making the Most of Dead Space
The space above the toilet is often an untapped storage goldmine in bathrooms of any size. This vertical real estate offers valuable storage opportunities without consuming precious floor space, making it essential for maximizing bathroom functionality, especially in smaller homes or apartments.
Over-the-toilet storage units transform awkward, unused wall space into a practical storage solution for toiletries, towels, and bathroom essentials. When properly organized, these units can create a clean, streamlined appearance while keeping frequently used items within easy reach.
Required Items:
- Over-the-toilet storage unit
- Storage baskets or containers
- Labels
- Cleaning supplies
- Basic tools for assembly
- Clear storage containers
- Drawer organizers
- Shelf liners
- Command hooks or adhesive strips
Start by assembling the storage unit according to manufacturer instructions, ensuring it’s securely anchored to the wall if required.
Once installed, sort bathroom items into categories: daily essentials, backup supplies, decorative items, and cleaning products. Assign specific zones within the unit based on usage frequency – keep everyday items at eye level, less-used items on higher shelves, and heavier items on lower shelves.
Use baskets or containers to group similar items together, preventing smaller objects from creating visual clutter. For maximum visibility and accessibility, store items in clear containers or labeled baskets. Roll towels instead of folding them to save space and create a spa-like appearance.
Position frequently used items toward the front of shelves, with backup supplies behind them. Consider using shelf liners to protect surfaces and prevent items from sliding.
Additional Tips:
Regularly assess stored items and remove anything expired or unused. Install small hooks on the unit’s sides for hanging items like hair tools or loofahs.
Consider using coordinated containers or baskets to maintain a cohesive look. Implement a rotation system for products, moving newer items to the back so older ones get used first. Clean shelves monthly to prevent dust accumulation and maintain organization.
Decorative Woven Baskets: Stylish and Functional Organization
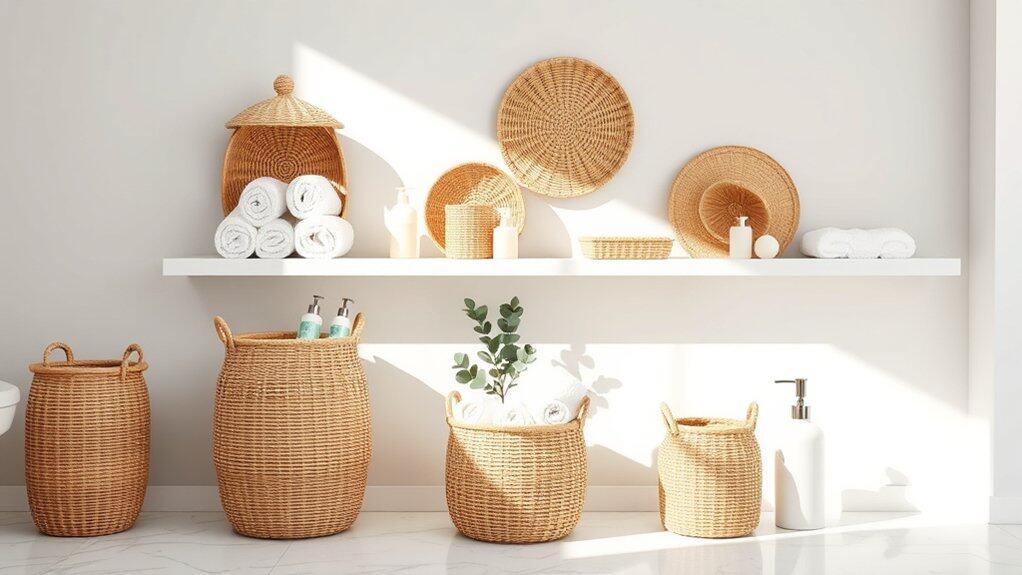
Stylish Organization Ideas for the Bathroom
Decorative Woven Baskets: Stylish and Functional Organization
Woven baskets bring a natural, spa-like element to bathroom organization while providing practical storage solutions for everyday essentials. The versatility of these containers allows them to accommodate various items while maintaining a cohesive, aesthetically pleasing appearance that enhances the overall bathroom decor.
Implementing a woven basket organization system transforms cluttered countertops and cabinets into an efficient, accessible arrangement. These baskets not only conceal necessary items but also create designated spaces for different categories of products, making it easier to maintain order and find items quickly when needed.
Required Items:
- Assorted sizes of woven baskets
- Basket liners or fabric inserts
- Labels or tags
- Clear containers for small items
- Drawer dividers
- Measuring tape
- Basket covers (optional)
- Waterproof spray (for basket protection)
Select baskets according to your storage needs and available space. Place larger baskets on the floor or under-sink areas for towels and bulk items. Use medium-sized baskets on shelves or countertops for frequently accessed items like toiletries and cosmetics. Incorporate small baskets in drawers or on toilet tanks for personal care items and extras.
Consider using basket liners to protect against moisture and maintain cleanliness. Group similar items together and label each basket clearly for easy identification.
Keep bathroom organization effective by adopting these key practices: rotate items seasonally, check basket contents monthly for expired products, and maintain a designated spot for each basket.
Consider using water-resistant baskets in areas prone to splashing, and ensure proper ventilation to prevent moisture buildup. When arranging baskets, place frequently used items at eye level and heavier items in lower positions for safety and convenience.
Magnetic Bathroom Accessories: Smart Wall-Mounted Solutions
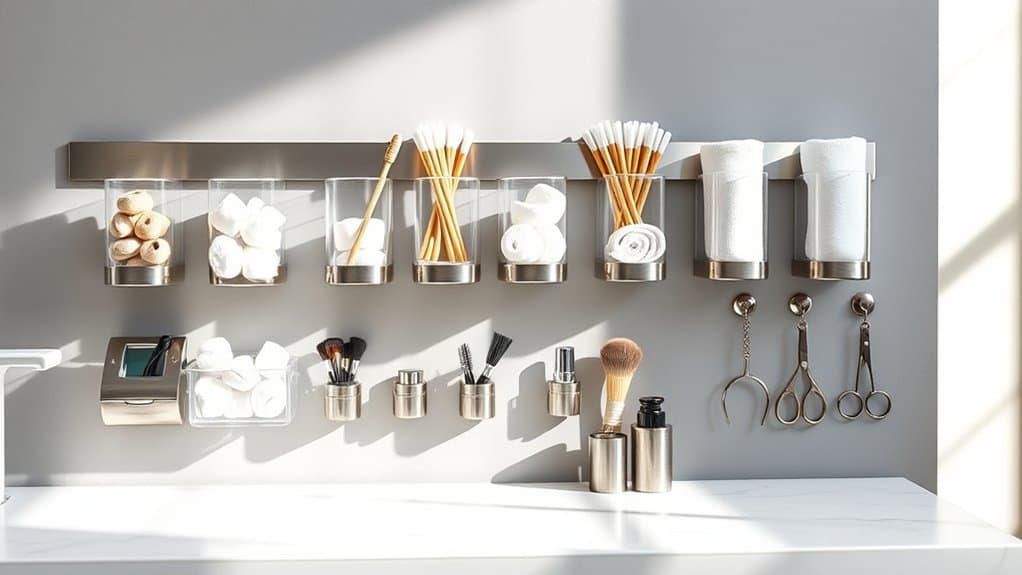
The bathroom counter and limited storage space often become cluttered with essential items we use daily. Magnetic bathroom accessories offer an innovative solution by utilizing vertical wall space effectively, keeping frequently used items accessible while maintaining a clean, organized appearance.
Magnetic organization systems transform unused wall space into functional storage areas, creating a more streamlined bathroom environment. This approach not only frees up valuable counter space but also protects items from water damage and makes cleaning easier, as items can be quickly removed and replaced.
Required Items:
- Magnetic strip or board
- Mounting hardware (screws, anchors)
- Level
- Drill
- Magnetic containers or holders
- Small magnetic strips with adhesive backing
- Metal plates (if needed)
- Screwdriver
- Measuring tape
- Pencil for marking
Installation and Organization Process:
Select an accessible wall area away from direct water exposure but within easy reach. Measure and mark the desired location for your magnetic strip or board, using a level to ensure straight placement. Install the magnetic surface according to manufacturer instructions, ensuring it’s securely anchored to support the weight of your items.
Add magnetic containers or holders sized appropriately for your specific items – such as toothbrush holders, makeup organizers, or small bins for cotton swabs and other essentials. For non-magnetic items, attach small magnetic strips or metal plates to create magnetic compatibility.
Test the magnetic strength of each container before fully committing to the arrangement. Organize items by frequency of use, keeping daily essentials at eye level and less frequently used items higher or lower. Group similar items together, such as dental care products in one section and hair accessories in another.
Additional Tips:
Regularly clean both the magnetic surface and containers to maintain adhesion strength. Consider using clear containers to easily identify contents, and label everything for family members. Periodically assess the weight distribution to prevent overloading any single area of the magnetic strip. Keep a few empty magnetic containers on hand for future organization needs or guest toiletries.
Door-Mounted Organizers: Hidden Storage Opportunities
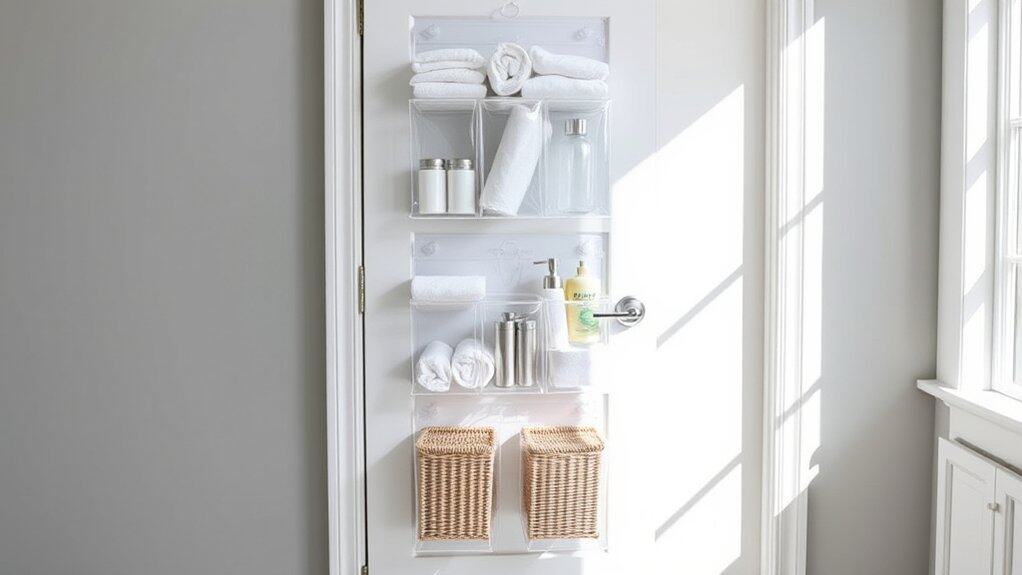
Stylish Organization Ideas for the Bathroom
Door-Mounted Organizers: Hidden Storage Opportunities
The bathroom door represents valuable yet often overlooked storage real estate in any home. By utilizing this vertical space effectively, you can maximize storage capacity without sacrificing precious floor or counter space, making your bathroom more functional and organized.
Door-mounted organizers provide a perfect solution for storing frequently used items while keeping them easily accessible but out of sight. This organization method is particularly valuable in small bathrooms where space is at a premium, and it helps maintain a clutter-free environment while keeping essential items within arm’s reach.
Required Items:
- Over-the-door organizer with pockets
- Command hooks or mounting hardware
- Measuring tape
- Level
- Pencil
- Drill and screws (if mounting permanently)
- Storage bins or baskets that fit the pockets
- Labels and label maker (optional)
Start by measuring your bathroom door’s dimensions, including width and height, to ensure your chosen organizer will fit properly. If using an over-the-door model, test the fit of the hooks over your door to confirm they won’t interfere with door closure.
For permanent mounting, mark your desired height and use a level to ensure straight installation before securing with appropriate hardware.
Sort bathroom items into categories (hair products, skincare, cleaning supplies, etc.) and assign specific pockets or sections for each category. Consider placing frequently used items at eye level and heavier items in lower pockets.
If using bins within the pockets, choose ones that fit snugly and can be easily removed for cleaning or reorganizing.
Additional Tips: Consider using clear pockets or labeled sections to easily identify contents. Install a tension rod inside deeper pockets to store spray bottles upright, and use small containers or organizers within pockets to prevent items from becoming jumbled.
Regularly review and rotate items to ensure everything stored remains relevant and frequently used. Clean the organizer monthly to prevent dust accumulation and maintain a hygienic environment.
Built-In Vanity Dividers: Custom Solutions for Daily Essentials
Stylish Organization Ideas for the Bathroom
Built-In Vanity Dividers: Custom Solutions for Daily Essentials
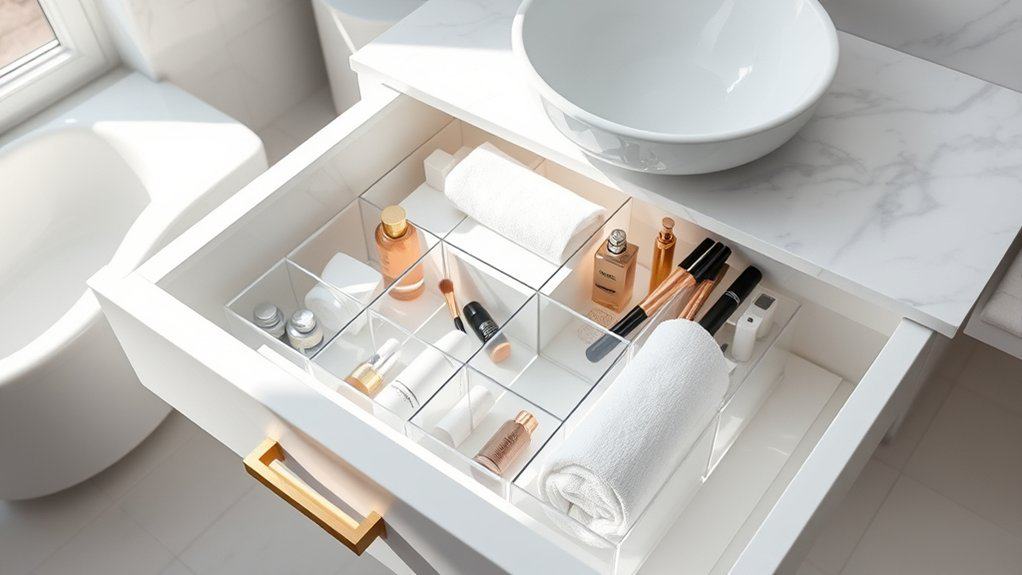
Bathroom vanity organization stands as a crucial element in maintaining an efficient morning routine and creating a clutter-free environment. When everyday items are scattered throughout drawers and cabinets, valuable time is wasted searching for essential products, leading to unnecessary stress and disorganization.
Custom vanity dividers transform chaotic storage spaces into systematic, compartmentalized areas that keep toiletries, cosmetics, and personal care items in their designated spots. These built-in solutions maximize vertical space while protecting items from damage and making them easily accessible when needed.
Required Items:
- Measuring tape
- Acrylic or wooden dividers
- Double-sided adhesive tape
- Drawer liner material
- Pencil and paper for measurements
- Level
- Scissors
- Clear silicone caulk
- Non-slip grip pads
- Cleaning supplies
Start by emptying the vanity completely and thoroughly cleaning all surfaces. Measure each drawer or cabinet space carefully, noting width, length, and height. Group similar items together and determine the ideal compartment sizes needed for each category.
Install drawer liners to protect the base and provide grip for the dividers. Position the dividers according to your planned layout, ensuring they fit snugly against drawer walls. Secure larger dividers with silicone caulk for permanent installation, or use double-sided tape for adjustable solutions.
Create a combination of vertical and horizontal spaces to accommodate items of different sizes. Place non-slip grip pads under standing items to prevent shifting.
For optimal organization maintenance, implement a regular review system every three months. Remove items that are expired or unused, adjust divider positions as needs change, and clean compartments thoroughly.
Consider installing additional lighting or using clear dividers in deeper drawers to improve visibility and maintain the organized system long-term.

