Just like Mary Poppins’ magical carpet bag that held everything imaginable, your small pantry can become a masterpiece of clever storage solutions. If you’re tired of playing Tetris with cereal boxes and canned goods, you’re not alone! I’ve transformed countless cramped pantries into organized oases using simple but genius space-saving tricks. Let me share ten game-changing strategies that’ll help you maximize every precious inch of your pantry space – and yes, they’re easier than you might think.
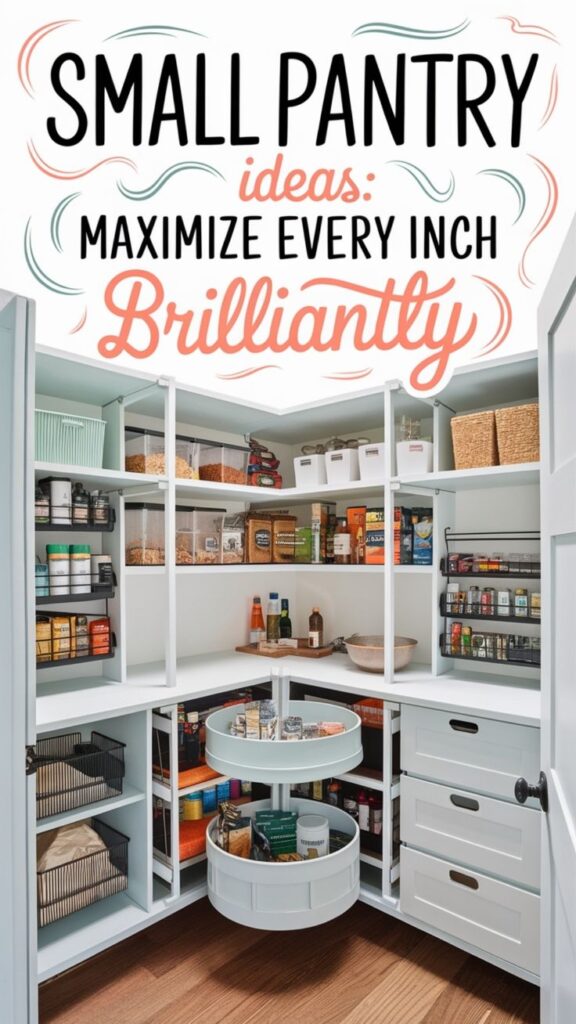
Install Door-Mounted Storage Racks
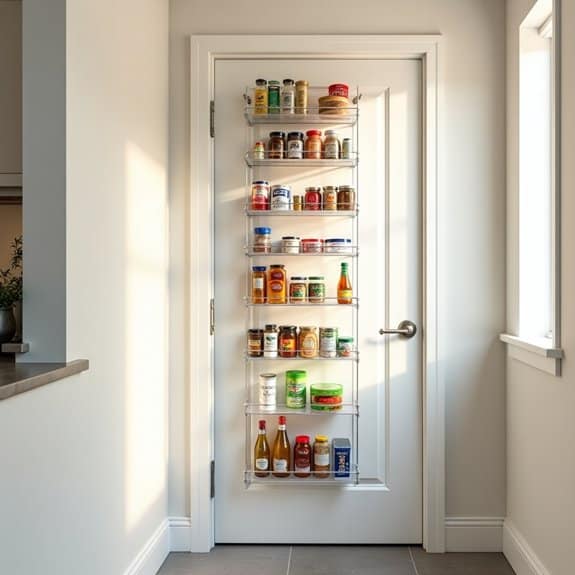
Maximizing pantry space requires creative solutions, and one of the most overlooked yet valuable areas for storage is the pantry door itself. Door-mounted storage racks transform this otherwise unused vertical space into a functional organization system that can hold numerous items while keeping them easily accessible.
Installing door-mounted storage racks not only increases storage capacity but also creates designated spaces for frequently used items like spices, canned goods, or cleaning supplies. This organization method eliminates the need to dig through deep shelves and makes inventory management significantly easier.
Required Items:
- Over-the-door storage rack system
- Measuring tape
- Pencil
- Level
- Screwdriver
- Wall anchors (if needed)
- Mounting brackets
- Cleaning supplies
- Labels (optional)
Installation and organization begins with measuring both the door and the selected rack system to ensure proper fit, accounting for door handles and any trim work. Position the rack at least two inches above the floor to allow proper door closure. Secure the mounting brackets following the manufacturer’s instructions, ensuring they’re level and properly anchored. For heavier-duty racks, use wall anchors for additional support.
Sort items by category before loading the rack, placing frequently used items at eye level. Consider weight distribution, keeping heavier items in lower pockets or shelves to prevent strain on the mounting system. If using multiple racks, designate specific zones for different types of items – perhaps one for baking supplies, another for snacks, and a third for cleaning supplies.
To maintain the effectiveness of door-mounted storage, regularly check mounting hardware for security and clean the racks periodically. Avoid overloading individual shelves or pockets, and rotate items seasonally to ensure nothing expires hidden behind other products. Consider using clear containers or labels to maintain organization and make items easily identifiable from any angle.
Maximize Vertical Space With Stackable Containers
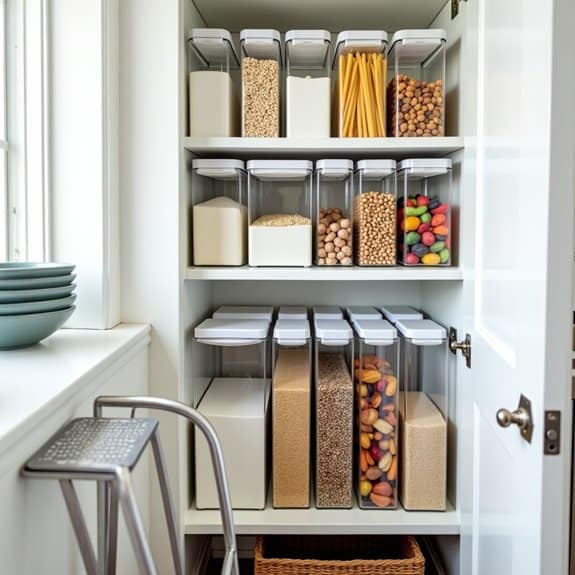
Making the most of vertical space in your pantry is crucial for modern homes where square footage comes at a premium. By implementing a system of stackable containers, you can effectively double or triple your storage capacity while maintaining easy access to all your items.
Strategic use of stackable containers not only maximizes space but also helps preserve food freshness and makes inventory management simpler. When items are clearly visible and properly stacked, you’ll reduce food waste, save money, and streamline your cooking process by always knowing what supplies you have on hand.
Required Items:
- Clear stackable storage containers (various sizes)
- Label maker or waterproof labels
- Measuring tape
- Shelf liner
- Step stool
- Container cleaning supplies
- Food funnel
- Airtight container tester
Start by measuring your pantry shelves and noting the height between each shelf. Purchase stackable containers that will fit comfortably within these dimensions, allowing for easy removal without disturbing other stacks.
Group similar items together and transfer them into appropriately-sized containers, ensuring each container is thoroughly cleaned and dried first. When stacking, place heavier items at the bottom and lighter ones on top.
Create a logical organization system – for example, baking supplies together, breakfast items in another section, and snacks in another. Leave about one inch of space between stacks to allow for easy grip and removal. Label each container with its contents and expiration date, positioning labels so they’re visible even when containers are stacked.
For optimal results, invest in containers with square or rectangular shapes rather than round ones, as these maximize space efficiency. Consider using drawer-style containers for lower shelves to easily access items at the back, and implement a rotation system where newer items go behind older ones to maintain freshness.
Regular maintenance of your stacking system, including monthly checks for expired items and quarterly deep cleaning of containers, will help ensure long-term organization success.
Use Clear Storage Bins for Better Visibility
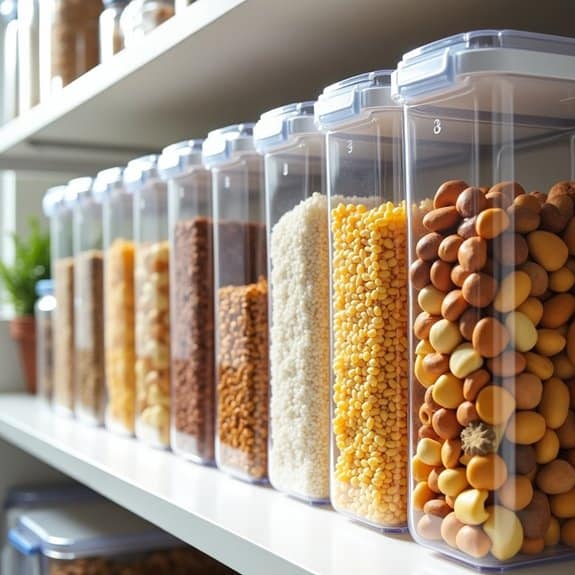
A well-organized pantry starts with being able to see what you have at a glance. Clear storage bins revolutionize pantry organization by eliminating the frustration of searching through stacked items or forgetting about products pushed to the back. This visibility not only saves time during meal preparation but also prevents unnecessary duplicate purchases and reduces food waste.
The strategic use of clear storage bins transforms a cluttered pantry into an efficient, store-like display where every item has its place. When you can instantly spot ingredients, check inventory levels, and access items without moving multiple containers, your kitchen workflow becomes seamless and stress-free.
Required Items:
- Clear plastic storage bins (various sizes)
- Label maker or labels
- Measuring tape
- Clean cloth
- Container liner (optional)
- Shelf liner (optional)
- Categories list
- Inventory sheet
Start by measuring your pantry shelves and determining appropriate bin sizes for different categories of items. Sort pantry items into groups such as baking supplies, snacks, pasta, canned goods, and breakfast items. Choose bins that maximize vertical space while maintaining easy access to items. Select containers with straight sides and flat bottoms to optimize shelf space and prevent wasted gaps between bins.
When placing items in bins, position frequently used products toward the front and arrange similar items together. Stack like-sized containers when possible, but ensure heavier items remain on lower shelves. Label each bin clearly on multiple sides for easy identification from different angles. Consider using clear bins with handles for items stored on higher shelves, making them easier to pull down safely.
For optimal maintenance and longevity of your organization system, establish a regular schedule to review bin contents, wipe down containers, and adjust category assignments as needed. Consider implementing a “first in, first out” rotation system within each bin to prevent food expiration. Keep a small notepad nearby to track items running low, ensuring your organized system remains functional and efficient over time.
Implement a Rotating Shelf System
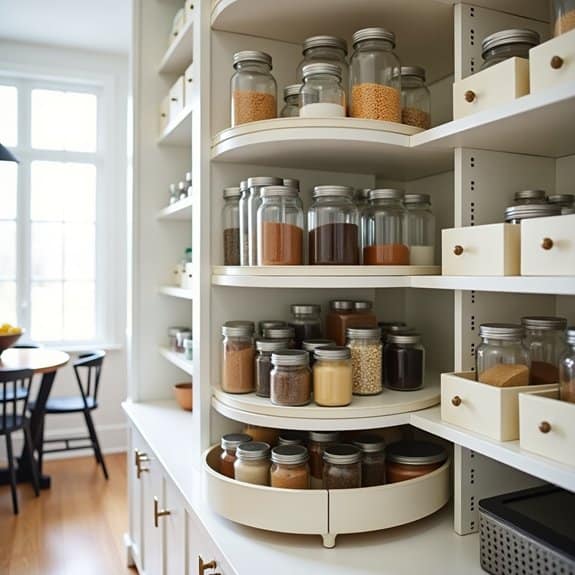
A rotating shelf system, also known as a Lazy Susan, transforms an ordinary pantry into a dynamic storage solution that maximizes corner spaces and deep shelves. By implementing this system, you eliminate the frustration of reaching into dark corners or forgetting about items pushed to the back, effectively utilizing every inch of available space.
The rotating mechanism creates accessibility and visibility for all stored items, making inventory management effortless and reducing food waste. This organization method is particularly valuable in pantries with awkward layouts or limited space, as it can double the usable area while maintaining easy access to all items.
Required Items:
- Lazy Susan turntables (various sizes)
- Measuring tape
- Level
- Screwdriver
- Mounting brackets (if needed)
- Non-slip shelf liner
- Storage containers
- Labels
- Cleaning supplies
Installation begins with measuring your shelf spaces and corners to determine appropriate turntable sizes. Clean the designated areas thoroughly and install non-slip liner to prevent movement. For built-in solutions, secure mounting brackets according to manufacturer specifications, ensuring the mechanism is level for smooth rotation.
Organize items by category on each rotating shelf, placing frequently used items toward the front and similar items together. Consider using clear containers to store loose items, making contents visible and maintaining uniform heights for optimal rotation. Stack lighter items on upper turntables and heavier items on lower ones to maintain balance and prevent tipping.
For maximum efficiency, implement a regular maintenance schedule to clean the rotating mechanisms and check for smooth operation. Label shelves and containers clearly, and establish zones for different food categories. Consider installing multiple sizes of turntables to accommodate various item heights and weights, and always leave some space between items to ensure unrestricted rotation.
Create Custom Pull-Out Drawers
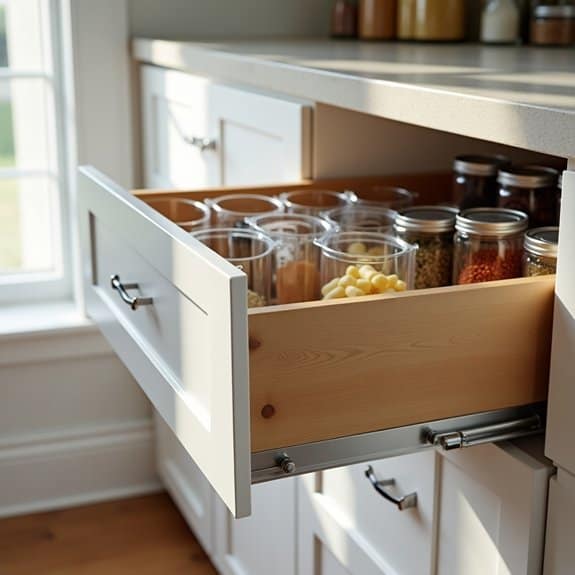
Custom pull-out drawers transform static pantry shelves into accessible, efficient storage solutions that maximize every inch of available space. By installing these sliding compartments, items stored at the back of deep shelves become as easy to reach as those in front, eliminating the frustration of forgotten or expired products pushed to the rear.
These organizational tools not only improve visibility and access but also increase storage capacity by utilizing the full depth of your pantry shelves. Pull-out drawers can be customized to accommodate specific items, from tall bottles to small spice containers, making them an invaluable addition to any organized pantry system.
Required Items:
- Sliding drawer hardware
- Wood or metal drawer materials
- Measuring tape
- Pencil
- Level
- Power drill
- Screwdriver
- Wood screws
- Cabinet-grade plywood
- Drawer pulls or handles
- Safety goggles
- Work gloves
Start by measuring your pantry shelves’ dimensions, including depth, width, and height between shelves. Cut the drawer materials to size, allowing for proper clearance on all sides. Install the sliding hardware to the existing shelves, ensuring they’re level and can support the intended weight.
Construct the drawer boxes, attach them to the slides, and test the smooth operation of each unit. Consider adding dividers or compartments within each drawer to further organize specific categories of items.
For optimal organization, designate each drawer for specific types of items – lower drawers for heavier items like canned goods, middle drawers for frequently accessed items, and upper drawers for lighter products. Label each drawer clearly to maintain the system and ensure items return to their designated spots after use.
Maximize the effectiveness of your custom pull-out drawers by implementing a regular maintenance schedule. Check the sliding mechanisms every few months, tighten any loose screws, and clean the tracks to prevent debris accumulation.
Consider installing drawer stops to prevent accidental pull-outs, and use non-slip liner material to keep items secure when opening and closing the drawers.
Label Everything for Quick Access
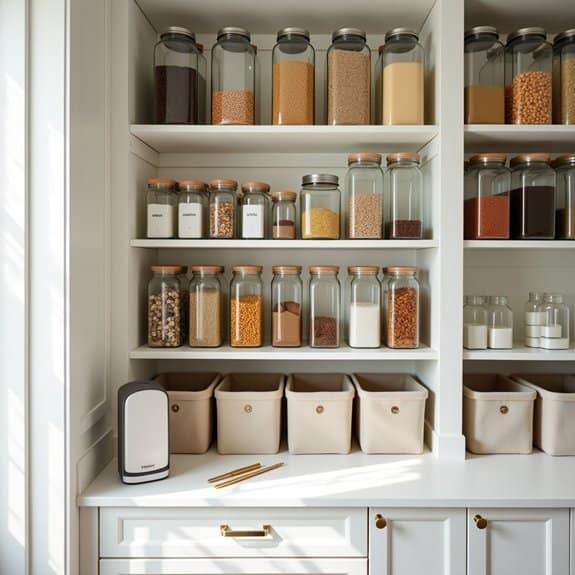
A well-labeled pantry system serves as the foundation for an efficient kitchen organization strategy. When every container, shelf, and zone has clear, readable labels, family members can quickly locate items and return them to their designated spots, maintaining order and reducing time spent searching for ingredients.
Labels transform a basic storage space into an intuitive system that prevents confusion and waste. They help track expiration dates, maintain inventory levels, and ensure items are properly rotated. This systematic approach particularly benefits busy households where multiple people access the pantry throughout the day.
Required Items:
- Label maker or printer
- Clear adhesive labels
- Waterproof markers
- Measuring tape
- Clean containers or storage bins
- Clear adhesive pouches (for rotation cards)
- Scissors
- Cleaning supplies
- Category cards or dividers
Start by removing all items from the area you plan to label and cleaning surfaces thoroughly. Group similar items together and determine appropriate containers or zones for each category.
Create a standardized labeling format that includes the item name, date of purchase or expiration, and any relevant storage instructions. When using a label maker, choose a font size that’s readable from a typical viewing distance and ensure consistency in label placement across all containers.
For maximum efficiency, implement a two-tier labeling system: container labels for individual items and zone labels for broader categories. Position zone labels on shelf edges or use hanging tags to mark sections like “Baking,” “Breakfast,” or “Snacks.”
When labeling clear containers, place labels high enough to be visible even when containers are partially empty, but not so high that they interfere with viewing contents.
Additional Tips: Consider using color-coding for different categories or family members’ designated items. Create a master inventory list with label locations and maintain extra labels for rotation. Use erasable labels for containers that frequently change contents, and implement a regular schedule to review and update labels as needed.
Position labels at eye level when possible, and include any special instructions like “refrigerate after opening” directly on the container.
Add Over-the-Door Wire Baskets
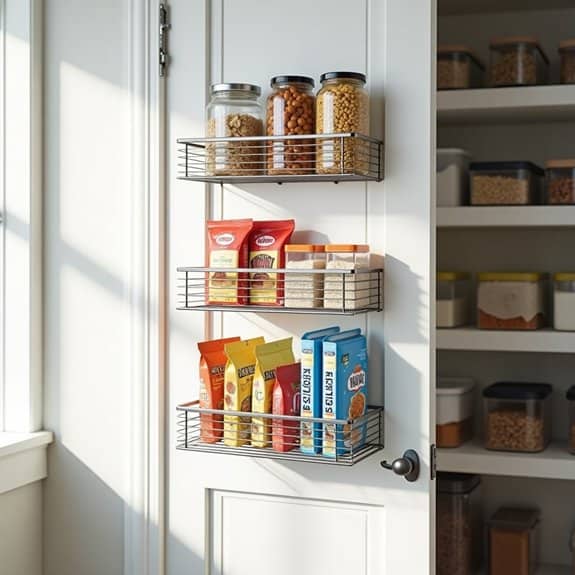
Maximizing pantry storage space is crucial for maintaining an organized and efficient kitchen. Every square inch counts, and the often-overlooked door space presents a perfect opportunity to expand storage capacity without taking up valuable shelf real estate.
Over-the-door wire baskets transform unused vertical space into functional storage zones, creating designated areas for frequently used items, snacks, or cooking supplies. This organization method not only increases accessibility but also helps maintain a clutter-free environment while keeping items visible and within easy reach.
Required Items:
- Over-the-door wire basket system
- Door hooks or hanging brackets
- Measuring tape
- Pencil
- Level
- Screwdriver
- Wall anchors (if needed)
- Labels or label maker
- Storage bins or containers (optional)
Begin by measuring your pantry door’s width and height to ensure proper fit of the wire basket system. Remove the door if possible, and lay out the mounting brackets according to the manufacturer’s specifications.
Install the top hanging brackets, ensuring they’re level and secure. Attach the vertical rails, checking for proper alignment. Mount the wire baskets at desired heights, considering the items you plan to store and leaving adequate space between baskets for taller items.
Group similar items together before placing them in the baskets. Reserve lower baskets for frequently accessed items and children’s snacks, while using upper baskets for lighter, less-used items.
Consider using clear containers within the baskets to further organize smaller items and prevent them from falling through the wire mesh.
To maximize the effectiveness of your over-the-door basket system, periodically assess the contents and adjust basket heights as needed. Label each basket clearly to maintain organization, and avoid overloading individual baskets, which can strain the mounting hardware and door hinges.
Consider using rubber door stoppers to prevent the baskets from hitting the wall when opening and closing the door.
Group Similar Items in Zones
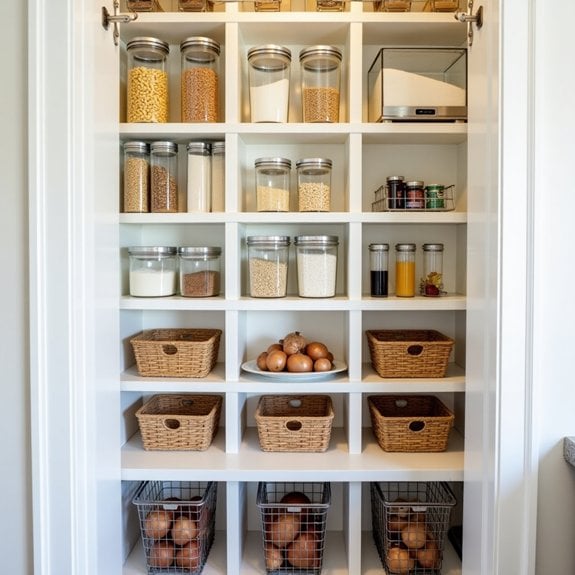
Creating designated zones for similar items in your pantry is a fundamental organizing principle that transforms a chaotic space into an efficient, user-friendly storage system. When items are grouped logically, you spend less time searching for ingredients and can quickly assess inventory levels at a glance.
Proper zoning in your pantry not only saves time but also prevents overbuying and reduces food waste. When similar items are stored together, you maintain better awareness of what you have on hand and can easily rotate products to use older items first, ensuring nothing gets lost in the back of shelves.
Required Items:
- Clear storage containers
- Label maker or labels
- Shelf liner
- Baskets or bins
- Measuring tape
- Notepad
- Pencil
- Cleaning supplies
Start by completely emptying your pantry and grouping items into broad categories such as baking supplies, breakfast items, canned goods, snacks, and pasta. Within these broad categories, create subcategories – for example, separate sweet and savory snacks, or divide baking supplies into flours, sugars, and decorating items.
Consider your family’s eating habits and cooking patterns when determining zones. Position frequently used items at eye level, heavier items on lower shelves, and lighter, rarely used items up high.
Use clear containers to store dry goods, ensuring all containers within a zone are similar in style for visual cohesion. Place zones strategically – breakfast items near the front for easy morning access, baking supplies together on one shelf, and snacks within reach of all family members. Create a designated zone for overflow items or bulk purchases, keeping the main zones clutter-free.
Additional Tips:
Maintain your zones by immediately placing new purchases in their designated areas and regularly auditing each zone for expired items or low inventory.
Consider using turntables in corner spaces to maximize accessibility, and implement a “first in, first out” rotation system within each zone. Review and adjust your zones every few months to ensure they continue to meet your family’s changing needs and habits.
Utilize Corner Spaces With Lazy Susans
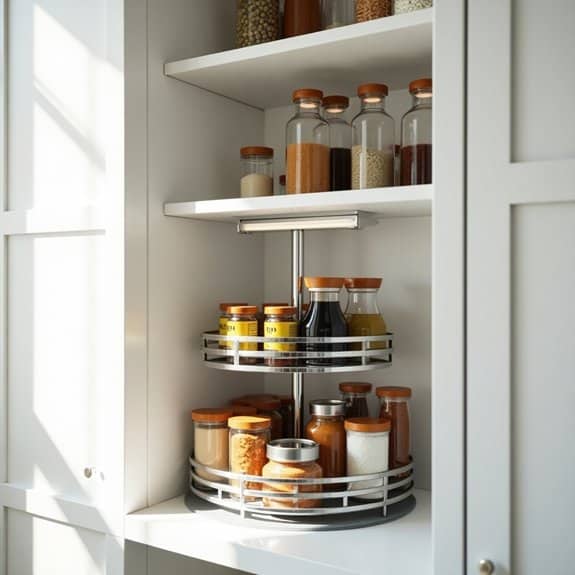
Corner spaces in pantries often become dead zones where items get lost and forgotten. These awkward angles can transform from problematic areas into prime storage space with the strategic use of lazy Susans. Proper organization of these rotating platforms can multiply the accessibility and visibility of your pantry items while maximizing previously unusable corner space.
Installing lazy Susans in corner spaces creates an efficient system that brings items from the back of deep corners to the front with a simple spin. This solution eliminates the need to reach into dark corners or move multiple items to access what’s needed, saving time and reducing frustration during meal preparation and grocery storage.
Required Items:
- Single or multi-tier lazy Susans
- Measuring tape
- Level
- Screwdriver
- Mounting hardware (if needed)
- Non-slip shelf liner
- Labels
- Storage containers
- Cleaning supplies
Start by measuring your corner space carefully, accounting for both width and depth to ensure proper fit of your lazy Susan. Clean the area thoroughly and install non-slip liner on the shelf surface. If using a mounted lazy Susan, secure it according to manufacturer instructions, ensuring it’s level. For removable units, simply place them in position after adding the non-slip liner.
Sort items by category (condiments, oils, spices, etc.) and arrange them on the lazy Susan, placing frequently used items toward the front and heavier items near the center for better balance. Use clear containers when possible to maintain visibility, and implement a labeling system for easy identification.
Consider stacking similarly sized items or using tiered lazy Susans to maximize vertical space. Keep items grouped by use (baking supplies together, breakfast items together) and ensure all containers are properly sealed to prevent spills during rotation. Test the spinning mechanism with your arranged items to confirm smooth operation and adjust weight distribution if needed.
For optimal long-term functionality, periodically clean both the lazy Susan mechanism and the surrounding area, checking for stability and smooth rotation. Establish a regular schedule to review items for expiration dates and rearrange as needed based on usage patterns.
Consider adding battery-operated LED lights around the corner space to improve visibility and make all items easily accessible.
Arrange Items by Frequency of Use
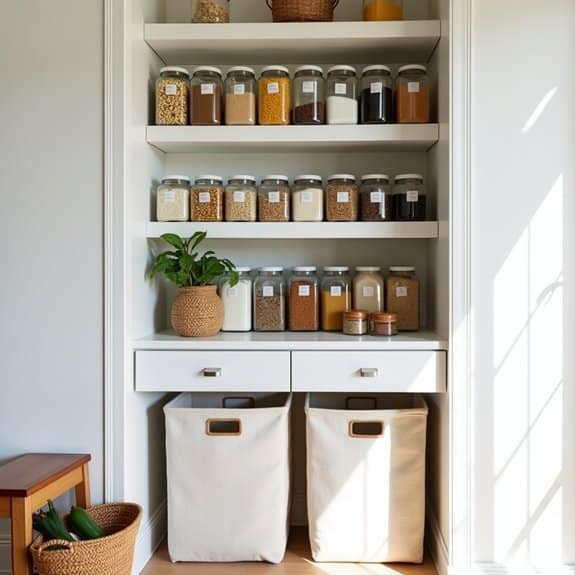
Organizing pantry items based on how often you use them is a fundamental principle of efficient kitchen management. When frequently used items are easily accessible, you spend less time searching and reaching, making meal preparation smoother and more enjoyable. This strategic arrangement also helps maintain order since items that get regular use naturally stay in rotation and don’t get lost in the back of shelves.
The frequency-of-use method takes into account your household’s unique cooking and eating habits, ensuring that your pantry works for your specific needs. This personalized approach not only saves time but also reduces the likelihood of food waste, as regularly used items remain visible and within reach, while less-used items are stored in designated areas where they won’t interfere with daily activities.
Required Items:
- Sticky notes or labels
- Pen and paper
- Storage containers
- Step stool
- Cleaning supplies
- Measuring tape
- Shelf liner (optional)
Begin by removing all items from your pantry and sorting them into three distinct categories: daily use, weekly use, and occasional use. Daily items might include breakfast cereals, coffee, and everyday snacks. Weekly items could be baking supplies, pasta, or specific cooking oils. Occasional items typically include specialty ingredients, backup supplies, or seasonal items.
Once categorized, clean all shelves thoroughly before replacing items. Position daily-use items at eye level on easily accessible shelves, ensuring they’re within arm’s reach of whoever uses them most. Weekly-use items should occupy the middle shelves, while occasional-use items can be stored on higher or lower shelves.
Consider using clear containers for frequently accessed items to make identification easier and maintain freshness. Group similar items together within each frequency category to create intuitive zones.
To maintain this organization system effectively, conduct regular reviews of your item placement. Items can shift between frequency categories as your cooking habits change with seasons or lifestyle adjustments. Label shelves clearly to help all household members maintain the system, and consider keeping a small step stool nearby for accessing higher shelves safely.
Remember to rotate older items to the front when restocking to prevent food waste and ensure nothing gets forgotten in the back of the pantry.


