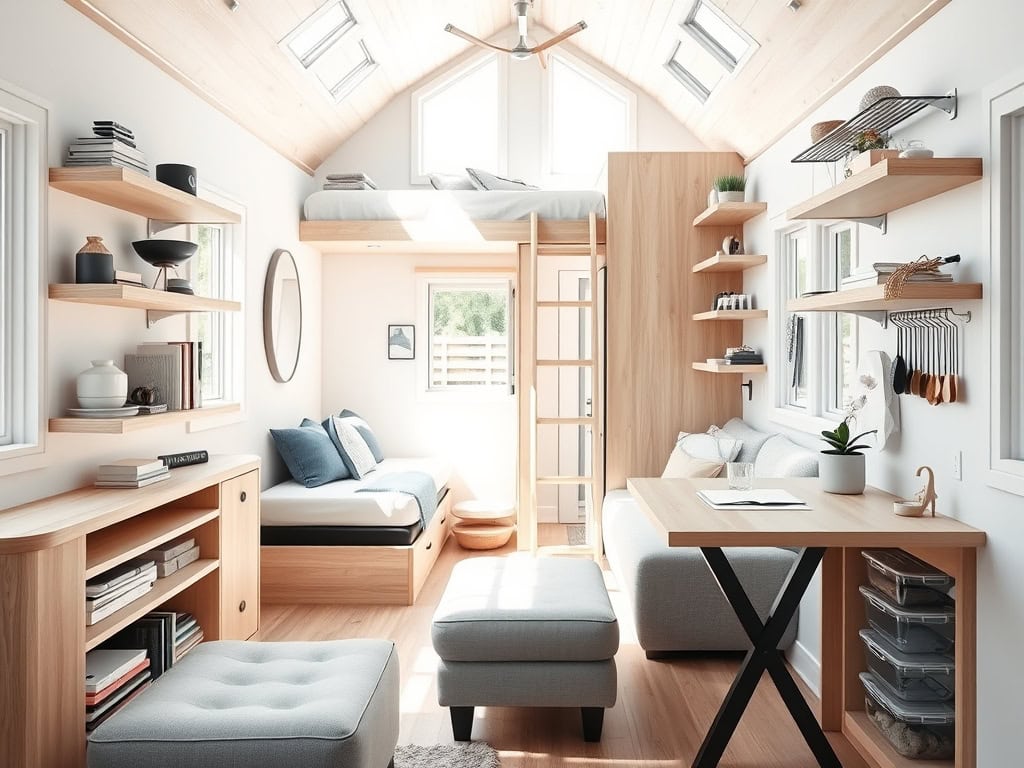
Living in a tiny home doesn’t mean you have to compromise on storage – you just need to get creative! As someone who downsized from a 2,000-square-foot house to a 400-square-foot cottage, I’ve learned that every inch counts. Whether you’re dealing with a cramped apartment or a cozy tiny house, these seven game-changing storage solutions will help you maximize your space while keeping your belongings organized and accessible. Let’s explore how you can transform your compact living area into a clutter-free sanctuary.
Maximize Vertical Space With Wall-Mounted Solutions
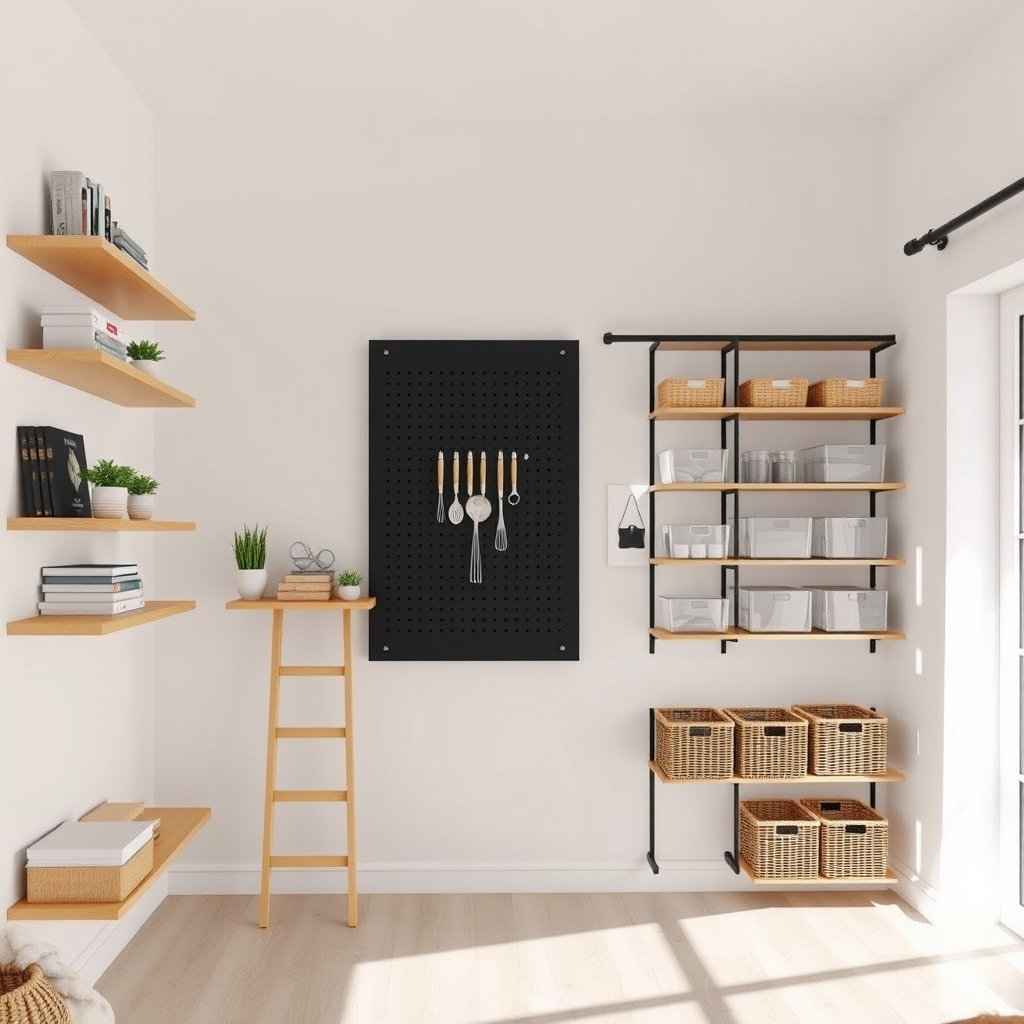
Living in a tiny home requires creative thinking when it comes to storage solutions, and one of the most underutilized areas is vertical wall space. By taking advantage of your walls, you can free up valuable floor space while keeping essential items easily accessible and organized.
Wall-mounted storage solutions not only help declutter your living space but also create visual interest and can make a room appear larger. From floating shelves to pegboards and magnetic strips, vertical storage options are versatile enough to accommodate various items while maintaining a clean, organized aesthetic.
Required Items:
- Stud finder
- Level
- Drill and drill bits
- Screwdriver
- Wall anchors
- Measuring tape
- Pencil
- Various wall-mounted storage solutions (shelves, hooks, pegboards)
- Storage containers or baskets
- Cable concealer strips
- Wall brackets
Start by assessing your walls and identifying suitable mounting locations using a stud finder. Measure and mark your intended installation spots, ensuring they’re level and properly spaced. Install wall anchors where necessary, particularly for heavier items or areas without studs.
Mount your chosen storage solutions securely, working from top to bottom and maintaining consistent spacing. Group similar items together and assign specific zones for different categories (kitchen tools, office supplies, etc.). Use clear containers or labeled baskets for smaller items, and consider installing adjustable systems like track-mounted shelves or pegboards that can be reconfigured as your needs change.
Ensure frequently used items are placed at easily accessible heights while seasonal or rarely used items can go higher.
Additional Tips: Consider the visual weight of your wall-mounted storage and maintain balance across the wall. Use a mix of closed and open storage to hide clutter while showcasing decorative items. Install lighting above or below shelving units to create depth and highlight stored items.
Remember to leave some empty wall space to prevent the room from feeling overcrowded and maintain a sense of openness.
Invest in Multi-Purpose Furniture
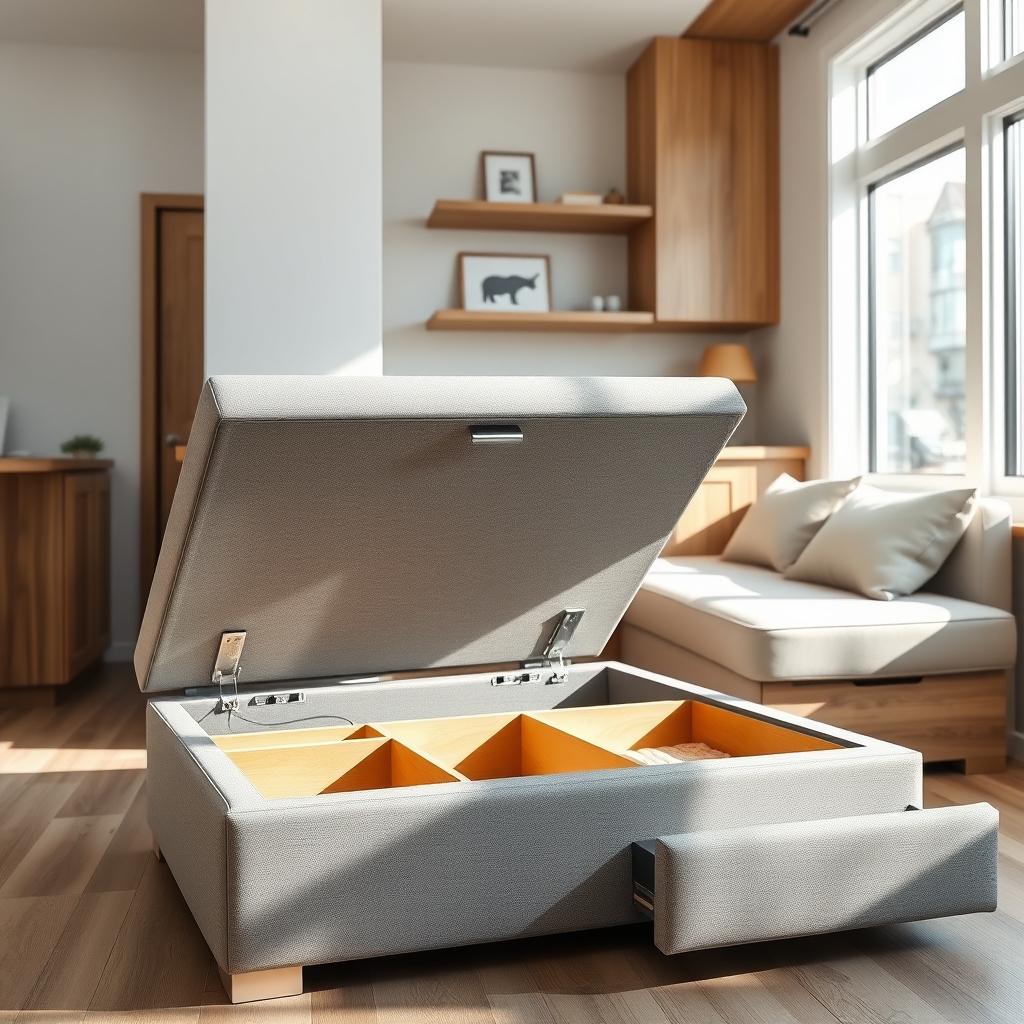
Living in a tiny home requires maximizing every square inch of space, and multi-purpose furniture serves as a cornerstone of efficient small-space living. These versatile pieces not only fulfill their primary function but also provide valuable storage solutions, effectively doubling or even tripling their utility in your home.
Strategic selection and placement of multi-purpose furniture can transform a cramped space into a highly functional living area. From ottoman beds to expandable dining tables with built-in storage, these pieces work overtime to maintain organization while reducing clutter and maximizing available space.
Required Items:
- Measuring tape
- Floor plan or sketch of your space
- Notepad and pencil
- Level
- Basic tools (screwdriver, wrench)
- Storage containers or baskets
- Furniture sliders
- Labels
- Space-planning software (optional)
Start by assessing your space and identifying areas where multi-purpose furniture could serve multiple functions. Measure each area carefully and create a detailed list of required functions for each zone. Select furniture pieces that combine your most-needed functions – for example, a sofa that converts to a bed with under-seat storage, or a coffee table with lift-top storage that can serve as a desk.
Position your multi-purpose furniture against walls whenever possible to maximize floor space. Ensure that transformation mechanisms have adequate clearance to function properly. Organize the storage components of each piece by category, using containers or dividers to separate items.
Consider the frequency of use when deciding which functions to prioritize – daily-use items should be easily accessible, while seasonal items can be stored in less convenient compartments.
To maximize the effectiveness of your multi-purpose furniture, maintain regular organization schedules and periodically reassess your storage needs. Consider installing additional organizational aids like hooks, hanging organizers, or drawer dividers to further optimize the storage capacity of each piece.
Remember to keep transformation mechanisms well-maintained and clean to ensure smooth operation and longevity of your multi-functional pieces.
Create Hidden Storage Under Furniture
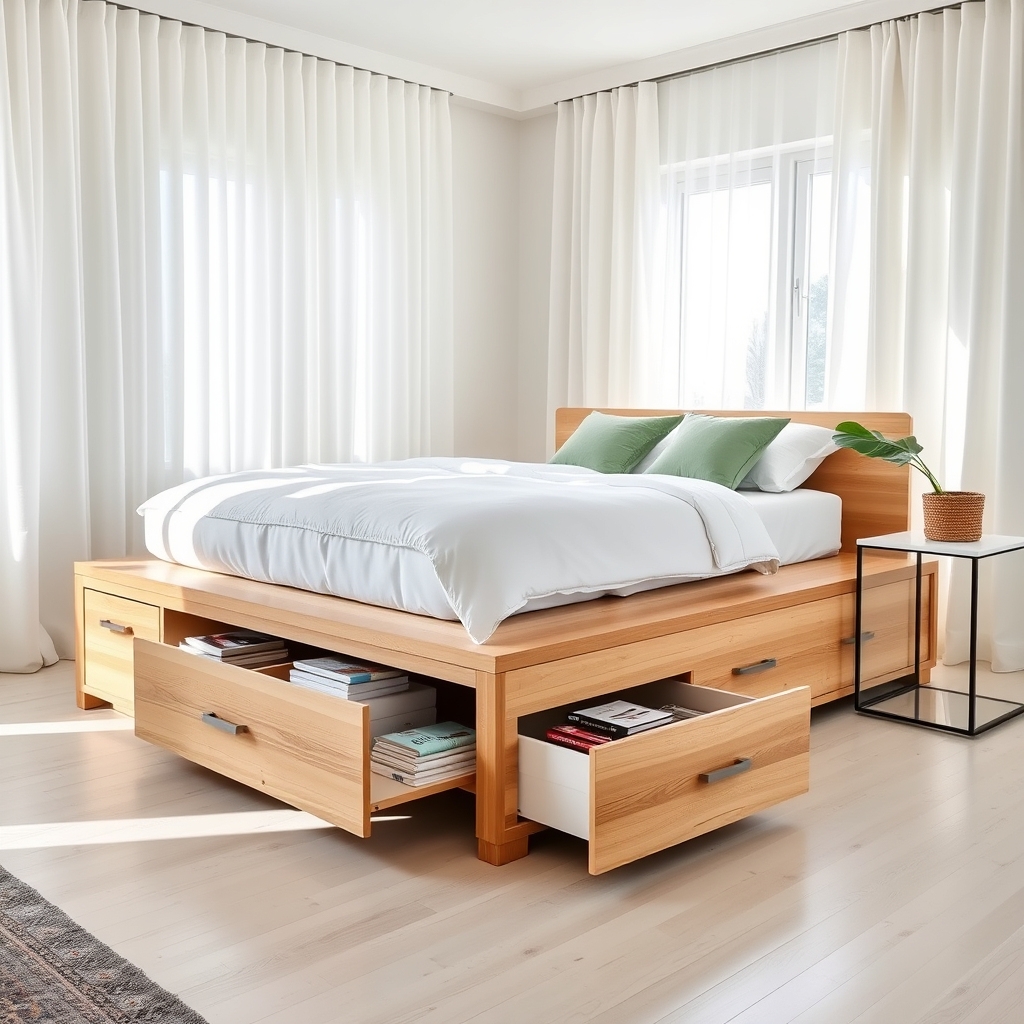
Living in a tiny home requires maximizing every square inch of available space, and the area under furniture represents some of the most underutilized real estate in any dwelling. By transforming these forgotten spaces into functional storage areas, residents can effectively double their storage capacity without sacrificing precious floor space or compromising their home’s aesthetic appeal.
Creating hidden storage under furniture not only helps declutter living areas but also maintains a minimalist appearance while keeping essential items readily accessible. This organization method is particularly valuable for seasonal items, rarely used belongings, or bulk purchases that would otherwise occupy valuable closet or cabinet space.
Required Items:
- Storage containers or bins
- Measuring tape
- Furniture risers (if needed)
- Under-bed storage bags
- Drawer slides
- Screws and mounting hardware
- Power drill
- Pull handles or knobs
- Plywood (if building custom solutions)
- Casters or wheels (optional)
To begin organizing under-furniture storage, measure the available space beneath each piece, accounting for height, width, and depth. Select appropriate storage containers that maximize the dimensions while allowing easy access. For beds, consider installing wheel-mounted drawers or using specialized under-bed storage bags with handles.
When working with sofas or chairs, create custom pull-out storage solutions using plywood and drawer slides, ensuring they can handle the weight of stored items while sliding smoothly.
For permanent furniture pieces, construct built-in storage compartments that integrate seamlessly with the furniture design. Install drawer slides on both sides of the storage unit and attach handles or knobs for easy access.
If working with existing furniture, consider adding risers to create additional height for storage containers, ensuring they remain hidden from view while maximizing vertical space.
To optimize this organization system, label all containers clearly and create an inventory map of stored items. Consider using vacuum-sealed bags for soft items like bedding or seasonal clothing to maximize space, and implement a rotation system for seasonal items.
Remember to leave some breathing room around stored items to prevent moisture buildup and ensure proper air circulation beneath furniture pieces.
Utilize Door and Cabinet Organization Systems
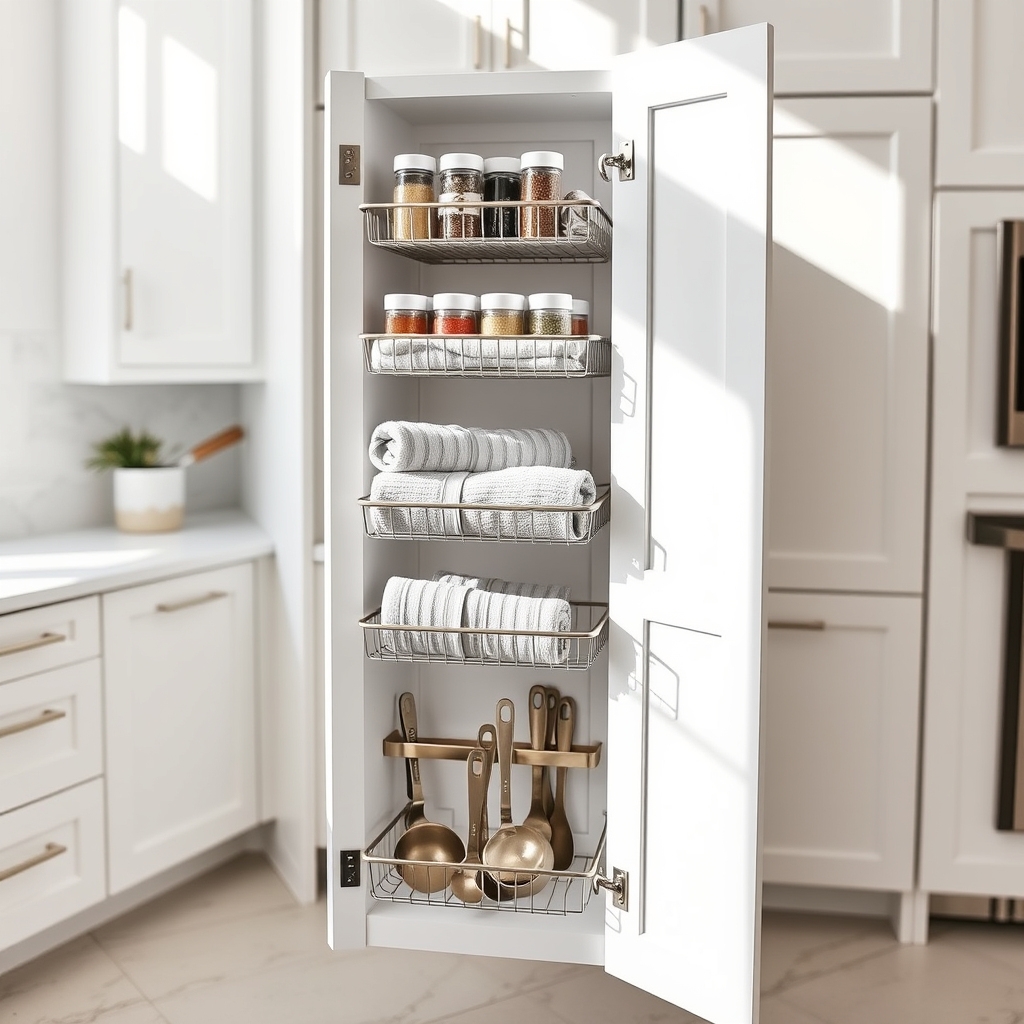
Door and cabinet spaces are often overlooked storage opportunities in tiny homes, yet they offer valuable real estate for organizing everyday items. When properly utilized, these vertical surfaces can dramatically increase storage capacity without consuming precious floor space or creating visual clutter.
Maximizing door and cabinet organization is particularly crucial in compact living spaces where every inch counts. These systems can transform otherwise wasted space into functional storage for everything from pantry items and cleaning supplies to bathroom essentials and office materials.
Required Items:
- Over-the-door hanging organizers
- Adhesive hooks
- Command strips
- Cabinet door mounted baskets
- Tension rods
- Clear storage bins
- Label maker
- Measuring tape
- Screwdriver
- Drill (optional)
- Cabinet door organizer racks
- Small wire baskets
Start by measuring all available door and cabinet surfaces, noting dimensions and weight limitations. Remove existing hardware or items that might interfere with new organizing systems.
Install over-the-door hangers on bathroom and bedroom doors, ensuring they’re properly secured and don’t interfere with door closure.
For cabinet interiors, mount door-mounted organizers using either screws or adhesive strips, depending on cabinet material and permanent installation preferences. Position tension rods to create additional vertical storage spaces for cleaning supplies or paper towel rolls.
Install wire baskets or clear containers on cabinet doors for smaller items, ensuring proper weight distribution.
Sort items by frequency of use and assign specific zones within your organizational system. Place frequently used items at eye level and within easy reach, while storing lesser-used items in higher or lower spaces.
Final Tips: Regularly assess and adjust your organizational systems as needs change. Consider using clear containers to easily identify contents, and implement a labeling system for consistent organization.
Remember to periodically check mounting hardware and adjust as needed to prevent damage to doors or cabinets. When selecting organizational tools, choose ones that can be easily cleaned and maintained in your specific space.
Design Smart Kitchen Storage Solutions
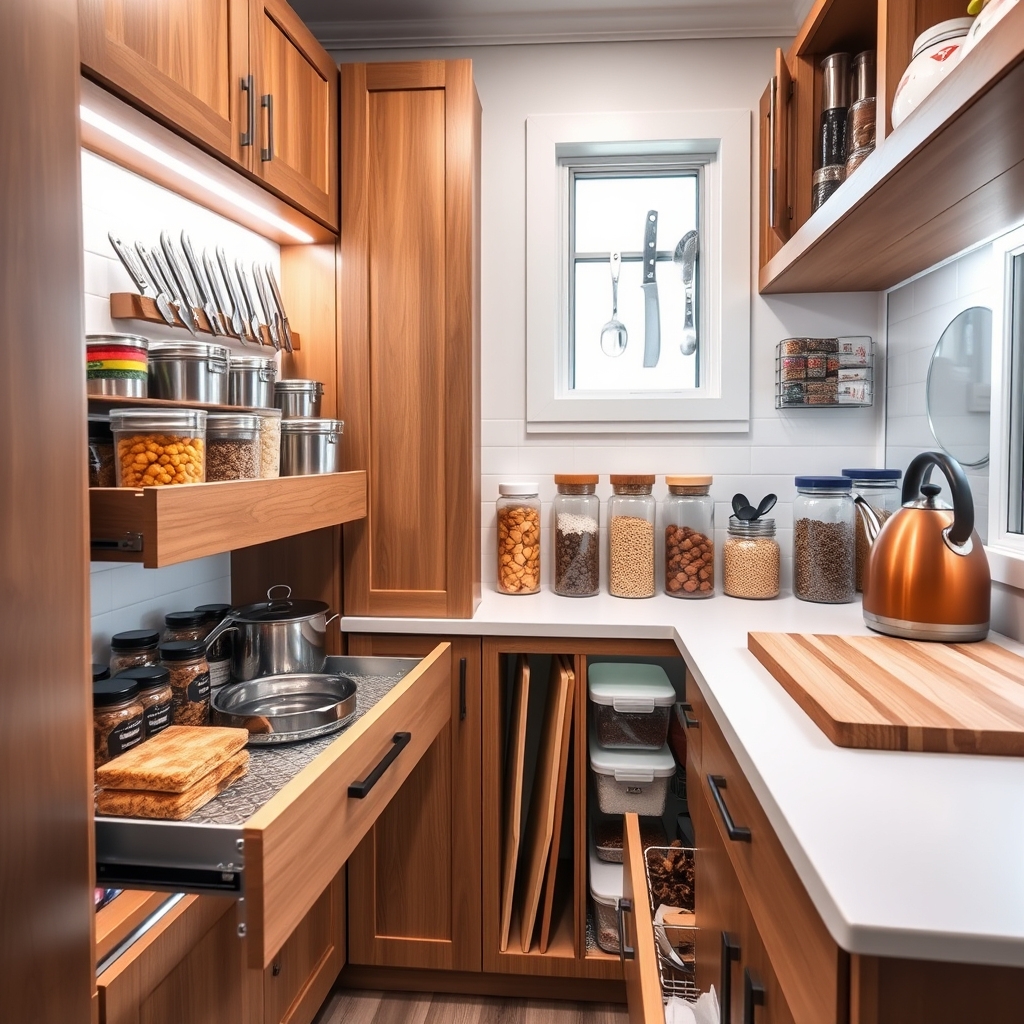
A well-organized kitchen is essential in a tiny home where every inch matters. Limited counter and cabinet space requires thoughtful planning to ensure cooking essentials are accessible while maintaining a clutter-free environment that maximizes functionality. Proper kitchen storage solutions can transform a cramped cooking space into an efficient culinary workspace.
Strategic kitchen organization not only makes cooking more enjoyable but also helps preserve food properly and reduces waste. When storage solutions are intentionally designed, they create natural workflows that save time during meal preparation and cleanup, while ensuring that frequently used items remain within easy reach.
Required Items:
- Drawer organizers
- Cabinet shelf risers
- Door-mounted racks
- Clear storage containers
- Label maker
- Measuring tape
- Magnetic strips
- Command hooks
- Pull-out cabinet organizers
- Stackable containers
- Under-shelf baskets
- Vertical dividers
Begin by completely emptying all cabinets and drawers, measuring available space, and grouping items by frequency of use and function. Install drawer organizers and shelf risers to create multiple levels of storage within existing spaces.
Mount magnetic strips for knife storage and utilize the inside of cabinet doors for mounting spice racks or cutting board holders. Implement a zone system, placing cooking items near the stove, cleaning supplies under the sink, and food storage containers near the refrigerator.
Position frequently used items at eye level and store rarely used items in higher cabinets or deeper storage areas. Use clear containers for dry goods, ensuring they’re properly labeled and easily visible. Maximize corner cabinets with lazy Susan organizers and install pull-out drawers in deep cabinets to eliminate unreachable dead space.
Stack pots and pans efficiently using vertical organizers and nest smaller items inside larger ones when possible. Consider implementing a regular maintenance schedule to prevent organizational systems from breaking down.
Conduct monthly assessments of storage solutions, adjust as needed, and purge unused items that take up valuable space. Remember to measure all storage solutions before purchasing to ensure they fit properly within your specific cabinet dimensions and maintain adequate clearance for doors and drawers to function smoothly.
Transform Awkward Corners Into Storage Areas
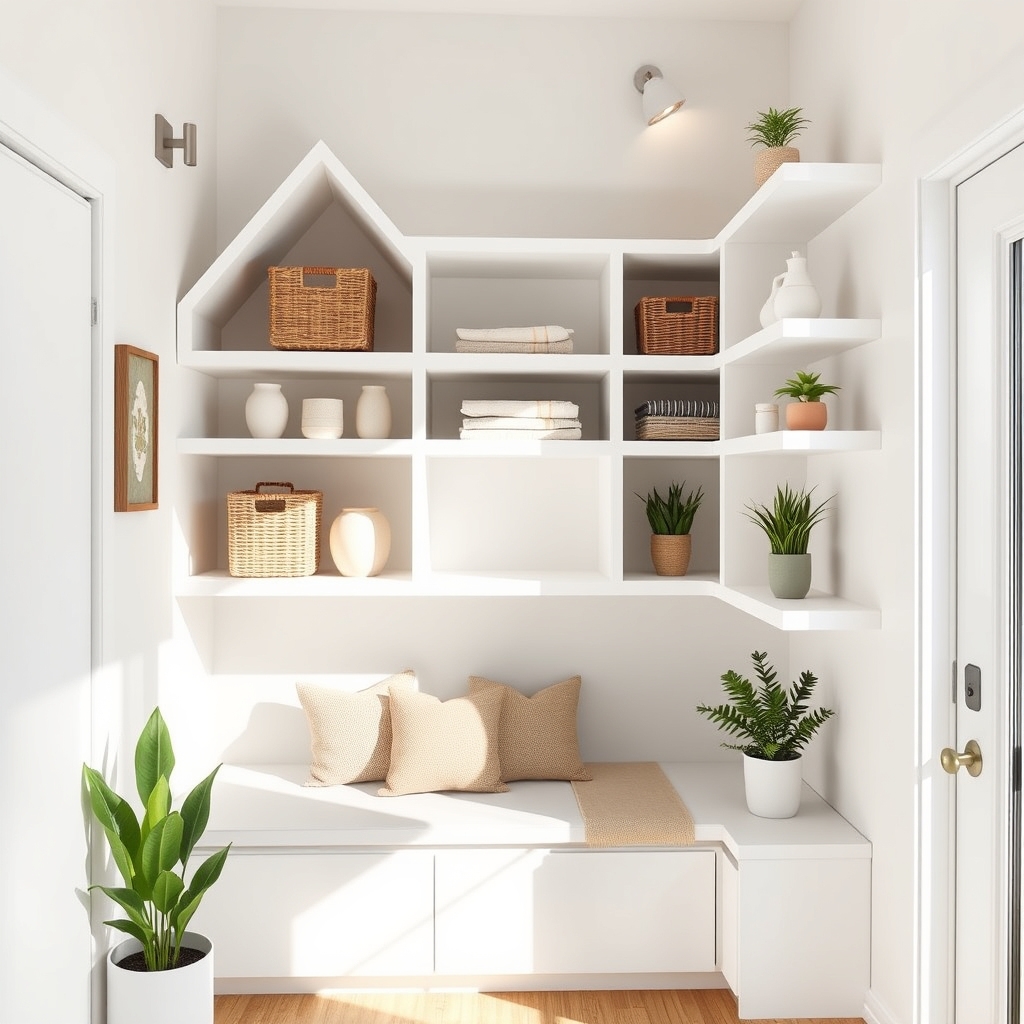
Awkward corners in tiny homes often become dead space, collecting dust and clutter while valuable storage potential goes untapped. These challenging architectural features can actually become some of the most functional areas in your home when properly utilized, offering unique opportunities for customized storage solutions.
Converting corner spaces into usable storage not only maximizes your home’s square footage but also creates visual interest and maintains a clean, organized appearance. Whether it’s a tight kitchen corner, an awkward bedroom angle, or a tricky hallway intersection, these spaces can be transformed into practical storage zones that work with your home’s layout rather than against it.
Required Items:
- Measuring tape
- Level
- Corner shelving units
- Floating corner shelves
- Corner cabinet or corner wardrobe
- Mounting brackets
- Wall anchors
- Screws
- Power drill
- Pencil
- Corner tension rods
- Storage baskets or containers
Start by measuring your corner space carefully, noting both the available width and height, as well as any obstacles like outlets or vents. Map out your storage plan on paper, considering both vertical and horizontal space utilization.
Install your chosen storage solution, whether it’s floating shelves, a corner cabinet, or a custom-built unit, ensuring everything is properly anchored and level.
For maximum efficiency, organize items by frequency of use, with most-needed items at eye level and seasonal or rarely-used items stored higher up or lower down. Incorporate adjustable elements like tension rods or modular shelving units to adapt the space as your storage needs change.
Use clear containers or baskets to keep smaller items organized and easily accessible while maintaining a cohesive look.
Additional Tip: Consider installing mirrors or light-colored storage units in corner spaces to create the illusion of more room while maintaining functionality. Use vertical storage solutions that draw the eye upward, and incorporate lighting to eliminate dark corners and showcase your organized space effectively.
Master the Art of Closet Organization
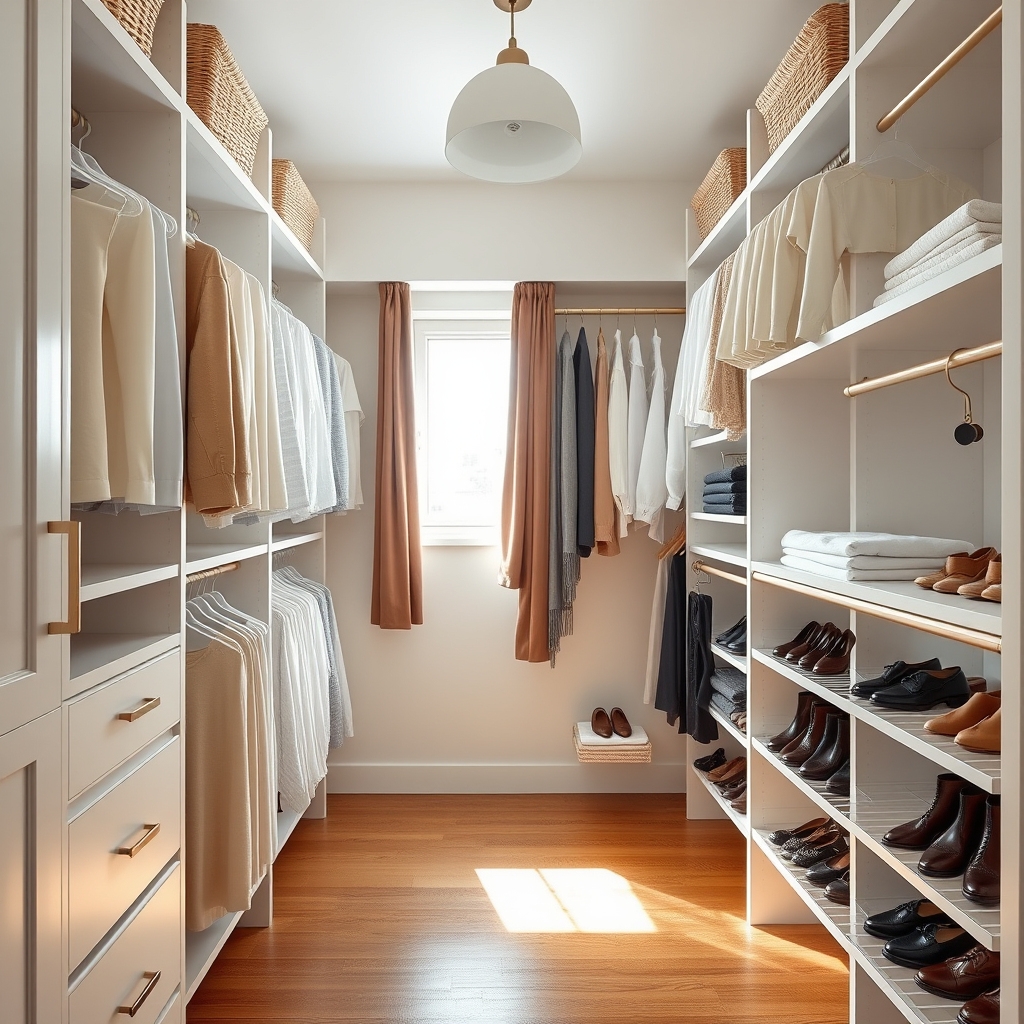
A well-organized closet serves as the foundation for an efficient tiny home lifestyle. In small spaces, every square inch counts, and a cluttered closet can quickly become a source of daily frustration and wasted time searching for items. Proper closet organization not only maximizes available space but also creates a sense of calm and control in your living environment.
When dealing with limited closet space, implementing a systematic approach to organization can effectively double your storage capacity. Through strategic planning and the right organizational tools, even the smallest closet can accommodate a surprising amount of items while maintaining easy accessibility and visual appeal.
Required Items:
- Clothing hangers (uniform style)
- Storage bins or boxes
- Shelf dividers
- Over-the-door organizers
- Space-saving hangers
- Labels and marker
- Measuring tape
- Storage baskets
- Drawer organizers
- Vacuum storage bags
Start by removing everything from the closet and sorting items into three categories: keep, donate, and discard. Measure your closet space and plan zones for different types of clothing and accessories. Install adjustable rods at varying heights to maximize vertical space, placing frequently used items at eye level and seasonal items higher up or in storage containers.
Group similar items together and implement a organization system that works for your lifestyle. Utilize slim hangers to maximize rod space and arrange clothes by category, color, or season. Install hooks on empty wall space for accessories, and use shelf dividers to maintain neat stacks of folded items. Incorporate storage solutions like drawer units or hanging organizers for smaller items such as socks, undergarments, and accessories.
To maintain your newly organized closet, implement the “one-in-one-out” rule by removing an item whenever adding something new. Regularly assess your clothing collection, especially during season changes, and keep only items that fit and serve a purpose in your current lifestyle.
Consider using vacuum storage bags for off-season items and rotating your wardrobe to maintain an efficient, clutter-free closet space throughout the year.

