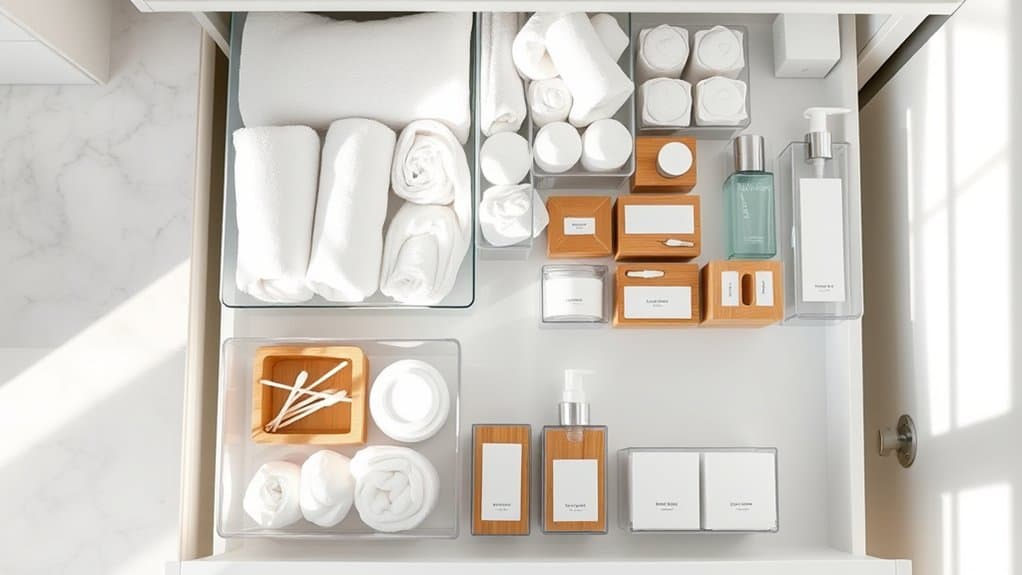
Just like Marie Kondo sparked joy through organizing, you’ll love transforming your chaotic bathroom cupboard into a zen sanctuary of order. Let’s face it – we’ve all experienced that moment of frantically searching for cotton swabs while running late, or having an avalanche of products tumble out when opening the cabinet door. I’ve been there too! These eight genius organization ideas will help you reclaim control and create a space that’s both functional and peaceful.
Install Clear Storage Bins and Drawer Dividers
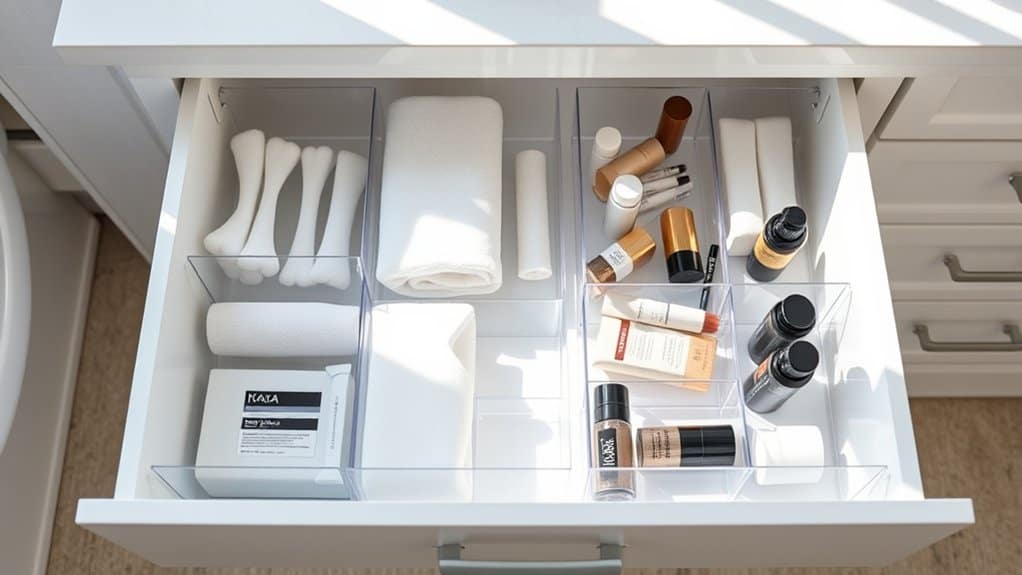
A well-organized bathroom cupboard transforms a typically chaotic space into an efficient, accessible storage area. Clear storage bins and drawer dividers create designated spaces for items, making it easier to locate essentials quickly while maximizing available space.
Installing proper organization systems in bathroom storage areas reduces morning stress, prevents product overflow, and maintains a clean, clutter-free environment. Clear bins allow immediate visibility of contents, while drawer dividers create structured compartments that keep items from sliding around and becoming disorganized.
Required Items:
- Clear plastic storage bins (various sizes)
- Drawer dividers/organizers
- Measuring tape
- Label maker or labels
- Anti-slip drawer liner
- Container cleaning supplies
- Sorting baskets (temporary use)
Start by removing all items from cupboards and drawers, grouping similar items together (toiletries, first aid, cleaning supplies, etc.). Measure your drawer and cabinet spaces, then select appropriately sized clear bins and dividers that maximize the available space.
Install anti-slip liner in drawers before placing dividers to prevent shifting. Position drawer dividers to create compartments that accommodate your grouped items efficiently. For cupboards, arrange clear bins by category, placing frequently used items at front and storing lesser-used items toward the back.
When positioning bins and dividers, consider item height and width to prevent overcrowding. Store tall items like hairspray and cleaning supplies in deeper cabinet spaces, while smaller items like cotton swabs and dental products can go in shallow drawer compartments. Label each section clearly to maintain organization long-term.
Additional Tips: Regularly audit stored items, removing expired products or duplicates. Consider using stackable bins to utilize vertical space in deep cabinets, and implement a “one in, one out” rule when purchasing new items. Review your organization system quarterly, adjusting bin and divider placement based on changing needs and usage patterns.
Create Vertical Storage Solutions With Door-Mounted Organizers
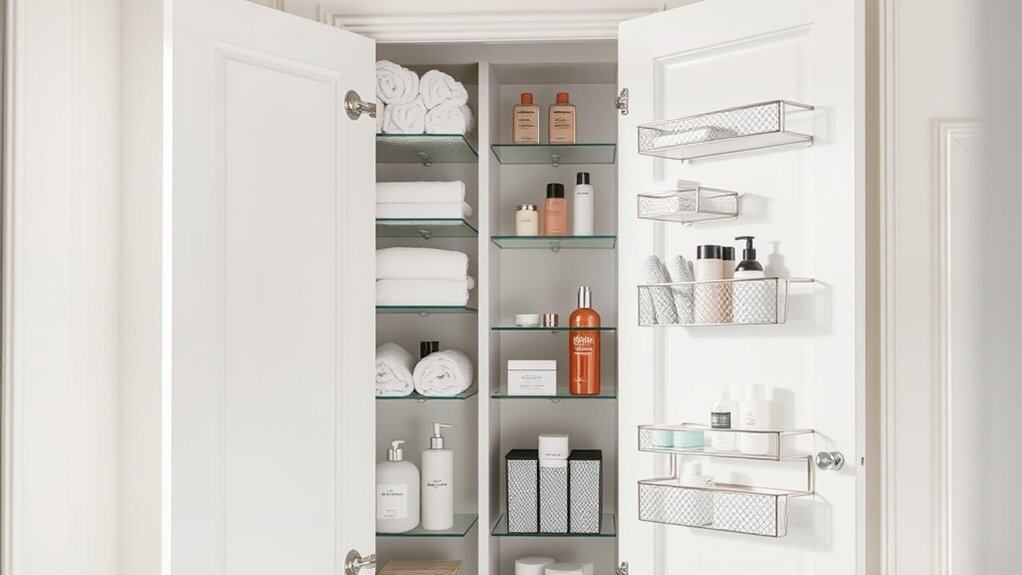
Making the most of vertical space in bathroom cabinets has become increasingly important as bathrooms get smaller and storage needs grow. Door-mounted organizers transform unused door space into valuable storage real estate, effectively doubling your storage capacity while keeping frequently used items easily accessible.
Door-mounted storage solutions provide a systematic approach to organizing toiletries, styling tools, and bathroom essentials without cluttering counter space or cabinet shelves. This organization method prevents items from getting lost in the depths of cabinets and creates designated spaces for different categories of items.
Required Items:
- Over-the-door organizer or hanging storage system
- Command hooks or mounting hardware
- Measuring tape
- Pencil
- Level
- Screwdriver
- Clear storage bins or baskets
- Labels and label maker
- Door bumpers or cushions
Installation and organization begins with measuring your cabinet door’s dimensions to ensure proper fit of the organizer. Remove the cabinet door and lay it flat to mark mounting positions. Install the organizer according to manufacturer instructions, ensuring it’s level and secure.
Consider door thickness and swing radius to prevent interference with cabinet contents. Sort items into categories before placing them in the organizer, keeping frequently used items at eye level and heavier items toward the bottom for stability.
Additional organization tips for maximum efficiency: Install door bumpers to prevent the organizer from banging against the cabinet frame. Use clear containers to easily identify contents. Implement a rotation system for products with expiration dates by placing newer items behind older ones.
Review and adjust the organization system monthly to ensure it continues meeting your needs and maintaining efficiency.
Label Everything for Quick Access
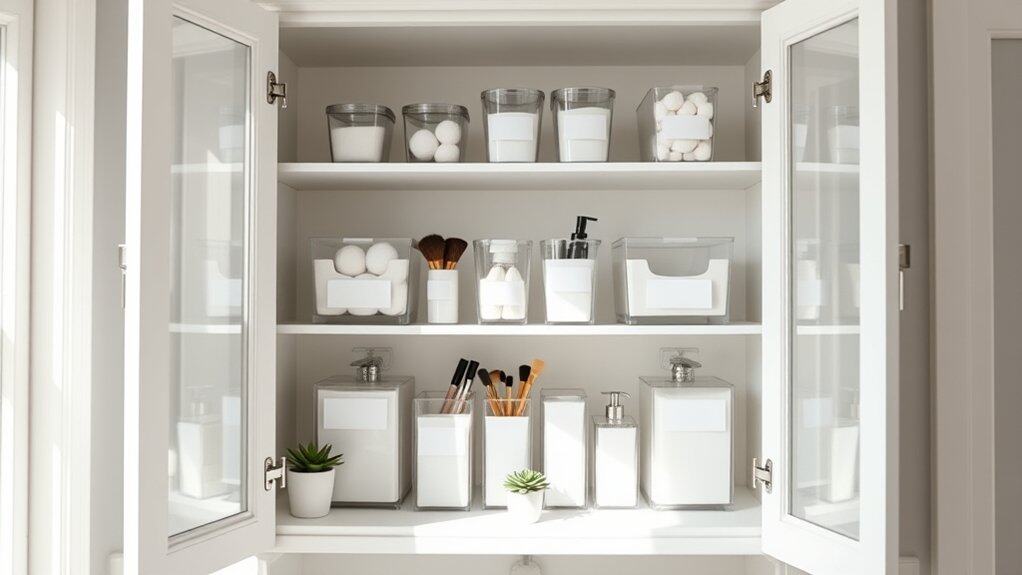
Labeling your bathroom cupboard items is a crucial step in maintaining an organized and efficient space. When everything has a clear, visible label, you can instantly locate items without shuffling through containers or opening multiple boxes, saving valuable time during your daily routine.
A well-labeled bathroom cupboard system also helps other household members maintain the organization you’ve created. By knowing exactly where items belong, everyone can participate in keeping the space tidy and functional, reducing the likelihood of misplaced items or purchasing duplicates unnecessarily.
Required Items:
- Label maker or waterproof labels
- Clear containers or bins
- Permanent marker
- Clear tape
- Measuring tape
- Scissors
- Small adhesive labels
- Category dividers
- Storage baskets or containers
Start by sorting all bathroom items into clear categories such as first aid, dental care, hair products, and skincare. Select appropriate storage containers for each category, ensuring they fit your cupboard dimensions.
Create detailed labels that are easy to read from a distance, using a consistent font and size. For multi-level organization, consider labeling both the containers and the shelves where they belong.
When labeling, be specific but concise – “Cotton Swabs” works better than just “Cotton” or a lengthy description. For items that expire, include a small additional label with the expiration date. Position labels on the front of containers at eye level, and if using clear containers, place labels high enough so they’re visible even when products are low.
Additional Tip: Create a backup set of labels and store them separately. This allows for quick replacement if labels become worn or damaged from moisture exposure.
Consider using symbols or color-coding in addition to text labels for enhanced visual organization, particularly helpful for children or in low-light conditions.
Use Lazy Susans for Corner Cabinets
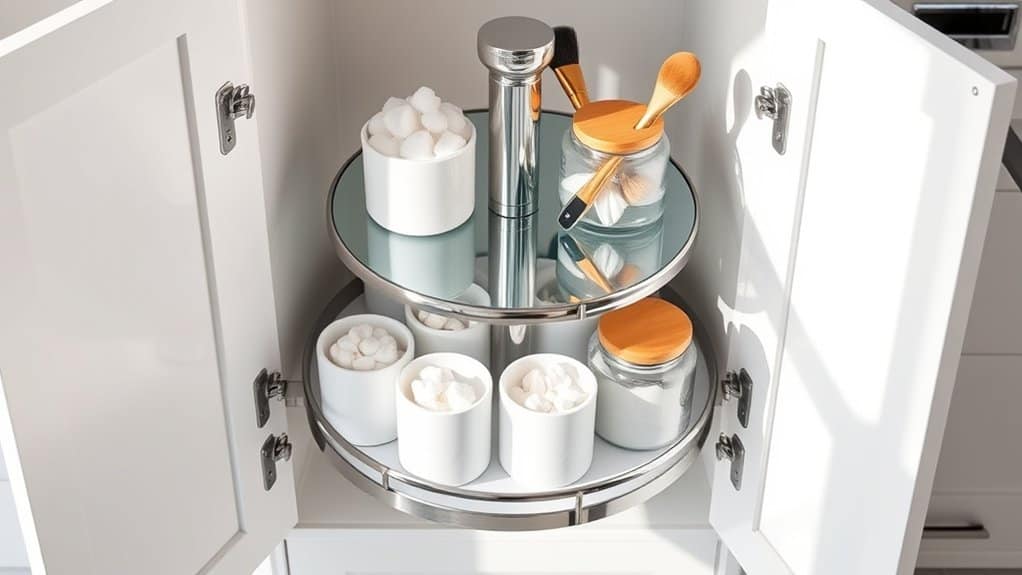
Corner cabinets in bathrooms often become black holes where items disappear into hard-to-reach spaces, making daily routines more frustrating than necessary. Lazy Susans transform these awkward corners into accessible, efficient storage spaces that maximize every inch of available room while keeping items within easy reach.
Installing Lazy Susans in corner cabinets creates a rotating system that brings items from the back of the cabinet to the front with a simple spin. This organization method prevents products from expiring unnoticed in forgotten corners and ensures that frequently used items remain accessible without having to crawl into cabinet depths.
Required Items:
- Single or multi-tier Lazy Susan(s)
- Measuring tape
- Cabinet cleaning supplies
- Non-slip liner
- Labels (optional)
- Storage bins or containers (optional)
- Shelf liner (optional)
Start by removing everything from the corner cabinet and measuring the space’s dimensions to select appropriately sized Lazy Susans. Clean the cabinet thoroughly and install non-slip liner on the base.
Position the Lazy Susan in the center of the space, ensuring it can rotate freely without hitting cabinet walls or doors. Organize items by category on the Lazy Susan, placing frequently used products toward the front and occasional-use items toward the back.
For multi-tier systems, consider dedicating each level to specific categories: bottom tier for cleaning supplies, middle for hair care products, and top for everyday essentials. Ensure heavier items are placed on lower tiers for stability.
To maintain the organization system, regularly check that the Lazy Susan rotates smoothly and adjust items as needed. Consider using clear containers or bins to group similar items together, and implement a labeling system for quick identification.
Clean the Lazy Susan monthly to prevent product residue buildup and ensure smooth rotation. Remember to measure products before purchasing new ones to ensure they’ll fit within the rotating system’s height clearance.
Maximize Space With Stackable Containers
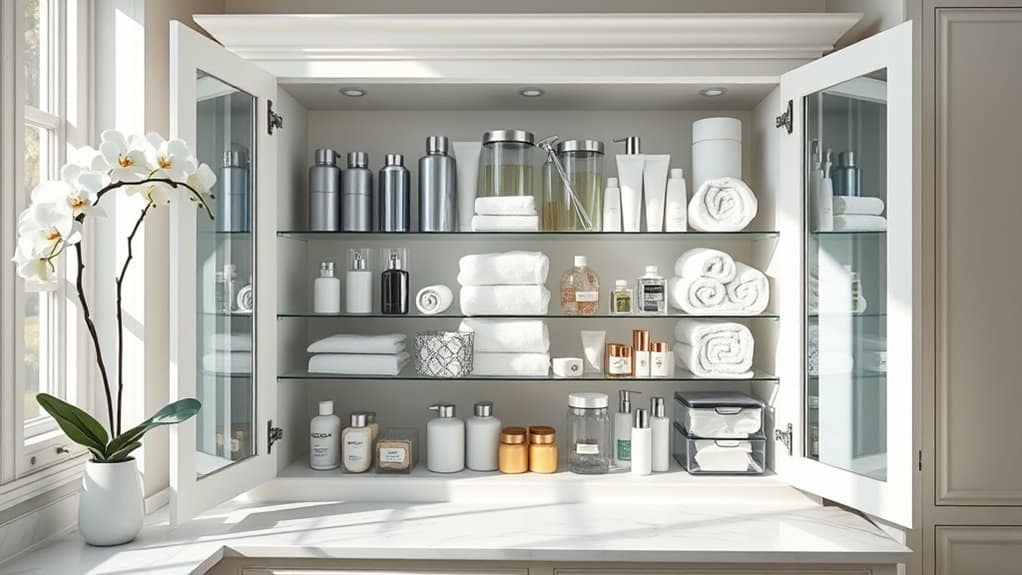
Bathroom cupboards often become cluttered catch-alls for toiletries, medications, and cleaning supplies, making it difficult to find items when needed. Implementing a stackable container system transforms chaotic spaces into efficient storage areas, allowing you to utilize vertical space while keeping items easily accessible and visible.
Stackable containers create designated zones within your cupboard, preventing items from becoming lost or forgotten in the back. This organizational method not only maximizes space but also helps maintain cleanliness and makes inventory management simpler, ensuring you don’t accidentally purchase duplicate items.
Required Items:
- Clear stackable containers (various sizes)
- Label maker or labels
- Measuring tape
- Drawer liner or non-slip mat
- Container dividers
- Small bins or baskets
- Shelf risers (optional)
Start by removing everything from the cupboard and measuring the available space, accounting for shelf height and depth. Sort items into categories such as first aid, daily toiletries, backup supplies, and cleaning products.
Select appropriately sized stackable containers that fit your space and categories, prioritizing clear containers for visibility. Place frequently used items in front-facing containers at eye level, with less-used items stored in higher stacks toward the back. Create a logical flow by keeping similar items together and using smaller containers for items that tend to get lost.
Before returning items to the cupboard, line the shelves with non-slip material to prevent containers from sliding. Stack containers strategically, ensuring taller stacks are stable and won’t topple when accessed. Use drawer dividers or small bins within larger containers to separate similar items and maintain organization.
Label each container clearly, including expiration dates for medical supplies and personal care items. To maintain this system long-term, implement a regular review schedule every three months. Remove expired items, assess whether the current container configuration meets your needs, and adjust as necessary.
Consider keeping a small notepad inside the cupboard to track when items need replacement, and maintain a one-in-one-out policy to prevent overflow. Remember to measure items before purchasing new storage containers to ensure they’ll fit within your existing system.
Sort Items by Frequency of Use
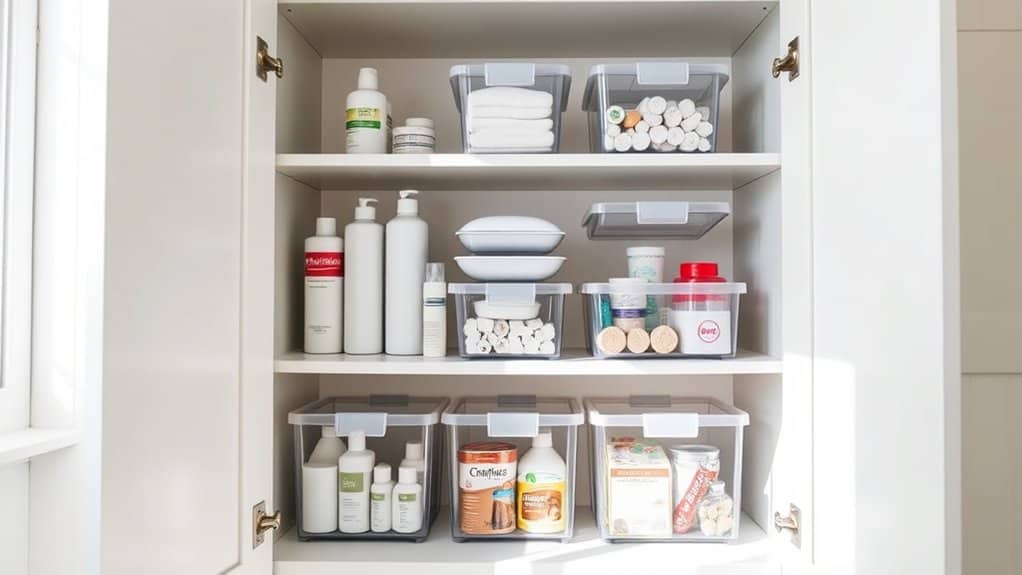
The strategic organization of bathroom items based on usage frequency is a game-changer for daily routines. When frequently used items are easily accessible, morning and evening routines become more efficient, reducing stress and saving valuable time during busy schedules.
Creating designated zones based on how often you use specific items transforms a cluttered cupboard into a functional space. This system ensures daily essentials are within arm’s reach while keeping occasional-use items stored appropriately without taking up prime real estate in your bathroom storage.
Required Items:
- Clear storage bins
- Labels or label maker
- Drawer dividers
- Small stackable containers
- Measuring tape
- Shelf liner
- Cleaning supplies
- Notepad and pen
Start by removing everything from your cupboard and sorting items into three distinct categories: daily use, weekly use, and occasional use. Daily items like toothpaste, facial cleansers, and regularly used medications should be placed at eye level or in easily accessible drawers.
Weekly-use items such as special treatments or backup supplies can occupy the middle shelves. Reserve top or bottom shelves for occasional-use items like first aid supplies, guest toiletries, or seasonal products. Use clear containers to group similar items within each frequency category, ensuring everything remains visible and organized.
Additional Tips: Label each container clearly with both contents and frequency of use. Review and adjust your organization system every few months, as usage patterns may change with seasons or lifestyle changes.
Consider implementing a “one in, one out” rule to maintain the organization system and prevent future clutter. Keep a small notepad inside the cupboard to track items that need replenishing, ensuring you maintain appropriate stock levels of essential items.
Add Pull-Out Drawers and Shelves
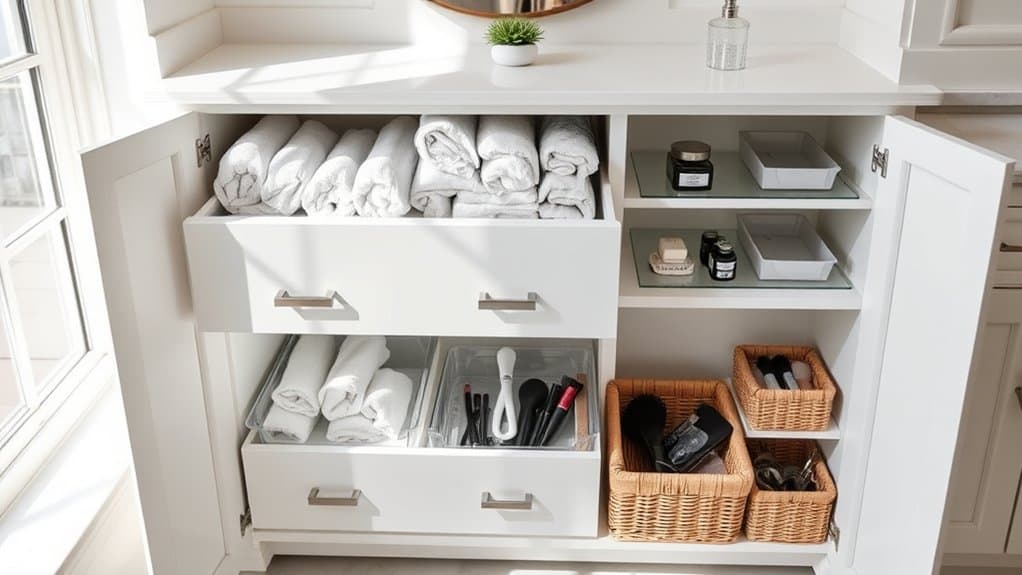
Transform your bathroom storage from a cluttered mess to an efficient, accessible space by installing pull-out drawers and shelves in your cupboards. These sliding organizers make it significantly easier to reach items stored in the back of deep cabinets, eliminating the need to constantly move items around or struggle to find what you need.
Pull-out storage solutions maximize vertical space while keeping items organized and visible. This upgrade not only improves functionality but also increases the actual usable space in your bathroom cabinets by up to 50%, making it an invaluable investment for any bathroom organization project.
Required Items:
- Pull-out drawer units
- Sliding shelf systems
- Mounting brackets
- Screws and anchors
- Measuring tape
- Screwdriver
- Level
- Pencil
- Power drill
- Cabinet hardware templates
Start by measuring your cabinet interior dimensions carefully, including width, depth, and height. Remove existing shelves and clean the cabinet interior thoroughly. Mark the locations for mounting brackets using a level and cabinet hardware template, ensuring proper alignment.
Install the mounting brackets according to the manufacturer’s instructions, typically using screws and anchors for secure attachment. Next, attach the sliding mechanisms to both the cabinet frame and the pull-out units. Test the sliding action before loading items to ensure smooth operation.
If installing multiple units, work from bottom to top, leaving adequate clearance between each level. Most systems come with adjustable heights, so customize the spacing based on items you plan to store.
For optimal organization, categorize items by frequency of use and assign specific drawers or shelves accordingly. Place frequently used items in easily accessible middle drawers, heavy items in bottom pull-outs, and lighter, less-used items in top units.
Consider adding drawer liners or small containers within the pull-outs to prevent items from shifting when opening and closing.
Additional Tip: Label the front edge of each pull-out drawer or shelf to quickly identify contents without opening them. Use clear containers or bins within the pull-outs to further organize smaller items, and implement a regular maintenance schedule to ensure the sliding mechanisms remain clean and functional.
Group Products by Category With Storage Baskets
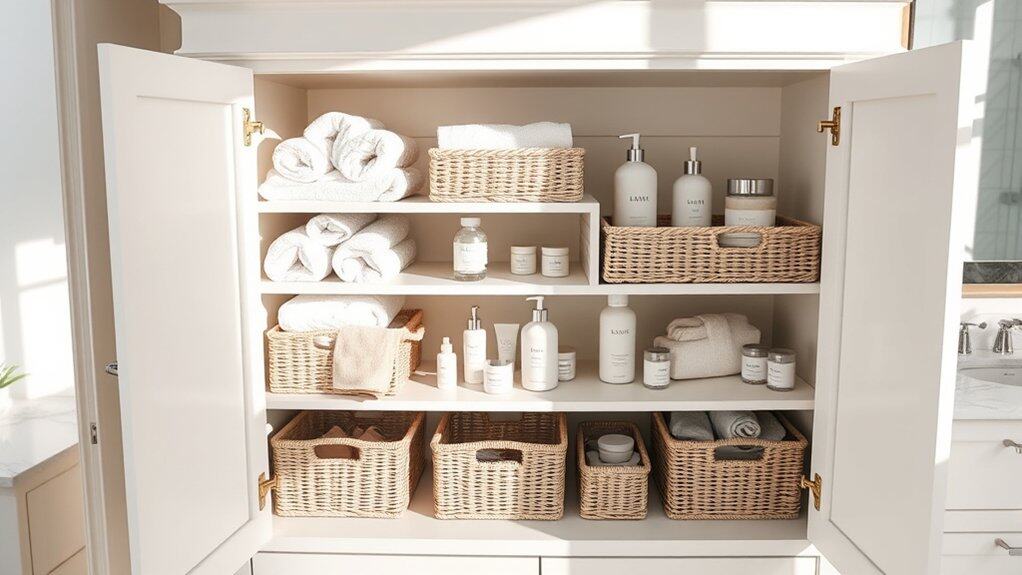
Organizing bathroom products by category using storage baskets transforms a chaotic cupboard into an efficient, easy-to-navigate space. When items are grouped logically, you spend less time searching for products and can quickly assess when supplies need replenishing.
Storage baskets serve as the foundation for maintaining order in your bathroom cupboard. These containers not only keep similar items together but also prevent products from toppling over or getting lost in the depths of your cabinets. This system makes it simple to maintain organization long-term and creates a more visually appealing storage space.
Required Items:
- Storage baskets or bins (various sizes)
- Labels or label maker
- Measuring tape
- Clear containers (optional)
- Drawer liner (optional)
- Shelf risers (optional)
Start by removing everything from your bathroom cupboard and sorting items into distinct categories such as hair care, skincare, dental products, first aid, and cleaning supplies. Measure your cabinet space and select appropriately sized baskets for each category.
Place frequently used items in easily accessible baskets at the front of the cupboard. Position larger baskets containing backup supplies toward the back. Label each basket clearly to maintain the system and ensure items return to their designated spots.
Additional Tips:
Consider using clear storage baskets to easily identify contents, or opt for matching baskets in a style that complements your bathroom décor. Implement a regular maintenance schedule to review and rotate products, checking expiration dates and restocking as needed.
Keep a small basket specifically for travel-sized items and samples, making packing for trips more convenient. Remember to leave some empty space in each basket to accommodate new products and maintain flexibility in your organization system.

