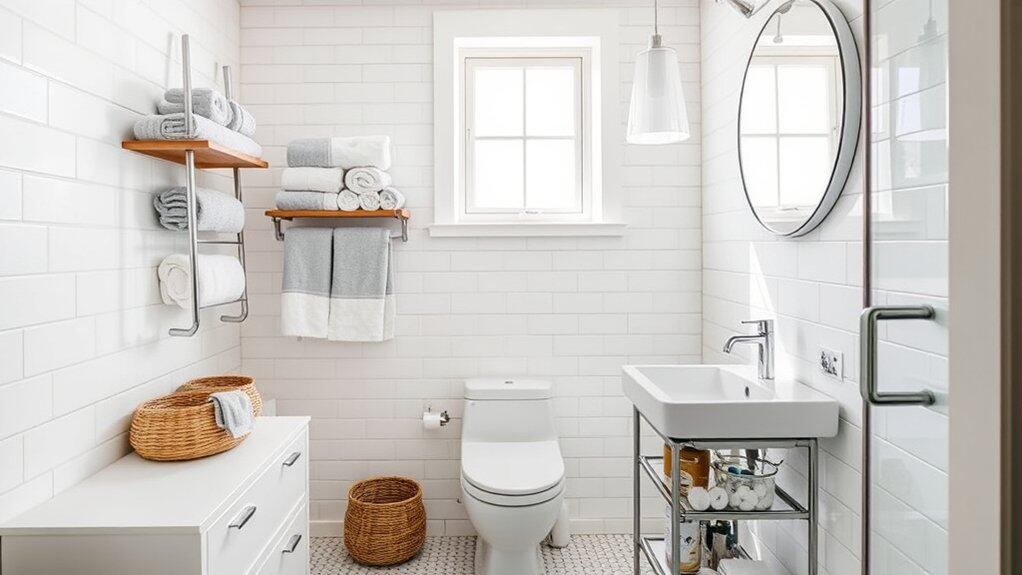
You’ve probably experienced that daily frustration of a cramped bathroom – fighting for counter space, juggling toiletries, and wishing you had just a few more inches to work with. I’ve been there too! But here’s the thing: small bathrooms don’t have to feel like tiny torture chambers. With some clever organization hacks and strategic storage solutions, you can transform your compact space into a surprisingly functional oasis. Let me share eight game-changing ideas that’ll make your bathroom feel twice its size.
Maximize Vertical Storage With Over-The-Toilet Solutions
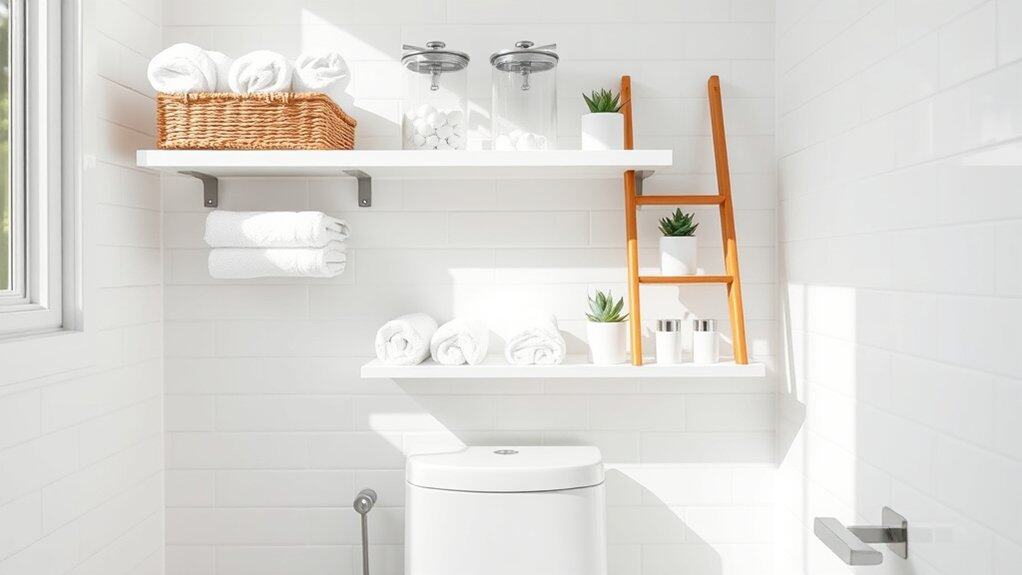
Making the most of vertical space in a small bathroom is crucial, particularly in the often-underutilized area above the toilet. This space presents a golden opportunity for additional storage without consuming precious floor space. When properly organized, over-the-toilet storage can accommodate everything from extra toilet paper and towels to cleaning supplies and decorative items.
The key to successful over-the-toilet organization lies in selecting the right combination of storage solutions while maintaining accessibility and visual appeal. A well-planned over-the-toilet storage system can transform a cluttered bathroom into an efficient space that maximizes every available inch while maintaining a clean, organized appearance.
Required Items:
- Over-the-toilet shelving unit or cabinet
- Storage baskets or containers
- Clear storage jars or containers
- Labels and label maker
- Command hooks or mounting hardware
- Tension rods (optional)
- Shelf liner
- Measuring tape
- Level
- Basic tools for assembly
Begin by thoroughly cleaning the area and measuring the space above your toilet, noting both width and height to ensure proper fit of your storage solution. Install your chosen over-the-toilet shelving unit according to manufacturer instructions, ensuring it’s level and securely anchored. If using a freestanding unit, position it carefully to prevent tipping.
Sort items by frequency of use, placing frequently-needed items at eye level and lesser-used items on higher shelves. Use baskets or containers to group similar items together, such as extra toilet paper rolls, cleaning supplies, or personal care items. Clear containers work particularly well for smaller items that need to remain visible and accessible.
For optimal organization, consider implementing zones within your storage system – designate specific shelves or areas for different categories of items. The bottom shelf can house everyday essentials, while upper shelves can store backup supplies or seasonal items. Maintain proper airflow and prevent moisture buildup by avoiding overcrowding and using shelf liners where appropriate.
Additional Tips: Incorporate adjustable shelving when possible to accommodate items of varying heights. Use drawer organizers or small bins within larger baskets to prevent smaller items from getting lost. Regularly review and rotate items to ensure nothing expires or becomes forgotten at the back of shelves.
Consider adding a small tension rod under the bottom shelf for hanging spray bottles or installing hooks on the sides of the unit for hanging towels or other accessories.
Install Magnetic Storage for Metal Items
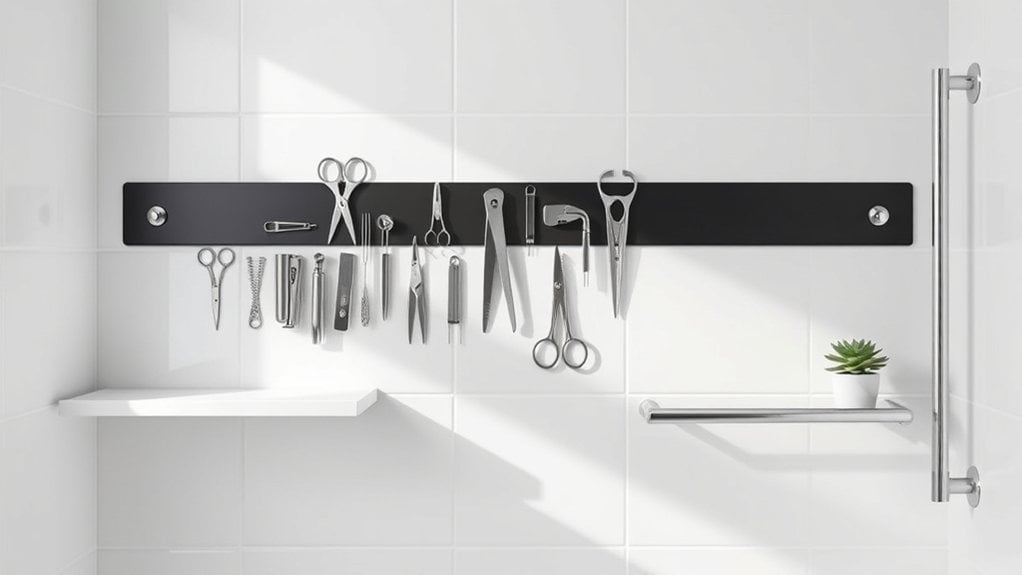
Limited bathroom space can make storing essential metal items like bobby pins, tweezers, nail clippers, and other grooming tools challenging. These small items often end up scattered across countertops or lost in drawers, creating clutter and frustration when you need them most.
Magnetic storage solutions provide an innovative way to keep metal items organized, visible, and easily accessible while maximizing vertical space. This system turns unused wall space into functional storage, keeping your countertops clear and your metal items from becoming disorganized or misplaced.
Required Items:
- Magnetic strip or board
- Mounting hardware (screws and anchors)
- Level
- Pencil
- Drill
- Screwdriver
- Measuring tape
- Metal items for organizing
- Cleaning supplies
Installation and Organization Process:
Choose a convenient wall location that’s easily accessible but won’t interfere with daily activities. Measure and mark the intended placement, using a level to ensure straight alignment. If installing into drywall, insert wall anchors for secure mounting.
Attach the magnetic strip or board using appropriate screws and hardware. Clean all metal items thoroughly before placing them on the magnetic surface. Arrange items by frequency of use, keeping daily-use items at eye level. Group similar items together, such as hair accessories in one section and grooming tools in another.
For optimal organization and longevity of your magnetic storage system, wipe the magnetic surface regularly with a dry cloth to prevent dust accumulation. Consider adding small labels beneath different sections to maintain organization, and periodically check that the mounting remains secure.
Avoid overloading any single area of the magnetic strip, and rotate items periodically to prevent wear on specific spots of the magnetic surface.
Utilize Door-Mounted Organizers and Hooks
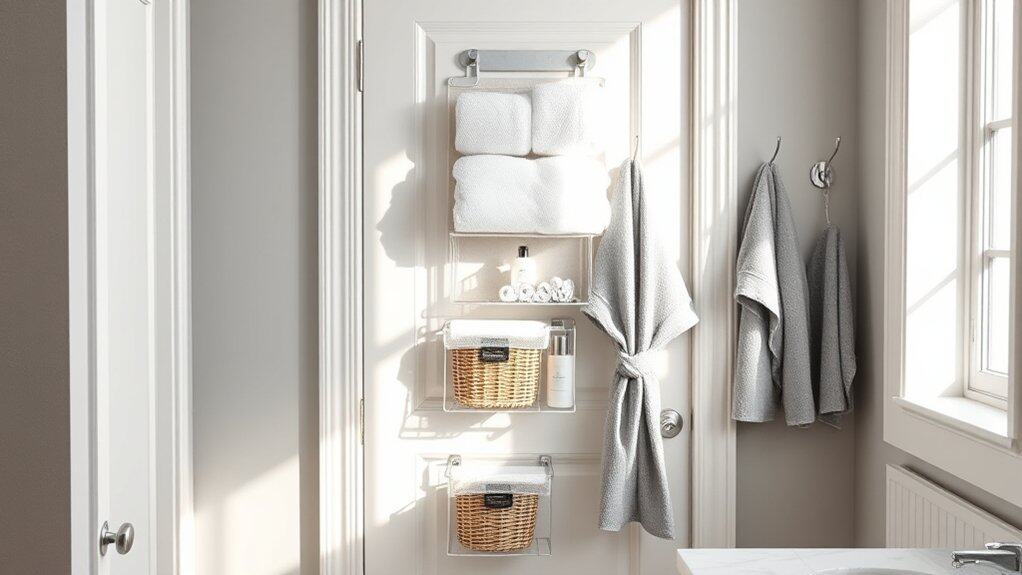
Making the most of vertical space is crucial in small bathrooms, and doors represent a largely untapped storage opportunity. Door-mounted organizers and hooks can effectively double your storage capacity without taking up valuable floor or counter space, transforming an otherwise unused surface into a functional storage area.
Door organization systems are particularly valuable for frequently used items like towels, robes, and everyday toiletries. This solution keeps essential items within arm’s reach while maintaining a clutter-free environment, making your bathroom more functional and visually appealing.
Required Items:
- Over-the-door organizer with pockets
- Command hooks or adhesive hooks
- Over-the-door hooks
- Tension rods (optional)
- Measuring tape
- Screwdriver
- Wall anchors (if needed)
- Level
- Storage baskets or bins
Installing door-mounted organization systems requires careful planning and proper placement. Start by measuring your door’s dimensions and selecting appropriately sized organizers. Install over-the-door hooks at the top of the door, ensuring they’re secure and won’t damage the door when opening and closing.
For adhesive hooks, clean the door surface thoroughly before application and wait 24 hours before hanging items. Position pocket organizers at comfortable heights for easy access, using the lower pockets for heavier items to maintain stability.
When arranging items, group similar products together and assign specific zones for different categories. The top section works well for items used less frequently, while middle pockets are ideal for daily essentials. Consider using clear pockets or labeling systems to easily identify contents.
For towels and robes, space hooks evenly along the door’s height to prevent overcrowding and ensure proper air circulation.
Additional Tips: Regularly assess the weight distribution on door-mounted organizers to prevent sagging or damage. Use smaller containers within pockets to prevent items from spilling or mixing. Consider installing a second organizing system on the shower door or cabinet doors for maximum storage potential. Periodically rotate items based on seasonal needs and remove rarely used products to maintain an efficient organization system.
Create Hidden Storage With Medicine Cabinet Upgrades
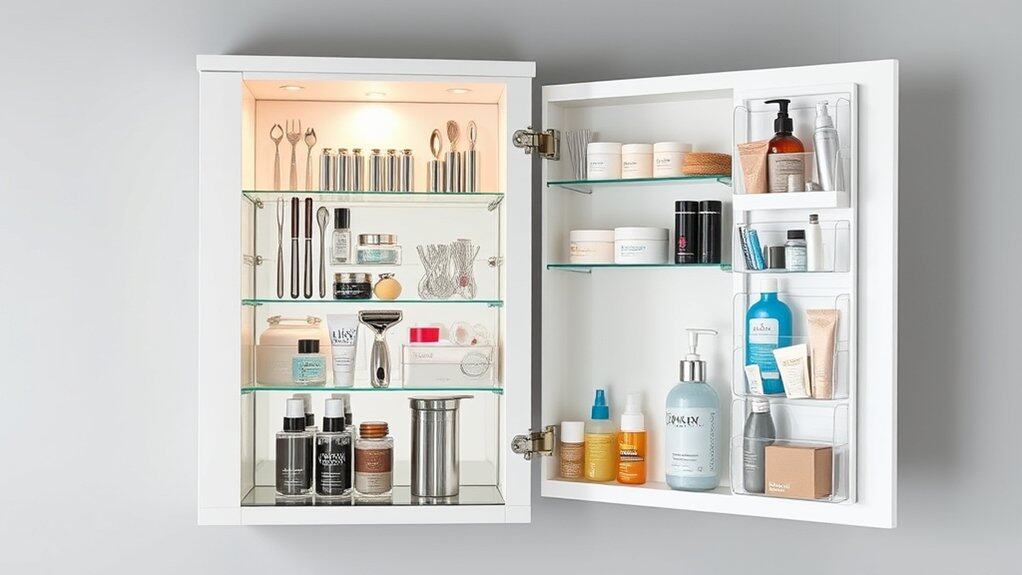
A well-organized medicine cabinet serves as the command center of any bathroom, storing essential items while keeping countertops clear and clutter-free. Many homeowners underutilize this valuable space, settling for basic shelving when countless upgrade options could dramatically increase storage capacity and functionality.
Transforming your medicine cabinet from a basic mirror with shelves into a sophisticated storage solution can double or triple your storage space while maintaining easy access to daily necessities. Strategic upgrades can accommodate everything from tall bottles to small cosmetics, creating designated spaces for every item in your bathroom routine.
Required Items:
- Magnetic strips
- Clear acrylic organizers
- Door-mounted storage pockets
- Small adhesive hooks
- Clear plastic bins
- Label maker
- Measuring tape
- Cleaning supplies
- Battery-operated LED lights
- Double-sided tape
Start by completely emptying your medicine cabinet and cleaning all surfaces thoroughly. Measure the interior dimensions, including depth and door space, to determine which organizational tools will fit.
Install magnetic strips on the back wall for metal items like tweezers and nail clippers. Add clear acrylic organizers to create compartments for smaller items, ensuring they’re secured with double-sided tape if needed.
Maximize door space by adding adhesive storage pockets or small hooks for items used frequently. Group similar items together in clear plastic bins that fit your shelves, such as one for first aid supplies and another for dental care.
Install battery-operated LED lights to illuminate dark corners and make items easier to locate. Consider implementing a rotation system where lesser-used items are stored toward the back while daily essentials remain easily accessible at eye level.
Check expiration dates regularly, especially on medications and cosmetics, and establish a quarterly schedule for deep cleaning and reorganization. Using clear containers and labels will help maintain organization long-term by making it obvious where items belong when putting them away.
Master the Art of Under-Sink Organization
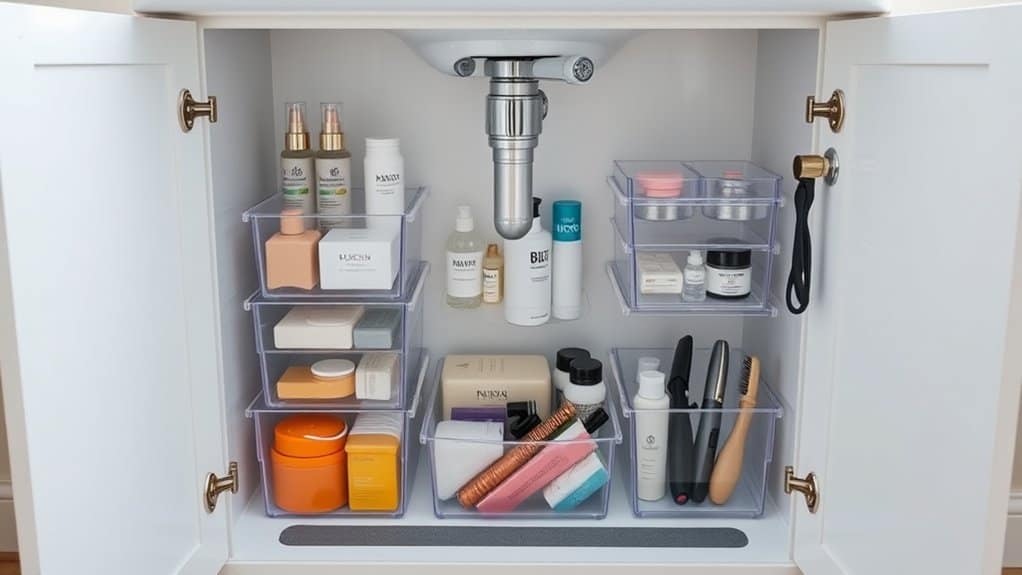
The area under your bathroom sink represents prime real estate in a small bathroom, yet it often becomes a chaotic collection of cleaning supplies, toiletries, and forgotten items. A well-organized under-sink space can transform your daily routine, making essential items easily accessible while maximizing every square inch of storage.
Proper under-sink organization not only creates a more functional space but also protects your cabinet from potential water damage and helps you keep track of supplies. When organized effectively, this area can store up to 40% more items than a cluttered space, while maintaining easy access to frequently used products.
Required Items:
- Clear plastic bins or organizers
- Tension rods
- Cabinet shelf liner
- Over-door cabinet organizers
- Labels and label maker
- Pull-out drawers or sliding organizers
- Command hooks
- Measuring tape
- Stackable containers
- Small lazy Susan (optional)
Start by removing everything from under the sink and thoroughly cleaning the area. Measure the cabinet dimensions, accounting for plumbing fixtures, and install a water-resistant shelf liner to protect the cabinet bottom.
Group similar items together: cleaning supplies, backup toiletries, and daily-use products. Install a tension rod near the top of the cabinet to hang spray bottles, freeing up valuable floor space. Place frequently used items in pull-out drawers or bins at the front of the cabinet for easy access. Stack backup supplies and less-used items toward the back.
Utilize vertical space by adding command hooks on cabinet walls for hanging items like hair tools. Create designated zones within the cabinet using clear containers, ensuring everything has a specific place. Install a small lazy Susan in corner spaces to maximize accessibility.
Label all containers and establish a system where items are returned to their designated spots after use.
Additional Tips: Review contents every three months to dispose of expired products and assess organization effectiveness. Consider using stackable containers with lids to prevent leaks from affecting other items. Keep a small notepad inside the cabinet to track supplies that need replenishing. Place frequently used items at eye level and consider using clear containers to easily identify contents without removing them.
Add Floating Shelves in Unused Corner Spaces
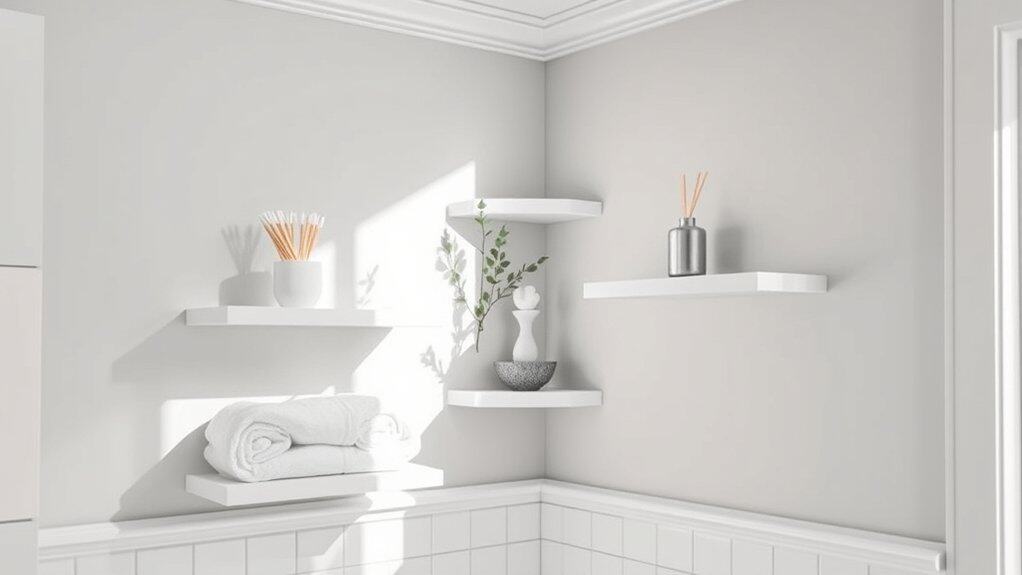
Corner spaces in small bathrooms often become dead zones, wasting valuable storage potential in an already limited area. By utilizing these overlooked spaces with floating shelves, you can create additional storage without sacrificing precious floor space or making the bathroom feel cramped.
Floating shelves in corners serve multiple purposes – they provide a stylish design element while offering practical storage for everyday essentials like toiletries, towels, and decorative items. This vertical storage solution maximizes wall space efficiency and keeps frequently used items within easy reach.
Required Items:
- Floating corner shelves
- Stud finder
- Level
- Drill and drill bits
- Screwdriver
- Wall anchors
- Screws
- Measuring tape
- Pencil
- Safety goggles
- Dust mask
Start by identifying the optimal corner location for your shelves, using the stud finder to locate wall supports. Measure and mark your desired shelf heights, ensuring adequate spacing between shelves for items you plan to store. Using your level, draw precise horizontal lines where each shelf will be mounted.
Install wall anchors if you can’t secure directly into studs, then mount the shelf brackets according to manufacturer specifications. Begin organizing your shelves from top to bottom, placing less frequently used items on higher shelves and daily essentials at eye level or below.
Consider using decorative containers or baskets to group similar items together, maintaining both functionality and aesthetic appeal. Ensure heavier items are placed closer to the wall where the shelf support is strongest.
To maintain organization long-term, implement a system where items have designated spots based on usage frequency. Consider using clear containers to easily identify contents, and periodically review stored items to prevent clutter accumulation. Leave some open space on shelves for visual breathing room and future storage needs.
Implement Space-Saving Shower Storage Solutions
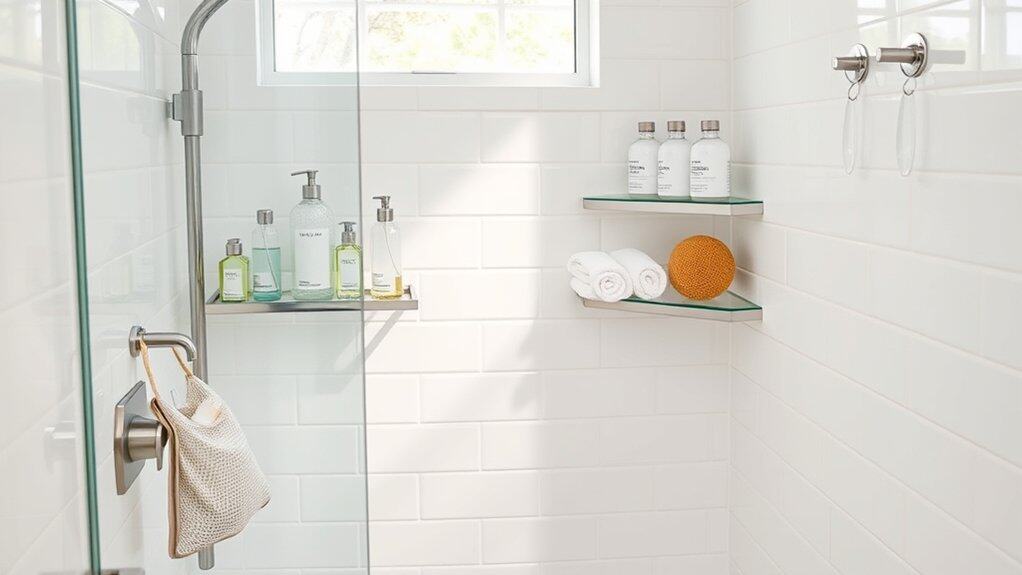
A well-organized shower area is crucial for maintaining a clutter-free and functional bathroom, especially in small spaces. Bottles, soaps, razors, and other bath essentials scattered around the shower not only create visual chaos but can also pose safety hazards and make cleaning more difficult.
Maximizing vertical space and implementing smart storage solutions in your shower area can transform your daily routine, making essential items easily accessible while maintaining a clean, organized appearance. Strategic placement of storage solutions helps prevent water accumulation and promotes proper drainage, extending the life of your bath products and preventing mildew growth.
Required Items:
- Tension rod shower caddy
- Suction cup corner shelves
- Rustproof shower hooks
- Mesh storage bags
- Command hooks
- Shower curtain with pockets
- Clear storage containers
- Waterproof labels
- Silicone adhesive
- Squeegee
Start by removing all items from your shower area and thoroughly cleaning the surfaces. Install a tension rod shower caddy in the corner that’s least likely to interfere with shower head spray.
Mount suction cup corner shelves at different heights to create a tiered storage system, ensuring proper spacing for taller bottles. Utilize command hooks on tile walls for hanging loofahs, washcloths, and mesh storage bags containing smaller items.
For frequently used items, position them at eye level for easy access. Group similar products together (hair care, body wash, shaving supplies) and use clear containers to transfer products from bulky packaging. Label all containers clearly with waterproof labels to maintain organization.
Consider installing a shower curtain with built-in pockets for additional storage space without consuming shower real estate.
Additional Tip: Perform a monthly audit of your shower storage system to remove empty containers, expired products, and items that haven’t been used. This maintenance routine helps prevent clutter buildup and ensures your organization system remains effective long-term.
Consider implementing a “one-in-one-out” rule when purchasing new shower products to maintain optimal organization.
Declutter With Multi-Purpose Storage Containers
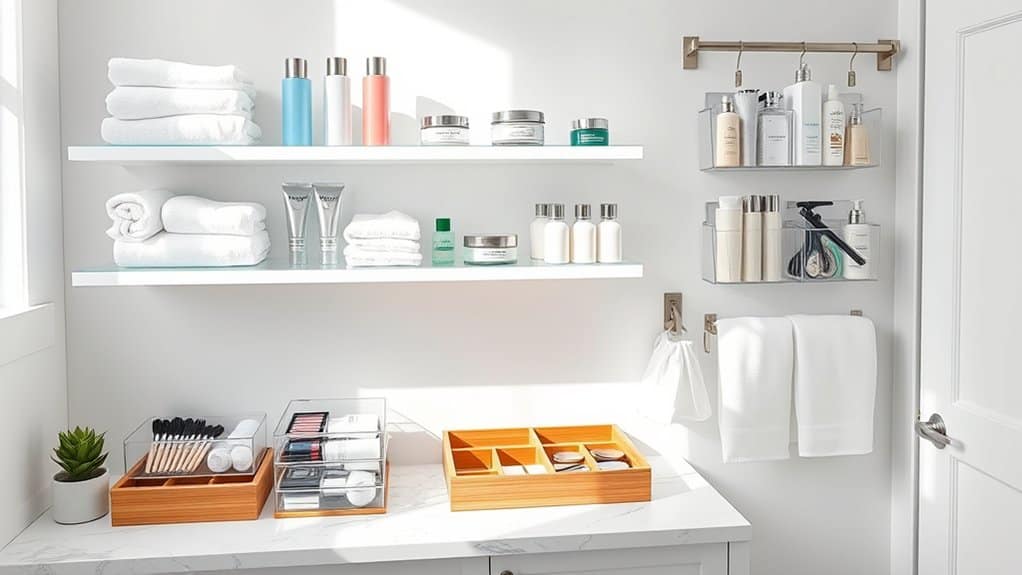
A well-organized bathroom storage system is essential for maintaining order in a small space. Multi-purpose storage containers serve as the foundation for eliminating clutter while maximizing the utility of limited square footage, turning chaos into calm functionality.
When storage containers serve multiple purposes, they eliminate the need for numerous individual organizers, creating a streamlined system that works efficiently in compact bathrooms. These versatile solutions can adapt to changing needs while maintaining a cohesive aesthetic that makes the space feel larger and more organized.
Required Items:
- Clear acrylic containers
- Stackable bins with dividers
- Over-the-door organizers
- Magnetic containers
- Labels and label maker
- Drawer dividers
- Mason jars
- Basket sets
- Command hooks
- Measuring tape
Start by assessing your bathroom items and grouping similar products together. Select containers that can serve multiple functions – for example, a stackable bin system that can hold both toiletries and cleaning supplies, with removable dividers for flexibility.
Position larger containers on lower shelves or under the sink, using vertical space effectively with stacking systems. Create designated zones within each container based on frequency of use and type of item. Implement a rotating system where seasonal items can be stored in the same containers during different times of the year.
Use clear containers for frequently accessed items to maintain visibility and prevent overbuying of products you already have. To maintain this organization system long-term, label all containers clearly and establish a regular review schedule to assess and adjust the organization as needed.
Consider using magnetic containers on metal surfaces for additional storage, and utilize the inside of cabinet doors with adhesive organizers. Remember to measure your space carefully and choose containers that maximize every inch while maintaining easy access to all items.

