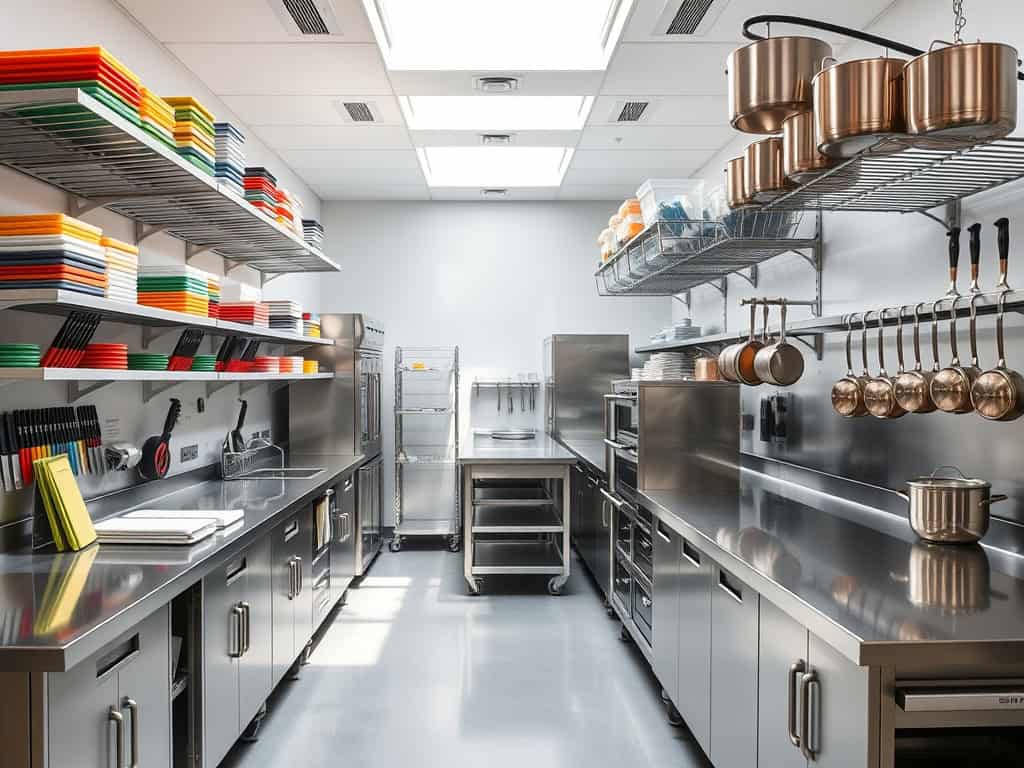
You’ve probably experienced the chaos of a disorganized restaurant kitchen – I know I have! After spending 15 years managing busy kitchens, I’ve discovered that success often comes down to smart organization. Whether you’re dealing with cramped quarters or a sprawling layout, these eight practical hacks will transform your kitchen operations. From game-changing zone systems to time-saving station setups, you’ll find the solutions you’ve been looking for to boost efficiency and reduce stress.
Implement the Zone System for Maximum Efficiency
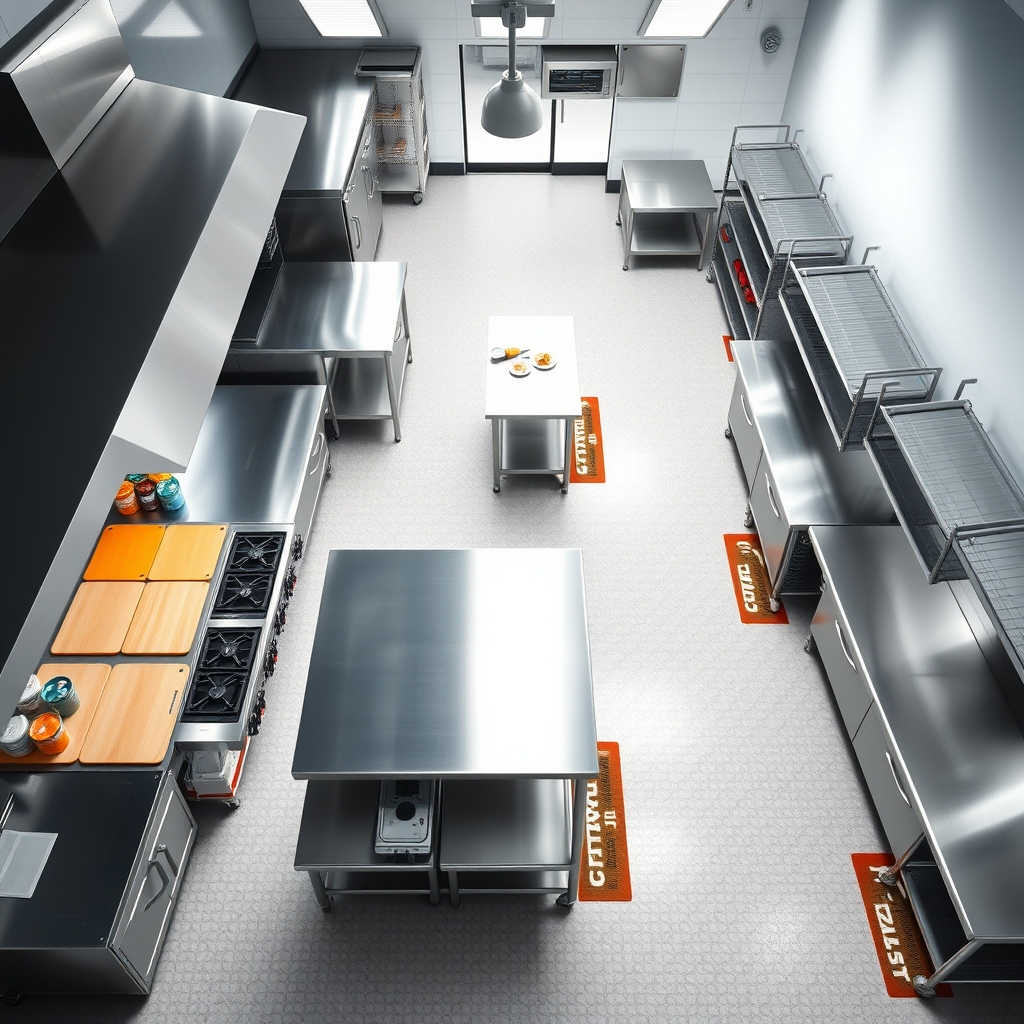
A well-organized commercial kitchen is the backbone of any successful restaurant operation. The zone system divides the kitchen into distinct functional areas, creating a logical flow that minimizes cross-traffic, reduces accidents, and speeds up food preparation. When implemented correctly, this system can dramatically increase productivity while maintaining food safety standards.
The zone system transforms chaotic kitchen spaces into streamlined work environments where every staff member knows exactly where to find tools and ingredients. This organizational method not only improves efficiency but also helps maintain cleaner workspaces, reduces waste, and creates a more professional atmosphere that can positively impact food quality and service times.
Required Items:
- Floor plan template
- Measuring tape
- Label maker
- Storage containers
- Mobile work stations
- Prep tables
- Equipment carts
- Color-coded containers
- Storage shelving units
- Safety floor mats
- Sanitization stations
To implement the zone system, start by mapping out five essential areas: storage (dry and cold), prep, cooking, plating, and cleaning. Position the storage zone near the delivery entrance for efficient restocking. Create a prep zone with adequate counter space and easy access to both storage and cooking areas. The cooking zone should be centralized with proper ventilation and organized equipment placement. Establish a plating area near the service window, and position the cleaning zone to avoid cross-contamination with other areas.
The next step involves organizing each zone with appropriate equipment and establishing clear boundaries. Install mobile workstations where possible to maintain flexibility during peak hours. Use color-coding for different zones to help staff quickly identify proper storage areas and prevent cross-contamination. Ensure each zone has its own set of commonly used tools to minimize movement between areas.
Additional Tips: Review and adjust zone boundaries periodically based on staff feedback and workflow patterns. Install clear signage to designate each zone and its purpose. Create standard operating procedures for each zone to maintain organization and cleanliness. Consider implementing a daily zone checklist to ensure all areas remain properly organized and maintained throughout service hours.
Master Your Kitchen Storage With FIFO Principles
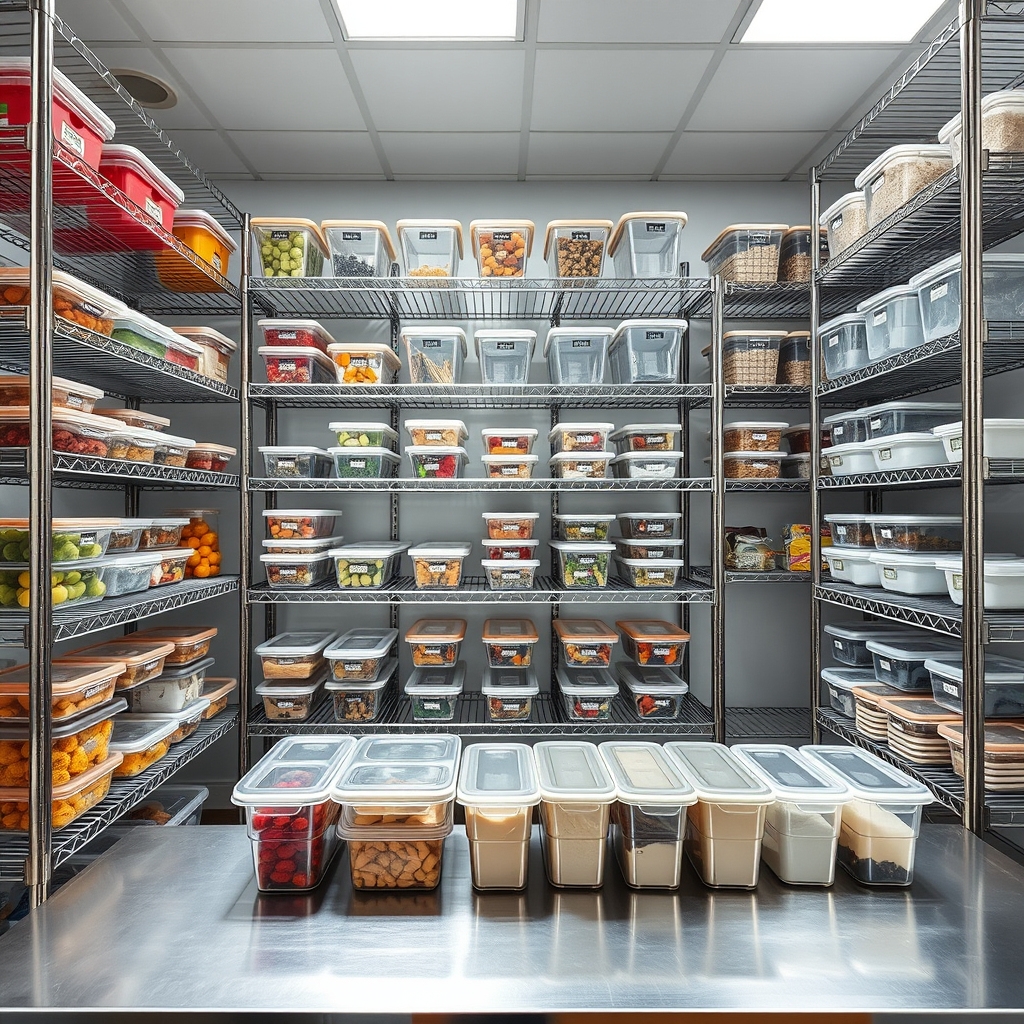
Proper kitchen storage organization using the First-In-First-Out (FIFO) principle is fundamental to running an efficient and safe restaurant kitchen. This system ensures that older ingredients are used before newer ones, reducing waste and maintaining consistent food quality while preventing potential foodborne illnesses.
Implementing FIFO principles requires initial setup time but saves countless hours and dollars in the long run. A well-organized FIFO system allows staff to quickly locate items, maintain accurate inventory counts, and ensure food safety compliance while minimizing the risk of expired products being served to customers.
Required Items:
- Clear storage containers
- Label maker or waterproof labels
- Permanent markers
- Date-tracking stickers
- Mobile wire shelving units
- Clear food storage bags
- Clipboard for inventory sheets
- Storage containers with removable dividers
- Durable shelf liners
- Food rotation labels
Start by completely emptying and cleaning all storage areas. Install adjustable shelving units that allow for easy access from both sides. Organize items by category and assign specific zones for different food groups. Label each zone clearly and implement a color-coding system if desired.
Position newer products behind or underneath older ones, ensuring dates are clearly visible. Create a standardized labeling system that includes the product name, date received, and expiration date. Train staff to properly date items upon receipt and store them in their designated areas.
Establish a routine where employees check dates daily and move older products to the front during restocking. When new deliveries arrive, institute a mandatory protocol where staff members physically move existing products forward before placing new items in the back. This hands-on approach ensures the FIFO system remains effective and prevents items from being forgotten or lost in the back of storage areas.
Additional Tips: Conduct weekly audits of your FIFO system to ensure compliance. Consider implementing a digital inventory management system to complement your physical organization. Create a visual guide showing proper storage procedures and post it in relevant areas.
Designate a team member as the FIFO captain responsible for maintaining standards and training new staff members on proper procedures.
Design Smart Workflow Patterns for Peak Service

Efficient workflow patterns during peak service hours can mean the difference between a smoothly operating kitchen and complete chaos. When orders are flooding in and every second counts, having predetermined movement and task patterns helps staff maintain productivity while minimizing confusion and potential accidents. A well-designed workflow ensures that food preparation remains consistent, service times stay on target, and kitchen staff can work harmoniously without getting in each other’s way.
The layout and organization of workstations, along with clearly defined movement patterns, directly impact a kitchen’s ability to handle high-volume periods. Strategic workflow design reduces unnecessary steps, prevents cross-contamination, and maintains a logical progression from prep to plating. This systematic approach not only increases output but also helps maintain quality standards during the busiest service periods.
Required Items:
- Floor plan template
- Stopwatch
- Colored tape or markers
- Whiteboard
- Kitchen station labels
- Traffic flow indicators
- Communication boards
- Zone markers
- Task cards
- Workflow charts
Start by mapping out the current kitchen layout and identifying high-traffic areas and bottlenecks. Create designated zones for specific tasks, ensuring that frequently used items and ingredients are within easy reach of their respective stations. Establish clear paths between prep areas, cooking stations, and expediting areas, using colored tape on the floor if necessary to mark traffic patterns.
Next, implement a logical progression of tasks that follows the natural flow of food preparation. Position complementary stations near each other – for example, place the salad station next to cold storage and ensure the grill station has quick access to both the prep area and expediting station. Create backup stations for high-demand items and designate specific paths for runners and servers to prevent collision with kitchen staff.
Consider implementing a circular or L-shaped workflow pattern that allows staff to move efficiently without crossing paths unnecessarily. Document standard operating procedures for each station and create visual aids that clearly show movement patterns during different service periods.
Additional Tips: Cross-train staff on multiple stations to enable flexible coverage during peak times. Regularly review and adjust workflow patterns based on service data and staff feedback. Keep emergency routes clear and ensure all staff members understand both standard and backup procedures for high-volume periods. Consider implementing a kitchen display system to further streamline communication and timing between stations.
Create Strategic Prep Station Layouts
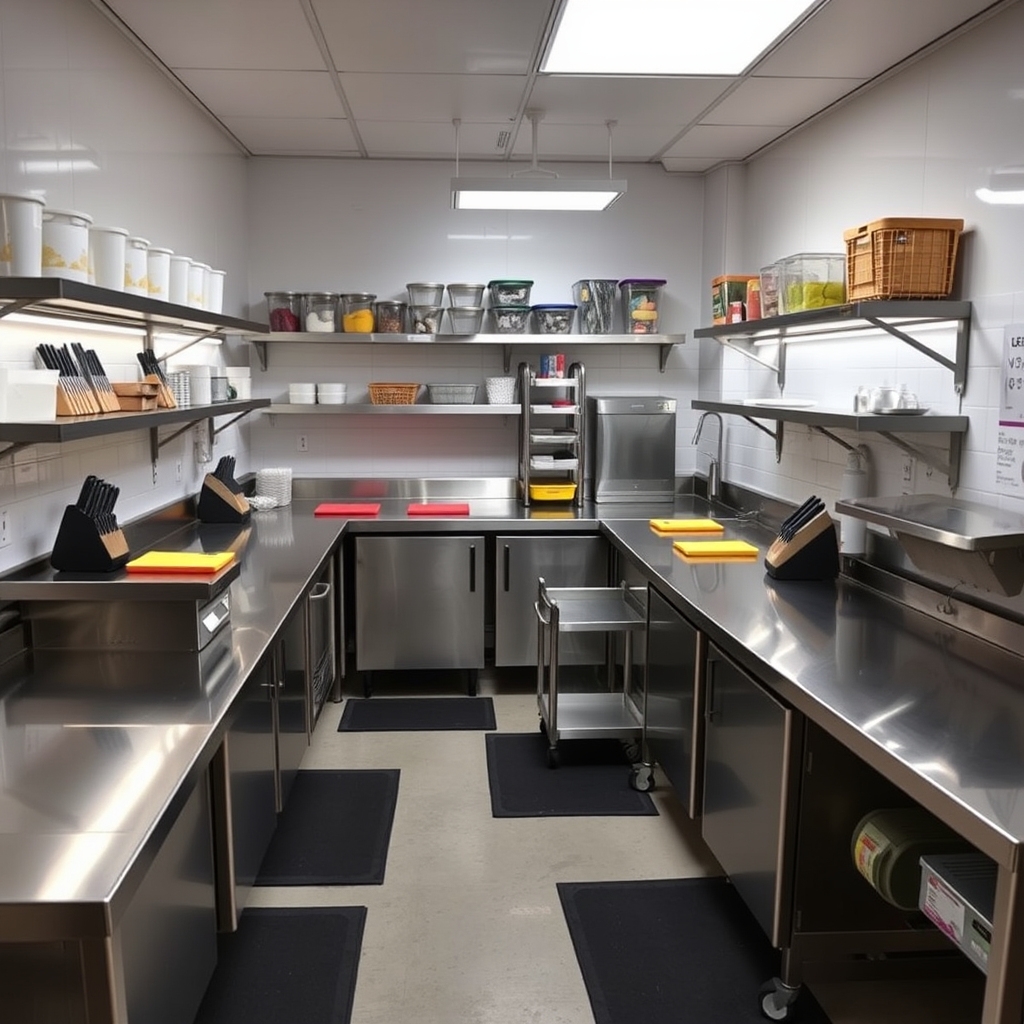
Well-designed prep station layouts serve as the backbone of any efficient commercial kitchen operation. The thoughtful arrangement of workspaces directly impacts productivity, reduces unnecessary movement, and helps maintain consistent food quality while minimizing preparation time.
A strategically organized prep station can reduce worker fatigue, prevent cross-contamination, and ensure smooth service during peak hours.
Creating an efficient prep station layout requires careful consideration of workflow patterns, equipment placement, and storage solutions. When prep stations are properly organized, kitchen staff can maintain cleanliness standards more easily, access ingredients quickly, and work together seamlessly without creating bottlenecks or safety hazards.
Required Items:
- Stainless steel prep tables
- Cutting boards
- Storage containers
- Labels and markers
- Under-counter refrigeration
- Wall-mounted shelving
- Storage racks
- Sanitizing stations
- Waste bins
- Equipment mounts
- Anti-fatigue mats
Start by analyzing the flow of food preparation from receiving to service. Position prep stations in a logical sequence, ensuring raw ingredients move efficiently through the kitchen without crossing paths with ready-to-serve items.
Install prep tables at appropriate heights for comfortable working conditions, typically 36 inches high. Place frequently used equipment and tools within arm’s reach, and arrange storage containers in order of use frequency. Ensure adequate space between stations for safe movement and cleaning access.
Group similar preparation tasks together to create dedicated zones – for example, vegetable prep, protein handling, and assembly areas. Install under-counter refrigeration units directly at workstations to minimize travel time for frequently used ingredients.
Mount overhead shelving and equipment racks to maximize vertical storage while keeping work surfaces clear. Position sanitizing stations and hand sinks within easy reach of all prep areas to maintain food safety standards.
Additional Tips: Regularly review and adjust station layouts based on menu changes and staff feedback. Consider implementing color-coded zones or equipment to prevent cross-contamination.
Install adequate lighting above each station and ensure proper ventilation throughout the prep area. Keep backup tools and supplies nearby but not in the way of daily operations. Document the optimal layout once established to maintain consistency during cleaning and setup.
Establish Color-Coded Organization Systems

Color-coding in a restaurant kitchen is a fundamental organizational strategy that dramatically improves efficiency and reduces errors during food preparation and service. By implementing a systematic color-coding approach, kitchen staff can quickly identify appropriate tools, prevent cross-contamination, and maintain proper food safety protocols without hesitation.
An effective color-coding system streamlines workflow, minimizes training time for new staff, and ensures compliance with health and safety regulations. When every team member understands and follows the same color system, it creates a universal language that transcends potential communication barriers and promotes a more organized, productive kitchen environment.
Required Items:
- Cutting boards in multiple colors
- Color-coded knife handles
- Colored storage containers
- Color-coded cleaning supplies
- Labels and stickers in corresponding colors
- Permanent markers
- Color-coded prep containers
- Colored tape or bands
- Wall-mounted color guide charts
The implementation process begins with establishing specific color assignments for different food categories and tasks. Typically, red is designated for raw meat, blue for seafood, yellow for poultry, green for produce, and white for dairy and ready-to-eat foods.
Once colors are assigned, systematically replace or mark existing equipment with the appropriate colors. Install color guide charts in prominent locations throughout the kitchen as quick references for staff.
Apply the color system consistently across all relevant items and areas. Label storage areas, shelving units, and containers with corresponding colored tape or stickers. Ensure that cleaning supplies follow the same color protocol, with specific colors designated for different areas or purposes to prevent cross-contamination.
Train all staff members on the system and regularly audit compliance. For optimal results, conduct monthly audits of the color-coding system to ensure all items remain properly marked and replaced as needed.
Consider implementing a rotating schedule for deep cleaning and maintenance of color-coded items, and maintain a log of when items are replaced or updated. Keep spare color-coded items in stock to immediately replace any damaged or worn equipment, ensuring the system remains effective at all times.
Optimize Your Equipment Placement
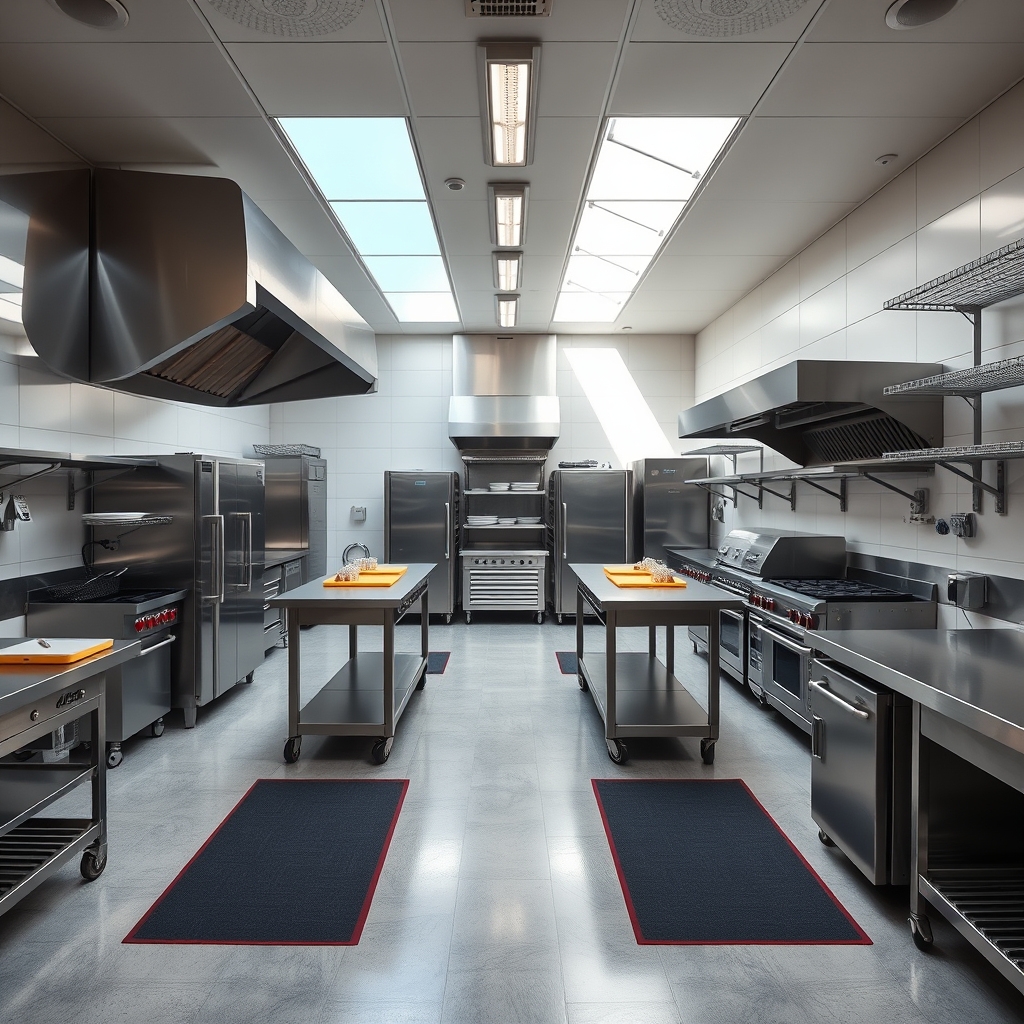
Proper equipment placement in a commercial kitchen is fundamental to creating an efficient and safe working environment. The layout of your kitchen equipment directly impacts workflow, productivity, and the speed at which your team can execute orders during service. Thoughtful placement reduces unnecessary movement, prevents cross-contamination, and minimizes the risk of accidents.
Strategic equipment organization also ensures compliance with health codes while maximizing the available space in your kitchen. When heavy-use equipment is positioned correctly, it creates natural workflow patterns that align with food preparation sequences, allowing staff to move seamlessly between stations and maintain consistent output during peak hours.
Required Tools:
- Measuring tape
- Floor plan template
- Markers/pencils
- Equipment specifications sheets
- Electrical outlet map
- Ventilation system diagram
- Safety requirement checklist
- Workflow analysis chart
- Cleaning supplies
- Mobile equipment dollies
Start by mapping your kitchen’s workflow pattern, placing primary cooking equipment (ranges, ovens, grills) along the back wall near ventilation systems. Position prep stations and refrigeration units within easy reach of cooking areas, maintaining clear paths between them.
Install workstations in a logical sequence that follows food preparation order, from receiving to storage, prep, cooking, and service areas. Work zones should be clearly defined, with heavy equipment positioned against walls where appropriate, leaving adequate space for cleaning and maintenance.
Keep frequently used items at arm’s reach and ensure proper clearance around hot equipment. Position sinks and dishwashing stations away from cooking areas to prevent cross-contamination, while maintaining efficient access to both zones.
Additional Tips: Consider implementing mobile equipment where possible to allow for flexible configurations during different service periods. Install safety mats in high-traffic areas and ensure all equipment has proper utility connections within reach.
Regular assessment of equipment placement efficiency should be conducted during service hours to identify potential improvements and adjust accordingly based on staff feedback and operational needs.
Develop Effective Labeling and Inventory Protocols
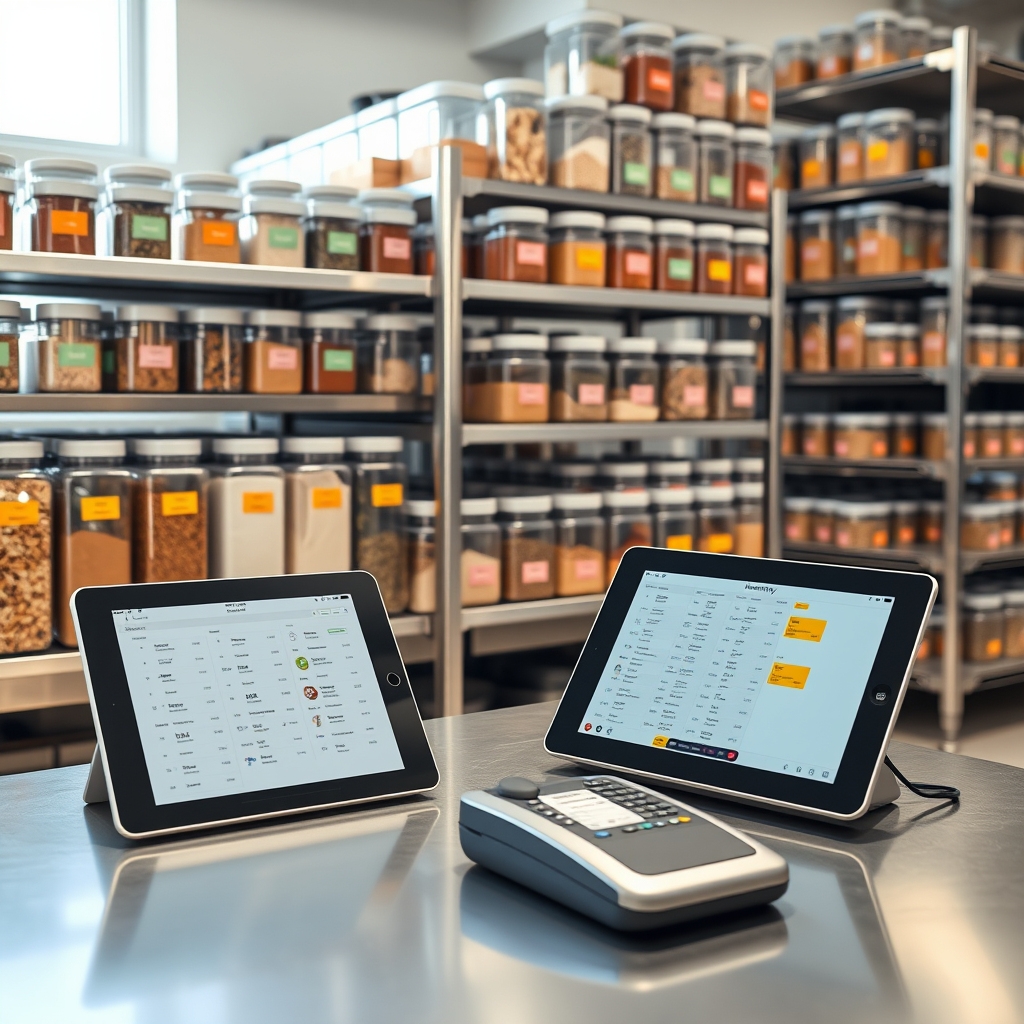
Proper labeling and inventory management form the backbone of any well-run commercial kitchen. Without clear protocols, kitchens can quickly descend into chaos, leading to food waste, safety concerns, and inefficient operations that impact both profit margins and service quality.
Implementing systematic labeling and inventory tracking ensures compliance with health regulations, maintains food safety standards, and streamlines daily operations. When staff can quickly identify ingredients, track expiration dates, and monitor stock levels, the kitchen operates like a well-oiled machine, reducing waste and improving productivity.
Required Items:
- Label maker or printer
- Waterproof labels
- Date-marking labels
- Clear storage containers
- Inventory tracking software
- Dry-erase markers
- Filing system for records
- Storage clipboard
- Standardized label templates
- Clear plastic sheet protectors
Start by establishing a standardized labeling system that includes crucial information: item name, date received, expiration date, and handling instructions. Create templates for different storage areas (dry storage, refrigeration, freezer) and ensure all containers are labeled immediately upon receiving goods.
Implement a color-coding system to distinguish between different food categories or allergen concerns.
Set up a digital inventory management system that tracks stock levels, monitors usage patterns, and generates automatic reorder alerts. Train staff to record all incoming and outgoing items, performing regular audits to maintain accuracy. Establish par levels for each item and create a schedule for regular inventory counts, typically conducting full counts weekly and spot checks daily.
Create clear protocols for rotation methods, using the FIFO (First In, First Out) system consistently. Position newer items behind older stock and implement a daily checklist for checking date labels and rotating items accordingly. Document these procedures in an easily accessible manual and conduct regular training sessions to ensure compliance.
Additional Tips: Designate a specific team member as the inventory champion responsible for maintaining standards and training others. Consider implementing a barcode system for larger operations to increase accuracy and efficiency.
Review and adjust par levels quarterly based on seasonal changes and sales patterns. Always keep backup labels and supplies readily available, and maintain digital copies of all templates and protocols in cloud storage for easy access and updating.
Set Up Time-Saving Kitchen Station Configurations
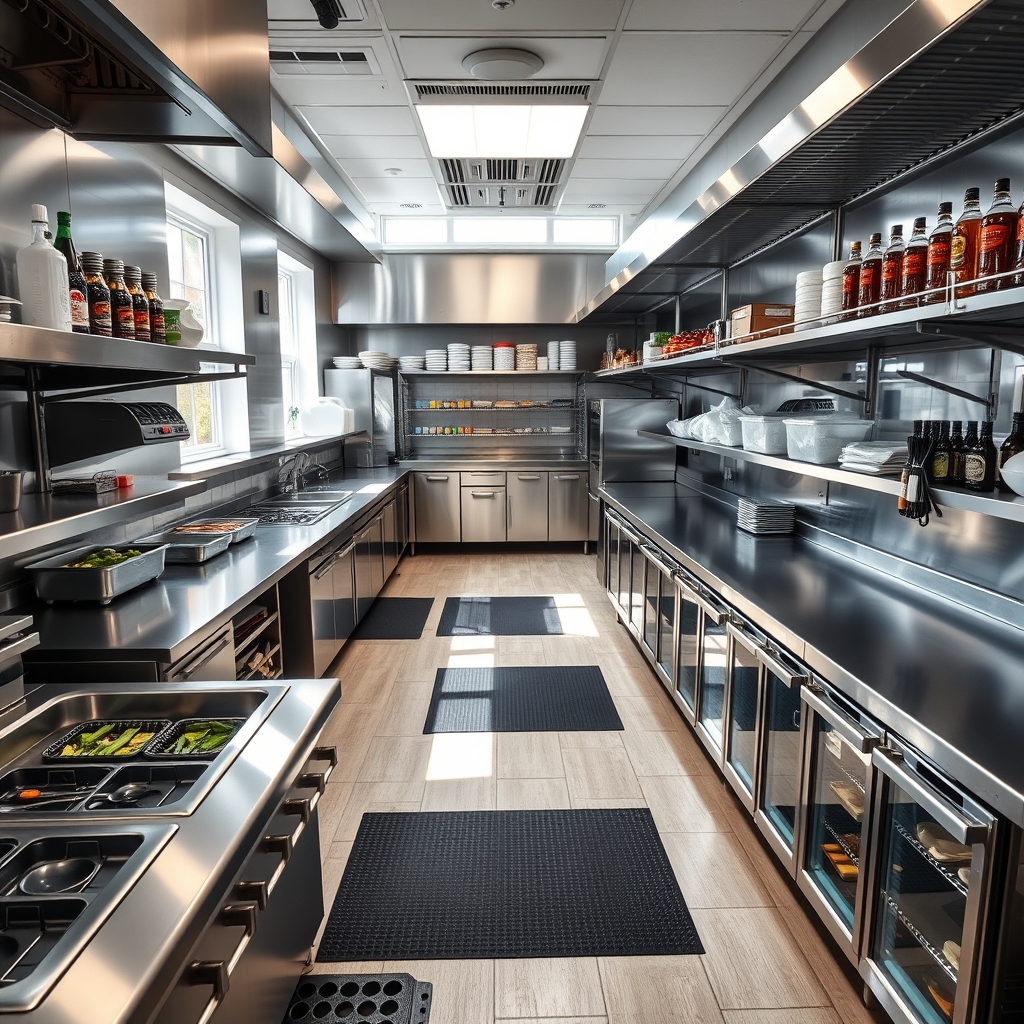
Efficient kitchen station configurations are the backbone of any successful restaurant operation. When stations are properly organized, kitchen staff can move seamlessly through their tasks, reducing preparation time and minimizing errors during service. The layout directly impacts productivity, staff morale, and ultimately, the quality of food served to customers.
A well-designed kitchen station configuration considers workflow patterns, ergonomics, and the specific needs of each cooking station. From prep areas to cooking lines, every station must be strategically positioned to create a natural flow that reduces unnecessary movement and prevents bottlenecks during peak service times.
Required Items:
- Stainless steel prep tables
- Storage containers and bins
- Label maker
- Shelving units
- Equipment mounting brackets
- Non-slip floor mats
- Storage racks
- Speed rails
- Mise en place containers
- Under-counter refrigeration units
- Wall-mounted organization systems
- Equipment cleaning supplies
Begin by analyzing your kitchen’s current workflow and identifying major pain points. Map out zones for different functions: prep area, cooking line, plating station, and cleaning area. Position frequently used equipment within arm’s reach at each station, and ensure shared resources are placed in easily accessible central locations.
Install appropriate storage solutions at each station, such as overhead shelving for commonly used ingredients and under-counter storage for backup supplies. Create designated spaces for specific tasks within each station, maintaining clear boundaries between hot and cold preparation areas.
Install speed rails and refrigerated drawers to keep essential ingredients at proper temperatures and within easy reach. Position workstations to allow for efficient communication between team members while maintaining enough space for safe movement.
Additional Tips:
Regularly review and adjust station configurations based on staff feedback and changing menu needs. Implement a color-coding system for different stations to prevent cross-contamination and maintain organization.
Consider installing adjustable equipment mounts to accommodate staff of different heights and ensure proper ergonomics. Always maintain clear paths to emergency exits and fire safety equipment when designing station layouts.

