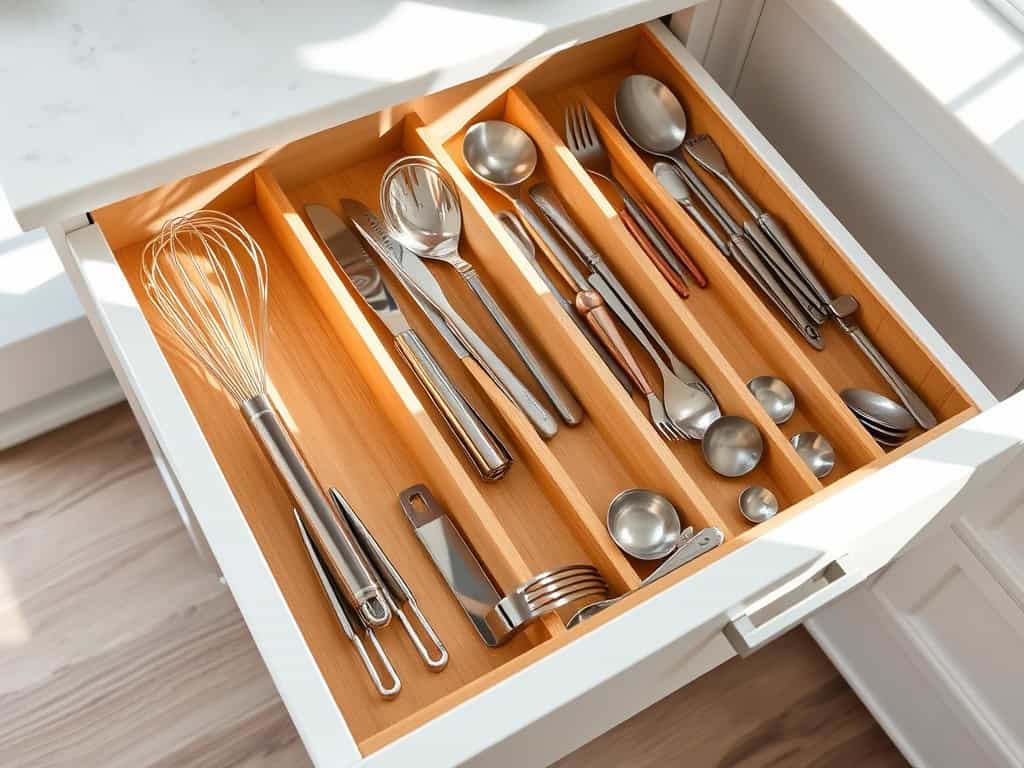
Like a maze of tangled possibilities, your kitchen utensil drawer can quickly become a chaotic puzzle that slows down your cooking flow. You’re not alone in this common kitchen struggle – I’ve been there too! Whether you’re fishing for that elusive melon baller or desperately hunting down your favorite spatula, an organized drawer system can transform your cooking experience from frustrating to fantastic. Let me share eight clever tricks that’ll help you create the perfectly organized drawer you’ve always wanted.
Invest in Adjustable Drawer Dividers
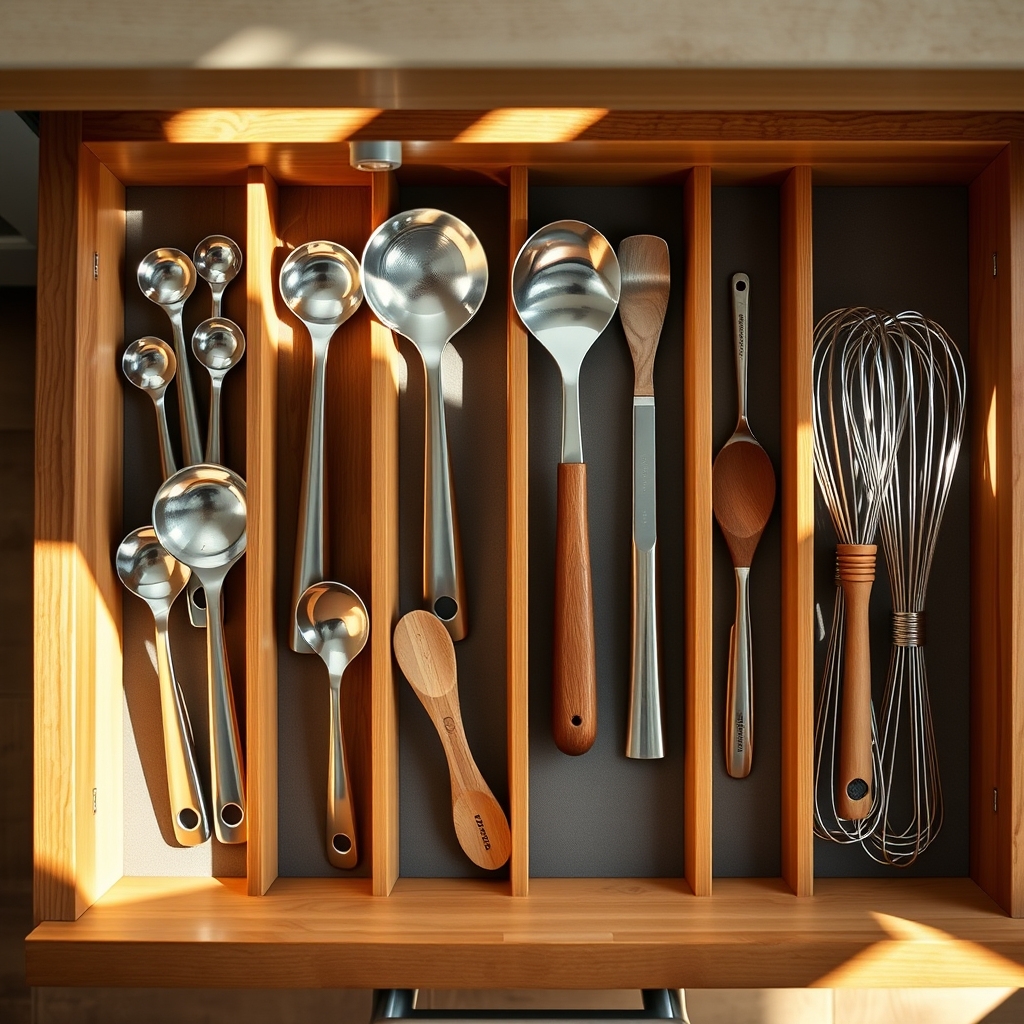
A well-organized utensil drawer serves as the cornerstone of an efficient kitchen, saving precious minutes during meal preparation and reducing the frustration of searching for needed tools. When utensils are properly separated and arranged, cooking becomes more enjoyable, and the overall functionality of the kitchen improves dramatically.
Adjustable drawer dividers represent one of the most versatile and practical solutions for maintaining order in kitchen drawers. These customizable organizers can be adapted to fit virtually any drawer size and accommodate various utensil shapes and sizes, making them an invaluable investment for both home cooks and professional chefs.
Required Items:
- Adjustable drawer dividers
- Measuring tape
- Clean cloth or drawer liner
- Labels (optional)
- Notepad and pen
- Cleaning supplies
- Container for discarded items
Start by removing all items from the drawer and thoroughly cleaning the interior. Measure the drawer’s dimensions, including length, width, and depth, to ensure your adjustable dividers will fit properly.
Take inventory of your utensils, grouping similar items together and identifying which ones you use most frequently. Position the adjustable dividers to create sections that accommodate your utensil groups.
Begin with larger sections for frequently used items and create smaller compartments for specialty tools. Consider the natural workflow of your kitchen when deciding where to place different utensil categories. For instance, keep measuring spoons and cups together, while grouping spatulas and turning tools in another section.
Additional Tips: Review and adjust your drawer organization system after a few weeks of use. Observe which arrangements work best and make modifications accordingly.
Consider using drawer liner material between dividers to prevent sliding and reduce noise. Label sections if needed, especially for less frequently used items, and maintain the system by regularly removing items that don’t belong or are no longer used.
Sort and Group Similar Items Together
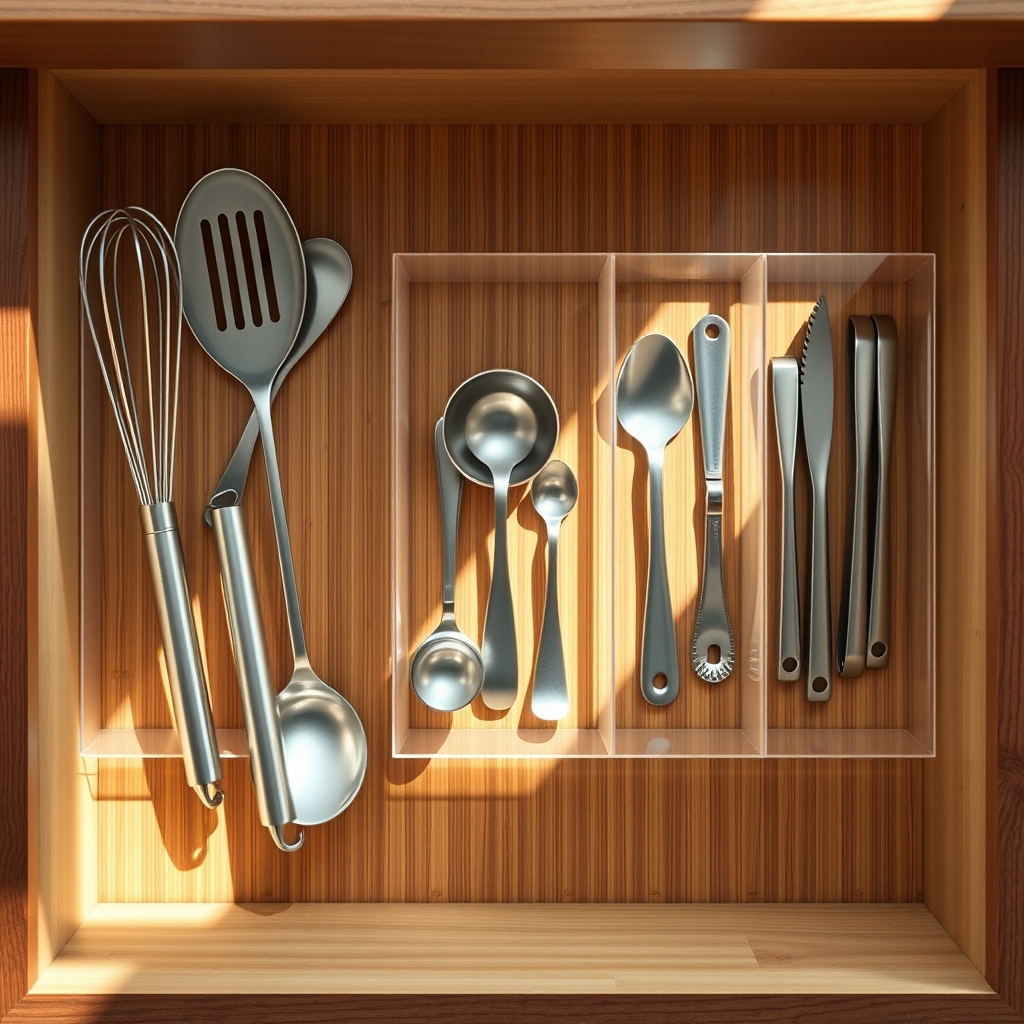
A well-organized utensil drawer is the foundation of an efficient kitchen workflow. When utensils are properly sorted and grouped, cooking becomes more intuitive, time is saved, and frustration is eliminated during meal preparation. No more digging through cluttered drawers searching for that one specific spatula or whisk.
Grouping similar items together creates natural zones within your drawer, making it easier to maintain organization long-term. This system allows you to quickly grab what you need and return items to their designated spots without second-guessing. It also helps identify duplicate items and prevents unnecessary purchases of tools you already own.
Required Items:
- Drawer dividers or organizers
- Measuring tape
- Labels (optional)
- Clean cloth
- Drawer liner
- Storage containers or bins
- Paper and pen for inventory
Start by removing everything from the drawer and wiping it clean. Sort all utensils into clear categories: measuring tools, mixing implements, cutting/chopping tools, serving pieces, and cooking utensils. Assess each item’s condition and frequency of use, discarding damaged items and relocating rarely-used tools elsewhere.
Measure your drawer and install appropriate dividers or organizers to create distinct sections. Place frequently used items in the most accessible areas. Position cooking utensils closest to the stove, measuring tools together in one section, and serving pieces in another. Ensure handles face the same direction for uniformity and ease of access.
Create obvious boundaries between different utensil groups using drawer dividers or bins. This physical separation helps maintain organization and prevents items from mixing during drawer opening and closing. Consider using drawer liners to prevent items from sliding and maintain their designated positions.
Additional Tip: Review your organization system every three months. Adjust groupings based on your cooking habits and seasonal needs. Keep a small open space for future additions, and resist the urge to overcrowd sections. When introducing new utensils, immediately assign them to appropriate groups rather than placing them randomly in the drawer.
Use Vertical Space With Stacked Organizers
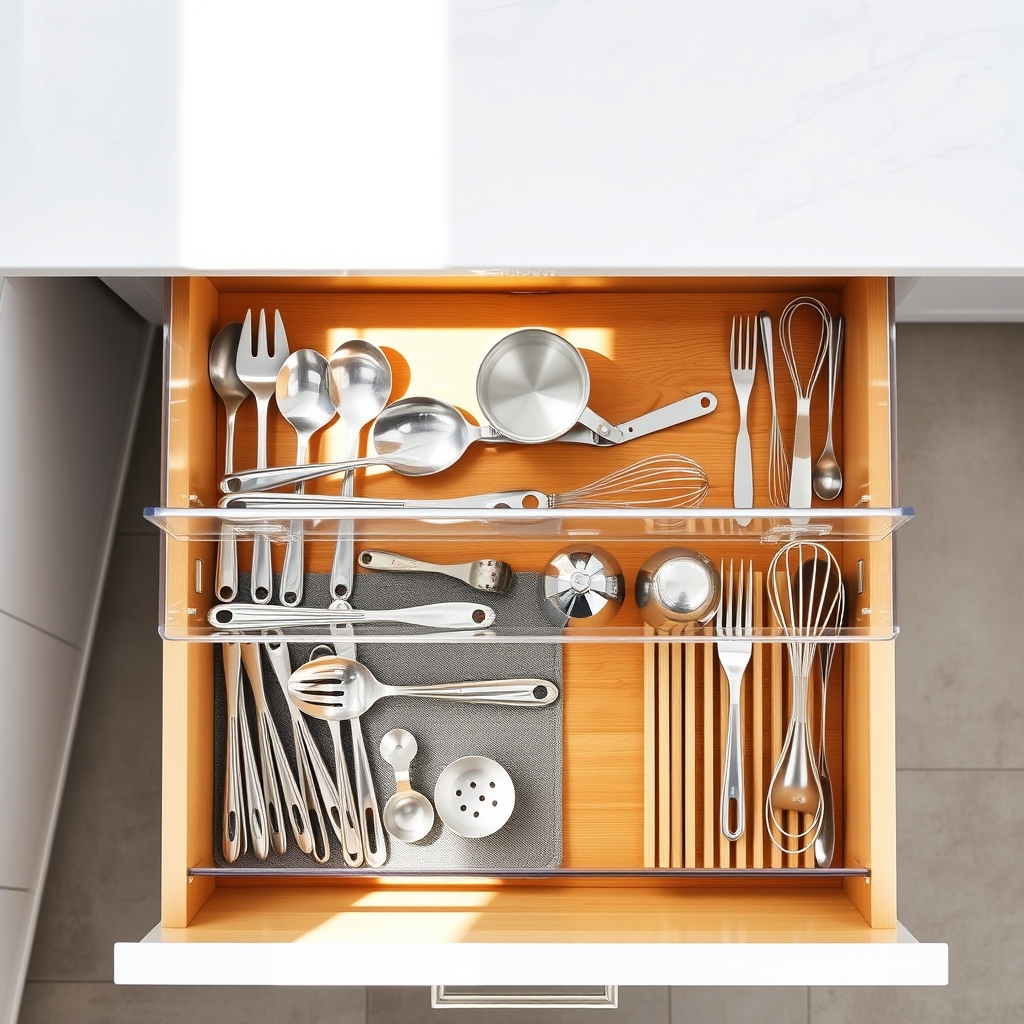
Making the most of vertical space in kitchen drawers is essential for modern homes where storage space comes at a premium. Stacked organizers allow you to effectively double or triple your storage capacity while keeping utensils easily accessible and preventing drawer clutter.
Traditional flat drawer organizers waste valuable vertical space, leaving room for utensils to pile up and become tangled. By implementing a stacked organization system, you can separate items by frequency of use, size, or function while maximizing every inch of drawer space available.
Required Items:
- Drawer-height measurements
- Tiered drawer organizers
- Drawer liner material
- Label maker
- Measuring tape
- Cleaning supplies
- Storage containers with varying heights
- Drawer dividers
- Anti-slip drawer mats
Start by removing everything from the drawer and thoroughly cleaning the space. Measure the drawer’s height, width, and depth to determine which stacked organizers will fit properly. Select organizers that leave at least one inch of clearance when the drawer closes.
Position taller stacked organizers toward the back of the drawer, with graduated heights moving forward for easy visibility and access. Arrange frequently used items in the front and lower tiers, while storing seasonal or specialty items in the upper tiers or back sections.
Use drawer dividers between stacked organizers to prevent shifting, and place anti-slip mats underneath to keep everything secure. Consider implementing a diagonal arrangement for longer utensils to maximize corner spaces.
Additional Tips: Regularly review and adjust your organizational system based on usage patterns. Remove items that haven’t been used in six months to maintain efficient use of space.
Consider using clear organizers to easily identify items in lower tiers, and implement a rotating system where less-used items are periodically brought forward to prevent unused items from accumulating in back tiers.
Declutter and Keep Only Essential Tools
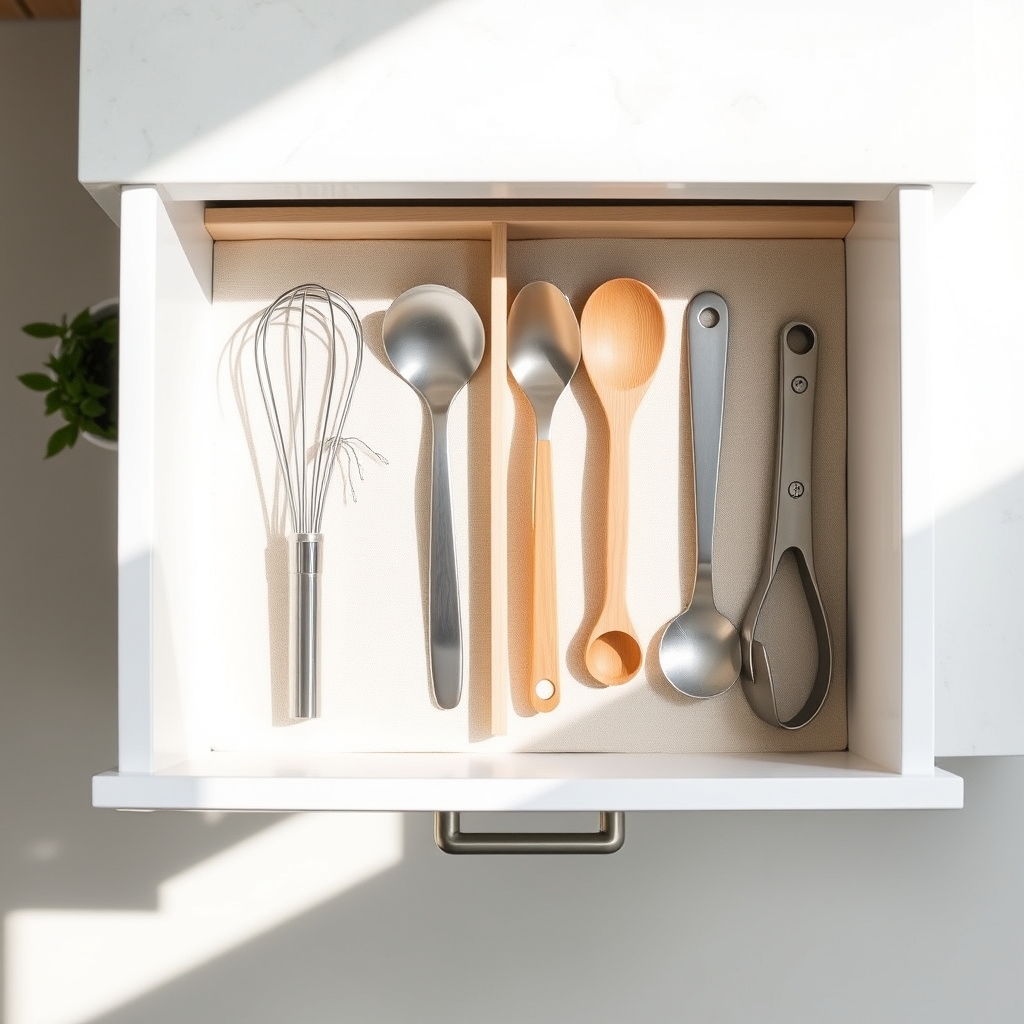
A cluttered kitchen utensil drawer creates unnecessary stress and wastes valuable time during meal preparation. When drawers are overstuffed with redundant or rarely-used tools, finding the right utensil becomes a daily challenge that can disrupt cooking flow and diminish the joy of creating meals.
Maintaining a well-organized drawer with only essential tools transforms kitchen efficiency and creates a more pleasant cooking experience. By carefully selecting and keeping only the most frequently used items, you’ll maximize drawer space while ensuring every tool serves a clear purpose in your cooking routine.
Tools Needed:
- Large sorting surface or table
- Clean containers for sorting
- Drawer liner
- Drawer dividers or organizers
- Cleaning cloth
- Label maker (optional)
- Storage boxes for seasonal items
- Trash bag
Empty the entire drawer and sort items into three distinct categories: frequently used (daily/weekly), occasionally used (monthly/seasonal), and rarely/never used.
Clean the drawer thoroughly while empty. Evaluate each utensil‘s condition and purpose, immediately discarding damaged items or duplicates. Keep only the highest quality version of each essential tool.
Consider your cooking habits and keep items that align with your actual cooking style rather than aspirational cooking plans. If an item hasn’t been used in six months, seriously consider removing it from the primary drawer.
Store seasonal items (like cookie cutters or specialty serving pieces) in clearly labeled boxes elsewhere. For items used multiple times daily, ensure they’re placed in the most accessible spots within the drawer.
Install drawer organizers to maintain designated spaces for different utensil types.
Additional Tip: Implement a one-in-one-out rule moving forward. When acquiring new kitchen tools, identify which existing item will be removed to maintain the decluttered state.
Review the drawer’s contents every three months to ensure only essential tools remain and adjust organization as your cooking needs evolve.
Create Custom Drawer Inserts
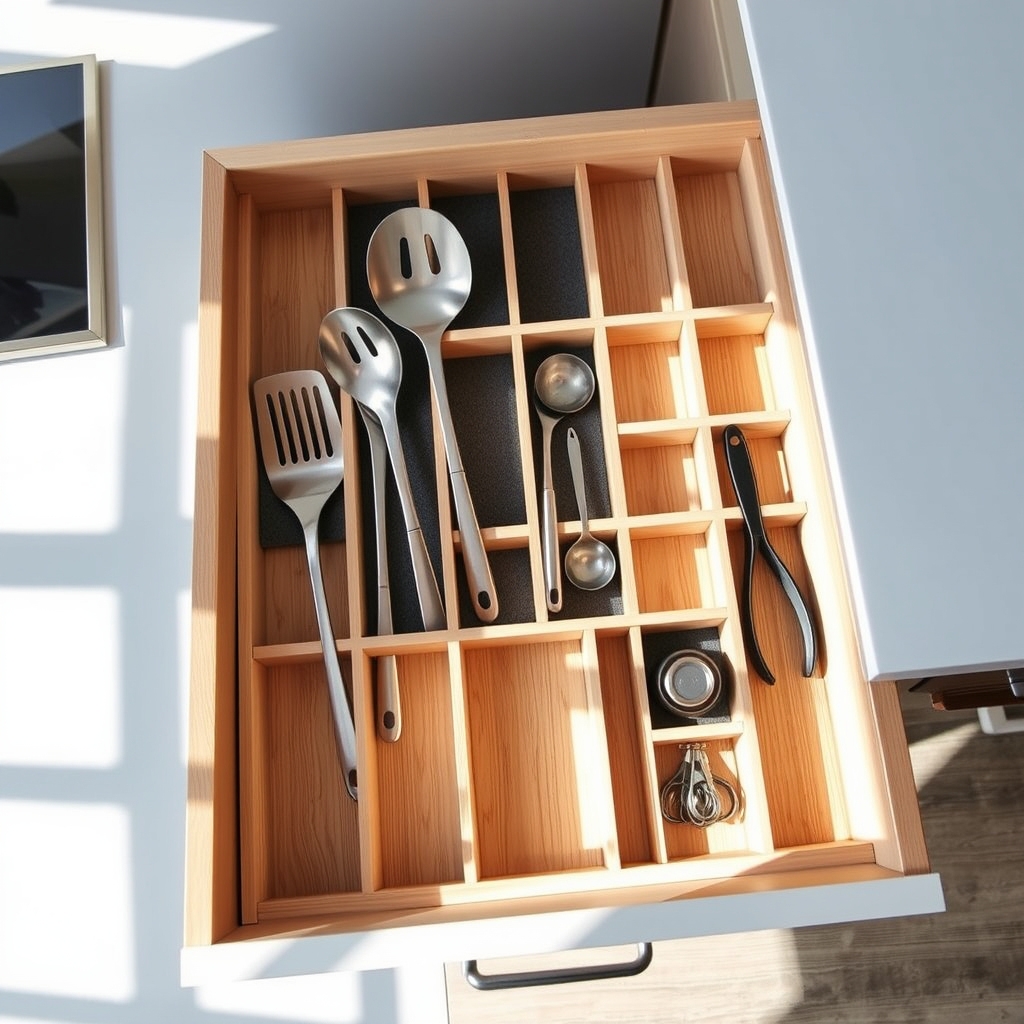
A well-organized utensil drawer is the cornerstone of an efficient kitchen, saving precious minutes during meal preparation and reducing frustration when searching for specific tools.
Custom drawer inserts take this organization to the next level by creating dedicated spaces perfectly sized for your unique collection of kitchen tools.
Custom drawer inserts transform chaotic, jumbled drawers into streamlined storage solutions that protect your utensils while maximizing every inch of available space.
Unlike pre-made organizers, custom inserts can be tailored to accommodate oddly-shaped tools and specialty items that might otherwise become tangled or damaged in standard dividers.
Required Items:
- Measuring tape
- Cardboard or thin wood
- Pencil
- Ruler
- Utility knife or saw
- Wood glue (if using wood)
- Heavy-duty tape (if using cardboard)
- Felt or liner material
- Scissors
- Your kitchen utensils
Begin by removing everything from the drawer and measuring its interior dimensions, including depth.
Create a rough sketch of your ideal layout, grouping similar items together and allowing adequate space for each utensil.
Cut your chosen material (cardboard or wood) to create dividers that match your planned layout, ensuring they’re slightly shorter than the drawer’s depth for smooth operation.
Test-fit the dividers before securing them with glue or tape, making adjustments as needed for perfect fit and functionality.
Add felt or liner material to the bottom of each compartment and along divider edges to prevent scratching and reduce noise.
Place utensils in their designated spaces, adjusting compartment sizes if necessary before final assembly.
For wooden inserts, consider adding a protective finish to guard against moisture.
Additional Tips:
Paint or cover the dividers with washable contact paper for easy cleaning and a polished look.
Create removable inserts for flexibility and easier drawer cleaning.
Label the compartments underneath the utensils to maintain organization when items are removed.
Consider leaving some extra space for future additions to your kitchen tool collection, and review the layout periodically to ensure it continues to meet your needs.
Implement the One-Layer Rule
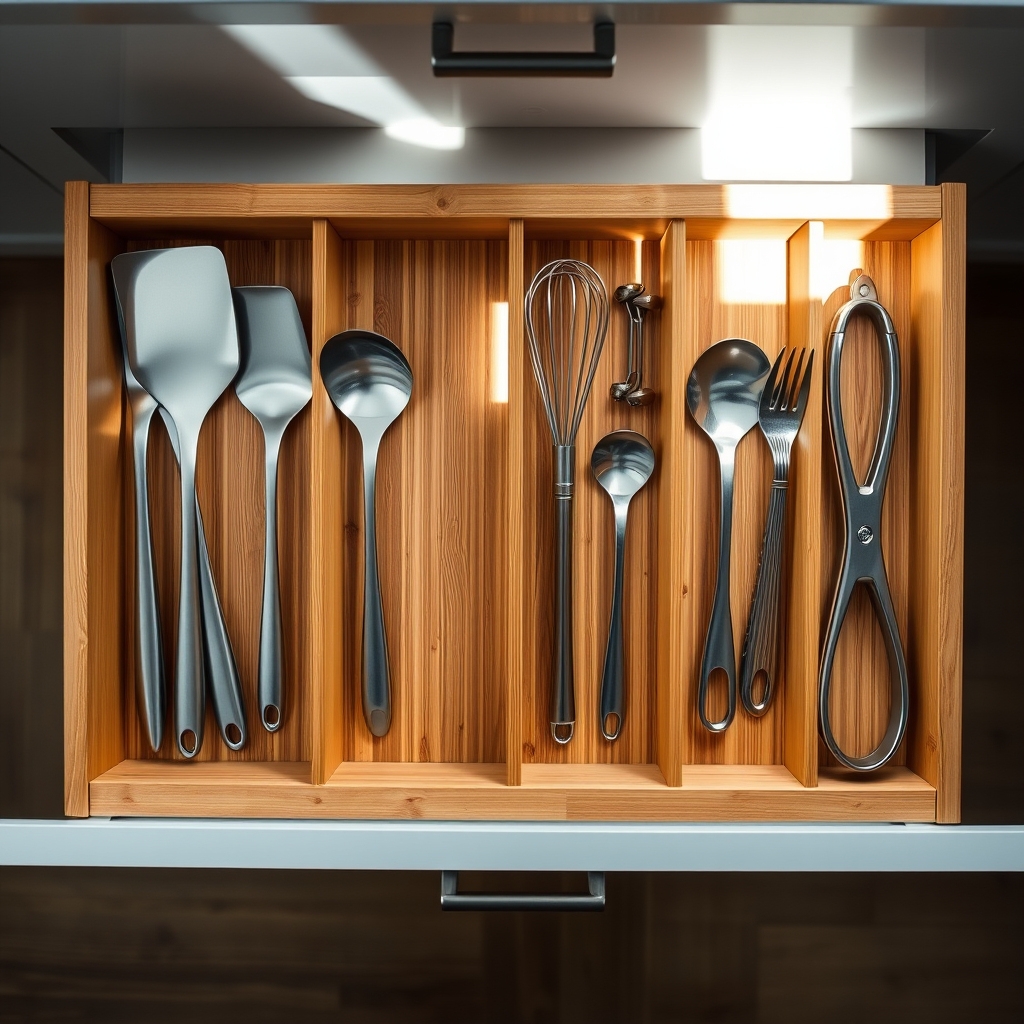
A cluttered utensil drawer can turn simple meal preparation into a frustrating treasure hunt, wasting precious time and creating unnecessary stress in the kitchen. The one-layer rule is a fundamental principle of drawer organization that ensures every item is visible and accessible at a glance, eliminating the need to dig through multiple layers of tools.
When utensils are stacked on top of each other, frequently used items often get buried beneath rarely used ones, creating inefficiency and disorder. By implementing the one-layer rule, you create a system where every utensil has its designated spot, making it easier to maintain organization long-term and quickly locate needed items during cooking.
Required Items:
- Drawer dividers or organizers
- Measuring tape
- Labels (optional)
- Drawer liner material
- Container for overflow items
- Cleaning supplies
- Sorting bins for temporary use
Start by removing everything from the drawer and thoroughly cleaning the space. Measure the drawer’s dimensions and install appropriate drawer dividers or organizers that will accommodate your most-used utensils in a single layer.
Sort through all utensils, keeping only those that are regularly used and in good condition. Position frequently used items toward the front of the drawer and arrange similar items together, such as measuring tools, stirring implements, and serving pieces.
Place each utensil in its designated section, ensuring handles face the same direction for uniformity. If certain utensils don’t fit within the one-layer system, consider relocating them to another storage area or evaluating whether they’re truly necessary. The goal is to maintain a single layer where every item is visible and easily accessible without moving other tools.
To maintain the one-layer system effectively, regularly assess the drawer’s contents and remove any items that begin to stack up. Consider implementing a “one-in-one-out” rule when acquiring new utensils, and periodically rotate seasonal items to maintain the single-layer organization.
Using drawer liners can prevent items from sliding around and help maintain the established arrangement during drawer opening and closing.
Label Sections for Quick Identification
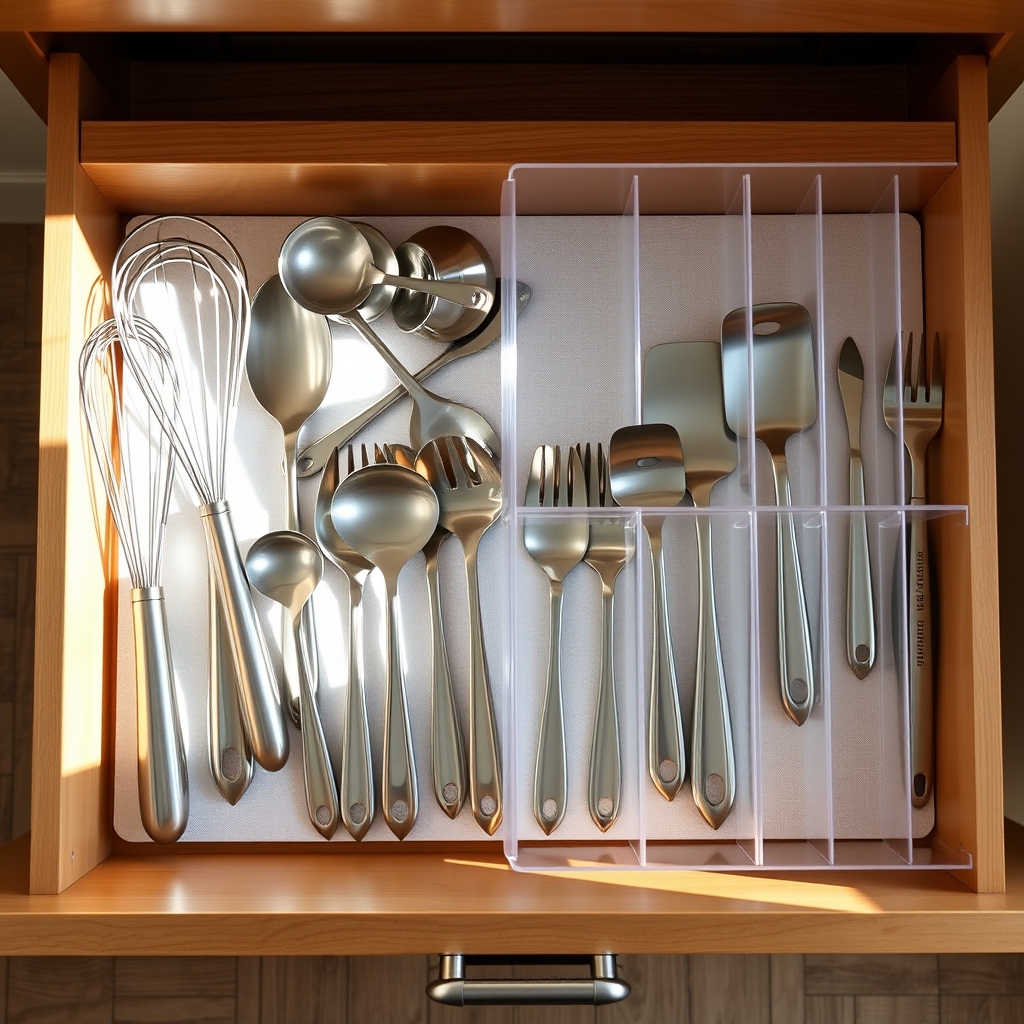
Organizing kitchen drawers with clear labels is a fundamental step in creating an efficient cooking space. When every utensil has a designated spot marked by easy-to-read labels, cooking becomes more streamlined, and maintaining order becomes second nature.
Proper labeling not only helps you locate items quickly but also ensures that other household members can participate in maintaining the organization system. This collaborative approach reduces the frustration of searching for tools and makes it easier to return items to their proper places after cleaning.
Required Items:
- Label maker or waterproof labels
- Clear drawer dividers or organizers
- Measuring tape
- Pencil and paper
- Scissors
- Clear adhesive tape
- Drawer liner (optional)
- Cleaning supplies
Start by removing all items from the drawer and grouping similar utensils together. Measure the drawer’s dimensions and install appropriate dividers or organizers to create distinct sections.
Consider the natural workflow of your kitchen when deciding where each category should go – frequently used items should be most accessible.
Create clear, legible labels for each section using categories like “Measuring,” “Serving,” “Prep Tools,” or specific items like “Spatulas” or “Whisks.” Ensure labels are placed where they’re easily visible when opening the drawer. If using a label maker, select a font size that’s readable from a standing position.
For optimal organization maintenance, periodically review the labeled sections to ensure they still match your kitchen needs and workflow. Consider using symbols or color coding in addition to text labels for quick visual recognition.
If drawer dividers shift frequently, secure labels to the drawer’s edges rather than the dividers themselves to maintain consistent identification points.
Maintain Regular Drawer Cleaning Schedule
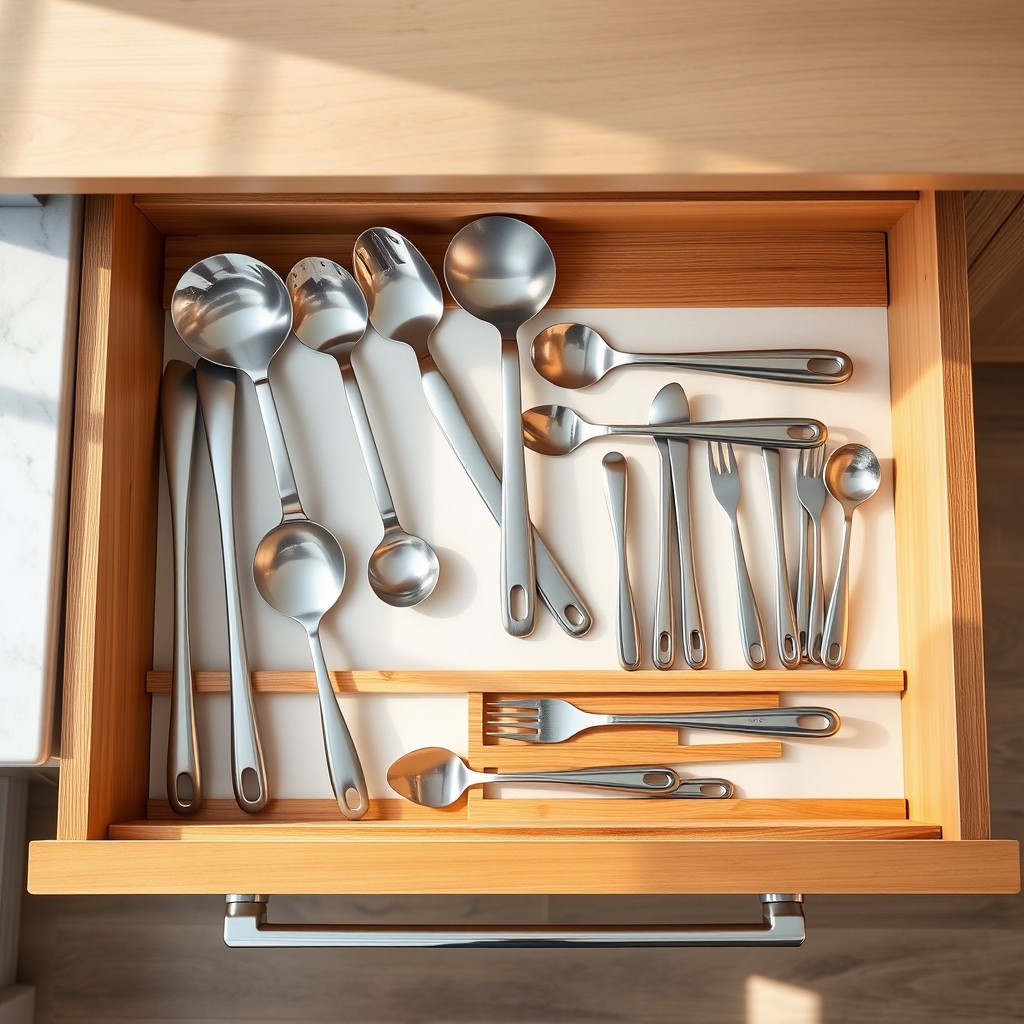
A clean, well-maintained utensil drawer is essential for maintaining kitchen hygiene and preventing cross-contamination during food preparation. Crumbs, food particles, and general debris can accumulate quickly in these frequently accessed spaces, potentially harboring bacteria and attracting unwanted pests.
Regular drawer cleaning not only ensures a more sanitary cooking environment but also extends the life of your utensils by preventing rust and deterioration. When drawers are consistently cleaned, it becomes easier to maintain organization systems and quickly locate needed items during meal preparation.
Required Items:
- Vacuum with attachment
- All-purpose cleaner
- Microfiber cloths
- Small brush or old toothbrush
- Drawer liner material
- Container for temporary utensil storage
- Paper towels
- Warm water
- Dish soap
- Drawer organizers or dividers
Remove all utensils from the drawer and place them in a temporary container. Vacuum the drawer thoroughly using the appropriate attachment to remove loose debris and crumbs. Create a cleaning solution using warm water and dish soap, then wipe down the entire drawer interior with a microfiber cloth.
Pay special attention to corners and crevices using a small brush. Allow the drawer to dry completely before replacing the drawer liner and returning utensils to their designated spots.
When replacing items, take time to inspect each utensil for damage or wear. Wipe down organizers and dividers before returning them to the drawer. Consider implementing a rotation system for frequently used items to prevent wear in specific areas of the drawer liner.
To maintain optimal drawer cleanliness, schedule deep cleaning sessions every three months, with quick weekly wipe-downs. Install drawer liners that can be easily removed and cleaned, and consider using antimicrobial materials when possible.
Keep a small brush nearby for quick spot cleaning, and immediately address any spills or debris to prevent buildup.

