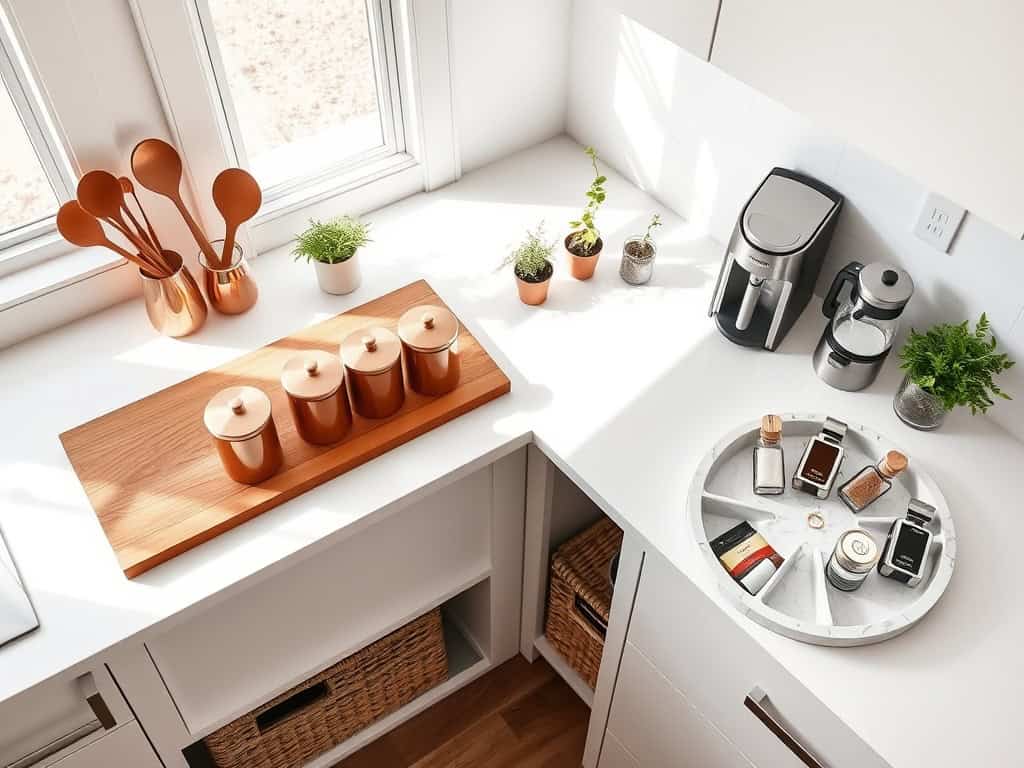
If you’re tired of cluttered kitchen counters that make cooking feel like a juggling act, you’re not alone! I’ve discovered that an organized countertop isn’t just about aesthetics—it’s your ticket to stress-free meal prep and a more enjoyable cooking experience. As someone who’s transformed countless chaotic kitchens into functional workspaces, I can tell you that the secret lies in eight simple but game-changing strategies. Let me show you how to reclaim your counter space and create the kitchen you’ve always wanted.
Clear the Counter Clutter: Keep Only Daily Essentials
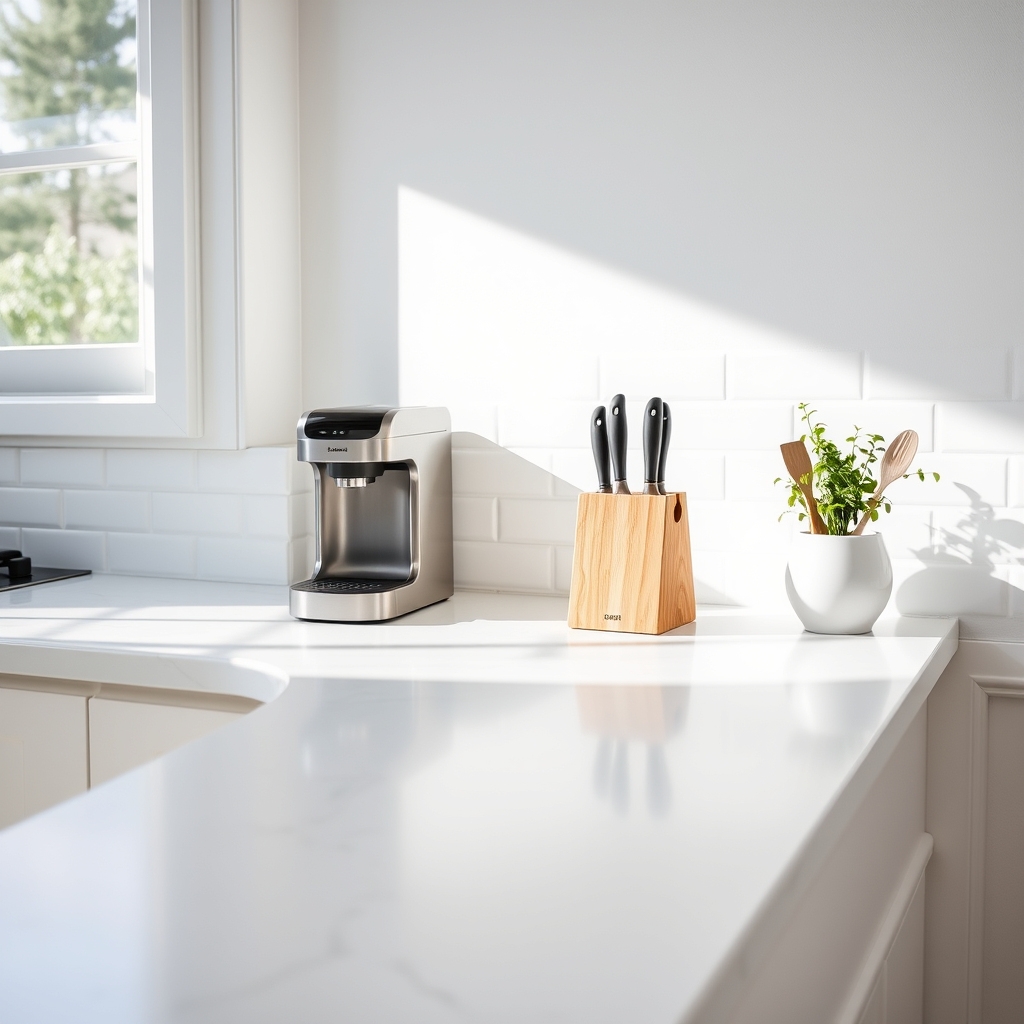
A clutter-free kitchen counter serves as the foundation for an efficient and inviting cooking space. When countertops become overcrowded with appliances, utensils, and miscellaneous items, it not only creates visual chaos but also significantly reduces valuable workspace for meal preparation and cooking tasks.
By maintaining only daily essentials on your countertops, you create a more streamlined workflow and eliminate the time spent shuffling items around to make space. This minimalist approach also makes cleaning easier, reduces stress, and transforms your kitchen into a more professional and welcoming environment.
Required Items:
- Storage containers
- Drawer organizers
- Cabinet shelf risers
- Labels
- Cleaning supplies
- Storage boxes
- Measuring tape
- Notepad and pen
Start by removing everything from your countertops and thoroughly cleaning the surface. Sort items into three categories: daily use, weekly use, and rarely used. Daily essentials typically include a coffee maker, knife block, and perhaps a stand mixer if you bake frequently.
Items used weekly or less should be stored in cabinets or pantry spaces. Create designated zones on your countertops based on your kitchen workflow – for example, a coffee station near the sink or a prep area near the stove. Install hooks under cabinets or use wall-mounted solutions to keep frequently used items accessible without consuming counter space.
Strategic placement of remaining items is crucial. Position daily-use appliances against the wall to maximize front counter space. Use corner spaces for items that don’t require frequent access. Consider vertical storage solutions or mounting options for items that could free up counter space while remaining easily accessible.
Additional Tips:
Establish a “one in, one out” rule for counter items to maintain organization. Regularly reassess what qualifies as a “daily essential” as your habits change. Create a cleaning routine to wipe down surfaces and evaluate counter items weekly.
Consider seasonal rotation of appliances and tools based on your cooking patterns, storing off-season items in cabinets or pantry spaces.
Zone Your Counter Space for Maximum Efficiency
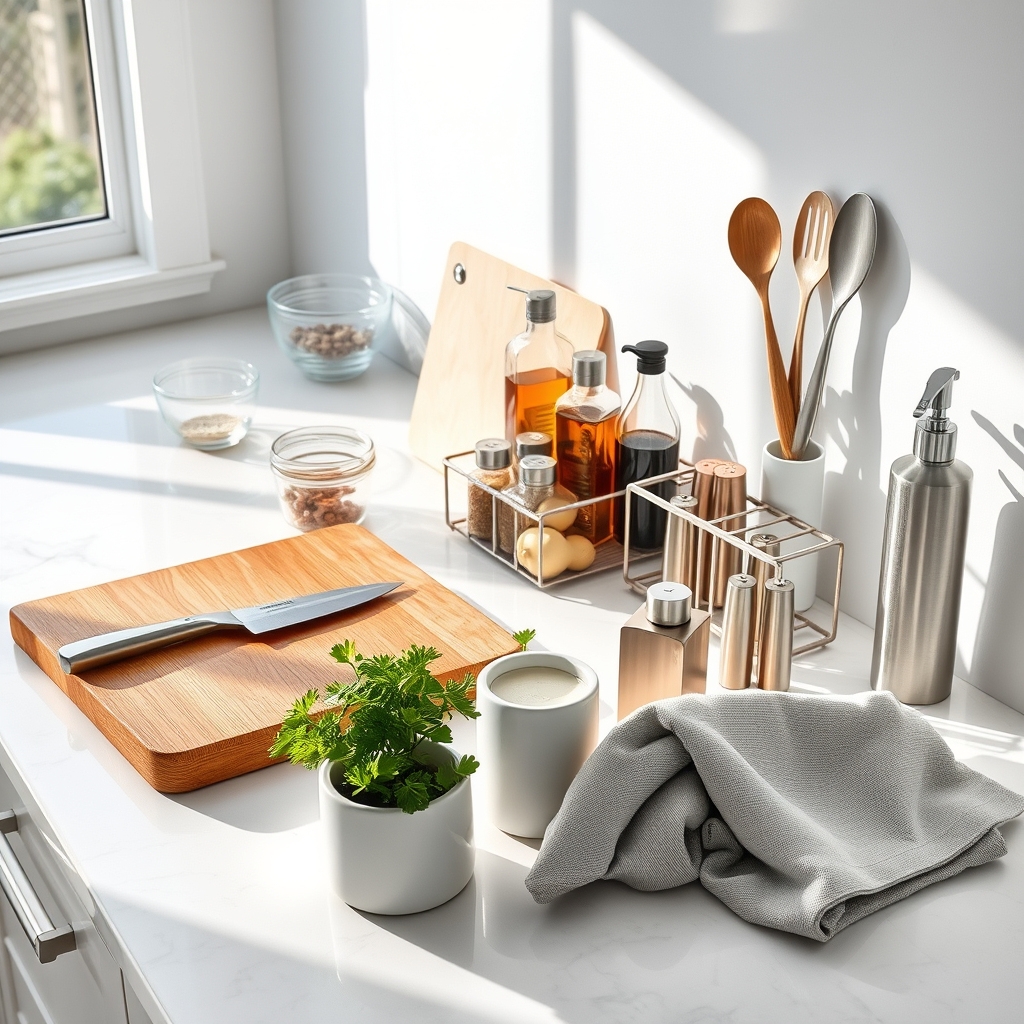
Counter space is one of the most valuable assets in any kitchen, serving as the primary work area for food preparation, small appliance storage, and temporary placement of cooking items. When counter space is properly zoned, it creates an efficient workflow that reduces preparation time and makes cooking more enjoyable.
Creating designated zones on your countertops transforms a chaotic kitchen into a well-oiled machine, where every task has its place and every tool is within reach. Proper zoning considers your cooking habits, the kitchen’s layout, and the natural flow between key areas like the sink, stove, and refrigerator.
Required Items:
- Cleaning supplies
- Storage containers
- Drawer organizers
- Small appliance risers
- Labels
- Measuring tape
- Paper and pen for planning
- Clear bins or trays
- Shelf liner (optional)
- Command hooks (optional)
Start by clearing all countertops completely and measuring each surface area. Draw a rough sketch of your kitchen layout and identify the three primary work zones: prep zone (near the refrigerator), cooking zone (near the stove), and cleaning zone (near the sink).
Assign counter space to each zone based on your cooking habits and the frequency of use. In the prep zone, create space for cutting boards, knives, and mixing bowls. The cooking zone should accommodate frequently used spices, oils, and cooking utensils. The cleaning zone needs space for dish soap, sponges, and a dish drying rack.
Place small appliances based on frequency of use, with daily-use items like coffee makers in easily accessible spots and occasional-use appliances stored in cabinets. For optimal organization maintenance, establish a “one-touch rule” where items are returned to their designated zones immediately after use.
Install vertical storage solutions like magnetic strips or wall-mounted racks to maximize counter space. Consider using corner shelves or risers to create additional levels of storage while maintaining a clean, uncluttered appearance. Regular evaluation and adjustment of your zones ensure the system continues to meet your evolving kitchen needs.
Utilize Vertical Storage Solutions
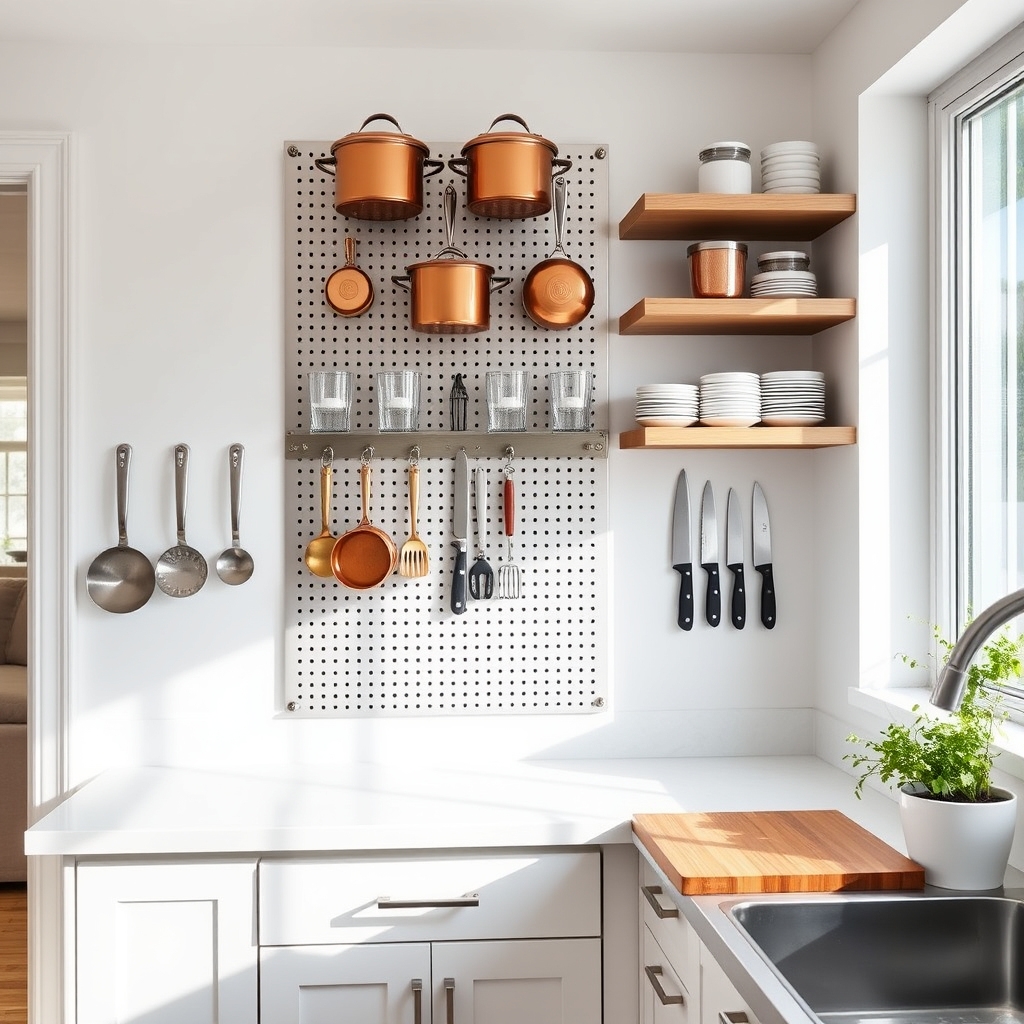
Making the most of vertical space in your kitchen is a game-changer for organization and accessibility. Traditional kitchen storage often focuses on horizontal spaces like countertops and cabinet shelves, leaving valuable wall space underutilized. By incorporating vertical storage solutions, you can dramatically increase your kitchen’s storage capacity while keeping frequently used items within easy reach.
Vertical storage is particularly beneficial in smaller kitchens where floor space is limited. This approach allows you to store more items in the same footprint while creating a more organized and visually appealing kitchen environment. Vertical solutions can transform awkward spaces into functional storage areas, making your kitchen more efficient and enjoyable to use.
Required Items:
- Wall-mounted shelving units
- Pegboards
- Command hooks or mounting hardware
- Magnetic knife strips
- Over-the-door organizers
- Tension rods
- Wire racks
- S-hooks
- Measuring tape
- Level
- Drill and screwdriver
- Wall anchors
Start by assessing your wall space and identifying prime locations for vertical storage. Focus on areas above countertops, unused wall sections, and the backs of cabinet doors. Install wall-mounted shelving units or pegboards at eye level for frequently used items, ensuring they’re properly secured with appropriate wall anchors.
Mount magnetic knife strips at a comfortable height for easy access while keeping sharp objects safely stored. For cabinet interiors, maximize vertical space by installing tension rods to store baking sheets and cutting boards upright. Add hooks or racks to cabinet doors for storing pot lids, measuring cups, or cleaning supplies.
Consider installing tiered shelving units or risers within cabinets to create multiple levels of storage, effectively doubling or tripling the usable space.
Additional Tips: Regularly evaluate the effectiveness of your vertical storage system and adjust as needed. Keep heavier items at lower heights for safety, and ensure frequently used items are easily accessible without requiring a step stool.
Consider using clear containers or labels to maintain organization, and periodically rotate items based on seasonal use or frequency of access. Remember to leave some open wall space to prevent the kitchen from feeling cluttered or overwhelming.
Choose Smart Appliance Placement
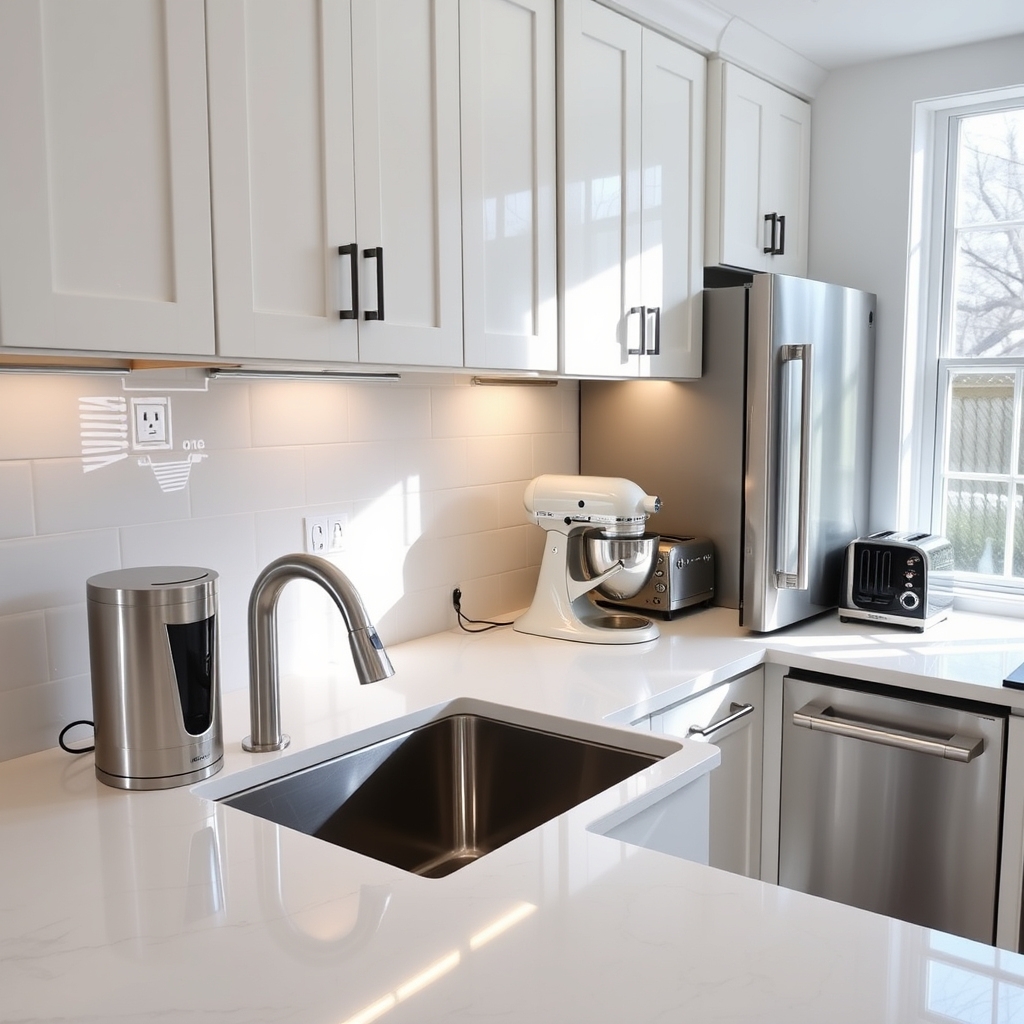
Smart appliance placement is crucial for creating an efficient and functional kitchen workspace. The strategic positioning of appliances can significantly reduce the time spent moving between cooking stations, minimize energy waste, and make food preparation more enjoyable.
Proper appliance placement also considers your kitchen’s workflow, ensuring frequently used items are easily accessible while keeping less-used appliances stored away. This organization method creates clearer countertops, reduces clutter, and maximizes the available space in your kitchen.
Required Items:
- Measuring tape
- Paper and pencil for planning
- Outlet tester
- Extension cords (if needed)
- Appliance manuals
- Cleaning supplies
- Storage containers or bins
- Labels
- Power strip surge protectors
Start by mapping your kitchen’s workflow triangle between the refrigerator, sink, and stove. Place frequently used appliances like the coffee maker and toaster within easy reach of their related zones – coffee maker near the sink for water access, toaster near the refrigerator for butter and spreads.
Position heavy appliances like stand mixers and food processors where they’ll be used most often, considering both their weight and cord length relative to available outlets.
Consider vertical space by installing under-cabinet appliances where possible, such as mounted microwaves or paper towel holders. Store seasonal or occasionally used appliances in cabinets or pantry spaces, keeping them accessible but not occupying prime counter real estate.
Ensure all appliances have proper ventilation space and aren’t placed too close to heat sources or water areas that could cause safety hazards.
Additional Tips: Document your appliance placement plan and test it for a week before making permanent changes. Mark outlet locations and voltage requirements for each appliance to prevent circuit overload.
Consider installing additional outlets or designated circuits for high-powered appliances if needed. Keep instruction manuals in a nearby drawer for quick reference, and implement a regular cleaning schedule to maintain the organization system.
Create Designated Prep Stations
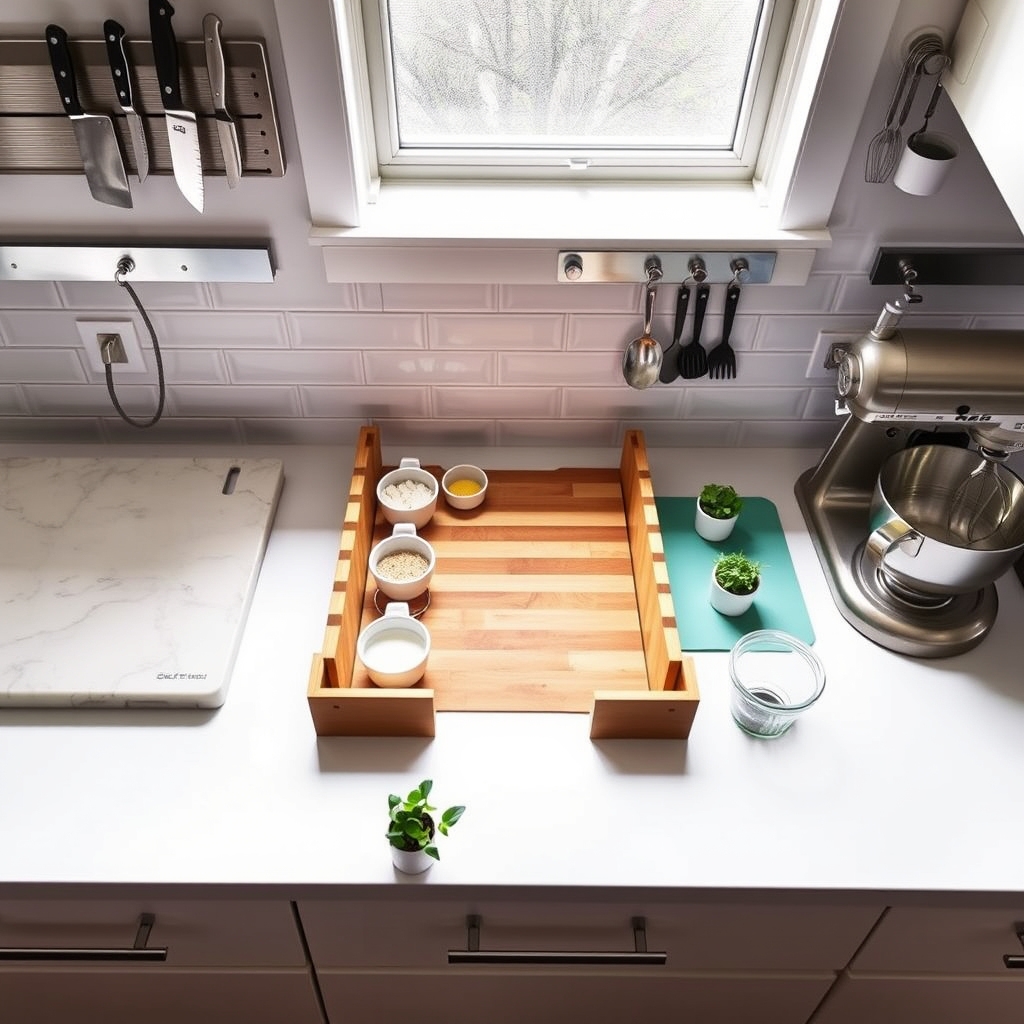
Well-organized prep stations are the backbone of an efficient kitchen, transforming cooking from a chaotic experience into a smooth, professional-style operation. Having dedicated areas for different preparation tasks eliminates cross-contamination risks and reduces the time spent searching for tools or ingredients.
Creating distinct zones for various cooking activities mirrors commercial kitchen practices, allowing home cooks to work more efficiently and maintain better food safety standards. Designated prep stations help maintain order during meal preparation and make cleanup faster and more systematic.
Required Items:
- Cutting boards (multiple)
- Counter mats or workspace protectors
- Storage containers
- Knife block or magnetic strip
- Small appliance organizers
- Drawer dividers
- Hook racks
- Anti-slip shelf liners
- Labels
- Sanitizing supplies
Start by identifying distinct zones based on your cooking habits – typically including areas for chopping vegetables, preparing meat, mixing ingredients, and assembling dishes. Clear all counter spaces and thoroughly clean surfaces before positioning equipment.
Install knife storage within arm’s reach of the cutting station, and arrange frequently used small appliances where they’re easily accessible but don’t crowd work surfaces. Position prep bowls and measuring tools in nearby drawers, using dividers to maintain organization.
Keep cleaning supplies readily available at each station to facilitate immediate cleanup. Install hooks or racks for hanging frequently used utensils, and use drawer organizers to sort tools by function.
Consider vertical storage solutions to maximize counter space, such as wall-mounted magnetic strips for knives or hanging racks for pots and pans. For optimal functionality, maintain a minimum of 24 inches of clear counter space at each prep station.
Store less frequently used items in cabinets or pantry spaces, keeping only essential tools at each station. Regularly sanitize work surfaces and evaluate the efficiency of your setup, adjusting the arrangement as needed to better suit your cooking style and habits.
Add Stylish Storage Containers and Canisters

Storage containers and canisters serve as both functional organizers and decorative elements in any kitchen. They transform cluttered pantry items, dry goods, and frequently used ingredients into an aesthetically pleasing display while keeping contents fresh and easily accessible.
A well-planned container system can significantly reduce packaging waste and create a more streamlined kitchen environment. When dry goods and pantry items are stored in matching or coordinating containers, they create visual harmony and make it easier to monitor inventory levels at a glance.
Professional-looking storage solutions also encourage better organization habits and can inspire more frequent cooking as ingredients become more visible and accessible.
Required Items:
- Glass or plastic storage containers in various sizes
- Airtight canisters
- Labels and label maker
- Measuring cups
- Funnel
- Clean cloth or paper towels
- Food-grade scoop or spoons
- Container cleaning brush
- Moisture absorbers (optional)
Start by assessing your pantry items and determining which goods you use most frequently. Select appropriately sized containers that will accommodate the volume of each item while leaving some headspace for scooping.
Transfer dry goods into the containers using a funnel to prevent spills, ensuring each container is completely clean and dry beforehand. Label each container clearly with the contents and expiration date.
Arrange containers by category, keeping baking items together, breakfast items in one section, and snacks in another. Position frequently used items at eye level and in easily accessible locations.
Consider using square or rectangular containers rather than round ones to maximize space efficiency. Stack containers when possible, but ensure that all labels remain visible.
For optimal organization maintenance, establish a routine of checking container seals monthly and cleaning them thoroughly between refills. Consider keeping a small inventory list noting when items need to be replenished, and always transfer the oldest products to new containers first to maintain proper rotation.
Installing under-cabinet lighting can enhance visibility and showcase your newly organized storage system while making it easier to locate items quickly.
Maintain a Regular Counter Cleanup Routine
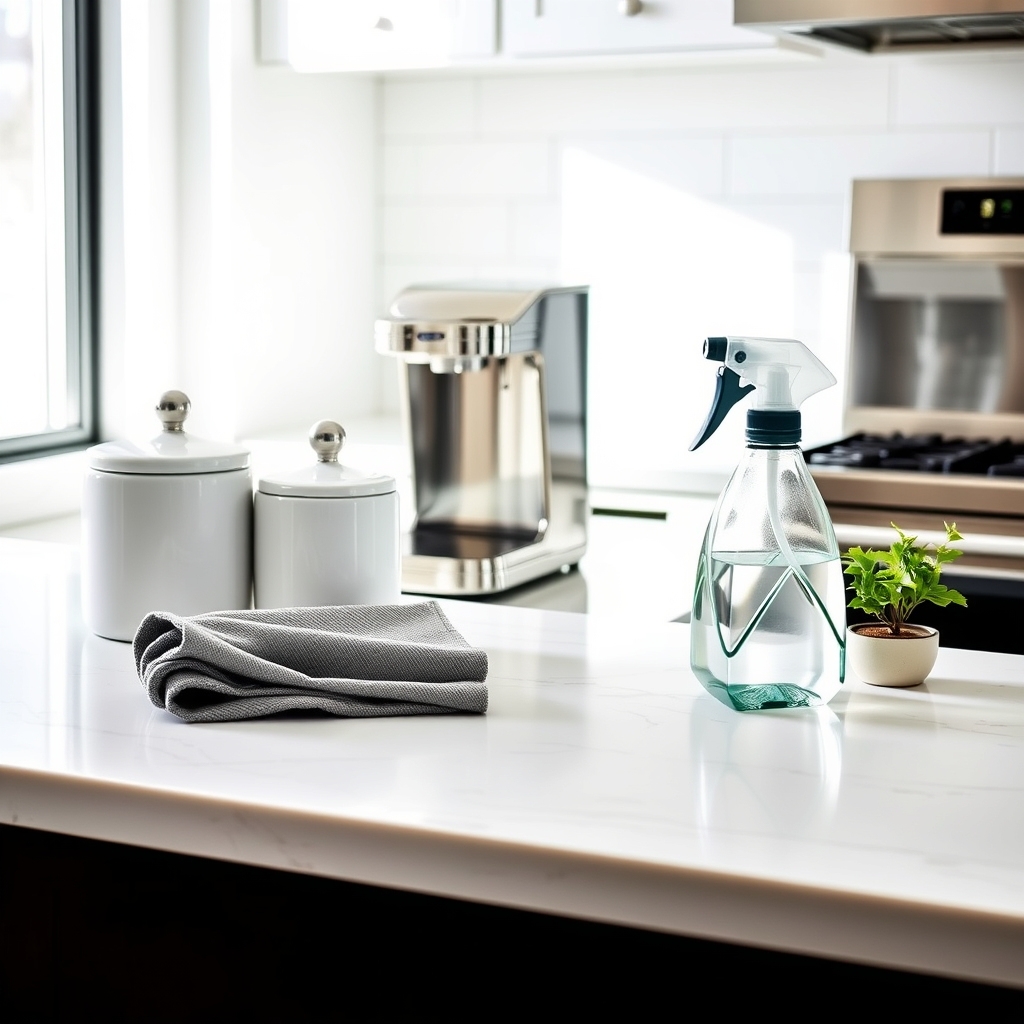
A well-maintained kitchen counter is the cornerstone of an efficient cooking space. Clean, organized counters not only create a more inviting atmosphere but also provide the necessary workspace for meal preparation and ensure food safety standards are met. Regular counter maintenance prevents the accumulation of clutter, reduces the risk of cross-contamination, and makes the entire kitchen more functional.
Establishing a consistent counter cleanup routine transforms the way you interact with your kitchen space. When counters are regularly maintained, cooking becomes more enjoyable, cleaning tasks become less overwhelming, and you’re more likely to maintain the organization long-term. This systematic approach to counter maintenance also helps identify which items truly deserve precious counter space.
Required Items:
- All-purpose cleaner
- Microfiber cloths
- Disinfectant spray
- Small organizing bins
- Labels
- Paper towels
- Storage containers
- Cleaning caddy
- Declutter box
The counter cleanup routine begins with a daily reset: clear all items from the counters and wipe down surfaces thoroughly with an all-purpose cleaner. Sort items into three categories: frequently used items that deserve counter space, items that need storage elsewhere, and items to be discarded.
Create designated zones on your counters for essential items, such as a coffee station or prep area. Position frequently used items within easy reach while maintaining clear workspace areas. Establish a “one-touch” rule where items are immediately returned to their designated spots after use.
Remember to maintain the momentum of your organized counters by implementing a nightly cleanup routine, wiping down surfaces after each meal preparation, and regularly reassessing which items truly need to remain on the counter. Keep cleaning supplies easily accessible, and consider using drawer organizers or wall-mounted solutions to free up additional counter space for essential tasks.
Implement the One-In-One-Out Organization Rule
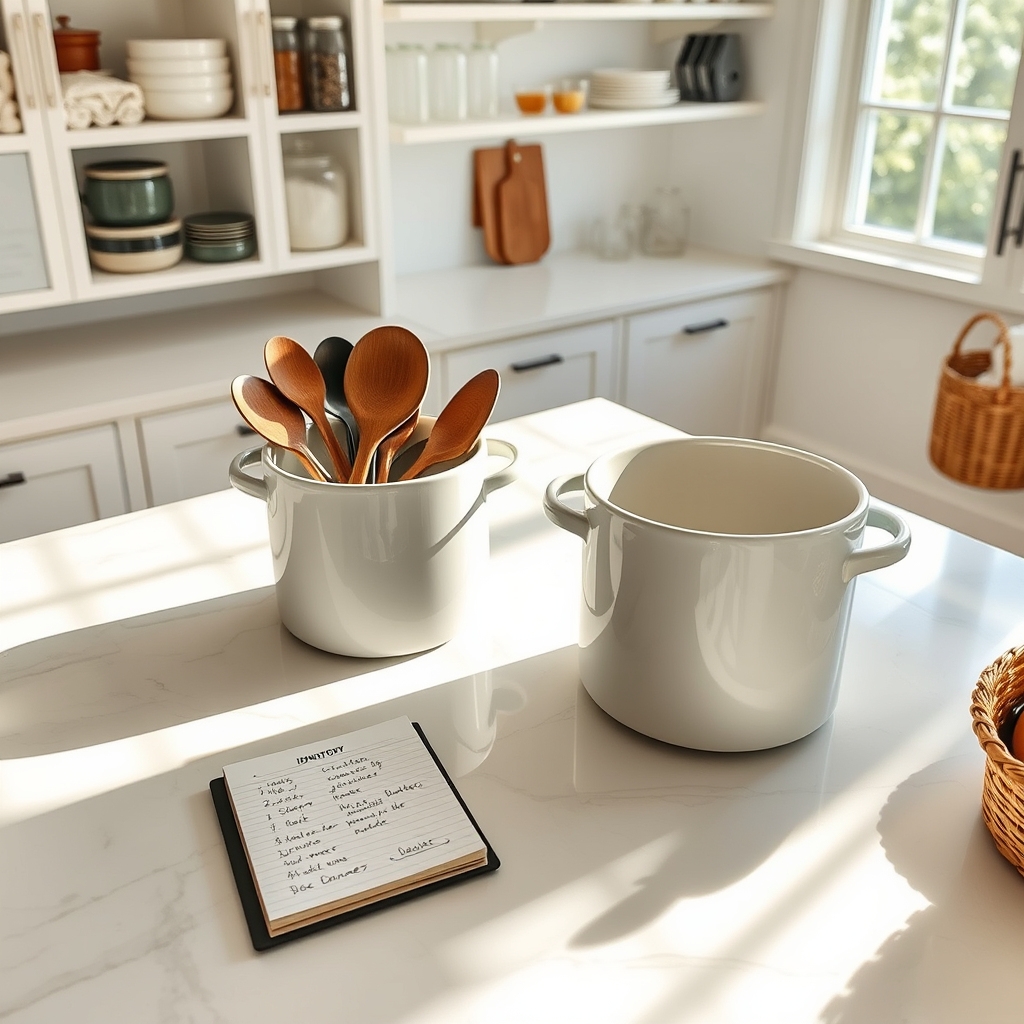
The one-in-one-out rule stands as a fundamental principle of kitchen organization, helping prevent the common problem of overcrowded cabinets, drawers, and countertops. This simple yet effective approach ensures your kitchen maintains a manageable inventory of items while preventing the accumulation of unnecessary duplicates and rarely used gadgets.
By implementing this organizational system, you create a sustainable way to maintain order in your kitchen while making thoughtful decisions about new purchases. The rule forces you to evaluate the true utility of each item and helps prevent impulse buying, ultimately leading to a more functional and clutter-free cooking space.
Required Items:
- Donation box
- Trash bin
- Recycling container
- Inventory notepad
- Marker or pen
- Storage containers
- Labels
- Cleaning supplies
To implement the one-in-one-out rule, start by conducting a thorough inventory of your kitchen items, categorizing them by type and frequency of use. When considering a new purchase, identify which existing item it will replace. Before bringing the new item into your kitchen, remove its counterpart by either donating, selling, or disposing of it properly.
Create a designated space for the incoming item, ensuring it serves a specific purpose and fits within your established organization system. Document your kitchen inventory in a simple list or digital note, including the date when items were brought in and which items were removed. This tracking system helps maintain accountability and prevents unconscious accumulation of duplicate items.
When shopping, carry this inventory list to avoid purchasing items you already own and to make mindful decisions about potential replacements.
Additional Success Tips: Set aside time monthly to review your kitchen inventory and assess whether the one-in-one-out rule is being maintained effectively. Consider implementing a waiting period before making new purchases to ensure they’re necessary rather than impulsive.
Create a designated “holding zone” for items you’re considering removing, allowing you to test whether you truly need them before making final decisions.

