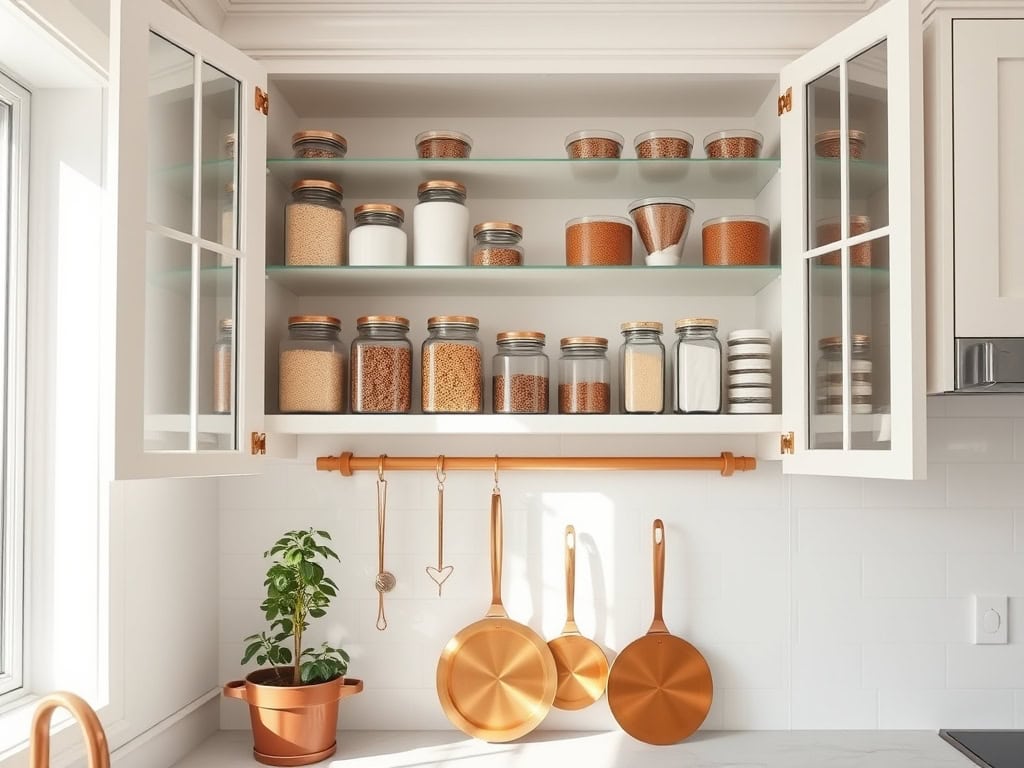
Did you know that the average person spends over 400 hours per year in their kitchen? Yet most of us struggle with cluttered, disorganized cabinets that make cooking feel like a scavenger hunt. I’ve transformed countless chaotic kitchens into efficient workspaces, and I’ve learned that the right cabinet organization strategies can save you hours of frustration. Let me share seven game-changing ideas that’ll help you reclaim your kitchen’s potential and make meal prep a breeze.
Install Pull-Out Drawer Systems
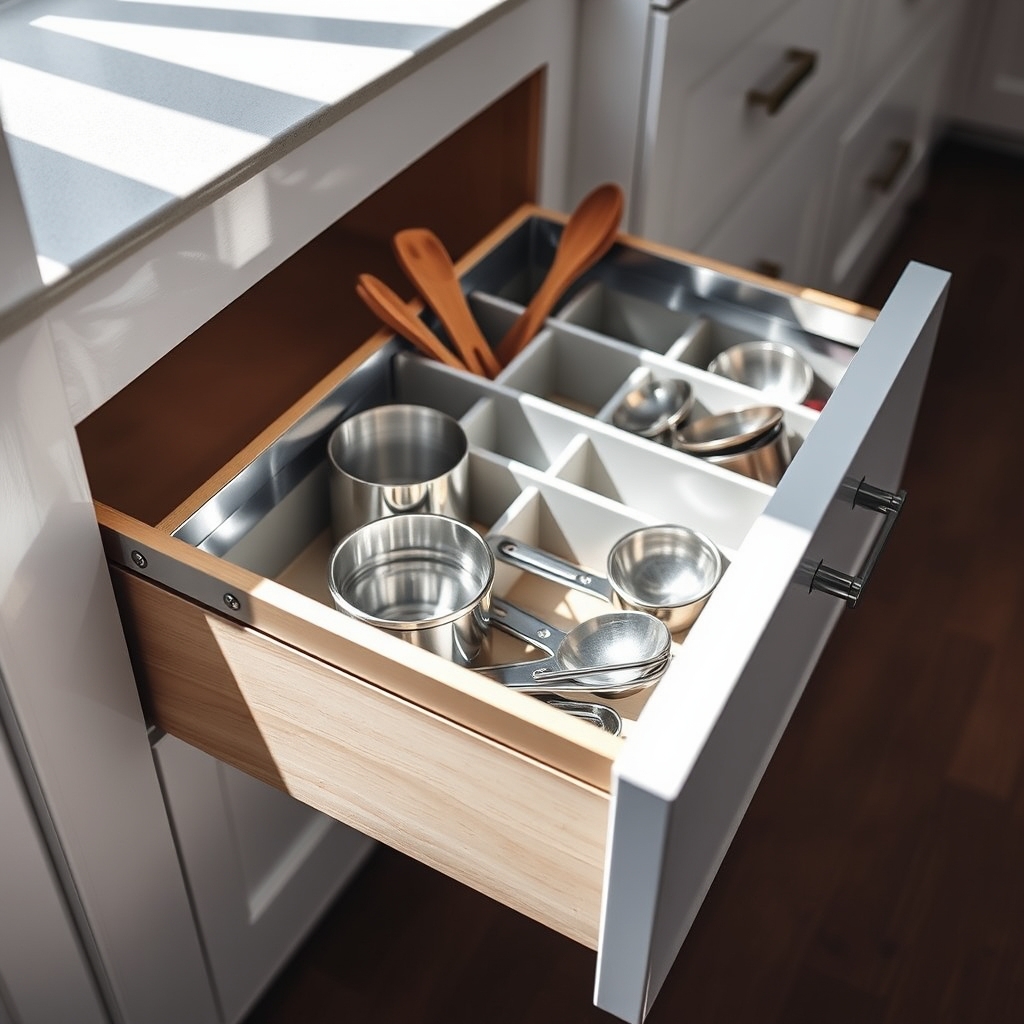
Pull-out drawer systems represent one of the most transformative upgrades you can make to your kitchen storage. These systems eliminate the frustration of reaching into deep cabinets or struggling to access items tucked away in back corners, turning previously awkward spaces into highly functional storage areas.
By converting traditional cabinets into pull-out drawers, you create easy access to all your kitchen items while maximizing every inch of available space. This organization method not only improves visibility of stored items but also prevents items from getting lost or forgotten in hard-to-reach places, ultimately saving time and reducing waste.
Required Items:
- Pull-out drawer kits
- Measuring tape
- Screwdriver
- Power drill
- Level
- Pencil
- Cabinet hardware
- Drawer slides
- Wood screws
- Drawer organizers
- Labels (optional)
Installation begins with measuring your cabinet interiors carefully, accounting for both width and depth to ensure proper fit of the pull-out systems. Remove existing shelving and hardware, then install the drawer slides according to the manufacturer’s specifications, ensuring they’re level and properly secured.
Mount the drawer boxes onto the slides, testing the movement to confirm smooth operation. Create zones within each drawer based on item categories – for example, dedicating one drawer to baking supplies and another to cooking utensils.
For maximum organization effectiveness, install drawer dividers or organizers within each pull-out unit. Position frequently used items in the most accessible drawers, while placing lesser-used items in lower or harder-to-reach spaces.
Consider the weight capacity of each drawer system when deciding what to store, and always distribute weight evenly to prevent strain on the hardware.
To maintain your newly organized pull-out system, regularly clean the drawer slides and check hardware tightness every few months. Consider adding rubber liner material to prevent items from sliding around, and label the front of each drawer if multiple family members use the kitchen.
Remember to measure items before purchasing to ensure they’ll fit within the drawer dimensions, and always leave some space for future additions to your kitchen inventory.
Utilize Door-Mounted Storage Solutions
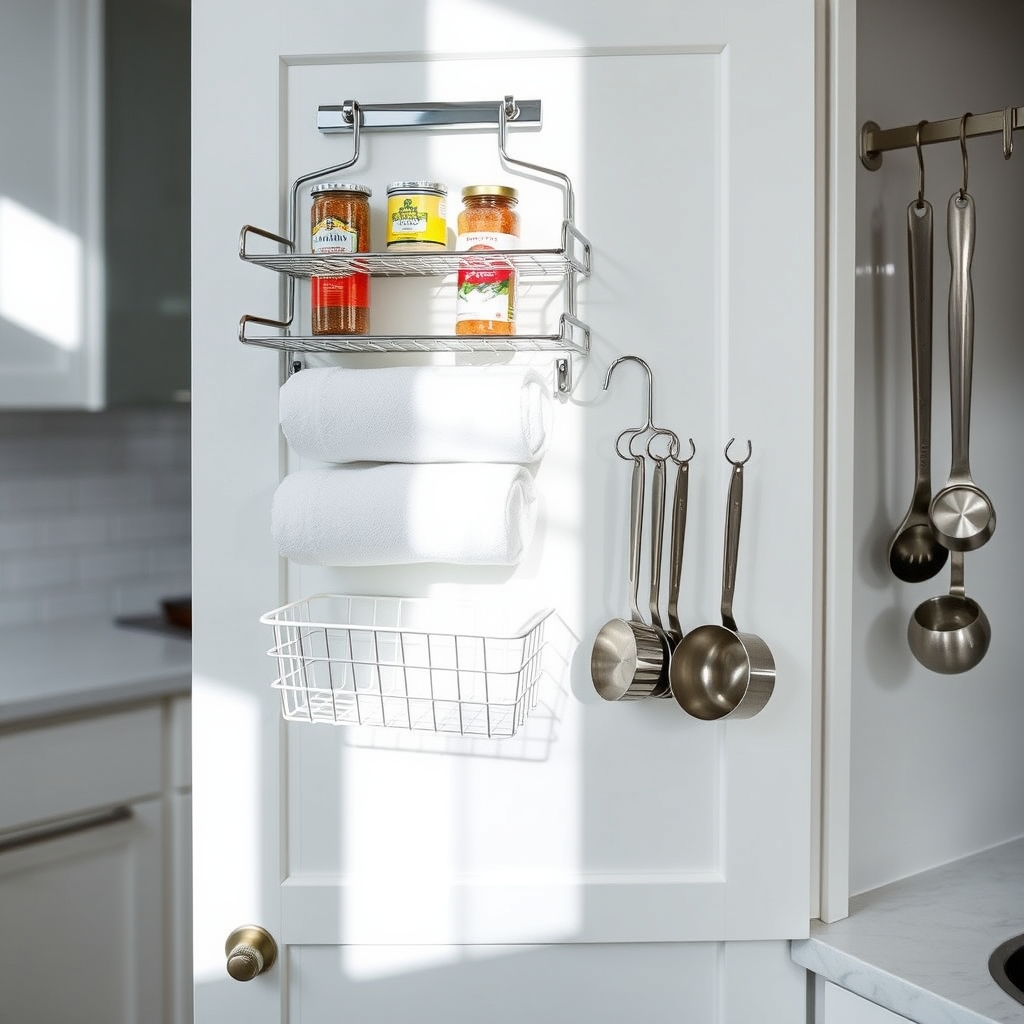
Making the most of vertical space in your kitchen is essential for maximizing storage capacity, and cabinet doors represent a largely untapped storage opportunity. Door-mounted storage solutions can transform these overlooked surfaces into valuable organizational spaces, perfect for storing spices, cleaning supplies, pot lids, or cooking utensils.
Door-mounted organizers not only help declutter countertops and cabinets but also make items more accessible during food preparation. This storage method is particularly valuable in smaller kitchens where every inch of space counts, and it helps maintain a cleaner, more organized kitchen environment by keeping frequently used items within easy reach.
Required Items:
- Over-the-door organizers
- Cabinet door hooks
- Adhesive mounting strips
- Measuring tape
- Screwdriver
- Door-mounted racks
- Command hooks
- Basket organizers
- Mounting hardware
- Level
First, measure the interior dimensions of your cabinet doors, including width and height, to ensure proper fit of organizers. Remove cabinet doors if necessary and clean surfaces thoroughly before installation.
Install door-mounted organizers using appropriate mounting hardware, ensuring they don’t interfere with cabinet contents when doors close. Position racks at comfortable heights for easy access, typically placing frequently used items at eye level.
For optimal organization, group similar items together in designated door organizers. Store cleaning supplies on one door, cooking utensils on another, and spices on a third. Ensure all mounted items are secured properly and test door closure several times to confirm nothing catches or prevents proper closing. Adjust positions as needed to achieve the perfect balance of accessibility and functionality.
Additional Tip: Consider the weight capacity of both your door-mounted organizers and cabinet hinges before loading them with items. Distribute weight evenly across multiple doors rather than overloading a single door, and periodically check mounting hardware for security. Regular maintenance will ensure your door-mounted storage solution remains effective and safe for long-term use.
Group Items by Zones and Categories
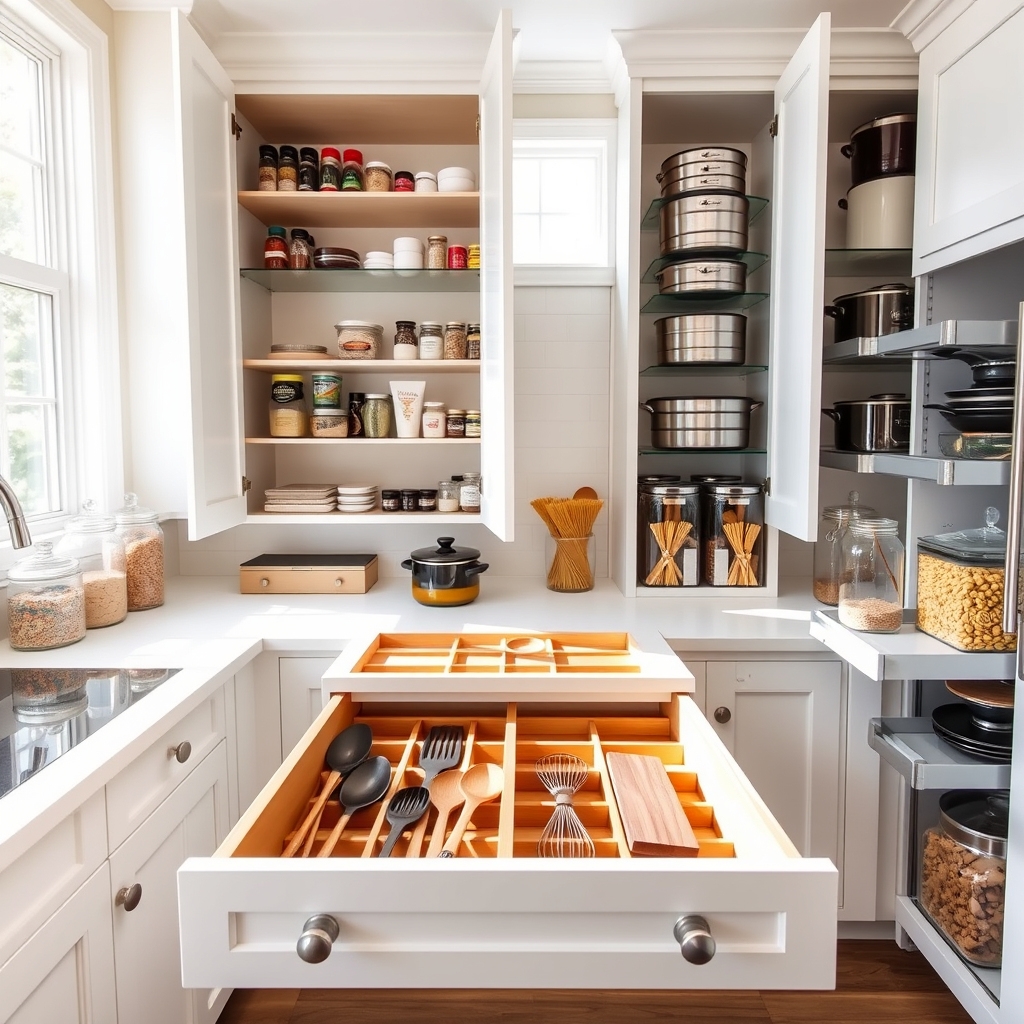
Creating designated zones and categories in your kitchen is fundamental to establishing an efficient and functional cooking space. When items are thoughtfully grouped together based on their use and purpose, you can significantly reduce the time spent searching for tools and ingredients while cooking.
Organizing by zones and categories transforms your kitchen into a professional-grade workspace where everything has its place. This system mirrors commercial kitchen layouts, where efficiency is paramount, and brings that same level of organization to your home kitchen.
Required Items:
- Labels and label maker
- Storage containers
- Drawer dividers
- Cabinet organizers
- Measuring tape
- Notepad
- Clear bins
- Shelf risers
- Drawer liners
Start by identifying your kitchen’s main activity zones: cooking, food prep, cleaning, storage, and beverage making. Map out these areas based on your kitchen’s layout and workflow. Within each zone, create subcategories for items – for example, in the cooking zone, separate pots and pans from cooking utensils and baking sheets.
Place frequently used items at eye level or in easily accessible drawers. Assign specific cabinets and drawers to each category, keeping related items together. Store cooking utensils near the stove, food prep tools near the main counter space, and cleaning supplies under the sink.
Use drawer dividers and cabinet organizers to maintain separate sections for different categories of items. Label shelves and containers clearly to ensure items return to their designated spots.
Additional Tips: Regularly review and adjust your zones as your cooking habits change. Keep a “frequency of use” principle in mind – store daily-use items in prime real estate areas and relocate rarely-used items to higher shelves or deeper cabinet spaces.
Consider implementing a rotating system for seasonal items, storing them elsewhere when not in active use.
Maximize Vertical Space With Shelf Risers
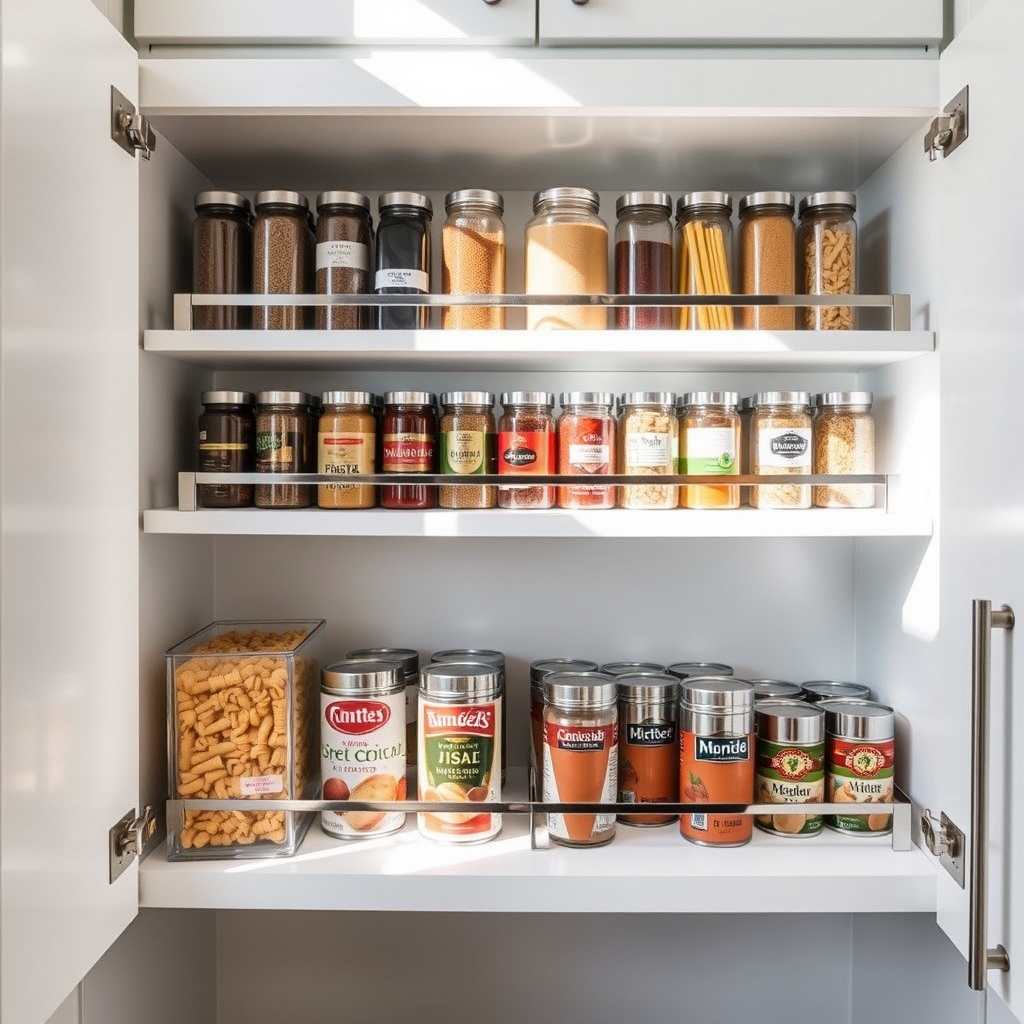
Vertical space is one of the most underutilized areas in kitchen cabinets and pantries, leading to cluttered surfaces and inefficient storage solutions. By implementing shelf risers, you can effectively double or triple your storage capacity while maintaining easy access to items that would otherwise be hidden behind others.
Shelf risers transform wasted vertical space into functional storage areas, creating distinct levels that prevent items from being stacked directly on top of each other. This organization method not only maximizes space but also makes it easier to locate and retrieve items quickly, reducing the frustration of having to move multiple items to reach what you need.
Required Items:
- Shelf risers (various sizes)
- Measuring tape
- Cabinet liner (non-slip)
- Labels (optional)
- Cleaning supplies
- Storage containers
- Paper and pen for inventory
Start by removing all items from the target cabinet or shelf space and measuring the available height, width, and depth. Select appropriate shelf risers that fit within these dimensions, leaving enough clearance for items to be placed and removed easily.
Place non-slip liner on both the original shelf and the riser surfaces to prevent sliding. Arrange shelf risers strategically based on the height of items you plan to store. Taller items should be placed in areas with more vertical clearance, while shorter items can be stored on or under the risers.
Group similar items together, such as placing all canned goods on one level and boxed items on another. Consider using clear storage containers for loose items to maintain visibility and organization.
For optimal results, regularly assess and adjust your shelf riser arrangement as your storage needs change. Keep frequently used items at eye level or in easily accessible spots.
Consider adding labels to shelf edges to maintain organization and make it easier for family members to return items to their designated spots. Clean risers and surfaces periodically to prevent dust accumulation and maintain a hygienic storage environment.
Add Clear Storage Containers and Labels
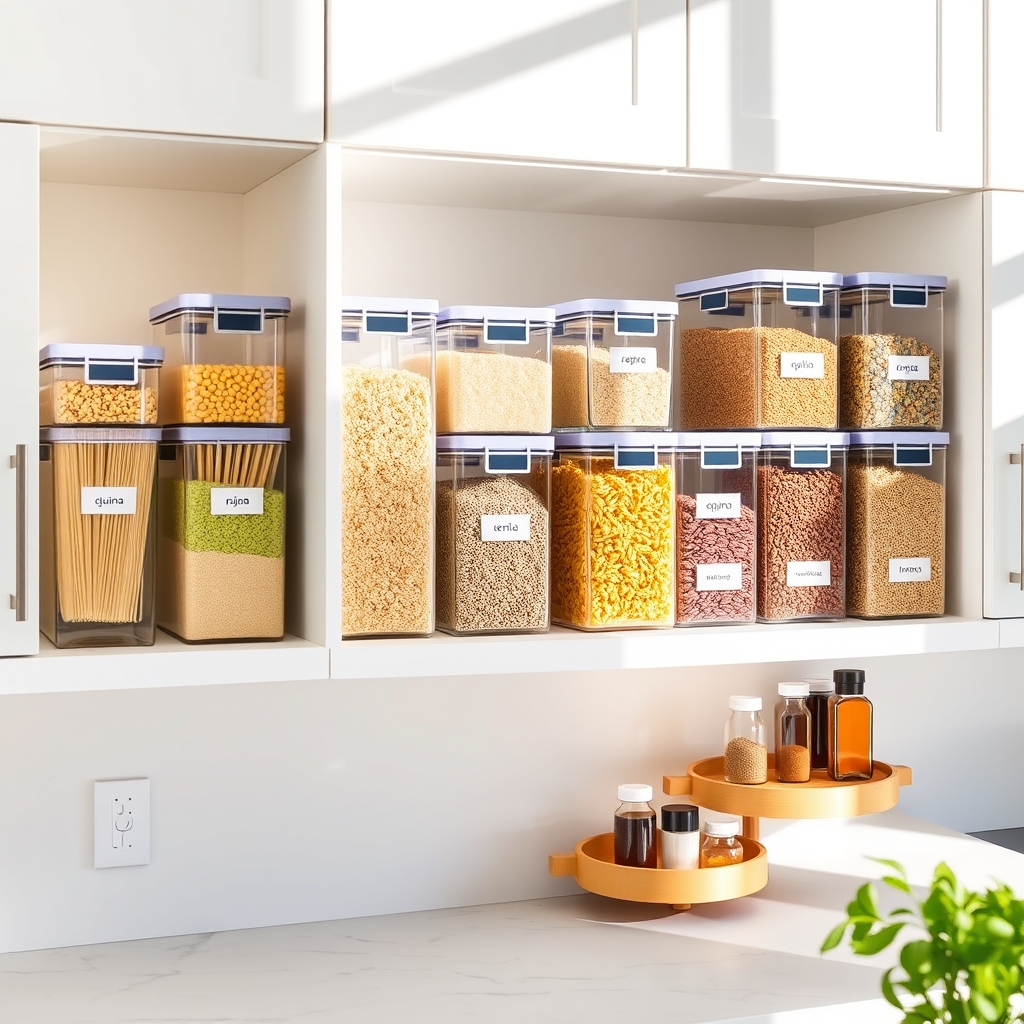
Clear storage containers and labels are essential components of a well-organized kitchen. They not only make it easier to identify ingredients and products at a glance but also help maintain freshness and prevent food waste. When items are visible and properly labeled, you can quickly locate what you need and keep track of expiration dates.
Converting your pantry and cabinets to a clear container system creates a uniform, aesthetically pleasing appearance while maximizing space efficiency. This system eliminates the visual clutter of mismatched packaging and allows you to purchase items in bulk, transferring them to appropriately sized containers for optimal storage.
Required Items:
- Clear airtight storage containers (various sizes)
- Label maker or waterproof labels
- Permanent marker
- Measuring cups
- Funnel
- Clean cloth or paper towels
- Container cleaning brush
- Food storage inventory sheet
- Clear bins or organizers
- Date tracking stickers
Begin by emptying your pantry or cabinet space and cleaning all surfaces thoroughly. Sort through existing items, checking expiration dates and discarding any outdated products. Group similar items together (grains, snacks, baking supplies) and assess the container sizes needed for each category.
Transfer dry goods into appropriately sized clear containers, ensuring each one is completely clean and dry before use. Leave enough headspace in containers to allow for proper closure and easy pouring.
Create a consistent labeling system that includes the item name, purchase date, and expiration date. Position labels in the same location on each container for a uniform appearance. For frequently used items, consider adding cooking instructions or measurement conversions directly on the container.
Arrange filled containers by category, placing frequently used items at eye level and heavier containers on lower shelves.
For optimal organization maintenance, establish a routine of checking contents weekly and rotating stock to prevent expired items. Keep a small inventory list noting when staples need replenishing, and clean containers thoroughly before refilling.
Consider using drawer organizers or turntables to maximize corner spaces and ensure all containers remain easily accessible.
Create a Custom Spice Organization System
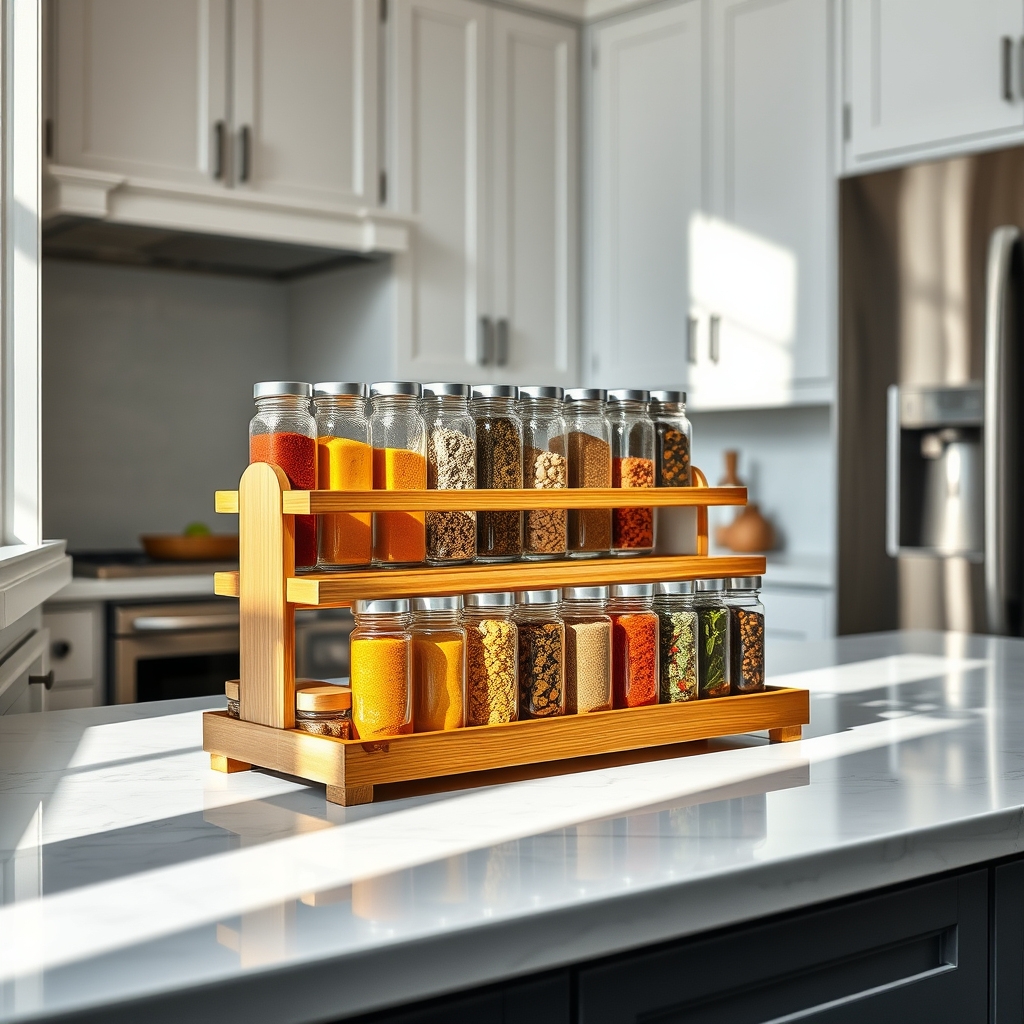
A well-organized spice collection is the cornerstone of an efficient kitchen, allowing home cooks to quickly locate and access the flavors they need while cooking. When spices are scattered throughout cabinets or drawers, cooking becomes frustrating, and valuable ingredients often go to waste, forgotten in the back of shelves.
Creating a custom spice organization system not only streamlines meal preparation but also helps maintain the freshness and potency of your spices. An organized system allows you to easily monitor inventory, prevent duplicate purchases, and ensure that spices are used before they lose their flavor.
Required Items:
- Clear glass or plastic spice containers
- Labels or label maker
- Measuring funnel
- Drawer dividers or shelf risers
- Lazy Susan or spinning organizer (optional)
- Alphabetical divider cards
- Small scoop or spoon
- Storage containers for bulk spices
- Marker or pen
The organization process begins with a complete inventory of your spice collection. Remove all spices from their current locations and check expiration dates, discarding any that are past their prime or have lost their aroma.
Transfer remaining spices into uniform containers, which creates a cohesive look and maximizes space efficiency. Label each container clearly with the spice name and purchase date.
Choose a storage location based on your kitchen layout and cooking habits. Install drawer dividers for horizontal storage or implement shelf risers for vertical visibility. Arrange spices alphabetically or by frequency of use, ensuring that commonly used spices are easily accessible.
For corner cabinets or deep shelves, incorporate a lazy Susan to maximize accessibility.
Additional Tips: Consider creating zones within your spice organization system, grouping similar items together (such as baking spices, ethnic cuisine seasonings, or salt variations). Store spices away from heat sources like the stove or oven, and maintain the organization system by immediately returning spices to their designated spots after use.
Review your collection every six months to maintain freshness and update your inventory as needed.
Implement Corner Cabinet Solutions
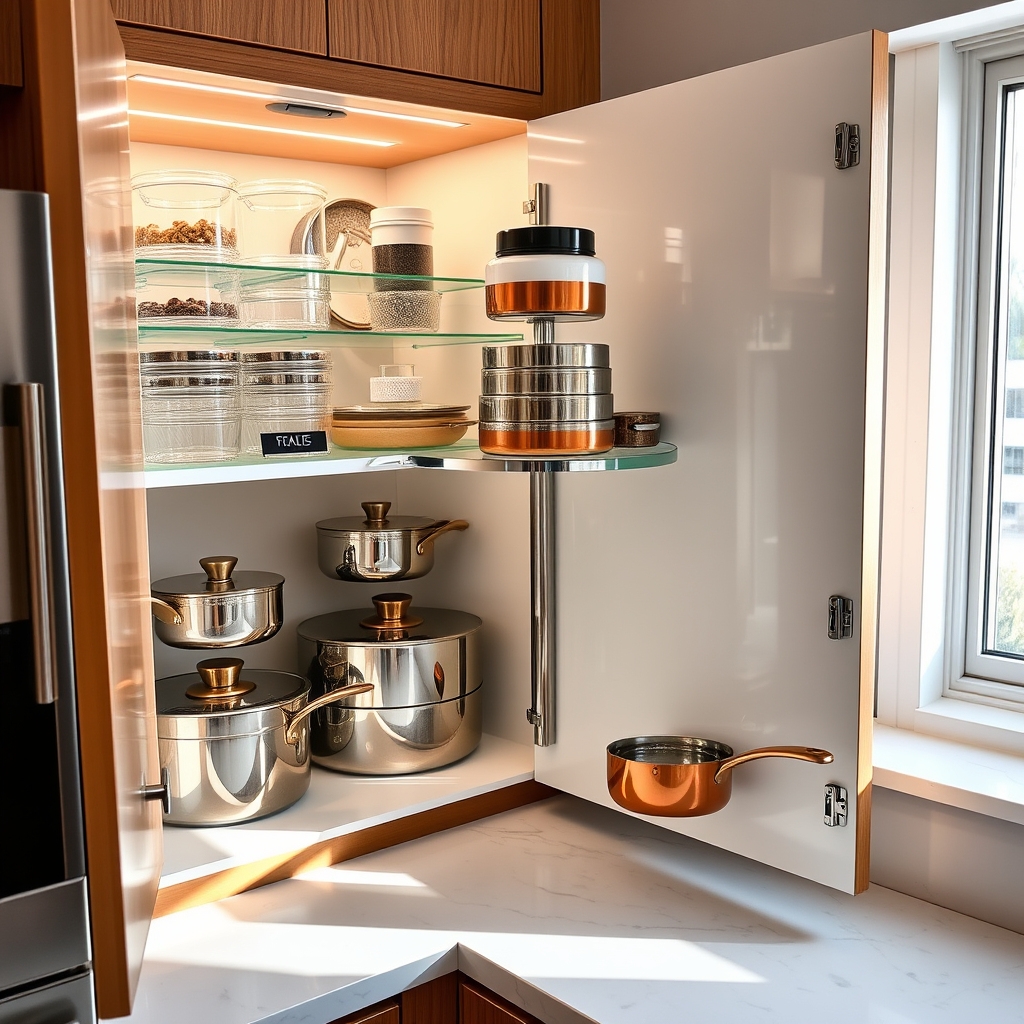
Corner cabinets often represent the most challenging storage spaces in kitchens, frequently becoming black holes where items disappear or remain unused.
These awkward angles can waste valuable storage space when not properly utilized, making it crucial to implement smart organization solutions that maximize every inch of corner cabinet real estate.
Proper corner cabinet organization can transform these traditionally difficult spaces into highly functional storage areas.
With the right solutions, you can increase accessibility, visibility, and storage capacity while eliminating the frustration of reaching into deep, dark corners for needed items.
Required Items:
- Lazy Susan turntable (single or double-tier)
- Pull-out corner drawer system
- Corner cabinet organizer brackets
- LED cabinet lights
- Non-slip shelf liner
- Measuring tape
- Clear storage containers
- Label maker
- Installation tools (screwdriver, drill, level)
Start by completely emptying the corner cabinet and measuring the interior dimensions, including depth, width, and height.
Install your chosen organization system, whether it’s a Lazy Susan mechanism or pull-out drawers, following the manufacturer’s instructions carefully.
For Lazy Susan installations, ensure the turntable is level and centered within the cabinet space.
For pull-out systems, verify that the slides are properly aligned and secured to support the weight of stored items.
Once the hardware is installed, organize items by frequency of use and category.
Place frequently used items on the most accessible areas of the organizing system.
Group similar items together, such as baking supplies on one shelf or cooking tools on another.
Use clear containers to corral smaller items and prevent them from getting lost in the back of the cabinet.
For optimal results, regularly maintain your corner cabinet organization by wiping down surfaces and checking hardware functionality every few months.
Consider installing battery-operated LED lights to illuminate dark corners, and use shelf liners to prevent items from sliding.
Review the contents periodically to remove unused items and adjust the organization system as your storage needs change.

