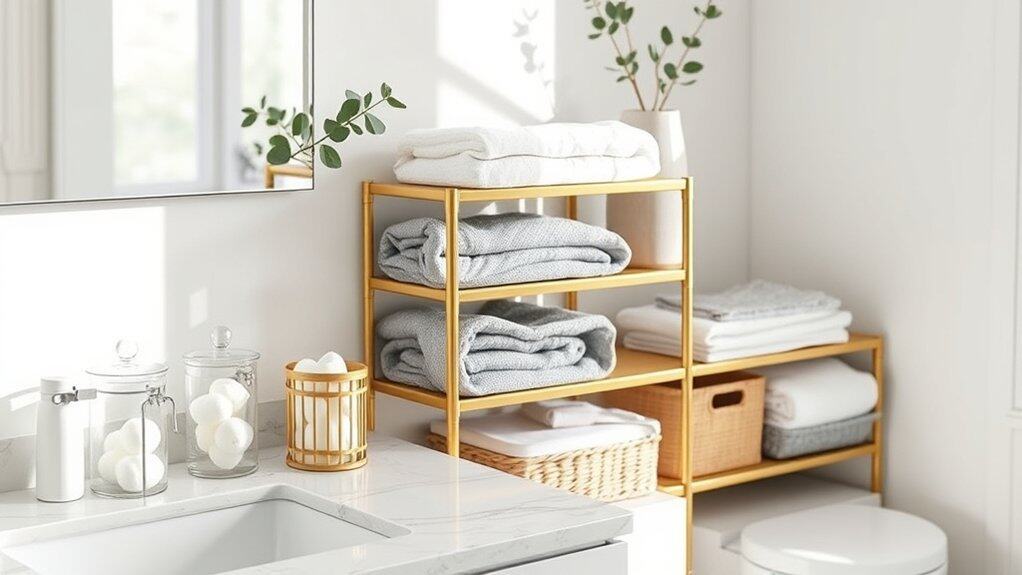
When my tiny bathroom started feeling more like a cluttered storage closet than a spa-like retreat, I knew it was time for a major organizational overhaul. You’ll be amazed at how much space you actually have when you start thinking vertically and getting creative with storage solutions. Whether you’re working with a compact powder room or a spacious master bath, these nine genius organization ideas will help transform your chaotic bathroom into the serene, well-ordered sanctuary you’ve always wanted.
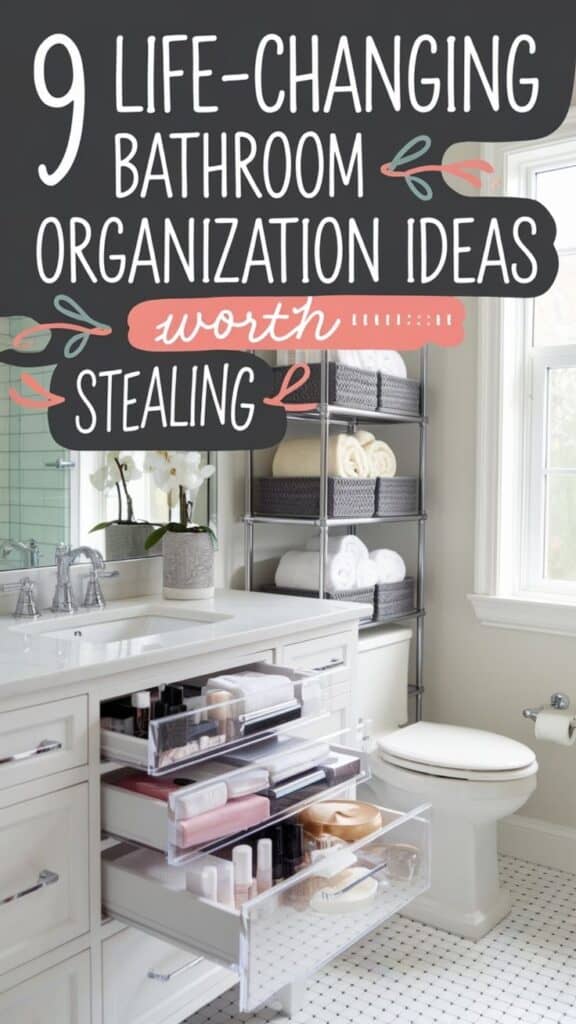
Over-the-Toilet Storage Solutions That Maximize Space
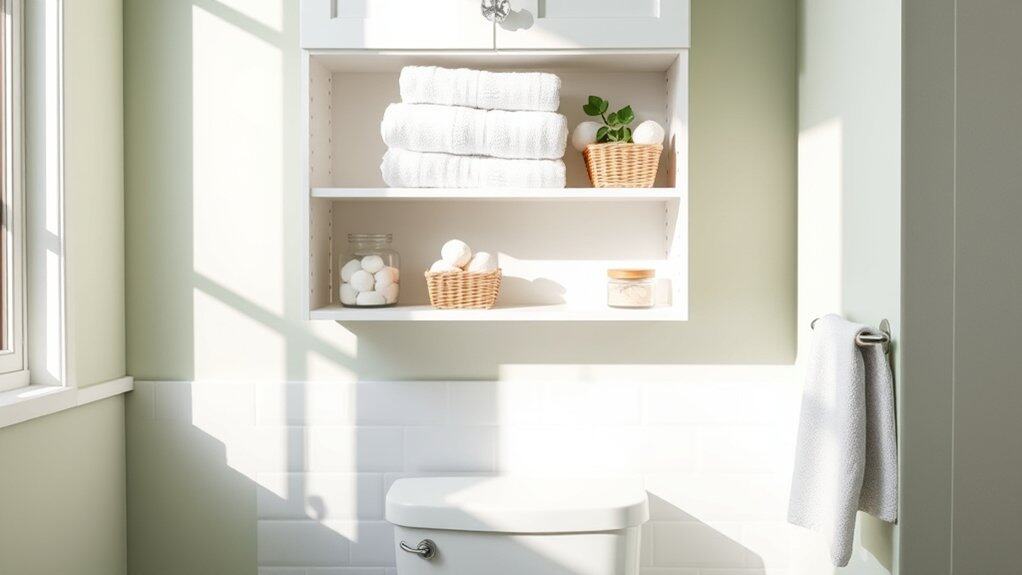
Making the most of vertical space in a bathroom is essential, especially in smaller homes where every square inch counts. The area above the toilet often represents valuable but underutilized real estate that could be transformed into functional storage space for toiletries, towels, and other bathroom necessities.
Over-the-toilet storage solutions not only maximize space efficiency but also create an organized, clutter-free environment that can make your bathroom feel larger and more serene. These storage solutions can range from simple floating shelves to comprehensive cabinet systems, all designed to work within the typical dimensions above a standard toilet.
Required Items:
- Measuring tape
- Level
- Drill and drill bits
- Wall anchors
- Screwdriver
- Over-toilet shelving unit or cabinet
- Basic cleaning supplies
- Storage containers or baskets
- Labels (optional)
- Stud finder
Start by thoroughly cleaning the area and taking precise measurements of the space above your toilet, including height to ceiling, width between walls, and depth available.
Install your chosen storage solution according to manufacturer instructions, ensuring it’s properly anchored to the wall studs for stability. Most over-toilet units should be mounted at least 12 inches above the toilet tank for accessibility and proper clearance.
Once the unit is secure, organize items by frequency of use, placing daily essentials at eye level and less frequently used items on higher shelves. Group similar items together using baskets or containers to maintain order and create a cohesive look.
Consider using clear containers for better visibility of contents and maintaining organized categories such as first aid supplies, extra toiletries, or cleaning products.
For optimal organization maintenance, implement a rotating system where items are reviewed every few months, removing expired products and reorganizing based on current needs.
Consider using moisture-resistant materials for storage containers, and maintain adequate ventilation to prevent humidity-related issues. Adding small hooks to the sides of the unit can provide additional hanging storage for items like hair tools or washcloths, further maximizing the space’s utility.
Clear Container Systems for Streamlined Organization
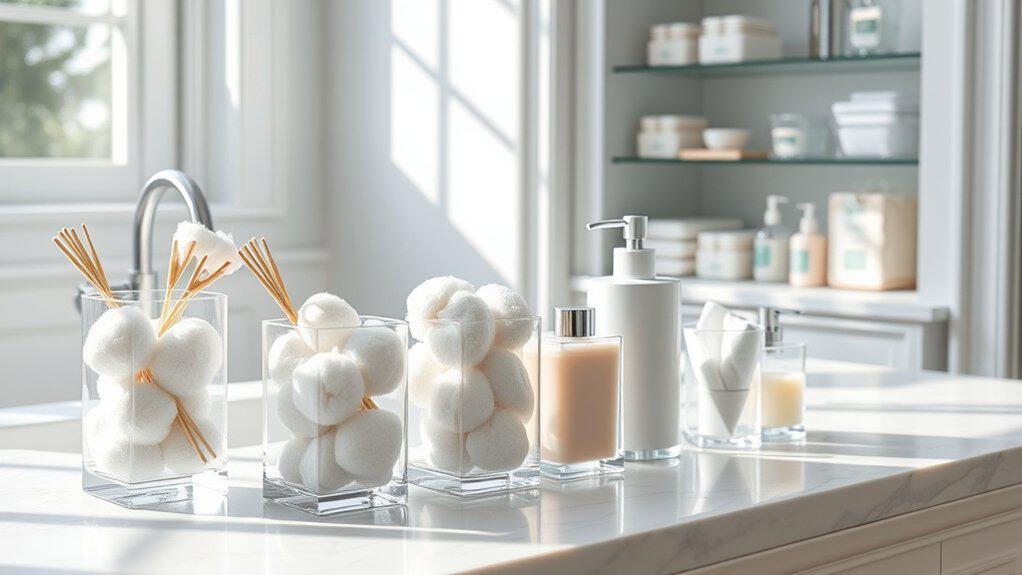
Organizing bathroom items in clear containers transforms a cluttered space into an efficient, easy-to-navigate environment. When items are visible and properly categorized, morning routines become smoother, and maintaining tidiness becomes second nature rather than a constant challenge.
Clear container systems eliminate the frustration of searching through drawers and cabinets, while also protecting items from moisture and dust. This systematic approach not only maximizes space but also helps track inventory, preventing overbuying and ensuring essentials are always on hand.
Required Items:
- Various sizes of clear acrylic containers
- Clear drawer organizers
- Clear stackable bins
- Container labels
- Measuring tape
- Cleaning supplies
- Label maker or waterproof labels
- Drawer liner (non-slip)
- Small clear jars for cotton balls/swabs
- Clear shelf risers
Start by emptying all bathroom storage areas and measuring the available space in drawers, under-sink areas, and shelves. Sort items into categories such as daily essentials, backup supplies, and occasional-use items.
Select appropriately sized clear containers for each category, ensuring they fit within your designated spaces. Place frequently used items in easily accessible containers at eye level or in front-row positions.
For drawer organization, install clear drawer organizers with designated sections for different items. Use stackable containers for under-sink storage, keeping cleaning supplies separate from personal care items.
Label each container clearly, including expiration dates for products when applicable. Implement shelf risers to create multiple levels of visibility and accessibility.
Additional Tips: Maintain the system by regularly auditing contents and wiping containers clean. Consider using square or rectangular containers rather than round ones to maximize space efficiency.
Store items in order of use frequency, and keep a small inventory list inside cabinet doors to track when supplies need replenishing. Review and adjust the organization system quarterly to ensure it continues meeting your needs effectively.
Declutter Your Vanity With Drawer Dividers
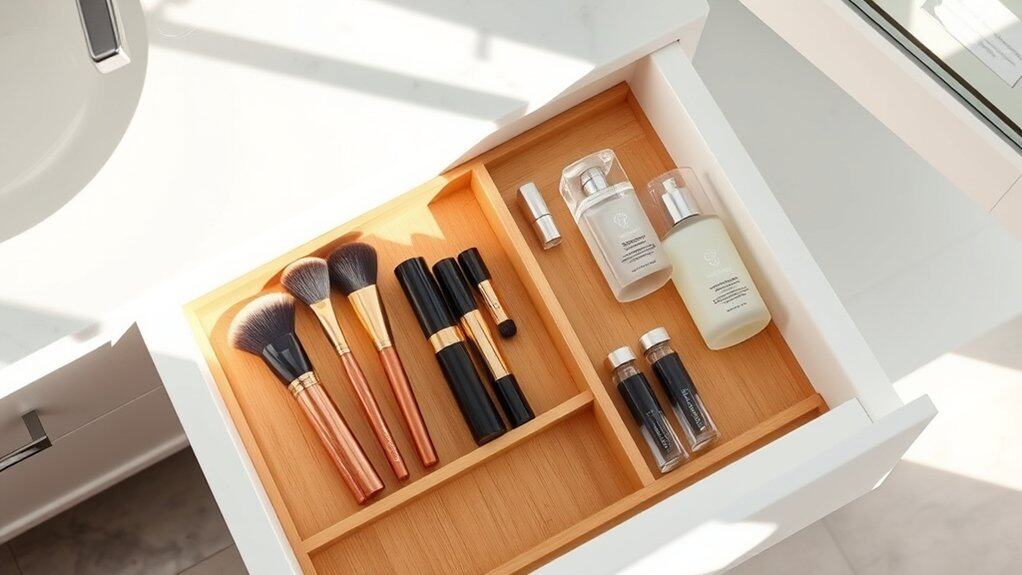
A cluttered vanity drawer can transform your daily routine into a frustrating treasure hunt for essential items, wasting precious morning time and creating unnecessary stress.
When makeup, toiletries, and personal care items are scattered chaotically, products often get damaged, expired items go unnoticed, and valuable drawer space is poorly utilized.
Implementing drawer dividers creates designated spaces for specific items, making it easier to maintain organization long-term. This system not only streamlines your daily routine but also helps track inventory, prevent unnecessary purchases, and protect your beauty investments from damage.
Required Items:
- Drawer dividers (adjustable or fixed)
- Measuring tape
- Clean microfiber cloth
- Storage containers or small bins
- Label maker or labels
- Drawer liner (optional)
- Small organizing trays
- Clear plastic bags for sorting
Remove everything from the drawer and thoroughly clean the surface. Measure the drawer dimensions and plan your divider layout based on the items you use most frequently.
Group similar items together – cosmetics, hair accessories, dental care, and daily essentials. Install drawer dividers according to your planned layout, ensuring they fit snugly to prevent shifting.
Place items back into designated sections, positioning frequently used products toward the front for easy access. Consider using small containers within divided spaces to further separate items and prevent smaller products from getting lost.
For optimal organization maintenance, establish a quarterly schedule to assess the drawer’s contents. Remove expired products, clean dividers, and adjust compartment sizes as needed.
Consider implementing a “one-in-one-out” rule to prevent future clutter, and store occasional-use items in a separate location to maintain clear, functional spaces for daily essentials.
Wall-Mounted Storage for Small Bathrooms
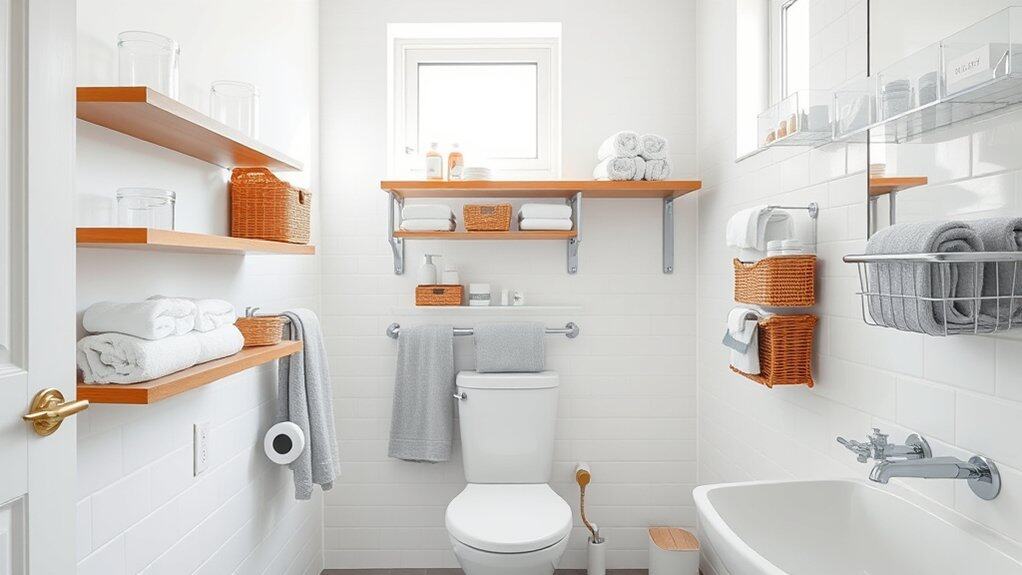
Making the most of vertical space in a small bathroom is crucial for maintaining organization and maximizing limited square footage. Wall-mounted storage solutions can transform an overcrowded bathroom into a functional space while keeping essential items within easy reach.
Wall-mounted organizers not only free up valuable counter and floor space but also create a cleaner, more streamlined appearance. This organization method helps prevent moisture damage to items by keeping them elevated and allows for better air circulation, which is especially important in humid bathroom environments.
Required Items:
- Wall anchors and screws
- Power drill
- Level
- Measuring tape
- Pencil
- Wall-mounted shelving units
- Floating shelves
- Over-the-toilet rack
- Towel bars or hooks
- Storage baskets or containers
- Command strips or hooks
- Small storage caddies
Start by measuring your available wall space and mapping out the placement of your storage solutions. Install the largest units first, such as over-the-toilet racks or floating shelves, ensuring they’re properly anchored into wall studs or using appropriate wall anchors.
Position frequently used items at eye level and less-used items higher up. Group similar items together in water-resistant containers or baskets that fit your mounted storage. Arrange toiletries, towels, and bathroom supplies according to usage frequency, keeping daily essentials easily accessible.
Install towel bars or hooks at convenient heights, considering the space needed for towels to hang properly without touching the floor or other items.
Additional Tips: Consider using clear containers for better visibility of contents, and label everything to maintain organization. Incorporate moisture-resistant materials whenever possible, and leave space between items for proper air circulation.
Regularly assess and adjust your organization system, removing items that aren’t being used to prevent overcrowding of your wall-mounted storage.
Creative Ways to Store Towels and Linens
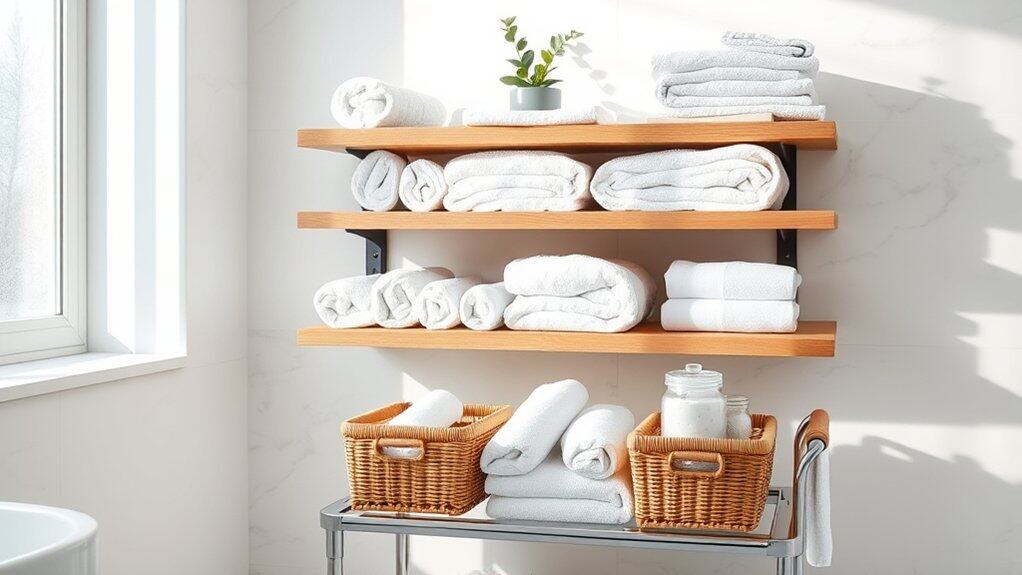
Organizing towels and linens in your bathroom is essential for maintaining a clutter-free space and ensuring easy access to fresh items when needed. A well-organized linen storage system not only saves time during your daily routine but also helps preserve the quality of your towels and washcloths.
Proper storage of bathroom linens prevents moisture buildup, mildew growth, and unnecessary wear and tear on your textiles. Strategic organization can maximize even the smallest bathroom spaces while creating an aesthetically pleasing environment that feels more like a spa retreat than a cluttered storage area.
Required Items:
- Storage baskets or bins
- Over-the-door hooks
- Tension rods
- Rolling cart
- Shelf dividers
- Labels
- Space-saving hangers
- Vacuum storage bags
- Shelf liner
- Command hooks
Start by sorting all towels and linens by category (bath towels, hand towels, washcloths) and frequency of use. Install shelving units or utilize existing cabinet space, lining them with moisture-resistant shelf liner. Roll larger towels instead of folding them to save space and prevent wrinkles.
For frequently used items, install hooks or towel bars at easily accessible heights. Employ vertical storage solutions by using over-the-door organizers or installing floating shelves above the toilet. Store lesser-used items in labeled bins on higher shelves.
Consider using a rolling cart for additional storage that can be moved as needed. Vacuum storage bags can compress seasonal or guest linens to maximize space. Maximize organization success by implementing a rotation system, placing newly washed items at the bottom of stacks to ensure even use of all linens.
Consider installing a small dehumidifier or using moisture-absorbing products in enclosed storage spaces to prevent mustiness. Regular assessment of your storage system, approximately every three months, will help maintain organization and allow for adjustments based on changing needs and seasons.
Shower and Tub Organization Strategies
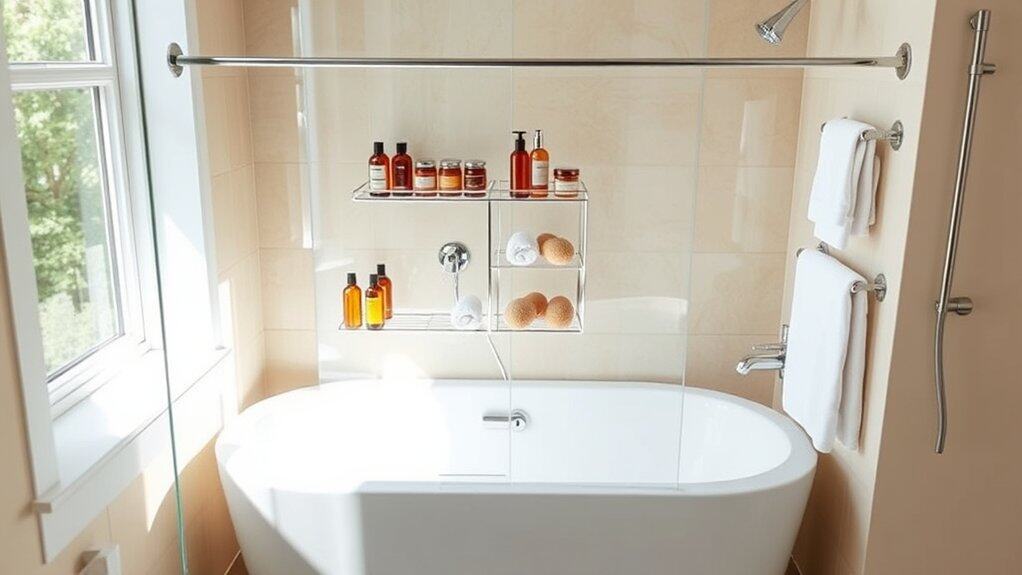
A well-organized shower and tub area serves as the cornerstone of a functional bathroom space. When shampoo bottles topple over, razors clutter the edges, and bath toys float aimlessly, the entire bathing experience becomes chaotic and potentially hazardous. Proper organization not only enhances safety but also transforms your daily routine into a more spa-like experience.
Creating designated spaces for bath and shower items streamlines your morning routine and simplifies cleaning maintenance. An organized shower area reduces water damage to products, prevents soap scum buildup in forgotten corners, and maximizes the use of limited space while keeping essential items within easy reach.
Required Items:
- Corner shower caddy or tension pole system
- Suction cup hooks
- Mesh storage bags
- Clear plastic bins
- Waterproof labels
- Shower curtain with pockets
- Non-slip bath mat
- Small storage baskets
- Drain hair catcher
- Squeegee
Start by removing everything from the shower and tub area, thoroughly cleaning all surfaces, and discarding expired or unused products. Install a sturdy shower caddy or tension pole system, positioning it where it won’t interfere with shower head spray.
Arrange frequently used items like shampoo, conditioner, and body wash on the upper shelves, and less-used items on lower shelves. Group similar items together, using clear bins or baskets to contain smaller items like razors and bath poufs.
For families sharing the space, assign specific zones or shelves to each family member. Install suction cup hooks for loofahs, washcloths, and shower caps. If you have children, designate a mesh bag or low-mounted basket for bath toys, allowing proper drainage to prevent mold growth.
To maintain your newly organized space, implement a weekly cleaning routine, regularly assess product inventory, and immediately remove empty containers. Consider installing a fogless mirror and squeegee to maintain cleanliness between deep cleanings.
Rotate products seasonally and store backup items in a separate location to prevent overcrowding. Remember to periodically check suction-mounted items for security and replace them if they show signs of weakening.
Hidden Storage Solutions Behind Cabinet Doors
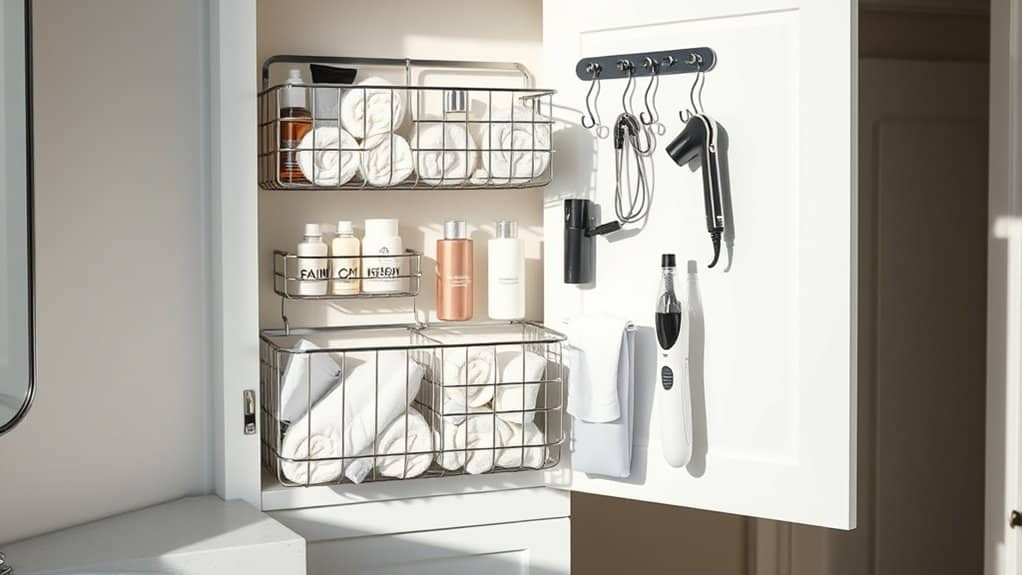
Making the most of cabinet door space is often overlooked in bathroom organization, yet these vertical surfaces offer valuable real estate for storage solutions. When properly utilized, cabinet doors can transform into efficient organizing systems that keep everyday items within easy reach while maintaining a clean, clutter-free appearance.
The inside of cabinet doors presents prime opportunities for storing smaller items that typically crowd counter space or get lost in deep cabinets. This organization method not only maximizes storage capacity but also creates a designated spot for frequently used items, making morning routines more streamlined and efficient.
Required Items:
- Over-the-door organizers
- Adhesive hooks
- Command strips
- Clear storage pockets
- Small bins or baskets
- Tension rods
- Measuring tape
- Screwdriver
- Wire baskets
- Cable ties or mounting hardware
To organize behind cabinet doors, start by measuring the available space, accounting for clearance when the door closes. Install over-the-door organizers or adhesive hooks at appropriate heights, ensuring they don’t interfere with shelves or items inside the cabinet.
Position wire baskets or clear storage pockets to hold hair tools, cleaning supplies, or toiletries, grouping similar items together. For optimal organization, create zones based on frequency of use. Place daily items at eye level and less frequently used items lower down.
Consider installing a tension rod near the top of the cabinet to hang spray bottles, or mount small bins for organizing cotton balls, dental supplies, or makeup. Ensure all mounted items are secured properly to prevent shifting when opening and closing the door.
Additional Tips: Regularly audit stored items to prevent accumulation of expired products or unused items. Use clear containers whenever possible to easily identify contents, and label everything for quick identification.
Consider adding mirror tiles to the inside of cabinet doors, which can serve both practical and space-enhancing purposes while maintaining the functionality of your storage solutions.
Floating Shelves for Style and Function
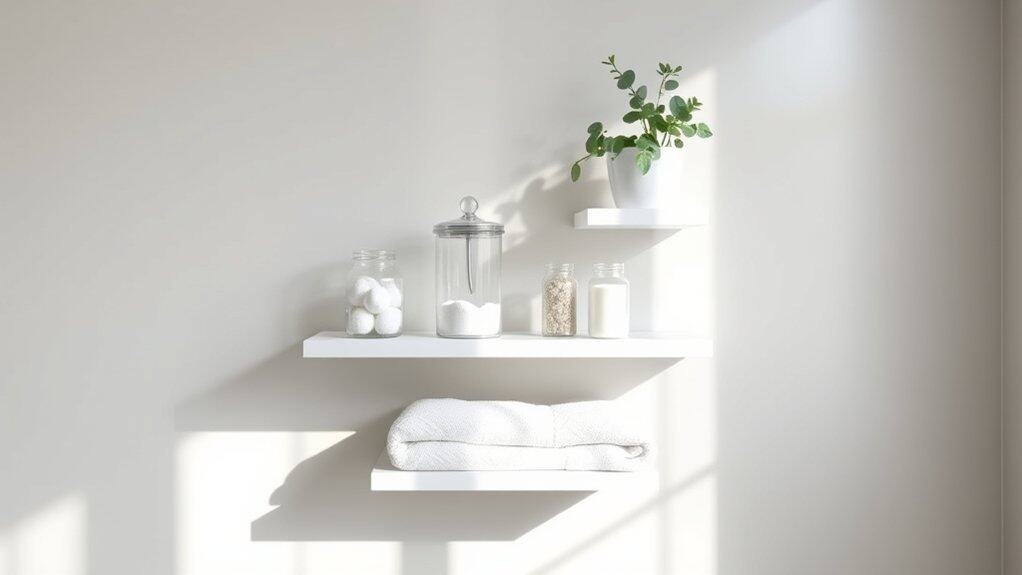
Floating shelves represent the perfect marriage of form and function in bathroom organization. These modern storage solutions create an illusion of space while providing essential storage areas for daily necessities, making them particularly valuable in smaller bathrooms where floor space is limited.
By implementing floating shelves strategically, you can transform cluttered counter spaces into an organized, aesthetically pleasing display area. These versatile installations allow for customizable storage solutions that adapt to your specific needs while maintaining a clean, minimalist appearance that enhances your bathroom’s overall design.
Required Items:
- Floating shelves (appropriate weight capacity)
- Level
- Drill and drill bits
- Wall anchors
- Screwdriver
- Measuring tape
- Pencil
- Stud finder
- Cleaning supplies
- Storage containers or baskets
- Decorative items
Installation and organization should begin with careful measurement and planning. Mark shelf locations at eye level for frequently used items and higher positions for less-accessed supplies. Ensure shelves are properly secured to wall studs or using appropriate anchors for bathroom conditions.
Once installed, group items by function: daily essentials on lower shelves, decorative items at eye level, and less-used items above. Create designated zones for different categories like toiletries, towels, and beauty products.
Consider incorporating matching storage containers or baskets to maintain visual cohesion while hiding smaller items. Position frequently used items at easy-to-reach heights and maintain clear sight lines by avoiding overcrowding. Remember to leave some open space for visual balance and future needs.
Additional Tip: Implement a quarterly review system to reassess shelf organization and contents. Remove expired products, relocate rarely-used items, and adjust shelf layouts based on changing needs. This maintains the effectiveness of your organization system while preventing clutter accumulation over time.
Under-Sink Organization Made Simple
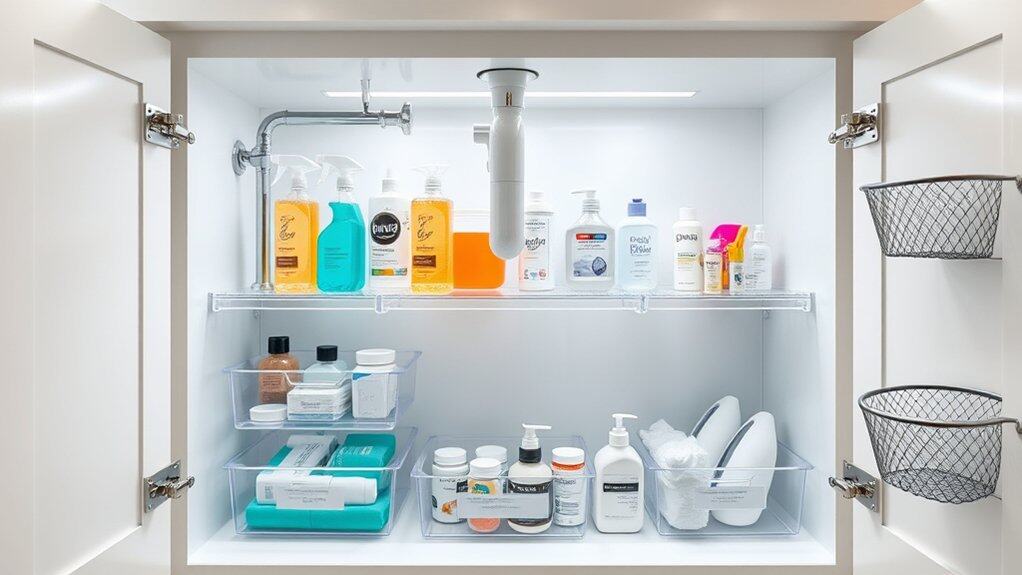
The space under your bathroom sink often becomes a chaotic collection of cleaning supplies, toiletries, and forgotten items pushed to the back of dark corners. This valuable storage area, when properly organized, can transform into an efficient system that makes daily routines smoother and helps you maintain a clutter-free bathroom environment.
Maximizing under-sink storage requires careful planning and consideration of the available space, including working around plumbing fixtures and utilizing vertical space effectively. A well-organized under-sink area not only makes items easily accessible but also helps prevent product waste by keeping everything visible and properly stored.
Required Items:
- Clear plastic bins or organizers
- Pull-out drawer systems
- Tension rods
- Cabinet shelf inserts
- Labels and label maker
- Measuring tape
- Clear plastic bags
- Small lazy Susan (optional)
- Over-cabinet door organizers
- Command hooks or adhesive strips
Start by removing everything from under the sink and thoroughly cleaning the area. Measure the available space, accounting for pipes and other fixtures. Group similar items together: cleaning supplies, backup toiletries, and daily-use products.
Install a pull-out drawer system or shelf inserts to create multiple levels of storage, maximizing vertical space. Position frequently used items at the front for easy access.
For optimal organization, use clear bins to contain different categories of items, ensuring products don’t tip over or leak. Install a tension rod near the top of the cabinet to hang spray bottles, freeing up valuable floor space. Place daily essentials in easily accessible containers, while storing backup supplies in clearly labeled bins toward the back.
Additional Tips:
Maintain your organized space by implementing a quarterly review system to check for expired products, restock essentials, and adjust the organization as needed. Use shelf liner to protect the cabinet bottom from potential spills, and consider adding battery-operated LED lights to illuminate dark corners.
Keep a small notepad inside the cabinet door to maintain a running list of items that need replacement, ensuring you never run out of essential supplies.

