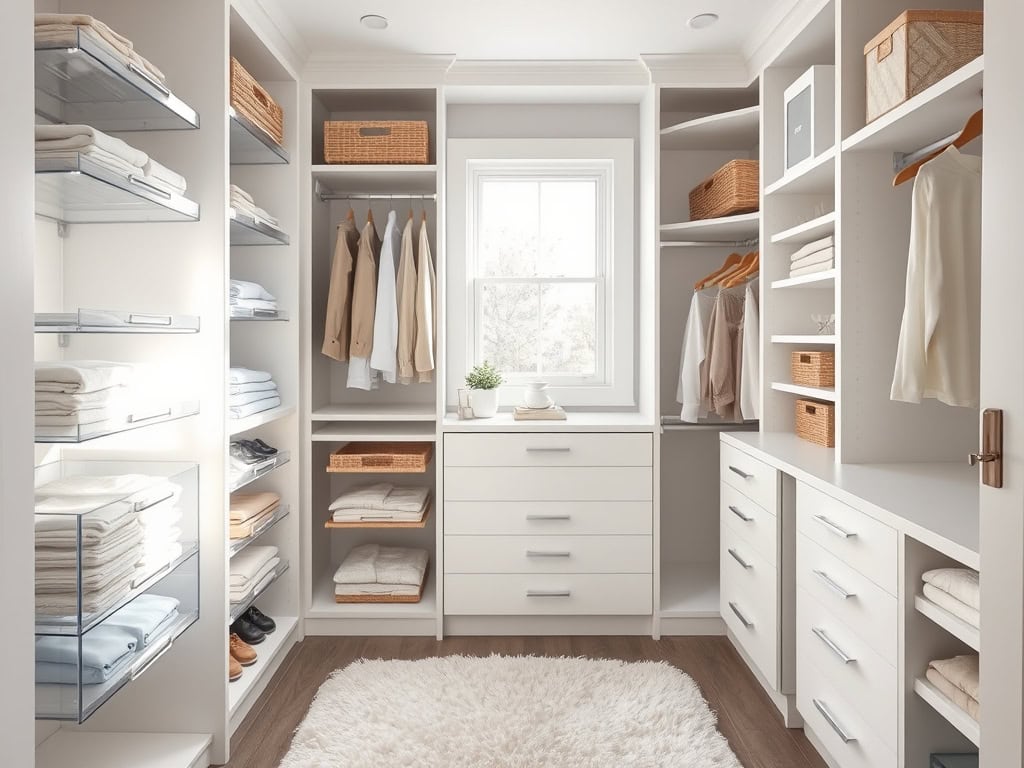
Just when you thought your living space couldn’t get any more cluttered, I discovered these game-changing storage solutions during my own desperate attempt to organize my cramped apartment. You’ll be amazed at how these seven smart ideas can transform even the most chaotic rooms into serene, organized spaces. From clever vertical systems to hidden compartments you never knew existed, these practical tips will help you reclaim your home – and your sanity! Let me show you how.
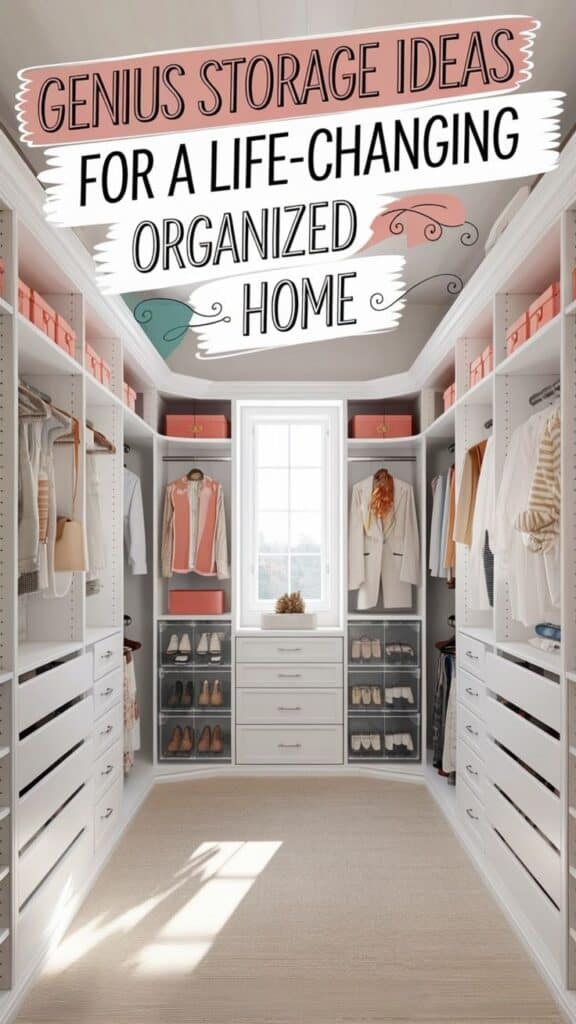
Utilize Vertical Space With Wall-Mounted Storage Systems
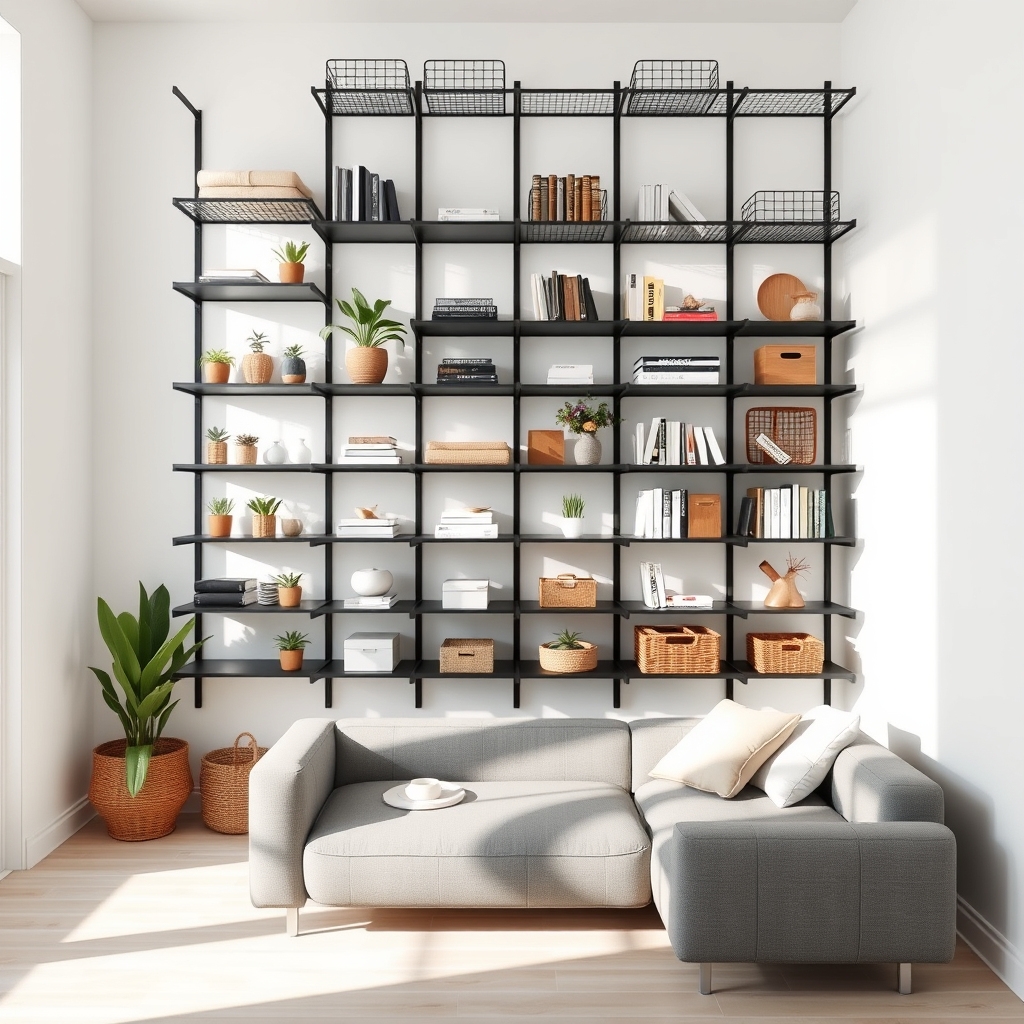
Making the most of vertical space is essential in modern homes where square footage comes at a premium. Wall-mounted storage systems offer a practical solution to maximize storage capacity while keeping floor space clear and maintaining a clean, organized appearance.
Wall-mounted storage transforms unused wall areas into functional storage zones, creating dedicated spaces for everything from kitchen utensils to office supplies. This approach not only improves organization but also makes items more accessible and creates visual appeal through thoughtful arrangement and display.
Required Items:
- Stud finder
- Level
- Drill and drill bits
- Screwdriver
- Wall anchors
- Mounting brackets
- Track systems or rails
- Storage containers or baskets
- Measuring tape
- Pencil
- Wall-mounted shelves or panels
- Hooks and hanging accessories
Start by measuring your wall space and mapping out the storage system layout using a pencil and level. Locate wall studs using a stud finder and mark their positions.
Install the main tracking system or rails according to manufacturer specifications, ensuring they’re perfectly level and securely anchored to studs or using appropriate wall anchors. For track systems, attach vertical standards first, followed by horizontal rails or brackets that will support shelves or containers.
Once the main framework is secure, add storage components such as shelves, baskets, hooks, or specialized holders. Arrange items by frequency of use, keeping frequently accessed items at eye level and less-used items higher up.
Group similar items together and consider using clear containers to easily identify contents. For optimal organization success, periodically review and adjust the system based on changing needs.
Label containers clearly, maintain weight limits specified by manufacturers, and leave some empty space for future additions. Consider installing task lighting to illuminate darker areas of the storage system, and regularly dust and clean components to maintain their appearance and functionality.
Transform Dead Space Under Stairs Into Storage Solutions
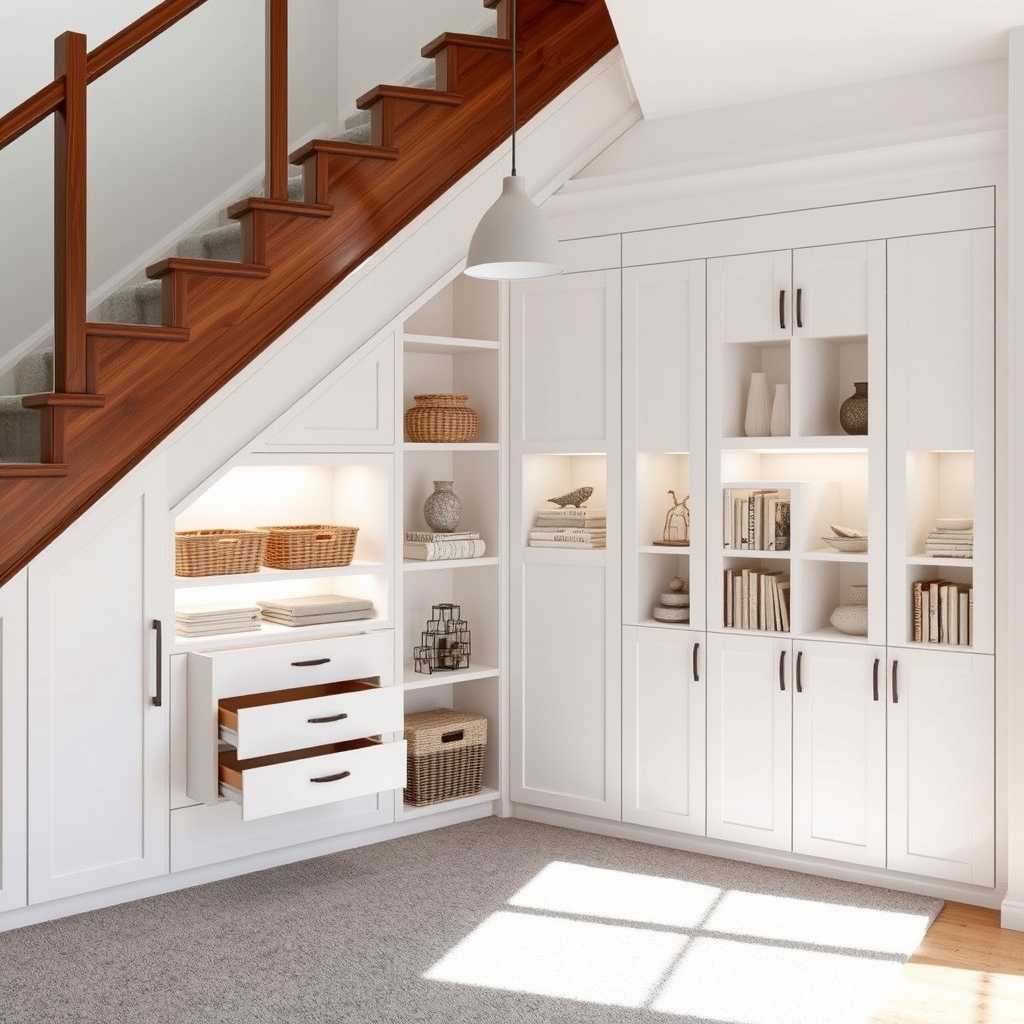
The space under stairs often represents one of the most underutilized areas in a home, typically becoming a catch-all for miscellaneous items or remaining completely empty. This valuable square footage, when properly organized, can provide substantial storage solutions for everything from seasonal decorations to everyday essentials, effectively maximizing your home’s storage capacity.
Converting this dead space into functional storage not only helps declutter other areas of your home but also adds value to your property. With thoughtful planning and organization, under-stair storage can be transformed into a highly efficient system that complements your home’s existing storage while maintaining easy accessibility.
Required Items/Tools:
- Measuring tape
- Level
- Pencil and paper
- Power drill
- Screwdriver set
- Shelving brackets
- Adjustable shelving units
- Storage containers or bins
- Labels and label maker
- Door hinges (if installing doors)
- LED strip lighting
- Extension cord or electrical outlet
Start by thoroughly measuring the space under your stairs, noting the varying heights and depths. Create a detailed plan that divides the area into zones based on ceiling height – tallest items at the highest point, graduating to smaller items as the space narrows.
Install adjustable shelving units along the back wall, ensuring they’re securely anchored. Next, implement a drawer system or pull-out containers in the narrower sections where traditional shelving wouldn’t be practical. Consider installing doors to conceal the storage area, maintaining a clean aesthetic.
If electrical outlets are available, add motion-sensor lighting to illuminate the space effectively. Group similar items together and use clear, labeled containers to maintain organization. Position frequently accessed items toward the front and seasonal items toward the back.
Consider installing hooks or pegboards on any available wall space for hanging items.
Additional Tips:
Maintain organization by implementing a seasonal rotation system, reviewing contents every six months. Use vacuum storage bags for soft items to maximize space, and consider installing a dehumidifier to prevent moisture buildup in this enclosed area.
Create an inventory list to track stored items, and avoid storing valuable or moisture-sensitive items in this space unless properly protected.
Maximize Closet Organization With Double-Hanging Rods
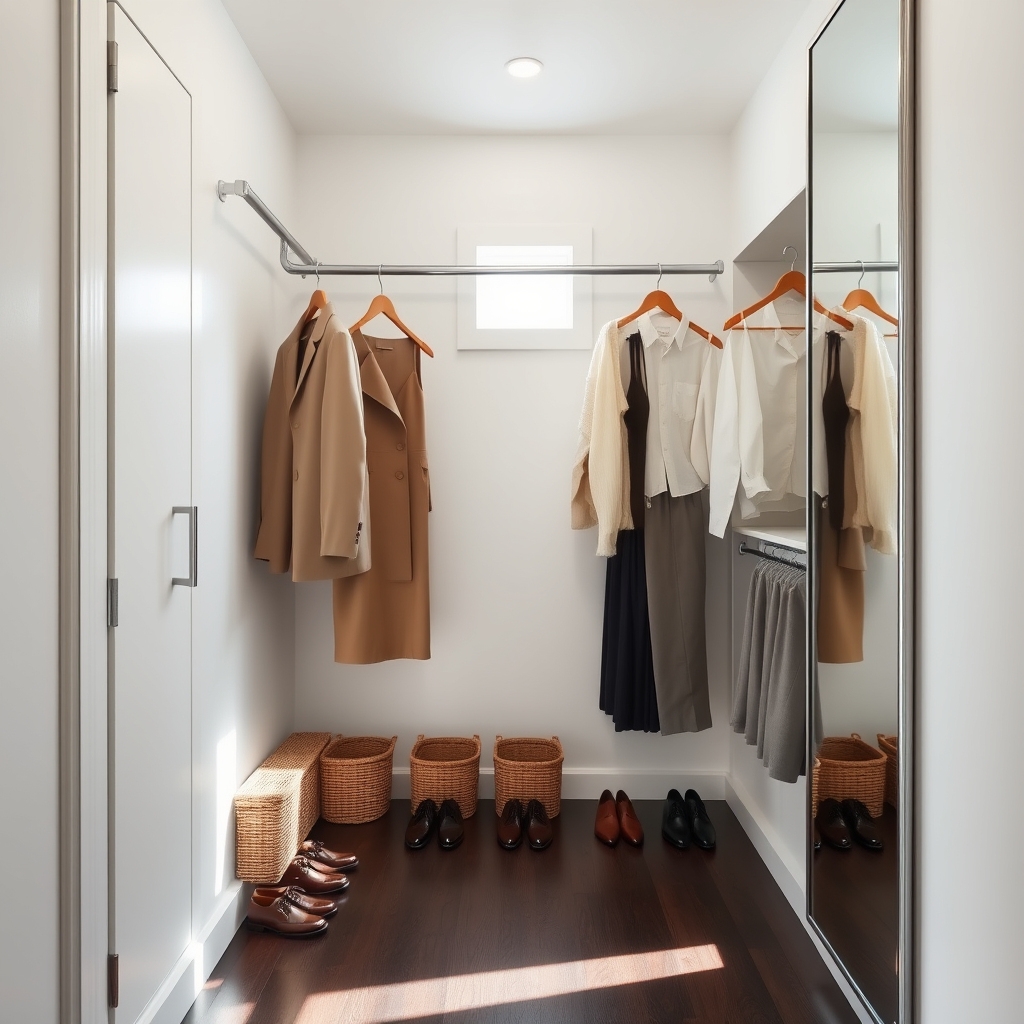
Maximizing closet space through double-hanging rods is one of the most effective ways to instantly double your clothing storage capacity. This simple modification transforms an ordinary closet into a well-organized storage system that allows for better visibility and accessibility of your wardrobe while maintaining the condition of your clothing.
The implementation of double-hanging rods creates distinct zones for different types of garments, making it easier to categorize and locate items quickly. This organization method is particularly valuable in smaller homes or apartments where storage space is limited, and it helps maintain a clutter-free environment while protecting your clothing investment.
Required Items:
- Double-hanging closet rod kit
- Power drill
- Screwdriver
- Level
- Measuring tape
- Pencil
- Stud finder
- Wall anchors
- Screws
- Ladder or step stool
Install the double-hanging rod system by first removing all clothing and the existing rod from your closet. Using a stud finder, locate and mark wall studs. Measure and mark the desired height for your upper rod (typically 80-84 inches from the floor) and the lower rod (approximately 40-42 inches from the floor).
Install the mounting brackets into the wall studs or using wall anchors, ensuring they’re level. Secure the rods into the brackets according to the manufacturer’s instructions, testing their stability before hanging clothes.
Once the rods are installed, organize clothing by length. Hang longer items like dresses and coats on the top rod, while shorter items such as shirts, folded pants, and jackets can be placed on the bottom rod. This arrangement maximizes vertical space while keeping clothes wrinkle-free and easily accessible.
Additional Tips: Sort clothes by category and color before returning them to the closet to create a more systematic organization. Consider using slim, uniform hangers to maximize rod space and maintain clothing shape. Install hooks on the sides of the closet for accessories, and use the floor space beneath the bottom rod for shoes or storage boxes.
Regular maintenance of this system will ensure long-term organization success.
Create Hidden Storage With Multi-Functional Furniture
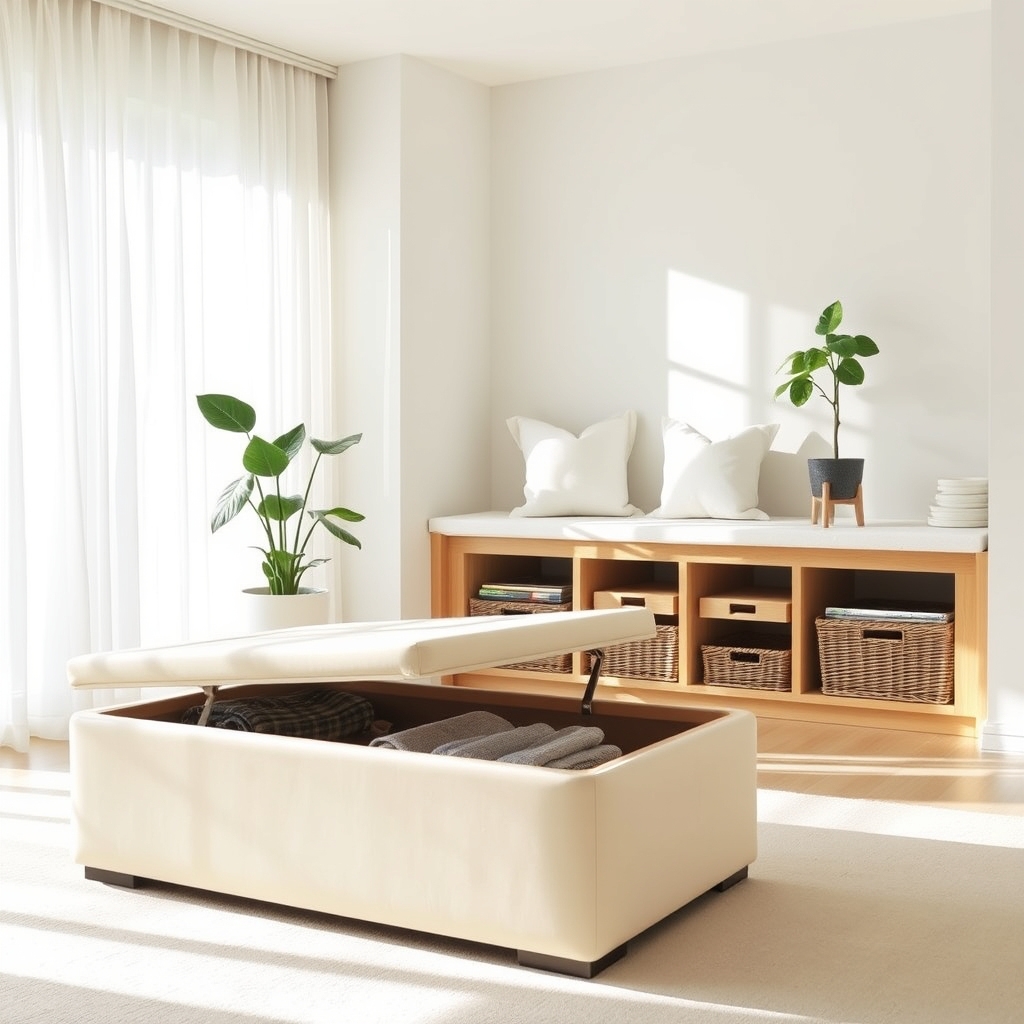
Living in modern homes often means dealing with limited space while still needing to store numerous belongings. Multi-functional furniture with hidden storage capabilities offers an elegant solution to this common challenge, allowing you to maximize your living space without sacrificing style or comfort.
Strategic use of dual-purpose furniture transforms your home into an efficient storage haven while maintaining a clean, uncluttered appearance. From ottoman beds to hollow coffee tables, these versatile pieces serve both practical and aesthetic purposes, effectively doubling your storage capacity without adding visible storage units.
Required Items:
- Measuring tape
- Storage ottoman
- Bed with built-in drawers
- Coffee table with storage compartments
- Bench seating with storage
- Storage headboard
- Drawer dividers
- Storage baskets or containers
- Labels
- Inventory list
Select multi-functional furniture pieces that match your space requirements and aesthetic preferences. Measure your rooms carefully to ensure proper fit, and create zones based on usage patterns.
Place items you use frequently in easily accessible storage areas, while seasonal items can go in deeper storage compartments. Organize contents within each piece using drawer dividers, baskets, or containers to maintain order and prevent items from becoming jumbled.
Consider the specific needs of each room when selecting storage furniture. In the bedroom, a storage bed can house linens and off-season clothing. Living room ottomans work well for storing media items, gaming equipment, or extra throw blankets.
Window seats with storage can hold books or children’s toys, while dining benches can accommodate rarely used serving pieces or table linens.
To maintain organization, conduct regular inventory checks of stored items every three to six months. Label containers clearly, create an inventory list of stored items, and establish a system for rotating seasonal items.
Remember to leave some empty space in each storage unit to accommodate new items and prevent overcrowding, which can lead to disorganization over time.
Implement the Power of Drawer Dividers and Organizers
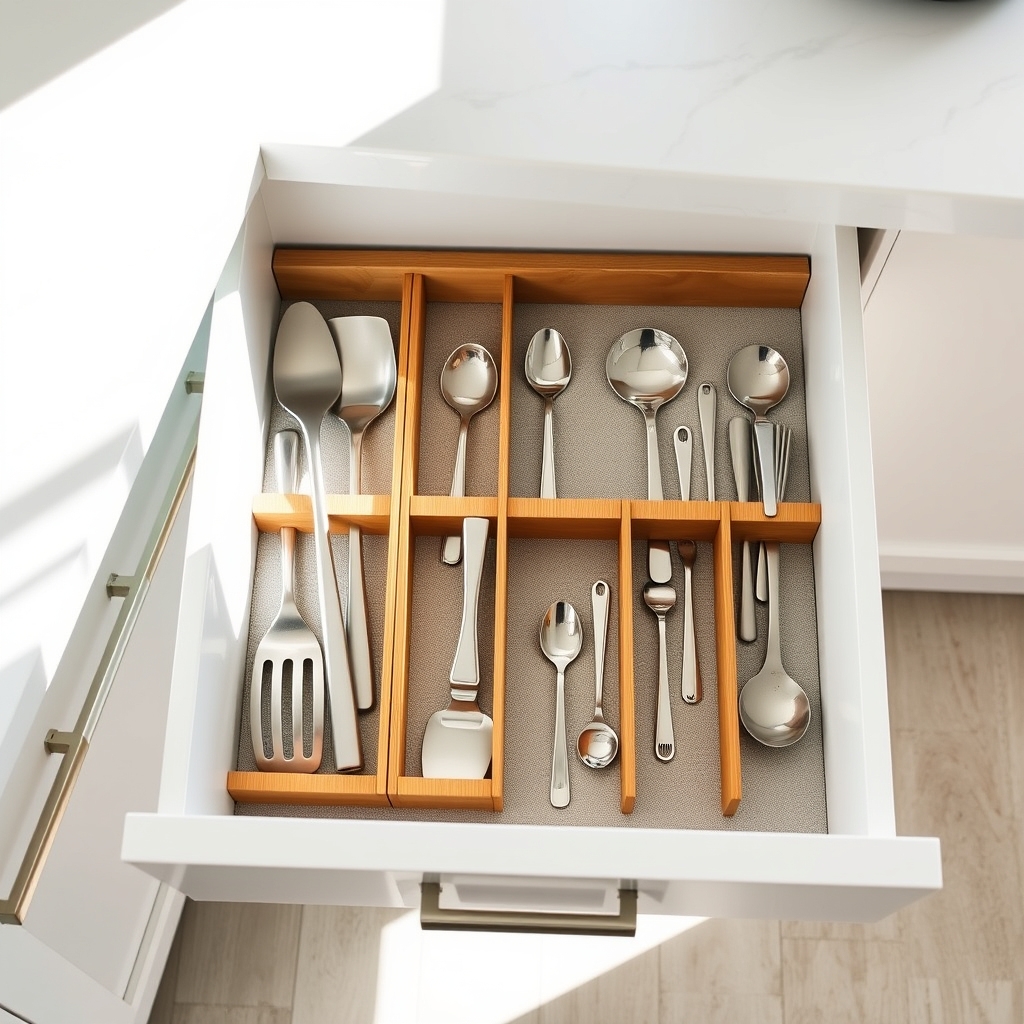
Drawer organization stands as a fundamental aspect of maintaining an orderly home, yet many overlook this crucial storage space. Cluttered, chaotic drawers not only waste valuable storage real estate but also lead to frustration, wasted time, and potentially damaged items.
Implementing drawer dividers and organizers transforms these spaces into efficient, accessible storage solutions. Whether in the kitchen, bathroom, bedroom, or office, properly divided drawers allow for quick item retrieval, prevent contents from sliding around, and maximize every inch of available space.
Required Items:
- Drawer dividers (adjustable or fixed)
- Drawer organizer boxes or trays
- Measuring tape
- Paper and pencil
- Label maker (optional)
- Non-slip drawer liner
- Scissors
- Cleaning supplies
Start by removing all items from the drawer and thoroughly cleaning the interior. Measure the drawer’s dimensions, accounting for both depth and height, to ensure proper fit of organizers. Sort items by category and frequency of use, discarding anything broken or unnecessary.
Consider the specific needs of each drawer – kitchen utensils require different organization than office supplies or clothing. Select appropriate dividers or organizers based on your measurements and items.
Install non-slip liner first, then position dividers. For kitchen drawers, arrange utensils with frequently used items toward the front. In office drawers, create sections for different supply categories. For clothing drawers, position dividers to accommodate folded items while maximizing space.
To maintain organization long-term, regularly assess the system’s effectiveness and adjust as needed. Implement a one-in-one-out rule to prevent overflow, and consider using clear organizers to easily identify contents.
Label sections if necessary, especially in shared spaces, and periodically clean both the organizers and drawer interior to maintain a fresh, organized space.
Master Under-Bed Storage With Rolling Containers
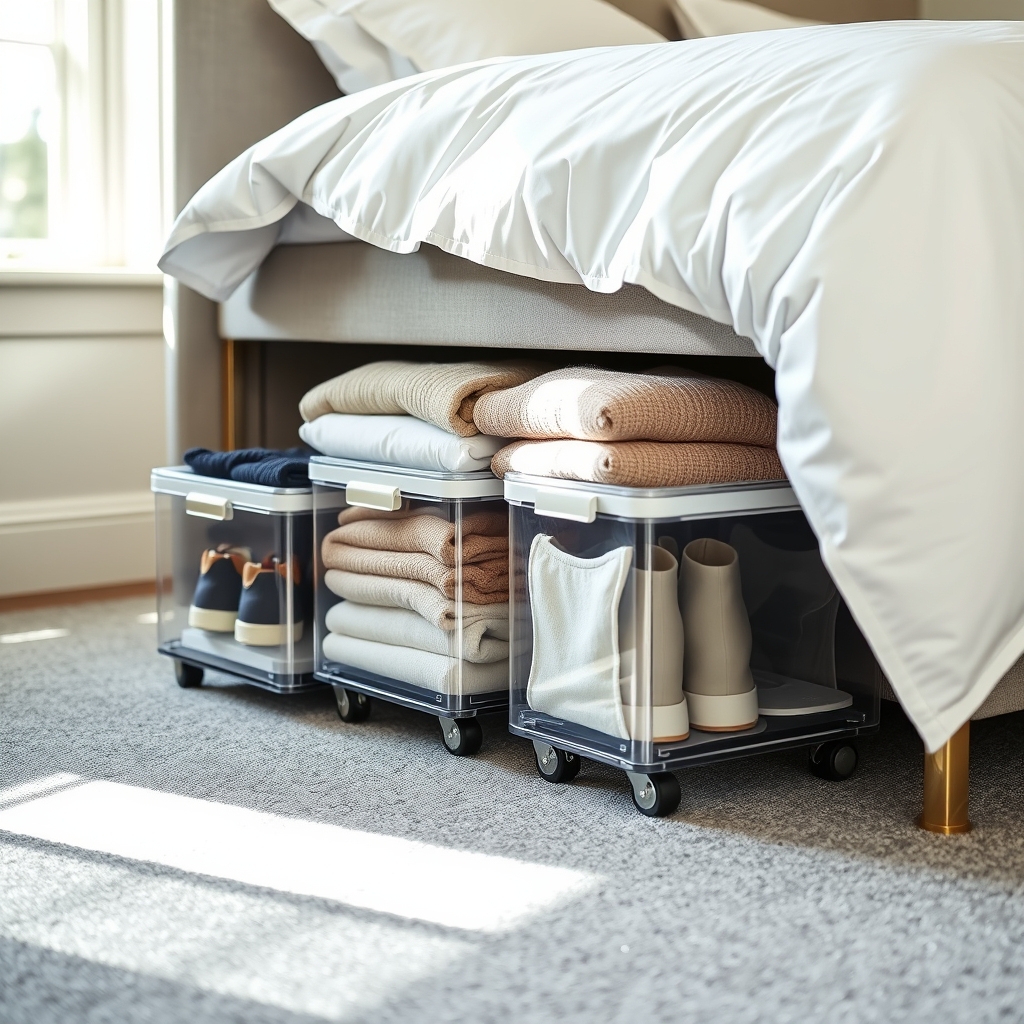
Making the most of under-bed space is crucial in any home, especially those with limited storage options. This often-overlooked area can provide substantial storage capacity, equivalent to several drawers or a small closet, making it perfect for seasonal items, extra bedding, or clothing.
Rolling containers specifically designed for under-bed storage transform this space from a dust-collecting void into an organized, accessible storage solution. The ability to easily slide containers in and out eliminates the frustration of reaching into dark corners and makes regular access to stored items effortless.
Required Items:
- Rolling under-bed storage containers
- Measuring tape
- Labels or label maker
- Drawer dividers or small boxes
- Vacuum storage bags (optional)
- Dust cover or bed skirt
- Clear plastic bins
- Anti-moisture packets
Begin by measuring the height clearance under your bed and the width and length of available space. Sort items you plan to store by category and season. Pack items into vacuum storage bags if using them to maximize space. Place frequently accessed items in containers that will be positioned toward the outer edges of the bed for easy reach.
Position the rolling containers, ensuring they fit properly and roll smoothly on your floor surface. Organize items within each container using drawer dividers or smaller boxes to prevent items from shifting. Label each container clearly on both the top and sides for easy identification without pulling containers out completely.
Additional Tips: Consider placing a bed skirt or dust cover to conceal storage while keeping dust at bay. Position containers so their wheels align with any floor irregularities for smooth rolling. Include moisture-absorbing packets in containers storing textiles or clothing to prevent musty odors.
Maintain a detailed inventory list of stored items to avoid unnecessary searching, and rotate seasonal items twice yearly to keep contents fresh and organized.
Optimize Kitchen Space With Pull-Out Pantry Systems
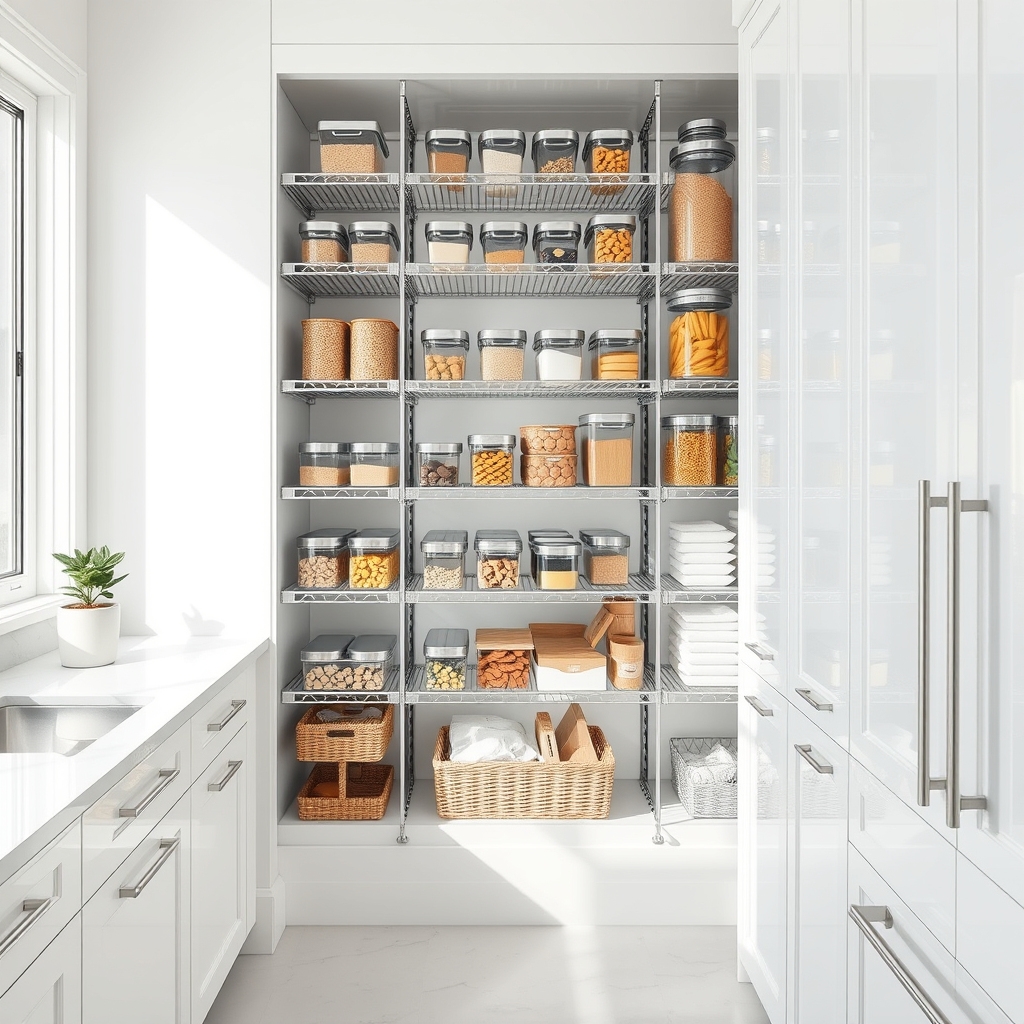
A well-organized pull-out pantry system transforms cluttered kitchen storage into an efficient, accessible space that saves time and reduces waste.
These systems maximize vertical storage while keeping items visible and within easy reach, eliminating the frustration of forgotten items pushed to the back of deep cabinets.
Pull-out pantry systems represent a smart investment in kitchen organization, allowing homeowners to store up to 50% more items in the same footprint compared to traditional shelving.
When properly organized, these systems create designated spaces for different categories of food items, making meal planning and grocery shopping more streamlined.
Required Items:
- Pull-out pantry hardware
- Measuring tape
- Clear storage containers
- Label maker
- Shelf liner
- Basket organizers
- Drawer dividers
- Installation tools (screwdriver, drill, level)
- Mounting brackets
- Cabinet door hinges
Start by removing all items from the existing pantry space and measuring the cabinet interior dimensions.
Install the pull-out system according to manufacturer specifications, ensuring proper weight distribution and smooth sliding action.
Mount the tracks at the top and bottom of the cabinet, verify they’re level, and secure the shelving units to the tracks.
Organize items by category, placing frequently used products at eye level and heavier items on lower shelves.
Transfer dry goods into clear, airtight containers for optimal visibility and freshness.
Group similar items together: baking supplies, breakfast items, snacks, and canned goods.
Install additional organizing elements like drawer dividers or small bins to contain loose packets and prevent items from shifting during movement.
For maximum effectiveness, implement a rotation system where newer items are placed behind older ones to prevent expiration.
Add LED strip lighting to improve visibility, and consider installing door-mounted organizers for additional storage.
Regularly review and adjust the organization system based on your family’s changing needs and habits.

