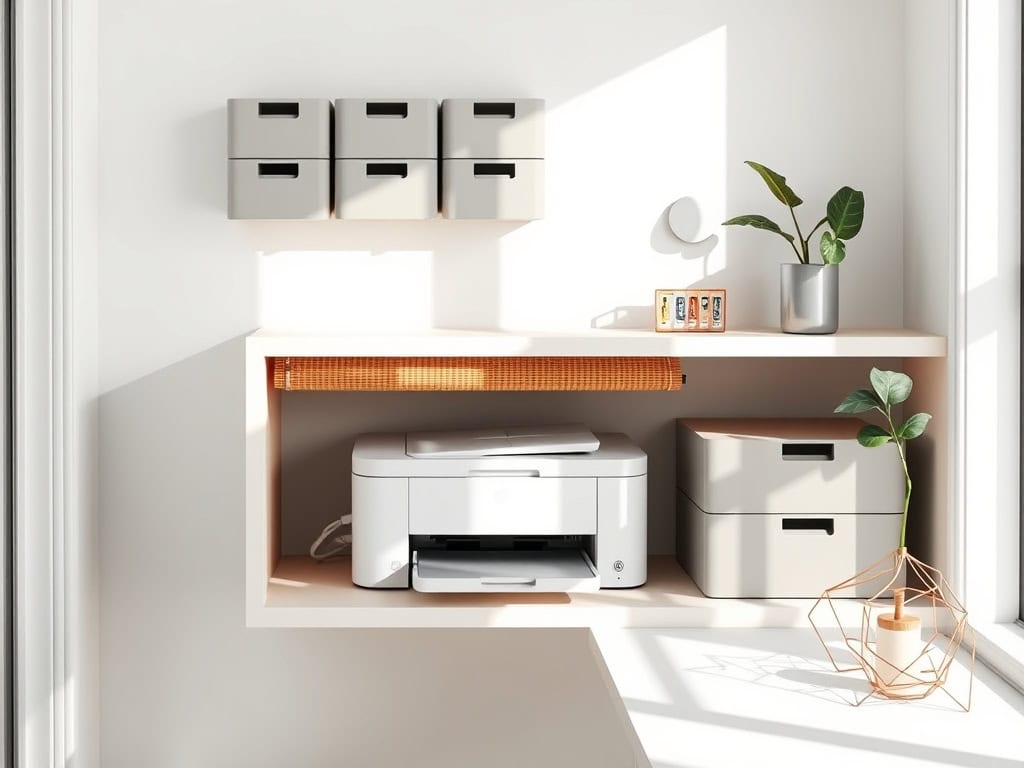
While printers are essential for any home office, they don’t have to be those bulky eyesores taking up precious desk space. If you’re struggling to find the sweet spot between functionality and aesthetics, you’re not alone. I’ve spent years perfecting my own printer storage solutions, and I’ve discovered seven clever hacks that’ll transform your workspace from cluttered to coordinated. Ready to turn that printer predicament into an organized oasis? Let’s explore these game-changing solutions.
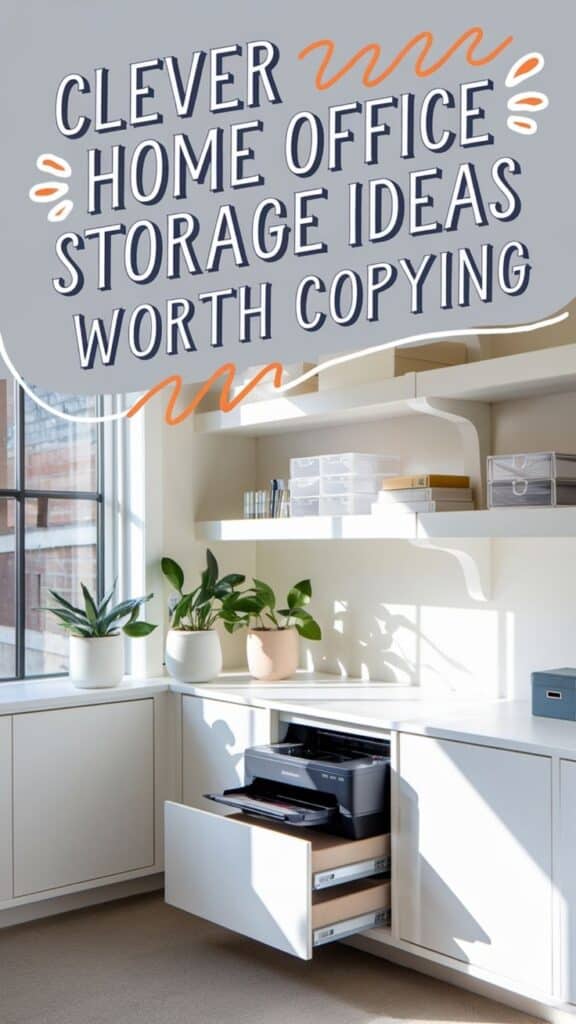
Create a Dedicated Printer Cart With Hidden Storage
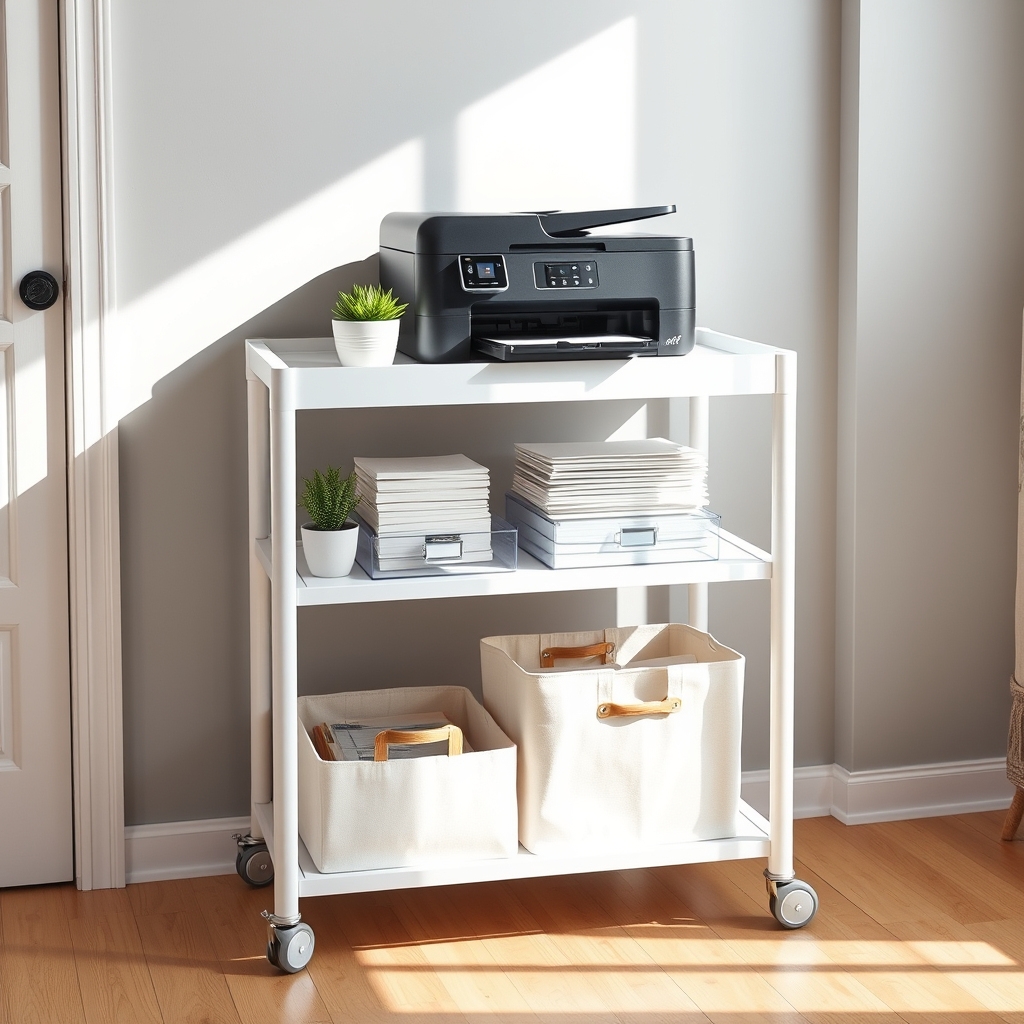
A well-organized printer cart can transform a cluttered home office into an efficient workspace while maximizing storage potential. When printers and their supplies are scattered across various locations, it creates unnecessary frustration and wastes valuable time searching for materials when they’re needed most.
A dedicated printer cart with hidden storage serves multiple purposes: it keeps your printer at an ergonomic height, consolidates all printing supplies in one location, and provides a mobile solution that can be moved when needed. The hidden storage component ensures that your office maintains a clean, professional appearance while keeping essential items within arm’s reach.
Required Items:
- Rolling cart with shelves
- Storage bins or containers
- Cable management solutions
- Label maker
- Drawer organizers or dividers
- Clear storage containers
- Paper storage trays
- Mounting hardware (if needed)
- Shelf liner
- Measuring tape
Select a cart that matches your printer’s dimensions and weight capacity, ensuring at least 2-3 inches of clearance on all sides. Install shelf liner on each level to prevent items from sliding.
Position the printer on the top shelf, using cable management solutions to keep cords tidy and prevent tangling. Organize the middle shelf with paper supplies, creating designated spaces for different paper types and sizes using storage trays.
Utilize the bottom shelf for hidden storage by incorporating bins or containers that match the cart’s dimensions. Sort printing supplies into categories: ink cartridges, maintenance items, and specialty papers. Use clear containers for frequently accessed items and label everything clearly to maintain organization.
Additional Tips: Consider adding a small tension rod inside one of the storage areas to hang specialty papers vertically, saving space and preventing curling. Install a small hook on the side of the cart for hanging scissors or other frequently used tools.
If your cart has wheels, ensure they lock securely to prevent movement during printer operation, and periodically clean all surfaces to prevent paper dust accumulation.
Use Vertical Wall Space With Floating Shelves
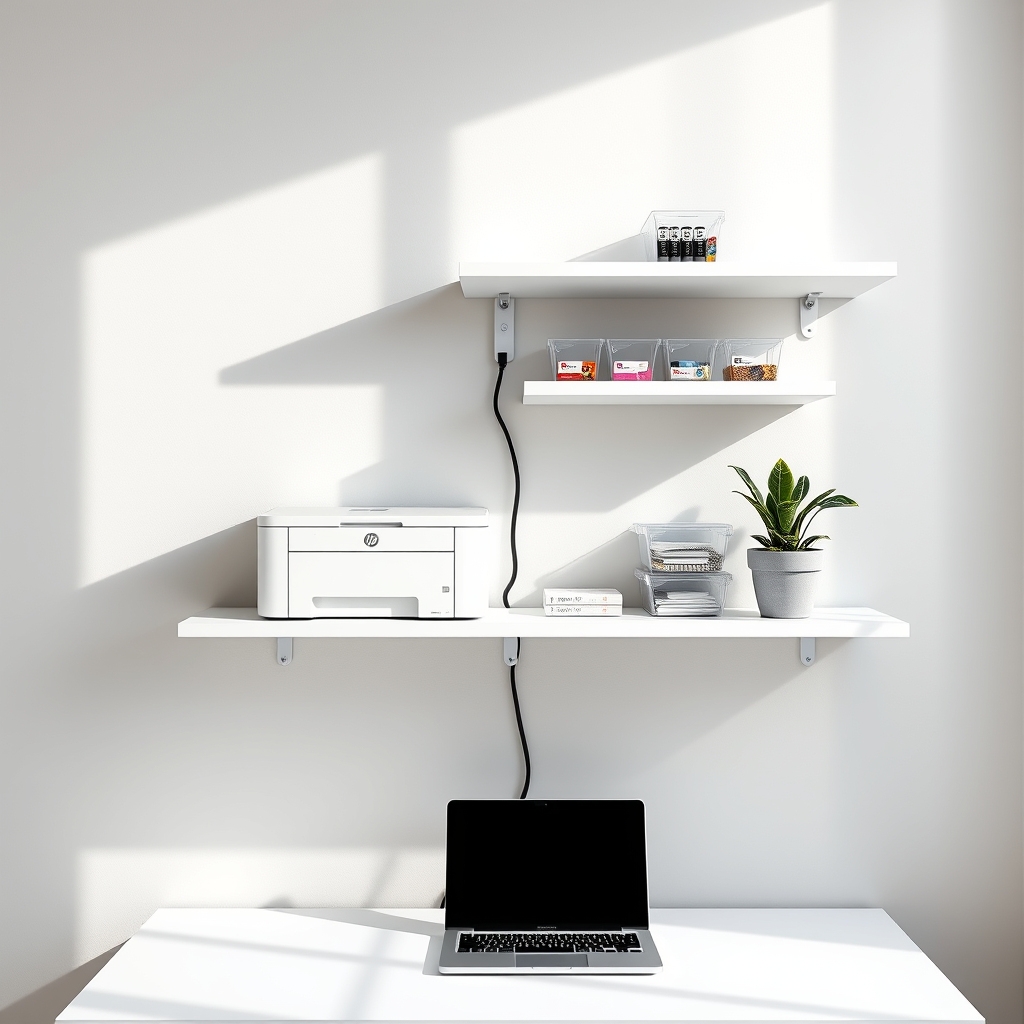
Maximizing vertical wall space in a home office is essential for creating an organized and efficient workspace, especially when dealing with bulky items like printers and their accessories. By installing floating shelves, you can free up valuable desk and floor space while keeping printing supplies within easy reach.
Utilizing wall-mounted storage solutions not only creates a cleaner aesthetic but also helps establish a more ergonomic workflow. Floating shelves provide flexible storage options that can be adjusted to accommodate different printer sizes and supplementary materials, making it easier to maintain an organized and professional home office environment.
Required Items:
- Floating shelves (weight-rated for printer)
- Wall anchors and screws
- Stud finder
- Level
- Drill and drill bits
- Measuring tape
- Pencil
- Cable management clips
- Storage containers for supplies
- Paper organizer
- Dust-proof containers for ink/toner
Start by determining the ideal height for your printer shelf, ensuring it’s easily accessible while standing. Using a stud finder, locate and mark wall studs for maximum support.
Install the first and largest shelf at this height, ensuring it’s level and properly anchored to support your printer’s weight. Position additional smaller shelves above or below the printer shelf to store paper, ink cartridges, and other supplies.
Install cable management clips along the wall to keep power cords and USB cables tidy and prevent them from dangling.
When arranging items on the shelves, place the printer on the main shelf with enough clearance for ventilation and paper feeding. Organize supplies on additional shelves with frequently used items at eye level.
Store paper in horizontal paper organizers to prevent curling, and keep ink cartridges in sealed containers to prevent drying. Use clear storage containers to easily identify supplies and maintain inventory.
Additional Tip: Create a maintenance zone on one of the shelves dedicated to printer cleaning supplies and basic tools. Implement a regular cleaning schedule and keep a small inventory list posted inside a cabinet door to track supply levels.
This proactive approach will help prevent printing emergencies and maintain optimal printer performance while keeping your vertical storage system organized and efficient.
Transform an Unused Cabinet Into a Printer Station
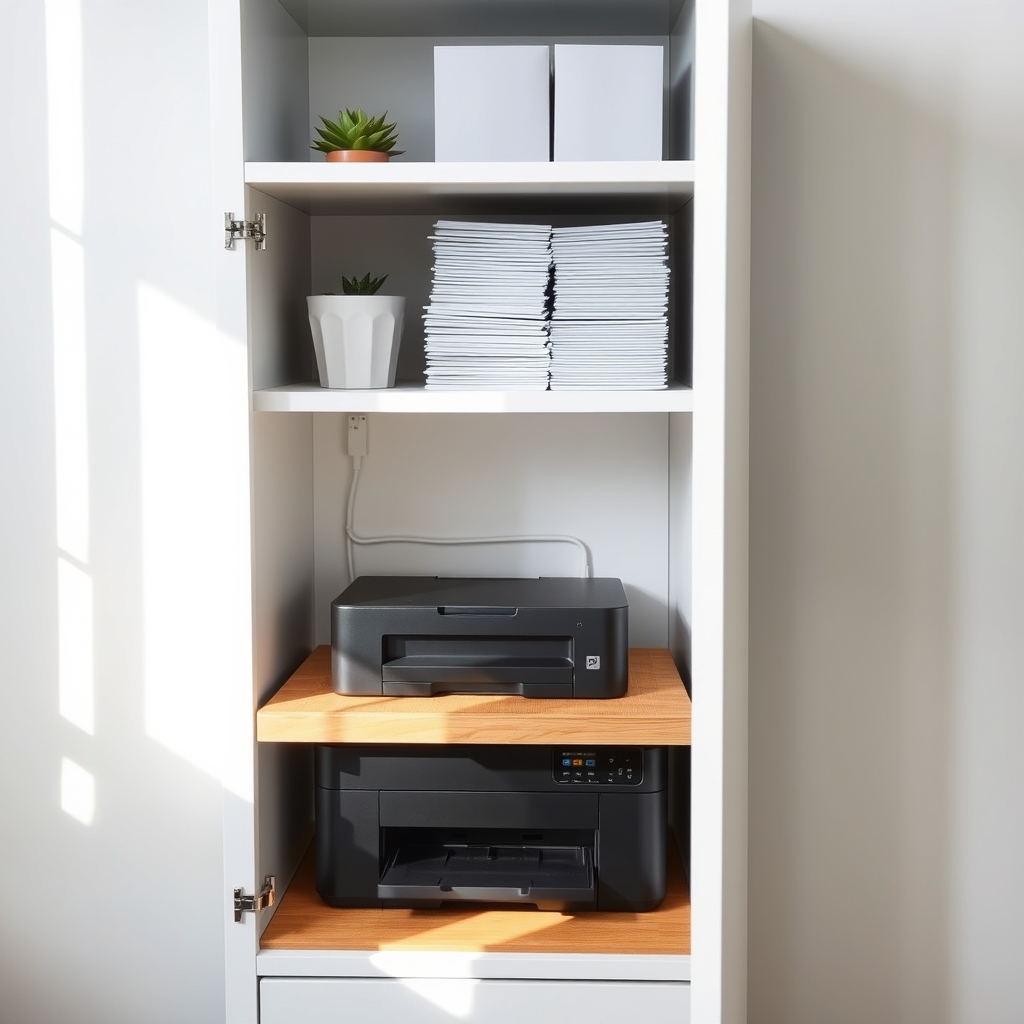
A well-organized printer station is essential for maintaining an efficient home office workflow. When printers are left on desks or random surfaces, they not only take up valuable workspace but also create visual clutter that can affect productivity and focus.
Converting an unused cabinet into a dedicated printer station offers a perfect solution that combines functionality with aesthetic appeal. This transformation helps conceal unsightly cords, provides easy access to printing supplies, and creates additional storage space while keeping your printer protected from dust and damage.
Required Items:
- Unused cabinet with adequate depth and width
- Power strip
- Cable management clips or ties
- Drill and drill bits
- Measuring tape
- Pencil
- Hole saw or jigsaw
- Sandpaper
- Pull-out shelf (optional)
- Cabinet liner (optional)
- Basic tool kit
Begin by measuring your printer’s dimensions and ensuring the cabinet provides adequate space for both the printer and its operational needs, including paper feeding and output. Create ventilation holes in the back panel of the cabinet using a hole saw or jigsaw, ensuring proper airflow for the printer. Sand the edges of the holes smooth.
Install a power strip inside the cabinet and drill a small hole for the main power cord to exit discreetly. Next, use cable management clips to secure all cords along the cabinet’s interior walls, creating a clean and organized appearance. If desired, install a pull-out shelf at the appropriate height for easy printer access.
Line the cabinet with non-slip liner material to protect the surface and prevent the printer from sliding. Position the printer inside the cabinet, ensuring all cables reach their connections and the printer can function properly without strain on any cords.
For optimal functionality, consider installing additional shelving above or below the printer for paper storage and supplies. Keep frequently used items at easy reach, and implement a rotation system for specialty papers or less-used supplies.
Regular maintenance of this space, including dusting and cord checks, will ensure your printer station remains efficient and organized for years to come.
Install a Pull-Out Drawer System for Easy Access
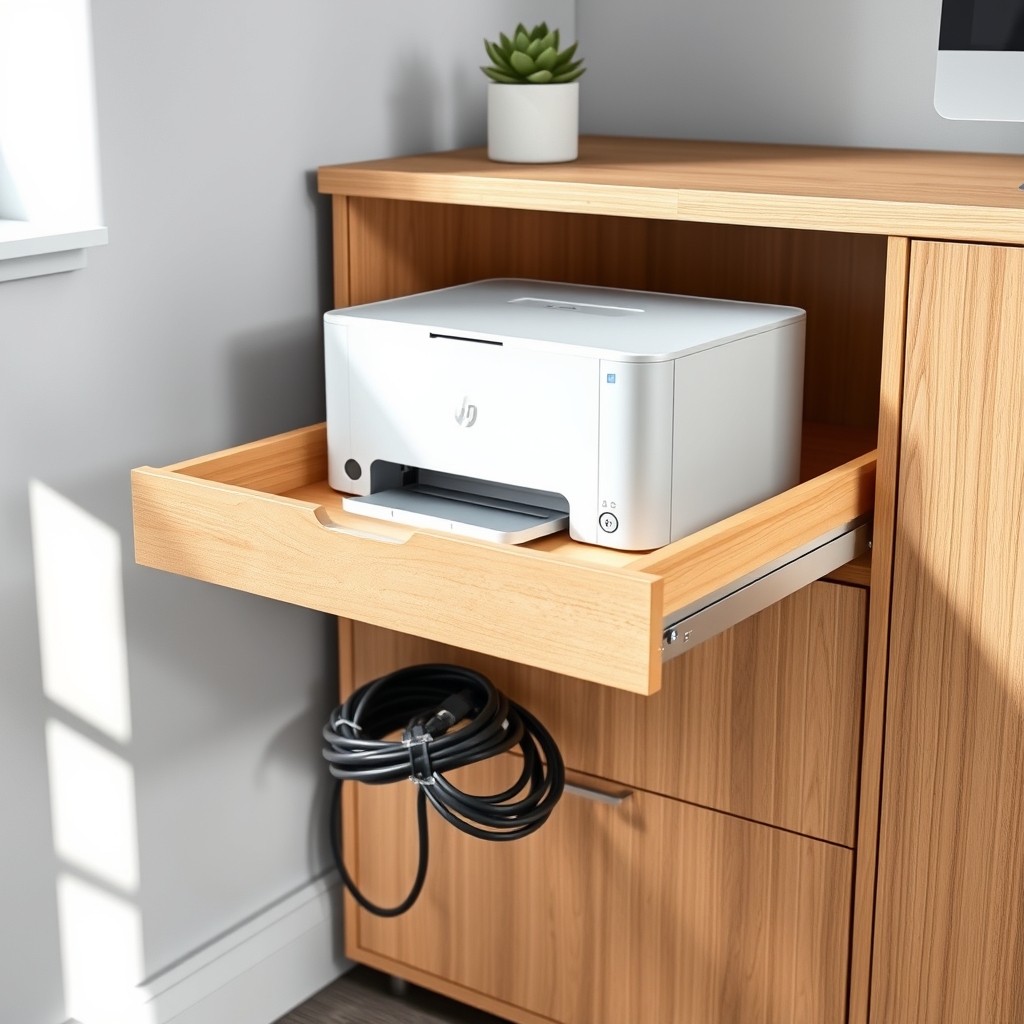
A well-organized printer storage system is essential for maintaining an efficient home office workspace. When printers are tucked away in cabinets or corners, accessing them for regular use or maintenance can become cumbersome and frustrating, leading to reduced productivity and potential damage to the equipment.
Installing a pull-out drawer system transforms printer accessibility while maximizing available space. This solution allows you to easily access your printer when needed and conceal it when not in use, creating a cleaner, more professional-looking workspace while protecting the printer from dust and debris.
Required Items:
- Heavy-duty drawer slides (rated for printer weight)
- Mounting brackets
- Wooden platform or shelf
- Screws and anchors
- Power strip
- Cable management clips
- Measuring tape
- Drill and drill bits
- Screwdriver
- Level
- Pencil
Begin by measuring your printer’s dimensions and weight to select appropriate drawer slides and determine the platform size needed. Cut the wooden platform to size, ensuring it extends slightly beyond the printer’s footprint for stability.
Install the drawer slides according to manufacturer specifications, typically attaching one set to the cabinet interior and the corresponding set to the platform sides. Mount the platform onto the drawer slides, ensuring it’s level and can support the printer’s weight.
Create a cable management system by installing a power strip on the platform’s underside and using cable clips to secure printer cords, preventing tangling during sliding movement. Test the drawer’s smooth operation before placing the printer on the platform.
For optimal performance, regular maintenance of the drawer slides is crucial. Apply silicone lubricant every few months to keep the mechanism running smoothly. Position the drawer at a height that allows comfortable access to printer controls and paper loading, and consider installing a soft-close mechanism to prevent abrupt movements that could damage the printer over time.
Design a Multi-Purpose Printer Stand With Supply Bins
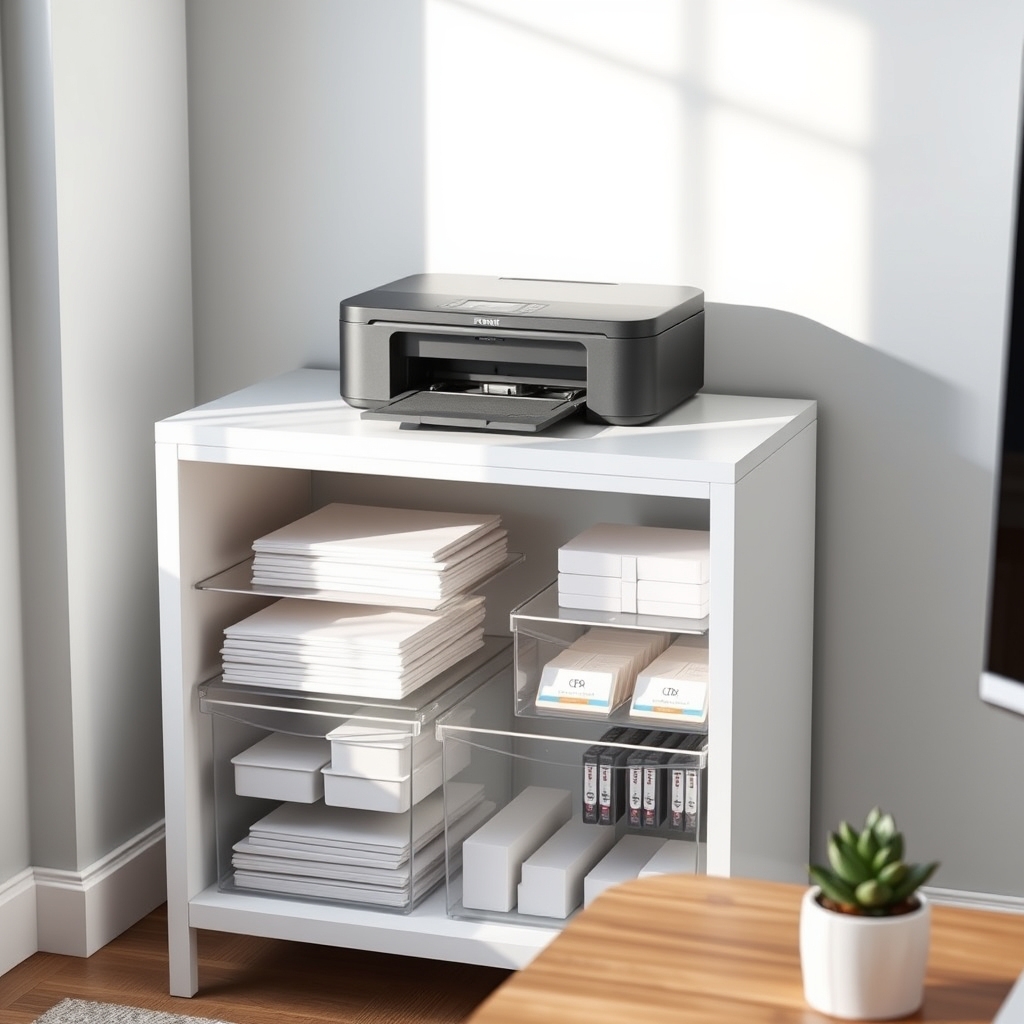
A well-organized printer station serves as the command center for all your home office printing needs. When supplies are scattered across different locations, valuable time is wasted searching for paper, ink cartridges, or maintenance tools, disrupting workflow and productivity.
Creating a dedicated multi-purpose printer stand with integrated storage solutions not only maximizes space efficiency but also ensures all printing essentials are within arm’s reach. This organized system eliminates clutter, protects supplies from dust and damage, and transforms a basic printer setup into a streamlined workstation.
Required Items:
- Sturdy printer stand or desk with shelf space
- Clear plastic storage bins
- Label maker or labels
- Drawer organizers or dividers
- Cable management clips
- Paper sorter
- Dust-proof containers for ink cartridges
- Small tool organizer
- Measuring tape
- Cleaning supplies holder
Begin by measuring your printer’s dimensions and selecting a stand that provides at least 2-3 inches of additional space on all sides. Install clear storage bins beneath or alongside the printer, categorizing them by function: one for various paper types, another for ink supplies, and a third for maintenance tools.
Position frequently accessed items at the front for easy reach. Create a dedicated space for cable management using adhesive clips to prevent tangling and maintain a clean appearance.
For optimal organization, implement a vertical storage system using paper sorters for different paper sizes and types. Place ink cartridges in dust-proof containers to prevent degradation, and arrange them by printer model and color.
Use drawer organizers to separate small items like paper clips, staples, and cleaning supplies, ensuring each category has its designated space.
Consider implementing a regular maintenance schedule and inventory system to track supplies. Keep a small notepad or digital document listing when items need replacement, and maintain a mini cleaning kit within the storage system for quick printer maintenance.
This proactive approach prevents supply shortages and keeps your printer station functioning efficiently year-round.
Set Up a Corner Storage Solution for Tight Spaces
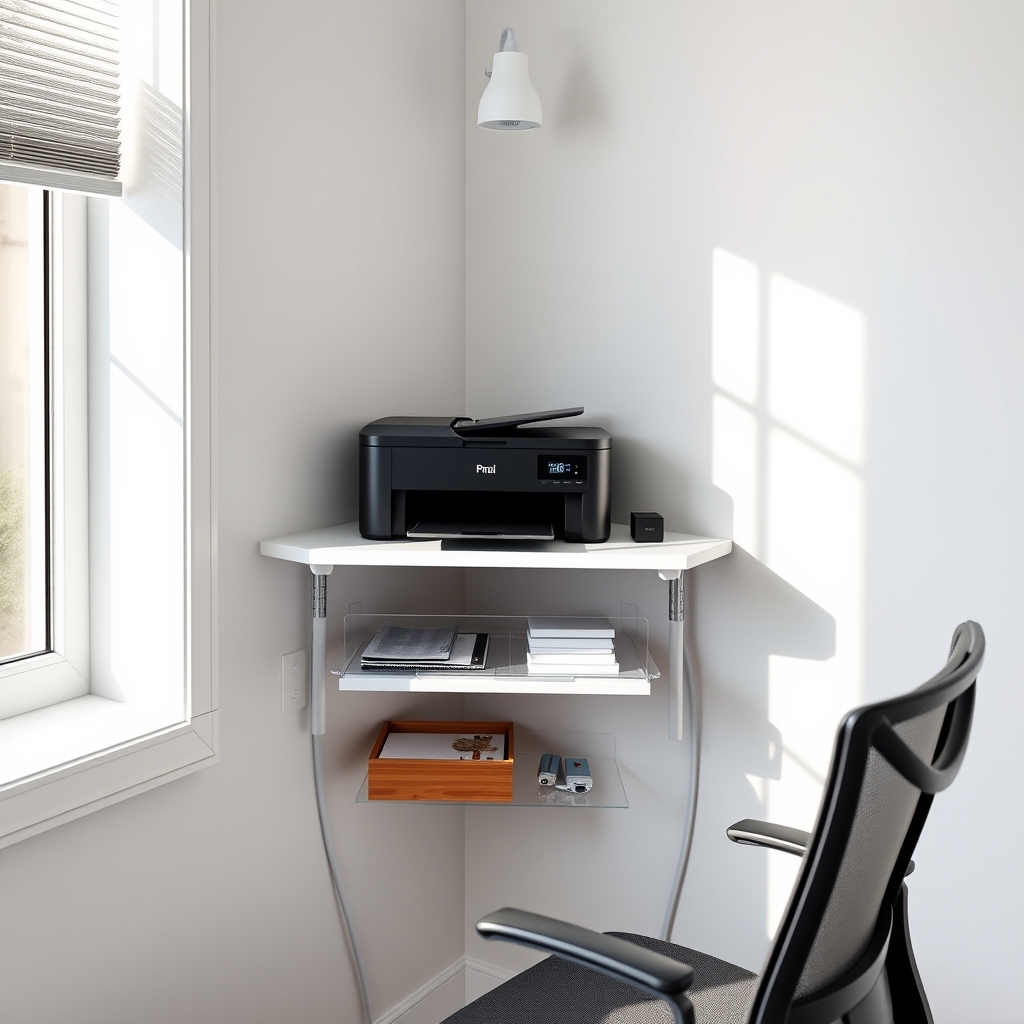
Making the most of corner spaces in a home office is crucial for maximizing functionality, especially when dealing with bulky items like printers. A well-organized corner storage solution not only saves valuable desk space but also creates a more professional and streamlined work environment.
Corner spaces often become neglected or underutilized due to their awkward angles, but with proper planning, they can be transformed into efficient printer stations that combine storage and accessibility. A dedicated corner setup keeps printing supplies within reach while maintaining a clutter-free workspace.
Required Items:
- Corner shelf unit or corner desk
- Cable management solutions
- Storage containers or drawer unit
- Label maker
- Paper organizer
- Dust cover
- Surge protector
- Mounting hardware
- Level
- Measuring tape
Begin by measuring your corner space carefully, ensuring enough room for both the printer and associated supplies. Install a corner shelf unit at the appropriate height, considering the printer’s dimensions and cable requirements. If using a mounted solution, secure it properly to the wall using appropriate anchors.
Position the printer on the main surface, allowing adequate ventilation space around all sides. Create designated zones within the corner unit: one for the printer, another for paper storage, and a third for supplies like ink cartridges and maintenance tools.
Install cable management solutions to keep power cords and USB cables organized and out of sight. Use storage containers or drawers beneath the printer shelf to maximize vertical space and store less frequently used items.
To maintain organization long-term, implement a regular cleaning schedule and keep frequently used supplies at arm’s reach. Consider installing a small LED light above the printer area for better visibility, and use clear containers for supplies so you can easily monitor inventory levels.
Remember to leave enough workspace around the printer for paper handling and maintenance tasks.
Build a Rolling Under-Desk Printer Cabinet
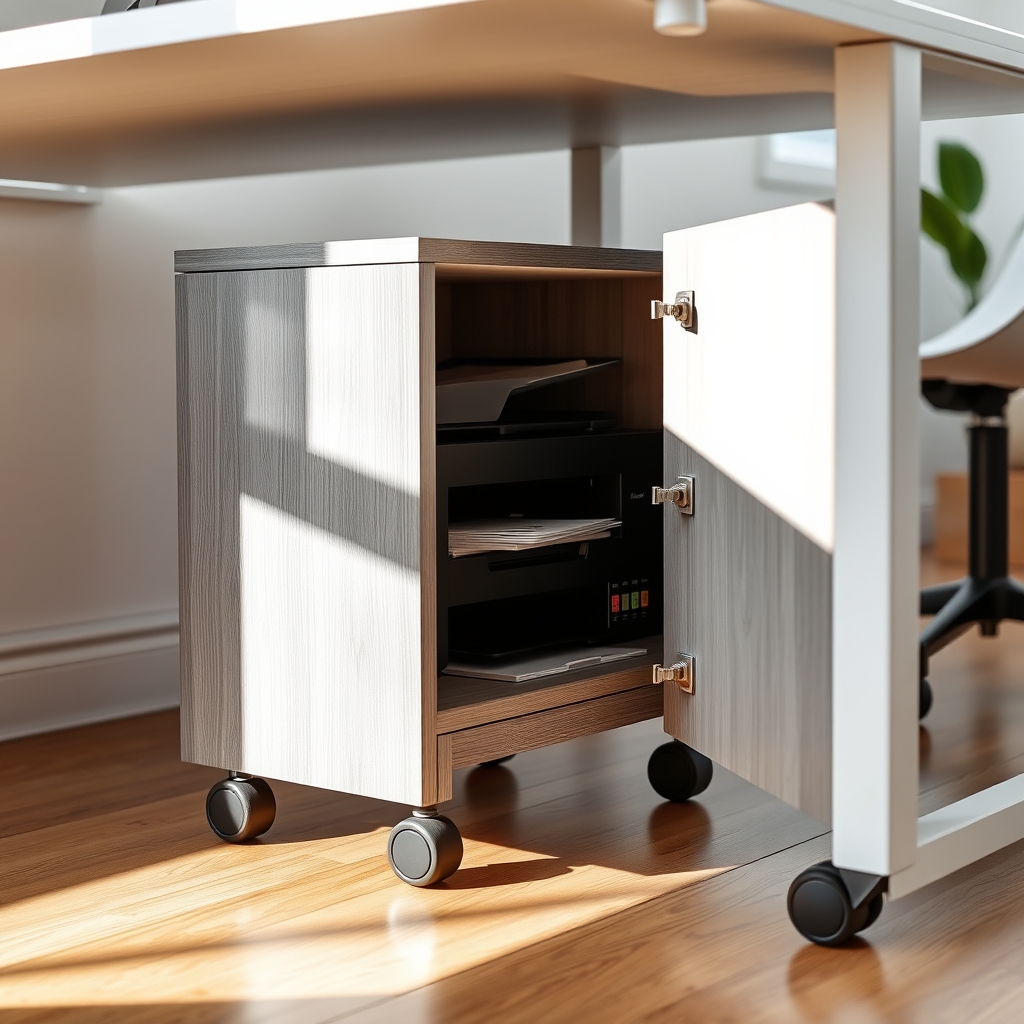
A well-organized home office requires smart storage solutions, particularly for bulky items like printers that take up valuable desk space. Creating a rolling under-desk printer cabinet not only frees up your workspace but also keeps your printer protected from dust and within easy reach when needed.
Converting the space under your desk into functional printer storage demonstrates efficient use of otherwise wasted space. This DIY solution combines accessibility with tidiness, allowing you to maintain a clean aesthetic while keeping your printer readily available for daily use.
Required Materials:
- 3/4-inch plywood or MDF boards
- 4 heavy-duty caster wheels
- Cabinet pulls or handles
- Cabinet hinges
- Wood screws
- Wood glue
- Measuring tape
- Pencil
- Drill and drill bits
- Screwdriver
- Saw
- Sandpaper
- Paint or wood stain (optional)
Begin by measuring the space under your desk and your printer’s dimensions, adding an extra inch of clearance on all sides. Cut the plywood pieces for the cabinet base, sides, back, and door according to these measurements. Sand all edges smooth.
Assemble the basic box structure using wood glue and screws, ensuring square corners. Install the hinges on the front panel to create a swing-out door, and attach the handle. Finally, mount the caster wheels to the cabinet’s base, ensuring they can support the combined weight of the cabinet and printer.
When positioning the cabinet, verify that the wheels roll smoothly on your floor surface and that the cabinet fits comfortably under your desk. Route any necessary printer cables through a small hole in the back panel, keeping them organized and preventing tangling.
Additional Tips:
Consider adding a power strip mount inside the cabinet to manage cables more effectively. Install rubber bumpers on the cabinet’s edges to prevent damage to your desk or walls. For better organization, incorporate small shelves or dividers inside the cabinet to store paper, ink cartridges, and other printing supplies.
Remember to leave adequate ventilation space around the printer to prevent overheating during operation.

