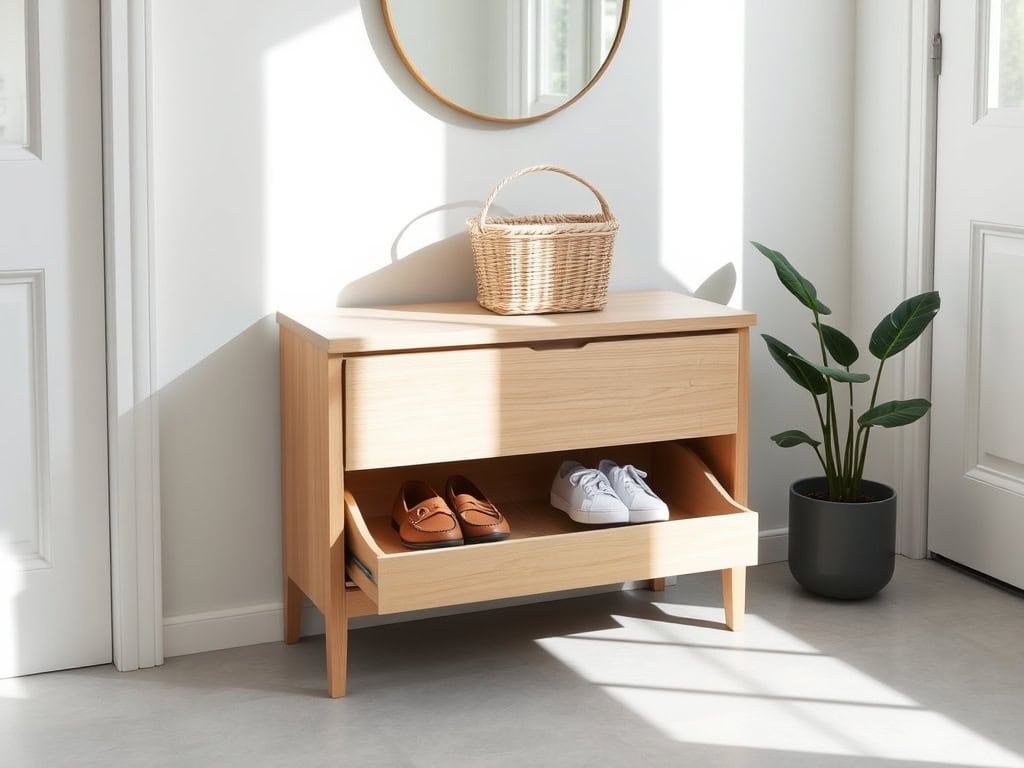
You know that feeling when you open your front door and trip over a mountain of shoes? We’ve all been there! Your entryway should welcome you home, not test your obstacle course skills. After struggling with this exact problem in my own narrow hallway, I’ve discovered some clever storage solutions that’ll transform your entrance from chaotic to composed. Whether you’re working with a tiny apartment or a spacious foyer, these 10 stylish ideas will help you kick that shoe clutter to the curb.
Multi-Purpose Storage Benches
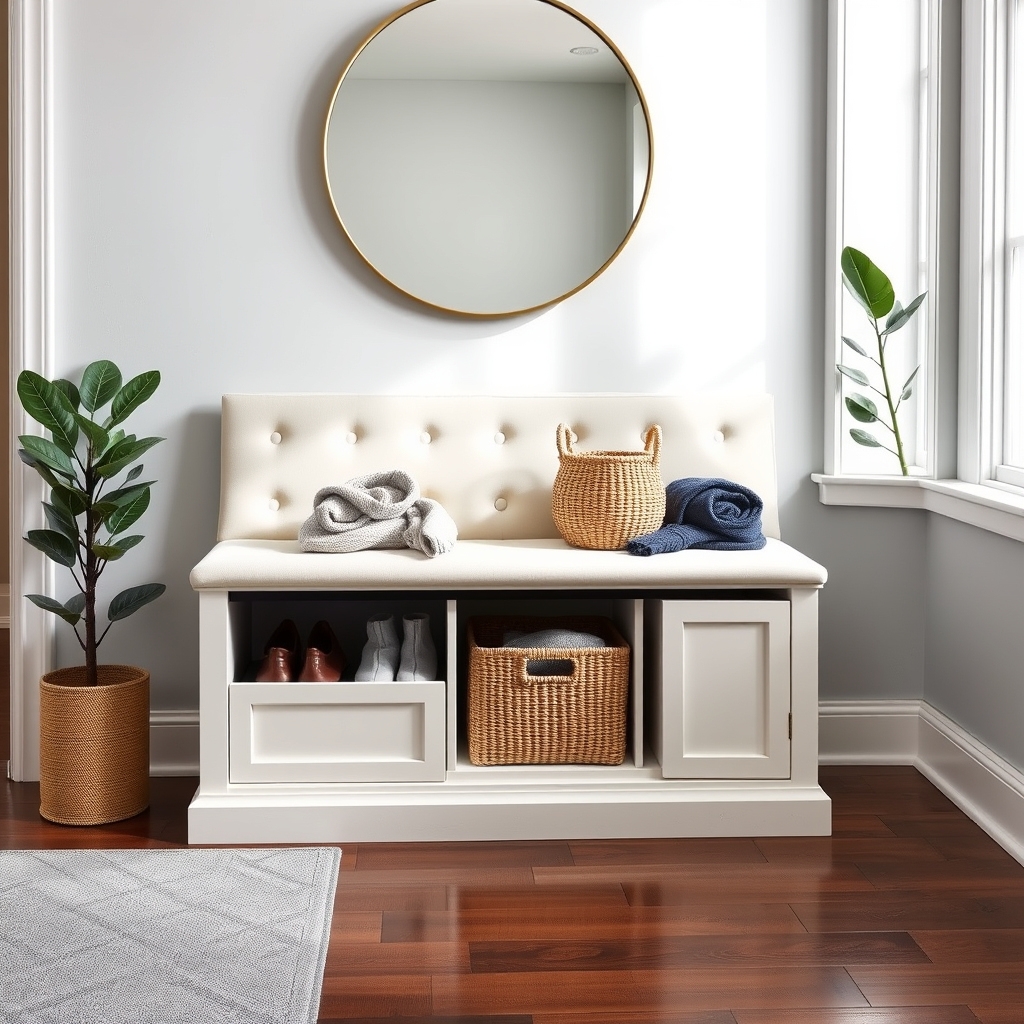
A well-organized storage bench at your home’s entrance serves as both a functional piece of furniture and a smart storage solution.
These versatile units help maintain order in high-traffic areas while providing a comfortable spot to sit while removing or putting on shoes, making them an essential component of an organized entryway.
Multi-purpose storage benches are particularly valuable in homes where space is at a premium, as they combine seating, storage, and style in one compact unit.
When properly organized, these benches can accommodate not just shoes but also seasonal accessories like gloves, hats, and umbrellas, maximizing their utility while keeping clutter at bay.
Required Items:
- Storage bench with compartments
- Shoe organizer inserts
- Storage bins or baskets
- Label maker
- Drawer liners or moisture-absorbing pads
- Small storage containers for accessories
- Hooks or hanging organizers
- Cleaning supplies
Start by emptying the storage bench completely and cleaning all compartments thoroughly.
Sort shoes and accessories into categories based on frequency of use and season.
Install drawer liners or moisture-absorbing pads in the bottom of each compartment to protect both the bench and stored items.
Arrange shoes in the main compartment using organizer inserts to maintain proper spacing and prevent scuffing.
For maximum efficiency, dedicate specific sections within the bench for different purposes.
The top compartment can store frequently worn shoes, while lower or side compartments can house seasonal items or accessories.
Use smaller containers or baskets within larger compartments to separate items and prevent them from becoming jumbled.
Install hooks on the sides or back of the bench for hanging items like umbrellas or reusable shopping bags.
Additional Tips: Rotate items seasonally to ensure the most frequently used pieces are easily accessible.
Implement a regular maintenance schedule to clean and reorganize the bench every few weeks.
Consider adding scented sachets or deodorizers to keep stored items fresh, and establish a household rule about immediately returning items to their designated spots after use.
This systematic approach will help maintain organization long-term and maximize the functionality of your storage bench.
Floating Wall-Mounted Shelves
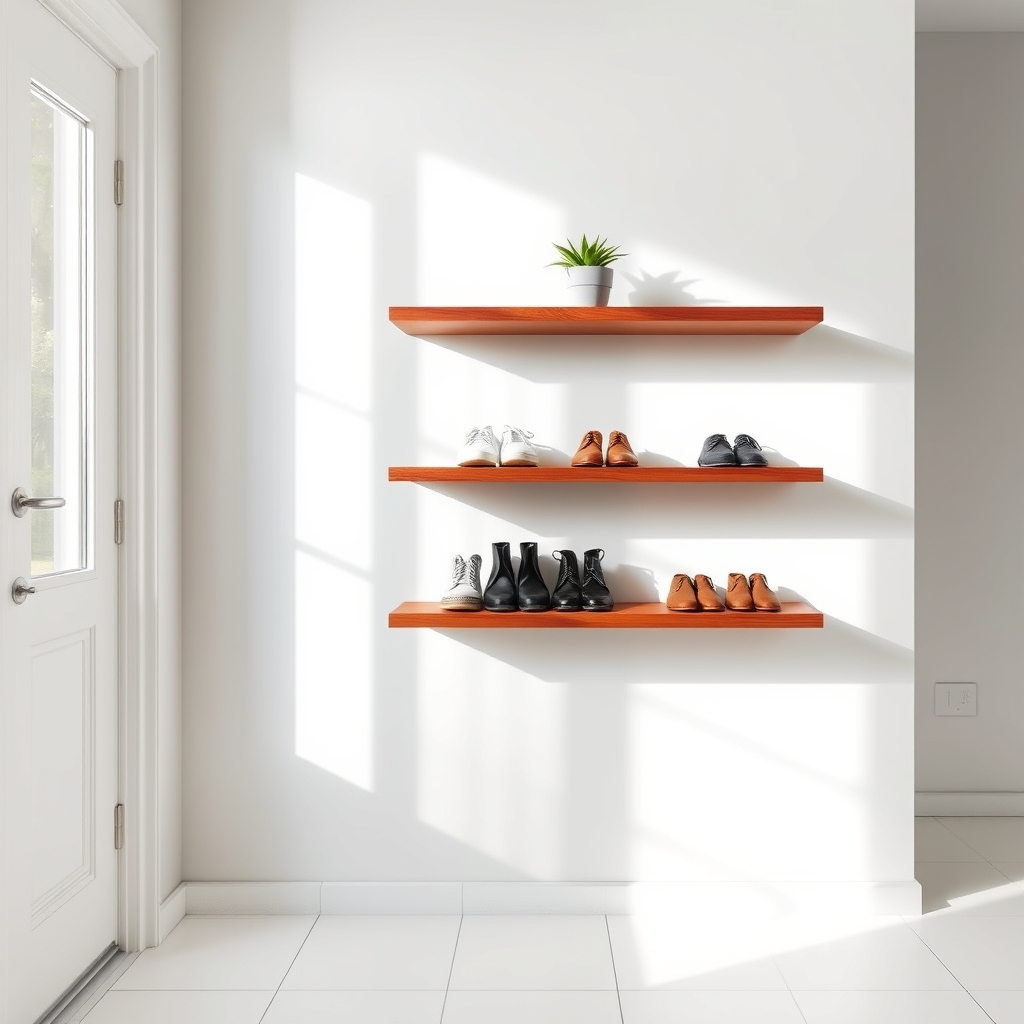
A well-organized floating shoe shelf system at your entryway creates an immediate sense of order while maximizing vertical space that would otherwise go unused.
These modern storage solutions keep shoes off the floor, prevent clutter buildup, and make it easier to maintain a clean, welcoming entrance to your home.
Floating wall-mounted shelves offer flexibility in design and capacity, allowing you to customize the height and spacing to accommodate different types of footwear.
This organization method not only serves a practical purpose but also creates an attractive display that can enhance your entryway’s aesthetic appeal.
Required Items:
- Floating wall shelves
- Wall anchors and screws
- Power drill
- Level
- Measuring tape
- Pencil
- Stud finder
- Screwdriver
- Wall brackets
- Safety goggles
- Dust mask
The installation and organization process begins with careful planning and measurement.
Using a stud finder, locate and mark wall studs, then determine optimal shelf heights based on your shoe collection – typically 12-14 inches between shelves for regular shoes and boots.
Install the lowest shelf at least 6 inches from the floor to allow for easy cleaning underneath.
Once the shelves are securely mounted, organize shoes by category and frequency of use.
Place everyday shoes on middle shelves for easy access, special occasion footwear on upper shelves, and seasonal items on lower or higher shelves depending on current needs.
Consider leaving 2-3 inches of space between pairs to prevent overcrowding and maintain air circulation.
For optimal organization, rotate shoes seasonally and implement a one-in-one-out policy to prevent overcrowding.
Consider adding small labels or markers to designate specific zones for different family members or shoe types, and install a small basket on one shelf for shoe care supplies like polish or waterproofing spray.
This system works best when you regularly assess and adjust shelf spacing and arrangement based on changing needs and seasons.
Under-Stairs Shoe Cabinet Solutions
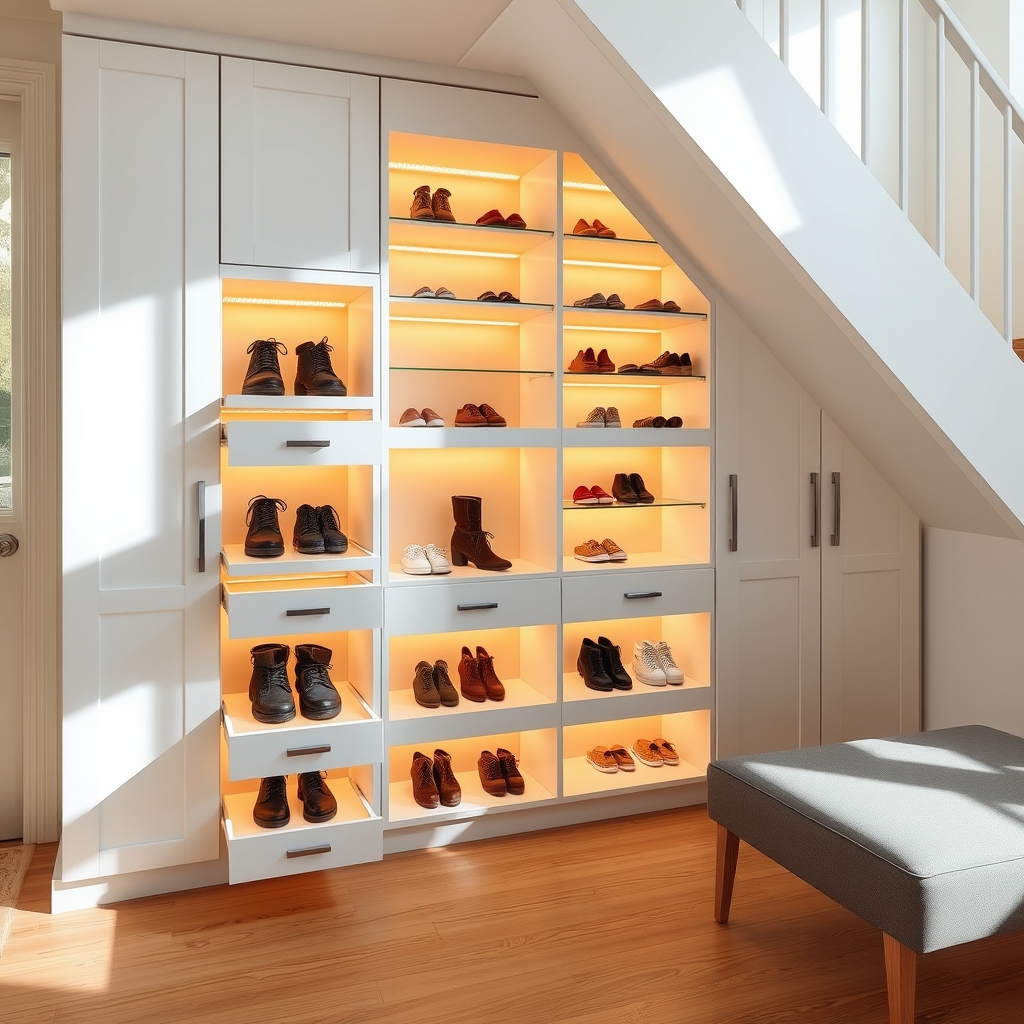
Making the most of under-stairs space for shoe storage is a brilliant way to maximize often-overlooked areas in your home. This typically unused space can be transformed into a functional and organized shoe storage solution that keeps footwear easily accessible while maintaining a clutter-free entryway.
Under-stairs shoe storage requires careful planning to utilize every inch of available space effectively. The unique triangular shape of under-stairs areas presents both challenges and opportunities, making it essential to implement a well-thought-out organization system that accommodates varying shoe sizes and styles while maintaining easy access.
Required Items:
- Measuring tape
- Adjustable shoe racks or shelving
- Cabinet hardware (hinges, handles)
- LED strip lighting
- Drawer slides (if implementing pull-out storage)
- Wood or material for custom shelving
- Level
- Screwdriver and drill
- Dust-proof door seals
- Storage bins or baskets
Begin by measuring the entire under-stairs space, noting the height, width, and depth at different points. Install adjustable shelving units that can be reconfigured as needed, starting with the tallest section for boots and working toward the shorter areas for flats and children’s shoes.
Position frequently worn shoes at eye level and easily accessible areas, while seasonal footwear can be stored in the deeper, less accessible spaces.
For maximum organization, implement a combination of fixed and pull-out shelving. Install LED strip lighting on each shelf level, activated by motion sensors or door triggers, ensuring visibility of all stored items.
Create designated zones for different family members or shoe types, using labels or color-coding systems to maintain order. Consider installing doors with dust-proof seals to protect shoes from debris and maintain a clean appearance.
Additional Tips:
Include ventilation holes or mesh panels in the cabinet design to prevent moisture buildup and odors.
Install a small bench or seating area near the cabinet for comfortable shoe changes. Use cedar blocks or moisture-absorbing products to maintain freshness, and implement a regular rotation system to prevent rarely worn shoes from being forgotten in hard-to-reach areas.
Hidden Rotating Shoe Carousels
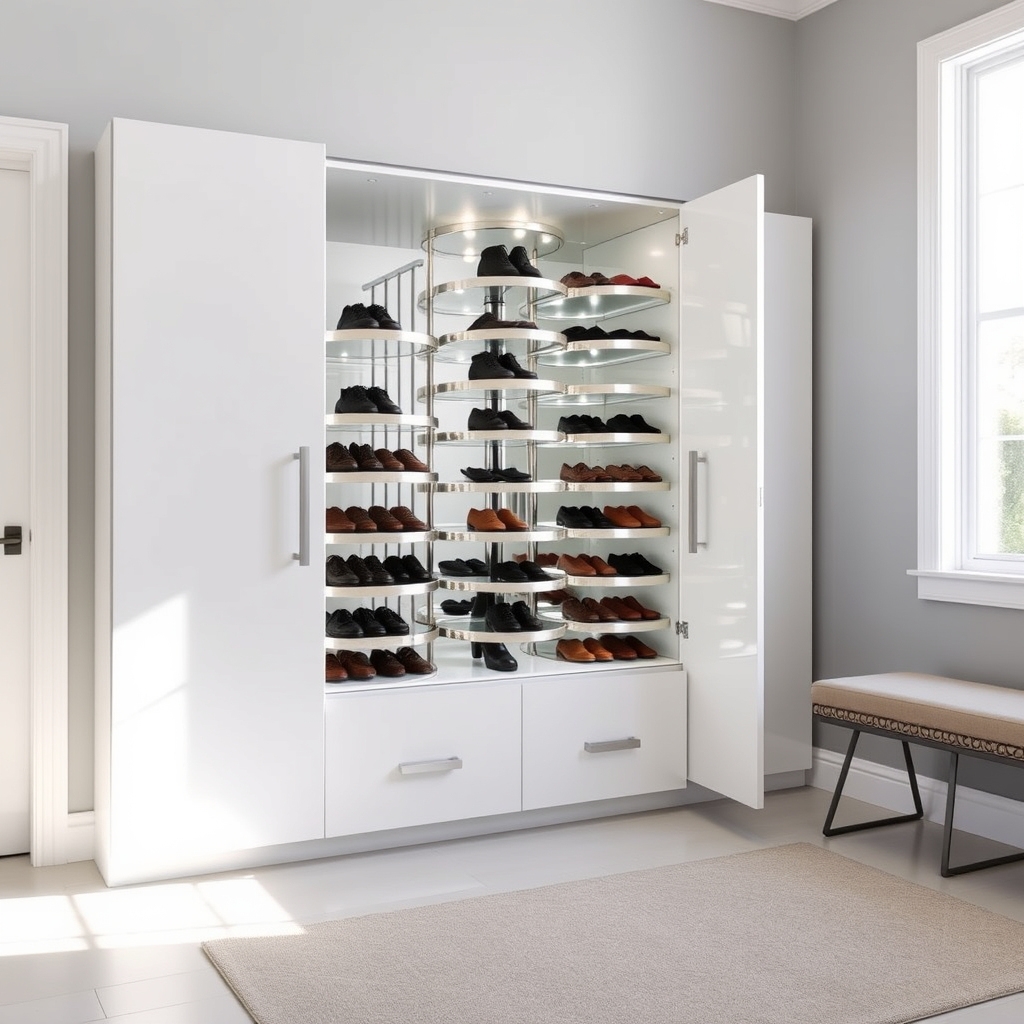
A well-organized rotating shoe carousel transforms cluttered entryways into streamlined spaces while maximizing vertical storage capacity. These innovative systems can store up to 50 pairs of shoes in the footprint traditionally occupied by just 5-10 pairs, making them ideal for homes where space is at a premium.
Hidden rotating shoe carousels offer the added benefit of concealing footwear behind elegant cabinet doors, maintaining a clean aesthetic in your entrance area. The rotating mechanism provides easy access to all shoes while protecting them from dust and maintaining organization through dedicated slots and compartments.
Required Items:
- Rotating shoe carousel mechanism
- Cabinet or closet housing
- Mounting hardware
- Level
- Power drill
- Screwdriver
- Measuring tape
- Pencil
- Installation manual
- Wall anchors
- Safety glasses
Installation and organization begins with selecting an appropriate location and ensuring proper clearance for the carousel’s rotation. Mount the mechanism according to manufacturer specifications, typically securing it to both floor and ceiling or within a cabinet frame.
Once installed, arrange shoes by category (formal, casual, seasonal) and assign specific levels to household members. Position frequently worn shoes at easily accessible heights and consider using the top levels for seasonal or special occasion footwear.
Additional Tips: Maximize your carousel’s efficiency by implementing a one-in-one-out policy to prevent overcrowding. Install motion-sensor LED lights to illuminate shoes when the cabinet opens, and place silica gel packets on each level to control moisture.
Regular maintenance of the rotating mechanism ensures smooth operation, while periodic reorganization keeps the system functional and adapted to changing seasonal needs.
Minimalist Vertical Shoe Racks
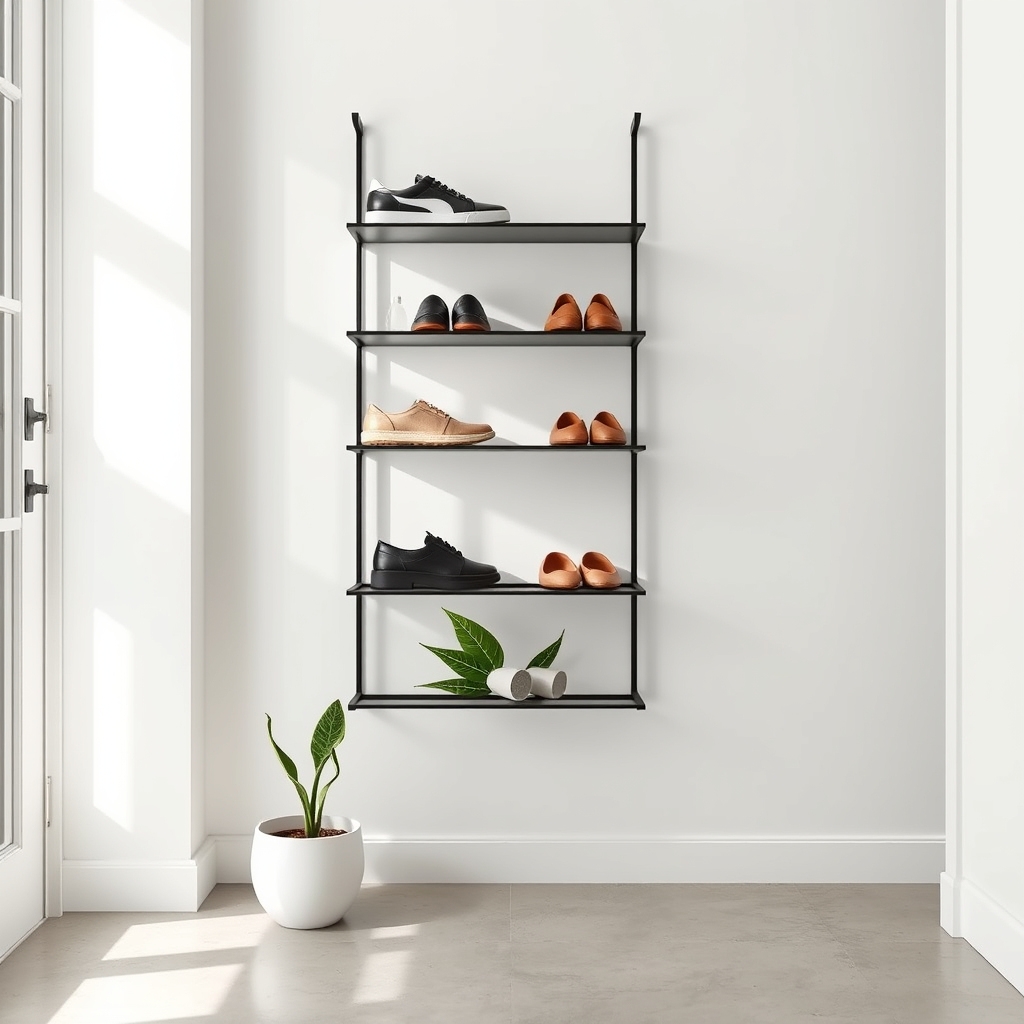
A well-organized vertical shoe storage system at your home’s entrance creates an immediate impression of order and cleanliness while maximizing limited space.
Vertical storage utilizes wall height rather than floor space, making it an ideal solution for small entryways and narrow hallways.
Minimalist vertical shoe racks not only serve a practical purpose but also contribute to a clutter-free environment that promotes a sense of calm upon entering your home.
By keeping shoes organized vertically, you prevent the common problem of scattered footwear and maintain clear pathways for easy movement.
Required Items:
- Vertical shoe rack (wall-mounted or freestanding)
- Wall anchors and screws (if mounting)
- Level
- Drill and drill bits
- Measuring tape
- Pencil
- Cleaning supplies
- Labels (optional)
- Shoe hooks (optional)
Start by thoroughly cleaning the designated wall or area where the vertical shoe rack will be installed.
If using a wall-mounted system, measure and mark the installation points, ensuring the rack will be level and at an appropriate height.
Install wall anchors if necessary, and securely mount the rack according to manufacturer instructions.
For freestanding units, position them against the wall, ensuring stability.
Arrange shoes by frequency of use, placing daily-wear shoes at eye level and occasional footwear higher or lower.
Consider implementing a one-in-one-out policy to maintain the minimalist aesthetic.
Group shoes by family member or type, depending on your household’s needs, and use any included dividers or compartments to prevent shoes from touching.
To maintain the effectiveness of your vertical shoe storage, regularly assess and rotate shoes based on seasonal needs.
Consider adding hooks for hanging boot pairs, which can be challenging to store on traditional racks.
Clean the rack weekly to prevent dust accumulation, and establish a household rule about immediately placing shoes in their designated spots to maintain the organized system.
Built-In Mudroom Storage Systems
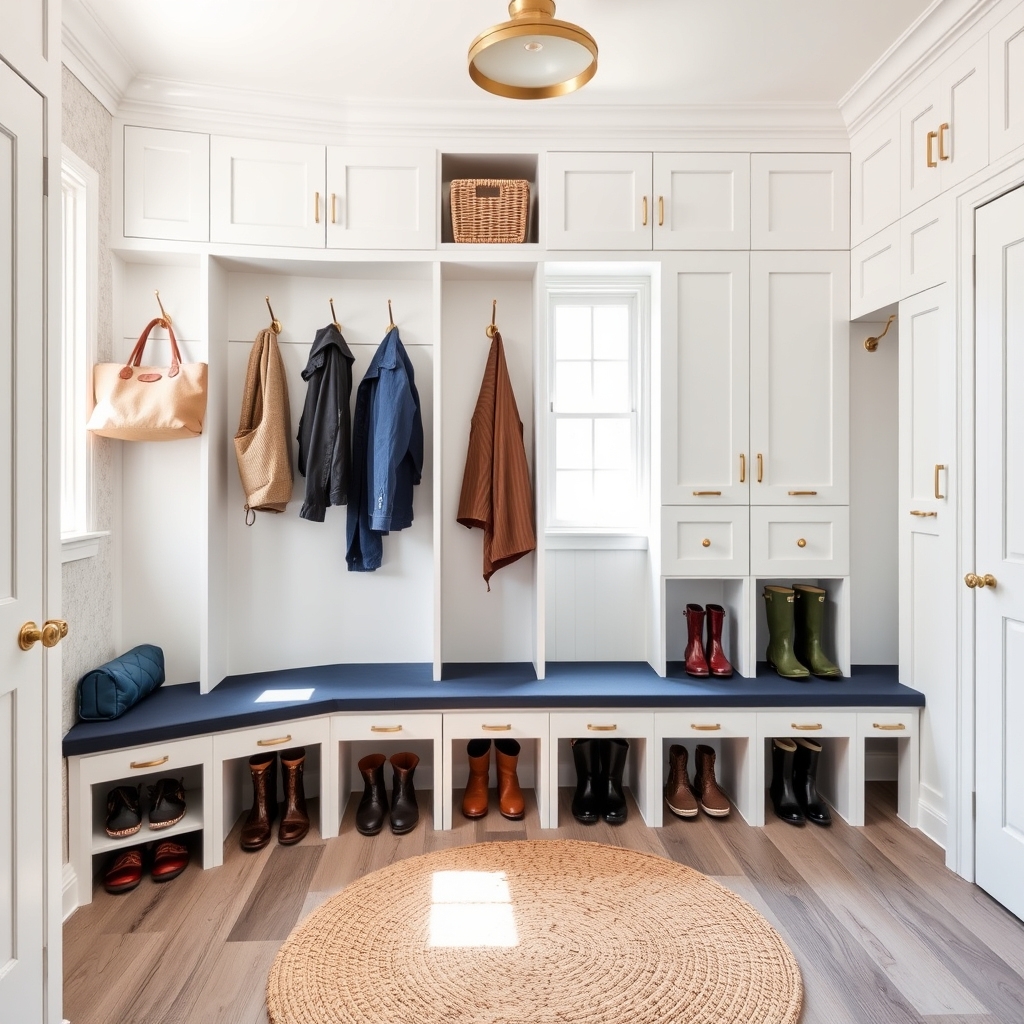
A well-organized built-in mudroom storage system serves as the first line of defense against household chaos, creating a structured transition space between the outside world and your home’s interior. This dedicated area helps maintain cleanliness while providing a designated spot for every family member’s shoes, outerwear, and daily essentials.
Implementing an efficient built-in storage system not only enhances your home’s functionality but also increases its value. A thoughtfully designed mudroom prevents clutter from spreading throughout the house and establishes routines that keep everyone’s belongings organized and easily accessible.
Required Items:
- Measuring tape
- Level
- Built-in cabinets or lockers
- Bench seating with storage
- Hooks and hangers
- Shoe cubbies or shelves
- Storage baskets or bins
- Labels
- Drawer organizers
- Boot trays
- Wall-mounted storage units
Start by measuring your space carefully and planning the layout to maximize vertical storage. Install floor-to-ceiling cabinets or lockers, ensuring each family member has a dedicated section. Position a bench with built-in storage at sitting height, incorporating shoe cubbies underneath for frequently worn footwear.
Mount hooks at appropriate heights for coats and bags, considering both adult and child accessibility. Create zones within each storage unit: an upper section for seasonal items, a middle section for daily essentials, and a lower section for shoes and boots. Install pull-out drawers or bins in lower cabinets for smaller items like gloves and scarves.
Implement a shoe organization system that separates everyday footwear from seasonal options, using boot trays for wet or muddy items.
Additional Tips: Incorporate moisture-resistant materials and proper ventilation in your built-in storage system to prevent odors and moisture buildup. Use clear labels or color-coding to help family members maintain organization.
Consider installing motion-sensor lighting to illuminate storage areas automatically, and schedule quarterly maintenance checks to adjust the system based on changing seasonal needs.
Over-the-Door Organizers
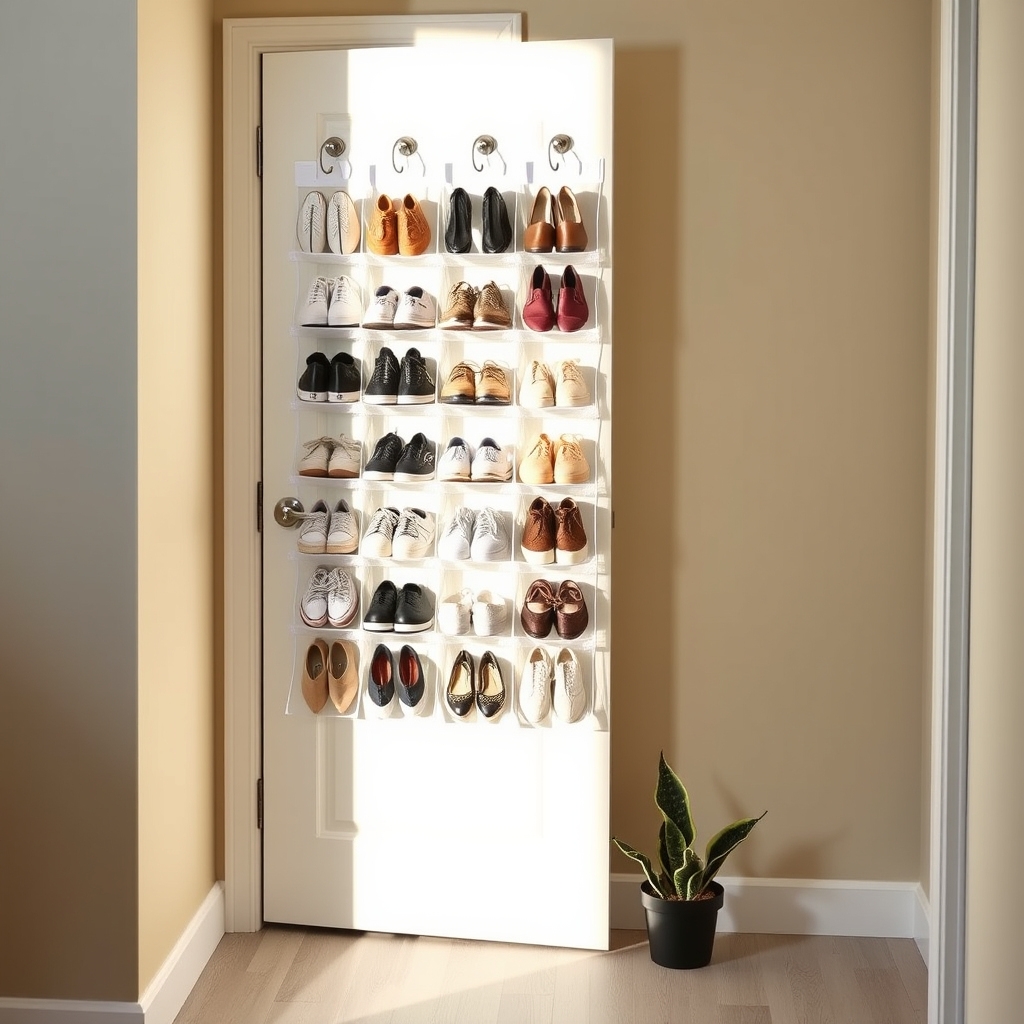
A well-organized shoe storage system at your home’s entrance creates an immediate sense of order and cleanliness while preventing clutter from spreading throughout your living space. Over-the-door organizers represent one of the most space-efficient solutions for shoe storage, utilizing vertical space that typically goes unused.
These organizers transform dead space behind doors into valuable storage real estate, making them particularly valuable for small entryways, apartments, or homes where floor space is limited. By keeping shoes off the floor and neatly organized, you maintain better air circulation, reduce dust accumulation, and make cleaning the entryway significantly easier.
Required Items:
- Over-the-door shoe organizer (fabric or plastic)
- Door hooks or hangers
- Measuring tape
- Level
- Basic cleaning supplies
- Label maker (optional)
- Storage bins for seasonal shoes (optional)
Installing and organizing an over-the-door shoe system requires careful planning and execution. First, measure your door’s dimensions and select an appropriately sized organizer that won’t interfere with door operation.
Install the hooks or hangers at the top of the door, ensuring they’re level and secure. Before hanging shoes, clean the organizer thoroughly and sort your shoes by category (daily wear, special occasions, seasonal). Place frequently worn shoes at eye level for easy access, with heavier shoes toward the bottom to maintain stability.
When loading the organizer, position shoes toe-first into the pockets, alternating directions between adjacent compartments to maximize space. For boots or taller shoes, use two vertical pockets together.
Consider using empty pockets for small accessories like shoe care products, umbrellas, or winter accessories.
Additional Optimization Tips: Rotate shoes seasonally, storing off-season footwear elsewhere to prevent overcrowding. Use clear pockets or labels to identify contents easily, especially in shared households.
Regularly inspect the organizer’s hanging hardware and clean both the organizer and door surface to prevent wear and tear. Consider installing a small hook beside the organizer for a shoe horn or cleaning supplies to maintain your footwear collection effectively.
Decorative Shoe Storage Baskets
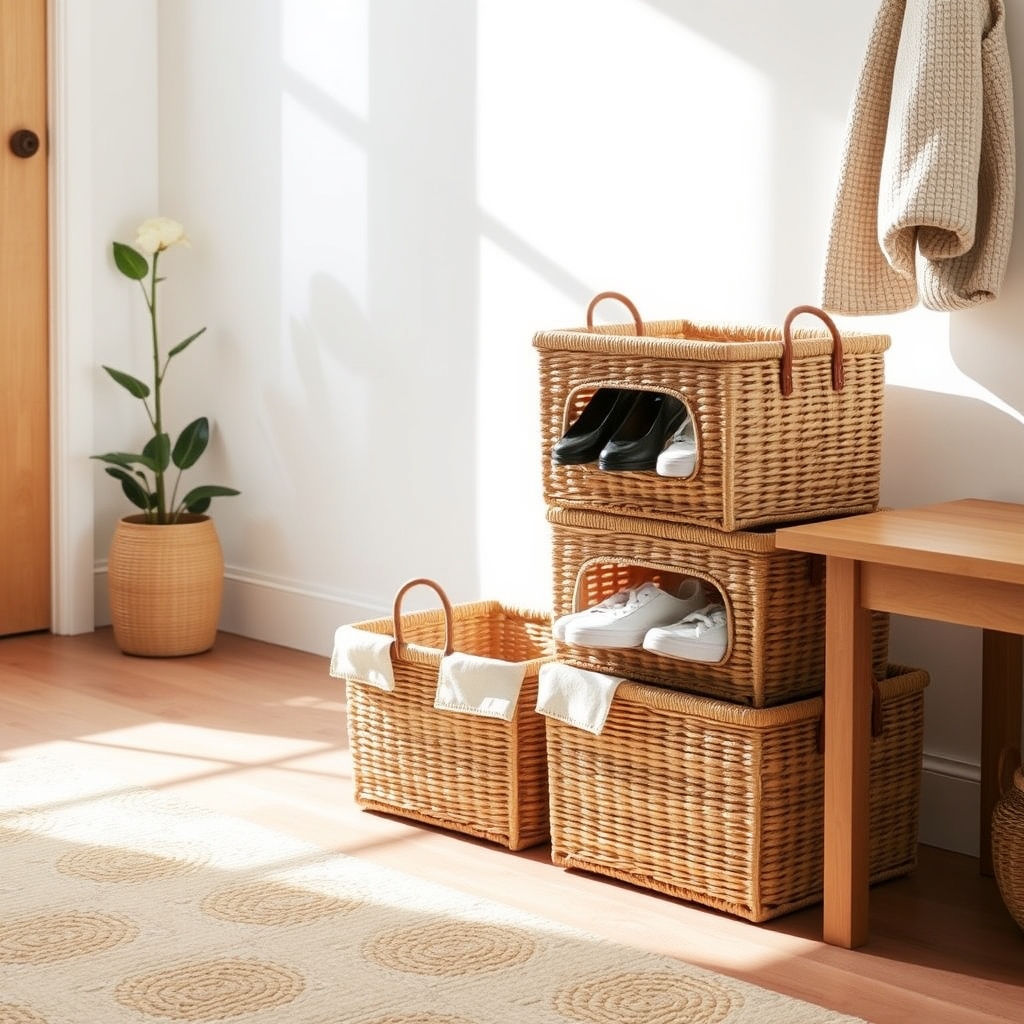
A well-organized shoe storage system using decorative baskets creates an inviting entrance while maintaining order in one of the busiest areas of your home. Rather than allowing shoes to pile up haphazardly by the door, attractive baskets provide a stylish solution that combines form and function.
Decorative shoe storage baskets offer flexibility and portability while complementing your home’s décor. Whether you prefer natural materials like woven water hyacinth or modern wire designs, these versatile containers can be easily tucked under benches, stacked on shelves, or arranged along walls to maximize space while keeping footwear tidy and accessible.
Required Items:
- Decorative storage baskets of various sizes
- Labels or tags
- Measuring tape
- Shelf liner or basket liners (optional)
- Storage bench or shelf unit (optional)
- Basket dividers (optional)
- Deodorizing sachets
Select appropriately sized baskets for your space and shoe collection, ensuring adequate depth and width for different types of footwear. Place liner material in the bottom of each basket to protect both the container and shoes. Organize footwear by category, assigning specific baskets for different family members or shoe types.
For maximum efficiency, position frequently worn shoes in easily accessible baskets near the entrance, while storing seasonal or special occasion footwear in higher or more distant locations. Consider weather-specific organization by dedicating separate baskets for wet shoes or boots, preferably using water-resistant materials.
Label each basket clearly to maintain the system, especially in households with multiple family members. Layer shoes thoughtfully within each basket, placing heavier items at the bottom and delicate shoes on top to prevent damage.
To maintain the effectiveness of your basket storage system, regularly assess and rotate shoes based on seasonal needs, clean baskets monthly, and use deodorizing sachets to keep footwear fresh. Consider implementing a “one-in-one-out” rule to prevent overflow and maintain the organized system you’ve created.
Periodically inspect baskets for wear and replace as needed to maintain both functionality and aesthetic appeal.
Custom Corner Shoe Cabinets
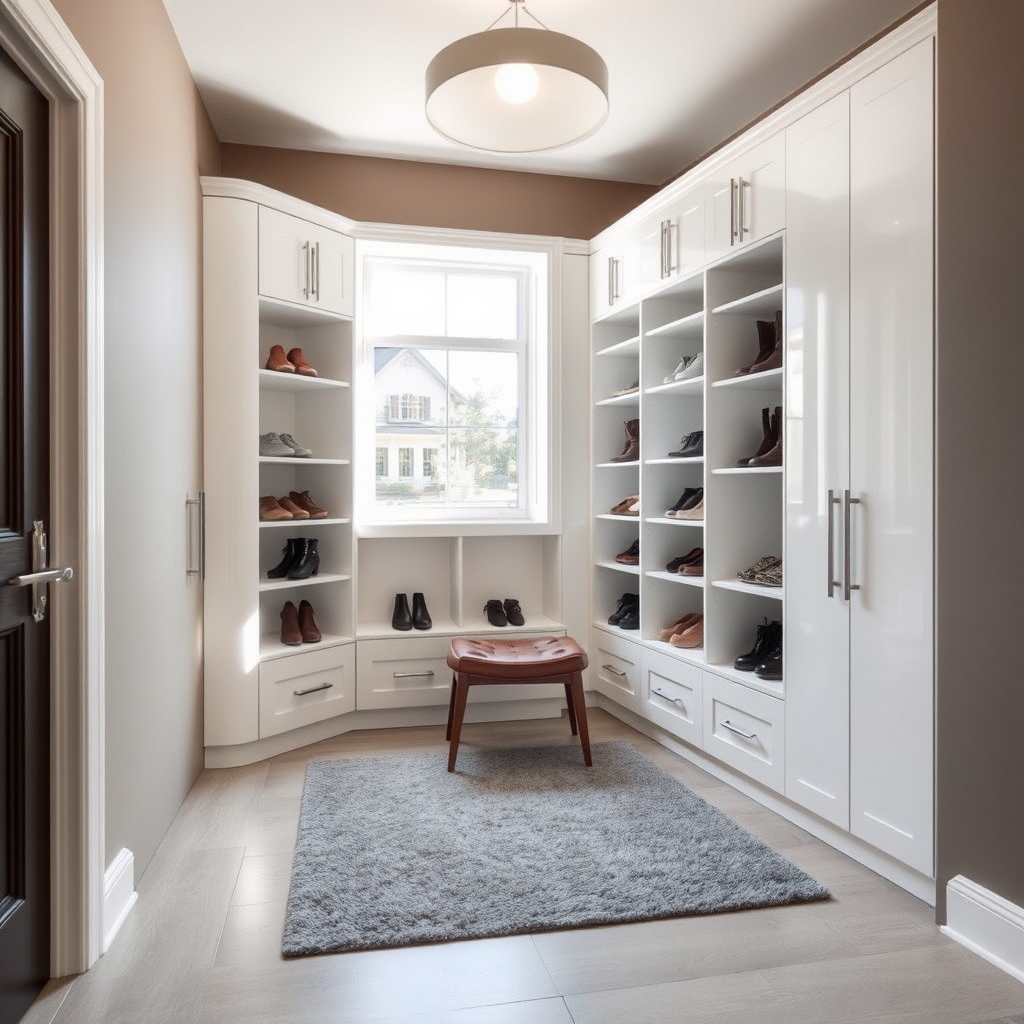
Custom corner shoe cabinets represent a smart solution for maximizing often-underutilized corner spaces in entryways while maintaining an organized and clutter-free environment.
These specialized storage units can transform awkward corners into functional storage spaces that keep shoes easily accessible yet neatly tucked away.
By implementing a custom corner shoe cabinet system, homeowners can take advantage of vertical space while maintaining a streamlined appearance in their entryway.
This organization method not only protects shoes from dust and damage but also creates a more welcoming entrance that sets the tone for the entire home.
Required Items:
- Measuring tape
- Level
- Pencil
- Corner shoe cabinet (custom-built or purchased)
- Mounting hardware
- Screwdriver or drill
- Cabinet liner or shelf paper
- Labels or organizing dividers
- Shoe care supplies
- Cleaning materials
Planning and installing a custom corner shoe cabinet requires careful consideration of space and functionality.
Start by measuring the corner area precisely, accounting for both width and height, and ensure there’s adequate clearance for cabinet doors to open fully.
Install the cabinet according to manufacturer specifications, making sure it’s level and properly secured to the wall.
If using a custom-built solution, work with your carpenter to incorporate features like adjustable shelves, pull-out drawers, or specialized compartments for different types of footwear.
Once the cabinet is installed, organize shoes by category, frequency of use, or family member.
Position frequently worn shoes at eye level for easy access, while seasonal or special occasion footwear can be stored in higher or lower compartments.
Consider using shelf liners to protect both the cabinet and shoes, and implement a labeling system if multiple family members share the space.
To maintain organization long-term, establish a regular cleaning schedule for both the cabinet and shoes.
Rotate footwear seasonally, placing off-season items in less accessible areas.
Consider installing a small bench or stool nearby for comfortable shoe changes, and keep shoe care supplies within reach for quick maintenance.
Regularly assess the organization system and adjust as needed to accommodate changing needs or new additions to your footwear collection.
Space-Saving Shoe Cubbies
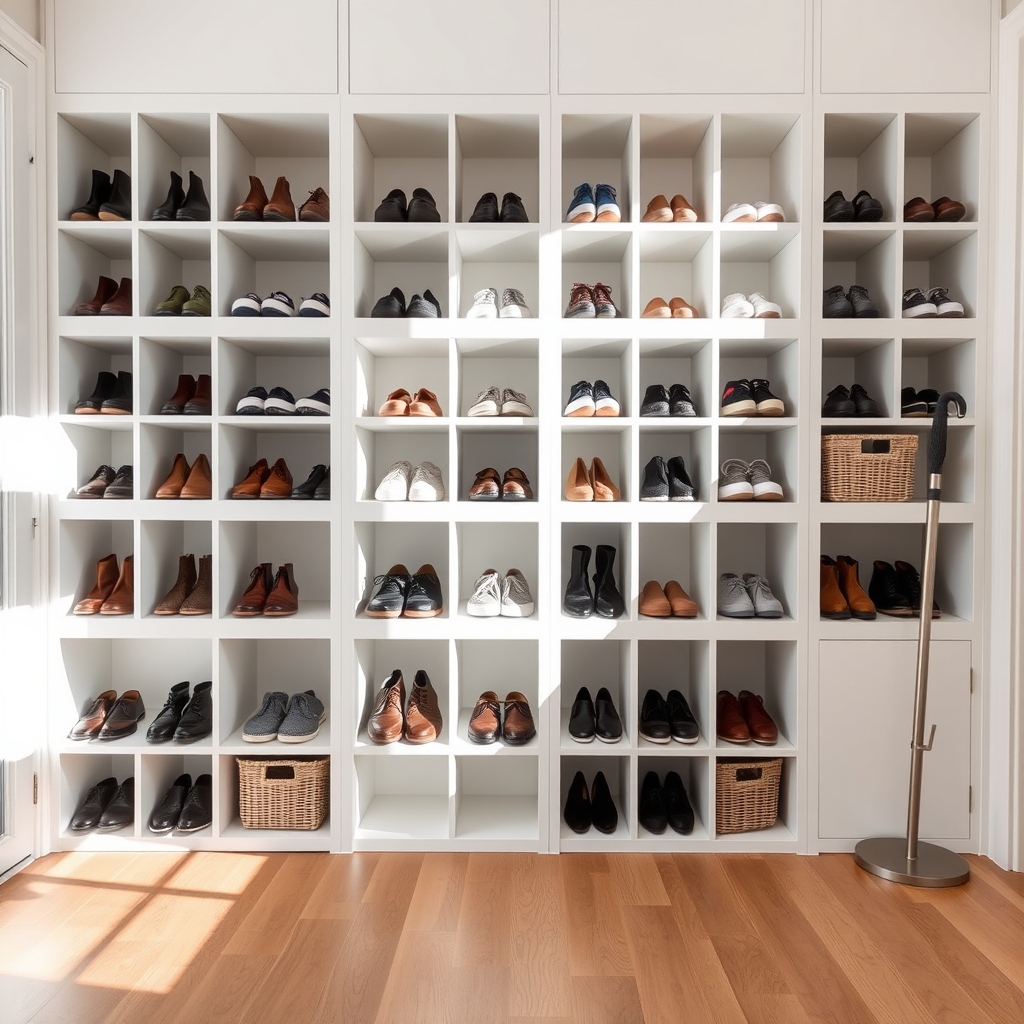
A well-organized shoe storage system at your home’s entrance is essential for maintaining order and preventing clutter from spreading throughout your living space. Properly arranged shoe cubbies not only keep footwear organized but also make it easier to locate specific pairs when needed, saving valuable time during busy mornings.
Space-saving shoe cubbies represent an efficient solution for maximizing vertical space while keeping shoes protected from dust and damage. These organizational units can transform a chaotic entryway into a functional space that accommodates multiple family members’ shoes while maintaining a clean, streamlined appearance.
Required Items:
- Measuring tape
- Shoe cubby unit (modular or built-in)
- Label maker or tags
- Cleaning supplies
- Storage bins or baskets
- Shelf liner (optional)
- Door hooks or wall-mounted racks (optional)
- Shoe cleaning kit
Start by measuring your available space and selecting an appropriately sized cubby system that maximizes vertical storage while maintaining adequate walkway clearance. Remove all shoes from the area and thoroughly clean the space.
Install the cubby unit according to manufacturer instructions, ensuring it’s level and properly secured. Sort shoes by family member and frequency of use, placing everyday shoes in easily accessible middle cubbies. Reserve upper cubbies for seasonal or occasional footwear, and use lower cubbies for children’s shoes or boots.
Consider using removable shelf liner to protect the cubby surfaces and prevent scuff marks. For optimal organization maintenance, establish a one-in-one-out rule where family members remove a pair of shoes before adding another to the cubby system.
Use small baskets or bins within larger cubbies to contain smaller items like children’s shoes or slippers, and consider adding hooks or small shelves above the unit for additional storage of items such as umbrellas or shoe care supplies. Regular cleaning and quarterly reorganization will help maintain the system’s efficiency and prevent overflow.

