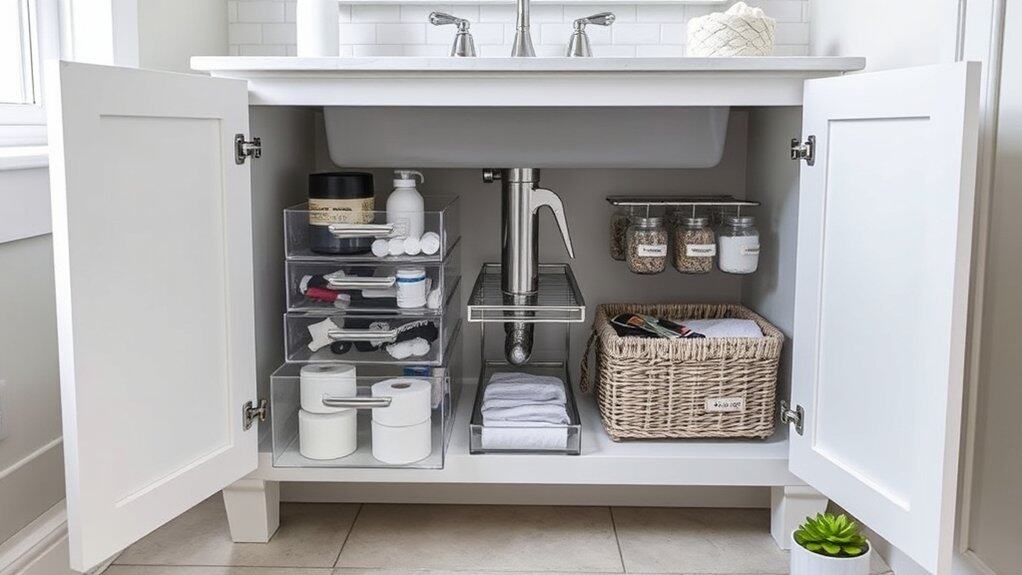
Is your under-sink bathroom cabinet a chaotic mess of half-empty bottles and scattered supplies? You’re not alone! I’ve been there, frantically searching for that one cleaning product while everything else tumbles out. But here’s the good news – transforming this tricky space into an organized oasis is easier than you think. I’ve tested dozens of storage solutions and narrowed it down to 10 genius ideas that’ll revolutionize your morning routine. Let’s turn that cabinet clutter into a beautifully organized space!
Install Pull-Out Drawer Systems
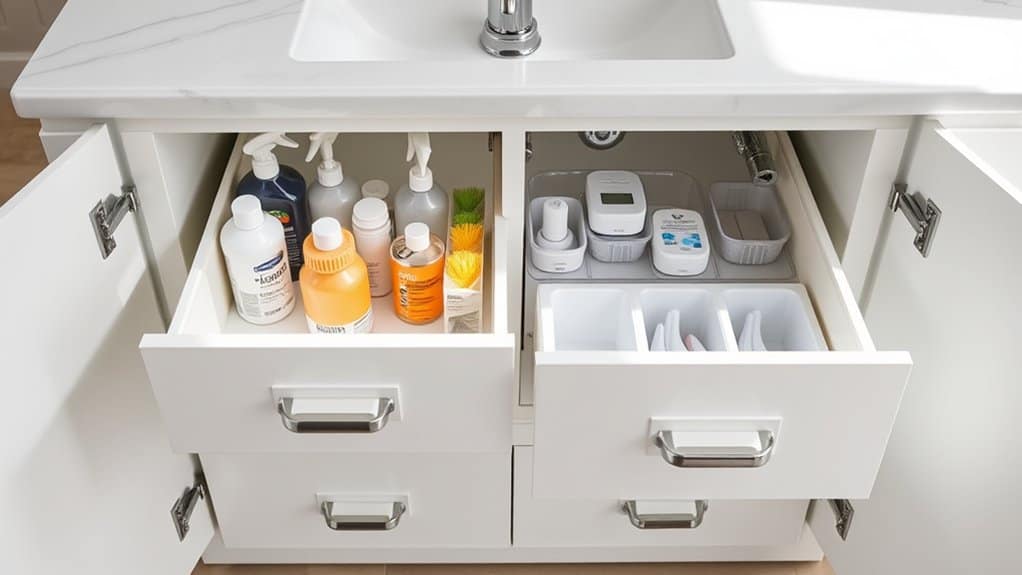
Installing pull-out drawer systems under your sink transforms a typically chaotic and hard-to-reach space into an efficiently organized storage area. The dark recesses of under-sink cabinets often become cluttered with cleaning supplies, tools, and household items that get forgotten or lost in the depths.
Pull-out drawer systems eliminate the need to crawl on hands and knees, searching for items in the back of the cabinet. These systems maximize vertical space while keeping everything visible and accessible, turning an awkward storage area into a functional command center for cleaning supplies and household necessities.
Required Items:
- Pull-out drawer system kit
- Screwdriver
- Power drill
- Level
- Measuring tape
- Pencil
- Cabinet liner (optional)
- Mounting screws
- Drawer organizers or bins
- Labels
Installation and organization begins with measuring the cabinet interior dimensions, accounting for plumbing fixtures and other obstacles. Remove everything from under the sink and clean the area thoroughly.
Install the drawer system according to manufacturer specifications, ensuring the tracks are level and properly secured. Most systems feature adjustable width and depth to accommodate your specific cabinet size.
Once installed, sort items by category: cleaning supplies, dishwashing items, trash bags, and other household products. Place frequently used items on the top drawer for easy access.
Consider using clear bins or organizers within the drawers to prevent items from shifting. Position taller items toward the back of the drawers where height clearance is typically greater.
Additional organization tip: Create zones within each drawer based on usage frequency and purpose. Install childproof locks if necessary, and use silicone mats to protect against potential leaks.
Maintain the system by regularly checking for expired products and wiping down drawer surfaces. Consider keeping a small inventory list inside the cabinet door to track supplies and simplify shopping.
Maximize Vertical Space With Stackable Bins
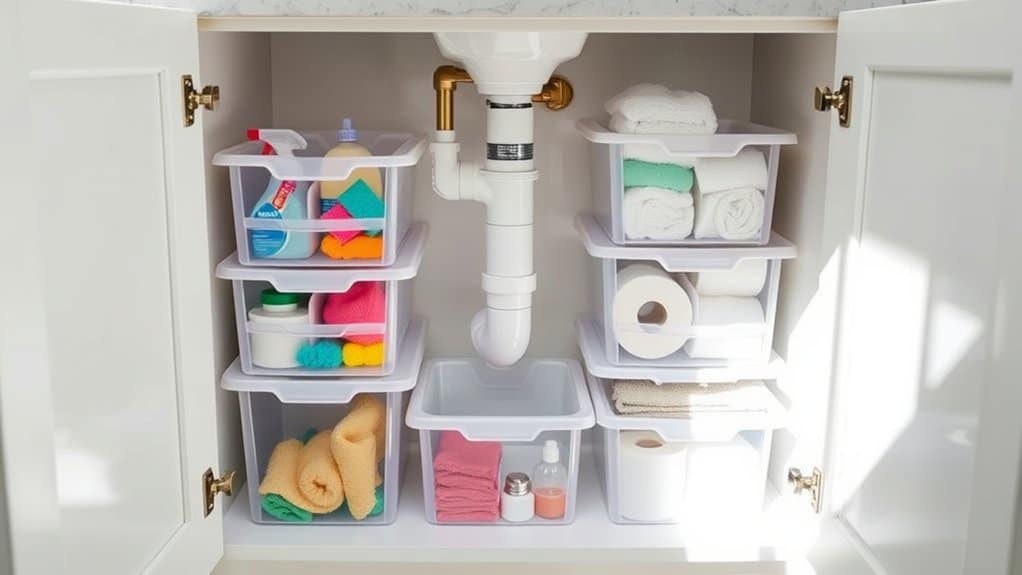
Making the most of vertical space under your sink is crucial for creating an efficient storage solution in one of the most frequently used areas of your home. The cramped space around plumbing can often lead to cluttered, disorganized chaos, making it difficult to find cleaning supplies and household items when needed.
Stackable bins transform this awkward space into a systematic storage area by taking advantage of vertical space while working around pipes and disposal units. This organization method not only maximizes storage capacity but also creates designated zones for different categories of items, making it easier to maintain order and quickly locate what you need.
Required Items:
- Clear stackable storage bins (various sizes)
- Label maker or labels
- Measuring tape
- Non-slip shelf liner
- Drawer organizers or small containers
- Optional: tension rods
- Optional: over-the-door rack
Start by measuring the available space under your sink, noting the location of pipes and other fixtures. Select stackable bins that fit within these measurements, ensuring they can be arranged around plumbing without interference.
Position taller bins toward the back of the cabinet and shorter ones in front for easy access. Create distinct zones by dedicating specific bins to different categories: cleaning supplies, dishwashing items, trash bags, and other household essentials.
Line the bottom of each bin with non-slip shelf liner to prevent items from sliding around. Stack bins strategically, ensuring the configuration allows you to easily remove and replace items without disturbing other containers. Place frequently used items in front bins and less-used items in back or bottom bins.
For optimal organization success, implement a regular maintenance schedule to review and adjust bin contents every three months. Remove expired products, consolidate partially empty containers, and reassess your storage needs.
Consider using clear bins to easily identify contents and maintain drawer organizers within larger bins for smaller items that tend to get lost or scattered.
Use Door-Mounted Organizers
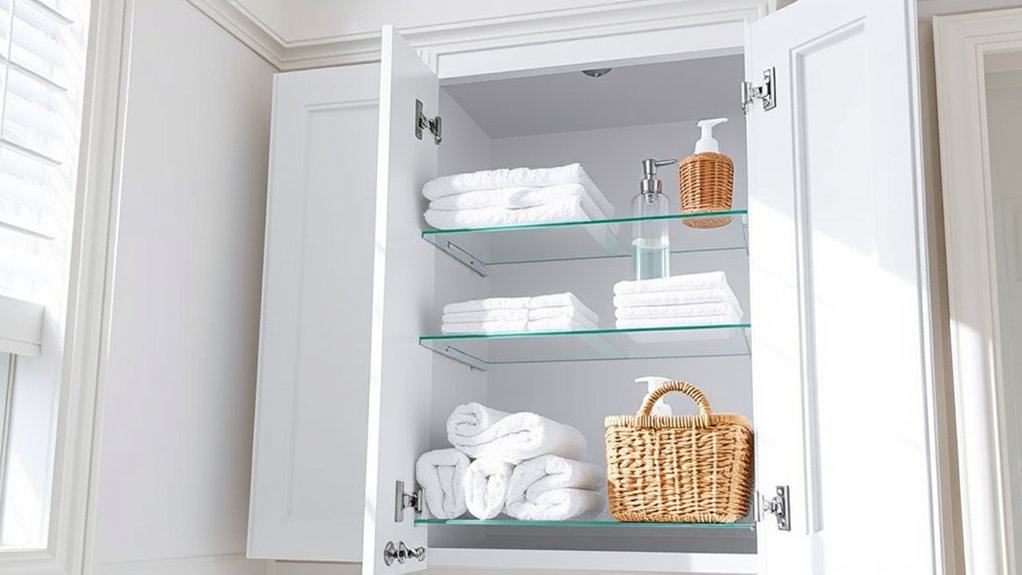
The cabinet doors under your sink represent valuable but often overlooked storage space that can significantly increase your storage capacity. By utilizing door-mounted organizers, you can create an additional layer of organization that keeps frequently used items within easy reach while maximizing every inch of available space.
Door-mounted storage solutions are particularly effective for cleaning supplies, trash bags, and other daily-use items that tend to get lost in the depths of under-sink cabinets. This organization method not only makes items more accessible but also helps protect the cabinet floor from leaks and spills by elevating some items off the bottom surface.
Required Items:
- Over-the-door cabinet organizers
- Measuring tape
- Pencil
- Screwdriver
- Cabinet door hooks
- Mounting hardware
- Level
- Command strips (optional)
- Small basket organizers
- Label maker
Select appropriate door-mounted organizers that fit your cabinet dimensions, ensuring they won’t interfere with pipes or other items when the door closes. Install the organizers according to manufacturer instructions, typically by hanging them over the cabinet door or securing them with screws.
Position the organizers to accommodate the height of items you plan to store, considering clearance needs when the door closes. Sort items by frequency of use, placing the most commonly used items at eye level.
Additional Tips:
Use clear organizers when possible to easily identify contents, and implement a regular maintenance schedule to prevent overcrowding.
Consider using lightweight items on door-mounted organizers to prevent strain on hinges, and always check weight limits specified by the manufacturer. Periodically tighten any screws or mounting hardware to ensure the organizers remain securely attached and functional over time.
Create Zones With Clear Storage Containers
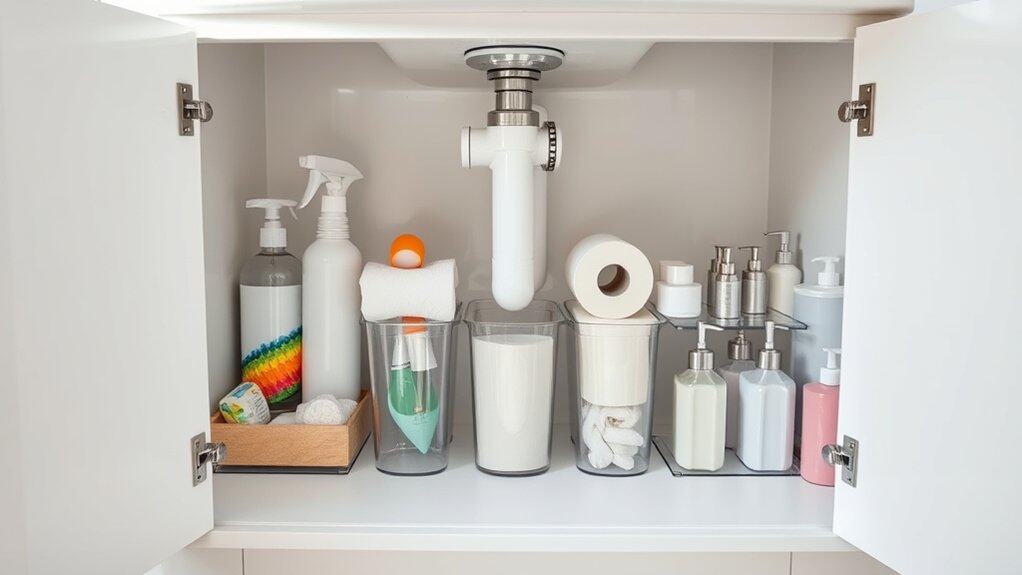
Organizing the space under your kitchen sink is crucial for maintaining an efficient and functional kitchen. The dark, cramped area often becomes a catch-all for cleaning supplies, dish soap, and various household items, making it difficult to find what you need when you need it.
Creating distinct zones with clear storage containers transforms this chaotic space into an organized system where every item has its place. Clear containers not only protect the cabinet bottom from potential leaks but also allow you to quickly identify contents and monitor supply levels at a glance.
Required Items:
- Clear plastic storage containers (various sizes)
- Container labels
- Measuring tape
- Non-slip shelf liner
- Tension rods (optional)
- Drawer organizers or small bins
- Label maker or waterproof labels
- Cleaning cloths
Start by removing everything from under the sink and measuring the available space, accounting for pipes and disposal units. Group similar items together: cleaning supplies, dish-washing items, trash bags, and spare sponges or scrubbers.
Select clear containers that fit your space and designated categories. Position the containers strategically, placing frequently used items toward the front and occasional-use items toward the back. Create specific zones: cleaning zone, dish zone, and bag/paper products zone. Label each container clearly to maintain the system.
To maximize vertical space, consider installing tension rods to hang spray bottles or adding stackable containers. Ensure the heaviest items are placed on the cabinet floor rather than in elevated containers. Use drawer organizers or small bins within larger containers to separate items further and prevent smaller objects from getting lost.
For optimal organization maintenance, review the contents monthly, wiping down containers and removing expired products. Consider installing battery-operated LED lights to illuminate dark corners, and line the bottom of containers with non-slip shelf liner to prevent sliding.
Keep a list of supplies taped inside the cabinet door to track when items need replenishing.
Add a Tension Rod for Cleaning Supplies
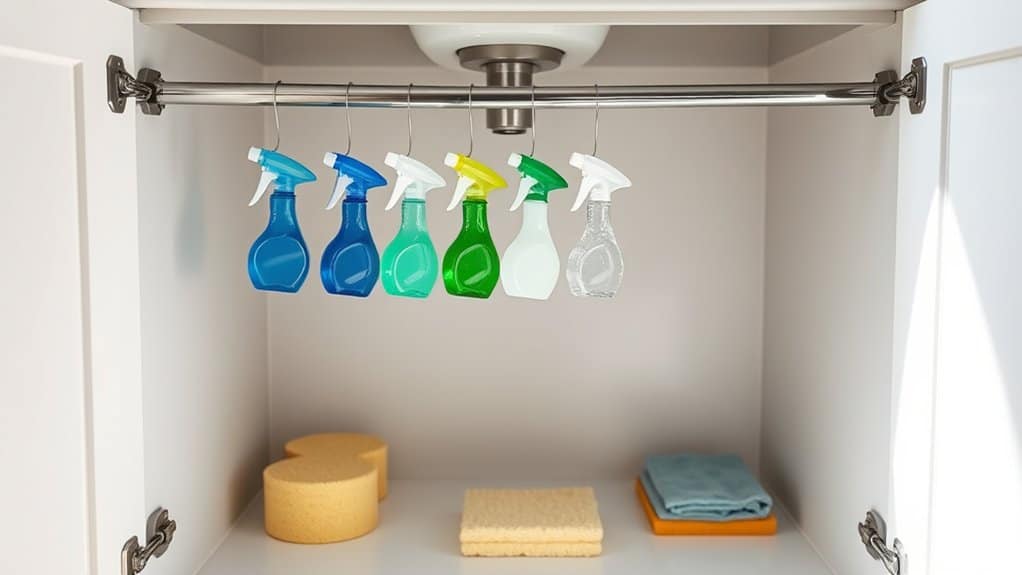
The space under your kitchen sink often becomes a chaotic jumble of cleaning supplies, with spray bottles and containers scattered haphazardly. This disorganization not only makes it difficult to find what you need but can also lead to spills and wasted storage space.
Installing a tension rod under your sink creates an innovative storage solution that maximizes vertical space while keeping spray bottles easily accessible. This simple addition transforms the area into an efficient cleaning supply station, allowing you to hang spray bottles by their triggers and free up valuable floor space for other items.
Required Items:
- Tension rod (suitable for cabinet width)
- Measuring tape
- Cleaning supplies with spray triggers
- Optional rubber grip pads
- Paper towels or cleaning cloth
Position the tension rod approximately 6-8 inches from the top of the cabinet, ensuring it’s high enough for spray bottles to hang freely without touching the cabinet floor. Measure the width of your cabinet interior and extend the tension rod to fit snugly between the walls. Test the rod’s stability by gently pulling downward.
Once secure, arrange your spray bottles by hanging them from their triggers, positioning frequently used items toward the front for easy access. Consider organizing the spray bottles by category (kitchen cleaners, bathroom products, glass cleaners) and face all labels forward for quick identification.
The freed-up floor space beneath the hanging bottles can now store additional cleaning supplies, such as buckets, rags, or refill containers. For maximum effectiveness, periodically check the tension rod’s stability and adjust as needed.
Install rubber grip pads on the rod’s ends to prevent slipping and protect cabinet walls. Clean the rod regularly to prevent product residue buildup, and regularly assess which products you actually use to maintain an organized system without unnecessary clutter.
Implement a Lazy Susan Storage Solution
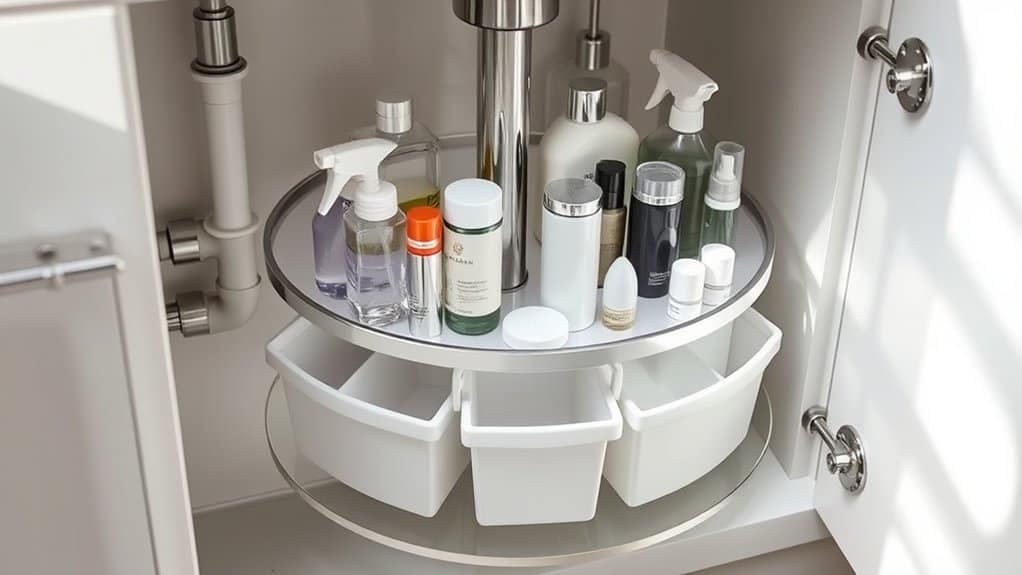
A well-organized under-sink area is essential for maintaining an efficient and functional kitchen or bathroom. The dark, often cramped space beneath the sink can quickly become a chaotic collection of cleaning supplies, toiletries, or kitchen essentials, making it difficult to locate items when needed.
Installing a lazy Susan storage solution transforms this challenging space into an easily accessible organization system. This rotating platform maximizes corner spaces and deep cabinets, allowing you to reach items at the back without having to remove everything in front. The circular design makes it possible to store more items while keeping them visible and within easy reach.
Required Items:
- Single or double-tier lazy Susan turntable
- Cabinet-safe measuring tape
- Plastic bins or containers
- Labels and label maker
- Non-slip shelf liner
- Small command hooks
- Cleaning supplies for initial space preparation
Start by emptying the entire under-sink area and measuring the available space, accounting for pipes and other fixed elements. Install non-slip liner on the cabinet floor to prevent the lazy Susan from sliding.
Position the lazy Susan in the cabinet, ensuring it can rotate freely without hitting pipes or cabinet walls. If using a double-tier system, assemble according to manufacturer instructions and adjust height settings to accommodate taller items.
Group similar items together and place them in appropriate containers on the lazy Susan. Position frequently used items toward the front for easy access. Taller items should go in the center where there’s typically more vertical space, with shorter items arranged around the edges.
Attach labels to both the containers and the lazy Susan’s edge to maintain organized sections.
Additional Success Tips: Consider installing small command hooks on the cabinet walls beside the lazy Susan for hanging spray bottles or cleaning tools. Leave some empty space on the turntable to accommodate new items and seasonal changes.
Regularly review and adjust the organization system as needed, removing expired products and reorganizing based on usage patterns. Clean the lazy Susan monthly to prevent product residue buildup and ensure smooth rotation.
Utilize Over-the-Pipe Storage Solutions
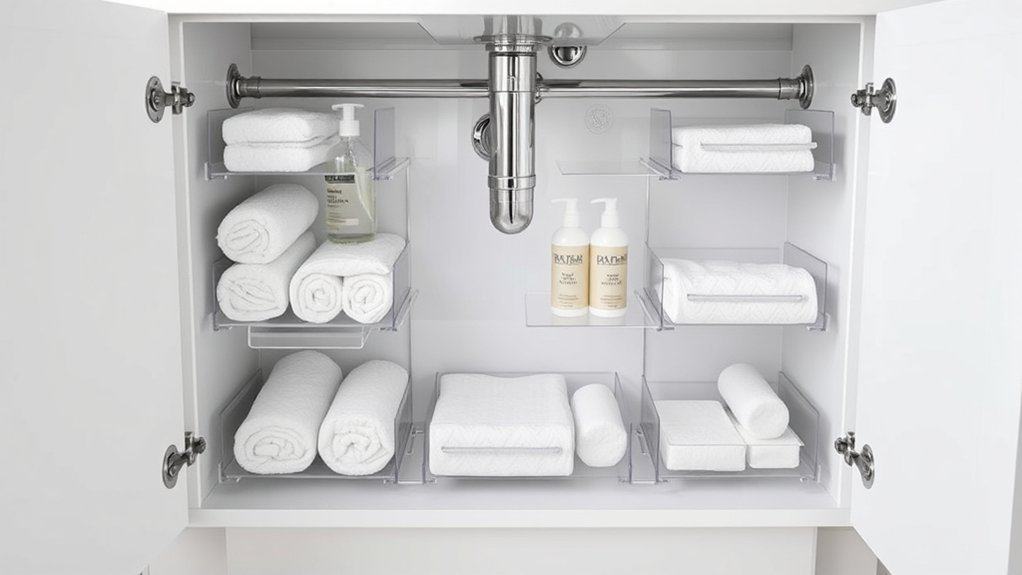
Making efficient use of the awkward space around sink pipes is crucial for maximizing under-sink storage. The plumbing configuration often creates dead zones that could otherwise be valuable storage real estate, leading to wasted space and disorganized cabinets.
Over-the-pipe storage solutions specifically address this challenge by working around these fixed obstacles while creating functional storage spaces. These adaptable systems can transform previously unusable areas into organized zones for cleaning supplies, toiletries, or kitchen essentials.
Required Items:
- Adjustable over-pipe shelf unit
- Tension rods
- Slide-out drawers with pipe cutouts
- Command hooks
- Measuring tape
- Cabinet liner
- Small storage bins
- Label maker
- Cleaning supplies for initial setup
Start by measuring the available space around your pipes, noting both the height and width clearances. Install an adjustable over-pipe shelf unit by positioning it around the plumbing fixtures, ensuring it sits securely on the cabinet floor.
For additional storage, mount tension rods on either side of the pipes to hang spray bottles or create an extra shelf level. Maximize vertical space by adding slide-out drawers with cutouts that accommodate the pipes.
Position smaller storage bins on the shelves to categorize items and prevent them from getting lost behind the plumbing. Install command hooks on the cabinet walls or doors for hanging cleaning tools or frequently used items.
Additional Tips: Consider using clear storage containers to easily identify contents, and implement a regular maintenance schedule to prevent cluttered buildup. Leave enough clearance around pipes for maintenance access, and use moisture-resistant materials to protect against potential leaks.
Review and adjust the organization system every few months to ensure it continues meeting your storage needs effectively.
Set Up a Tiered Shelf System
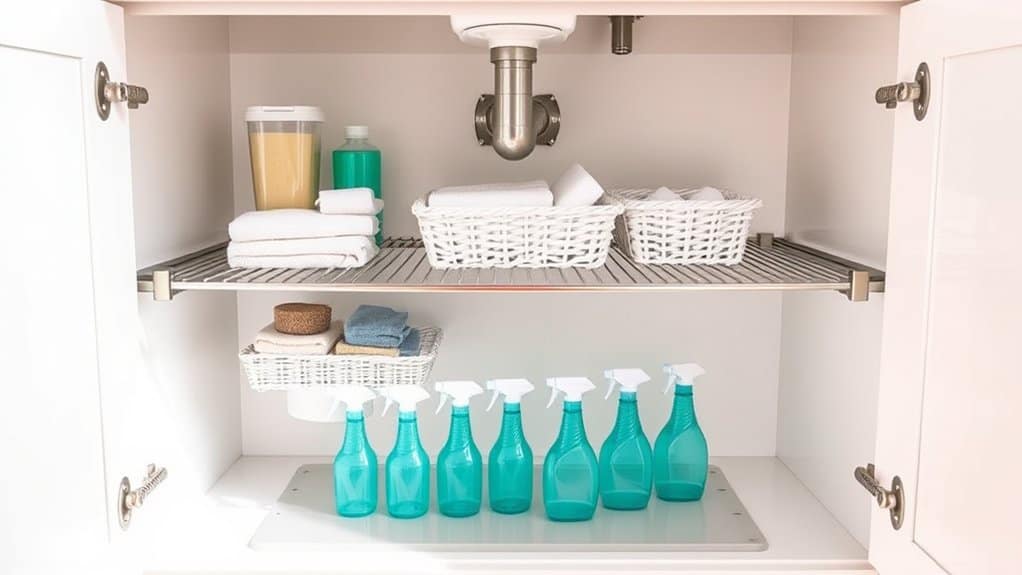
The space under your kitchen sink often becomes a chaotic catchall for cleaning supplies, extra bags, and miscellaneous household items. Without proper organization, this valuable storage space can quickly transform into an overwhelming mess where items become lost or forgotten, leading to unnecessary duplicate purchases and wasted time searching for supplies.
A tiered shelf system provides an efficient solution by maximizing vertical space while creating distinct zones for different categories of items. This system allows you to see and access everything at a glance, work around plumbing fixtures, and maintain order even in tight spaces.
Required Items:
- 2-3 expandable tiered shelves
- Non-slip shelf liner
- Label maker or labels
- Measuring tape
- Tension rods (optional)
- Small bins or baskets
- Clear storage containers
- Cabinet door organizers
Begin by removing everything from under the sink and measuring the available space, accounting for pipes and other fixtures. Install the tiered shelves, starting with the tallest at the back of the cabinet. Ensure the shelves are stable and level, then line each tier with non-slip liner to prevent items from sliding.
Arrange frequently used items on the front tiers and less-used items toward the back. Group similar items together, such as cleaning supplies on one level and dish-washing items on another.
Consider installing tension rods between tiers to hang spray bottles, creating additional vertical storage space. Use clear containers or bins to corral smaller items and prevent them from getting lost. Place items you use daily at eye level and within easy reach. Ensure all containers are properly labeled for quick identification.
To maintain the system, regularly check for expired products and reorganize as needed. Consider using drawer organizers or small lazy Susans for corner spaces that are harder to reach.
Keep a list of cleaning supplies taped inside the cabinet door to track inventory and avoid overbuying. Remember to leave some empty space for future additions and maintain clear access to plumbing fixtures for maintenance.
Incorporate Magnetic Storage Strips
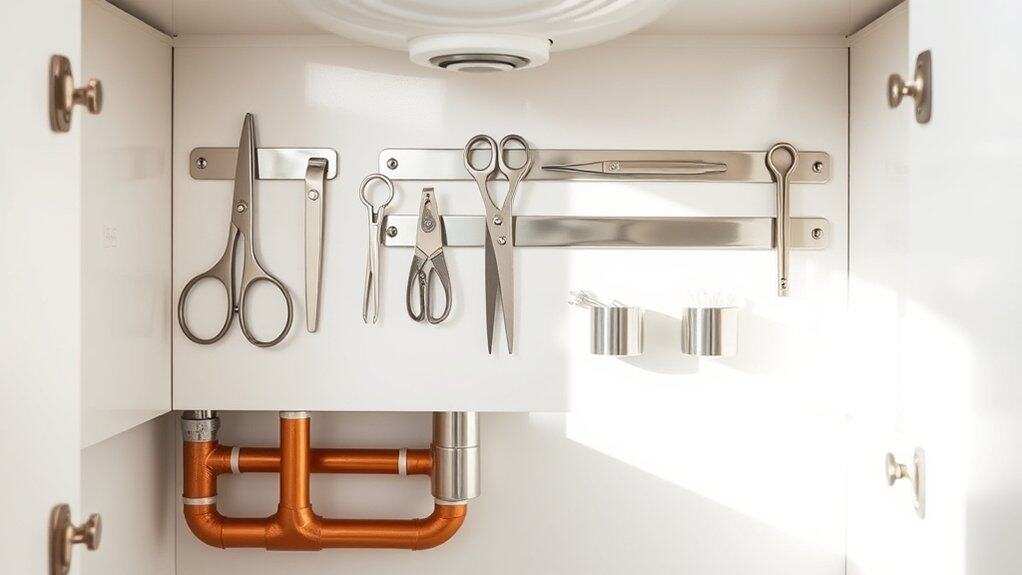
Maximizing the often-overlooked vertical space under your sink can dramatically increase storage capacity while keeping frequently used items easily accessible.
Magnetic storage strips offer an innovative solution to this common organizational challenge, transforming the sides of your cabinet or even the back of cabinet doors into functional storage areas.
The beauty of magnetic storage solutions lies in their versatility and adaptability. Unlike fixed storage solutions, magnetic strips allow you to easily modify your organization system as your needs change, while keeping metal items secure and within arm’s reach.
Required Items:
- Heavy-duty magnetic strips
- Mounting hardware (screws and anchors)
- Drill
- Screwdriver
- Level
- Measuring tape
- Pencil
- Metal containers or holders
- Command strips (optional)
- Metal cleaning supplies or items to be stored
Installation and organization begins with measuring the available space on your cabinet walls or doors.
Select locations that won’t interfere with pipes or other under-sink infrastructure. Mount the magnetic strips horizontally using appropriate hardware, ensuring they’re level and securely fastened.
For cabinet doors, consider using heavy-duty command strips instead of screws to avoid damage. Space multiple strips far enough apart to accommodate your storage containers without overcrowding.
Arrange your metal items strategically, placing frequently used items at eye level and heavier items on lower strips to maintain balance.
Metal cleaning supply bottles, scissors, small tools, and even spare sink stoppers can be organized this way. Consider adding small metal containers or baskets to hold groups of related items together.
To maintain the effectiveness of your magnetic storage system, periodically check the security of mounted strips and clean both the strips and stored items to prevent rust or corrosion.
Avoid overloading the strips with too many heavy items, and consider applying clear cabinet liner behind the strips to protect the cabinet surface from potential moisture damage.
Group Items in Labeled Baskets
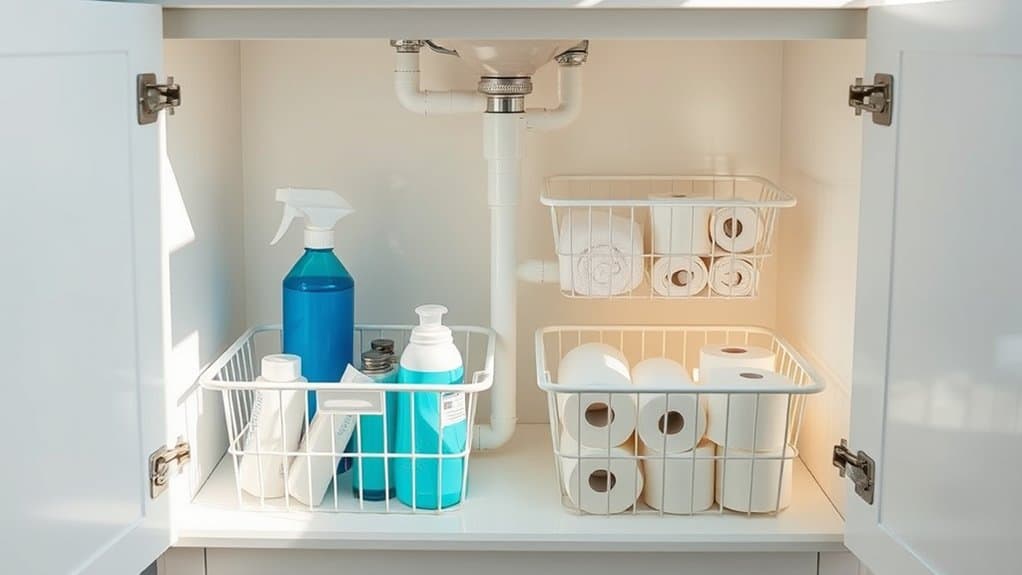
The space under your kitchen sink often becomes a chaotic collection of cleaning supplies, household items, and miscellaneous products. Without proper organization, finding specific items can be frustrating and time-consuming, leading to duplicate purchases and wasted space.
Grouping items in labeled baskets transforms this cluttered area into an efficient storage system that makes it easy to locate and access everything you need. This method not only maximizes the available space but also helps maintain organization long-term by giving every item a designated home.
Required Items:
- Plastic or wire storage baskets
- Label maker or adhesive labels
- Measuring tape
- Cleaning supplies
- Shelf liner (optional)
- Drawer organizers (optional)
- Clear storage containers (optional)
- Tension rods (optional)
Start by removing everything from under the sink and sorting items into categories such as cleaning supplies, dishwashing items, garbage bags, and specialty cleaners. Measure the cabinet space and select appropriately sized baskets that fit the depth and height of the area.
Place similar items together in designated baskets, considering frequency of use when deciding placement. Position frequently used items in front and less-used items toward the back.
Create clear, legible labels for each basket indicating its contents. Ensure labels are visible from your viewing angle when accessing the cabinet. Consider using waterproof labels since the under-sink area can sometimes be damp.
Position the baskets strategically, with heavier items on the bottom and lighter ones on top if stacking is necessary. Leave space around pipes and ensure all items can be easily removed without disturbing other baskets.
To maintain the organization system, regularly review basket contents and remove expired or unused items. Consider using clear baskets to easily identify contents, or implement a rotation system where items are moved forward as they’re used.
Keep a small basket designated for new purchases until they can be properly integrated into the existing system, preventing the accumulation of clutter.

