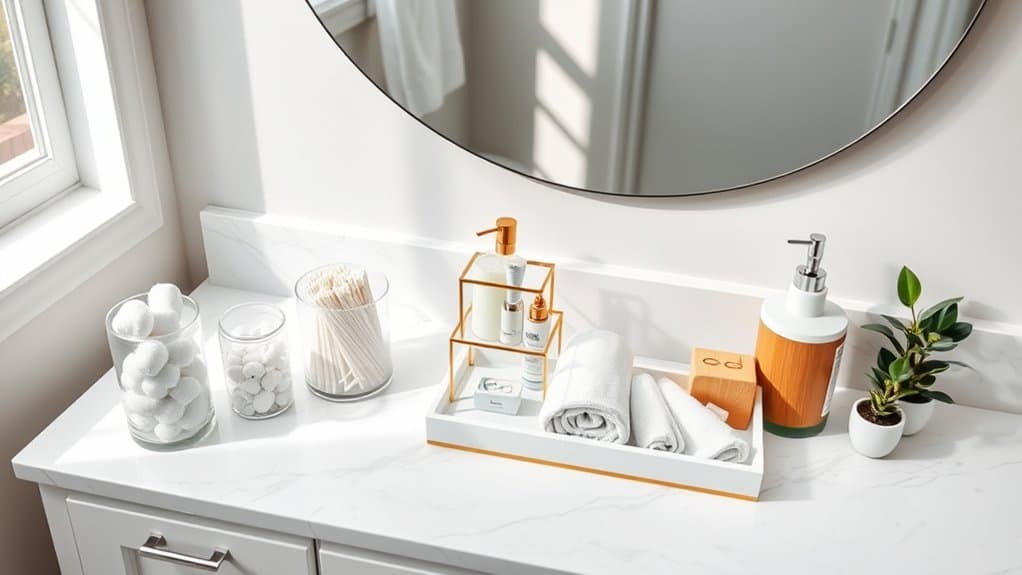
You’ve stared at your cluttered bathroom counter long enough, feeling overwhelmed by the chaos of toiletries and beauty products. Trust me, I’ve been there! But what if you could transform that messy space into an organized oasis that makes your morning routine a breeze? With these seven game-changing organization tips, you’ll discover clever solutions that’ll maximize your counter space and keep everything within arm’s reach. Let’s explore how to bring order to your bathroom – and maybe even make it Instagram-worthy!
Clear Acrylic Organizers for Elegant Storage
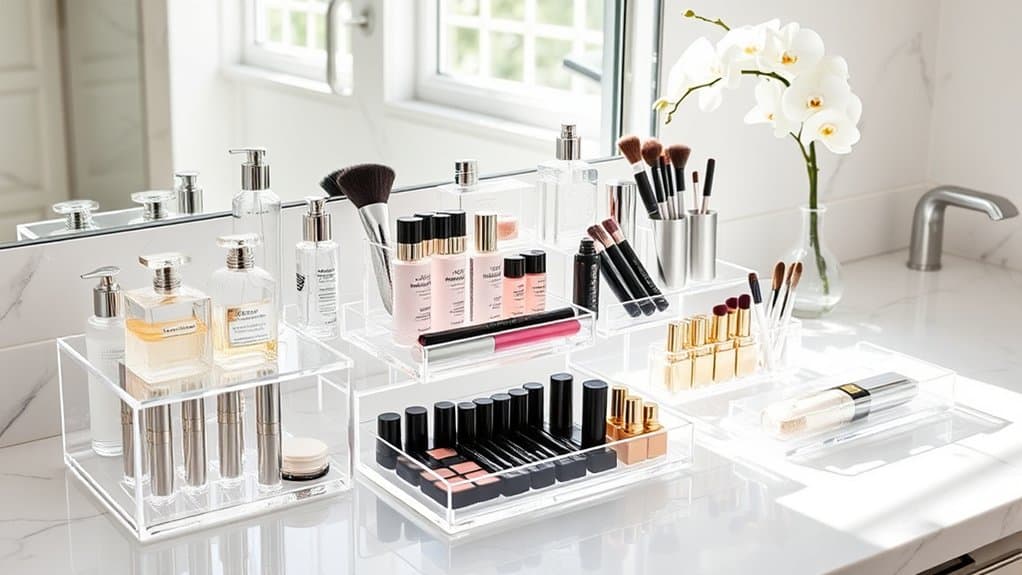
Clear acrylic organizers have revolutionized bathroom storage solutions by combining functionality with sophisticated aesthetics. These transparent containers create an illusion of space while keeping essential items visible and easily accessible, transforming cluttered countertops and cabinets into streamlined displays.
The beauty of acrylic organizers lies in their versatility and modern appeal. Unlike traditional storage solutions, these crystal-clear containers complement any bathroom decor while protecting items from moisture and dust. Their clean lines and professional appearance make them perfect for displaying expensive skincare products, cosmetics, and daily essentials.
Essential Items:
- Various sizes of clear acrylic drawer organizers
- Stackable acrylic containers
- Divided makeup organizers
- Clear bathroom vanity trays
- Acrylic cotton swab/cotton ball holders
- Clear plastic drawer dividers
- Measuring tape
- Cleaning cloth
- Label maker (optional)
Start by measuring your drawer spaces and countertop areas to determine the appropriate sizes of acrylic organizers needed. Remove everything from your current storage areas and sort items into categories: daily essentials, occasional use items, and rarely used products.
Place frequently used items in easily accessible drawer organizers or countertop containers, positioning them at the front of drawers or in prime counter space locations.
For bathroom drawers, use interlocking acrylic organizers to create custom configurations that maximize space efficiency. Arrange taller items like lotions and bottles in the back, with smaller items such as cotton swabs and makeup in front.
On countertops, use tiered organizers or stackable containers to utilize vertical space effectively, keeping frequently used items on lower levels for easy access.
Additional Tips: Clean acrylic organizers regularly with a non-abrasive cloth and mild soap to maintain their crystal-clear appearance. Avoid overcrowding containers, as this defeats both the aesthetic and functional purposes of clear organizers.
Consider using small acrylic risers within larger containers to create multiple levels of storage, and rotate items seasonally to ensure you’re maximizing the efficiency of your organization system.
Tiered Shelving Systems to Maximize Vertical Space
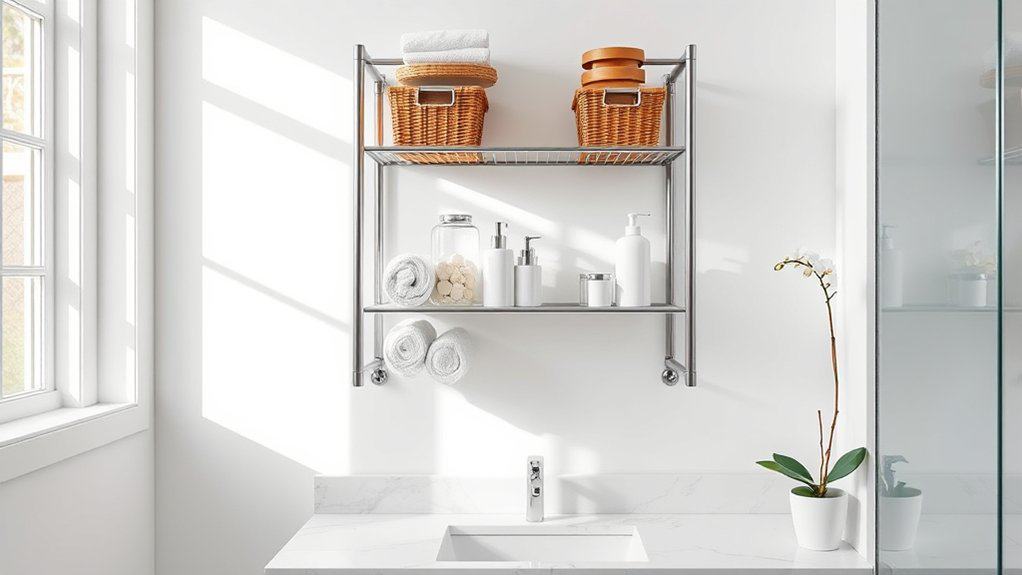
Vertical space in bathrooms often goes underutilized, despite being prime real estate for storage and organization. Tiered shelving systems offer an elegant solution to this common problem, transforming bare walls into functional storage areas that can accommodate everything from toiletries to decorative items while maintaining easy access to frequently used products.
By implementing a well-planned tiered shelving system, you can triple or quadruple your bathroom’s storage capacity without sacrificing floor space. This organizational approach not only helps declutter countertops and cabinet spaces but also creates an aesthetically pleasing display that can enhance your bathroom’s overall design.
Required Items:
- Tiered shelving unit (wall-mounted or free-standing)
- Wall anchors and screws
- Level
- Drill
- Measuring tape
- Pencil
- Clear storage containers
- Basket organizers
- Labels
- Cleaning supplies
Installing and organizing a tiered shelving system starts with selecting the ideal location, typically a wall space that’s easily accessible but not in the way of daily activities. Measure the area carefully and mark mounting points, ensuring they’re level.
Once the shelving unit is securely installed, begin organizing items by frequency of use, with daily essentials on middle shelves for easy reach. Sort items into categories: toiletries, cleaning supplies, backup products, and decorative items. Use clear containers or baskets to group similar items together, maintaining visual harmony while protecting products from bathroom moisture.
Arrange items strategically, placing heavier items on lower shelves and lighter ones above. Create zones within your shelving system – for instance, designate one tier for morning routine items, another for evening products, and perhaps a third for extra supplies. Label containers clearly to maintain organization long-term, and consider using water-resistant containers for items that need protection from humidity.
For optimal maintenance, review your tiered shelving organization every few months. Rotate seasonal items, dispose of expired products, and adjust the system based on changing needs.
Consider adding small drawer organizers or mini shelves within larger shelves to maximize space efficiency further. Keep frequently used items at eye level and ensure proper weight distribution to maintain the shelving unit’s stability and longevity.
Magnetic Solutions for Metal Items
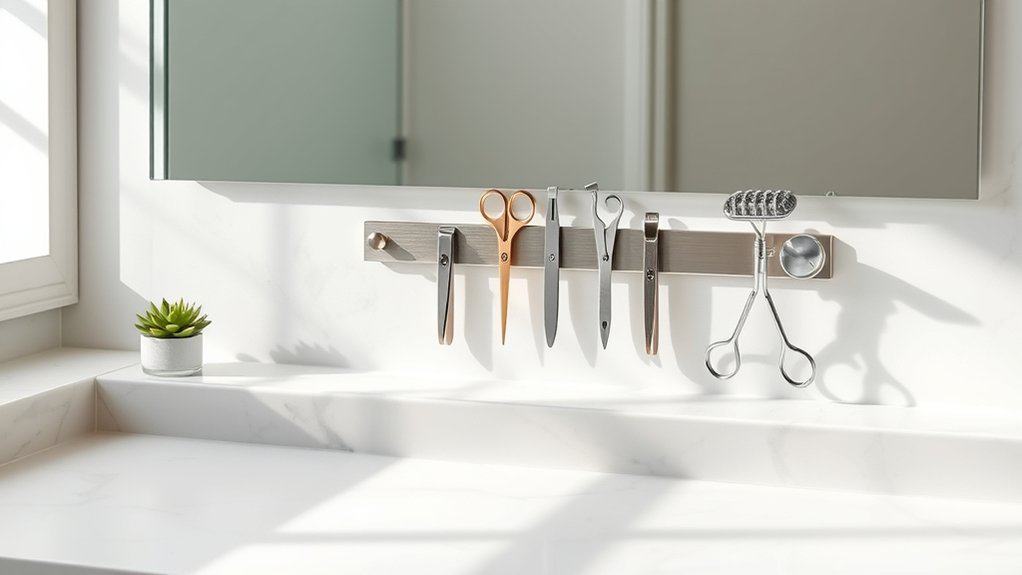
Managing small metal items in the bathroom can be a constant challenge, with bobby pins, tweezers, nail clippers, and other metallic essentials often scattered across countertops or lost in drawers. Implementing magnetic storage solutions creates an efficient system that keeps these items visible, accessible, and neatly organized while maximizing valuable bathroom space.
Magnetic organization particularly benefits those who use multiple metal tools daily, such as hair accessories or grooming implements. This system eliminates the frustration of digging through drawers or containers, reducing morning routine stress and maintaining a clutter-free environment.
Required Items:
- Magnetic strips or boards
- Strong adhesive mounting tape
- Metal containers or holders
- Small magnetic hooks
- Level
- Measuring tape
- Cleaning supplies
- Screwdriver (if mounting with screws)
- Wall anchors (optional)
To implement magnetic storage, first clean and dry the intended mounting surface thoroughly. Measure and mark the optimal placement for magnetic strips, ensuring they’re at a convenient height and don’t interfere with cabinet doors or other bathroom fixtures.
Install the magnetic strips using strong adhesive tape or screws, checking they’re level and secure. For additional storage, attach magnetic containers to the strips or mount them directly on the wall. Organize items by category, placing frequently used tools at eye level and grouping similar items together.
Consider incorporating magnetic solutions beyond basic strips – magnetic spice racks can be repurposed for storing skincare products, while magnetic hooks work well for hanging small towels or loofahs. Experiment with different arrangements until finding the most functional setup for your specific needs and space limitations.
Additional Tips: Regularly wipe down magnetic surfaces to prevent rust and maintain adhesion. Test the magnetic strength before committing to a permanent installation, as bathroom humidity can affect adhesive performance.
Consider applying a clear sealant around mounted items to protect against moisture, and periodically check that all mounted elements remain secure.
Rotating Carousel Storage for Easy Access
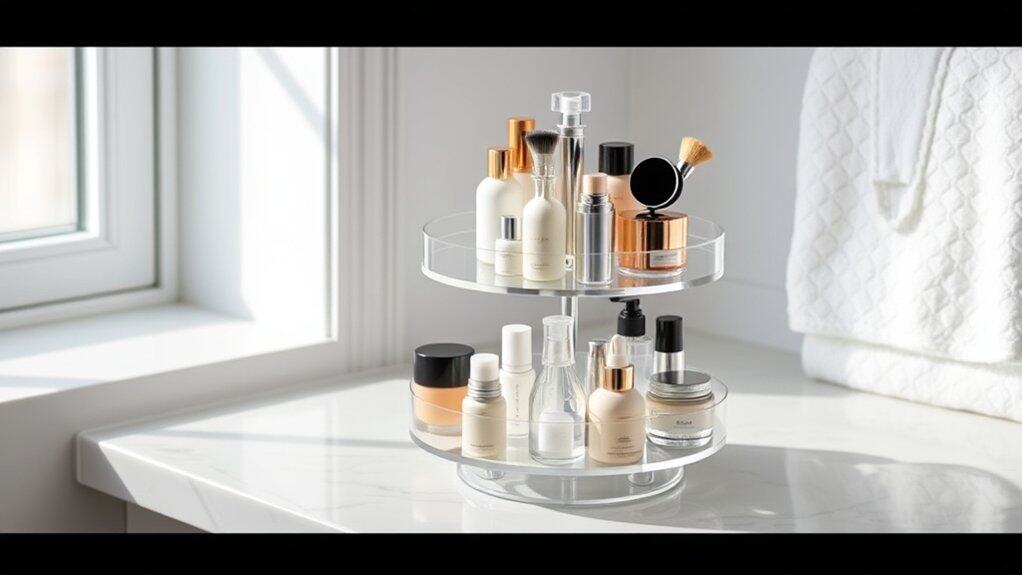
A rotating carousel storage system represents one of the most efficient solutions for maximizing bathroom space while maintaining easy access to daily essentials. This organizational method transforms cluttered countertops and cabinets into a smooth-running system where every item has its designated spot and can be accessed with a simple spin.
By implementing a rotating carousel system, you’ll eliminate the frustration of reaching into deep cabinets or shuffling through multiple items to find what you need. This storage solution is particularly valuable in smaller bathrooms where space optimization is crucial, and it helps maintain a clean, organized appearance while keeping frequently used items within arm’s reach.
Required Items:
- Rotating carousel organizer (single or multi-tier)
- Clear storage containers or bins
- Label maker or labels
- Measuring tape
- Cleaning supplies
- Small drawer dividers (optional)
- Non-slip liner (optional)
Select an appropriate location for your carousel, typically under the sink or in a corner cabinet. Measure the space carefully to ensure proper fit, accounting for height clearance and rotation radius. Clean the area thoroughly before installation.
Sort items into categories based on frequency of use and type – daily essentials, hair care, skincare, medications, etc. Place frequently used items on the most accessible level, utilizing clear containers to maintain visibility. Position taller items toward the back of each tier and shorter items in front for optimal viewing.
The key to maintaining an effective carousel system lies in strategic placement and regular maintenance. Create designated zones on each level – for example, morning routine items on one tier, evening routine items on another. Consider using drawer dividers or small containers within each level to prevent items from shifting during rotation.
Label each section clearly to maintain organization and make it easier for family members to return items to their proper places.
Additional Tips: Review and rotate items seasonally, removing expired products and reassessing placement based on changing needs. Install a non-slip liner on each tier to prevent items from sliding during rotation. Keep a small space free on each level to accommodate new products without disrupting the existing organization.
Consider implementing a “one-in-one-out” rule to maintain the system’s efficiency and prevent overcrowding.
Wall-Mounted Mason Jar Solutions
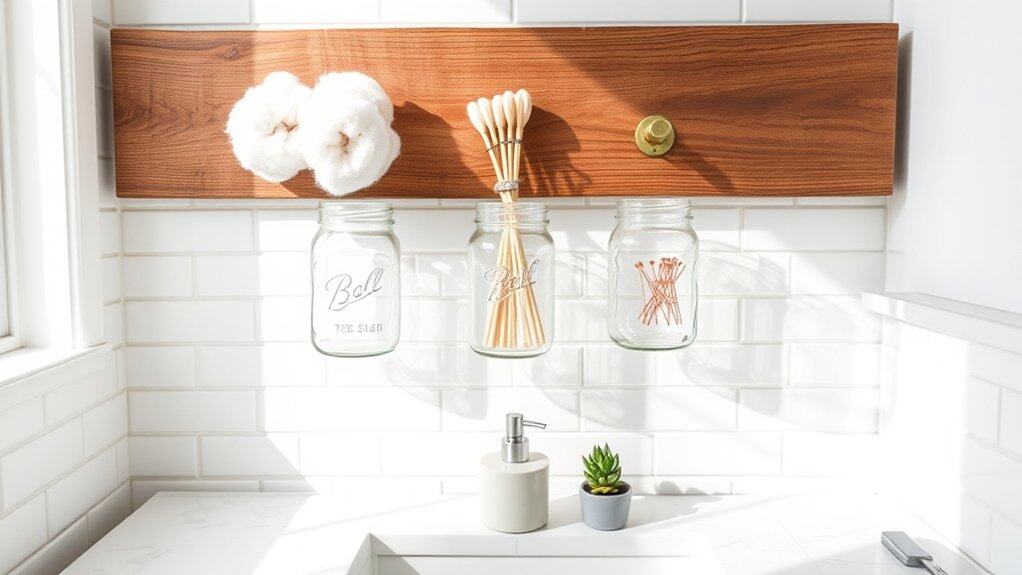
Bathroom counter space is precious real estate, and keeping essential items organized while still easily accessible can be challenging. Wall-mounted mason jar solutions offer an elegant and practical way to maximize vertical space while adding a touch of rustic charm to your bathroom decor.
These versatile containers can transform cluttered countertops into an organized display, keeping everything from cotton balls to toothbrushes neatly arranged and within arm’s reach. The clear glass makes it easy to monitor supplies and know when items need replenishing, while the sealed lids protect contents from moisture.
Required Items:
- Mason jars (various sizes)
- Wall-mounted wood plank or board
- Metal pipe clamps or mason jar rings
- Screws and wall anchors
- Power drill
- Level
- Pencil
- Measuring tape
- Screwdriver
- Sandpaper
- Wood stain or paint (optional)
Start by selecting a suitable location on your bathroom wall, ensuring it’s easily accessible but away from direct water splash zones. Measure and mark the placement for your wood plank, using a level to ensure straight alignment.
Sand and finish the wood plank if desired, then secure it to the wall using appropriate anchors and screws. Attach the pipe clamps or mason jar rings to the wood plank at evenly spaced intervals, ensuring they’re properly aligned and securely fastened.
Test the strength of each mounting point before proceeding. Carefully twist the mason jars into their holders, making sure they’re tight enough to stay in place but not so tight that they’re difficult to remove for refilling.
For optimal organization and longevity, consider labeling each jar’s contents and using waterproof seals under the lids to prevent moisture infiltration. Rotate items periodically to prevent stagnation, and clean the jars monthly to maintain hygiene and clarity.
Position frequently used items at eye level and heavier items toward the bottom of the arrangement for both practical access and safety considerations.
Under-Cabinet Pull-Out Drawers
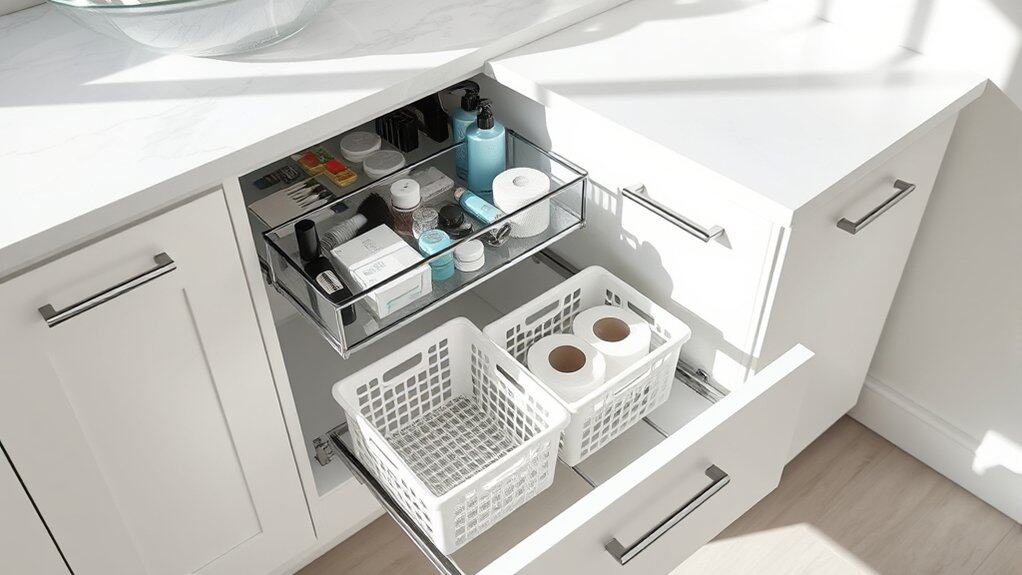
Making the most of under-cabinet space in your bathroom is crucial for maintaining an organized and efficient space. The often-overlooked area beneath the sink can become a treasure trove of storage when properly equipped with pull-out drawers, transforming awkward, hard-to-reach spaces into easily accessible storage solutions.
Pull-out drawers eliminate the need to crawl on hands and knees searching for items in the back of cabinets. This organization system creates designated spaces for cleaning supplies, toiletries, and bathroom essentials while maximizing vertical space and making items visible and accessible with a simple pull of the drawer.
Required Items:
- Pull-out drawer systems
- Measuring tape
- Screwdriver
- Drawer liner
- Small containers or bins
- Labels
- Mounting hardware
- Level
- Pencil
- Drill (if needed)
Installation and organization begins with measuring the interior cabinet space, accounting for plumbing fixtures and determining the appropriate size and number of pull-out drawers. Install the drawer slides according to manufacturer instructions, ensuring they’re level and properly secured.
For optimal organization, place frequently used items in upper drawers and less-used items in lower drawers. Sort items by category and assign specific drawers for different purposes – cleaning supplies in one, hair tools in another, and extra toiletries in a third.
Use small containers or bins within the drawers to prevent items from sliding around and maintain organization. Consider installing drawer liners to protect the surface and prevent moisture damage from bathroom products.
To maintain the system’s effectiveness, implement a regular review schedule every three months to assess items, remove expired products, and reorganize as needed. Label the front of each drawer clearly to ensure items return to their designated spots, and consider using clear containers to easily identify contents without opening every drawer.
Decorative Tray Organization
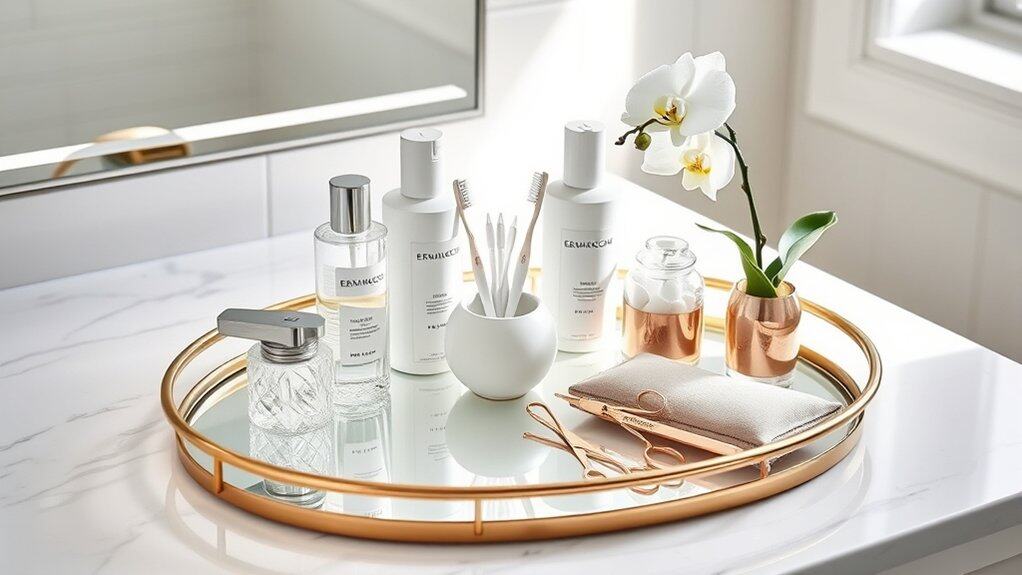
A well-organized bathroom counter creates a sense of order and calm in your daily routine, and decorative trays serve as both functional organizers and stylish accessories. These trays contain bathroom essentials while preventing items from cluttering countertops and making cleaning more difficult.
Organizing bathroom items on decorative trays not only enhances the visual appeal of your space but also establishes designated zones for different categories of items. This system makes it easier to maintain order and quickly locate items during your morning routine or while getting ready for bed.
Required Items:
- Decorative tray (ceramic, metal, or acrylic)
- Small containers or cups for vertical storage
- Drawer organizers or small boxes
- Labels (optional)
- Cleaning cloth
- Measuring tape
- Clear plastic risers (optional)
Select a decorative tray that complements your bathroom’s style and measures approximately 12-18 inches in length. Place the tray in an easily accessible location on your counter, ensuring it doesn’t block frequently used spaces.
Group similar items together, such as skincare products, dental care items, or hair accessories. Use small containers within the tray to create vertical storage, preventing items from tipping over. Position frequently used items at the front of the tray and occasional-use items toward the back.
For maximum organization success, regularly assess the items on your decorative tray and remove anything that hasn’t been used in the past month. Clean the tray weekly to prevent product residue buildup, and consider using clear risers or tiered organizers within the tray to maximize vertical space.
Rotate seasonal items as needed, and always return items to their designated spots after use to maintain the system’s effectiveness.

