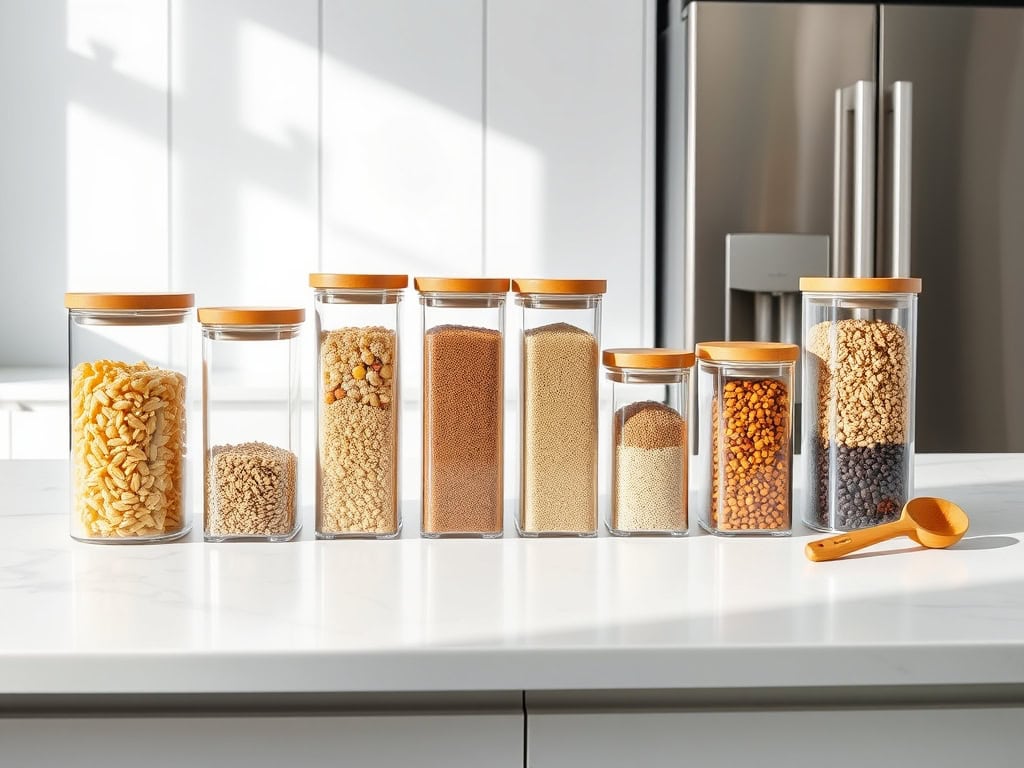
Did you know that the average kitchen contains over 40 food storage containers, yet most households only regularly use about 12 of them? You’re probably nodding your head right now, thinking about that dreaded cabinet where mismatched lids and containers go to hide! I’ve spent years perfecting a system that’ll transform your chaotic container collection into an organized oasis, and these eight practical tips will help you reclaim valuable kitchen space while making meal prep a breeze.
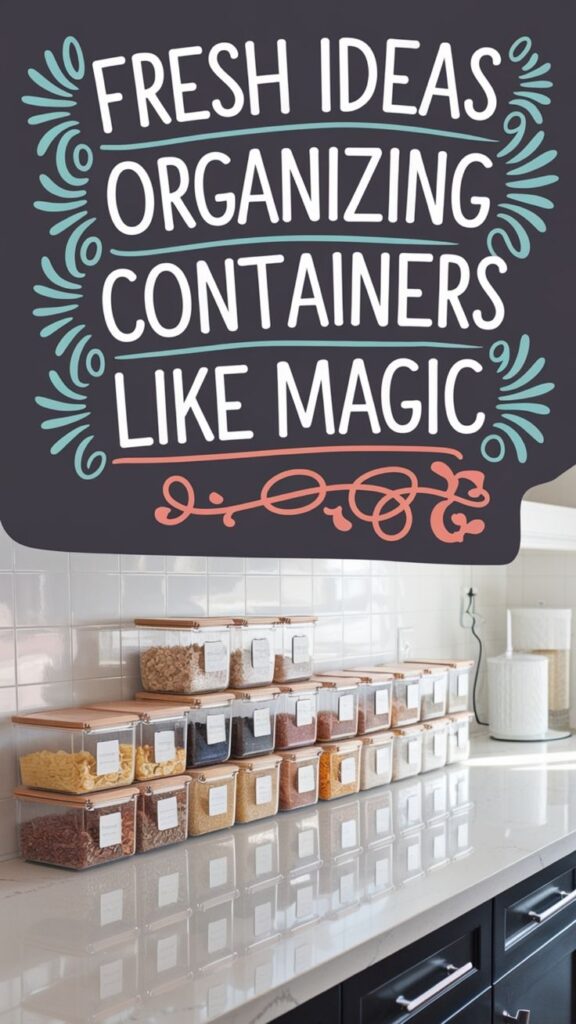
Audit Your Container Collection and Remove Excess
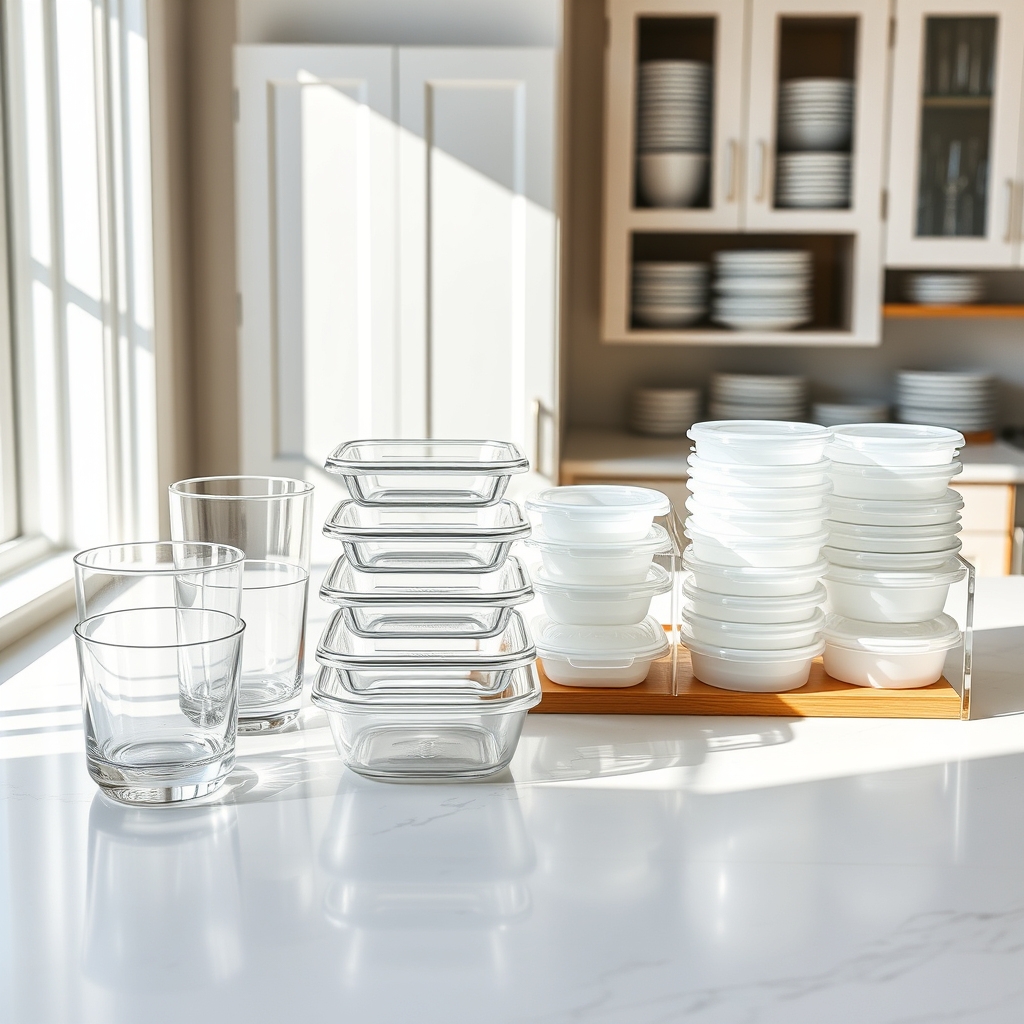
A cluttered container collection can quickly become one of the most frustrating aspects of kitchen organization. Mismatched lids, stained containers, and overcrowded cabinets not only waste valuable storage space but also make meal prep and leftover storage unnecessarily complicated.
When containers are properly organized, you can quickly find what you need and ensure food stays fresh longer. Taking time to audit and streamline your container collection creates a more functional kitchen environment. An organized container system makes it easier to pack lunches, store leftovers, and maintain a clear view of your food inventory.
This organization project typically leads to better food storage habits and less waste of both food and storage space.
Required Items:
- Large sorting surface or table
- Cleaning supplies
- Labels or marker
- Storage bins or organizers
- Recycling bin
- Garbage bag
- Dish soap
- Towels
Empty all containers and lids from their storage locations and place them on a clean, flat surface. Sort items into categories: glass containers, plastic containers, and specialty storage. Match all containers with their corresponding lids, setting aside any orphaned pieces.
Test each container for stains, warping, or damage. Wash all containers and lids you plan to keep, ensuring they’re completely dry before storage. Consider implementing a container limit based on your typical household needs and available storage space.
Group containers by size and type, then stack them efficiently with their matching lids. For optimal organization, store lids vertically using drawer dividers or specialized lid organizers. Consider using clear storage bins to separate different container types and maintain organization.
Keep frequently used containers in easily accessible locations, while storing occasional-use items in higher or deeper cabinets.
To maintain this newly organized system, implement a one-in-one-out rule for future container purchases. Regularly assess containers for damage or wear, immediately disposing of compromised items. Store containers with their lids attached when possible to prevent mismatched pairs, and consider standardizing your container collection to one or two brands for easier storage and replacement.
Match Lids With Containers Using a Smart Storage System
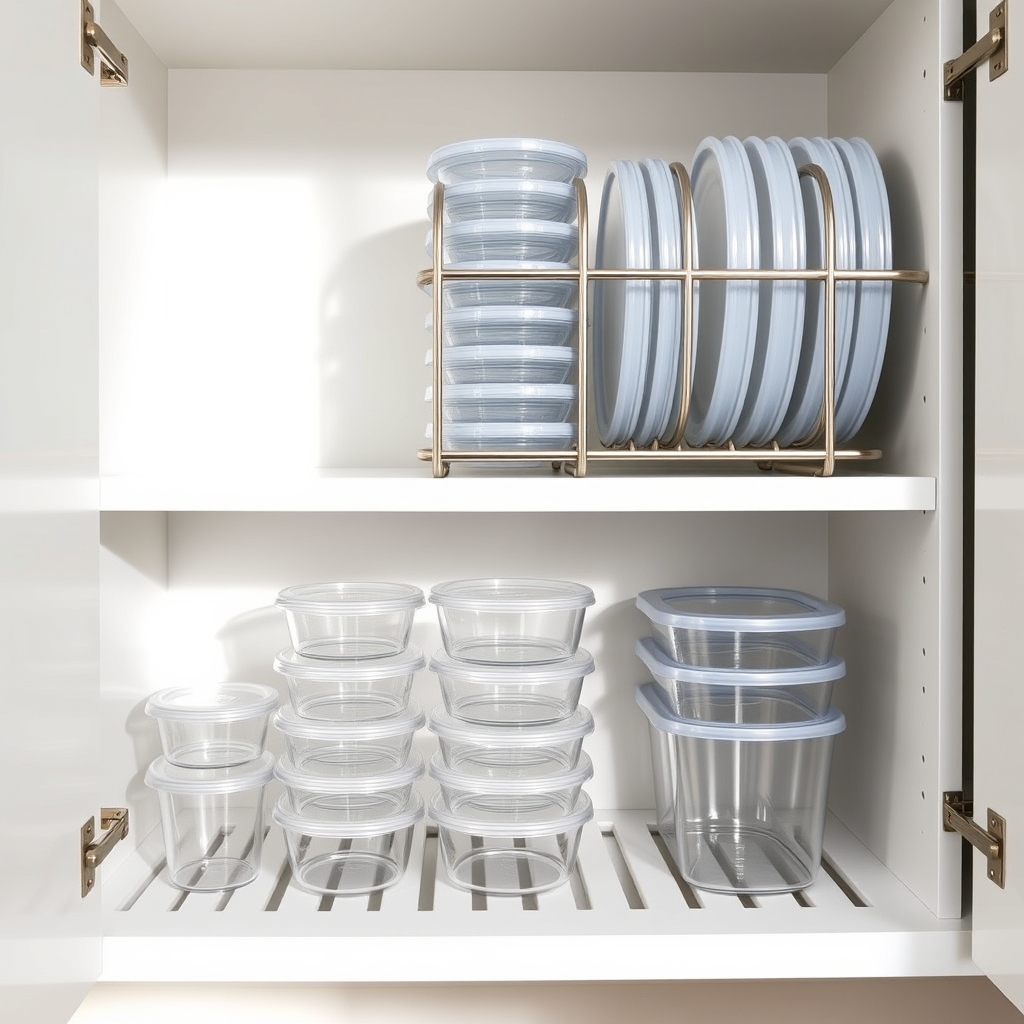
Keeping food storage containers and their matching lids organized is one of the most frustrating challenges in kitchen organization. When lids and containers become separated or disorganized, valuable time is wasted searching through cluttered cabinets, leading to frustration and inefficiency in meal prep and food storage routines.
A well-organized container storage system not only saves time but also preserves the longevity of your storage containers. When properly stored, containers and lids are less likely to become damaged or lost, ultimately saving money and reducing plastic waste in the long run.
Required Items:
- Container sorting bins or drawer organizers
- Label maker or markers
- Clear storage containers
- Measuring tape
- Cabinet shelf organizers
- File organizers or dish racks
- Container lid organizers
- Storage basket with dividers
Start by removing all containers and lids from your cabinets and sorting them into matching pairs. Discard any containers or lids that are damaged, stained, or missing their counterparts.
Group remaining containers by size and type, then stack containers together while keeping lids separate. Install drawer dividers or shelf organizers to create designated spaces for different sizes. Store container bases nested together by size, with the largest on the bottom.
Position lid organizers vertically along cabinet walls or inside deep drawers, sorting lids by size from largest to smallest. For round containers, consider using tension rods to create vertical dividers that keep lids upright and easily accessible.
Consider implementing a regular maintenance routine to keep your storage system functioning optimally. Periodically check for damaged items, rotate containers to prevent wear, and adjust organizers as needed.
Store frequently used containers in easily accessible locations, and consider using clear containers to quickly identify contents. For maximum space efficiency, limit your collection to only the sizes and types you regularly use, and maintain a consistent brand or style to ensure compatibility.
Create Designated Zones by Container Type and Use
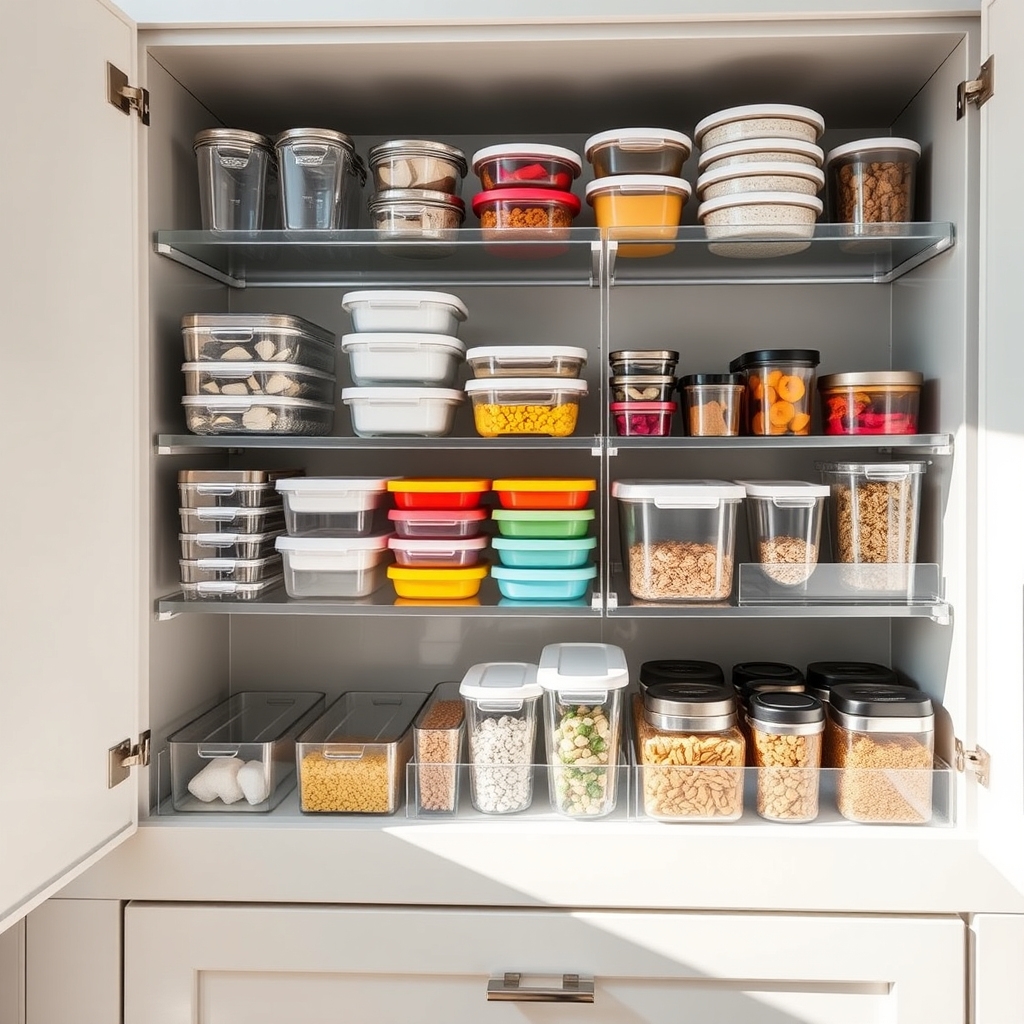
Organizing containers in designated zones is fundamental to maintaining an efficient kitchen workflow. When containers and their matching lids are properly sorted and stored, meal prep becomes faster, leftovers are easily managed, and food storage is more effective. Well-organized containers prevent the frustration of searching through cluttered cabinets and eliminate the common problem of mismatched lids and bases.
Creating specific zones for different types of containers not only maximizes storage space but also helps maintain order long-term. This system allows family members to quickly locate the right container for their needs and, more importantly, return items to their proper place, keeping the kitchen organized day after day.
Required Items:
- Clear storage bins or drawer organizers
- Label maker or labels
- Container measurement guide
- Drawer liner or shelf liner
- Storage baskets
- Lid organizers
- Container dividers
- Shelf risers
Start by removing all containers and lids from their current locations and sorting them by type (glass, plastic, specialty) and size. Match each container with its corresponding lid and discard any damaged items or pieces without matches.
Create primary zones based on frequency of use: daily-use containers should be easily accessible, while seasonal or occasional-use items can be stored in higher or deeper cabinets. Within each zone, implement a size-based organization system, with smaller containers nested together and larger ones stacked separately.
Install drawer organizers or shelf dividers to maintain distinct sections for different container types. Position lid organizers vertically to maximize space and make lids easily visible. Use clear bins to group similar items together, such as all lunch containers in one bin and meal prep containers in another. Label each zone clearly to ensure items return to their designated spots.
For optimal organization maintenance, implement a quarterly review system to assess container condition and organization effectiveness. Rotate containers seasonally, bringing frequently used items to the front during relevant times of year.
Consider using uniformly sized containers when replacing old ones to maximize storage efficiency and maintain a cohesive organization system.
Stack Containers Efficiently With Nesting Methods
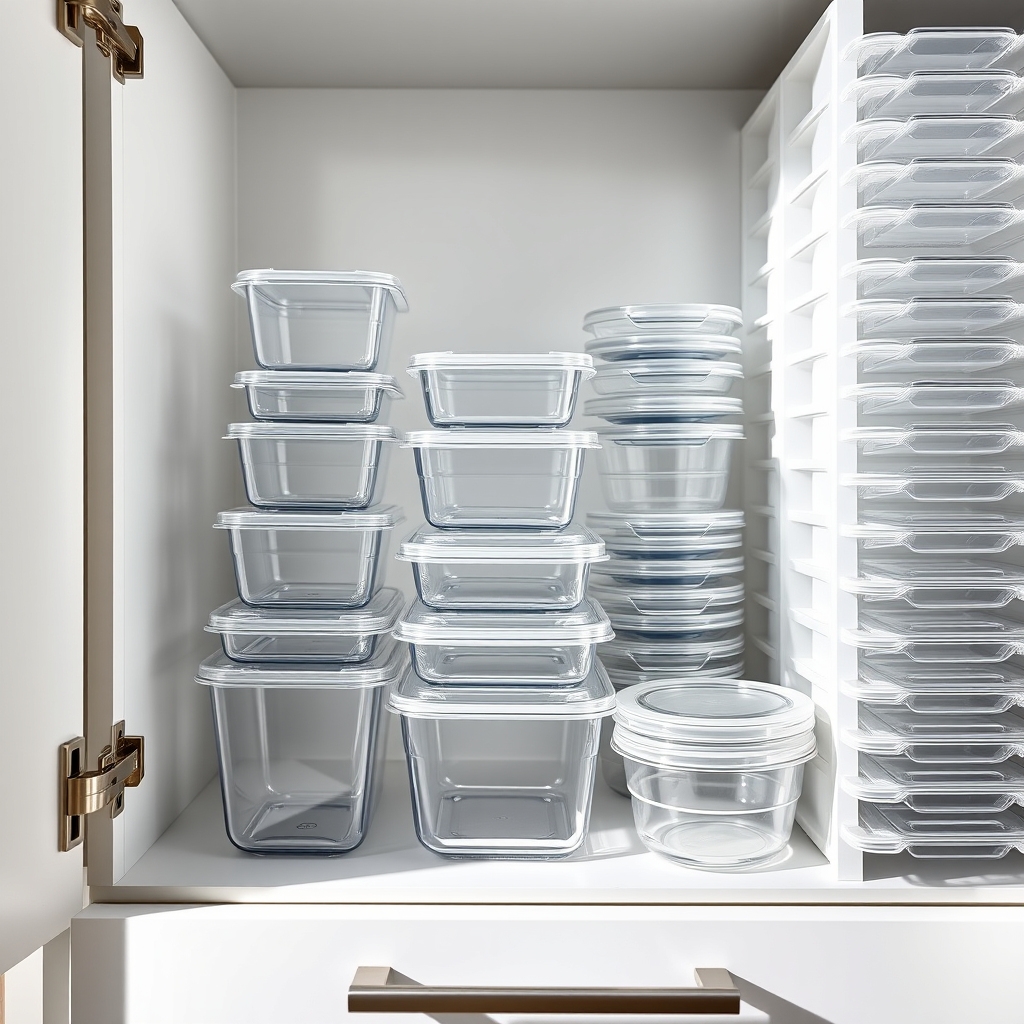
Organizing food storage containers is one of the most challenging aspects of kitchen organization, often leading to avalanches of plastic and frustrating searches for matching lids. A well-organized container system saves valuable cabinet space and reduces the time spent searching for the right container when storing leftovers or meal prepping.
Implementing an efficient nesting system for containers transforms chaotic cabinets into functional storage spaces. When containers are properly nested, they not only take up less space but also remain easily accessible, preventing the common frustration of containers scattered throughout multiple cabinets or drawers.
Required Items:
- Container sorting bins
- Lid organizers
- Labels
- Measuring tape
- Container sets with nesting capability
- Drawer dividers
- Cabinet shelf risers
Start by removing all containers and lids from your cabinets and sorting them into matching sets. Discard any containers or lids without matches, as well as damaged or stained pieces.
Group containers by shape (round, square, rectangular) and size (small to large). Place the largest container of each group on the bottom and stack progressively smaller containers inside. For optimal space utilization, ensure all containers of the same shape nest completely inside one another.
Store lids vertically using dedicated lid organizers or drawer dividers, grouping them by size and shape alongside their corresponding container stacks. If using deep cabinets, consider installing pull-out drawers or lazy susans to access containers at the back easily.
Position frequently used containers at eye level or in easily accessible locations.
Additional Tips: Maintain your organization system by establishing a “one in, one out” rule when purchasing new containers. Regularly audit your collection every few months, checking for damaged items or separated pairs.
Consider investing in square or rectangular containers rather than round ones, as they stack more efficiently and maximize storage space. When possible, choose container sets specifically designed for nesting to ensure optimal space savings.
Label Everything for Quick Identification
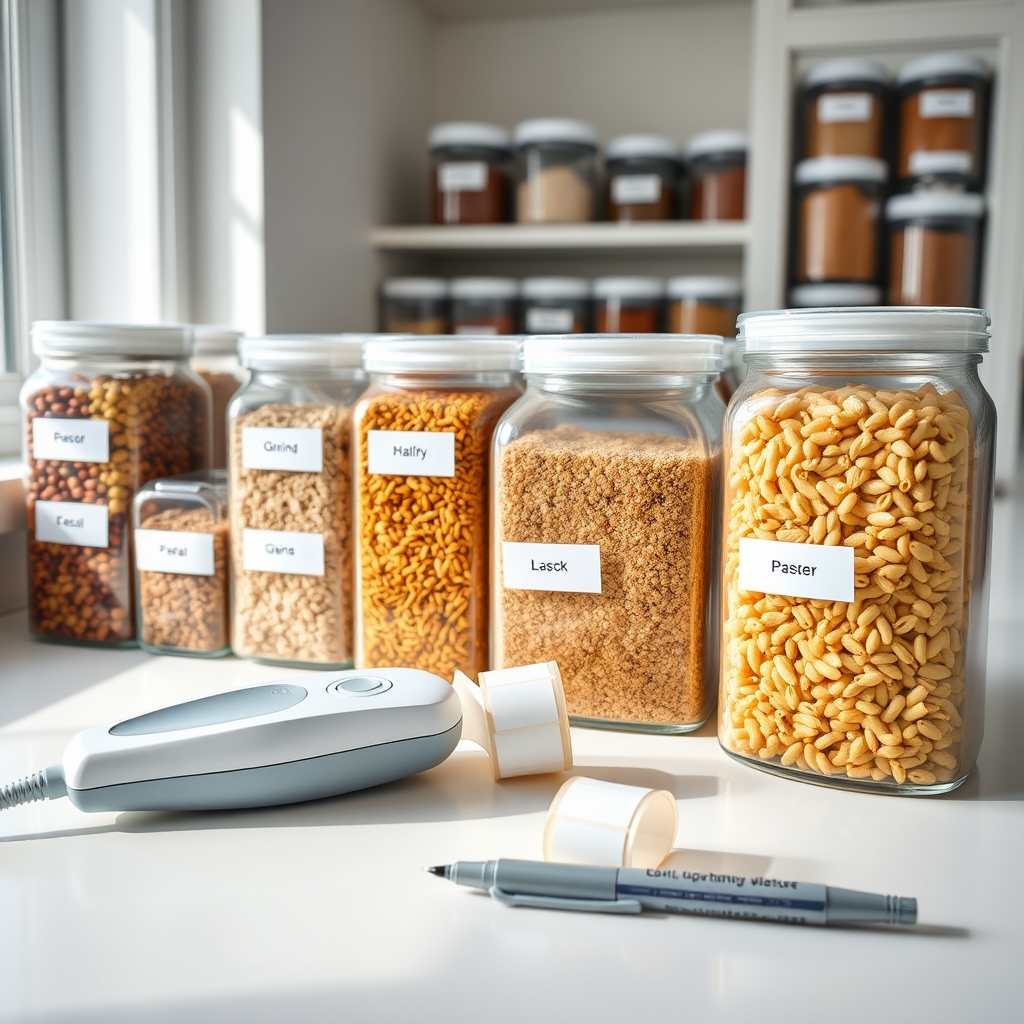
An organized kitchen starts with clear identification of items, making it easier for everyone in the household to find what they need quickly. When everything is properly labeled, you spend less time searching through containers and cabinets, reducing frustration and making cooking more enjoyable.
Labeling your kitchen items not only helps maintain order but also ensures proper food storage and rotation. It prevents confusion between similar-looking ingredients, helps track expiration dates, and makes it simpler to maintain your pantry inventory. This system is particularly valuable when storing bulk items or transferring products from their original packaging into storage containers.
Required Items:
- Label maker or waterproof labels
- Permanent markers
- Clear storage containers
- Masking tape
- Label protectors
- Erasable labels
- Small adhesive chalkboard labels
- White paint marker
- Cleaning supplies
- Storage bins or baskets
Start by gathering all items that need labeling and sorting them into categories (pantry items, spices, leftovers, etc.). Clean all containers thoroughly and ensure surfaces are completely dry before applying labels.
For pantry items, transfer contents into clear storage containers and create labels that include the item name and expiration date. For spices, use uniform labels that wrap around containers or stick to their tops for easy identification when stored.
When labeling storage zones, create clear categories and use larger labels that are visible from a distance. Apply labels to both containers and shelves to maintain the system.
For refrigerated items, use waterproof labels or erasable options that can withstand moisture and temperature changes. Include the date when storing leftovers or opened ingredients.
For maximum effectiveness, establish a labeling convention that works for your household. Consider using color-coding for different categories, adding symbols for quick recognition, or implementing a dual-language system if needed.
Regularly review and update labels, removing outdated ones and replacing any that have become worn or illegible. Keep extra labeling supplies in an easily accessible location for quick updates to your system.
Implement the One-In-One-Out Container Rule
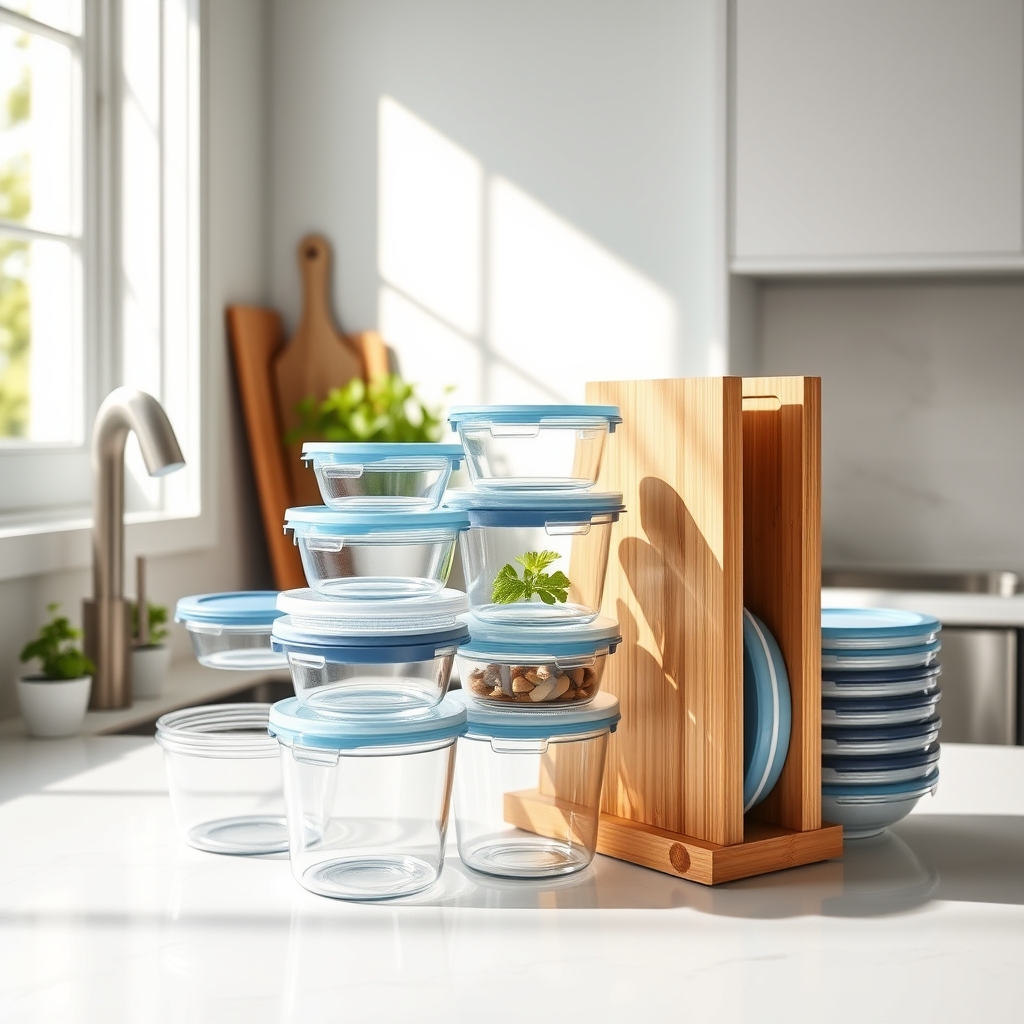
Managing food storage containers is one of the most challenging aspects of kitchen organization. When left unchecked, these containers can quickly multiply, creating chaos in cabinets and drawers, making it impossible to find matching lids or the right size container when needed.
The one-in-one-out container rule creates a sustainable system that prevents overflow while ensuring you always have exactly what you need. This organizational method not only streamlines your storage space but also reduces waste and saves money by preventing unnecessary purchases.
By maintaining a carefully curated collection of containers, you’ll spend less time searching through mismatched pieces and more time efficiently storing and accessing your food items.
Required Items:
- Clean workspace or counter
- Storage containers and matching lids
- Labels and marker
- Container sorting bins
- Measuring tape
- Recycling bin
- Storage basket for lids
- Container inventory sheet
Start by removing all containers and lids from their current storage locations. Match each container with its corresponding lid and discard any incomplete sets. Sort remaining containers by size and type, creating distinct categories such as daily lunch containers, leftover storage, and bulk food storage.
Calculate the realistic number of containers needed for each category based on your household’s routine and storage needs. Implement the one-in-one-out rule by selecting only the essential containers that fit your predetermined needs.
Create a designated space for each category, ensuring easy access and visibility. When storing containers, nest similar sizes together with lids organized separately in vertical holders or dedicated bins. Each time you acquire a new container, remove an old one to maintain the system’s balance.
To maintain long-term success, establish a monthly audit system where you review your container collection. Keep frequently used containers in easily accessible locations and store seasonal or specialty containers in secondary spaces.
Consider marking containers with acquisition dates to track their age and condition, replacing items as they become worn or damaged while strictly adhering to the one-in-one-out principle.
Store Containers Based on Usage Frequency
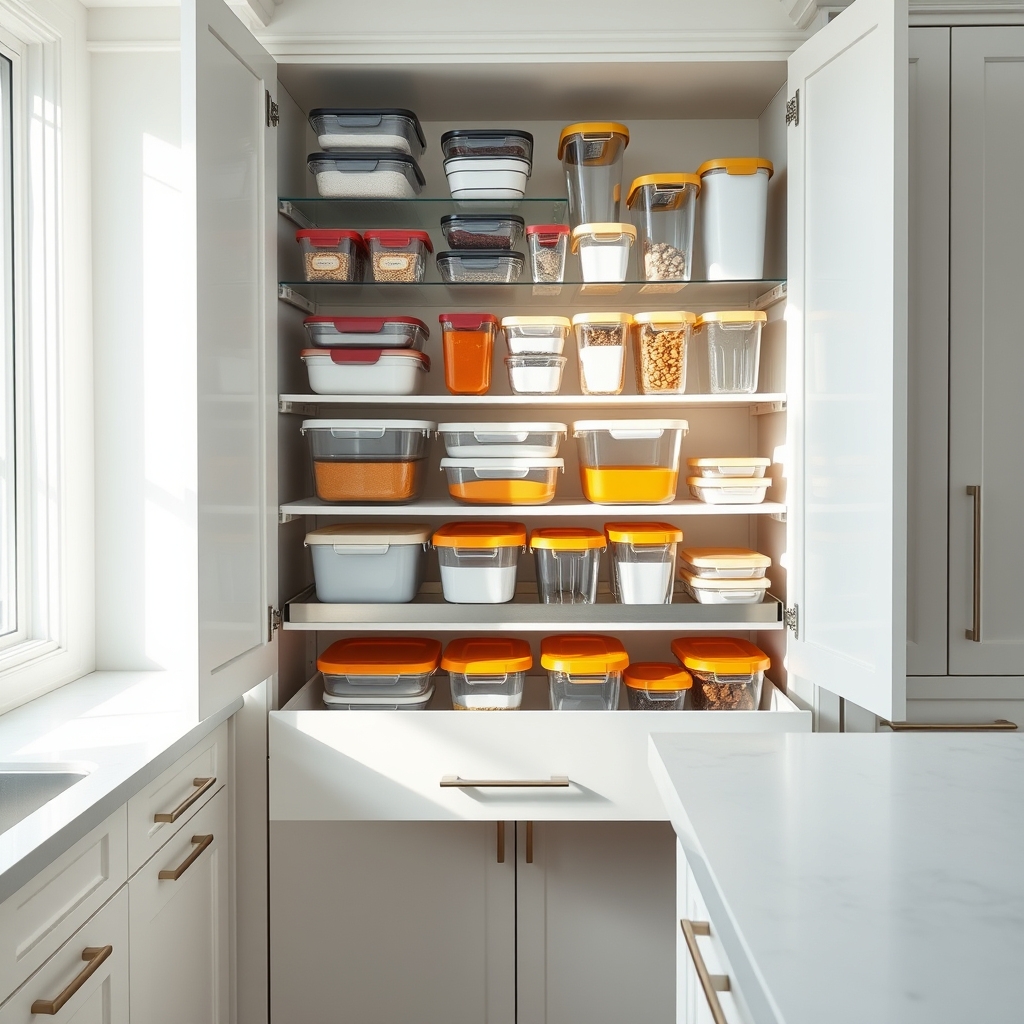
Organizing containers based on how often you use them is a fundamental principle of efficient kitchen management. When frequently used containers are readily accessible, you save precious time during meal prep and reduce the frustration of digging through cluttered cabinets to find what you need.
Strategic container storage not only streamlines your daily kitchen activities but also helps maintain order in your storage spaces. By designating specific zones for containers based on their usage patterns, you create a sustainable system that naturally encourages proper organization and prevents the common problem of cabinet chaos.
Required Items:
- Storage containers of various sizes
- Container lids
- Cabinet organizers or dividers
- Labels
- Measuring tape
- Shelf liner (optional)
- Drawer organizers (optional)
- Storage bins (optional)
Start by removing all containers and lids from your cabinets and sort them into three categories: daily use, weekly use, and occasional use. Place daily-use containers in the most accessible cabinets at eye level or in easy-to-reach drawers near your food prep area.
Position weekly-use items in the middle shelves or secondary storage areas. Relocate occasional-use containers to upper cabinets or deeper storage spaces. Ensure all containers are nested by size when possible, and store matching lids together using vertical organizers or dedicated bins.
Store small containers inside larger ones when space is limited, but avoid stacking too many pieces together, as this can make retrieval difficult. Consider installing pull-out drawer systems or lazy Susans in corner cabinets to maximize accessibility.
Keep similar-use containers grouped together – food storage containers near the refrigerator, baking containers near the oven, and serving containers near the dining area.
For optimal organization maintenance, implement a quarterly review system to reassess container usage patterns and adjust their placement accordingly. Consider using clear containers whenever possible to easily identify contents, and always store containers with their lids attached or nearby to prevent mismatched sets.
Remove any damaged or lidless containers promptly to maintain an efficient storage system.
Maximize Vertical Space With Cabinet Organizers
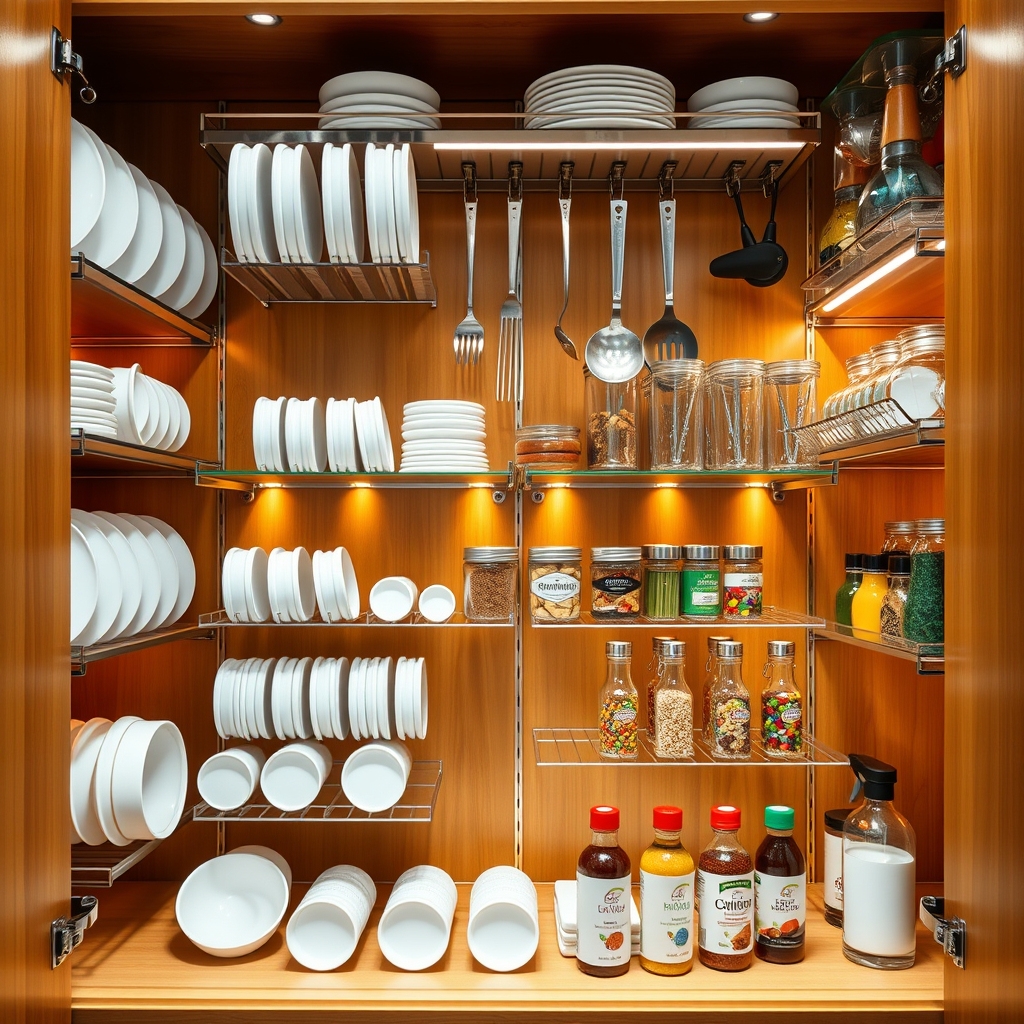
Making the most of vertical space in kitchen cabinets is essential for modern living, especially in homes where storage space comes at a premium. Well-organized cabinets not only maximize storage capacity but also make cooking and meal preparation more efficient by ensuring everything is easily accessible and visible.
Vertical cabinet organization transforms cluttered, hard-to-navigate spaces into functional storage areas that can double or even triple your usable space. This systematic approach to storage eliminates the frustration of digging through stacked items and prevents the common problem of forgotten items getting pushed to the back of cabinets.
Required Items:
- Stackable shelf organizers
- Over-the-door hanging racks
- Pull-out drawer systems
- Tension rods
- Vertical dividers
- Cabinet door mounting brackets
- Adhesive hooks
- Measuring tape
- Label maker
- Clear storage containers
Start by removing everything from your cabinets and measuring the interior dimensions, including height, width, and depth. Select appropriate organizers that fit your specific measurements and the items you need to store.
Install pull-out drawers at the bottom of deep cabinets to maximize accessibility, and position stackable shelves to create multiple levels of storage space. For door-mounted storage, attach hanging racks or organizers using appropriate mounting hardware, ensuring they don’t interfere with cabinet closure.
Use vertical dividers to separate baking sheets, cutting boards, and platters. Position tension rods to create additional levels for storing spray bottles or smaller items.
Group similar items together and assign specific zones within the cabinet space. Store frequently used items at eye level and between waist and shoulder height for easy access. Place heavier items on lower shelves and lighter, less frequently used items on higher shelves.
Additional Tips: Consider installing LED strip lighting to illuminate dark cabinet corners. Regularly review and adjust your organization system as needs change, and implement a “one in, one out” rule to maintain optimal storage capacity.
Use clear containers to store small items and always label shelves and containers to maintain organization long-term.

