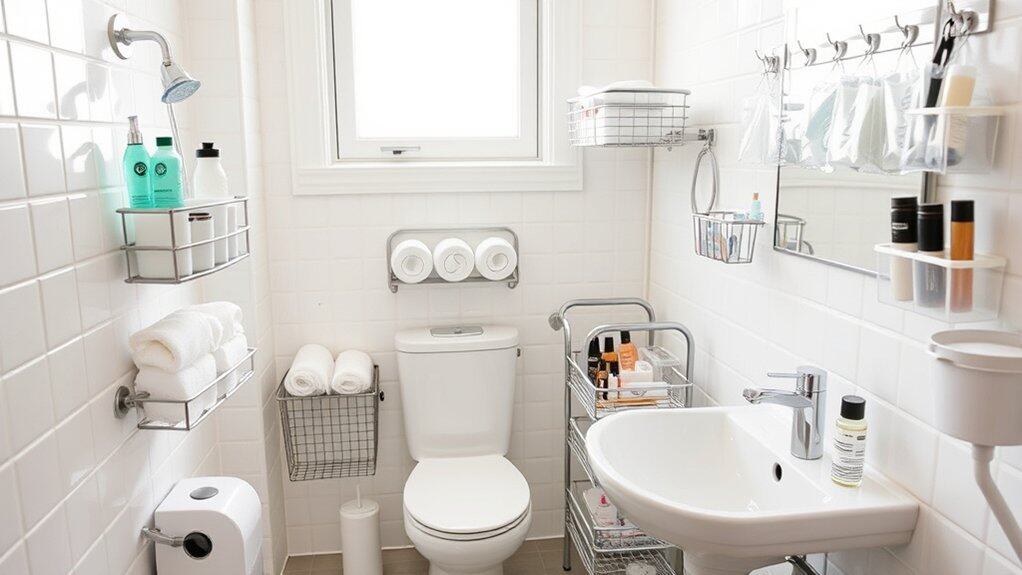
You’ve just moved into your tiny dorm bathroom, and let’s be honest – it’s not exactly the spa-like oasis you dreamed about! But don’t worry, I’ve been there and learned how to transform even the most cramped 5×5 space into an organized haven. After three years of dorm life, I’ve discovered seven game-changing hacks that’ll help you maximize every square inch without breaking the bank. Ready to turn your bathroom chaos into a Pinterest-worthy success story?

Over-the-Door Storage Solutions That Actually Work

Making the most of limited dorm bathroom space is essential for maintaining a comfortable and organized living environment. The area behind your bathroom door represents valuable real estate that often goes unused, yet it has the potential to store numerous bathroom essentials without taking up precious counter or cabinet space.
Over-the-door storage solutions provide an efficient way to maximize vertical space while keeping toiletries, towels, and bathroom accessories easily accessible. When properly implemented, these systems can transform a cluttered bathroom into a well-organized space that makes your daily routine smoother and more enjoyable.
Required Items:
- Over-the-door rack with adjustable hooks
- Over-the-door mesh pocket organizer
- Command hooks or mounting hardware
- Clear storage containers or baskets
- Label maker or waterproof labels
- Measuring tape
- Door bumpers or protective pads
Start by measuring your bathroom door’s dimensions, including its thickness, to ensure your chosen storage solutions will fit properly. Install door bumpers or protective pads where the organizer will make contact with the door to prevent damage.
Mount the over-the-door rack securely, ensuring it’s level and stable. If using multiple organizing solutions, position the rack at a height that allows easy access while leaving room for additional storage below.
Arrange your items strategically, placing frequently used products at eye level and heavier items at the bottom for stability. Use clear containers or baskets within the mesh pockets to prevent smaller items from getting lost and to maintain organization.
Group similar items together, such as hair products, skincare items, or cleaning supplies, to create an intuitive system that’s easy to maintain.
Pro Tips: Regularly assess and adjust your organization system during the first few weeks of use. Remove items that aren’t frequently used to prevent overcrowding, and consider using waterproof labels to maintain organization.
If your door gets heavy use, secure the bottom of hanging organizers with command hooks to prevent swinging, and periodically check that all mounting hardware remains tight and secure.
Command Hooks: Your New Best Friend
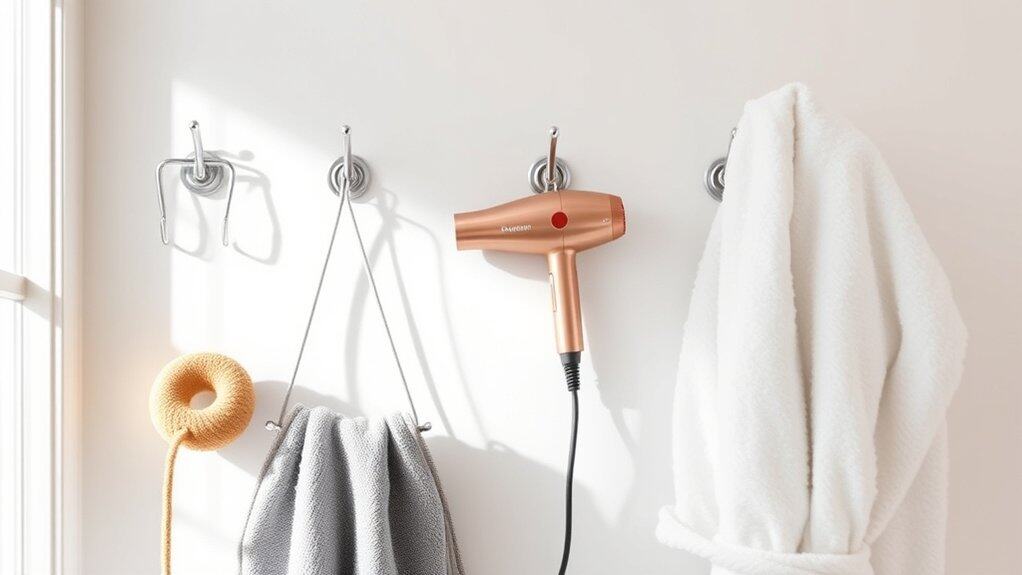
Command hooks represent one of the most versatile and damage-free solutions for dorm bathroom organization. These removable adhesive hooks can transform a cramped, cluttered bathroom space into an efficiently organized area without violating dorm policies that prohibit permanent modifications to walls or surfaces.
In shared dorm bathrooms, vertical space optimization becomes crucial when counter space and storage are limited. Command hooks provide a practical solution by creating instant hanging spots for towels, robes, loofahs, and various bathroom essentials while keeping them easily accessible and off wet counter surfaces.
Required Items:
- Various sizes of Command hooks
- Command strips
- Measuring tape
- Pencil
- Level
- Cleaning supplies
- Paper towels
- Rubbing alcohol
Begin by thoroughly cleaning all surfaces where hooks will be placed using rubbing alcohol to ensure maximum adhesion. Measure and mark potential hanging spots, considering the weight capacity of different hook sizes and the items they’ll hold.
Large hooks work best for towels and robes near the shower area, while smaller hooks are ideal for lightweight items like loofahs or hair tools. Install hooks at staggered heights to prevent items from overlapping and ensure proper drying.
Space hooks at least 6 inches apart to prevent overcrowding and allow items to dry properly. For shared bathrooms, create designated zones for each roommate using different colored hooks or specific areas.
Consider installing hooks on the back of the bathroom door or inside cabinet doors for additional storage opportunities without taking up wall space.
Additional Tip: To maximize hook longevity and prevent falling, avoid exceeding weight limits and wait at least one hour after installation before hanging items. Keep spare hooks and strips on hand for replacements, and periodically check the adhesive strength, especially in humid bathroom conditions.
Remove hooks by stretching the adhesive strip downward rather than pulling outward to prevent wall damage.
Shower Caddy Strategies for Shared Spaces
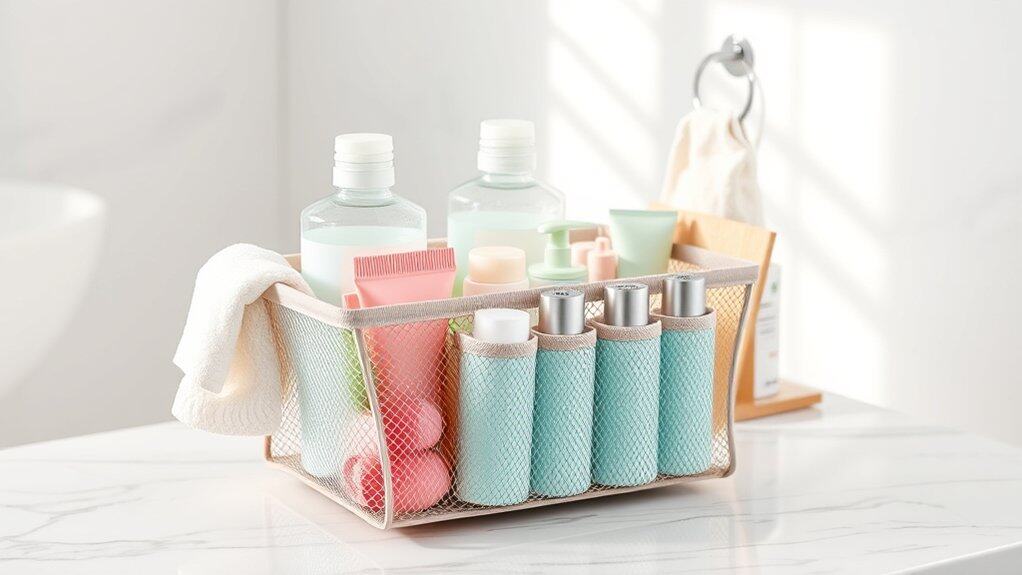
Organizing a shower caddy in a shared dorm bathroom is crucial for maintaining personal hygiene items and ensuring a smooth morning routine. With multiple students sharing the same facilities, a well-organized shower caddy becomes your portable bathroom cabinet, keeping essentials secure and easily accessible.
Strategic shower caddy organization not only protects your belongings from moisture and cross-contamination but also saves valuable time during rushed morning schedules. A properly arranged caddy prevents forgotten items, reduces bathroom occupancy time, and maintains the cleanliness of your personal care products in a communal setting.
Essential Items:
- Mesh shower caddy with multiple compartments
- Waterproof toiletry containers
- Mesh bags for small items
- Silicone bottles for frequently used products
- Quick-dry towel
- Shower shoes
- Travel-size containers
- Waterproof labels
- Hooks or suction cups
- Microfiber cleaning cloth
Start by selecting a sturdy mesh shower caddy with adequate drainage and separate compartments. Arrange items by frequency of use, placing daily essentials like shampoo, conditioner, and body wash in the largest, most accessible sections.
Create designated zones within the caddy: one for hair care, another for body products, and a separate area for face care items. Transfer products into travel-sized containers to reduce weight and save space, ensuring all containers are properly sealed and labeled.
Position items vertically when possible to prevent spills and maximize space. Store small items like razors, hair ties, and clips in separate mesh bags to prevent loss and allow proper drying.
Install hooks or suction cups inside the caddy to hang loofahs or washcloths, keeping them away from standing water.
Additional Tips: Consider using a removable liner in the bottom of your caddy for easy cleaning, and regularly inspect items for leaks or mold. Implement a weekly cleaning routine for both the caddy and containers, and store the caddy in a well-ventilated area when not in use.
Replace travel-sized containers every few months to prevent bacterial growth, and always keep a few empty containers on hand for unexpected needs.
Maximizing Under-Sink Storage
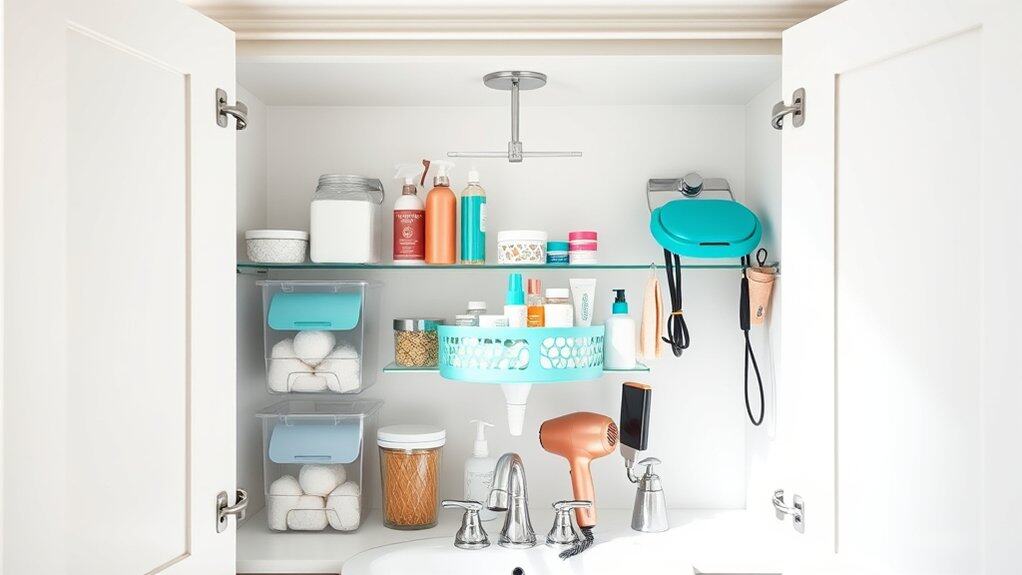
The space under a dorm bathroom sink often becomes a chaotic catch-all for toiletries, cleaning supplies, and personal care items. Without proper organization, this valuable storage area can quickly transform into an unusable mess, making it difficult to find essential items when needed and wasting precious space in an already cramped dorm setting.
Organizing the under-sink area creates a functional storage system that maximizes every inch of available space while keeping frequently used items easily accessible. A well-organized under-sink cabinet reduces stress, saves time during morning routines, and helps maintain a cleaner, more hygienic bathroom environment.
Required Items:
- Clear plastic bins or organizers
- Drawer organizers
- Over-the-door cabinet organizers
- Command hooks
- Shelf liner
- Label maker or labels
- Tension rods
- Stackable storage containers
- Lazy Susan turntable
- Measuring tape
Start by completely emptying the under-sink cabinet and measuring the available space, including height, width, and depth. Line the bottom of the cabinet with shelf liner to protect against moisture and spills.
Install a tension rod horizontally to hang spray bottles and cleaning supplies, maximizing vertical space. Place stackable containers or clear bins along the back of the cabinet for items used less frequently.
Group similar items together in categorized containers: cleaning supplies, hair care products, extra toiletries, and personal care items. Use drawer organizers or small bins to separate and contain smaller items like cotton swabs, hair ties, or makeup. Position frequently used items toward the front of the cabinet for easy access.
Install command hooks on the cabinet door or walls for hanging items like hair tools or washcloths.
Additional Tips: Conduct a monthly inventory check to remove expired products and assess organization effectiveness. Consider using a lazy Susan in corner areas to maximize accessibility to items stored in the back.
Always store hazardous cleaning products in leak-proof containers and keep them separate from personal care items. Choose clear storage containers whenever possible to easily identify contents without having to remove multiple bins.
Counter Space Organization Tips
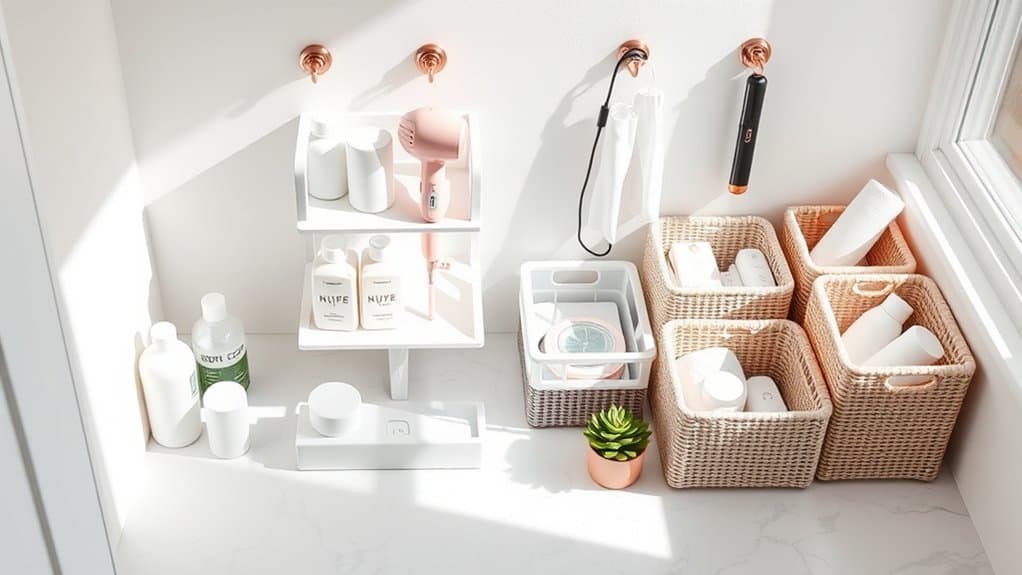
Counter space in dorm bathrooms is notoriously limited, making it one of the most challenging areas to keep organized. When multiple students share a single bathroom, the counter can quickly become cluttered with toiletries, makeup, and personal care items, leading to frustration and wasted time searching for essentials.
Efficient counter organization not only creates a more pleasant bathroom experience but also helps maintain cleanliness and prevent the spread of bacteria. A well-organized counter space ensures that items remain easily accessible while maximizing the available surface area for daily grooming routines.
Required Items:
- Storage bins or baskets
- Drawer organizers
- Stackable containers
- Command hooks
- Over-the-door organizer
- Mason jars or cups
- Shower caddy
- Labels
- Small shelving unit
- Non-slip liner
Start by removing everything from the counter and thoroughly cleaning the surface. Sort items into categories such as daily essentials, occasional use items, and shared products. Place frequently used items in easily accessible containers at the front of the counter, while storing less-used items in stackable containers toward the back.
Install a small shelving unit or riser in one corner to create vertical storage space, effectively doubling the usable area. Utilize Command hooks on the wall or cabinet sides to hang items like hair dryers or straighteners, keeping them off the counter surface. Position a shower caddy or organizing basket under the sink for items that don’t need immediate access.
Implement a system where each roommate has designated storage areas, marked clearly with labels to prevent confusion and maintain organization. For maximum organization success, establish a weekly cleaning routine to wipe down containers and reorganize items that may have shifted out of place.
Consider implementing a “one in, one out” rule when purchasing new products to prevent counter clutter from accumulating over time. Regular maintenance of your organization system will ensure long-term effectiveness and a consistently tidy counter space.
Smart Storage Ideas for Towels and Linens
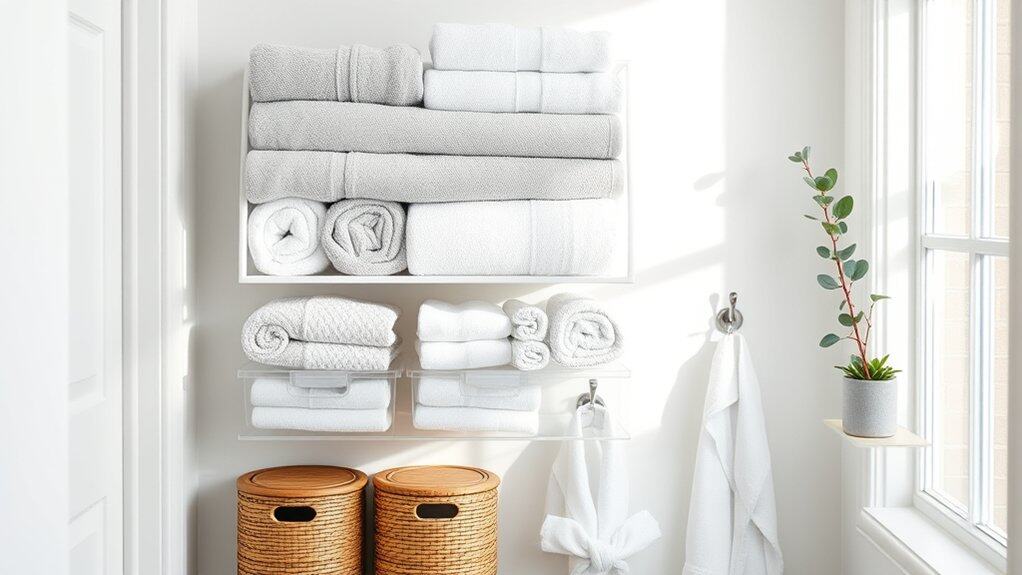
Organizing towels and linens in a dorm bathroom can be the difference between a chaotic morning routine and a smooth start to your day. Limited space, shared facilities, and moisture concerns make proper storage essential for maintaining cleanliness and preventing mildew growth.
Strategic towel and linen organization not only maximizes the available space but also ensures quick access to fresh items while allowing wet towels to dry properly. A well-organized system helps maintain the lifespan of your textiles and creates a more hygienic bathroom environment.
Required Items:
- Over-the-door towel rack
- Command hooks
- Mesh storage bags
- Small storage bins
- Tension rod
- Drawer organizers
- Waterproof labels
- Storage basket with drainage
- Shower curtain with storage pockets
- Vacuum storage bags
Start by assessing your available space and mounting an over-the-door towel rack for frequently used items. Install Command hooks at varying heights on walls for additional hanging options, ensuring proper spacing for air circulation.
Designate specific spots for clean versus used items, using mesh storage bags for dirty linens and sealed containers for clean ones. Create a rotation system by organizing towels and washcloths in easily accessible bins, with the most frequently used items at eye level.
Use a tension rod under the sink for hanging cleaning supplies, leaving more space for linen storage. Implement drawer organizers to separate washcloths, hand towels, and personal items, making them easy to locate.
Additional Tips:
Roll towels instead of folding them to save space and make them easier to grab. Consider using vacuum storage bags for seasonal items or extras.
Label everything clearly and establish a weekly cleaning schedule to maintain organization. Keep a small fan running periodically to prevent moisture buildup in stored linens, and always ensure items are completely dry before storing them away.
Vertical Space Hacks for Tight Corners
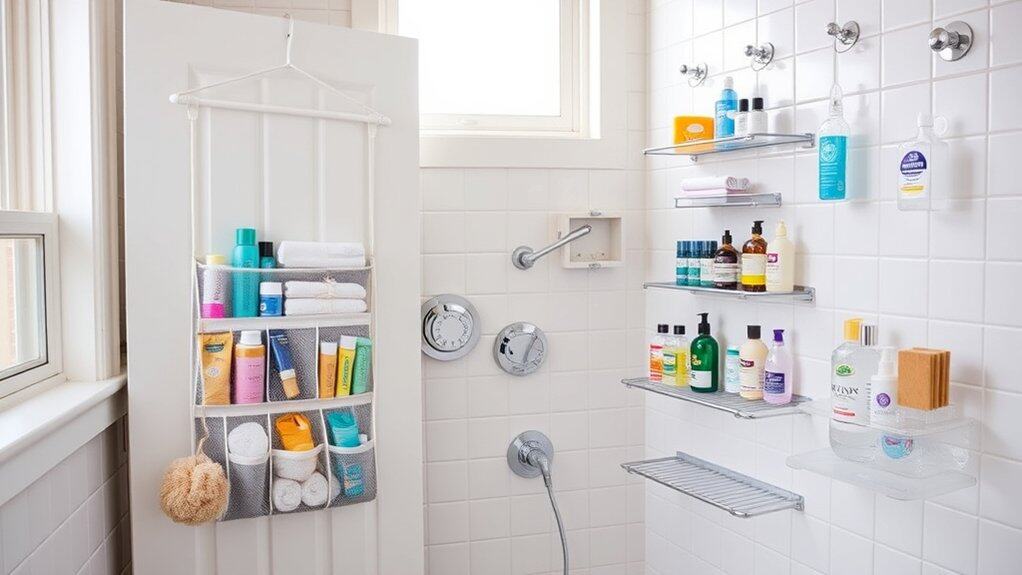
Making the most of vertical space in tight bathroom corners is crucial for dorm living, where every square inch matters. These often-overlooked areas can transform into valuable storage zones that keep essential items within reach while maintaining a clutter-free environment.
Maximizing corner spaces through vertical organization not only creates additional storage but also helps maintain a more organized and aesthetically pleasing bathroom space. Strategic use of vertical storage solutions can triple your storage capacity without impinging on precious floor space or counter areas.
Required Items:
- Over-the-door hanging organizer
- Tension rods
- Suction cup shelves
- Corner shower caddy
- Command hooks
- Stackable storage containers
- Magnetic strips
- S-hooks
- Clear storage bins
- Cable ties
Start by assessing your corners for mounting possibilities, checking for sturdy surfaces that can support adhesive hooks or suction-based solutions. Install an over-the-door organizer on the bathroom door or shower door, utilizing multiple pockets for smaller items.
Mount tension rods in corners at varying heights to create customizable shelving for bottles and containers. Position suction cup shelves in a vertical arrangement, starting from eye level and working downward. Ensure proper spacing between shelves to accommodate items of different heights.
For items requiring quick access, install command hooks at strategic heights, using S-hooks for additional hanging options.
Final Tips: Regularly inspect mounting hardware and suction cups to ensure stability, and implement a rotation system for frequently used items to prevent overcrowding. Consider using clear containers to easily identify contents, and label everything to maintain organization.
Periodically reassess your vertical storage setup, adjusting the layout based on changing needs and usage patterns.

