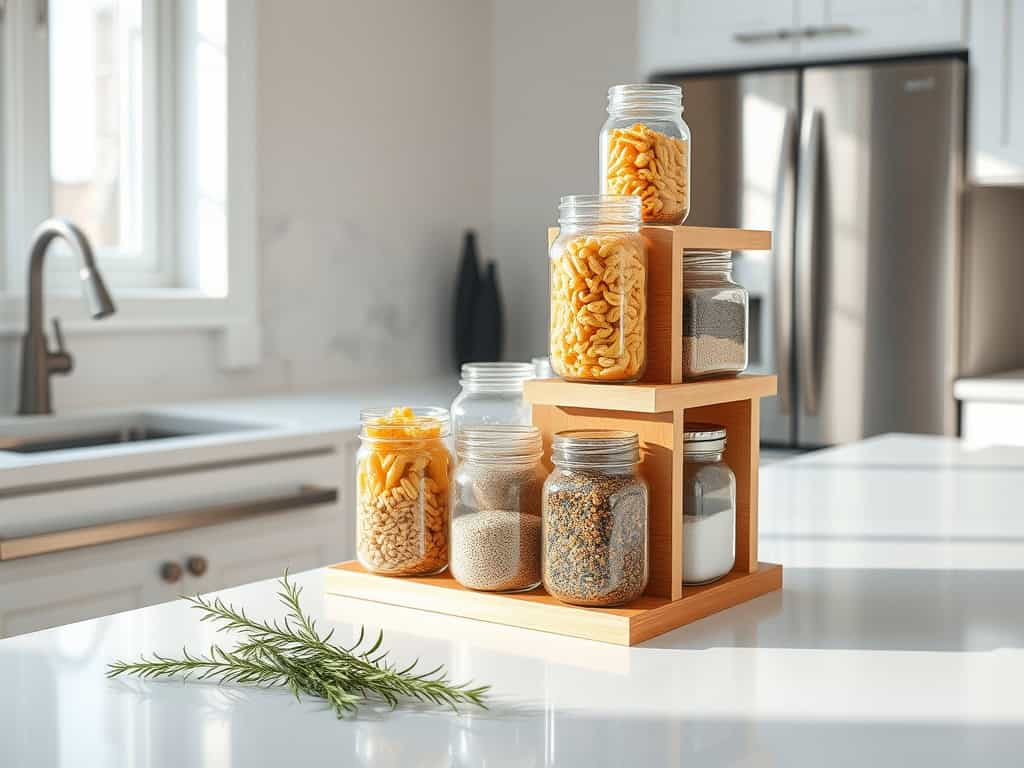
Just like solving a puzzle, organizing kitchen glassware requires creative thinking and smart spatial solutions. As someone who’s transformed countless chaotic cabinets into streamlined storage spaces, I’ve discovered that the right DIY hacks can double your storage capacity while keeping your favorite glasses within easy reach. You’ll be amazed at how these eight practical solutions can turn your cluttered kitchen into an organized oasis – and they’re simpler than you might think!
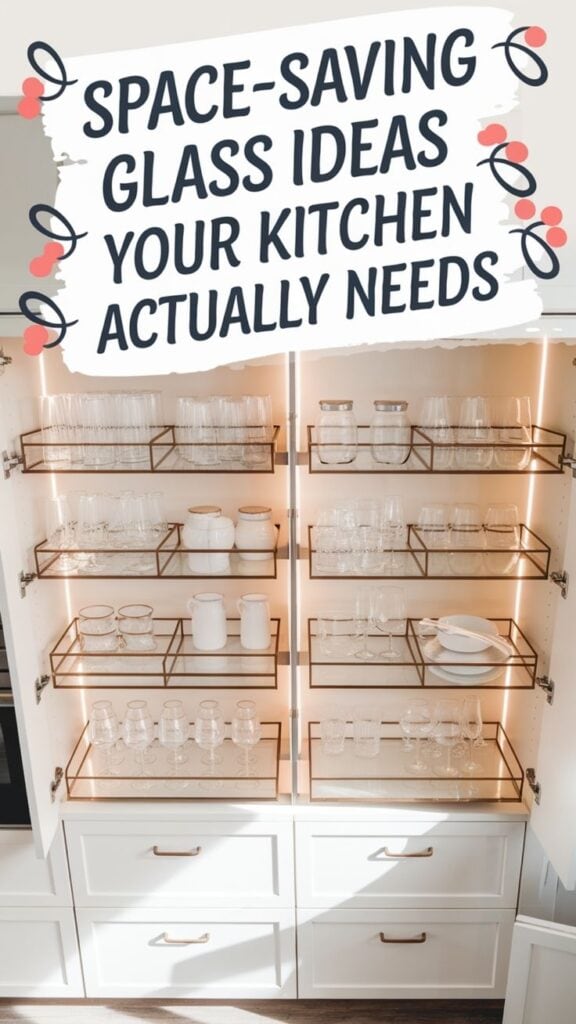
Under-Cabinet Wine Glass Racks
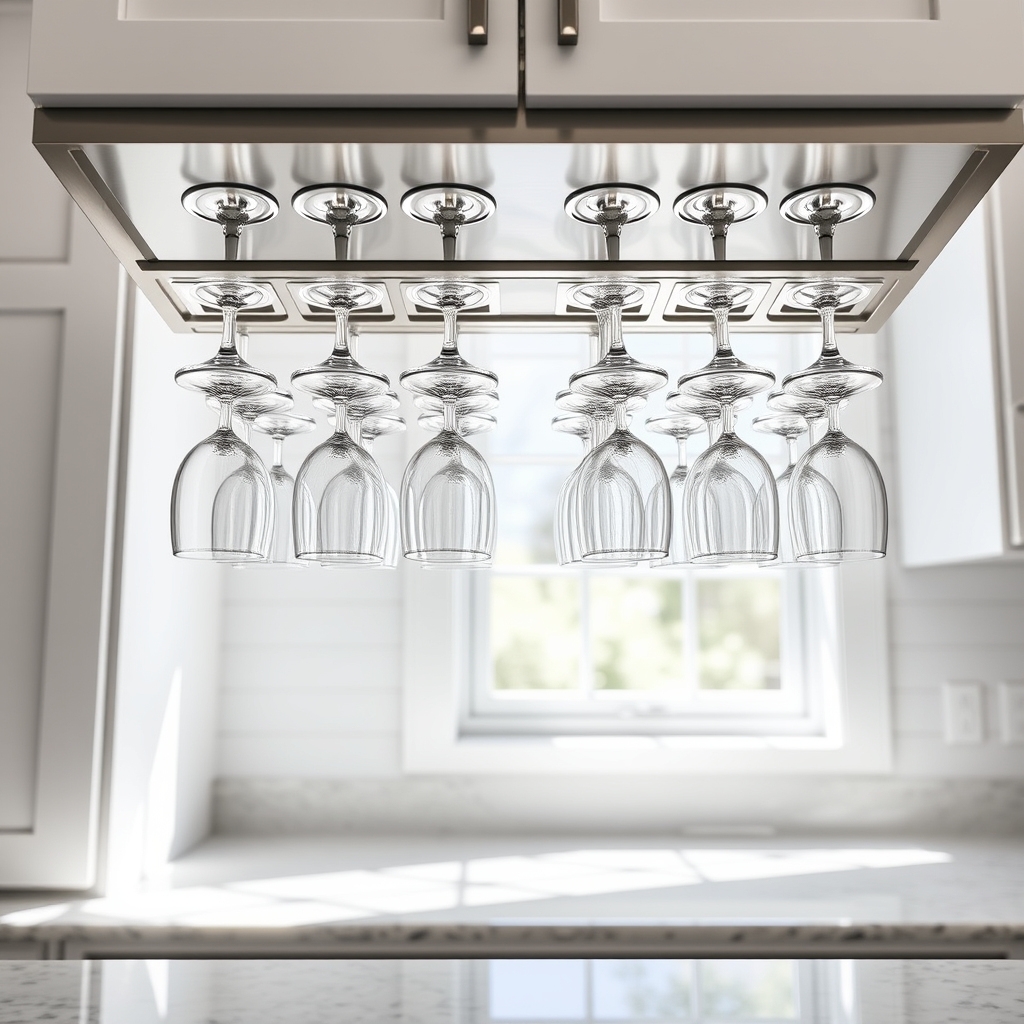
Under-cabinet wine glass racks represent a smart solution for kitchens where storage space is at a premium. These racks not only keep delicate stemware safe and organized but also transform unused space into a functional storage area that adds a touch of sophistication to any kitchen.
Installing under-cabinet wine glass racks maximizes vertical space while keeping glasses easily accessible for entertaining. This organization method prevents dust accumulation on rarely-used glasses and reduces the risk of breakage by eliminating the need to stack glasses on shelves.
Required Items:
- Under-cabinet wine glass rack (wooden or metal)
- Measuring tape
- Pencil
- Drill
- Screwdriver
- Screws
- Level
- Cabinet mounting hardware
- Safety glasses
- Stud finder (if mounting into wall)
Installation and organization begins with measuring the space under your cabinets, ensuring adequate clearance for wine glasses when hung. Position the rack at least 2 inches from the cabinet face to allow glasses to hang properly. Mark mounting points with a pencil, then drill pilot holes. Secure the rack using appropriate screws and hardware, ensuring it’s level before final tightening.
When hanging glasses, arrange them by type and size for a cohesive look. Position frequently used glasses toward the front for easy access. Space glasses evenly to prevent contact and potential breakage. Consider installing multiple racks in a row for larger collections or different glass types.
Additional Tips: Clean the underside of cabinets thoroughly before installation to ensure proper adhesion. Add rubber stoppers or felt pads at contact points to prevent scratching on glass stems. Consider installing LED strip lighting above the rack to create ambiance and improve visibility. Periodically check mounting hardware tightness, especially in humid environments where wood can expand and contract.
Vertical Glass Stacking Systems
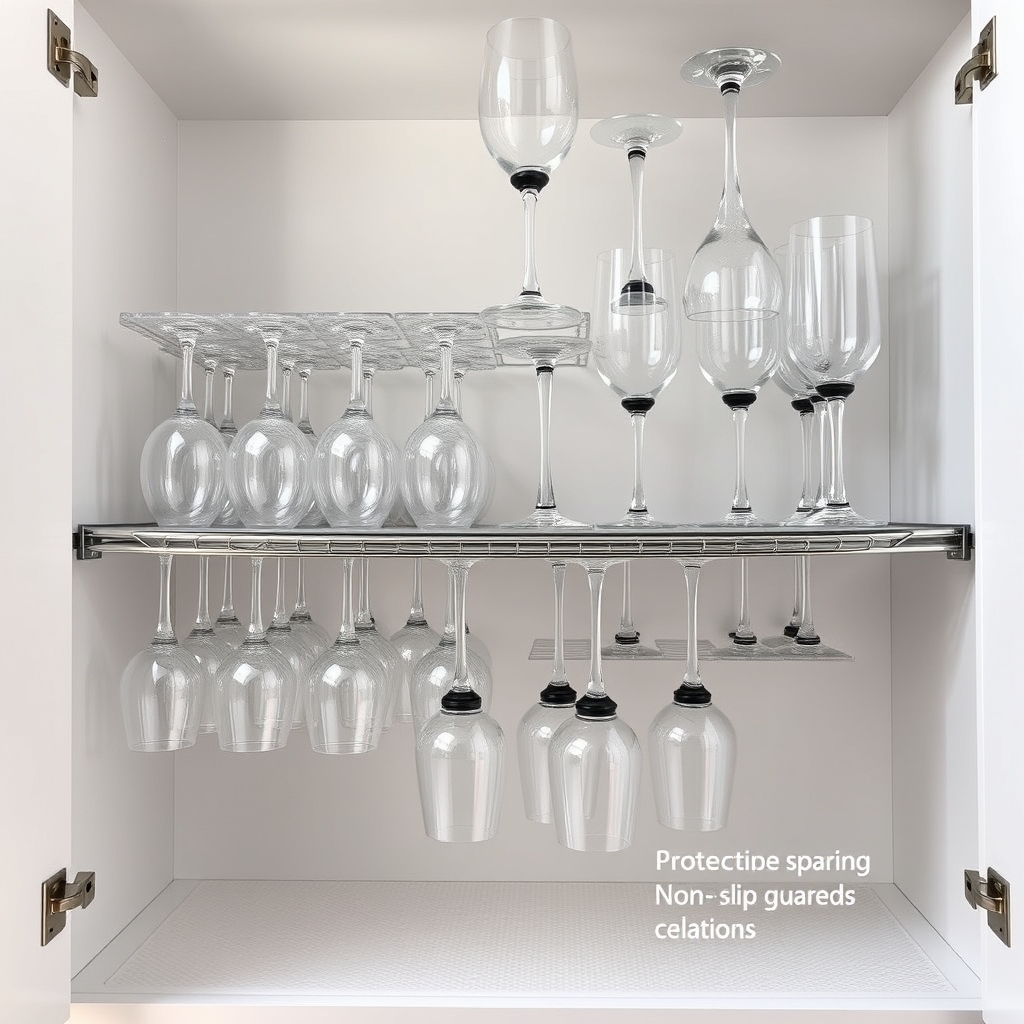
Organizing glassware vertically maximizes cabinet space while protecting delicate items from damage. Proper vertical stacking prevents glasses from nesting too tightly and reduces the risk of chips or cracks that often occur when glasses are stacked traditionally. This storage method also makes it easier to see and access each piece without unstacking multiple items.
A well-implemented vertical glass stacking system transforms cluttered cabinets into efficient storage spaces, allowing you to store up to 50% more glasses in the same area. This organization method is particularly valuable in smaller kitchens where space optimization is crucial, and it helps maintain the longevity of your glassware investment.
Required Items:
- Wire rack dividers
- Non-slip shelf liner
- Measuring tape
- Cabinet organizer strips
- Rubber tips or protective caps
- Label maker
- Microfiber cleaning cloth
- Level
- Screwdriver
- Mounting hardware
Installation and organization begins with measuring your cabinet space and cleaning it thoroughly. Place non-slip liner on the shelf surface to prevent sliding. Install wire rack dividers at intervals appropriate for your glass sizes, ensuring each divider is level and securely mounted.
Create sections based on glass type and size, maintaining about 1/2 inch space between each glass to prevent contact. For deeper cabinets, consider installing a two-tier system with the back row slightly elevated for better visibility and access.
The key to success is positioning glasses at a slight angle, roughly 15 degrees from vertical, to prevent tipping. Protect the rim of each glass by adding rubber tips to the divider points where glasses make contact. Organize glasses by frequency of use, placing daily-use items at the front and special occasion pieces toward the back.
Consider adding labels to each section for easy identification and maintenance of the system.
Success Tips: Regularly inspect the stability of your dividers and tighten any loose components. Clean the shelf liner monthly to maintain its grip, and adjust divider spacing as needed when adding new glassware.
Keep a maintenance schedule to check for wear on protective elements and replace them before they fail. This proactive approach ensures your vertical stacking system remains effective and your glassware stays protected long-term.
Repurposed Crate Storage Solutions
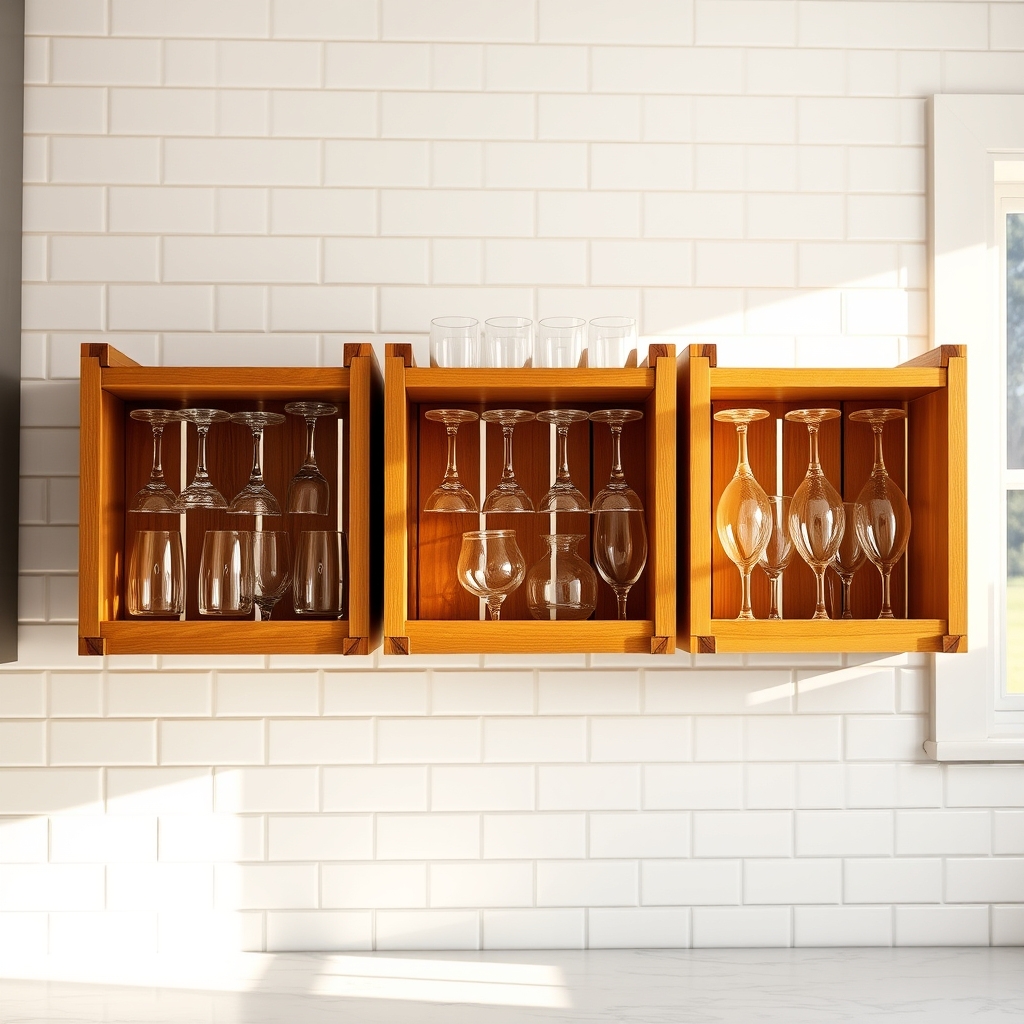
Organizing glassware using repurposed crates offers a sustainable and aesthetically pleasing solution for kitchen storage challenges. Wooden crates provide sturdy, customizable compartments that protect delicate glassware while maintaining easy accessibility and visual appeal.
The versatility of crate storage systems allows for both vertical and horizontal arrangement options, maximizing available space while creating an organized display that complements various kitchen styles. This approach transforms ordinary storage into a functional design element that can be adjusted as needs change.
Required Items:
- Wooden crates (wine crates or fruit crates)
- Sandpaper (medium and fine grit)
- Wood stain or paint
- Polyurethane sealant
- Screws and brackets
- Measuring tape
- Pencil
- Level
- Power drill
- Safety glasses
- Dust mask
Begin by preparing the crates: sand all surfaces thoroughly to remove splinters and rough edges, working from medium to fine-grit sandpaper. Apply chosen finish (stain or paint) and allow proper drying time before coating with polyurethane sealant for moisture protection.
Once fully dried, measure your wall space and mark mounting points, ensuring proper alignment using a level. Secure the crates to your wall using appropriate brackets and screws, considering weight distribution and easy access height. For horizontal arrangements, maintain 12-15 inches between shelves.
When mounting multiple crates side-by-side, leave 2-3 inches of space between them for convenient glass removal and proper visual spacing.
Additional Tips: Line the bottom of each crate compartment with non-slip shelf liner to prevent glass movement and reduce noise. Consider grouping similar glasses together and positioning frequently used items at eye level. Install under-cabinet lighting to illuminate your glassware display and add ambient lighting to your kitchen space.
Regularly inspect mounting hardware and tighten as needed to maintain security.
Pull-Out Cabinet Organizers
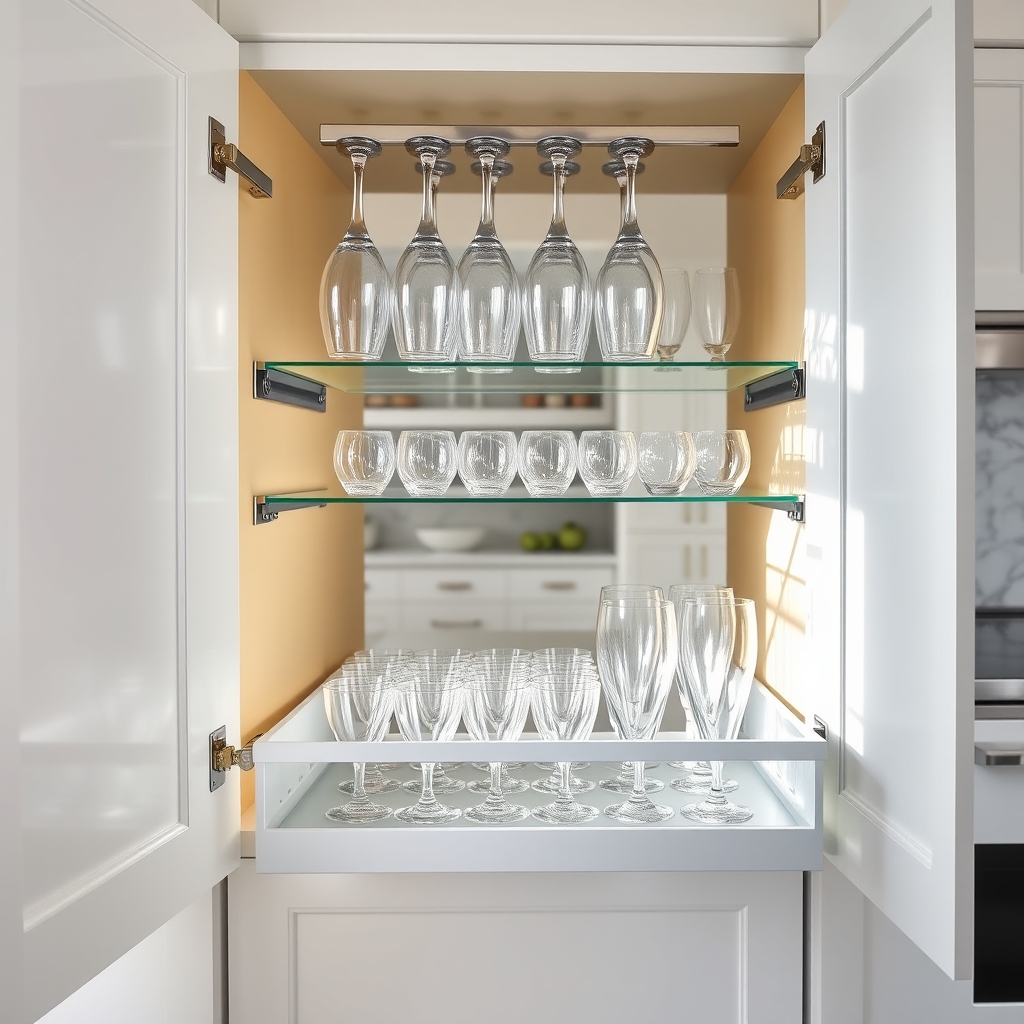
Kitchen organization becomes essential when dealing with fragile items like glassware, and pull-out cabinet organizers offer an elegant solution to this common storage challenge. These systems maximize vertical space while keeping glasses easily accessible and protected from damage.
Pull-out organizers transform hard-to-reach cabinet spaces into functional storage areas, eliminating the need to reach blindly into deep cabinets or stack glasses precariously. This organization method not only protects your glassware investment but also streamlines your kitchen workflow, making it easier to locate and retrieve specific items quickly.
Required Items:
- Pull-out cabinet organizer rails
- Mounting brackets
- Screws and anchors
- Measuring tape
- Pencil
- Drill
- Screwdriver
- Level
- Non-slip shelf liner
- Glass dividers or organizer inserts
Installation and organization begins with measuring your cabinet interior dimensions carefully, ensuring enough clearance for the pull-out mechanism.
Mount the sliding rails according to manufacturer specifications, typically installing them at the bottom of the cabinet. Once secured, attach the organizer platform to the rails, ensuring it’s level and slides smoothly.
After installation, line the organizer platforms with non-slip material to prevent glass movement. Arrange glasses by category (wine glasses, tumblers, stemware) and size, using dividers to create separate sections. Position frequently used items toward the front and delicate pieces toward the center where they’re better protected.
For optimal long-term use, consider installing stoppers to prevent the organizer from pulling out too far, and implement a regular maintenance schedule to check rail functionality and tighten any loose components.
Leave adequate space between glasses to prevent clinking, and avoid overloading the organizer beyond its weight capacity to ensure smooth operation and prevent potential accidents.
Pegboard Glass Display Walls
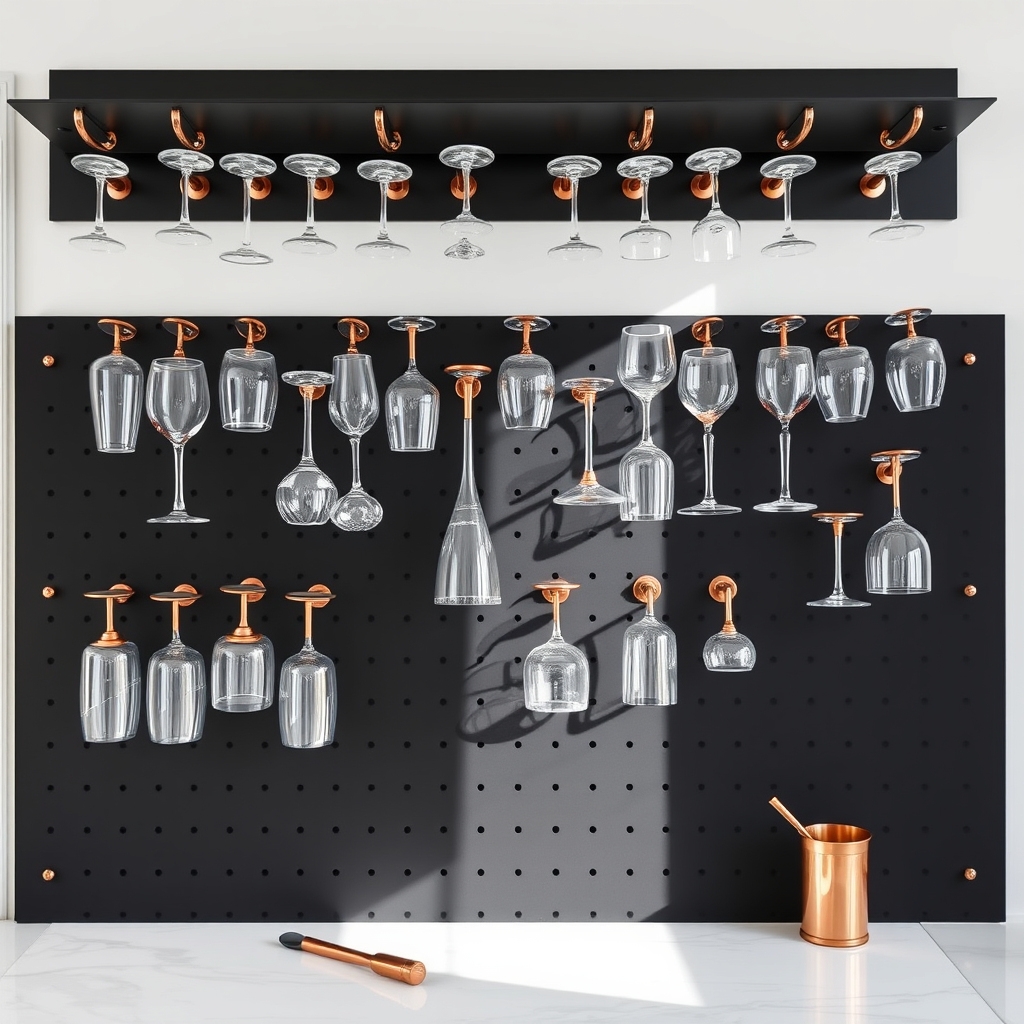
A well-organized pegboard glass display wall transforms an ordinary kitchen into a functional showcase while maximizing vertical storage space. This innovative storage solution not only keeps delicate glassware safe and accessible but also adds a modern, industrial aesthetic to your kitchen decor.
By installing a pegboard system, you create a customizable display that can evolve with your glassware collection and storage needs. This organization method prevents cluttered cabinets, reduces the risk of glass breakage, and makes it easy to locate specific pieces when entertaining or cooking.
Required Materials:
- Pegboard panels
- Wall anchors and screws
- Pegboard hooks and pegs
- Measuring tape
- Level
- Drill
- Pencil
- Spacers or furring strips
- Safety glasses
- Work gloves
- Glass-friendly pegboard holders
- Rubber grip pads
Mount the pegboard by first installing furring strips to create space between the wall and board for hook insertion. Secure the strips using wall anchors, ensuring they’re level and can support the weight of your glassware.
Attach the pegboard to the furring strips with screws, maintaining even spacing. Insert various pegboard hooks and holders, positioning them strategically based on glass sizes and weights. Add rubber grip pads to hooks for additional security and protection of glassware.
Arrange glasses by type, size, or frequency of use, ensuring adequate space between pieces to prevent accidental contact.
To maintain the longevity and safety of your pegboard glass display, regularly inspect hooks for stability and adjust as needed. Consider installing the system away from high-traffic areas and heat sources.
Add labels beneath each section to maintain organization and incorporate LED strip lighting to enhance visibility and ambiance. Clean both the pegboard and glassware regularly to prevent dust accumulation and maintain the display’s aesthetic appeal.
Floating Glass Shelves
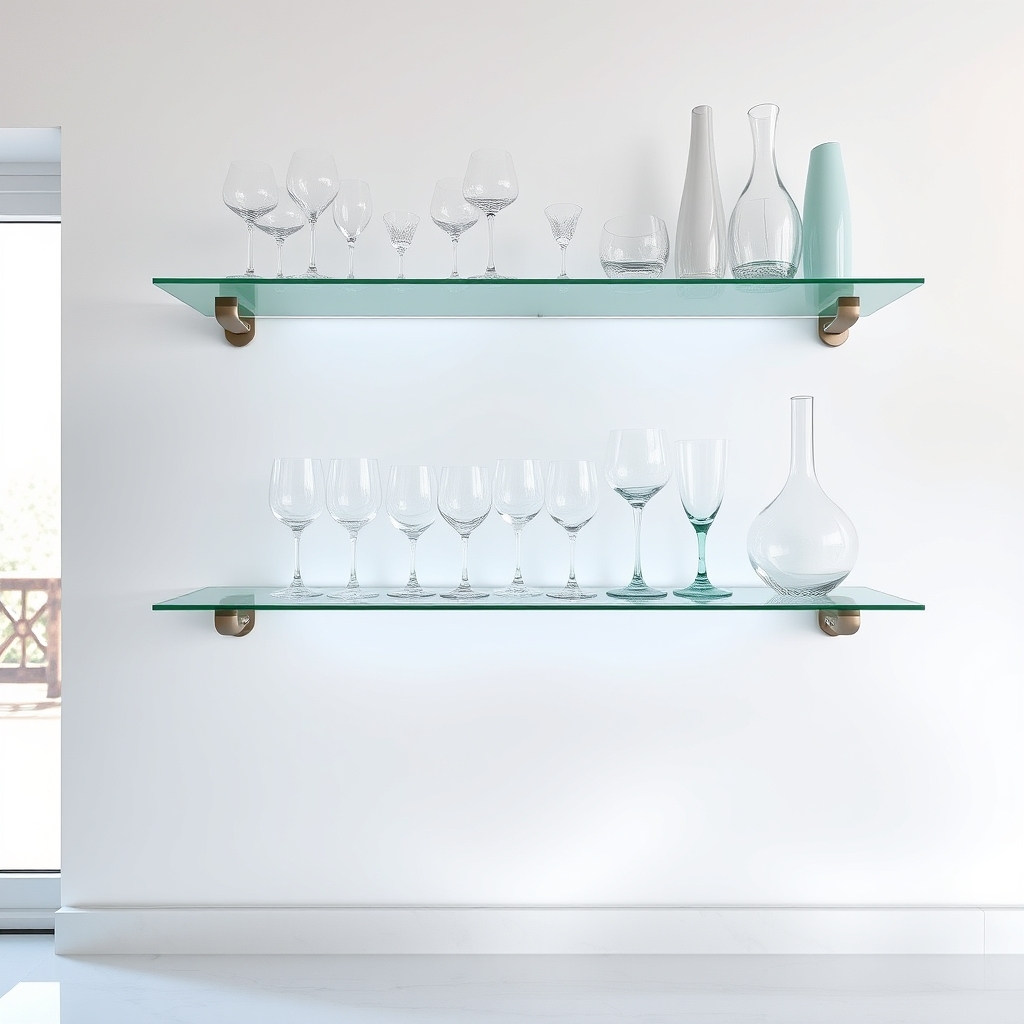
Floating glass shelves represent a modern and sophisticated storage solution that transforms any kitchen space into an elegant display area while maximizing functionality.
These transparent surfaces create an illusion of weightlessness while providing practical storage for frequently used glassware, making items easily accessible during meal preparation or entertaining.
Proper organization of floating glass shelves not only enhances the visual appeal of your kitchen but also ensures the safety of your glassware collection. When arranged thoughtfully, these shelves can showcase your finest pieces while maintaining a clutter-free environment that promotes efficient workflow in the kitchen.
Required Items:
- Level
- Measuring tape
- Pencil
- Cleaning cloth
- Glass cleaner
- Rubber shelf liners
- Glass shelf brackets
- Wall anchors
- Screwdriver
- Drill
- Safety glasses
- Work gloves
Begin by measuring your wall space and marking the desired height for each shelf, ensuring adequate vertical spacing between them. Install the brackets according to manufacturer specifications, using wall anchors for additional support.
Clean the glass shelves thoroughly before installation and apply rubber shelf liners to prevent items from sliding. Place the glass shelves onto the mounted brackets, double-checking that they’re level and secure.
Organize glassware by frequency of use, placing everyday items at eye level and special occasion pieces on higher shelves. Group similar items together, such as wine glasses, water glasses, and decorative pieces. Maintain at least one inch of space between items to prevent clinking and potential breakage.
Additional Tips: Regularly dust both the top and bottom surfaces of glass shelves to maintain transparency and cleanliness. Consider installing LED strip lighting beneath each shelf to create ambiance and improve visibility.
Don’t overload the shelves beyond their weight capacity, and periodically check bracket stability to ensure long-term safety and functionality.
Drawer Divider Storage Systems
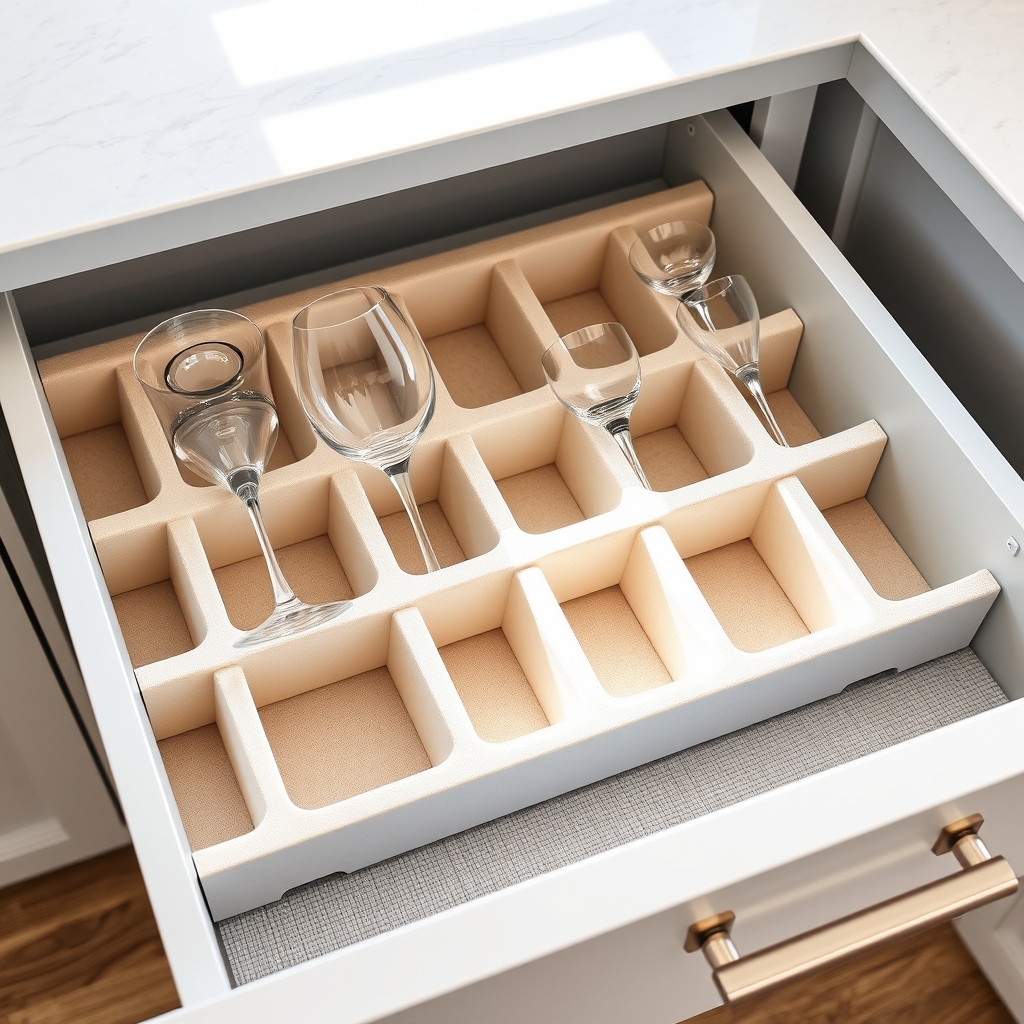
An organized kitchen drawer system is essential for protecting and organizing glassware, preventing damage, and maximizing storage space. When glasses are properly divided and stored, they’re less likely to chip or break, and you can quickly locate exactly what you need without rummaging through cluttered drawers.
Drawer divider systems specifically designed for glassware create a safe, accessible home for everything from wine glasses to everyday tumblers. This organization method not only protects your investment in quality glassware but also streamlines your kitchen workflow, making entertaining and daily use more efficient.
Required Items:
- Adjustable drawer dividers
- Non-slip drawer liner
- Measuring tape
- Felt padding strips
- Drawer depth extenders (if needed)
- Pencil
- Scissors
- Glass measurement guide
- Cleaning supplies
Start by emptying the drawer completely and cleaning it thoroughly. Measure the drawer’s dimensions and install a non-slip liner as your base layer. Install adjustable drawer dividers, creating sections that accommodate your specific glassware sizes.
Consider the height of each glass type and ensure proper clearance when the drawer closes. Create designated zones within the drawer based on glass type and frequency of use. Position taller glasses toward the back of the drawer and shorter ones in front for easy access.
Place felt padding strips along divider edges where glasses might make contact to prevent scratching or chipping. For delicate stemware, install vertical dividers that keep glasses separated and secure. Arrange glasses facing the same direction to maximize space and prevent potential contact between pieces.
If needed, use drawer depth extenders to accommodate taller glasses while maintaining proper closure.
Additional Tips: Implement a regular maintenance schedule to clean and adjust dividers as needed. Label sections discretely to maintain organization when multiple family members use the kitchen.
Consider installing drawer dampeners to prevent jarring movements that could disturb glass placement. Keep heavier items in lower drawers for stability, and periodically assess your system to ensure it continues meeting your needs as your glassware collection evolves.
Glass Hanging Door Racks
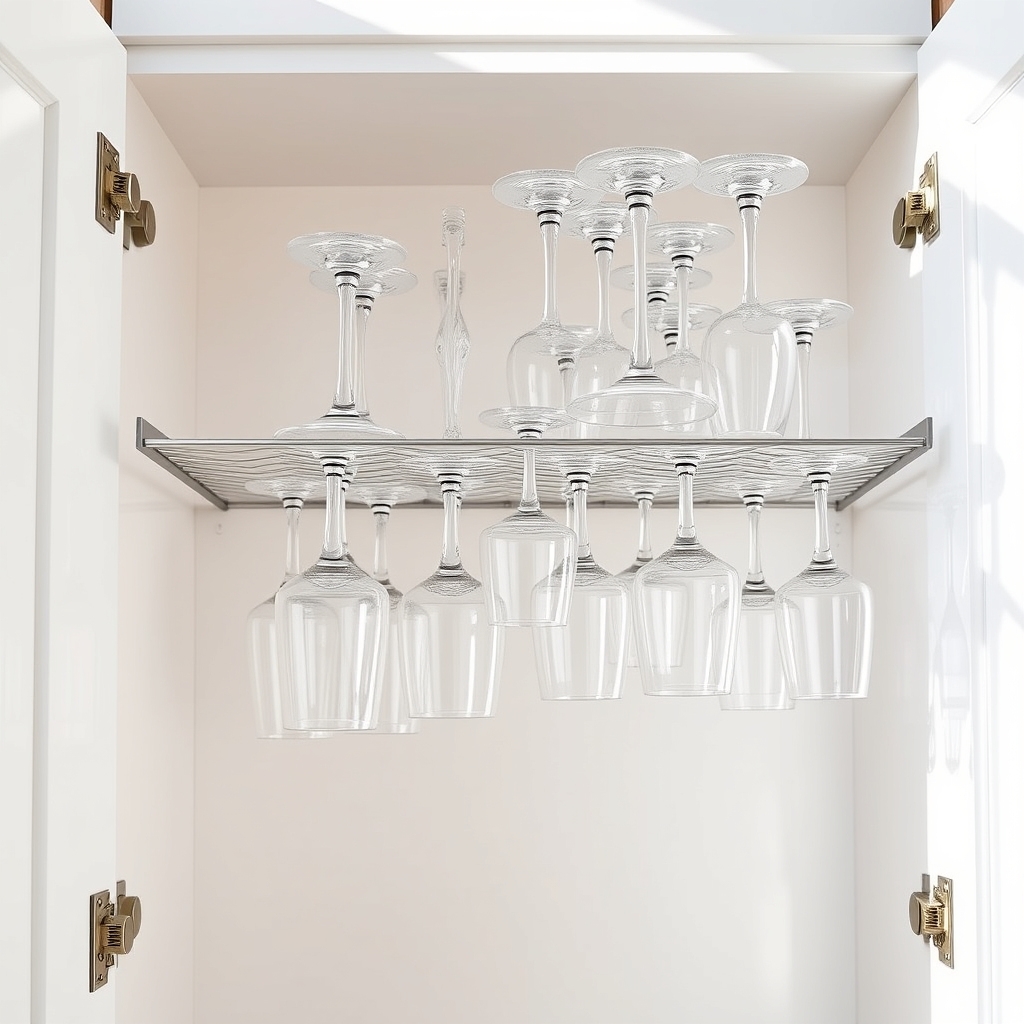
Maximizing kitchen storage space is essential for maintaining an organized and efficient cooking environment. Glass hanging door racks offer an innovative solution by utilizing the often-overlooked vertical space behind cabinet doors, turning dead space into valuable storage for glassware.
Installing glass hanging door racks not only creates additional storage but also protects delicate glassware from chips and scratches that commonly occur when items are stacked. This organization method allows for easy visibility and access while keeping glasses dust-free and ready for use.
Required Items:
- Over-the-door glass racks
- Measuring tape
- Pencil
- Screwdriver
- Cabinet door mounting screws
- Level
- Rubber door bumpers
- Safety glasses
- Drill (optional)
Begin by measuring the interior width and height of your cabinet door to ensure proper rack sizing. Position the rack at least 2 inches from the top and bottom edges of the door to allow proper clearance. Mark mounting points with a pencil, checking that they’re level.
If your chosen rack requires permanent installation, drill pilot holes at the marked points, being careful not to drill through the door’s front face. Secure the rack using appropriate mounting hardware, ensuring all screws are tight but not overtightened to prevent door damage.
Install rubber bumpers at the rack’s contact points to prevent metal-on-wood scratching and reduce noise when closing the door.
Add glasses gradually, arranging them by size and frequency of use. Place everyday glasses at eye level for easy access, with special occasion items stored higher or lower. Ensure adequate spacing between items to prevent clinking when the door opens and closes.
Test the door’s movement several times to confirm the installation is secure and the glasses remain stable. For optimal organization and maintenance, regularly check mounting hardware tightness, clean the rack to prevent dust buildup, and adjust rubber bumpers as needed.
Consider installing additional racks on adjacent doors to create a comprehensive storage system, but always ensure your cabinet hinges can support the added weight of both the rack and glassware.

