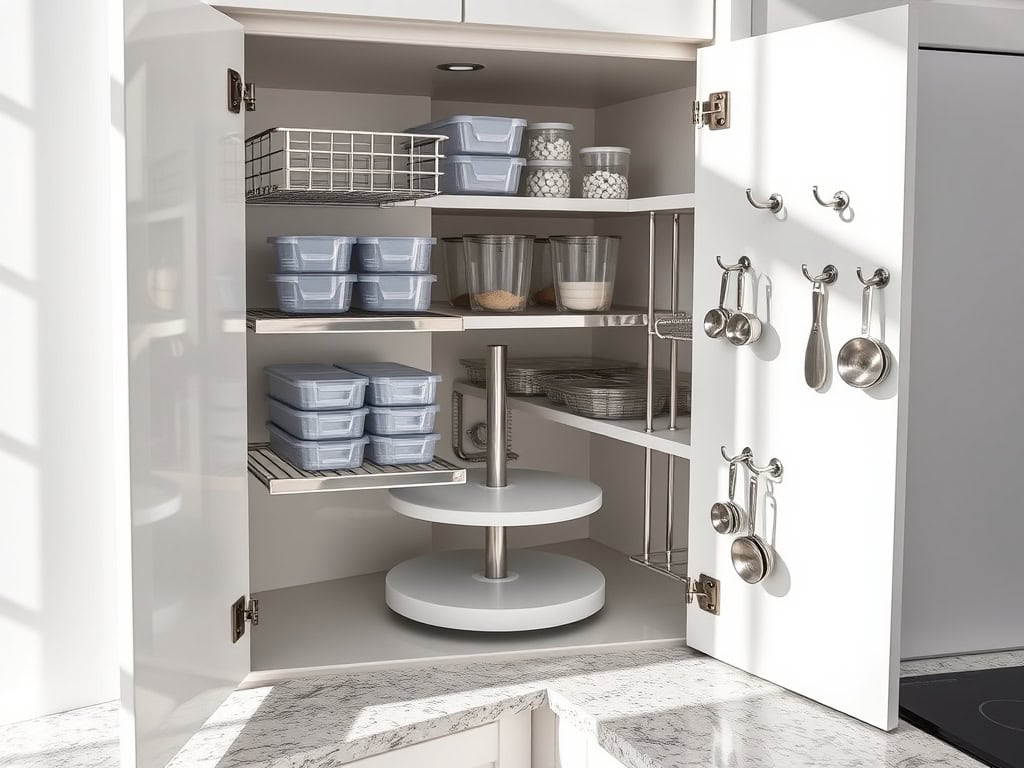
If you’ve ever lost a favorite pot in the depths of your kitchen cabinets, you’re not alone! Those deep, dark spaces can quickly become black holes where cookware and ingredients disappear forever. After spending years helping clients transform their chaotic cabinets into organized oases, I’ve discovered eight game-changing solutions that’ll help you reclaim every inch of space. Let me show you how to turn those frustrating cabinets into storage powerhouses you’ll actually enjoy using.
Install Pull-Out Drawer Systems
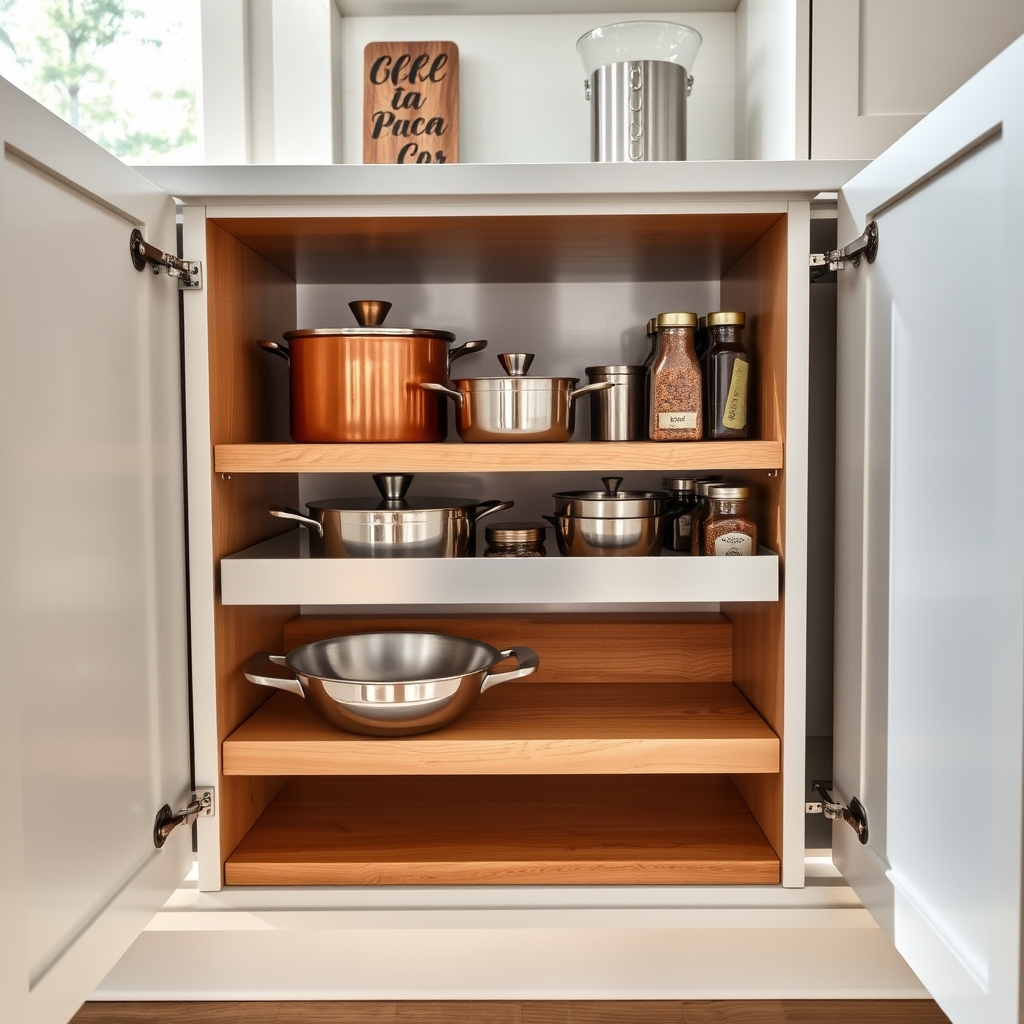
Transforming standard cabinets into pull-out drawer systems is one of the most impactful ways to maximize kitchen storage space. Traditional cabinets often leave items hidden in the back, creating frustrating searches and wasted space that could be better utilized. Pull-out systems allow full visibility and access to every inch of cabinet space.
Installing pull-out drawer systems eliminates the need to crawl into cabinets or stack items precariously. These systems can be customized for different cabinet sizes and purposes, from narrow spaces perfect for spices to wider drawers ideal for pots and pans. The investment in pull-out systems pays off through improved organization, reduced physical strain, and enhanced kitchen efficiency.
Required Items:
- Pull-out drawer system kit
- Measuring tape
- Pencil
- Level
- Power drill
- Screwdriver
- Wood screws
- Cabinet hardware
- Drawer slides
- Mounting brackets
- Safety glasses
- Work gloves
Begin by measuring your cabinet interior dimensions carefully, including width, depth, and height. Remove existing shelves and hardware, ensuring the cabinet interior is clean and free from debris.
Install the mounting brackets according to the manufacturer’s specifications, typically placing them at even intervals along the cabinet sides. Attach the drawer slides to both the mounting brackets and the pull-out drawer unit, ensuring they’re level and properly aligned. Test the drawer movement before securing all components permanently.
Once the basic framework is installed, customize the drawer organization based on its intended use. For example, add dividers for utensils, non-slip mats for pots and pans, or specialized inserts for spice bottles. Ensure all screws are tight and movements are smooth before loading items into the new system.
Additional tip: Consider installing soft-close mechanisms to prevent slamming and extend the life of your pull-out systems. Label the contents of each drawer on the front edge or handle for quick identification, and maintain weight limits specified by the manufacturer to ensure long-term durability.
Regularly clean the drawer slides and check for loose screws to keep the system functioning smoothly.
Use Lazy Susan Turntables
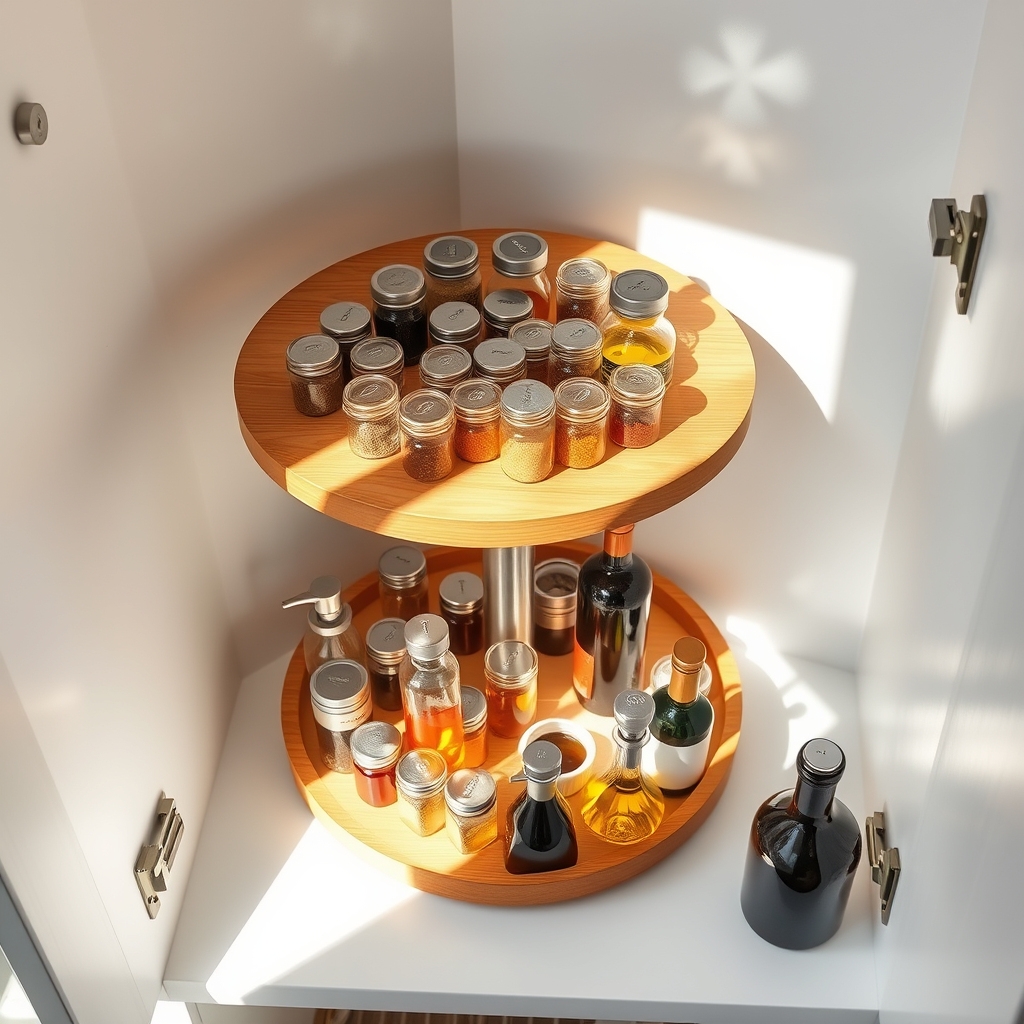
Organizing corner cabinets and deep storage spaces has long been a challenge for homeowners, with items often getting lost or forgotten in hard-to-reach areas. Lazy Susan turntables offer an elegant solution to this common kitchen storage dilemma, transforming awkward spaces into efficient, accessible storage zones that maximize cabinet capacity.
Installing and properly utilizing Lazy Susan turntables can dramatically improve kitchen workflow by making every item visible and reachable with a simple spin. This organization method not only saves time during meal preparation but also helps prevent food waste by keeping pantry items in clear view and ensuring older products don’t get pushed to the back of cabinets.
Required Items:
- Single or multi-tier Lazy Susan turntables
- Measuring tape
- Cabinet cleaning supplies
- Container labels (optional)
- Non-slip shelf liner (optional)
- Storage containers or bins
- Notepad for inventory
Start by removing all items from the target cabinet and measuring the space to determine the appropriate size turntable. Install the Lazy Susan, ensuring it rotates freely without catching on cabinet walls. For multi-level cabinets, consider stacking two turntables or using a double-decker model.
Group similar items together before placing them on the turntable – for example, oils and vinegars on one level, spices on another. Arrange items by height, with taller items toward the center and shorter ones around the edges for optimal visibility. Place frequently used items toward the front for easy access.
If using multiple turntables, organize them by category – one for baking supplies, another for cooking condiments, or whatever grouping makes sense for your cooking style.
Additional Tips: Consider adding small containers or bins on the turntable to prevent items from tipping during rotation. Apply non-slip liner to keep containers stable, and implement a regular maintenance schedule to wipe down the turntable and check for expired items.
Label the edges of the turntable with category names to maintain organization long-term, and avoid overloading which can strain the spinning mechanism.
Implement Tiered Shelf Organizers
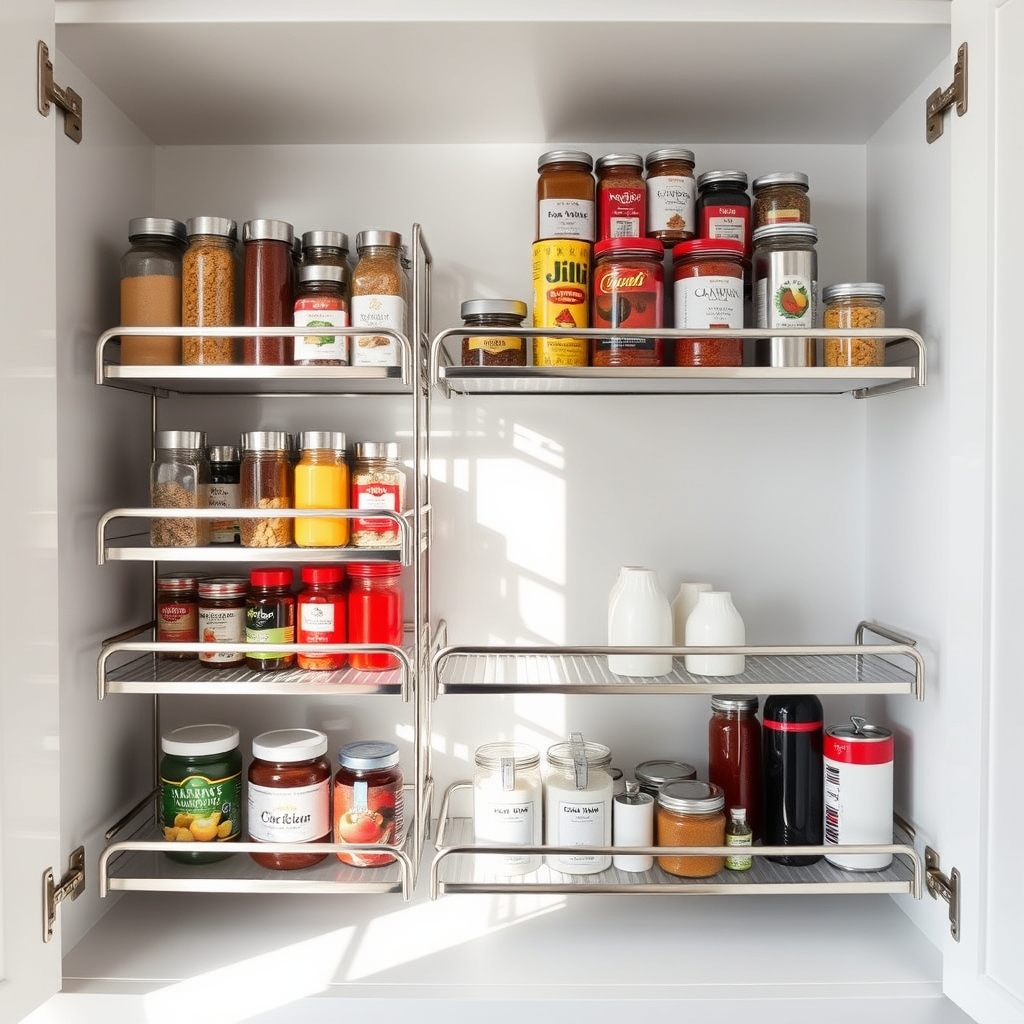
Tiered shelf organizers represent a game-changing solution for maximizing vertical space in kitchen cabinets, transforming cluttered, hard-to-navigate shelves into well-organized, accessible storage areas.
These stepped organizers create multiple levels within a single shelf space, allowing you to store more items while maintaining clear visibility of everything in your cabinet. By implementing tiered shelf organizers, you eliminate the common frustration of having to remove multiple items to reach what’s stored in the back.
This system is particularly effective for storing canned goods, spice containers, small appliance accessories, and pantry items, making every item instantly visible and accessible while utilizing previously wasted vertical space.
Required Items:
- Expandable tiered shelf organizers
- Measuring tape
- Cabinet cleaning supplies
- Labels (optional)
- Non-slip shelf liner
- Storage bins (optional)
- Paper/pen for inventory
Start by removing all items from the cabinet and measuring the available space, including height, width, and depth. Select tiered organizers that fit your cabinet dimensions, leaving enough clearance for cabinet doors to close properly.
Clean the cabinet thoroughly before installation. Place non-slip liner on the cabinet shelf, then position the tiered organizer. When arranging items, place frequently used products on the front tiers and lesser-used items toward the back.
Group similar items together, such as canned vegetables on one tier and canned fruits on another. For optimal organization, consider placing taller items on the back tiers and shorter items in front to maintain visibility.
Label the edges of each tier if needed, especially in pantry situations where multiple family members access the cabinet. Position items so labels face forward, making identification quick and easy. Regular maintenance of this system ensures continued efficiency and prevents the return of clutter.
Create Zones With Storage Bins
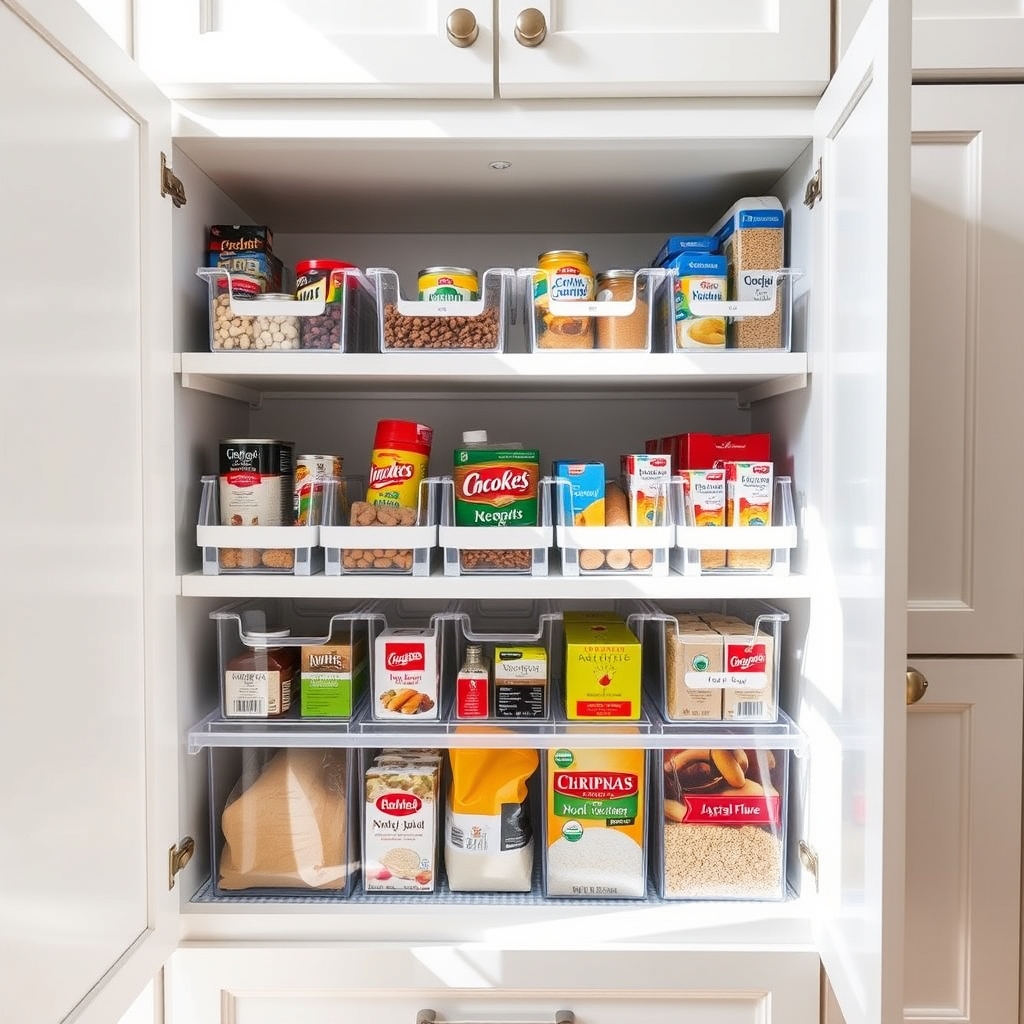
Creating organized zones in your kitchen cabinets using storage bins is a game-changing approach that transforms cluttered chaos into an efficient, intuitive system. When items are grouped logically and contained within designated bins, you eliminate the frustration of searching through jumbled cabinets and ensure everything has a proper place.
Well-planned storage zones make it easier to maintain order, track inventory, and access items quickly during meal preparation. This system works particularly well for deep cabinets, where items often get lost in the back, and for organizing smaller items that tend to create clutter when left loose.
Required Items:
- Clear plastic storage bins
- Label maker or labels
- Measuring tape
- Paper and pen for planning
- Drawer liner (non-slip)
- Container dividers (optional)
- Shelf risers (optional)
Start by emptying the cabinets completely and grouping similar items together based on function or usage frequency. Measure your cabinet dimensions and select appropriately sized bins that maximize the available space.
Create distinct zones for categories such as baking supplies, canned goods, breakfast items, or snacks. Place frequently used items in easily accessible bins at the front, while storing occasional-use items toward the back. Label each bin clearly to maintain the system.
When positioning the bins, ensure they slide in and out smoothly and consider using shelf risers to take advantage of vertical space. Stack bins when appropriate, but avoid making them too heavy or difficult to access. Group items used together in the same zone – for example, keep all baking supplies in adjacent bins for efficient access during baking projects.
For optimal results, reassess your zones every few months and adjust based on changing needs. Remove items that haven’t been used, consolidate partially empty bins, and clean bins regularly to prevent crumbs and debris accumulation.
Consider using clear bins for better visibility and maintaining a consistent style of containers throughout to create a cohesive, professional look.
Add Cabinet Door Organizers
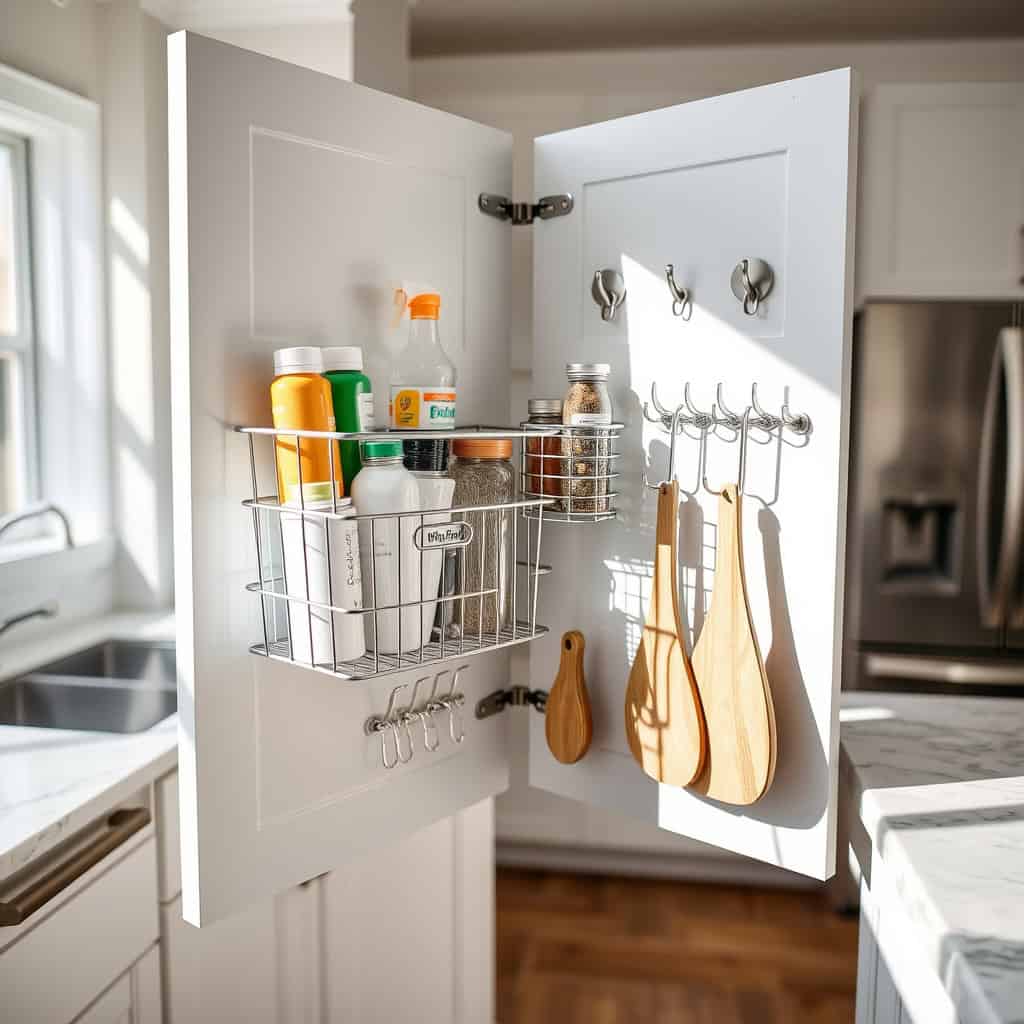
Cabinet doors represent valuable but often overlooked storage real estate in any kitchen. By utilizing the interior space of cabinet doors, you can effectively double your storage capacity while keeping frequently used items within easy reach. This space-saving solution is particularly valuable in smaller kitchens where every inch counts.
Adding cabinet door organizers transforms wasted space into functional storage areas, creating designated spots for items like cutting boards, pot lids, cleaning supplies, or spices. This organization method not only maximizes space but also helps maintain a clutter-free counter and cabinet interior while keeping essential items readily accessible.
Required Items:
- Over-the-door organizers
- Adhesive hooks
- Magnetic strips
- Command strips or mounting hardware
- Measuring tape
- Pencil
- Screwdriver
- Level
- Wire baskets
- Clear storage pouches
Select appropriate door organizers based on your specific storage needs and cabinet door dimensions. Begin by measuring both the interior door space and the depth available when the door closes to ensure proper fit. Install the organizers according to manufacturer instructions, typically using screws for heavier-duty options or adhesive strips for lighter storage solutions.
Test the door’s closing mechanism after installation to confirm there’s no interference with shelves or cabinet contents. Consider organizing items by frequency of use, keeping everyday items at eye level. For cleaning supplies, install basket organizers near the sink area. Spice storage works well on pantry cabinet doors, while cutting boards and pot lids are best stored on doors near the cooking area.
Ensure all items are securely stored and won’t fall when opening or closing the door. To maintain the effectiveness of door organizers, regularly check mounting hardware or adhesive strips for security and clean the organizers periodically. Avoid overloading the organizers beyond their weight capacity, and consider using clear containers or labels to maintain organization.
For doors that receive frequent use, opt for heavy-duty mounting options rather than adhesive solutions to ensure long-term durability.
Incorporate Sliding Basket Solutions
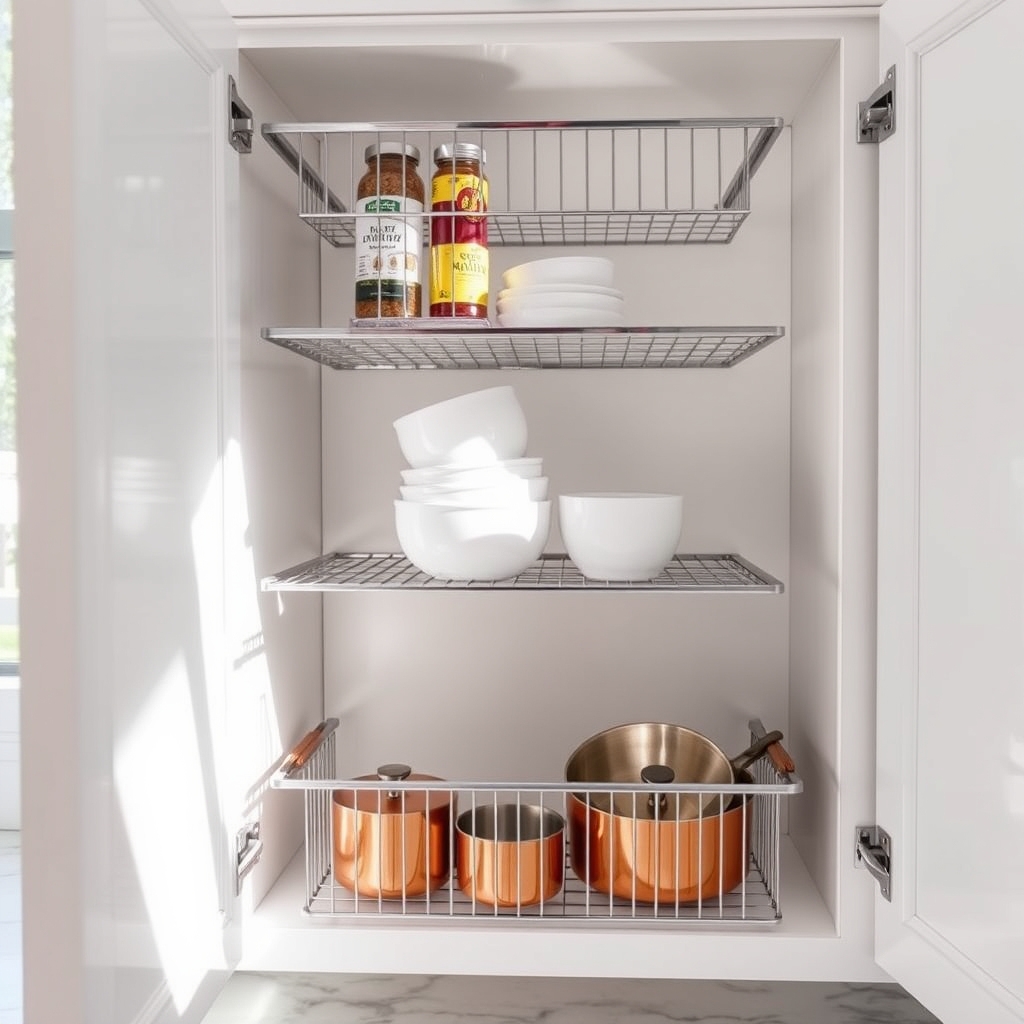
Sliding basket solutions represent one of the most efficient ways to maximize cabinet space while maintaining easy access to kitchen items. These versatile organizers transform hard-to-reach corners and deep cabinets into functional storage spaces, eliminating the need to constantly remove items to reach others stored in the back.
Installing sliding baskets can increase your cabinet storage capacity by up to 50% while making every item easily accessible with a simple pull motion. This organization method is particularly valuable for storing heavy items, cookware, or frequently used ingredients that would otherwise require awkward reaching or removing multiple items to access what you need.
Required Items:
- Sliding basket units (wire or solid)
- Mounting hardware
- Measuring tape
- Screwdriver
- Level
- Pencil
- Cabinet liner (optional)
- Labels
- Drawer stops
- Installation template
Start by measuring your cabinet interior dimensions carefully, accounting for both width and depth. Remove all items from the cabinet and clean thoroughly.
Install the sliding mechanism according to manufacturer instructions, ensuring tracks are level and properly secured. Most systems require mounting brackets to be installed first, followed by the tracks and then the baskets themselves.
For optimal organization, arrange items by frequency of use and weight distribution. Place heavier items in bottom baskets and lighter items in upper ones. Group similar items together, such as baking supplies in one basket and canned goods in another.
Consider using clear containers within the baskets to further compartmentalize smaller items.
To maintain the effectiveness of your sliding basket system, regularly check the tracks for debris and clean as needed. Add shelf liner to prevent items from shifting, and implement a labeling system to maintain organization.
Consider installing drawer stops to prevent baskets from being pulled out too far, and periodically tighten any loose screws or brackets to ensure smooth operation and prevent future issues.
Maximize Vertical Space With Dividers
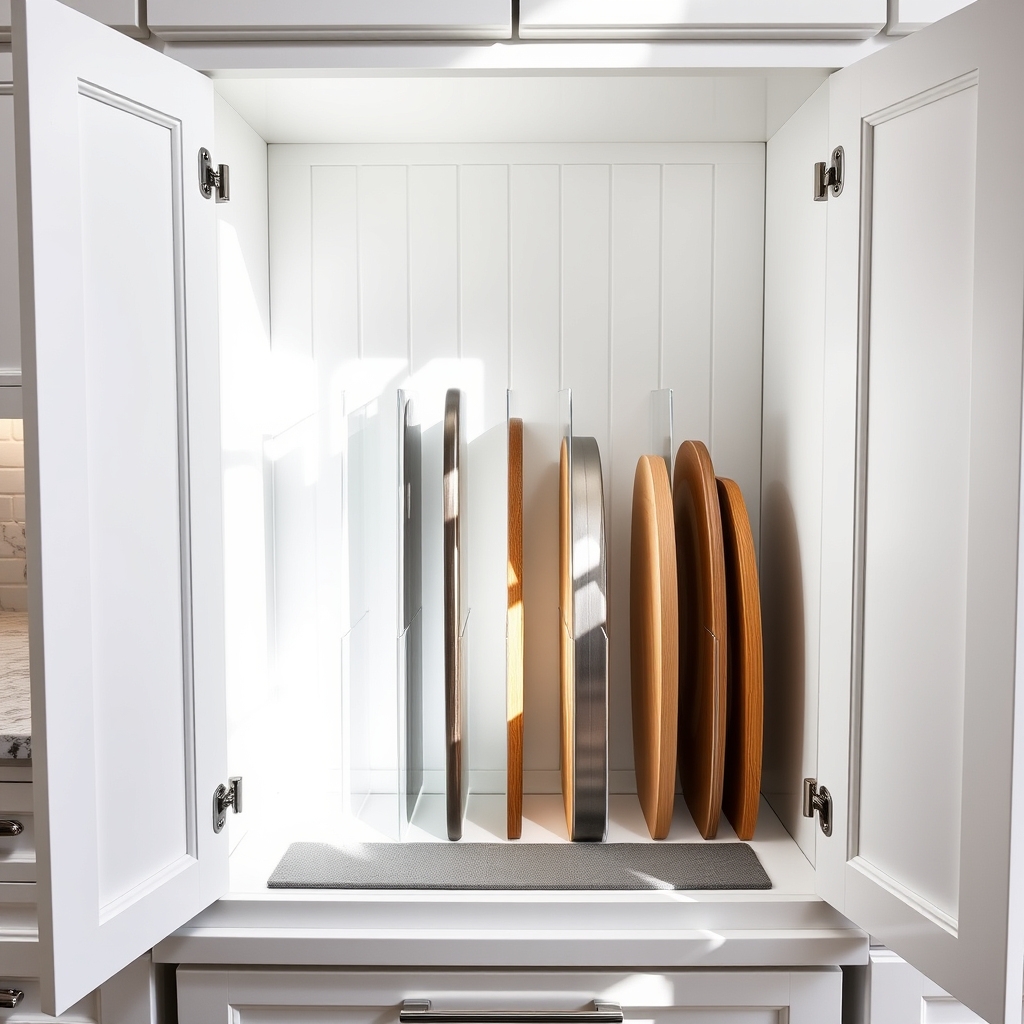
Vertical space in kitchen cabinets often goes underutilized, leading to stacked items that create clutter and make it difficult to access what you need. By implementing proper dividers and organizational systems, you can transform these tall spaces into efficient storage zones that maximize every inch of available space.
Vertical dividers are particularly crucial for storing items like baking sheets, cutting boards, platters, and lids. Without proper organization, these items tend to get jumbled together, causing frustration when trying to retrieve a specific piece and potentially leading to damaged cookware.
Required Items:
- Cabinet dividers (wire or acrylic)
- Tension rods
- Measuring tape
- Cabinet liner (non-slip)
- Label maker
- Mounting hardware
- Screwdriver
- Level
- Pencil
Start by removing all items from the cabinet and measuring the interior height, width, and depth. Install non-slip liner on the bottom of the cabinet to prevent dividers from sliding.
Position vertical dividers approximately 2-3 inches apart, depending on the thickness of items being stored. For permanent solutions, secure dividers to the cabinet using appropriate mounting hardware. For temporary solutions, use tension rods that can be adjusted as needed.
Arrange items by category and size, placing frequently used items in easily accessible spots. Position thinner items toward the front and thicker ones toward the back. When storing pot lids, ensure dividers are spaced appropriately to prevent lids from falling forward.
For baking sheets and cutting boards, consider angling the dividers slightly to prevent items from sliding forward.
Additional tip: Regularly assess the effectiveness of your divider spacing and adjust as needed. Consider using clear dividers to maintain visibility of stored items, and implement a labeling system on the cabinet’s edge to indicate where specific items belong.
This system works best when all household members commit to maintaining the organizational structure.
Label Everything for Easy Access
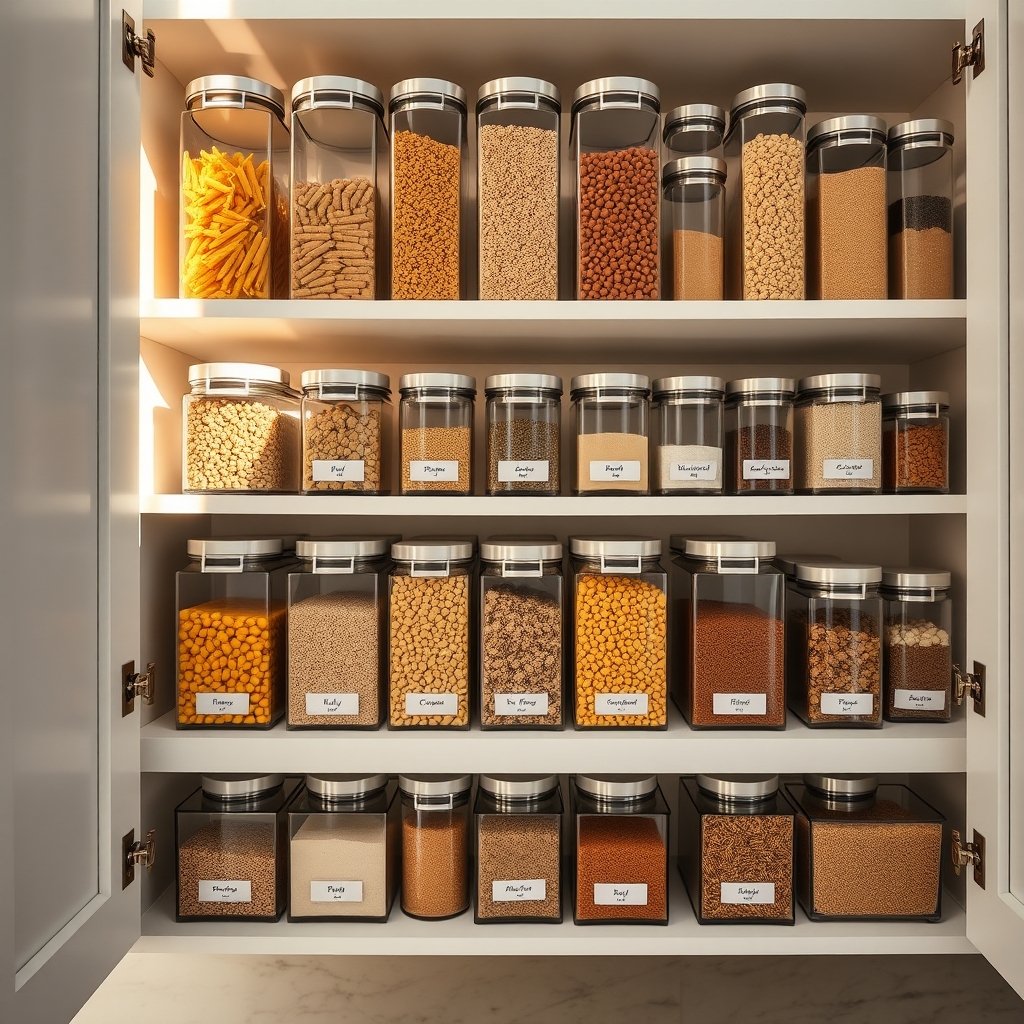
Clear labeling is the cornerstone of a well-organized kitchen cabinet system. When everything is properly labeled, you eliminate the frustration of searching through multiple containers and shelves to find what you need, saving valuable time during meal preparation and grocery restocking.
Labels create accountability for maintaining organization and help all household members know exactly where items belong. This system is particularly valuable for pantry items, spices, and storage containers, ensuring ingredients remain fresh by making it easy to track expiration dates and maintain proper rotation of products.
Required Items:
- Label maker or waterproof labels
- Permanent markers
- Clear containers or storage bins
- Measuring tape
- Scissors
- Clear adhesive tape
- Cleaning supplies
- Container erasable labels (optional)
- Category dividers (optional)
Start by removing all items from your cabinets and grouping them by category. Clean all containers thoroughly and ensure they’re completely dry before applying labels. Create clear, legible labels that face forward and are easily readable at eye level. For pantry items, include both the content name and expiration date. For decanted items, note the original packaging date and any specific storage instructions.
Apply labels consistently – either on the front bottom of containers or centered on the lid. When labeling shelves and zones, use broader category labels like “Baking,” “Breakfast,” or “Snacks” to maintain flexibility within your system. For drawer organization, consider using label strips along the edges or small category labels inside. If using clear containers, position labels so they don’t obstruct the view of contents while still being easily readable.
To ensure long-term success, choose high-quality, waterproof labels that can withstand kitchen moisture and regular handling. Consider using erasable labels for containers that frequently change contents, and implement a regular schedule to review and update labels as needed.
Create a simple location guide or map of your labeled organization system to share with family members, ensuring everyone can maintain the system effectively.

