You’re about to discover how transforming your chaotic kitchen doesn’t require a hefty budget or professional expertise. As someone who’s tested countless organization hacks, I can tell you that these 10 DIY solutions will revolutionize your space using items you probably already have at home. From turning basic mason jars into stylish storage stations to creating custom drawer dividers for under $5, these creative fixes will help you reclaim control of your kitchen – and maybe even make organizing fun! Let’s explore how to make it happen.
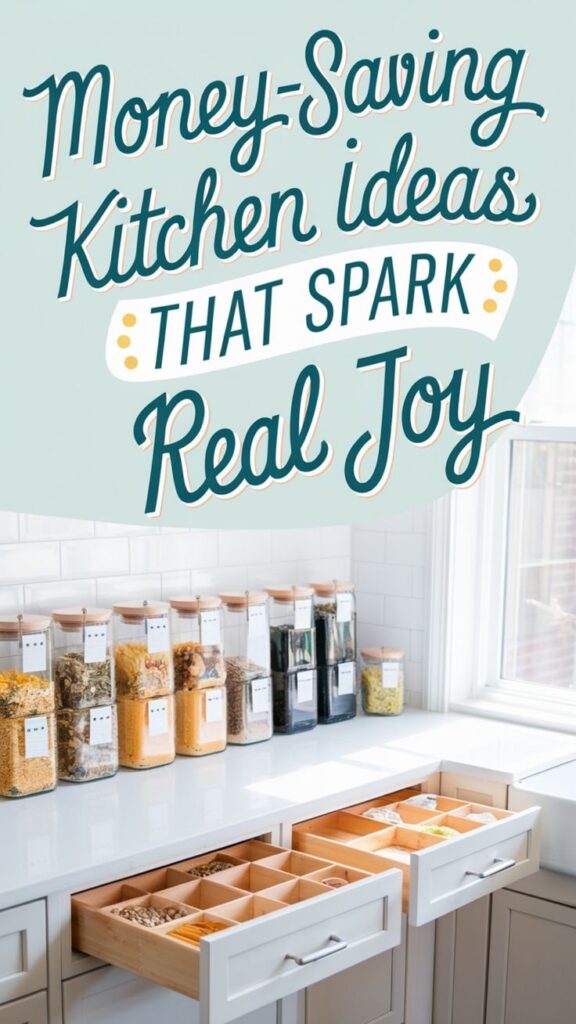
Mason Jar Storage Stations for Dry Goods and Utensils
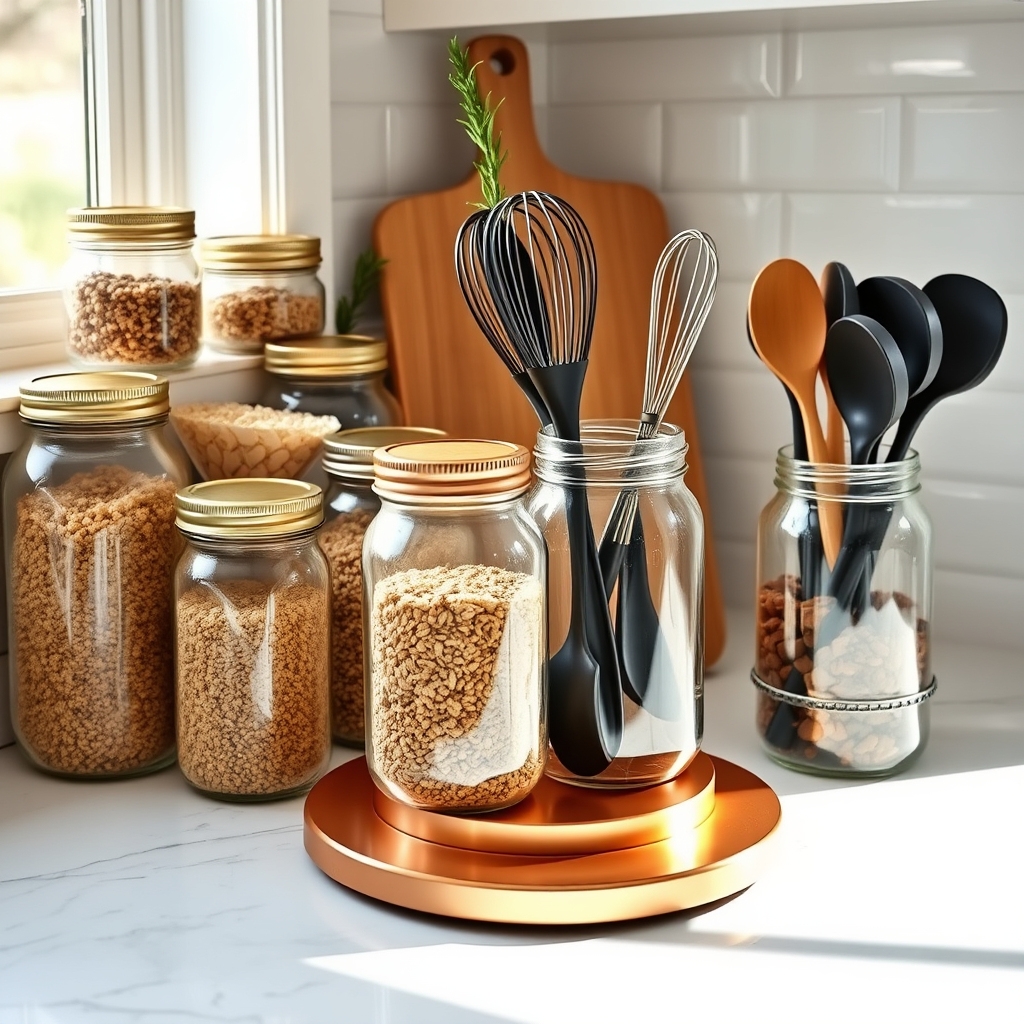
An organized kitchen storage system using mason jars creates a visually appealing and practical solution for managing dry goods and kitchen utensils. Clear glass containers allow for easy identification of contents while maintaining a cohesive, clean aesthetic that transforms cluttered cabinets and countertops into an efficient workspace.
Mason jar storage stations eliminate the chaos of half-empty boxes and bags while protecting ingredients from moisture and pests. This system also reduces food waste by making it simple to track inventory levels and expiration dates, ultimately saving money and maintaining ingredient freshness.
Required Items:
- Mason jars in various sizes
- Labels or label maker
- Permanent marker
- Measuring cups and funnels
- Clean cloth for wiping jars
- Shelf liner (non-slip)
- Storage trays or lazy susans
- Utensil holders or wide-mouth mason jars
- Jar lids and rings
- Food-grade silicone packets (optional)
Start by thoroughly washing and drying all mason jars. Sort dry goods by category (baking supplies, grains, snacks) and transfer them into appropriately sized jars using funnels to prevent spills. Label each jar with contents and expiration dates.
For utensil storage, select wide-mouth mason jars and group tools by function (mixing utensils, measuring tools, serving pieces). Create designated zones on countertops or in cabinets for your storage stations. Use shelf liners to prevent jars from sliding and consider incorporating lazy susans for corner spaces or deep cabinets.
Arrange jars by frequency of use, keeping everyday items easily accessible. For optimal organization, stack similar-sized jars together and maintain space between groups for easy access.
Additional Tips: Regularly audit your storage stations to remove expired items and clean jars. Consider adding moisture-absorbing silica packets to jars containing hygroscopic ingredients like sugar or salt.
When storing utensils, place heavier items in sturdy, wide-based jars to prevent tipping. Rotate stock by placing newer items behind older ones to maintain freshness and prevent waste.
DIY Cardboard Drawer Dividers for Perfect Compartments
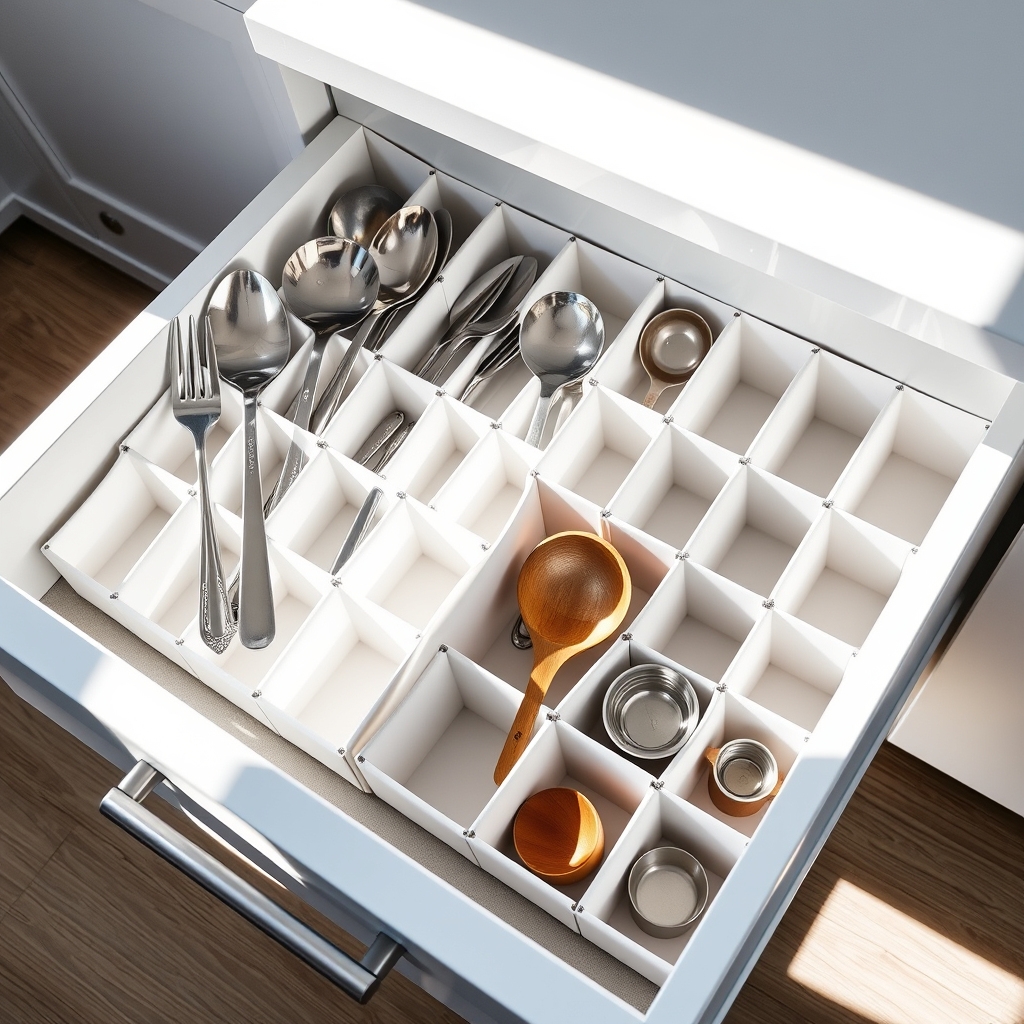
Kitchen drawer organization is often overlooked, yet it’s one of the most impactful ways to improve daily efficiency in the kitchen. Messy, jumbled drawers waste precious minutes as you search for utensils, measuring spoons, or other kitchen tools, leading to frustration and cooking delays.
Creating custom drawer dividers from cardboard is an eco-friendly, cost-effective solution that transforms chaotic drawers into well-organized spaces. These DIY dividers can be tailored to fit any drawer size and adjusted to accommodate specific items, making them superior to generic store-bought options.
Required Materials:
- Sturdy cardboard boxes
- Ruler or measuring tape
- Pencil
- Scissors or craft knife
- Clear packing tape
- Contact paper (optional)
- Drawer liner (optional)
Begin by measuring the interior dimensions of your drawer, including height, width, and depth. Cut strips of cardboard to match the drawer’s height and depth, ensuring a snug fit. Create a grid pattern by making perpendicular cuts halfway through each strip where they’ll intersect, allowing them to slot together.
Once assembled, reinforce all joints and edges with clear packing tape for durability. For best results, test the configuration with your kitchen items before securing the dividers permanently. Adjust the spacing between compartments as needed to accommodate different-sized utensils and tools.
If desired, cover the cardboard with contact paper for a more polished look and added protection against moisture. To maintain the organization system, periodically assess the contents of each compartment and adjust the layout as your needs change.
Consider labeling each section for family members or guests, and line the bottom of the drawer with non-slip liner to prevent the dividers from shifting. Replace dividers if they become damaged or show signs of wear to maintain a clean, professional appearance.
Repurposed Magazine Holders as Cabinet Door Organizers
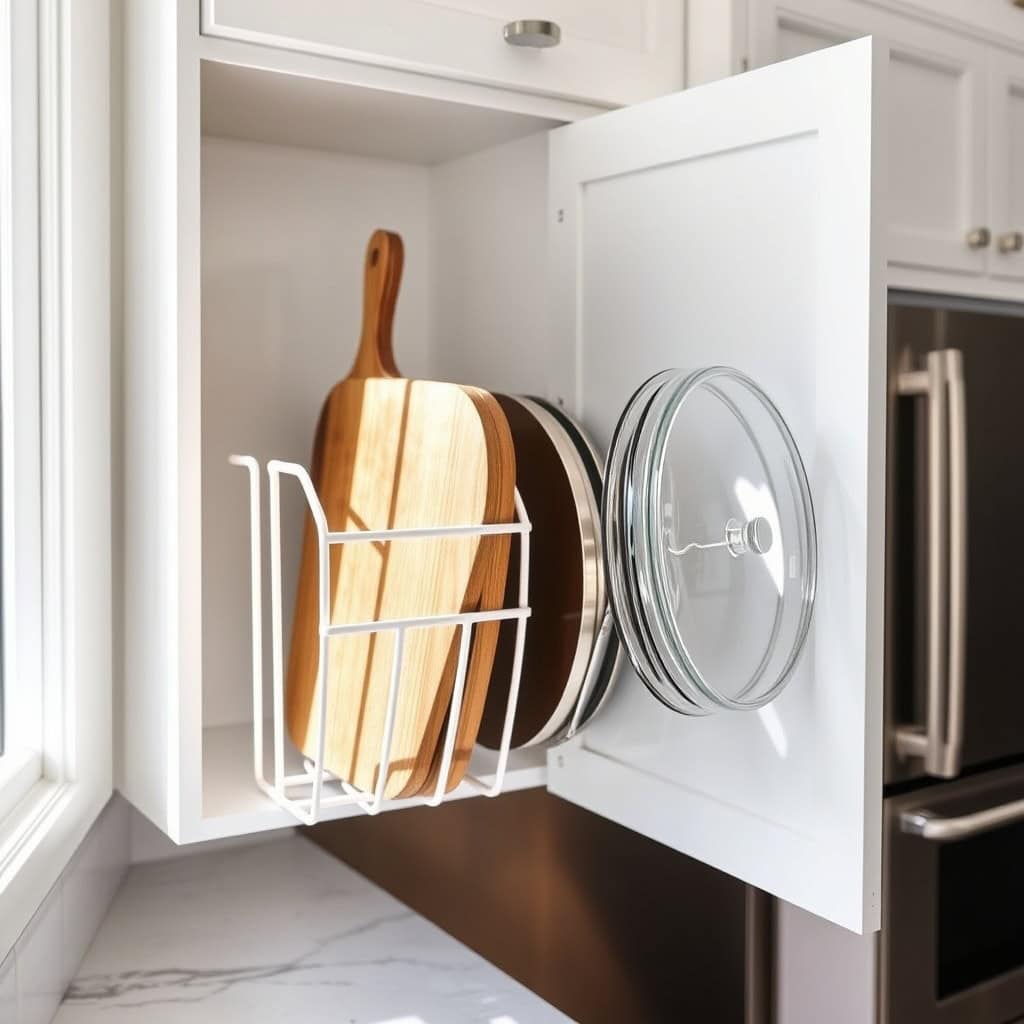
Cabinet doors often represent wasted storage space, while countertops and cabinet interiors become cluttered with cutting boards, baking sheets, and pot lids. Repurposing magazine holders as cabinet door organizers offers an innovative solution to this common kitchen organization challenge.
By mounting magazine holders on cabinet doors, you create vertical storage that maximizes space efficiency while keeping frequently used items easily accessible. This organization method prevents scratches on cookware and eliminates the frustration of stacked items toppling over when you need something from the bottom.
Required Items:
- Magazine holders (plastic or metal)
- Measuring tape
- Pencil
- Level
- Drill
- Screws
- Anchors
- Cabinet-safe mounting strips (optional)
- Screwdriver
- Safety glasses
Install the magazine holders by first measuring the interior cabinet door width to ensure proper fit. Mark mounting points, keeping holders at least two inches from door edges to allow proper closing. Pre-drill holes if using screws, or apply heavy-duty mounting strips for a damage-free option. Secure holders firmly, ensuring they’re level and can support the weight of intended items.
Test door closure carefully before loading items to prevent interference with shelves or cabinet contents. For optimal results, position heavier items like cutting boards in lower holders and lighter items above. Consider using rubber liner material inside holders to prevent scratching and reduce noise.
Group similar items together and orient them vertically for easy identification and access. Label holders if storing multiple types of items to maintain organization long-term.
Additional organization tip: Measure stored items before purchasing magazine holders to ensure proper fit, and choose holders with solid bottoms for smaller items. Consider installing holders at different heights to accommodate various item sizes, and periodically check mounting security to prevent loosening over time.
Clean holders regularly to prevent dust accumulation and maintain a hygienic kitchen environment.
Tension Rod Storage Solutions Under the Sink
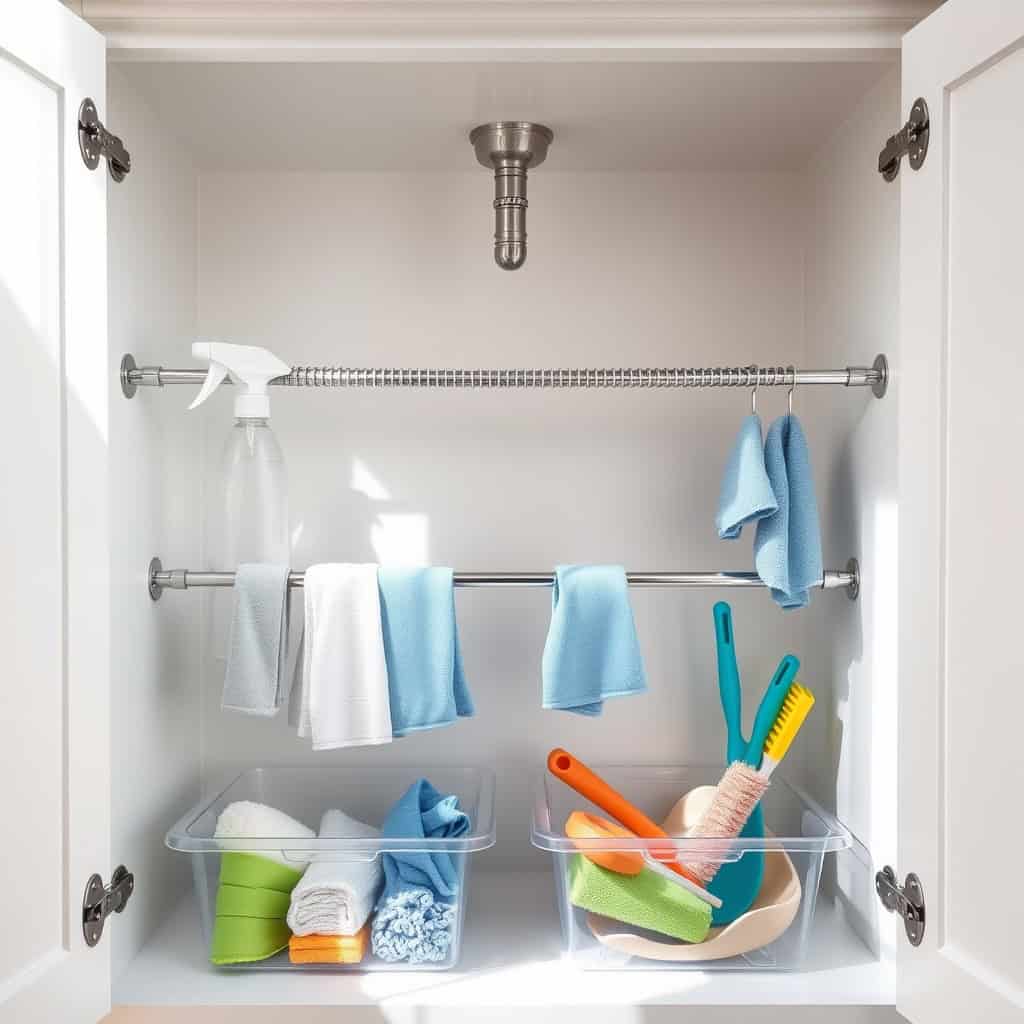
The space under the kitchen sink often becomes a chaotic collection of cleaning supplies, sponges, and spray bottles, making it difficult to find what you need when you need it. This frequently-accessed area requires thoughtful organization to maximize its potential and keep cleaning supplies readily available.
Tension rods offer an innovative and cost-effective solution for transforming this traditionally cluttered space into an organized storage system. By utilizing the vertical space and creating multiple levels of storage, tension rods can double or triple the usable area while keeping cleaning supplies neat and easily accessible.
Required Items:
- 2-3 adjustable tension rods
- Measuring tape
- Clean cloth
- All-purpose cleaner
- Small hooks (optional)
- Basket organizers (optional)
- Label maker (optional)
Begin by removing everything from under the sink and thoroughly cleaning the cabinet interior. Measure the width and height of your cabinet space to determine the appropriate size and placement of tension rods.
Install the first tension rod at the highest point that still allows spray bottles to hang freely. Position additional rods at lower heights, creating tiers for different-sized bottles and cleaning supplies. Ensure each rod is secure by testing its stability before hanging items.
For maximum efficiency, arrange cleaning supplies by frequency of use, with commonly used items at the front. Hang spray bottles by their triggers on the upper rod, and use the lower rods for hanging cleaning cloths, gloves, or smaller spray bottles.
Consider adding small hooks to the rods for hanging scrub brushes or dustpans.
Additional Organization Tips: Group similar items together and use clear bins on the cabinet floor for items that can’t be hung. Maintain the system by regularly checking tension rod stability and immediately returning items to their designated spots after use.
Consider labeling sections to help other household members maintain the organization system, and periodically review stored items to dispose of empty containers or expired products.
Upcycled Wine Crates for Wall-Mounted Storage
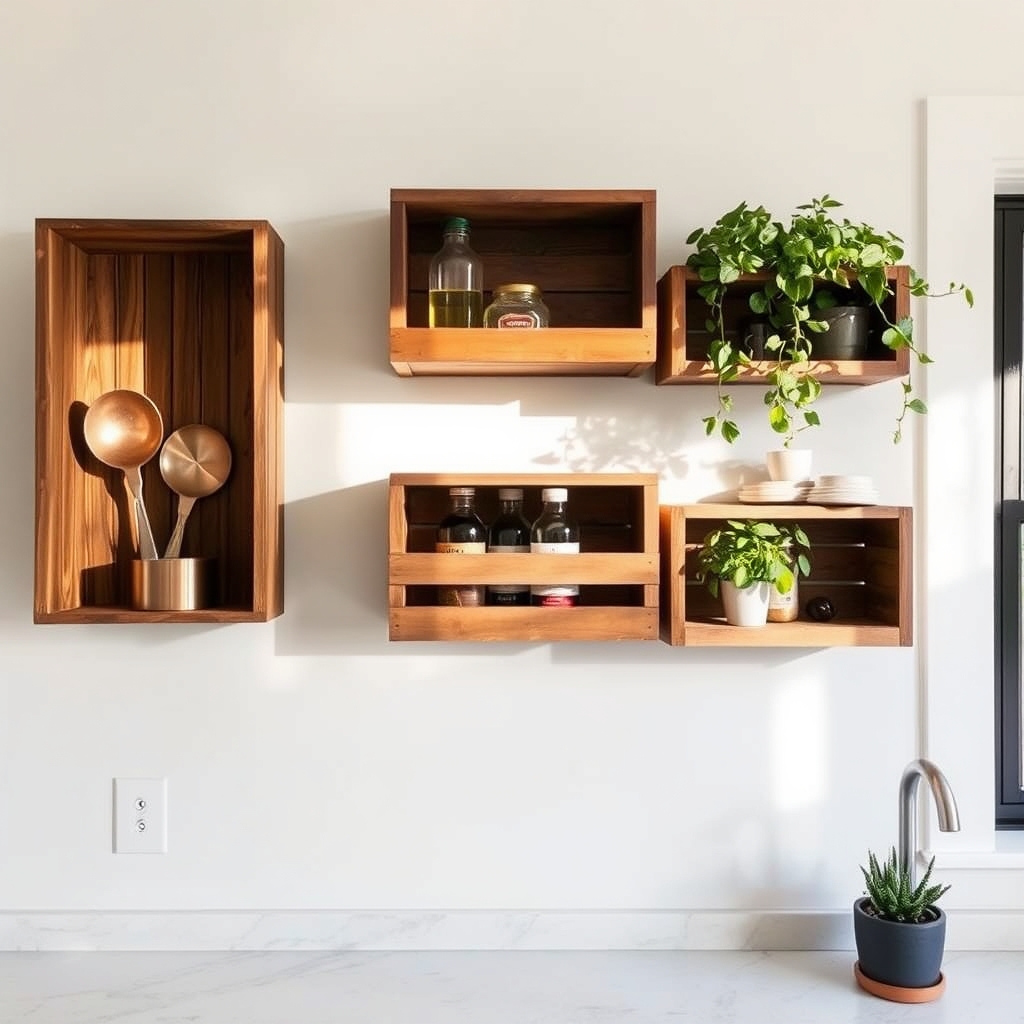
Wall space in kitchens often goes underutilized, yet it offers valuable real estate for storage solutions. Wine crates, with their sturdy construction and vintage appeal, can transform into practical wall-mounted storage units that add both functionality and rustic charm to your kitchen space.
Repurposing wine crates as wall storage not only provides accessible storage for frequently used items but also creates an eco-friendly organization solution. These versatile containers can house everything from cooking utensils and spices to fresh herbs and small potted plants, keeping essential items within arm’s reach while freeing up precious counter space.
Required Items:
- Wooden wine crates
- Wall mounting brackets
- Screws and wall anchors
- Power drill
- Level
- Pencil
- Measuring tape
- Sandpaper
- Wood stain or paint (optional)
- Polyurethane sealant
- Cleaning supplies
Begin by thoroughly cleaning the wine crates and lightly sanding any rough spots. If desired, apply wood stain or paint to match your kitchen’s aesthetic, followed by a polyurethane sealant to protect the wood and make it easier to clean.
Using the measuring tape and level, mark mounting points on the wall, ensuring proper spacing between crates and checking for studs or requiring wall anchors. Attach mounting brackets to the back of each crate, then secure them to the wall, making sure they’re level and properly aligned with each other.
For optimal functionality, consider organizing the crates by zones – one for cooking utensils, another for frequently used spices, and perhaps one for growing fresh herbs. Install small hooks or additional shelving within the crates to maximize storage capacity. You can also add labels or chalkboard paint to easily identify contents.
Additional Tip: To prevent dust accumulation and protect stored items, consider installing hinged glass doors on the crates or using clear acrylic sheets as removable front panels. Also, ensure items stored in the crates don’t exceed the weight capacity of your mounting hardware, and periodically check that all mountings remain secure and level.
Custom Pantry Labels Using Household Items
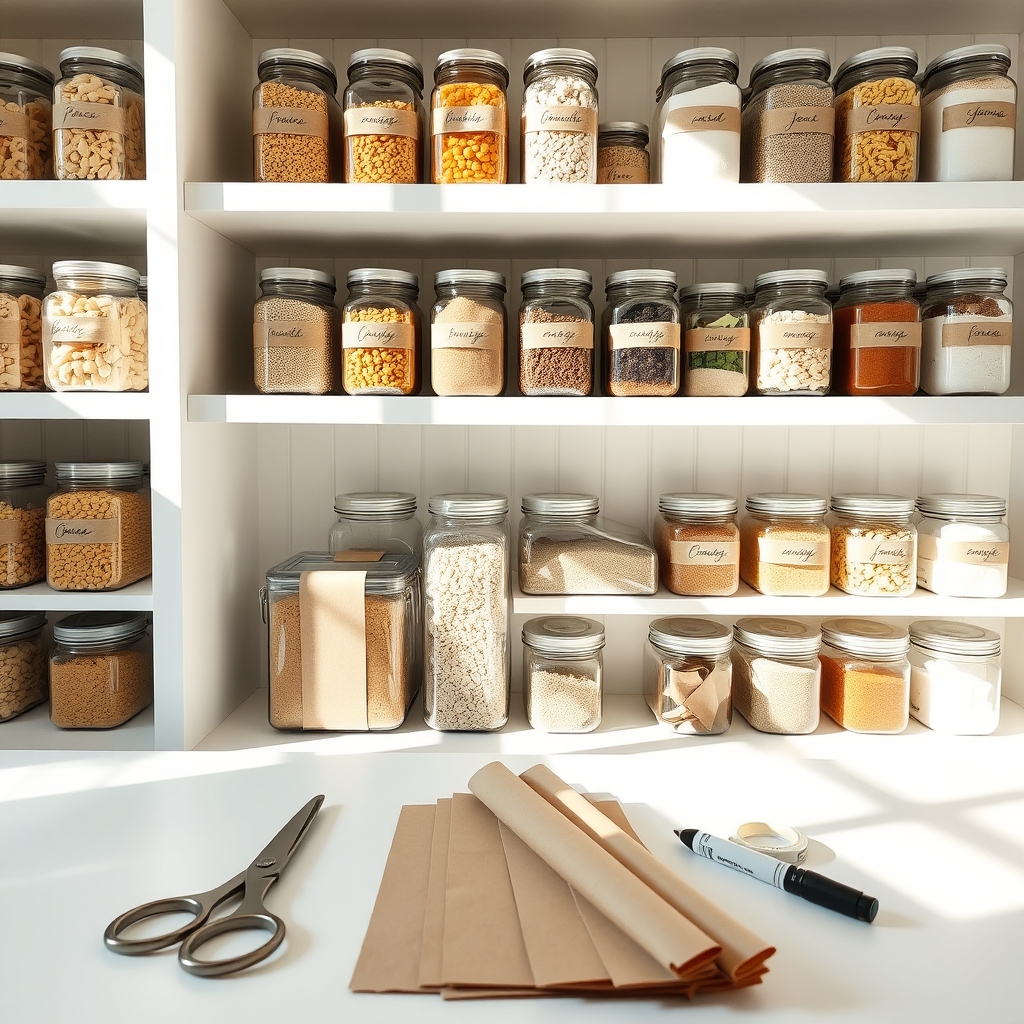
A well-labeled pantry is the cornerstone of an efficient kitchen, saving precious time during meal preparation and reducing food waste. When items are clearly marked and easily identifiable, family members can quickly locate ingredients and keep track of storage dates without confusion.
Creating custom pantry labels doesn’t require expensive label makers or professional materials. Using common household items, you can design and implement a practical labeling system that’s both functional and aesthetically pleasing, while maintaining consistency throughout your storage space.
Required Items:
- Cardstock or thick paper
- Clear packing tape or contact paper
- Scissors
- Markers or pens
- Ruler
- Empty clean containers
- Small adhesive strips (optional)
- White vinegar (for removing old labels)
- Paper towels
- Clear glass or plastic containers
Start by removing all items from their original packaging and transferring them to clean, uniform containers. Clean each container thoroughly with vinegar and water to remove any residue. Cut cardstock into uniform sizes based on your container dimensions, leaving enough space for clear text. Write ingredient names clearly using dark markers, ensuring consistent font style and size across all labels.
For durability, cover each paper label completely with clear packing tape or contact paper, extending slightly beyond the edges to create a seal. This waterproofing step prevents damage from moisture and handling. Attach labels to containers at consistent heights, either on the front or top depending on shelf placement. For cylindrical containers, position labels where they’re visible when containers are placed back in the pantry.
Additional Tips: Consider adding extra information to labels such as expiration dates, storage requirements, or common measurements used in recipes. Create a master list of all labeled items and their locations to share with family members. Replace labels immediately if they become worn or damaged, and periodically review your labeling system to ensure it continues meeting your organizational needs.
Store extra pre-cut labels and supplies together for quick updates or additions to your system.
Makeshift Spice Rack From Dollar Store Finds
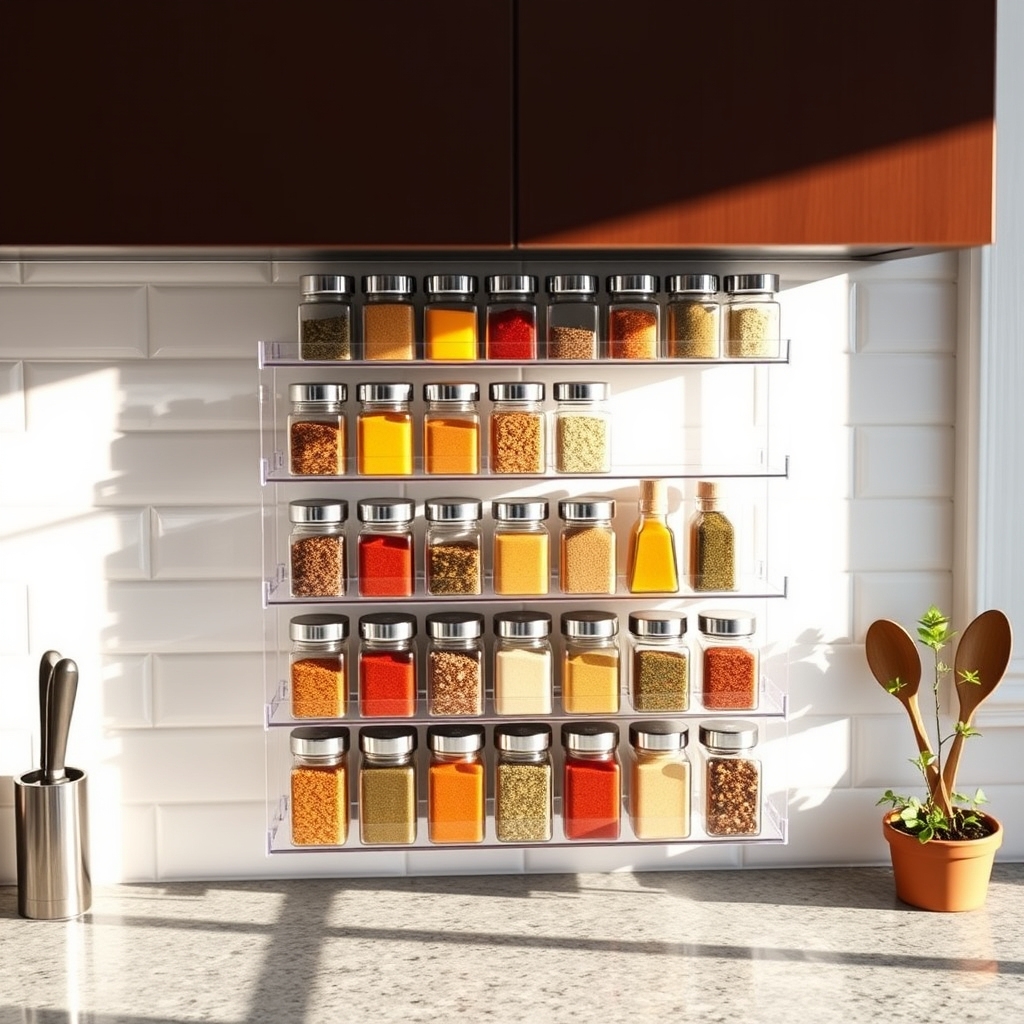
A well-organized spice collection is essential for any functional kitchen, yet commercial spice racks can be unnecessarily expensive. The scattered bottles and packets of spices not only create clutter but also make cooking more time-consuming when you can’t quickly locate what you need.
Creating a makeshift spice rack using dollar store items offers an affordable solution that can be customized to your specific space and needs. This approach allows you to maximize vertical space while keeping your spices visible, accessible, and protected from heat and light exposure.
Materials Needed:
- Clear plastic organizer bins
- Small mason jars or matching spice containers
- Label maker or adhesive labels
- Double-sided mounting tape
- Level
- Measuring tape
- Dry erase marker
- Clean cloth
- Optional: tiered shelf risers
Organization Process:
Select uniformly sized containers that fit your cabinet space or wall area, ensuring they’re airtight to preserve spice freshness. Transfer spices from original packaging into your chosen containers, removing any clumps and checking expiration dates.
Arrange containers alphabetically or by frequency of use within the plastic organizer bins. Create clear, waterproof labels for both the tops and sides of containers for easy identification from multiple angles. Secure the organizer bins to your chosen surface using heavy-duty mounting tape, ensuring they’re level and easily accessible while cooking.
For maximum effectiveness, position your makeshift spice rack away from direct heat sources and sunlight. Consider implementing a rotation system where newer spices are placed at the back while older ones move forward.
Group similar spices together, such as baking spices or ethnic cuisine seasonings, to streamline your cooking process. Maintain an inventory list inside your cabinet door to track what needs replenishing and avoid duplicate purchases.
Hanging Pot Lid System From Command Hooks
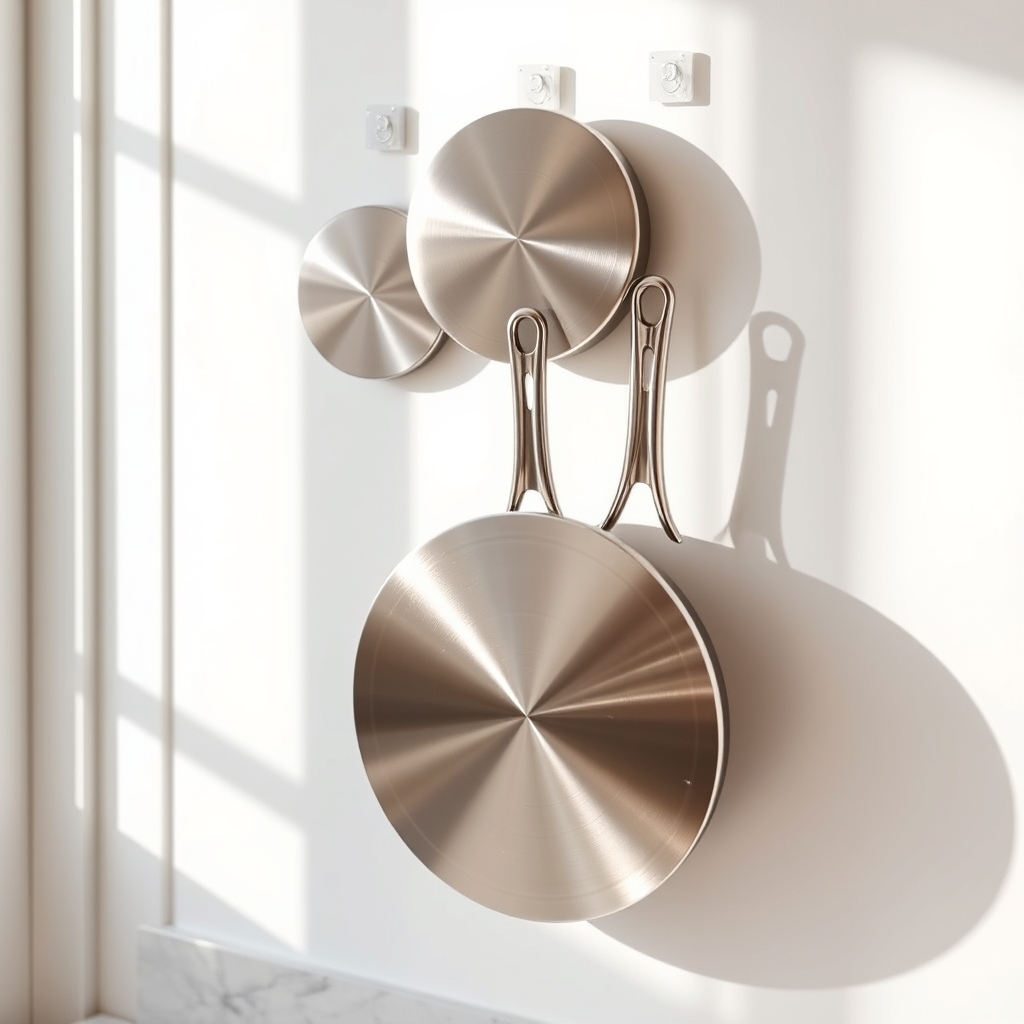
Organizing pot lids can be one of the most frustrating aspects of kitchen storage. These awkward, space-consuming items often end up stacked haphazardly in cabinets, making it difficult to find the right size when needed and potentially causing damage to the lids themselves.
Creating a hanging pot lid system using Command hooks transforms this chaotic storage situation into an efficient, accessible solution. This system utilizes vertical wall space, keeping lids visible and within easy reach while protecting them from scratches and dents that commonly occur when stacked.
Required Items:
- Command hooks (medium or large size)
- Measuring tape
- Level
- Pencil
- Cleaning cloth
- Rubbing alcohol
- Pot lids to be organized
Installation Process:
Clean the chosen wall area thoroughly with rubbing alcohol and allow it to dry completely. Measure and mark points where each Command hook will be placed, ensuring adequate space between hooks for your specific lid sizes. Typically, space hooks 6-8 inches apart horizontally and 8-10 inches apart vertically.
Install the Command hooks according to package instructions, pressing firmly against the wall for 30 seconds each. Wait one hour before hanging lids to ensure proper adhesion. Place each lid by its handle onto a hook, arranging them by size for optimal organization.
Maximizing Success Tips:
Consider organizing lids by frequency of use, placing everyday items at eye level. Test the weight capacity of each hook before hanging heavier lids, and periodically check the hooks’ adherence to the wall.
For glass lids, add small rubber bumpers to the bottom edge to prevent direct contact with the wall. If space allows, leave room for future additions to your cookware collection by installing a few extra hooks.
Magnetic Storage Strip From Thrifted Materials
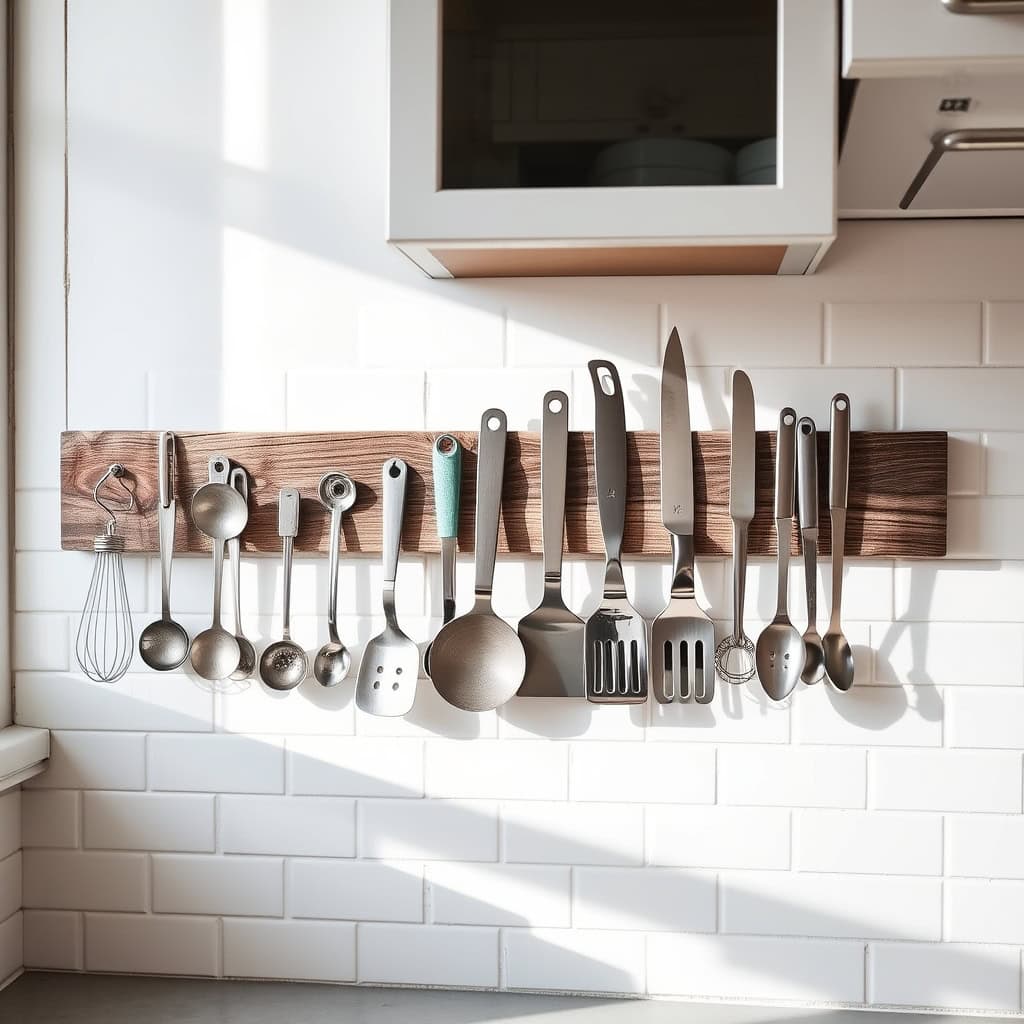
A magnetic storage strip offers an innovative solution for keeping metal kitchen tools easily accessible while maximizing vertical space. This project transforms ordinary thrifted materials into a practical storage solution, proving that effective organization doesn’t require expensive specialty products.
Creating your own magnetic strip not only saves money but also allows for customization to match your kitchen’s aesthetic and specific storage needs. This organization method keeps frequently used tools visible and within arm’s reach, eliminating the frustration of digging through crowded drawers.
Materials Needed:
- Strong magnets (neodymium preferred)
- Wood strip or old picture frame
- Screws
- Drill
- Screwdriver
- Wood glue
- Sandpaper
- Paint or stain (optional)
- Wall anchors
- Level
- Pencil
- Measuring tape
Start by preparing your base material – sand the wood strip or disassemble the picture frame, removing any existing hardware. Measure and mark spots for magnet placement, spacing them approximately 3-4 inches apart. Drill shallow recesses for the magnets, ensuring they sit slightly below the surface. Apply wood glue to secure the magnets in their holes, allowing adequate drying time.
If desired, paint or stain the wood to match your kitchen decor.
For installation, use a level to mark your desired placement on the wall. Install wall anchors at the marked points, ensuring they can support the weight of both the strip and your kitchen tools. Secure the magnetic strip to the wall using screws, double-checking that it’s level before final tightening.
Additional Tips: Test the magnetic strength before mounting by holding various kitchen tools against it vertically. Consider installing multiple strips at different heights to create a customized storage wall. Keep heavier items toward the bottom of the strip to prevent strain on the mounting hardware.
Clean the magnetic surface regularly with a damp cloth to prevent dust accumulation and maintain its attractive appearance.
Roll-Out Shelf Hack Using PVC Pipes
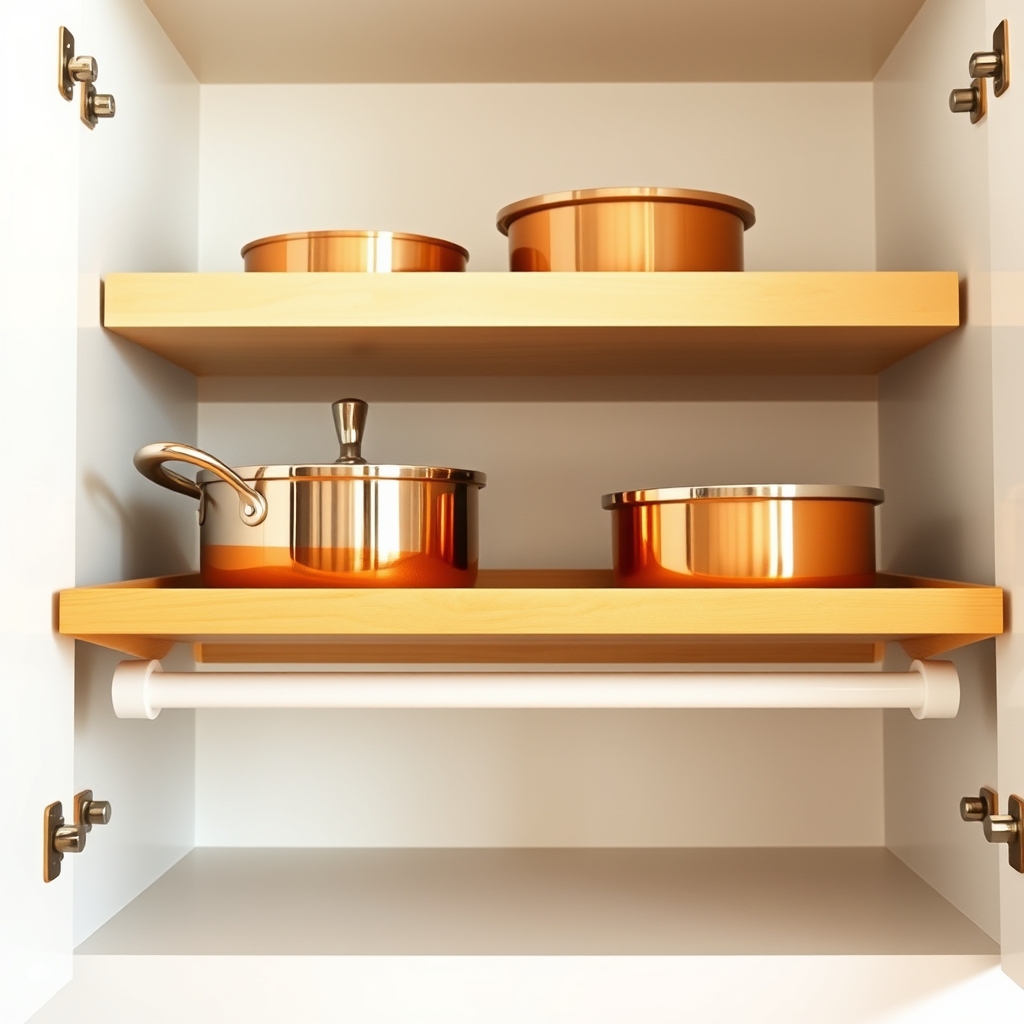
Kitchen cabinet organization can be a constant challenge, especially when dealing with deep cabinets where items get lost in the back. Converting standard shelves into roll-out drawers transforms hard-to-reach spaces into easily accessible storage areas, maximizing every inch of cabinet space.
This innovative PVC pipe hack creates smooth-rolling shelf guides at a fraction of the cost of commercial drawer slides. The system works particularly well for heavy items like pots and pans, and can be customized to fit any cabinet size while requiring minimal tools and expertise.
Required Materials:
- PVC pipes (1.5-inch diameter)
- PVC pipe cutter
- Measuring tape
- Drill and screws
- Plywood (3/4 inch thick)
- Wood glue
- Pencil
- Level
- Sandpaper
- Cabinet pulls or handles
- Safety goggles
- Work gloves
Begin by measuring the interior width and depth of your cabinet. Cut the plywood to create the roll-out shelf, making it slightly smaller than the cabinet dimensions to allow for smooth movement. Cut PVC pipes to match the depth of your cabinet, creating two parallel tracks. Sand the cuts smooth to ensure proper rolling action.
Mount the PVC pipes to the cabinet’s base using screws, ensuring they’re perfectly parallel and level. Space them apart so they align with the edges of your plywood shelf. Apply wood glue to the contact points where the shelf will rest on the pipes. Once dry, test the shelf’s rolling action and adjust if needed. Install a cabinet pull or handle on the front edge of the shelf for easy access.
To maintain smooth operation, periodically clean the PVC tracks with a damp cloth and apply a silicone-based lubricant if needed. Consider adding small stoppers at the back of the tracks to prevent the shelf from rolling too far back, and install a catch mechanism at the front to keep the shelf from sliding out completely while in use.

