Can I apply polyurethane with a roller? Yes, you can. A roller is a great option for someone who has limited mobility or doesn’t want to get up and down from the floor too often. In this blog post, we will talk about the advantages and disadvantages of using a roller, the best way to roll polyurethane onto your furniture or flooring, and what materials you need for the job.

Advantages of Applying Polyurethane with a Roller
Polyurethane is a tough coating that can be applied with a roller. The major advantage of applying polyurethane with a roller is how quick it can be when compared to other methods. Anyone looking for an efficient way to apply coatings would benefit greatly from using a roller as they’re able to work quickly without needing more than one person’s help.
It is also much easier to control the amount of polyurethane that’s being applied. You can do this by applying more or less pressure when you’re rolling it onto your surface. This will help to avoid any excess material as well, which can be a common problem with other methods of application and cause discoloration in certain areas if they are overbrushed.
This will allow for an even coating where no spot becomes too thick while others become thin and there is a consistency throughout the entire floor.
Brushing polyurethane on could lead to streaks left behind from uneven coverage just like brushing varnish on wood furniture might result in some parts not getting enough varnish at all!
Applying polyurethane with a roller can be less likely to cause drips or runs.
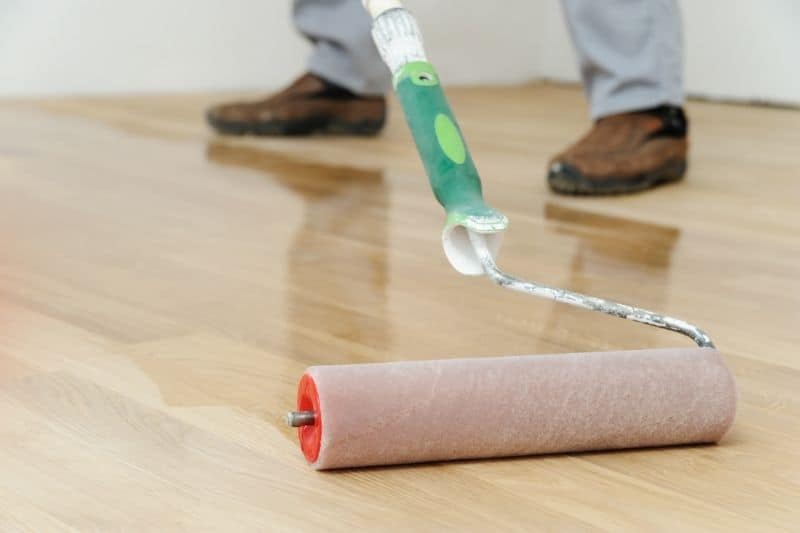
The finish of the floor will be more even and smooth because it’s not as easy for bubbles to form in the coating when it’s applied with a roller.
Rollers are also more efficient because they can cover a larger area in less time than brushes. It’s not just the efficiency of your finishing job that matters, but how quickly you finish it!
Disadvantages of Applying Polyurethane with a Roller
Before you go ahead and start applying polyurethane with a roller, there are a few things to consider.

A paint roller is a much more expensive purchase than the average brush, but if you can get your hands on a replacement cover for it then your investment will pay off.
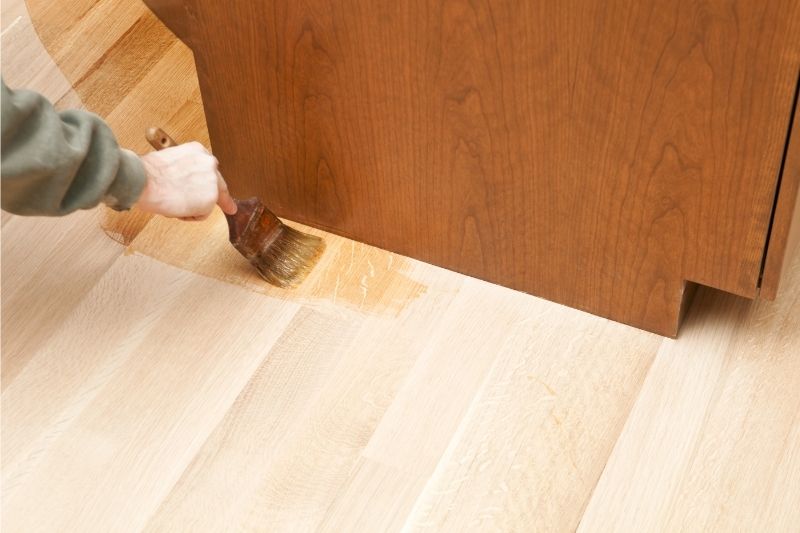
The paint rollers will not work on the hard-to-reach places like curves, joints and corners. If you’re painting these spots with a roller make sure to use extra caution or get out your brush!
What Kind of Roller Should I Use for Polyurethane?
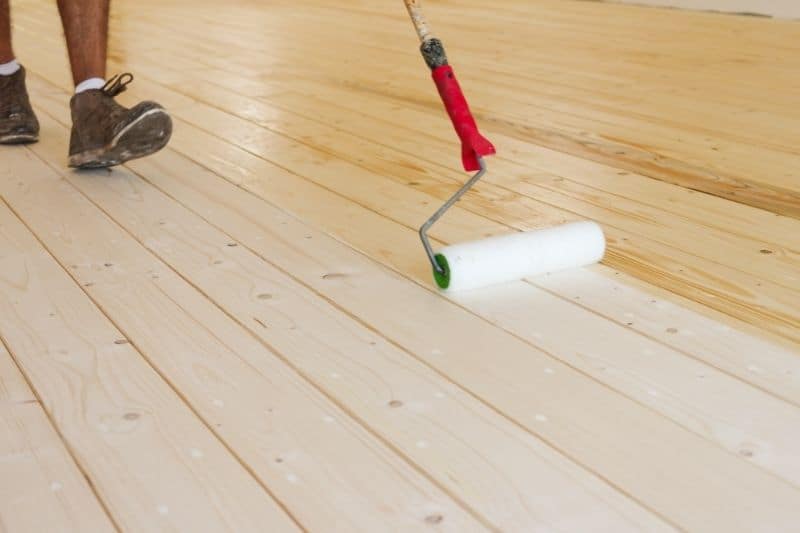
If your goal is to get a smooth finish on wooden floors, you should use short lambswool paint rollers or fiber paint roller.
This will prevent dust and lint from mixing with the final surface of polyurethane that can be challenging for most people who don’t know how to avoid such problems in the first place.
How to Apply Polyurethane With a Roller
What you need:
- 2 paint pans
- Paint roller
- Mineral spirits
- Polyurethane
- Sandpaper (280 & above grit)
- Wipe-on polyurethane
- Clean cloth or rag
Before starting your project, make sure you have a clean and organized work area.
This will help avoid any paint spills or drips that can create additional cleanup time for you, which is never fun!
Wear gloves if possible to protect your hands from the harsh chemicals in polyurethane. If not wearing gloves, try using an old rag or other cloth to cover the palm of your hand when painting with the roller on vertical surfaces. This will prevent extra messes by covering up your palms and keep them safe at all times.
Wearing a nose mask is also a great idea to avoid getting the fumes into your lungs.
1. Wipe the surface with mineral spirits

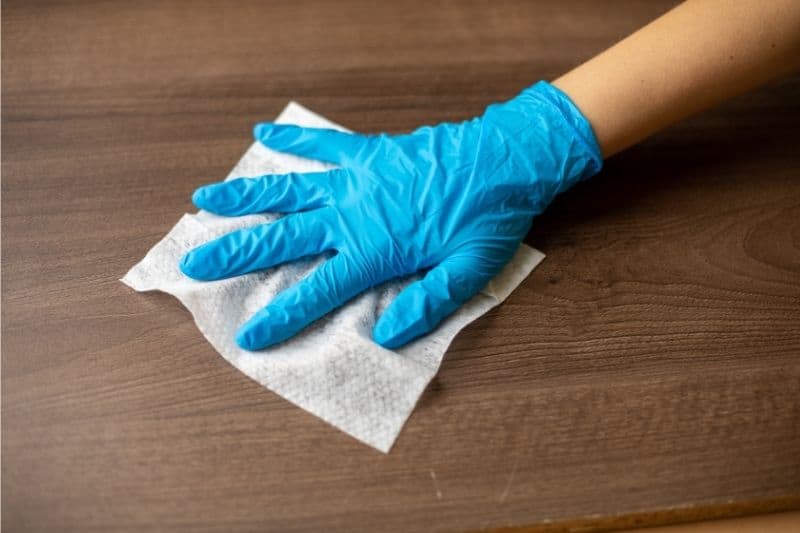
The first step in the process is to wipe down the surface with a clean cloth or rag soaked in mineral spirits.
This step will remove nearly all traces of dust from the surface. It only takes a few minutes for the solvent to evaporate, so you can get started on finishing them!
2. Dampen the paint roller with mineral spirits
Pour some mineral spirits into a paint pan. Roll the paint roller in the mineral spirits so that the roller is damp.
Do not use too much mineral spirit or the roller will be dripping and you won’t have enough to finish painting.
We need a clean, damp paint roller in order for polyurethane to stick properly.
3. Apply the polyurethane
Immediately after, dampen the roller’s surface completely with polyurethane. Roll a thin layer of polyurethane to the surface that you want to cover.
4. Allow the polyurethane to dry
Wait for the polyurethane to dry. The drying time will vary based on ambient temperature, but a new coat of polyurethane can generally be applied in three hours.
5. Sand between coats of polyurethane

Sanding the surface or area you are applying polyurethane to will improve its ability to accept a second coat.
Then, dampen a cloth with mineral spirits, wring out excess and wipe the surface or area of loose sand dust before rolling on your next coating of polyurethane.
6. Repeat the process
Repeat until you’ve applied at least two to three coats of polyurethane.
It’s best to apply two coats of paint on the interior and sides of your furniture. You will also want to put three coats on tabletops and wood floors for extra protection against spills or stains!
7. Clean up
Don’t forget to clean up after yourself! Polyurethane can be a skin irritant, so it’s important that you dispose of any excess before cleaning the used material. Use hot water and soap to get an extra deep scrub on your roller or pan — this will remove the residue from inside these items.
Just make sure not to pour any leftover polyurethane back into its original container as doing this could thin out the product.
Conclusion: Can I Apply Polyurethane with a Roller?
Now that you’ve read this far, you would know that you can apply polyurethane with a roller and how best to apply it. Continue reading the FAQs below for additional tips on applying polyurethane with a roller!
Frequently Asked Questions
How do you apply water-based polyurethane without bubbles?
The key to not getting bubbles is to apply the polyurethane in a thin, even coat. The thicker you go with it, the more likely you will have larger areas where there are bubbles — which can be difficult to sand down and get rid of later on.
You can also keep a can of spray poly handy in case of bubbles. By lightly misting them, you’ll take care of all the pesky things that pop up.
How do I get a smooth polyurethane finish?
One of the most important aspects of getting a smooth polyurethane finish is sanding. To do this correctly, you’ll need to make sure all surfaces are well-sanded before applying another coat to your project.
The other secret to finishing smoothly with polyurethane is to apply thin, even coats so you don’t have to go back and fix bubbles after they’ve formed.
The only other thing worth noting about getting a smooth finish with polyurethane is patience. Giving yourself enough time between layers means giving each layer a chance to dry thoroughly without forming bubbles or drips.
What happens if you don’t sand between coats of polyurethane?
When you don’t sand between coats of polyurethane, it can build up and create a rough texture. It will also be difficult to apply subsequent coats of polyurethane, which leaves you with an uneven finish.
So if you’re looking for a smooth look on your project, make sure you sand between each coat before applying the next one.
Is 2 coats of polyurethane enough?
Polyurethane will dry into a hard coating that can last for years. Two coats are enough to seal your project, but if you’re looking for an extra-strong finish, and want the protection of more than one coat of polyurethane on top of another, three or four are recommended.
Some projects may require even more coats depending on how porous they are (i.e., wood furniture), so it’s important to consider their needs before deciding on the number of layers needed.
Which is better oil-based or water-based polyurethane?
There is a lot of debate as to which type of polyurethane finish people should use on their wood.
If you’re looking for a more natural finish, the water-based option is the way to go. This option goes on clear and do not alter your wood’s color like oil finishes do. It also dries quickly so you can walk on floors within 8 hours of application!

Water-based polyurethane is less flammable than oil-based options, does not contain harmful volatile organic compounds (VOCs), and won’t produce strong odors or fumes when in use. All it takes to clean up with this type of paint is soap and water!
When you are looking for a long-lasting and inexpensive finish, water-based polyurethane is not the way to go. It can be very expensive because it requires multiple coats due to its low solids content that will need to be reapplied every two years in order to fully protect your wood from damage.
Oil-based finishes will give the wood more protection than water-based ones would. They also take fewer coats and cost half as much per canister compared to water-based products! However, there may be some downsides: these types have strong fumes that require you always wear goggles or face masks when applying them; additionally, it takes longer for oil-based polys to dry because they’re thicker.
There’s an upside though – oil-based coatings fortify the surface with one solid layer of armor that can withstand years of wear and tear.

