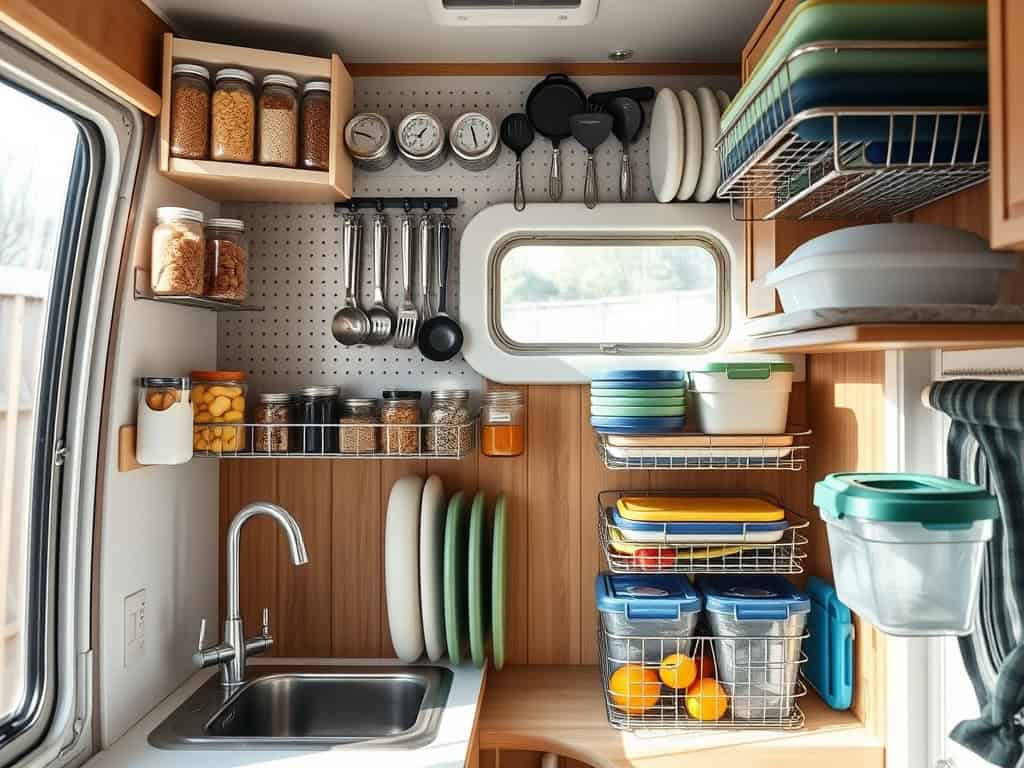
You’ve got a tiny camper kitchen, a tight budget, and big dreams of keeping everything organized – I’ve been there! After years of living the RV life, I’ve discovered some seriously clever storage hacks that won’t break the bank. From transforming dollar store finds into premium organizers to creating vertical storage magic with basic hardware items, you’ll be amazed at how much space you can maximize with just a few simple tricks. Let me share my favorite budget-friendly solutions that’ll revolutionize your camper’s kitchen setup.
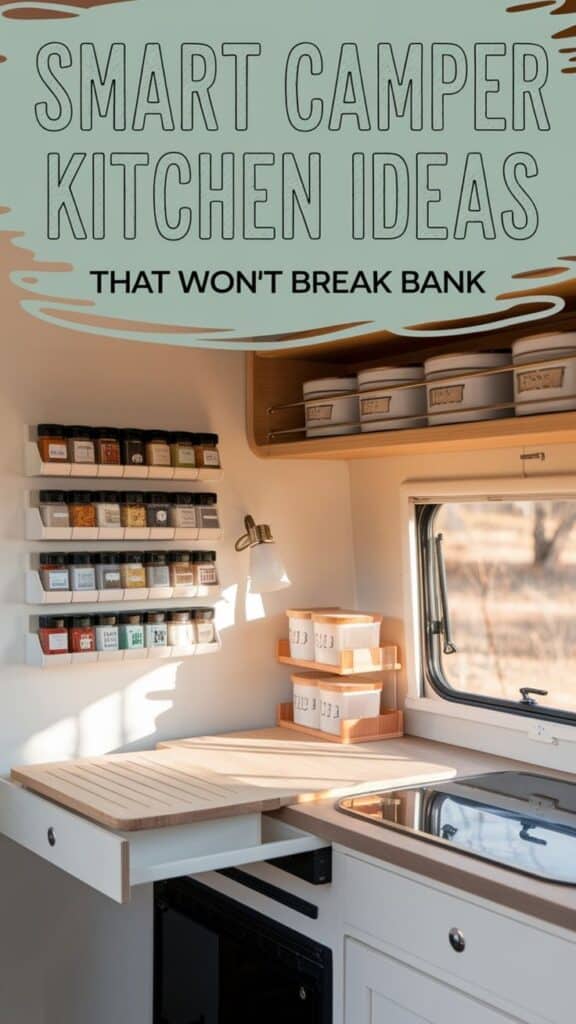
Command Hooks and Tension Rods for Vertical Storage
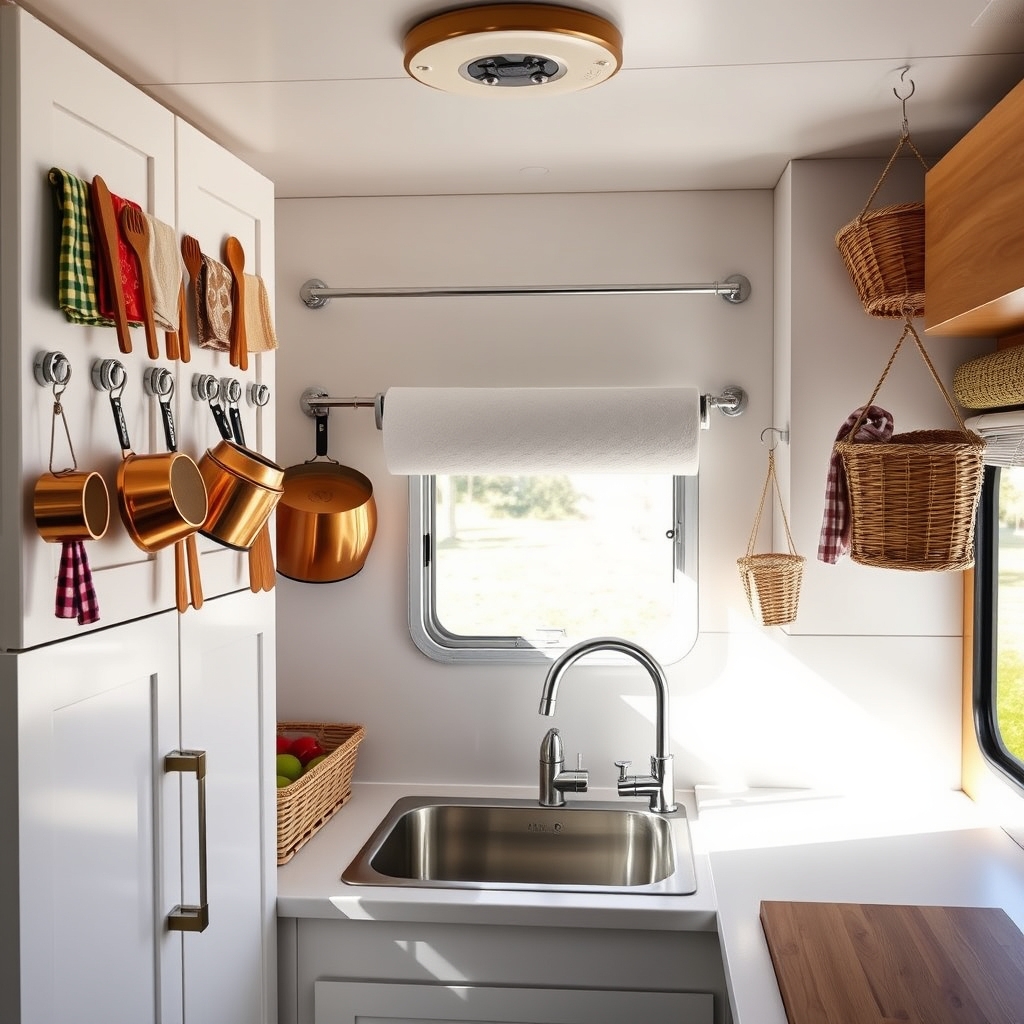
Vertical storage solutions are essential in camper kitchens where every inch of space counts. By utilizing the often-overlooked vertical spaces on walls, cabinet doors, and corners, you can dramatically increase your storage capacity without sacrificing valuable counter or floor space.
Command hooks and tension rods offer versatile, damage-free solutions that are perfect for temporary installations in campers and RVs. These affordable tools can transform cluttered spaces into efficient storage areas, making frequently used items easily accessible while keeping them secure during travel.
Required Items:
- Command hooks (various sizes)
- Tension rods
- Measuring tape
- Level
- Cleaning supplies
- S-hooks
- Small baskets or containers
- Paper towels
- Alcohol wipes
- Pencil for marking
Begin by thoroughly cleaning all surfaces where hooks and rods will be installed using alcohol wipes to ensure maximum adhesion. Measure and mark your installation points, using a level to ensure straight placement.
Install command hooks strategically – larger hooks for heavier items like pots and pans on sturdy walls, and smaller hooks for lightweight items like utensils or dish towels on cabinet doors. Position tension rods in cabinet spaces to create additional shelving or hanging space for spray bottles, paper towels, or cleaning supplies.
For maximum stability, allow command hooks to cure for at least one hour before hanging items. When using tension rods, ensure they’re properly secured and test their stability before adding items.
Create zones for different types of items – cooking tools in one area, cleaning supplies in another – to maintain organization and efficiency.
Additional Tips: Rotate or reposition items based on usage patterns and seasonal needs. Always keep frequently used items at eye level and within easy reach. Consider using clear containers or labels to quickly identify contents, and periodically check the security of hooks and rods, especially after traveling on rough roads. Keep a few spare command hooks on hand for replacements or reorganization needs.
Dollar Store Bins and Baskets
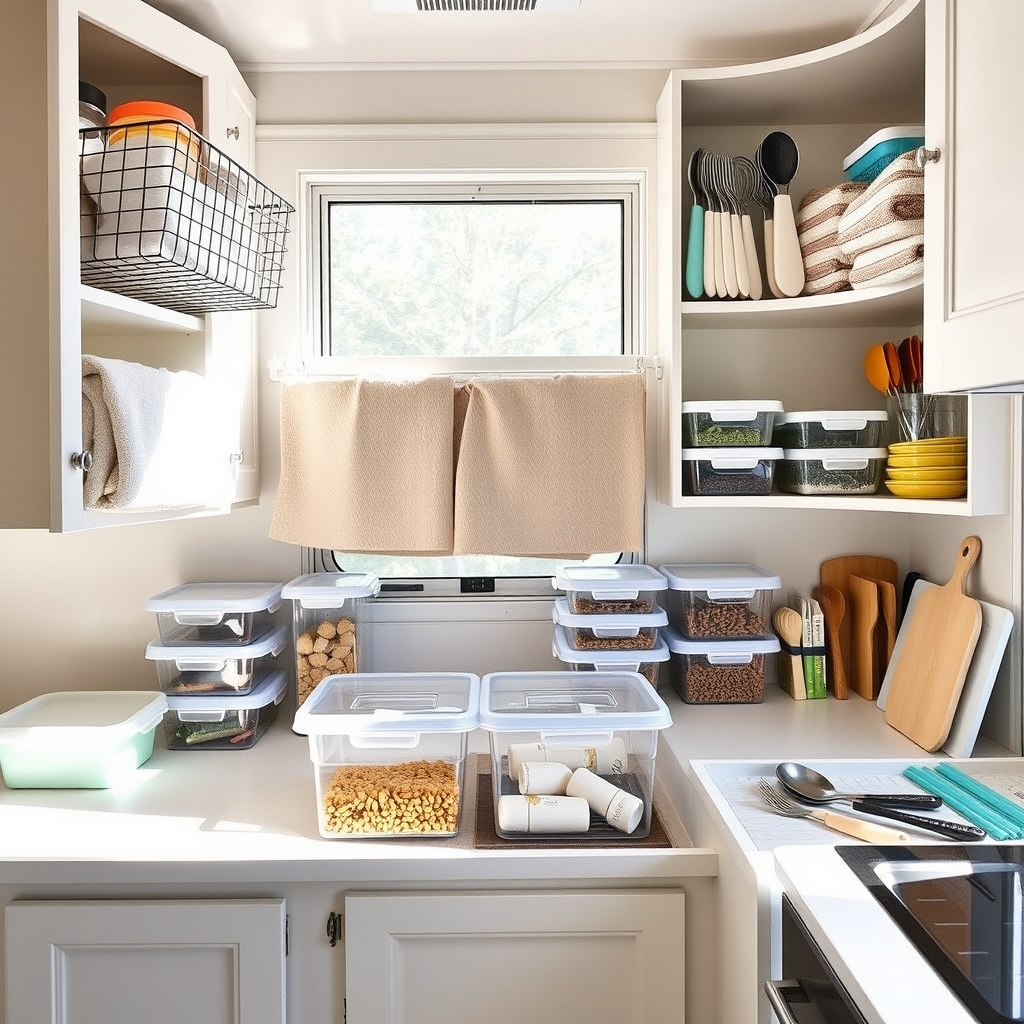
Organizing a camper kitchen with dollar store bins and baskets is a cost-effective way to maximize limited space while maintaining easy access to essential items. Proper organization not only prevents items from shifting during travel but also makes meal preparation more efficient and enjoyable.
Dollar store storage solutions offer versatility and affordability, allowing campers to create custom organization systems without breaking the bank. These lightweight containers can be easily modified to fit specific spaces and needs, while their uniform appearance creates a cohesive, organized look throughout the kitchen area.
Required Items:
- Plastic bins (various sizes)
- Wire baskets
- Command hooks
- Measuring tape
- Label maker or markers
- Non-slip shelf liner
- Clear storage containers
- Drawer dividers
- Small tension rods
- Zip ties
Start by measuring all available storage spaces in your camper kitchen, including cabinets, drawers, and vertical spaces. Sort kitchen items into categories such as cooking utensils, pantry items, and cleaning supplies. Select appropriately sized bins and baskets for each category, ensuring they fit securely in their designated spaces. Line the bottom of each container with non-slip shelf liner to prevent shifting during travel.
Install command hooks on cabinet doors or walls to hang frequently used items and maximize vertical space. Use clear containers for pantry items to easily identify contents. Create zones within larger cabinets using tension rods to separate cutting boards or baking sheets. Secure bins and baskets with zip ties or velcro strips to prevent movement while driving.
Additional Tip: Regularly assess and adjust your organization system as needs change. Remove items that aren’t frequently used, and consider using stackable containers to maximize vertical space. Keep a few extra bins on hand for future organizational needs or replacement of worn items.
Magazine Holders as Cabinet Organizers
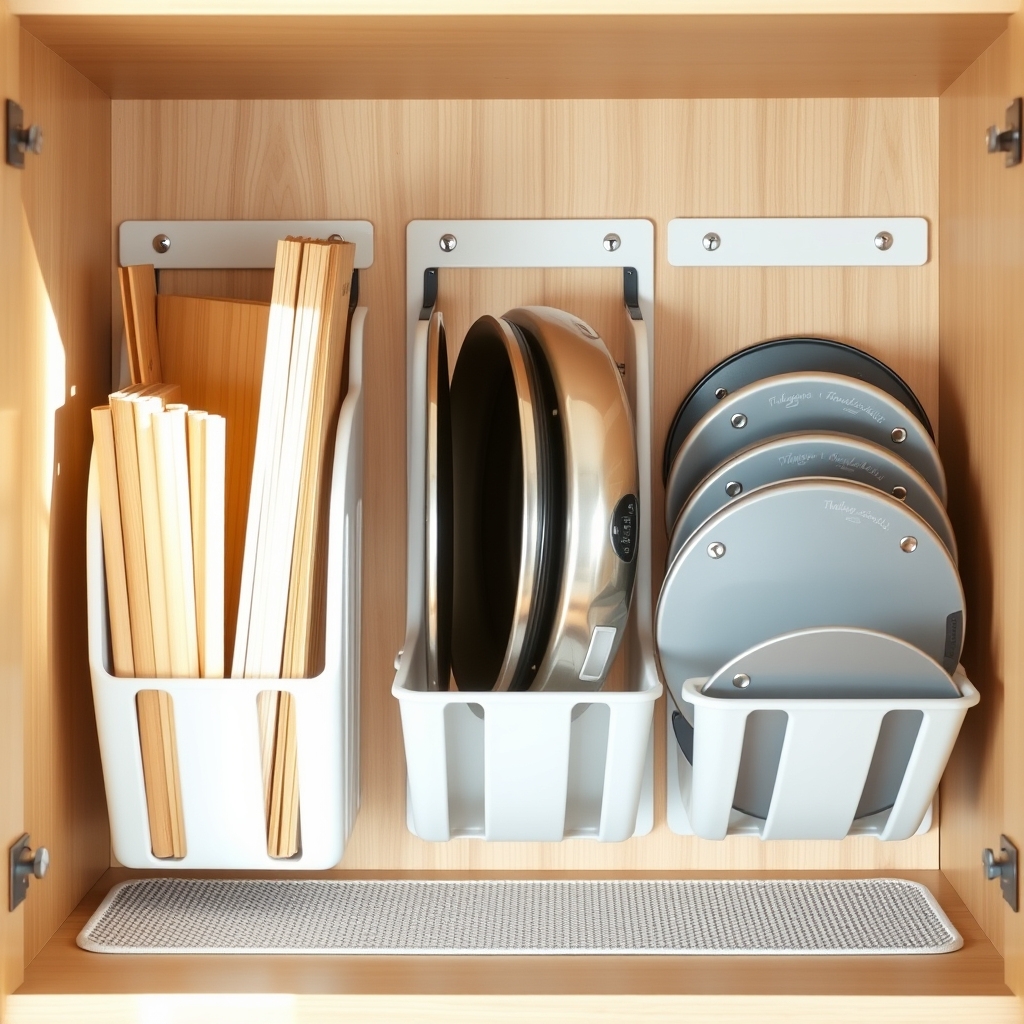
Organizing camper kitchen cabinets presents unique challenges due to limited space and the need to secure items during travel. Magazine holders offer an innovative, cost-effective solution for maximizing vertical storage space while keeping items easily accessible and preventing them from shifting during movement.
Repurposing magazine holders as cabinet organizers creates designated spaces for cutting boards, baking sheets, pot lids, foil boxes, and even packaged foods. This method not only maximizes space efficiency but also makes it easier to quickly locate and retrieve items without disturbing other stored contents.
Required Items:
- Plastic or metal magazine holders
- Non-slip shelf liner
- Measuring tape
- Scissors
- Command strips or mounting tape
- Label maker (optional)
- Cabinet cleaning supplies
To implement this organization system, first measure your cabinet dimensions and select appropriately sized magazine holders. Clean the cabinet interior thoroughly and line the bottom with non-slip shelf liner.
Position magazine holders vertically or horizontally depending on your storage needs, ensuring they fit securely without preventing the cabinet door from closing. Secure the holders in place using command strips or mounting tape to prevent shifting during travel.
For vertical storage, place thin items like cutting boards and baking sheets in separate holders, maintaining them upright for easy access. When using holders horizontally, they become perfect compartments for storing boxes of foil, plastic wrap, or dried goods.
Stack holders if cabinet height allows, but ensure items remain easily accessible.
To maintain this organization system, regularly check that mounting strips remain secure, especially in varying temperatures. Consider labeling each holder’s contents for quick identification, and periodically assess stored items to ensure they still serve your needs.
Keep frequently used items in easily accessible holders, and remember to measure items before purchasing new magazine holders to ensure proper fit.
Mason Jars and Clear Containers for Dry Goods
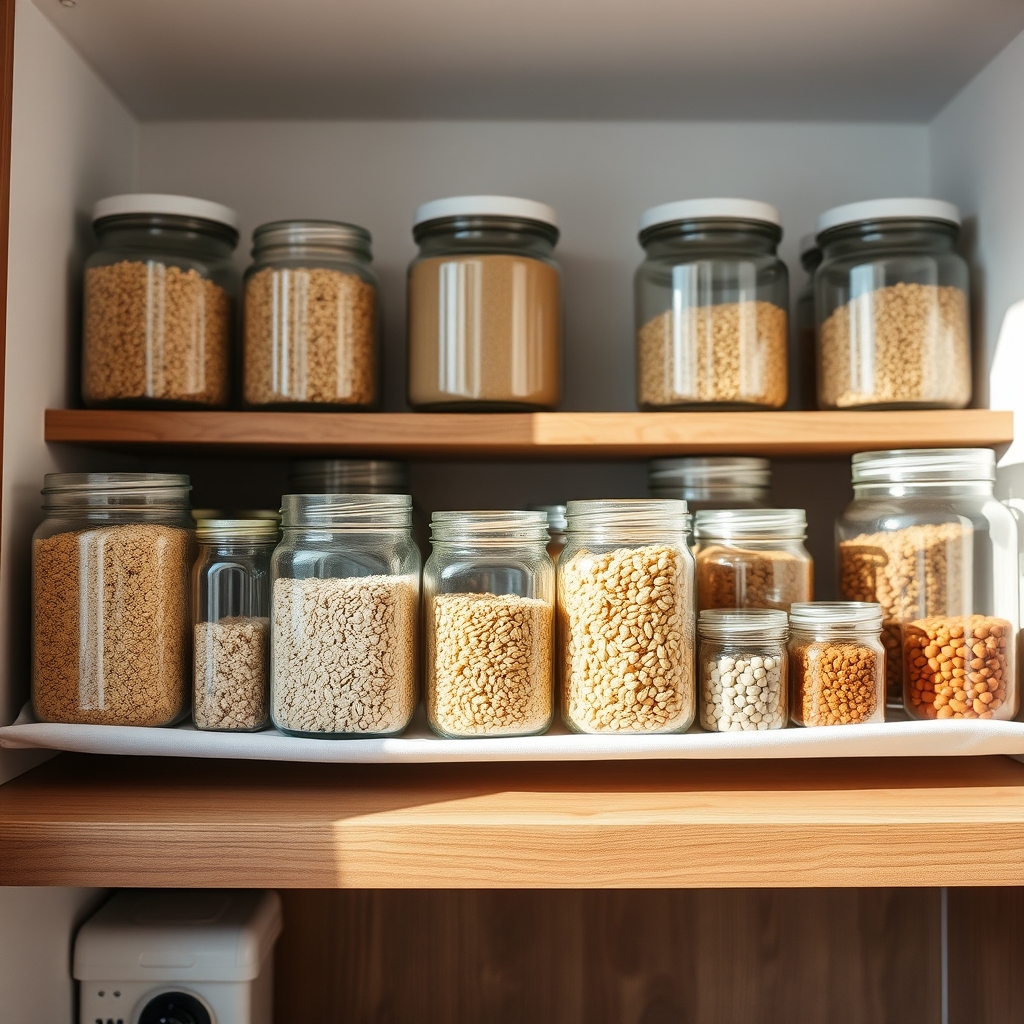
Organizing dry goods in a camper kitchen is essential for maximizing limited space while keeping ingredients fresh and easily accessible. Proper storage not only prevents pantry pests and moisture damage but also allows you to quickly inventory your supplies and locate items when needed.
Clear containers and mason jars create a visually appealing storage solution that transforms cluttered cabinets into an efficient storage system. This method eliminates bulky packaging, reduces waste, and ensures that dry goods remain fresh throughout your camping adventures while making the most of vertical space.
Required Items:
- Mason jars (various sizes)
- Clear plastic containers with airtight lids
- Labels or label maker
- Measuring cups or funnel
- Dry goods shelf liner
- Small scoop or spoon
- Oxygen absorbers (optional)
- Marker or pen
- Clean cloth for wiping containers
Begin by thoroughly cleaning and drying all containers. Sort dry goods by category (grains, beans, pasta, baking supplies) and determine appropriate container sizes for each item. Transfer ingredients into containers using a funnel or measuring cup to prevent spills, leaving enough headspace for ingredients that may expand. Seal containers immediately after filling to maintain freshness.
Create clear, waterproof labels indicating the contents and any crucial information like cooking instructions or expiration dates. Arrange containers in your camper cabinets with frequently used items at eye level and heavier items on lower shelves. Group similar items together for easier meal planning and preparation.
Additional Tips: Rotate stock by using older items first and refilling containers before they’re completely empty. Store containers away from direct sunlight and heat sources to preserve contents. Consider using stackable containers to maximize vertical space, and always keep a few extra containers on hand for new purchases or reorganization needs.
Regularly inspect seals and replace any damaged containers to maintain food freshness and prevent spills during travel.
Over-the-Door Shoe Organizers for Pantry Items
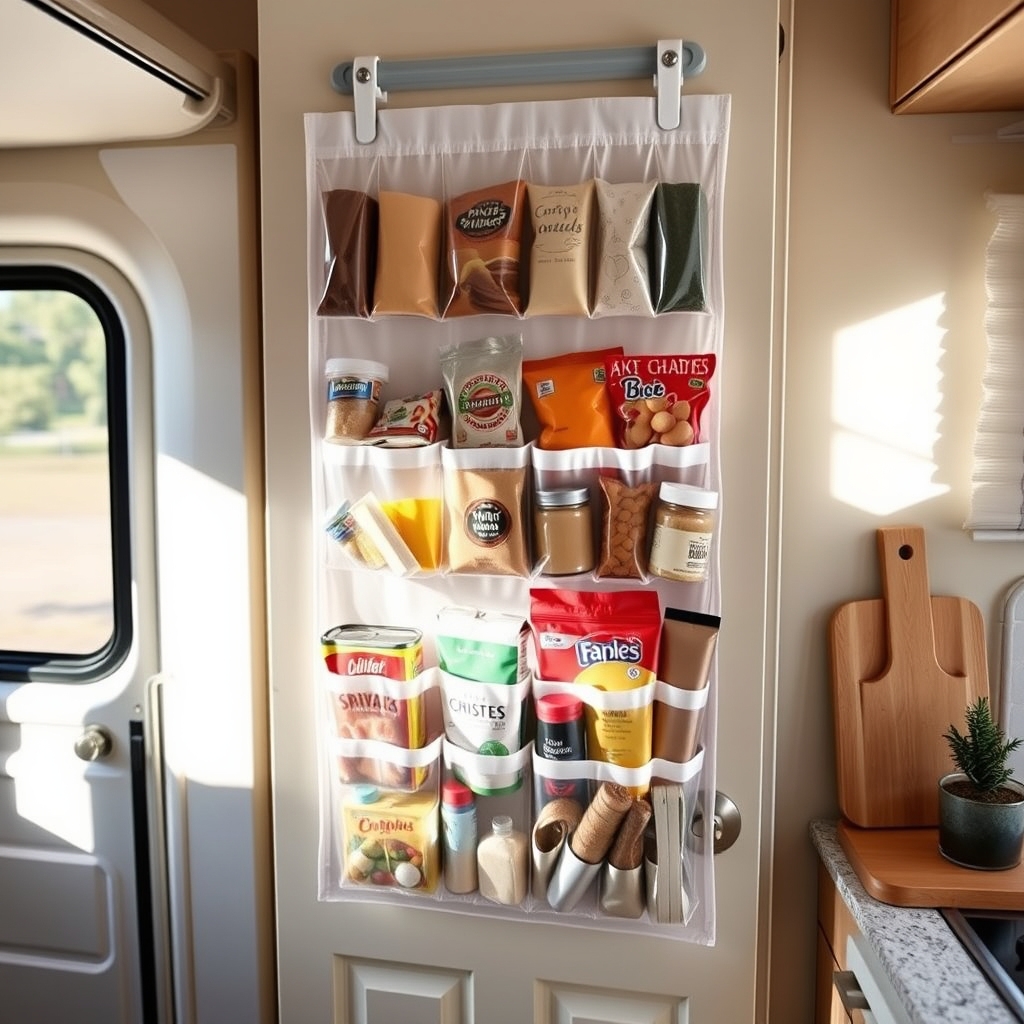
Organizing pantry items in a camper presents unique challenges due to limited space and the need to secure items during travel. Over-the-door shoe organizers offer an ingenious solution by utilizing vertical space that would otherwise go unused, while keeping essentials easily accessible and visible at all times.
This organizational method transforms dead space into valuable storage real estate, with clear pockets that allow you to quickly locate items and assess inventory levels. The flexible nature of these organizers also helps prevent items from shifting during transit, making them ideal for mobile living situations.
Required Items:
- Clear plastic over-the-door shoe organizer
- Command hooks or over-door hooks
- Measuring tape
- Scissors
- Label maker or marker
- Zip ties
- Small storage containers (optional)
- Door mounting hardware (if needed)
Begin by measuring your door and selecting an appropriately sized shoe organizer. Install the organizer using either the included hooks or Command hooks for a more secure hold. For added stability during travel, secure the bottom corners with small screws or additional Command strips.
Sort pantry items by category, such as snacks, seasonings, and cooking staples. Place heavier items in the bottom pockets and lighter items toward the top to maintain balance. Group similar items together and arrange them in a logical order, with frequently used items at eye level. Consider using small containers within the pockets to keep smaller items organized.
To prevent items from falling out during transit, you can modify the pockets by slightly folding and securing the top edges with a few stitches or by using clear tape to create a slight lip.
Additional Tips: Rotate items regularly to prevent items from getting stuck in the back of pockets, and implement a first-in-first-out system. Label each pocket clearly to maintain organization and make it easier for others to help maintain the system. Consider cutting the organizer to custom-fit your space or combining multiple organizers for additional storage.
During travel days, secure particularly vulnerable items with additional zip ties or removable clips for extra protection.
Magnetic Storage Solutions for Metal Surfaces
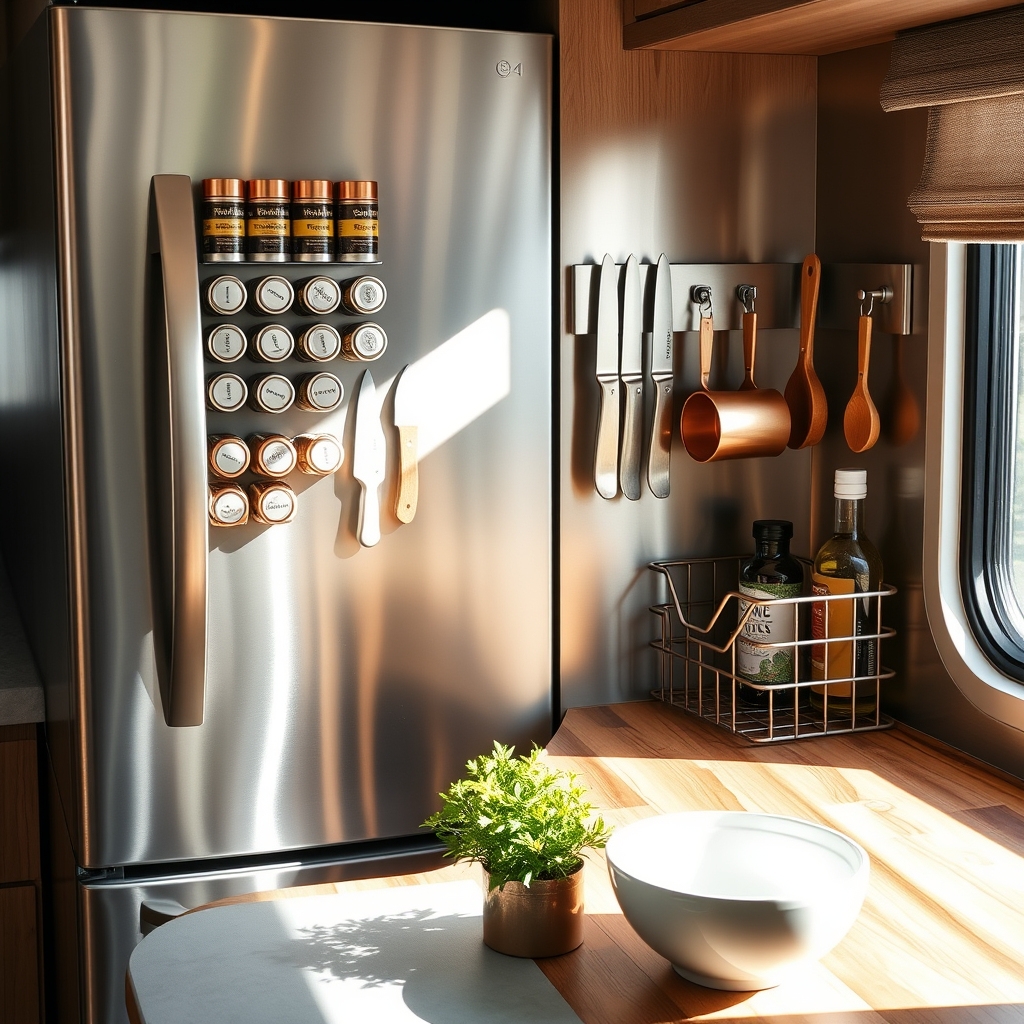
Maximizing space in a camper kitchen requires creative thinking, and magnetic storage solutions offer an innovative way to utilize vertical metal surfaces that would otherwise go unused. From refrigerator sides to metal cabinet doors, these surfaces become valuable real estate for organizing cooking essentials and frequently used items.
Magnetic storage systems are particularly effective in camper kitchens because they keep items secure during travel while maintaining easy accessibility when parked. This organization method also allows for flexible arrangement and quick modifications based on changing needs, making it ideal for the dynamic nature of camper living.
Required Items:
- Magnetic spice containers
- Magnetic knife strips
- Heavy-duty magnetic hooks
- Magnetic baskets or holders
- Metal mounting plates (if needed)
- Magnetic paper towel holder
- Strong adhesive strips
- Measuring tape
- Level
- Cleaning supplies
Start by thoroughly cleaning all metal surfaces with appropriate cleaning solutions to ensure maximum magnetic adherence. Assess the magnetic strength of your surfaces, as some may require additional metal mounting plates for proper magnetic connection.
Map out your storage plan by measuring available space and determining which items will be stored where, considering both accessibility and travel security.
Install larger magnetic items first, such as knife strips and paper towel holders, using a level to ensure proper alignment. Position frequently used items at eye level and arrange magnetic spice containers in logical groupings. For heavier items, use multiple magnetic points of contact or heavy-duty hooks rated for the appropriate weight.
Create zones for different categories: cooking tools, spices, utensils, and frequently accessed items.
Regularly test the strength of magnetic connections, especially before travel, and consider adding small rubber bumpers to prevent metal-on-metal contact that could cause noise or scratches. Rotate items seasonally based on use patterns, and always ensure items are properly secured before moving your camper.
For additional security during travel, consider using supplementary straps or containment methods for magnetic storage components carrying heavier items.
DIY Drawer Dividers From Cardboard Boxes
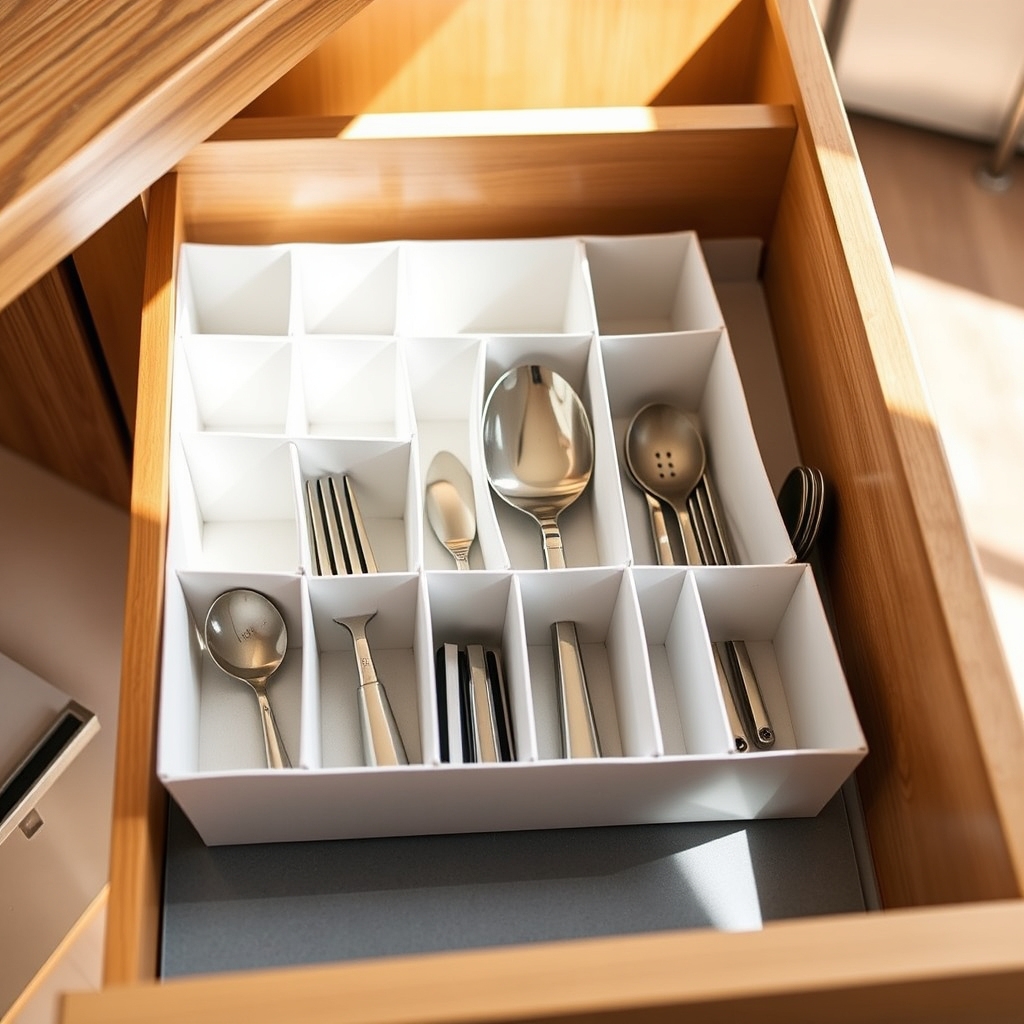
Organizing drawers in a camper kitchen presents unique challenges due to limited space and the need to prevent items from shifting during travel. Cardboard drawer dividers offer an economical and practical solution, allowing you to customize compartments precisely to your needs while keeping kitchen utensils and tools securely in place.
Making your own drawer dividers from cardboard boxes not only saves money but also reduces waste by repurposing materials you likely already have. This project creates sturdy, lightweight dividers that can be easily modified or replaced as your organizational needs change, making it an ideal solution for camper living.
Materials Needed:
- Sturdy cardboard boxes
- Ruler or measuring tape
- Pencil
- Scissors or utility knife
- Clear packing tape
- Contact paper (optional)
- Drawer liner (optional)
- Hot glue gun and glue sticks
Start by measuring the internal dimensions of your drawer, including height, width, and depth. Cut cardboard strips to match the drawer height and length, allowing for a snug fit. Create a grid pattern by cutting additional strips for cross-sections, ensuring they’ve small notches at intersection points for interlocking.
Once assembled, reinforce all joints with clear packing tape for added durability. Cover the assembled dividers with contact paper if desired to protect against moisture and extend their lifespan. Place the completed grid system in your drawer, securing it with hot glue at key points to prevent shifting.
Arrange your kitchen items in the newly created compartments, grouping similar items together for easy access. To maximize the longevity and effectiveness of your cardboard drawer dividers, avoid overloading compartments and consider lining the bottom of the drawer with non-slip liner material.
Regular maintenance checks will help identify any wear and tear early, allowing you to replace sections as needed before they become problematic. For frequently accessed items, position them in easily reachable compartments near the front of the drawer.

