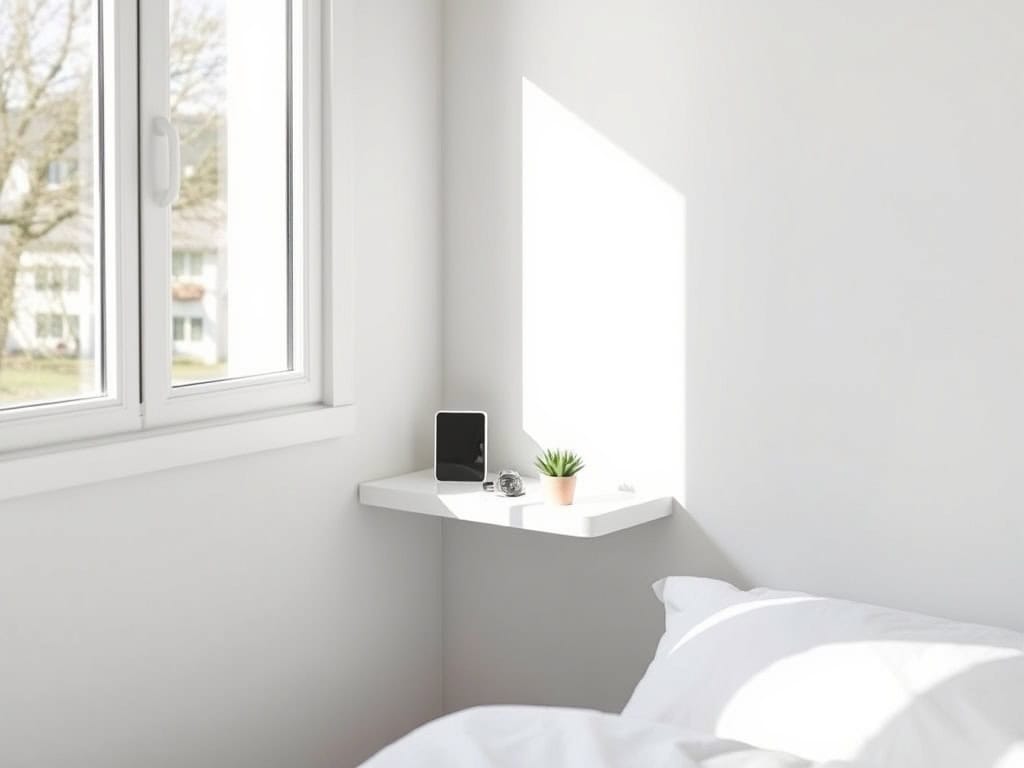
Just when you’re ready to throw in the towel on your cramped living space, the solution hits you – those bare walls and empty corners are actually untapped storage goldmines! I’ve spent years helping homeowners transform their tiny homes from cluttered chaos into organized oases, and I’m excited to share nine game-changing storage hacks that’ll revolutionize your space. Trust me, once you see how these clever solutions maximize every inch, you’ll wonder how you ever lived without them.
Think Vertical: Wall-Mounted Storage Solutions
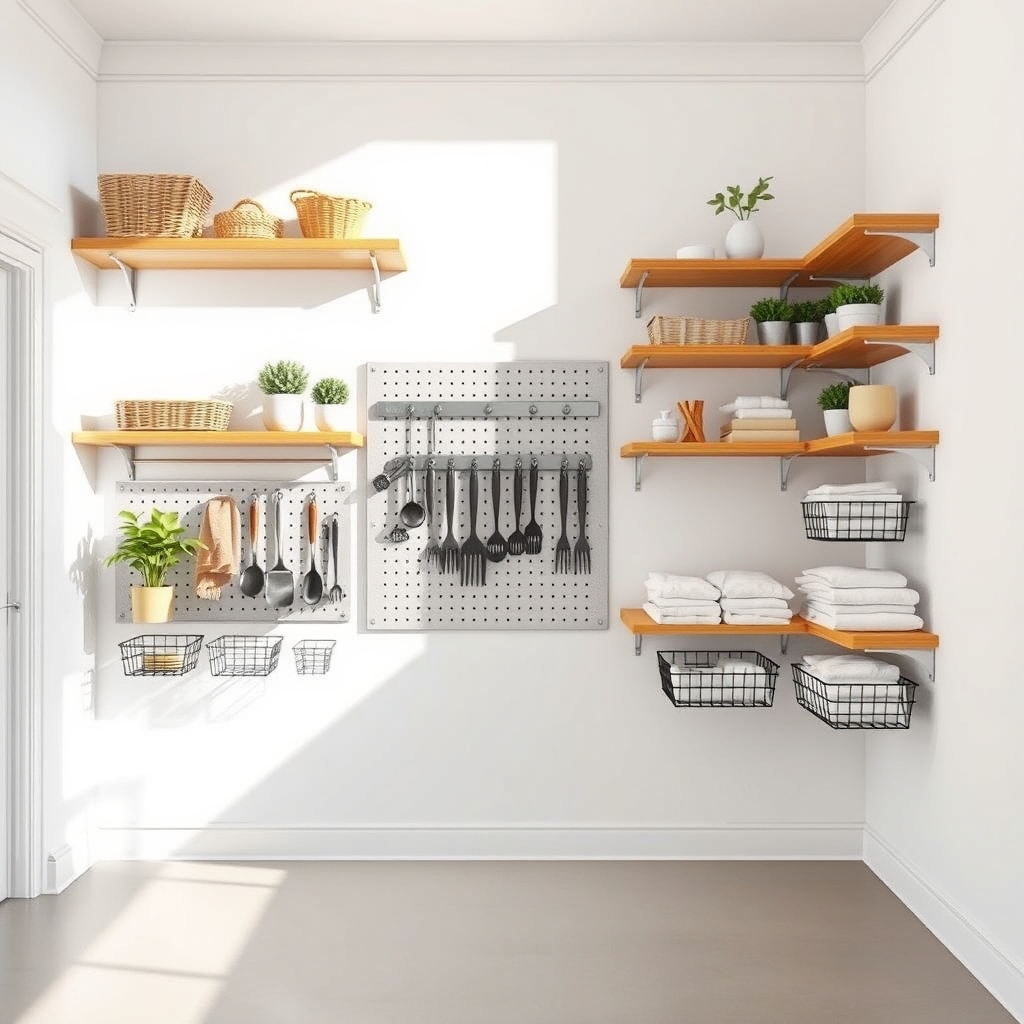
Maximizing vertical space through wall-mounted storage solutions is a game-changer for homes of any size. By utilizing wall space effectively, you can free up valuable floor space while keeping essential items easily accessible and organized. This approach is particularly beneficial in smaller homes, apartments, or rooms where square footage is at a premium.
Wall-mounted storage represents one of the most underutilized opportunities in home organization. When properly planned and executed, vertical storage solutions can transform cluttered spaces into efficient, aesthetically pleasing areas that contribute to a more organized and streamlined living environment.
Required Items:
- Stud finder
- Level
- Drill and drill bits
- Screwdriver
- Wall anchors
- Mounting brackets
- Wall-mounted shelves
- Storage hooks
- Pegboards
- Measuring tape
- Pencil
- Wire storage baskets
- Command strips (for lighter items)
Begin by conducting a thorough assessment of your wall space, using the stud finder to locate and mark stable mounting points. Measure and mark your intended storage areas, ensuring proper spacing between items and accounting for the height of stored objects.
Install your mounting hardware, starting with the largest units first, such as shelving systems or pegboards. Always use appropriate wall anchors for items not mounted directly into studs. For optimal organization, group similar items together and consider installing adjustable systems that can be modified as your storage needs change.
Consider positioning frequently used items at eye level, with heavier items at waist height or lower for safety. Create zones based on usage patterns – for example, crafting supplies in one area, cleaning supplies in another.
When mounting multiple storage solutions, maintain a cohesive look by aligning elements and keeping consistent spacing between items. To maximize your wall-mounted storage system, regularly assess and adjust your organization scheme. Incorporate clear containers or labels for smaller items, and leave some empty space for future additions.
Consider seasonal rotation of items and implement a regular maintenance schedule to ensure all mounted elements remain secure and functional. Remember to periodically evaluate the weight capacity of your mounting hardware and make adjustments as needed.
Hidden Storage Under Furniture and Stairs
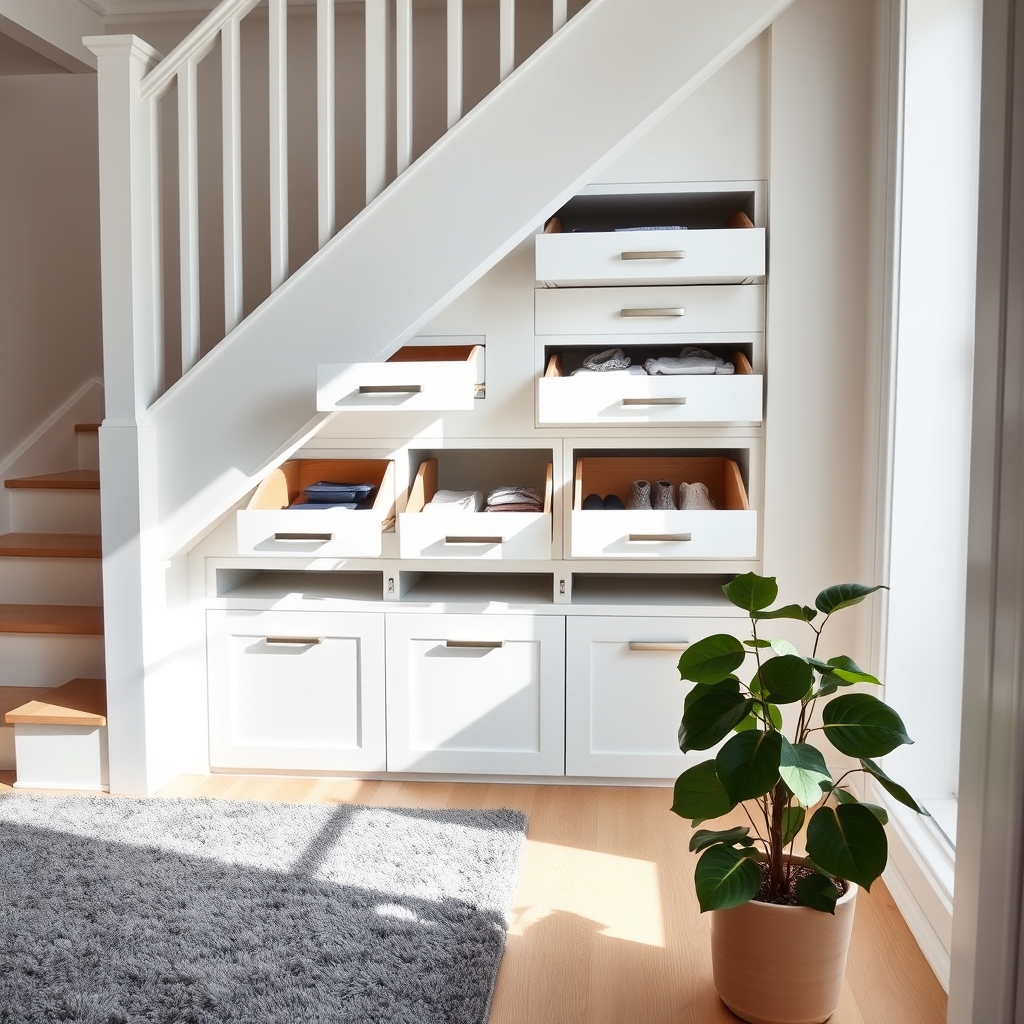
Making use of hidden storage spaces under furniture and stairs is one of the most effective ways to maximize your home’s storage potential without sacrificing living space. These often-overlooked areas can provide substantial storage solutions for items ranging from seasonal decorations to everyday essentials, helping to maintain a clutter-free environment.
Converting these underutilized spaces into functional storage areas not only helps organize your belongings but also adds value to your home. Proper organization of under-furniture and under-stair storage can create easily accessible spaces for items while maintaining a clean, minimalist appearance in your living areas.
Required Items:
- Measuring tape
- Storage containers or bins
- Pull-out drawer systems
- Hinges and hardware
- Labels
- Drawer dividers
- Storage baskets
- LED strip lights
- Door pulls or handles
- Shelf liner material
Begin by measuring all available spaces under furniture and stairs, noting dimensions and any obstacles like support beams or pipes. For under-bed storage, install wheel-mounted drawers or use flat storage containers that can slide easily. Under stairs, create custom-fitted drawers or install cabinet doors to access the space effectively.
Consider installing pull-out systems for easier access to items stored deep within these spaces. Sort items by frequency of use, with frequently accessed items placed near the front of storage areas. Use clear containers or detailed labels to identify contents easily. Install proper lighting, such as battery-operated LED strips, to illuminate darker storage areas.
Ensure all hardware is properly secured and test drawers or doors for smooth operation. For optimal organization, rotate stored items seasonally and maintain an inventory list of stored items. Consider using vacuum storage bags for soft items to maximize space, and install childproof locks if storing sensitive items.
Regular maintenance of sliding mechanisms and hinges will ensure long-term functionality of your hidden storage solutions.
Door-Mounted Organizers and Hooks
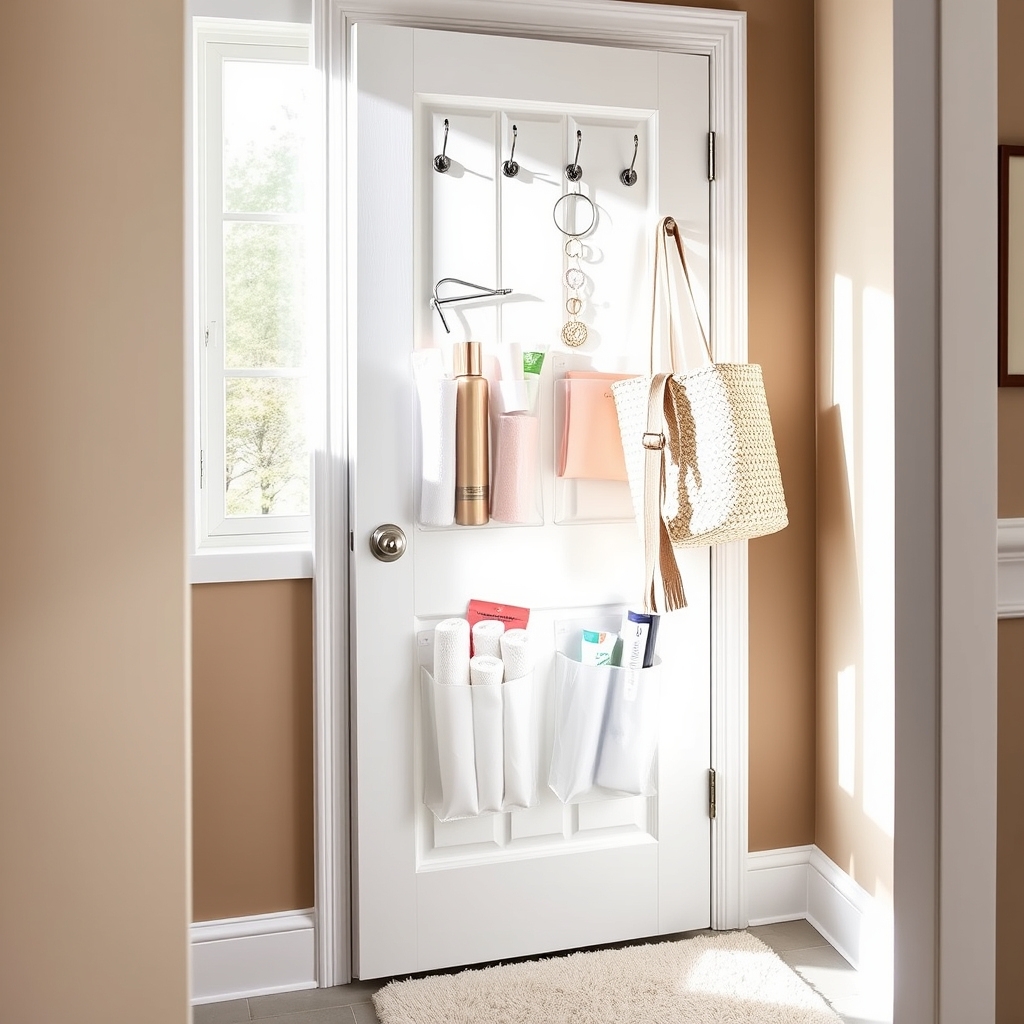
Door spaces represent some of the most underutilized storage areas in homes, yet they offer valuable vertical storage potential without taking up precious floor space. When properly organized, door-mounted storage solutions can transform cluttered areas into efficient storage zones, making everyday items easily accessible while keeping them out of sight.
Door organizers and hooks can serve multiple purposes across different rooms – from organizing cleaning supplies in utility closets to storing accessories in bedrooms or creating extra pantry space in kitchens. This versatile storage solution works particularly well in small spaces where maximizing every square inch is crucial.
Required Items:
- Over-the-door hooks
- Door-mounted organizers (mesh or clear plastic)
- Command hooks or adhesive hooks
- Mounting hardware
- Measuring tape
- Level
- Screwdriver
- Wall anchors (if needed)
- Door stoppers
Installation and Organization Process:
Start by measuring your door’s dimensions, including thickness, to ensure proper fit of over-the-door organizers. Position the organizer at least two inches below the top of the door to allow proper closing. For adhesive hooks, clean the door surface thoroughly with alcohol and let it dry completely before application.
When installing screw-mounted organizers, use a level to mark mounting points and install wall anchors if needed for additional support. Sort items by frequency of use, placing frequently accessed items at eye level. Distribute weight evenly across the organizer to prevent door strain. For over-the-door hooks, ensure they’re properly seated and won’t interfere with door function.
Consider using door stoppers to prevent damage to walls from protruding organizers.
Additional Tips:
Label pockets or sections to maintain organization long-term. Avoid overloading organizers beyond their weight capacity, and periodically check mounting hardware for security. For bathroom or kitchen doors, choose water-resistant materials to prevent mold growth.
Consider using clear organizers in areas where visibility is important, and opt for matching colors or materials to maintain aesthetic appeal when organizers are visible in living spaces.
Multi-Purpose Furniture That Does Double Duty

In today’s compact living spaces, making the most of every square foot has become essential for maintaining an organized and functional home. Multi-purpose furniture represents one of the most effective solutions for maximizing space while maintaining style and practicality in any room.
Investing in furniture pieces that serve multiple functions not only saves valuable floor space but also reduces clutter by combining storage with everyday functional items. These versatile pieces can transform a cramped space into an efficient, well-organized area that adapts to various needs throughout the day.
Required Items:
- Measuring tape
- Floor plan or room dimensions
- Space-saving furniture catalogs
- Storage containers
- Labels
- Drawer organizers
- Furniture sliders
- Level tool
- Assembly tools
The organization process begins with assessing your space and identifying areas where multi-purpose furniture would be most beneficial. Start by measuring your rooms and mapping out potential locations for dual-function pieces.
Consider ottomans with hidden storage for living areas, beds with built-in drawers for bedrooms, and expandable dining tables with storage compartments for eating spaces. Position these pieces strategically to maintain clear pathways and ensure easy access to their storage components.
For optimal functionality, establish designated zones within each piece of furniture. Sort items by frequency of use and assign specific storage areas accordingly. For example, in a storage bench, keep frequently used items toward the front and occasional-use items in the back.
When incorporating desk-shelf combinations or murphy beds with built-in tables, arrange the space to transition smoothly between functions.
Additional Tips:
Regularly assess and rotate stored items to prevent accumulation of unnecessary belongings. Use clear containers within furniture storage compartments to maintain organization, and implement a labeling system for easy identification.
Consider seasonal rotation of stored items to maximize space efficiency and ensure that your multi-purpose furniture continues to serve its dual functions effectively.
Maximize Corners With Smart Shelving Systems
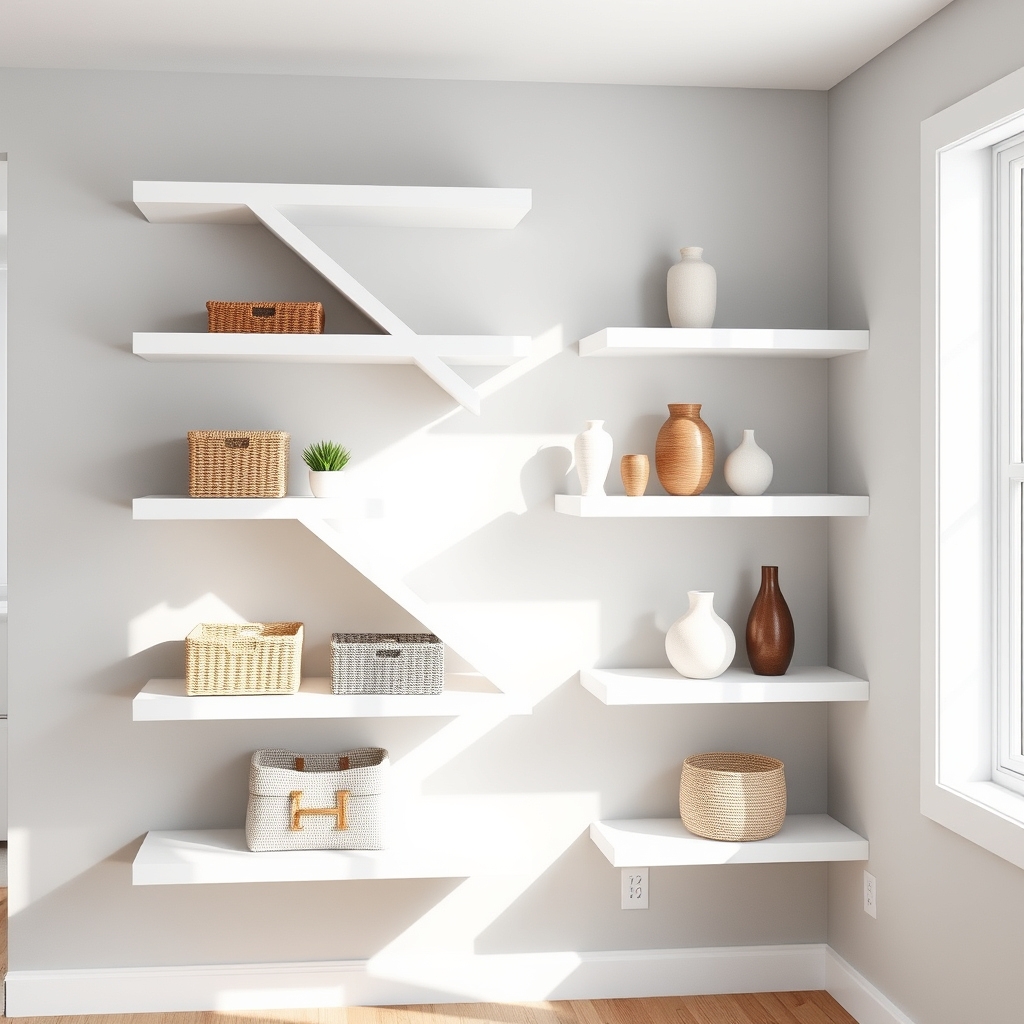
Corners are often the most underutilized spaces in any room, becoming catch-all spots for clutter or remaining completely empty. By implementing smart shelving solutions in these forgotten angles, homeowners can dramatically increase their storage capacity while maintaining an organized and aesthetically pleasing environment.
Corner spaces present unique opportunities for creative storage solutions that can transform dead space into functional areas. Whether in kitchens, living rooms, or bedrooms, strategic corner shelving can provide dedicated storage for books, decorative items, kitchen supplies, or office materials while maintaining a clean, organized appearance.
Required Items:
- Corner shelf units (floating or standing)
- Level
- Measuring tape
- Pencil
- Stud finder
- Wall anchors
- Screwdriver
- Drill
- Corner braces
- Clean cloths
- Storage containers or baskets
Begin by measuring your corner space carefully, accounting for both width and height. Using a stud finder, locate and mark wall studs for secure mounting. Install corner braces at appropriate heights, ensuring they’re level and properly anchored. If using a floating shelf system, secure each shelf bracket firmly into the wall studs or using appropriate wall anchors.
For standing corner units, assemble according to manufacturer instructions and position flush against both walls, using shims if needed to ensure stability.
Once your shelving is installed, organize items by frequency of use, with commonly accessed items at eye level. Group similar items together and consider using matching containers or baskets to maintain visual consistency. Ensure heavier items are placed on lower shelves to maintain stability and prevent tipping.
To maximize your corner shelving system, incorporate adjustable shelves when possible to accommodate items of varying heights. Use shelf risers or stackable organizers to create additional levels within each shelf space. Consider installing LED strip lighting under shelves to illuminate dark corners and make items more accessible while adding ambient lighting to your room.
Under-Bed Storage Strategies
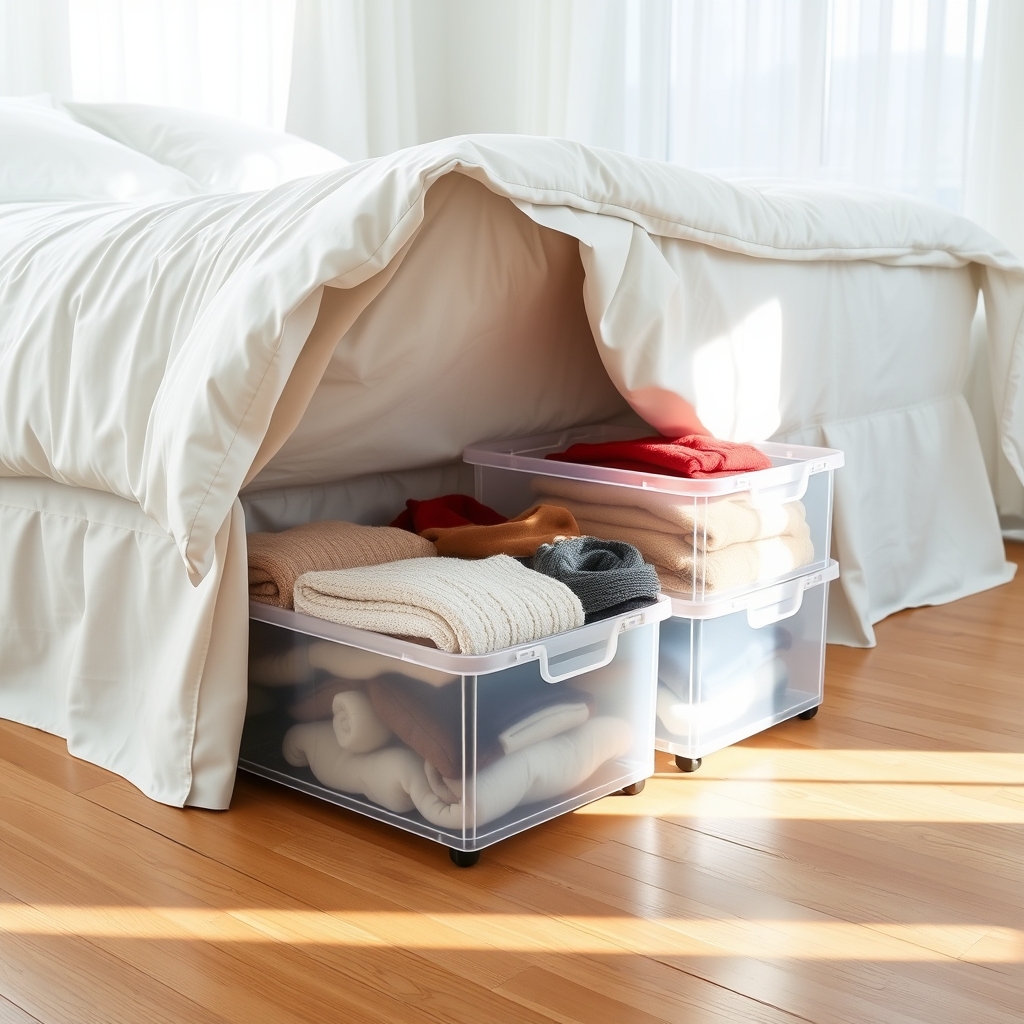
Under-bed storage represents one of the most underutilized spaces in the average home, offering significant potential for storing seasonal items, extra bedding, and rarely used possessions. This often-forgotten area can provide dozens of cubic feet of storage space without impacting the room’s visual appeal or functionality.
Making the most of under-bed storage requires strategic planning and the right tools to ensure items remain clean, accessible, and protected from dust and pests. When properly organized, this space can help reduce closet clutter and free up valuable storage areas throughout your home.
Required Items:
- Under-bed storage containers with wheels
- Vacuum storage bags
- Measuring tape
- Labels and marker
- Dust cover or bed skirt
- Clear plastic bins
- Drawer organizers
- Anti-moisture packets
- Cleaning supplies
Start by measuring the available space under your bed, including height, width, and depth. Clear out the area completely and vacuum thoroughly. Sort items you plan to store by category and season, using vacuum storage bags for soft items like blankets and clothing.
Place frequently accessed items toward the front of the storage area and seasonal items toward the back.
For optimal organization, use clear containers that allow you to see contents easily. Label each container clearly on multiple sides, including a detailed inventory list. If using multiple containers, create a simple map of what’s stored where, keeping it inside your closet or dresser for quick reference.
For maximum effectiveness, consider installing bed risers to create additional height if needed, and use containers with wheels for easy access. Regularly inspect stored items every few months to prevent moisture buildup and ensure nothing has been forgotten.
Keep a small space between containers for air circulation, and consider adding lavender sachets or cedar blocks to naturally repel insects and maintain freshness.
Command Small Spaces With Cabinet Organizers
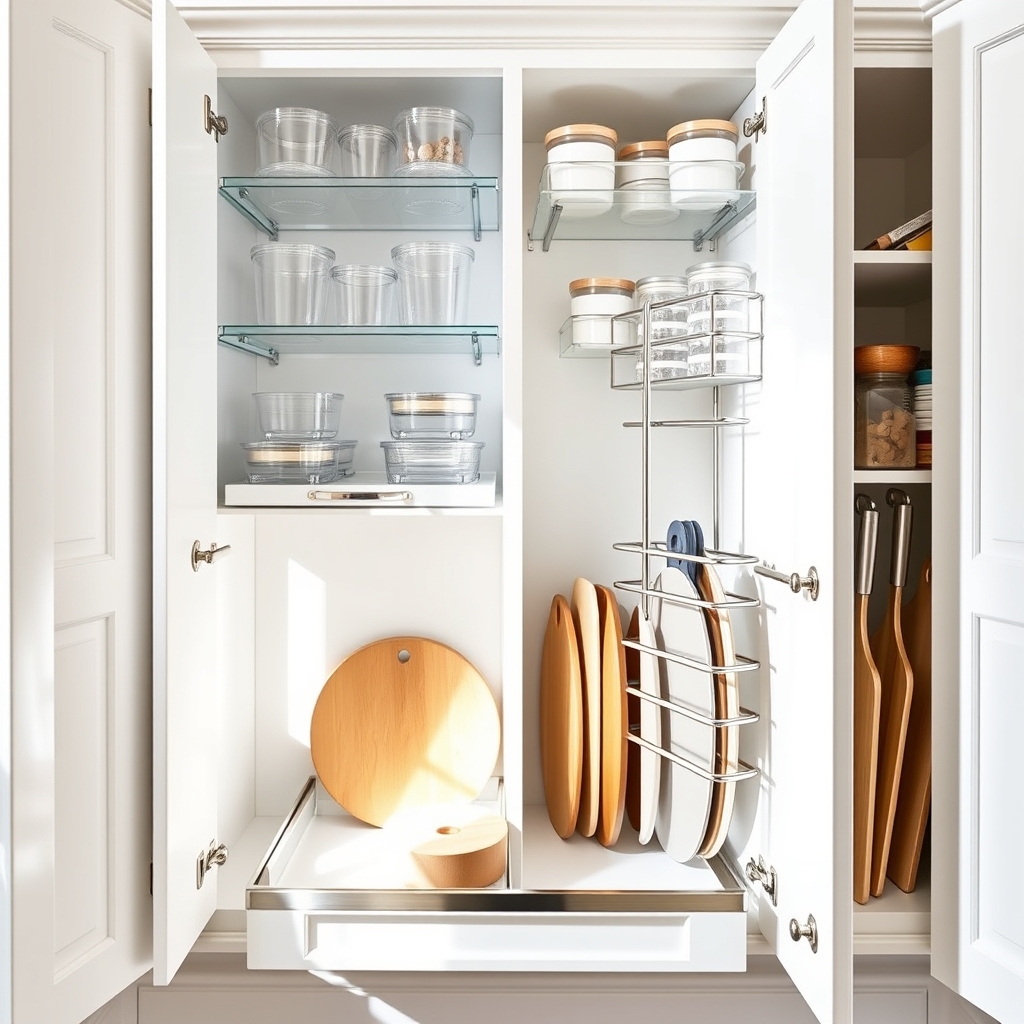
Small cabinet spaces present a unique challenge in modern homes, where every inch of storage matters. Disorganized cabinets not only waste valuable space but also create frustration when trying to locate items quickly, leading to inefficient use of time and resources.
Cabinet organizers transform cluttered spaces into functional storage solutions, maximizing vertical space and creating designated areas for different items. Proper organization systems can double or triple the usable space within existing cabinets while making items more accessible and easier to maintain.
Required Items:
- Measuring tape
- Drawer dividers
- Stackable shelf organizers
- Pull-out cabinet organizers
- Clear storage containers
- Label maker
- Lazy Susan turntables
- Over-door cabinet organizers
- Command hooks
- Tension rods
Start by removing everything from the cabinets and measuring the interior dimensions, including height, width, and depth. Group similar items together and assess which organizing tools will work best for each category.
Install pull-out organizers in lower cabinets for easy access to back items, and use stackable shelves to utilize vertical space effectively. Position lazy Susan turntables in corner cabinets and deep spaces to maximize accessibility.
For upper cabinets, implement shelf risers to create additional levels of storage. Install over-door organizers on cabinet doors to store smaller items like spices or cleaning supplies. Use clear containers to store loose items, ensuring contents are visible and properly labeled.
Position frequently used items at eye level and store rarely used items in higher or lower spaces.
Additional Tips: Regularly review and adjust your organization system based on usage patterns. Consider installing LED strip lights to illuminate dark corners, making items easier to locate.
Implement a “one in, one out” rule to maintain organization and prevent overcrowding. Clean and maintain organizers monthly to ensure smooth operation and longevity of the system.
Create Storage in Unexpected Places
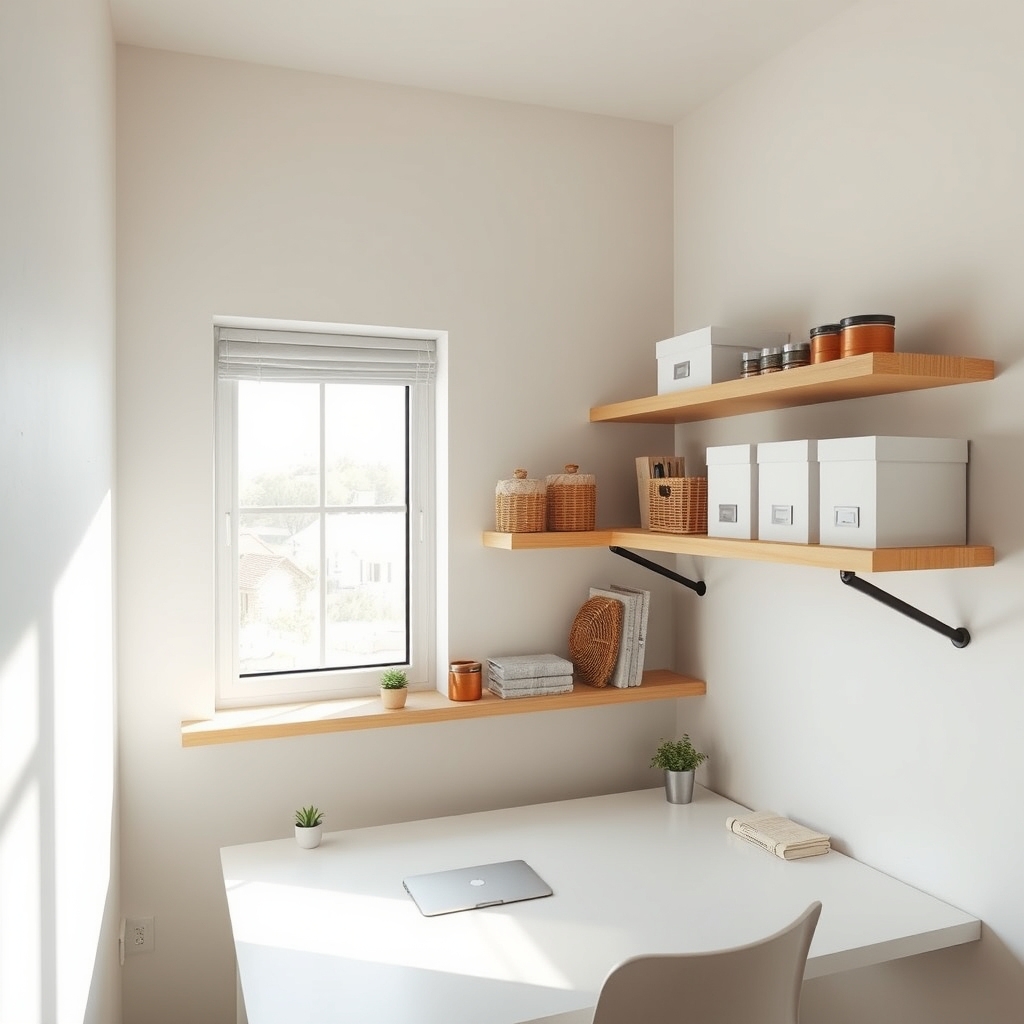
Finding additional storage space in a home can feel impossible once traditional storage areas are maximized. However, every home contains numerous overlooked spaces that can be transformed into functional storage solutions. From vertical wall space to the gaps between appliances, these untapped areas offer tremendous potential for organizing belongings and reducing clutter.
Creating storage in unexpected places requires creative thinking and a fresh perspective on your living space. By identifying and utilizing these hidden spaces, you can dramatically increase your home’s storage capacity without sacrificing square footage or aesthetic appeal. This approach is particularly valuable for small homes or apartments where space optimization is crucial.
Required Items:
- Measuring tape
- Level
- Drill and screws
- Wall anchors
- Over-the-door organizers
- Tension rods
- Under-bed storage containers
- Command hooks
- Stackable bins
- Space-saving hangers
- Drawer organizers
- Label maker
Start by conducting a thorough home assessment, measuring potential storage spaces like the area above doors, between appliances, under stairs, and behind furniture. Install over-the-door organizers on bathroom and bedroom doors for additional vertical storage.
Utilize the space under beds with rolling storage containers, and maximize closet capacity by installing tension rods for hanging storage. Transform the gap between refrigerator and wall into a pull-out pantry using slim rolling shelves.
Consider installing floating shelves in unused corner spaces and above doorways for decorative storage. Create storage zones in deep cabinets using pull-out organizers, and maximize under-sink space with stackable containers.
Install hooks on the sides of cabinets or inside closet walls for hanging items, and use magnetic strips on walls for storing metal objects.
Additional Tips:
Always consider weight capacity when installing wall-mounted storage solutions, and use appropriate anchors for heavy items. Rotate stored items seasonally to maintain organization and prevent unused items from occupying prime storage space.
Regular assessment of stored items helps maintain efficient use of these unexpected storage areas and prevents clutter accumulation in newly created storage spaces.
Smart Closet Organization Systems
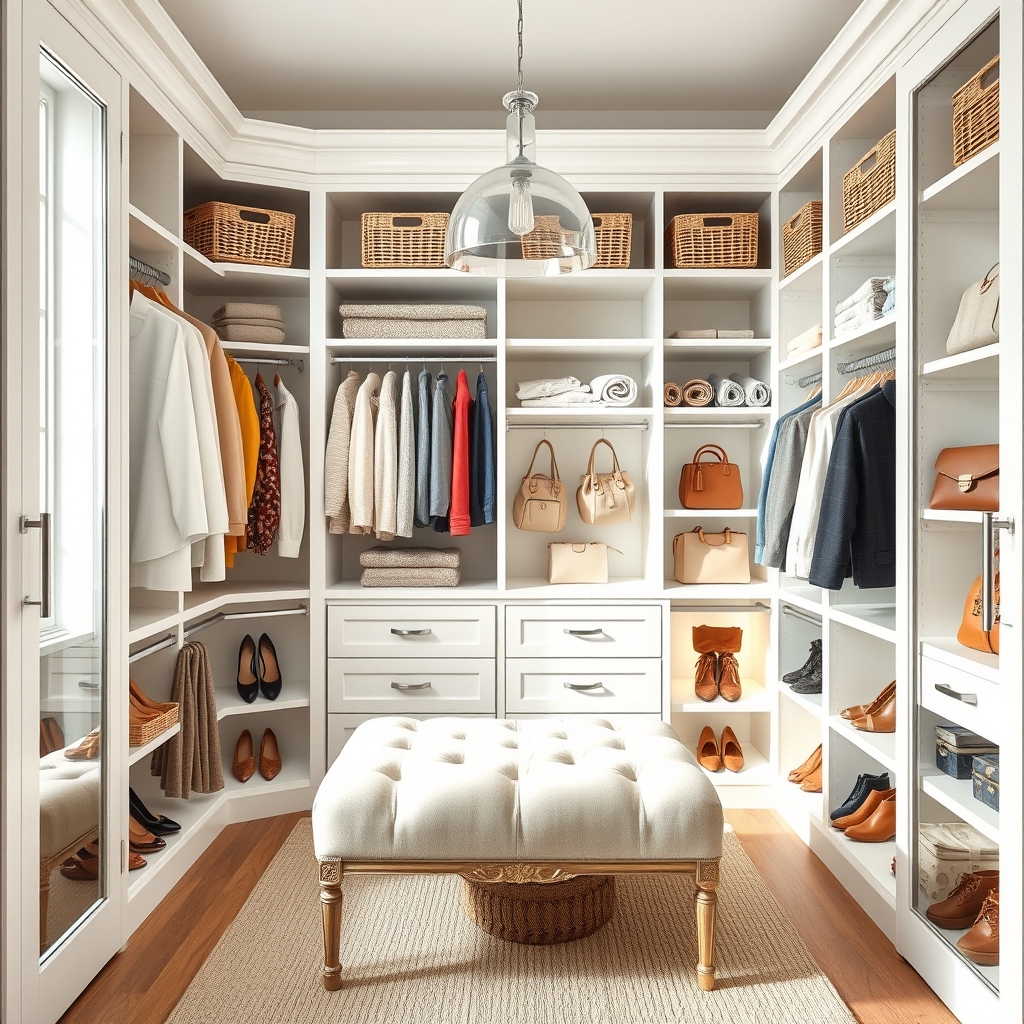
An organized closet serves as the foundation for an efficient daily routine, eliminating the stress of searching for clothes and accessories while maximizing available space. A well-planned closet system can save valuable minutes each morning and maintain the longevity of your wardrobe through proper storage and care.
Converting a standard closet into a smart organization system transforms chaos into calm, creating designated spaces for every item while utilizing vertical space and previously unused areas. This systematic approach not only improves functionality but also makes it easier to maintain order long-term and assess your wardrobe needs at a glance.
Required Items:
- Closet rod dividers
- Hanging organizers
- Clear storage boxes
- Shelf dividers
- Label maker
- Matching hangers
- Drawer organizers
- Belt/scarf organizers
- Over-the-door hooks
- Storage baskets
- Shoe racks
- Measuring tape
Start by removing everything from the closet and categorizing items by type (clothing, shoes, accessories). Measure the space and install adjustable rods at different heights to maximize vertical storage. Position frequently used items at eye level, with seasonal or occasional items stored higher or lower.
Group similar items together, using matching hangers to create a cohesive look and maintain proper garment care. Install shelf dividers to prevent stacked items from toppling and create clear boundaries between different categories. Utilize clear storage boxes for accessories, labeling each container clearly.
Implement drawer organizers for smaller items and dedicated solutions for belts, scarves, and jewelry. Position shoe racks at the bottom of the closet or on the back of the door, ensuring all pairs are visible and accessible.
For optimal maintenance, implement a one-in-one-out rule when adding new items to your wardrobe, and conduct seasonal reviews to assess and adjust your organization system. Consider installing motion-sensor lighting to improve visibility, and keep a small step stool nearby for accessing higher storage areas safely.
Remember to leave some space for future additions and avoid overcrowding, which can quickly undo your organizational efforts.

