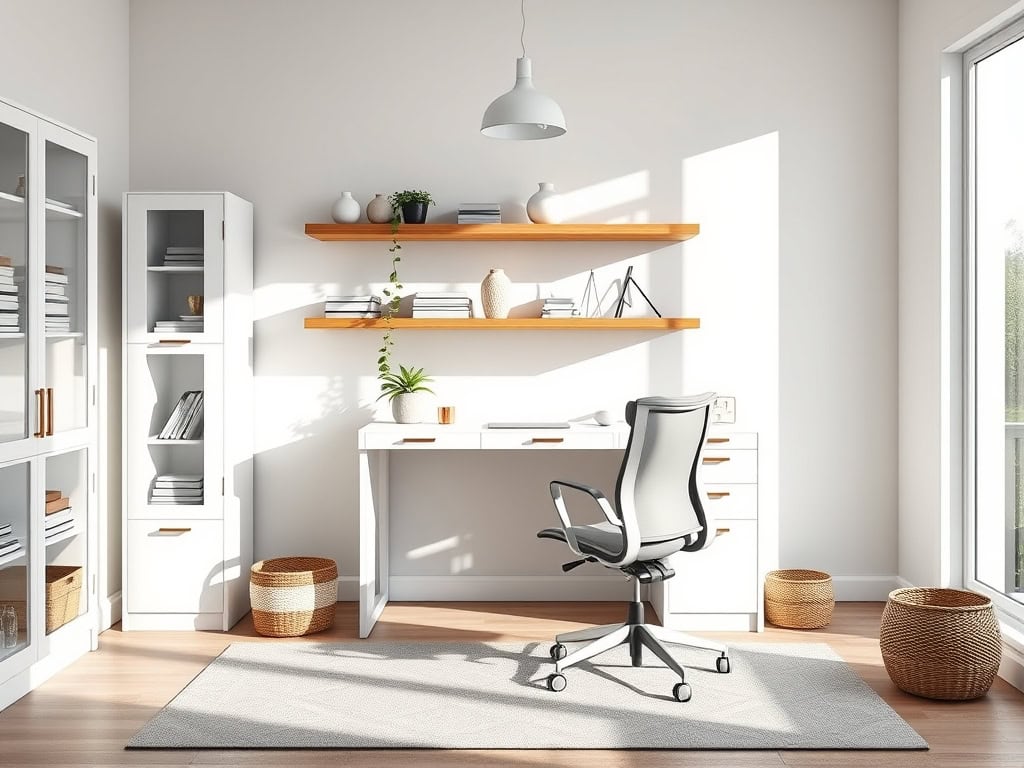
You don’t need a massive budget or endless space to create a stylish and functional home office. I’ve transformed countless cramped corners into organized workspaces, and I’ll show you how to do the same with smart storage solutions that look as good as they work. From floating shelves that maximize vertical real estate to hidden cable management tricks that’ll make your setup Instagram-worthy, these nine practical tips will help you design a home office that’s both beautiful and efficient.
Floating Shelves: Maximize Vertical Space With Style
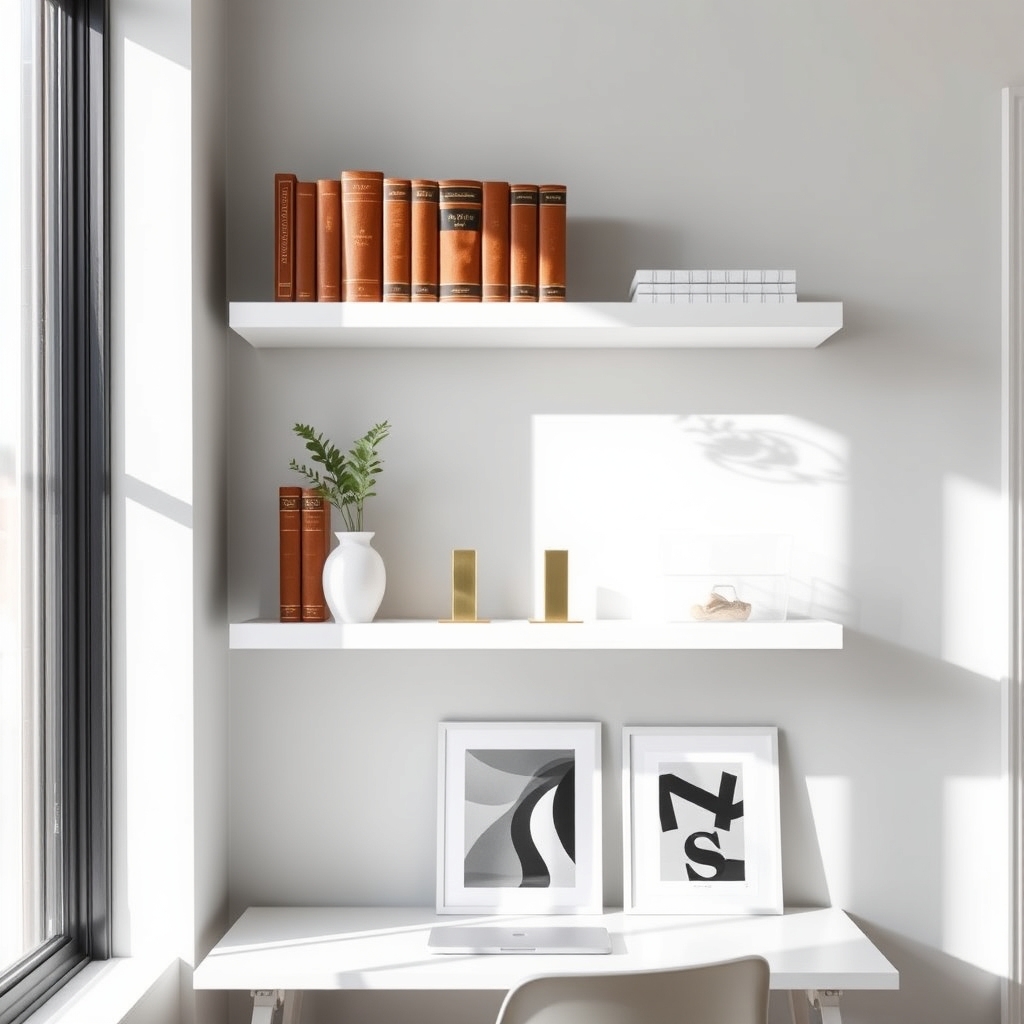
Maximizing vertical space in a home office has become increasingly important as more people work remotely. Floating shelves offer an elegant solution that combines functionality with modern aesthetics, turning unused wall space into valuable storage areas while maintaining a clean, minimalist appearance.
Proper organization of floating shelves not only creates additional storage but also contributes to a more productive work environment. When items are strategically placed on these wall-mounted surfaces, they remain easily accessible while keeping the desk area clear and creating an uncluttered atmosphere conducive to focus and creativity.
Required Items:
- Floating shelves
- Level
- Measuring tape
- Pencil
- Wall anchors
- Drill
- Decorative bookends
- Storage boxes or baskets
- Label maker
- Dust cloth
- Glass cleaner
Installing and organizing floating shelves requires careful planning and execution. Start by determining the ideal height and spacing for each shelf, considering both accessibility and visual appeal.
Group similar items together and designate specific shelves for different categories: reference materials on upper shelves, frequently accessed items at eye level, and decorative elements interspersed throughout. Use attractive storage containers and bookends to keep items upright and organized while contributing to the overall aesthetic.
For maximum functionality, maintain a balance between practical storage and visual appeal. Place heavier items closer to shelf brackets for stability. Incorporate a mix of horizontal and vertical storage arrangements to maximize space utilization.
Consider using clear containers for smaller items to maintain visibility while keeping them dust-free.
Additional Tips:
Regularly assess and rotate items based on seasonal needs and frequency of use. Install adjustable lighting to highlight displayed items and improve functionality. Leave some empty space on each shelf for visual breathing room and future additions.
Clean shelves weekly to prevent dust accumulation and maintain a professional appearance. Consider using shelf liners to protect the surface and prevent items from sliding.
Multi-Purpose Furniture That Does Double Duty
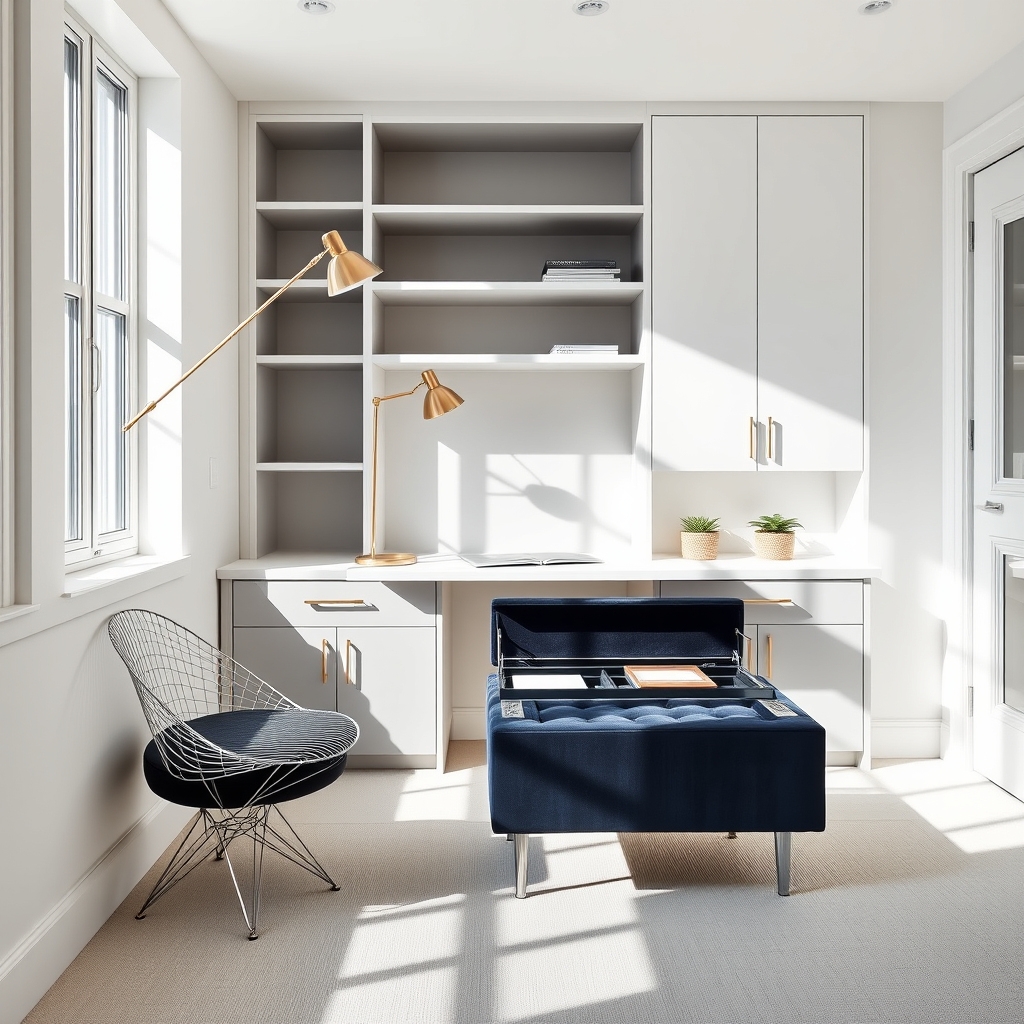
In today’s compact living spaces, making the most of every square foot has become essential, particularly in home offices. Multi-purpose furniture serves as a strategic solution, offering both functionality and space efficiency while maintaining a professional work environment. These versatile pieces can transform a cramped office into an organized, flexible workspace.
The key to successful multi-purpose furniture implementation lies in selecting pieces that seamlessly transition between different functions without compromising their primary purpose. Whether it’s an ottoman that doubles as file storage or a desk that converts to a dining table, these dual-function items can significantly reduce clutter while maximizing available space.
Required Items:
- Measuring tape
- Floor plan or room dimensions
- List of required storage needs
- Inventory of current furniture
- Budget worksheet
- Cable management solutions
- Labels or markers
- Basic tools (screwdriver, drill, level)
Start by assessing your space and creating zones for different activities. Measure the room carefully and identify prime locations for multi-purpose pieces. Select furniture that serves your most frequent needs first – consider options like a murphy bed with a built-in desk, expandable console tables that transform into work surfaces, or storage ottomans that can function as extra seating.
Arrange your multi-purpose furniture to create clear pathways and ensure easy access to all functions. Install proper lighting that can adapt to different uses, and implement a cable management system that accommodates furniture movement or transformation. Sort and organize items based on frequency of use, storing frequently accessed materials in easily accessible compartments while keeping occasional-use items in secondary storage areas.
To maximize your multi-purpose furniture setup, establish a routine for transitioning between functions. Label storage compartments clearly, create a maintenance schedule for moving parts, and keep instruction manuals accessible. Consider using modular pieces that can be reconfigured as needs change, and invest in quality items that can withstand frequent use and transformation.
Regular assessment of your setup will help identify opportunities for improvement and ensure your multi-purpose furniture continues to serve its intended functions effectively.
Sleek File Cabinet Alternatives for Modern Spaces
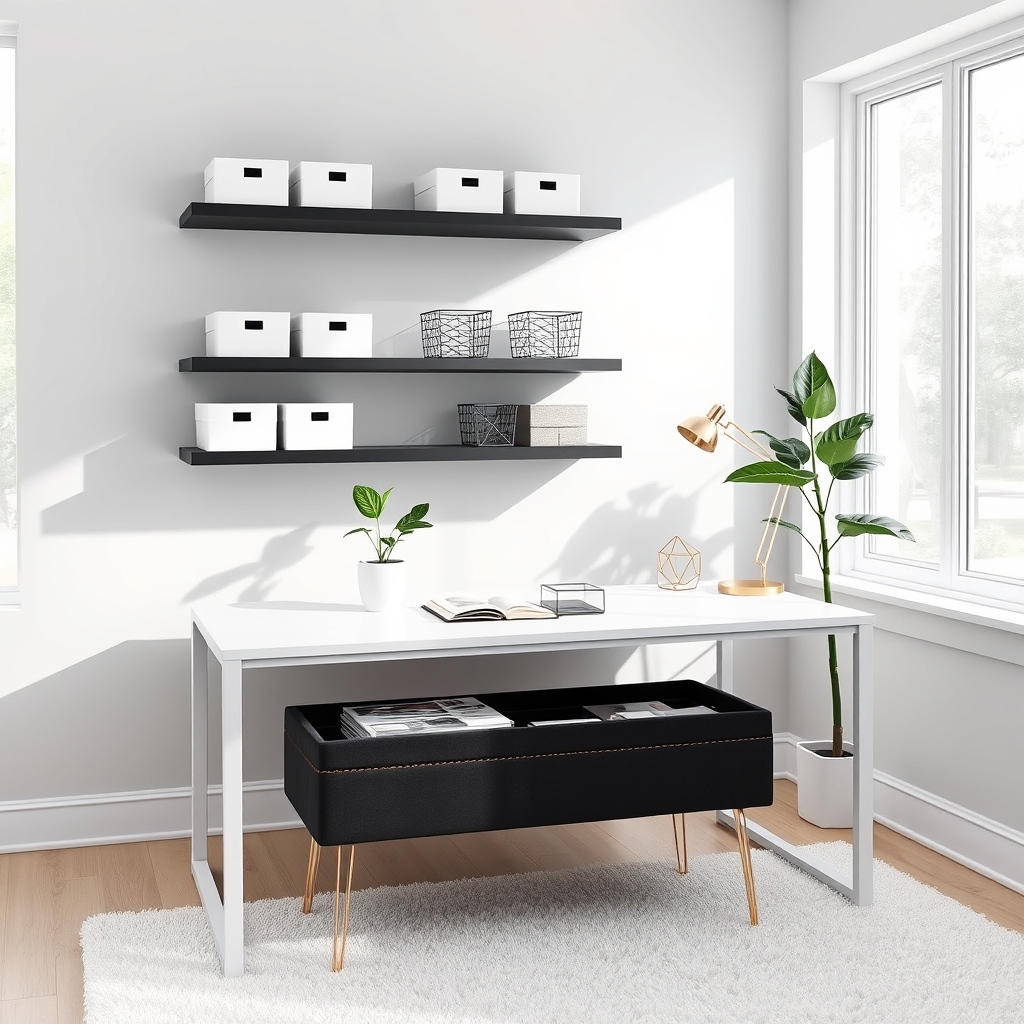
Traditional file cabinets can be bulky eyesores that detract from contemporary home office aesthetics. Modern workspaces demand storage solutions that seamlessly blend form and function, maintaining clean lines while efficiently organizing essential documents and supplies.
The shift toward paperless systems has reduced storage needs, allowing for more creative and space-conscious alternatives to conventional filing cabinets. These modern solutions can transform a cluttered workspace into an organized, visually appealing environment that enhances productivity and maintains design integrity.
Required Items:
- Floating shelves
- Decorative boxes or bins
- Magazine holders
- Drawer organizers
- Label maker
- File folders
- Document sorting trays
- Storage ottomans
- Wall-mounted filing systems
- Cable management accessories
Start by assessing your document volume and determining which items need frequent access. Install floating shelves at eye level for commonly used files, utilizing decorative boxes that match your décor to store documents by category.
Position magazine holders on your desk or mount them on walls for current projects and frequently accessed paperwork. Convert unused vertical space by implementing a wall-mounted filing system with sleek pockets or folders.
Integrate storage ottomans or benches that serve dual purposes – providing both seating and concealed file storage. For desk organization, use modern sorting trays and drawer organizers to maintain order while complementing your space’s aesthetic.
Organization success relies on consistent maintenance and smart positioning. Implement a weekly review system to prevent document buildup, immediately scanning and digitizing appropriate documents.
Place storage solutions strategically based on usage frequency, keeping daily items within arm’s reach and archival materials in more remote locations. Consider utilizing cloud storage for backup and implementing a clear labeling system that maintains visual harmony with your modern design scheme.
Creative Drawer Organization Systems
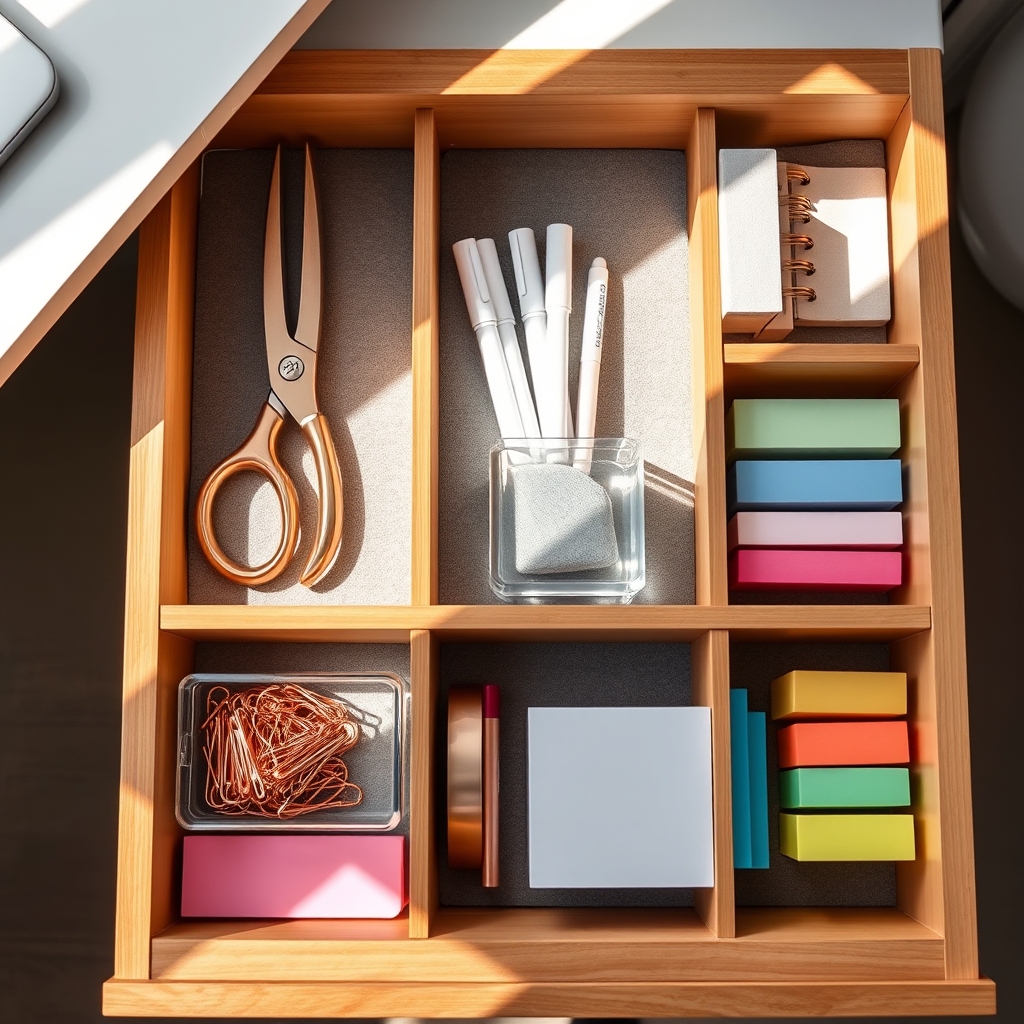
A well-organized drawer system serves as the foundation of an efficient home office, preventing the daily frustration of searching for essential items and maintaining a clutter-free workspace. When drawers are properly organized, productivity increases as everything has a designated place, allowing for quick access and seamless workflow.
The key to successful drawer organization lies in maximizing vertical and horizontal space while creating intuitive zones for different categories of supplies. An organized drawer system not only saves time but also helps maintain order long-term, reducing the likelihood of drawers becoming catch-all spaces for miscellaneous items.
Required Items:
- Drawer dividers
- Small containers or bins
- Label maker
- Measuring tape
- Drawer liner
- Clear plastic organizers
- Stackable trays
- File folders
- Rubber drawer grips
- Pencil/pen organizers
Begin by completely emptying all drawers and measuring the internal dimensions. Sort items into categories such as writing tools, technology accessories, filing supplies, and frequently used items.
Install drawer liners to prevent items from sliding and protect the drawer surface. Position drawer dividers to create distinct sections based on your sorted categories, ensuring the most frequently used items are placed toward the front of the drawer.
For deeper drawers, implement a two-tier organization system using stackable trays or risers to maximize vertical space. Place smaller containers within larger compartments to prevent tiny items from getting lost. Position items at angles that make them easily visible and accessible when the drawer is opened.
Additional Tips: Review and adjust your drawer organization system every three months to ensure it continues to meet your needs. Remove items that haven’t been used in six months, and consider using clear containers to maintain visibility of supplies.
Keep a small amount of empty space in each drawer section to accommodate new items and prevent overcrowding, which can quickly lead to disorganization.
Minimalist Wall-Mounted Storage Solutions
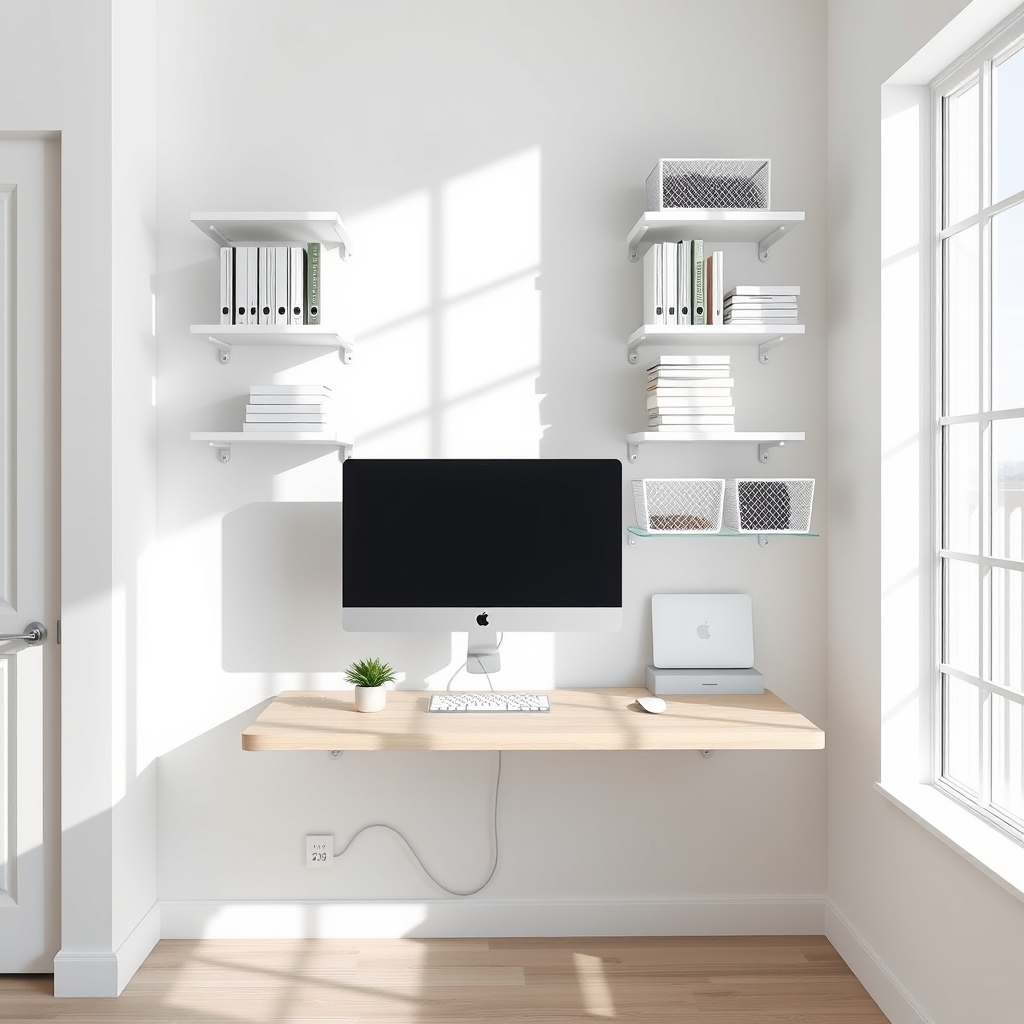
Wall-mounted storage solutions represent the perfect fusion of functionality and modern aesthetics in home office design. By utilizing vertical space, these systems free up valuable desk and floor area while keeping essential items within arm’s reach. This approach to organization aligns perfectly with minimalist principles, reducing visual clutter and creating a clean, focused workspace.
The key to successful wall-mounted storage lies in strategic placement and thoughtful curation of items. When properly executed, these solutions can transform a cramped office into an efficient workspace that promotes productivity and maintains a serene environment, essential for concentrated work.
Required Items:
- Wall anchors and screws
- Level
- Drill
- Measuring tape
- Pencil
- Wall-mounted shelves
- Floating desk (optional)
- Cable management clips
- Wall-mounted file holders
- Magnetic boards or pegboards
- Storage containers or baskets
- Command strips or hooks
Start by measuring your wall space and mapping out your storage arrangement on paper. Consider the height of your desk and natural eye level when determining placement. Install the largest components first, such as floating shelves or desk units, ensuring they’re properly anchored to wall studs.
Group similar items together and establish zones for different activities – reference materials, current projects, and frequently used supplies should be positioned within easy reach. Position less-frequently used items on higher shelves while keeping daily essentials at arm’s length. Implement a cable management system to keep wires organized and hidden.
Use clear containers or labels to maintain visual organization, and incorporate vertical file holders for important documents.
Additional Tips:
Maintain the minimalist aesthetic by regularly evaluating stored items and removing unnecessary elements. Choose storage solutions in coordinating colors or materials to create a cohesive look. Leave some empty space between items to prevent visual overwhelm and allow for future additions.
Consider using adjustable systems that can evolve with changing needs, and always ensure weight limits are respected for wall-mounted components.
Hidden Cable Management Techniques
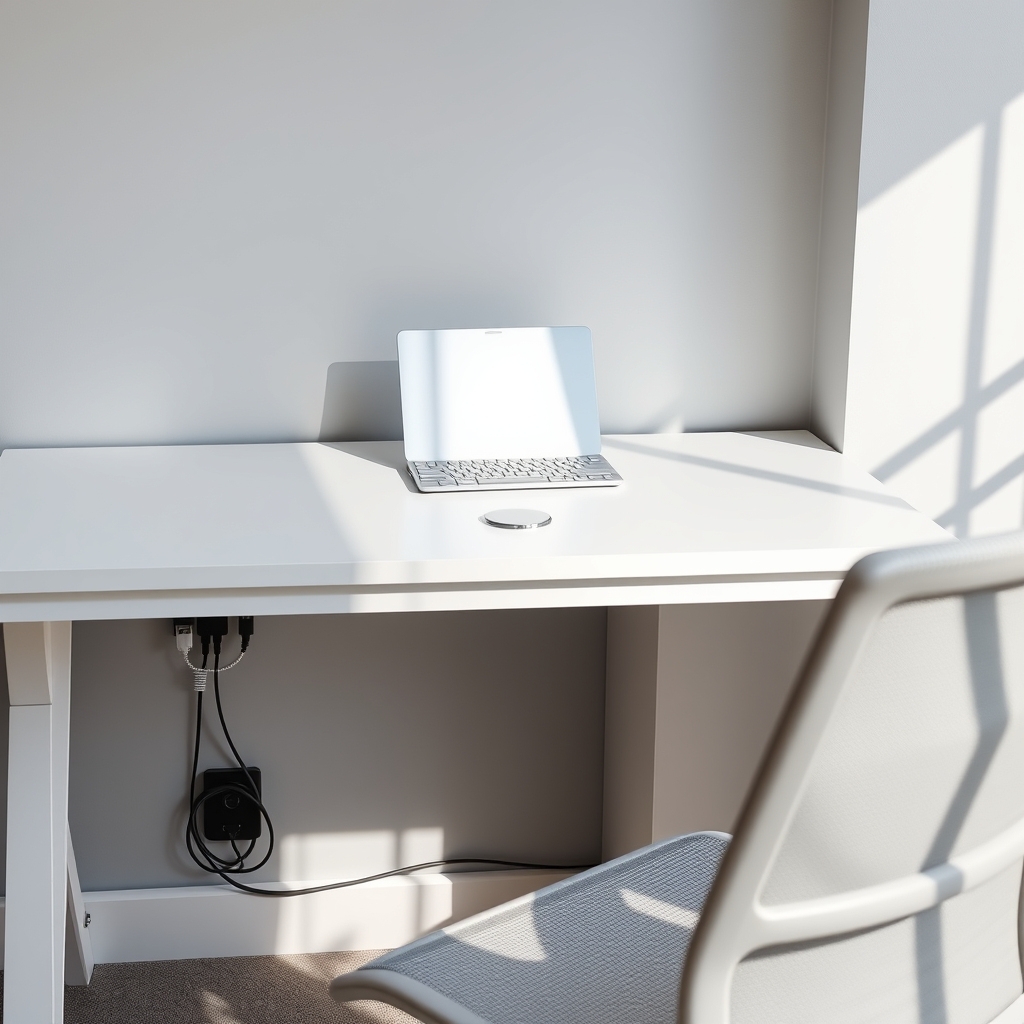
A cluttered workspace with tangled cables not only looks unprofessional but can also pose safety hazards and reduce productivity. Loose wires create visual chaos, collect dust, and make it difficult to identify and access specific cables when needed for troubleshooting or replacement.
Proper cable management transforms your workspace into a clean, efficient environment while protecting your valuable electronics from wear and damage. Hidden cable solutions also make it easier to clean your workspace and provide a more streamlined appearance that enhances focus and professional appeal.
Required Items:
- Cable ties or velcro straps
- Cable sleeves or spiral wrap
- Cable clips or adhesive cable holders
- Cable raceway or cord cover
- Desk grommets
- Cable identification labels
- Wire cutters
- Power strip or surge protector
- Double-sided tape or adhesive strips
- Cable management box
Start by unplugging all devices and separating cables by type and function. Group power cables separately from data cables to prevent interference.
Install a cable management box near your power source to house excess cord length and power strips. Mount cable raceways along the back edge of your desk or along the wall, ensuring they’re properly aligned for a clean appearance.
Thread cables through the raceways, using cable ties every 12-15 inches to bundle similar cables together. Install desk grommets where cables need to pass through the desk surface. Use adhesive cable clips to secure individual cables along hidden edges of your furniture, maintaining gentle curves rather than sharp bends that could damage the wires.
Position your devices strategically to minimize cable visibility, and use cable identification labels to mark each cord’s purpose. Regularly inspect cable management solutions to ensure they remain secure and adjust as needed when adding or removing equipment.
Consider investing in wireless peripherals or charging solutions to further reduce cable clutter.
Additional Tips: Leave some slack in cables to prevent strain and allow for occasional furniture movement. Create a cable map documenting your setup for future reference. Keep spare cable management supplies on hand for system updates or changes.
Consider color-coding cables with electrical tape or specialized markers for quick identification. When possible, position furniture to naturally conceal cable management solutions while maintaining easy access for maintenance.
Desktop Organizers That Make a Statement
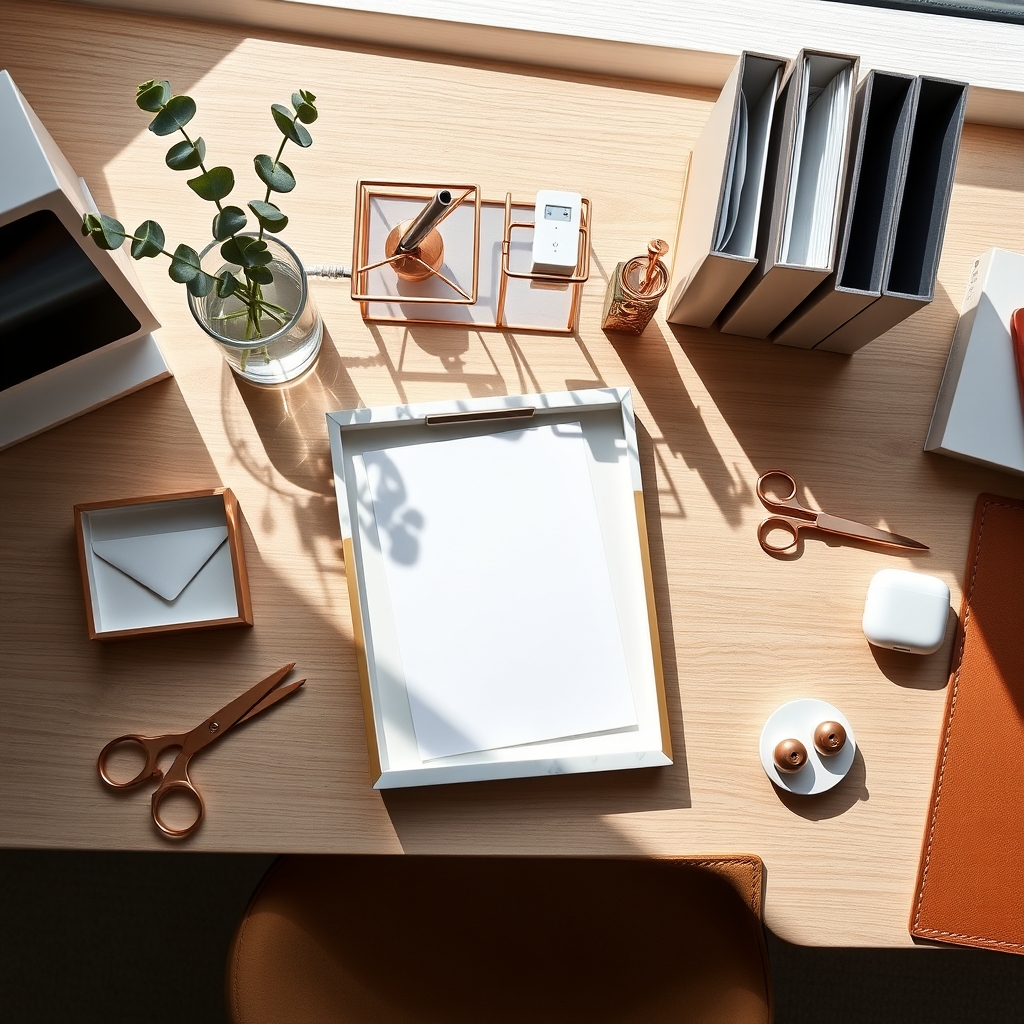
A well-organized desktop is more than just a tidy workspace; it’s a foundation for productivity and creative thinking. When essential items are thoughtfully arranged and easily accessible, you can focus on your work instead of searching for misplaced supplies or fighting through clutter.
Desktop organizers have evolved beyond basic plastic trays to become stunning accessories that complement your home office aesthetic while serving a practical purpose. The right combination of organizers can transform your desk into an efficient command center while adding personality and style to your workspace.
Required Items:
- Letter tray or paper organizer
- Pen/pencil holder
- Cable management clips
- Small drawer organizer
- Business card holder
- File holder
- Desk pad or blotter
- Small container for paper clips and stamps
- Document stands
- Charging station
Start by clearing your entire desktop and sorting items into categories: daily use, occasional use, and rarely used items. Position your monitor or laptop at eye level, then place frequently accessed items within arm’s reach.
Create designated zones: a workflow area directly in front of you, a reference area to one side, and a supply zone to the other side.
Select organizers that match your office decor and arrange them according to your workflow. Position vertical file holders at the back of your desk to maximize vertical space while keeping documents visible. Place writing implements and small office supplies in coordinated containers near your dominant hand.
Install cable management solutions to keep cords tidy and prevent them from cluttering your workspace.
To maintain your organized desktop, implement a “touch it once” rule: handle papers and other items only once before filing or discarding them. Schedule weekly maintenance sessions to reset your workspace, and resist the urge to use your desktop as temporary storage.
Consider incorporating plants or personal accessories to create visual interest without compromising functionality, and regularly evaluate your organization system to ensure it continues to meet your needs as your work habits evolve.
Under-Desk Storage Ideas for Small Spaces
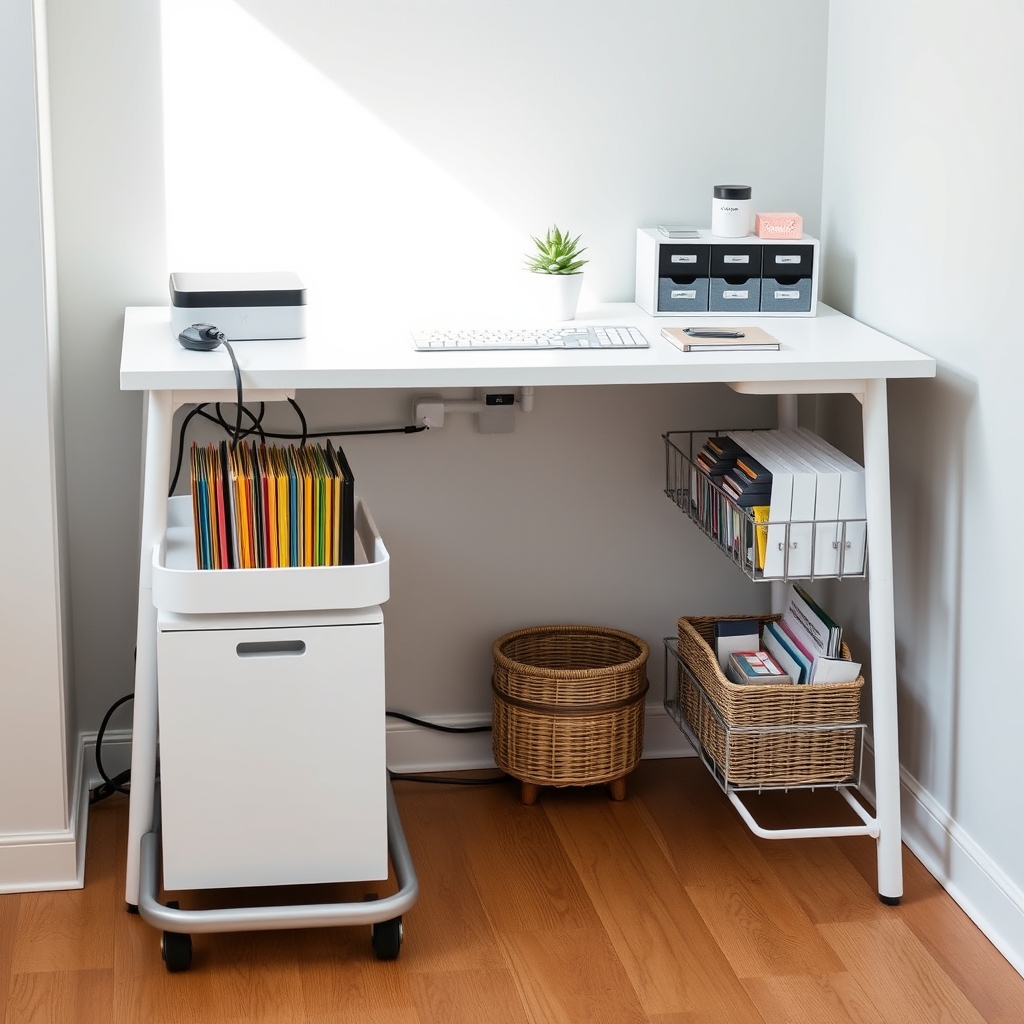
Making the most of under-desk space is crucial for maintaining an organized and efficient home office, particularly in compact areas. The often-overlooked space beneath your desk can provide valuable storage real estate, helping to keep essential items within arm’s reach while maintaining a clutter-free workspace.
Proper under-desk organization not only maximizes available space but also contributes to improved productivity and workflow. When items are strategically stored beneath your desk, you can maintain a clean work surface while ensuring frequently used supplies remain easily accessible.
Required Items:
- File boxes or drawers
- Cable management solutions
- Under-desk keyboard tray
- Rolling storage cart
- Hanging file organizers
- Command hooks or adhesive strips
- Drawer organizers
- Measuring tape
- Label maker
- Storage bins
Start by measuring your under-desk space carefully, accounting for leg room and chair movement. Remove all existing items and thoroughly clean the area.
Install an under-desk keyboard tray if needed, positioning it at a comfortable height. Place a rolling storage cart on one side, ensuring it doesn’t interfere with chair movement. Mount hanging file organizers on the inner sides of the desk using command hooks or appropriate hardware.
For cable management, gather all cords and secure them using cable ties or cord organizers, routing them along the desk’s edge or back panel. Position file boxes or drawers strategically, keeping frequently accessed items toward the front and occasional-use items toward the back.
Use drawer organizers to compartmentalize smaller items and prevent them from becoming jumbled. Consider implementing a rotation system for stored items, regularly reviewing and relocating less-used supplies to alternative storage areas.
Label all containers clearly and maintain a small clearing space for feet movement. Remember to periodically clean and reassess the organization system, adjusting as your storage needs change or if certain arrangements prove impractical during daily use.
Decorative Boxes and Baskets for Stylish Storage
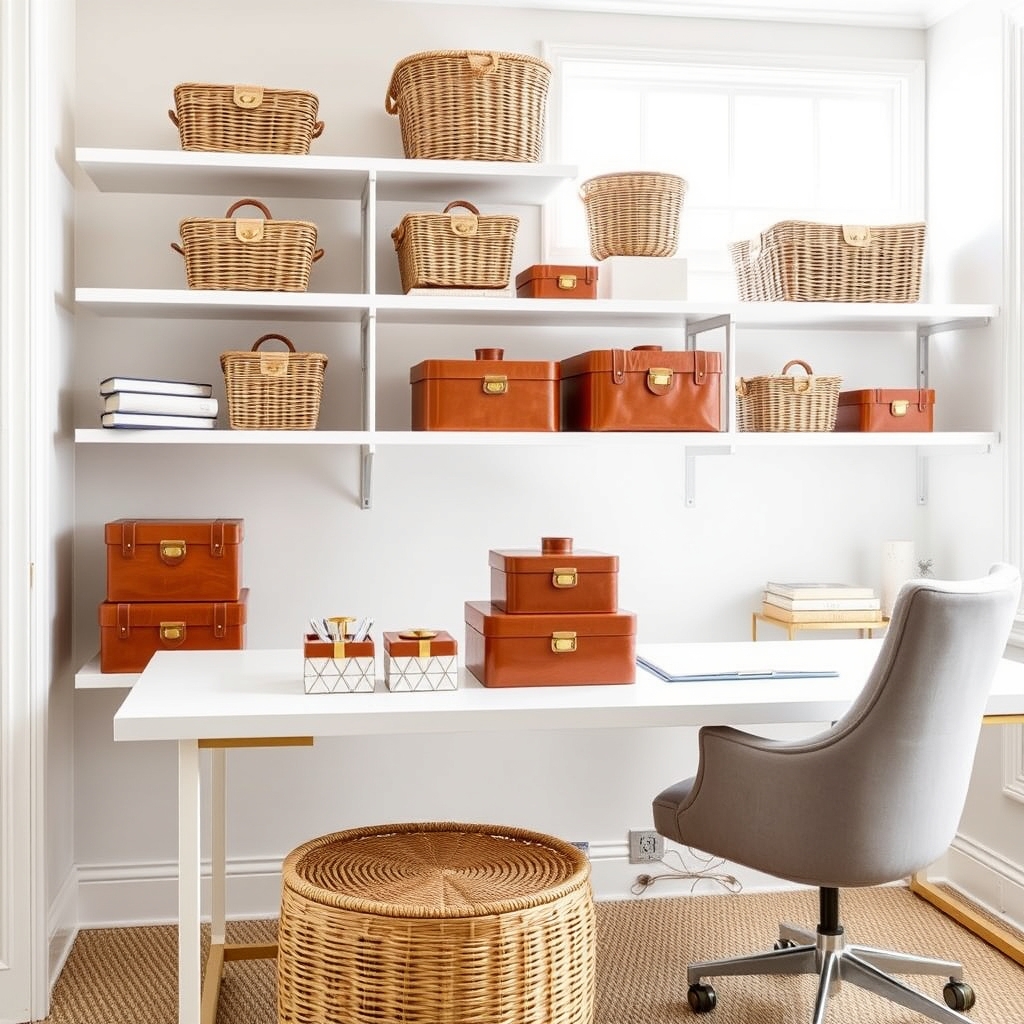
Decorative boxes and baskets represent the perfect marriage of form and function in home office organization. These versatile storage solutions transform cluttered spaces into visually appealing work environments while maintaining easy access to essential items. By incorporating attractive storage pieces, your workspace becomes both organized and aesthetically pleasing.
The strategic use of decorative storage not only eliminates visual chaos but also creates a systematic approach to organizing office supplies, documents, and personal items. When items have designated homes within beautiful containers, maintaining organization becomes effortless, leading to increased productivity and reduced stress in your workspace.
Required Items:
- Decorative boxes in various sizes
- Storage baskets
- Labels or label maker
- Drawer dividers or small containers
- Measuring tape
- Inventory list
- Color-coordinated folders
- Dust-proof containers
- Clear containers for frequently used items
- Lid organizer or shelf system
Start by assessing your storage needs and measuring available spaces for boxes and baskets. Group similar items together and determine which will be stored in boxes versus baskets based on frequency of use and aesthetic preferences.
Select containers that complement your office décor while providing adequate space for your items. Position frequently accessed items in easy-reach baskets, while storing less-used materials in stackable boxes on higher shelves.
Create a labeling system that clearly identifies the contents of each container while maintaining visual appeal. Consider using color-coding or categorization methods that align with your working style. Place boxes and baskets strategically throughout your office space, ensuring that related items are stored together and that the overall arrangement promotes efficient workflow.
Additional Tips: Incorporate a rotation system for your storage solutions, reviewing contents quarterly to prevent accumulation of unnecessary items. Use clear containers for supplies that need visual monitoring and opt for boxes with removable lids for easier access.
Consider investing in modular storage systems that can grow with your needs and maintain flexibility in your organization system.

