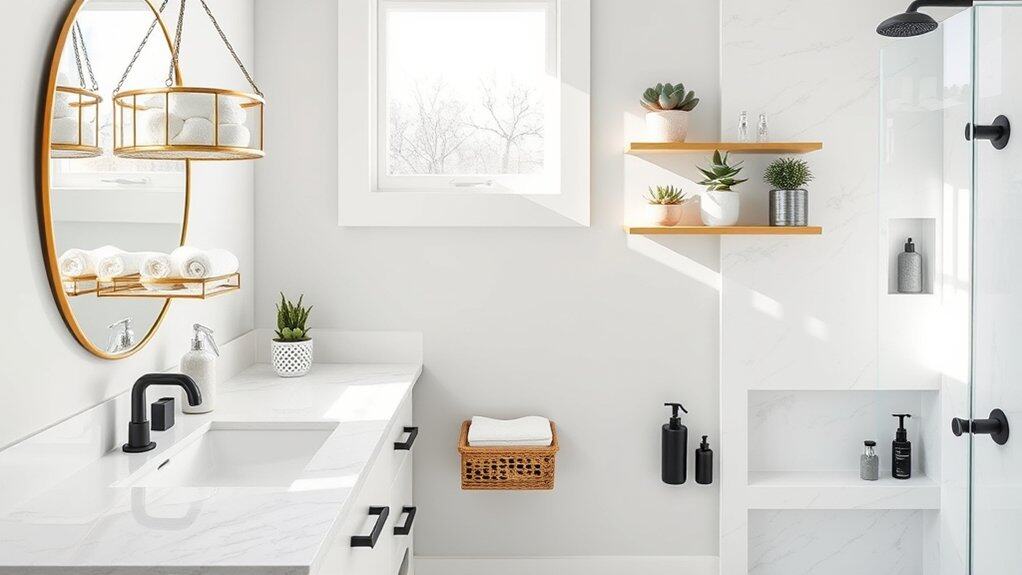
Looking to transform your cluttered bathroom into an Instagram-worthy sanctuary? You’re not alone! After spending countless hours scrolling through Pinterest for inspiration, I’ve discovered nine genius organization ideas that’ll revolutionize your space. Whether you’re working with a tiny powder room or a spacious master bath, these clever storage solutions and decor tips will help you create that magazine-perfect look you’ve been dreaming of. Let’s explore how to maximize every inch while adding style and function to your daily routine.

Maximize Vertical Space With Floating Shelves
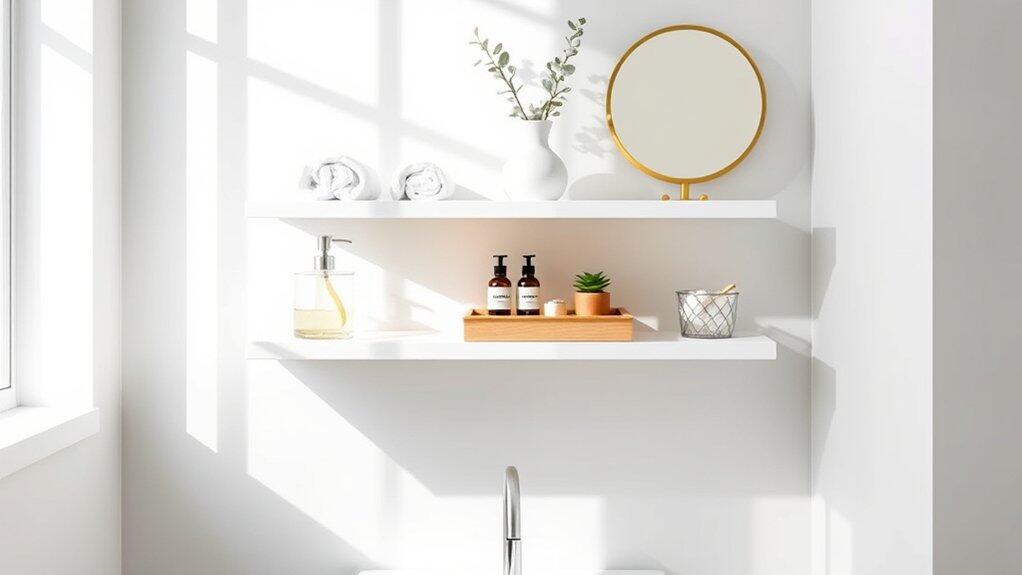
Making the most of vertical space in your bathroom is essential for creating an organized and clutter-free environment. Floating shelves offer a sleek, modern solution that doesn’t take up valuable floor space while providing ample storage for toiletries, decor, and everyday essentials.
Properly installed floating shelves transform unused wall space into functional storage areas, creating a visually appealing display that keeps frequently used items within easy reach. This organization method works particularly well in small bathrooms where maximizing every square inch is crucial for maintaining order and accessibility.
Required Items:
- Floating shelves
- Level
- Measuring tape
- Pencil
- Drill
- Wall anchors
- Screwdriver
- Stud finder
- Wall brackets
- Cleaning supplies
- Storage containers or baskets
- Command strips (optional)
Begin by selecting ideal wall locations for your floating shelves, using a stud finder to locate secure mounting points. Measure and mark shelf positions, ensuring proper spacing between shelves (typically 12-18 inches) and adequate clearance for items you plan to store.
Install wall brackets according to manufacturer specifications, double-checking that shelves are perfectly level before securing them permanently.
Once shelves are mounted, organize items by frequency of use, placing daily essentials at eye level and less-used items on higher shelves. Group similar items together using decorative containers or baskets to maintain a cohesive look. Consider using clear containers for better visibility and accessibility of stored items.
Additional Tips: Incorporate a mix of both functional and decorative elements to create visual interest while maintaining practicality. Use shelf dividers or small organizers to prevent items from sliding, and implement a regular cleaning schedule to prevent dust accumulation.
Consider adding small adhesive hooks to the undersides of shelves for hanging items like washcloths or small toiletry bags, maximizing every available space.
Style Your Countertop With Decorative Storage Containers
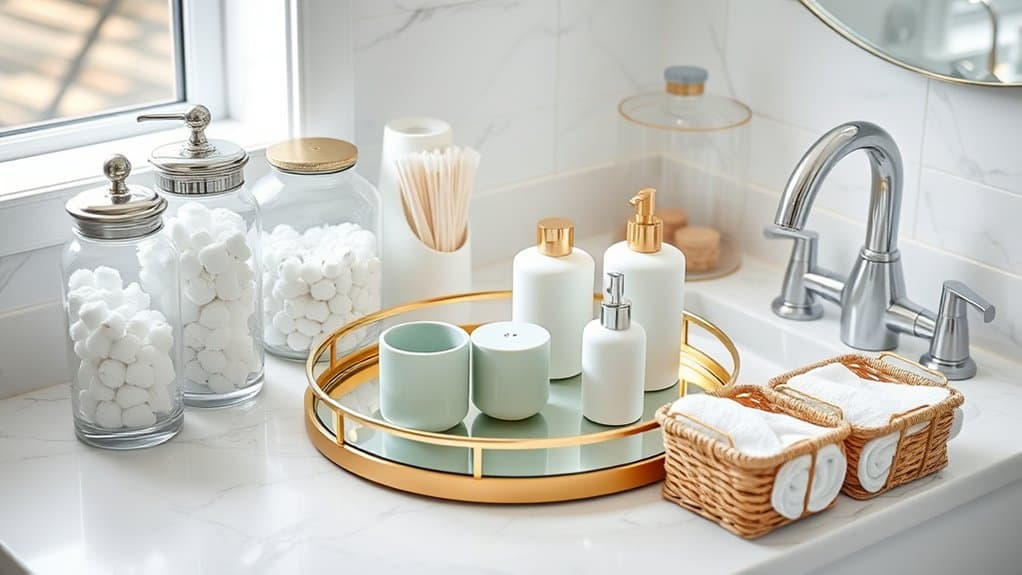
A well-organized bathroom countertop not only creates a visually appealing space but also streamlines your daily routines. When essential items are stored in attractive containers, the bathroom transforms from a purely functional space into an organized sanctuary that reflects your personal style while maintaining cleanliness and order.
Decorative storage containers serve dual purposes – they keep toiletries and personal care items neatly contained while contributing to the overall aesthetic of your bathroom. By selecting containers that complement your existing decor, you can create a cohesive look while ensuring frequently used items remain easily accessible.
Required Items:
- Glass apothecary jars
- Ceramic containers with lids
- Decorative trays
- Small baskets
- Mason jars
- Matching soap dispenser
- Cotton swab holder
- Toothbrush holder
- Clear acrylic organizers
- Labels or label maker
Start by removing everything from your countertop and thoroughly cleaning the surface. Sort items into categories based on frequency of use and function.
Select appropriately sized containers for each category, ensuring they complement each other in style and color scheme. Transfer items like cotton balls, Q-tips, and bath salts into clear glass containers, while storing toothbrushes and frequently used items in easily accessible holders.
Group related items together on decorative trays to create organized zones on the countertop. Place taller items toward the back of the counter and shorter items in front for easy access and visual appeal.
Consider using tiered organizers or risers to maximize vertical space and create depth. Keep everyday essentials within arm’s reach of their point of use – for example, place hand soap and lotion near the sink, and store makeup items near the mirror.
Additional Tip: Maintain the organized system by regularly decluttering containers and wiping them clean. Consider implementing a “one in, one out” rule when adding new items to prevent overcrowding, and periodically reassess the functionality of your container arrangement to ensure it continues to meet your needs effectively.
Utilize Over-the-Toilet Storage Solutions
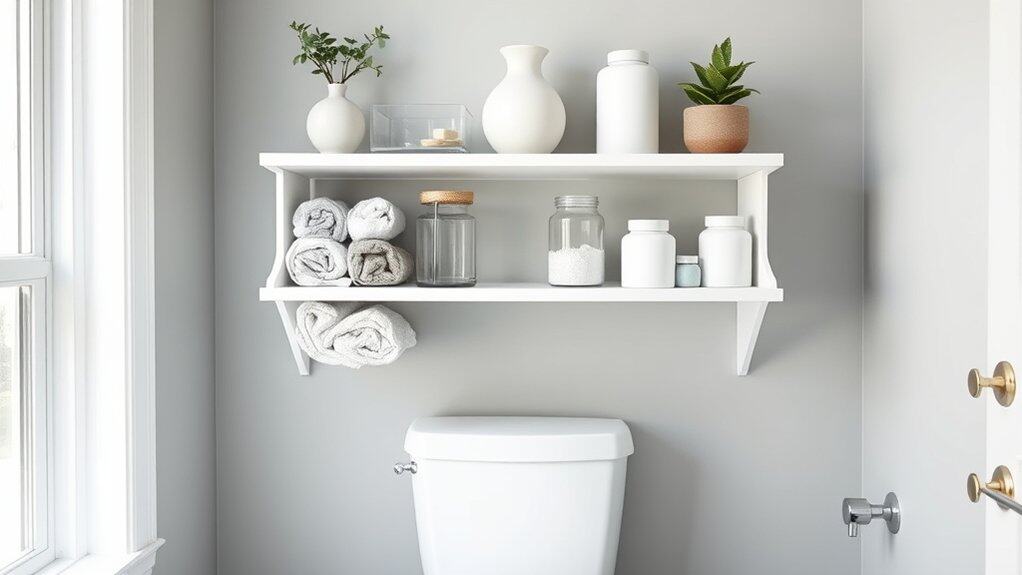
Making the most of vertical space in a bathroom is crucial, especially in smaller homes where every square inch counts. The often-underutilized area above the toilet presents a perfect opportunity to add substantial storage without consuming valuable floor space. Over-the-toilet storage solutions can transform this dead space into a functional area for storing toiletries, towels, and decorative items.
Proper organization of over-the-toilet storage not only maximizes bathroom space but also creates a more visually appealing and clutter-free environment. When implemented correctly, these storage solutions can blend seamlessly with your bathroom’s décor while providing easy access to frequently used items.
Required Items:
- Over-the-toilet shelving unit or cabinet
- Storage baskets or containers
- Labels
- Cleaning supplies
- Basic tools (screwdriver, level, drill)
- Wall anchors
- Measuring tape
- Step stool
Begin by thoroughly cleaning the area and measuring the space above your toilet, ensuring at least 2 inches of clearance between the toilet tank and the bottom shelf. Install the over-the-toilet unit according to manufacturer instructions, using wall anchors for added stability. If using a freestanding unit, ensure it’s properly centered and level.
Once the unit is secure, organize items by frequency of use, placing daily essentials at eye level and less-used items on higher shelves. Sort items into categories (toiletries, cleaning supplies, spare toilet paper, etc.) and use baskets or containers to keep similar items together. Consider using clear containers for easier identification of contents.
For optimal organization success, implement a regular maintenance schedule to prevent clutter accumulation. Rotate items seasonally, regularly assess what’s being stored, and keep a list of inventory to avoid overbuying supplies.
Consider adding small hooks on the sides of the unit for hanging items like air fresheners or small tools, and use drawer liners or shelf paper to protect surfaces and make cleaning easier.
Install Hidden Cabinet Door Organizers
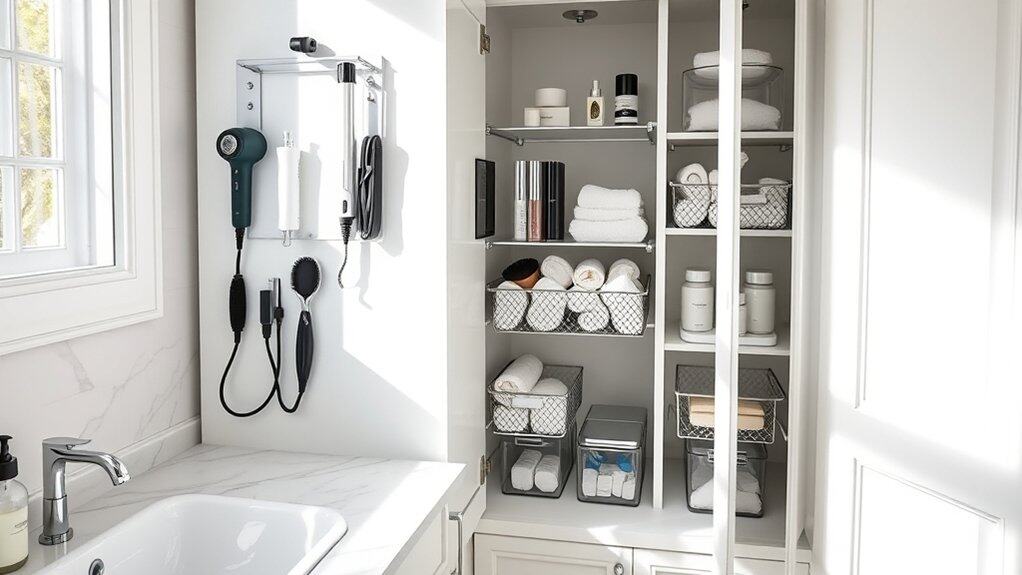
Making the most of your bathroom cabinet doors is a game-changing organization strategy that transforms wasted space into valuable storage real estate. These often-overlooked surfaces can effectively double your storage capacity while keeping everyday items easily accessible yet out of sight.
Hidden cabinet door organizers are particularly valuable in bathrooms where counter space is limited and storage is at a premium. By utilizing the back of cabinet doors, you can create designated spaces for hair tools, cleaning supplies, toiletries, and other bathroom essentials while maintaining a clean, clutter-free appearance.
Required Items:
- Over-the-door organizer racks
- Adhesive hooks
- Command strips
- Measuring tape
- Pencil
- Screwdriver
- Mounting hardware
- Level
- Cabinet door organizer baskets
- Clear storage containers
Installation and Organization Process:
Start by measuring the interior dimensions of your cabinet doors, accounting for any shelving or hardware that might interfere with the organizers. Choose appropriate door-mounted storage solutions that fit within these measurements.
Before permanent installation, test the door’s ability to close completely with the organizers in place. Mount your chosen organizers using appropriate hardware, ensuring they’re level and securely fastened. For adhesive solutions, clean the surface thoroughly with alcohol and allow it to dry completely before application.
Organize items by frequency of use, placing daily essentials at eye level and less-used items toward the bottom.
Additional Success Tips:
Consider using clear containers within the door organizers to prevent small items from falling through gaps. Implement a labeling system to maintain organization over time, and routinely assess the contents to remove expired or unused items.
To protect cabinet doors, avoid overloading organizers with heavy items that could strain hinges or cause damage over time. Periodically check mounting hardware and tighten as needed to ensure long-term stability and safety.
Create a Spa-Like Atmosphere With Woven Baskets
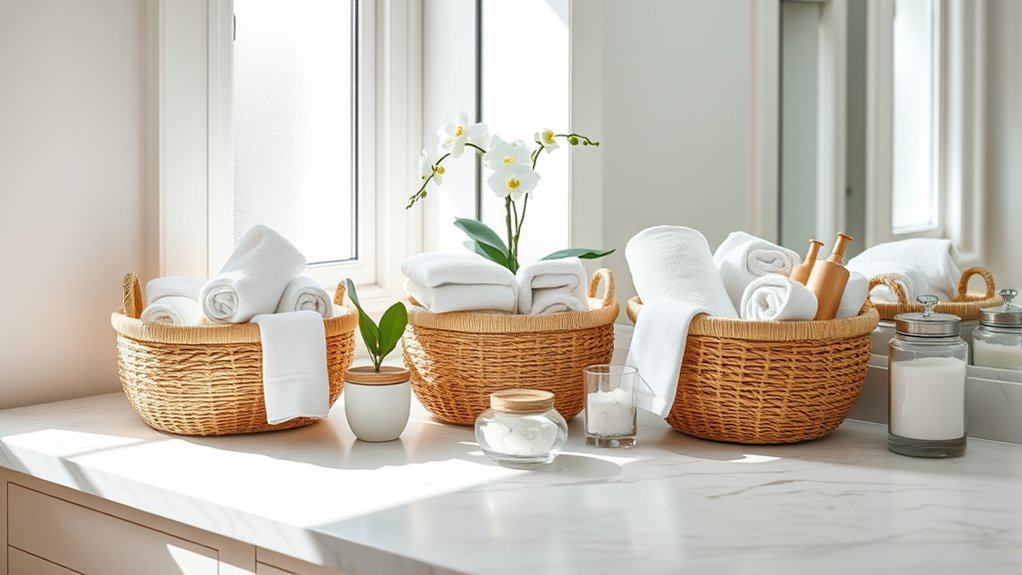
Transforming your bathroom into a serene, spa-like retreat starts with thoughtful organization using woven baskets. These natural elements not only provide practical storage solutions but also contribute to a calm, organized environment that promotes relaxation and tranquility. Well-placed baskets can eliminate visual clutter while maintaining easy access to essential items.
The strategic use of woven baskets brings warmth and texture to what can otherwise be a cold, utilitarian space. By incorporating these versatile storage pieces, you can create designated spots for towels, toiletries, and personal care items while maintaining the peaceful atmosphere associated with high-end spas and wellness retreats.
Required Items:
- Assorted woven baskets in various sizes
- Basket liners or fabric inserts
- Labels or tags
- Clear containers for small items
- Drawer dividers
- Waterproof baskets for under-sink storage
- Small catch-all baskets
- Large hamper-style baskets
- Shelf-sized rectangular baskets
Start by assessing your bathroom’s storage needs and available space. Place larger woven baskets for towels and linens in easily accessible locations, such as under a vanity or on open shelving. Use medium-sized baskets with liners to store everyday toiletries, organizing them by category: skincare, hair care, and body products.
Position smaller baskets on countertops for frequently used items like cotton balls, makeup brushes, or dental care products. For under-sink organization, select water-resistant woven baskets to protect against potential leaks. Arrange cleaning supplies, extra toilet paper, and backup toiletries in these baskets, grouping similar items together.
Install shelf-sized rectangular baskets in cabinets or on open shelving to maximize vertical space while maintaining the spa-like aesthetic.
Additional Tips: Maintain the organized system by regularly auditing basket contents, removing expired products, and refreshing basket liners as needed. Consider using clear containers inside larger baskets for smaller items to prevent them from getting lost.
Label baskets discretely to maintain the serene atmosphere while ensuring everyone in the household knows where items belong. Rotate items seasonally and adjust basket placement based on usage patterns to optimize functionality without compromising the calm, spa-like environment.
Transform Dead Space With Rolling Carts
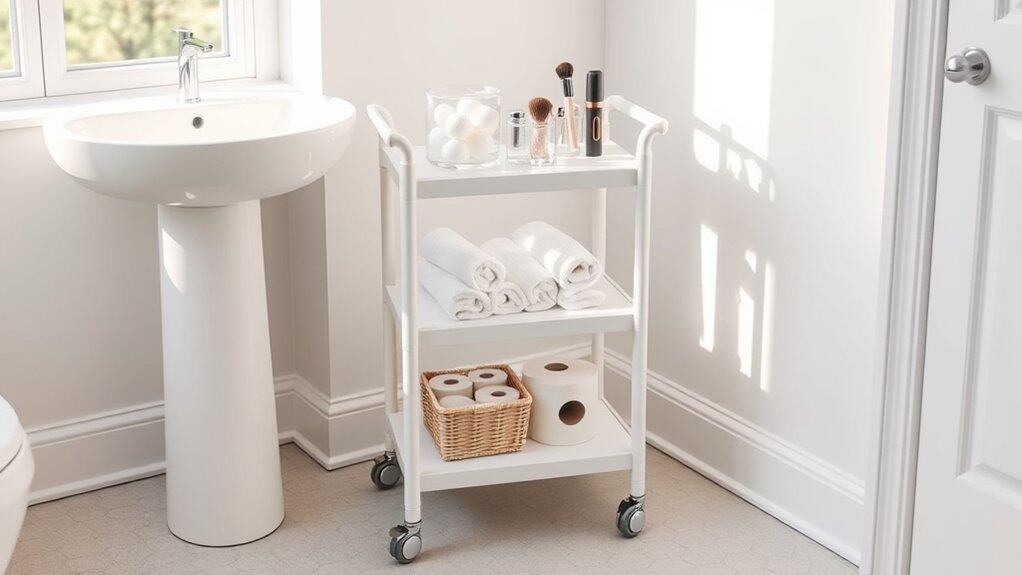
Making the most of unused bathroom space is crucial for maintaining an organized and functional environment. Rolling carts can transform awkward corners, narrow spaces between fixtures, or areas under sinks into valuable storage zones that keep essentials within easy reach while maximizing vertical space.
Rolling carts offer a versatile solution that combines mobility with organization, allowing you to adapt your storage needs as they change. These portable units can be easily moved for cleaning, accessed from multiple angles, and reconfigured to accommodate different items throughout the year.
Required Items:
- Multi-tier rolling cart
- Clear storage containers
- Labels
- Drawer liners or shelf liner
- Small organizing bins
- Hooks
- Tension rods (optional)
- Basket inserts
- Measuring tape
Select an appropriately sized rolling cart for your space, measuring carefully to ensure proper fit. Position the cart in your chosen location, considering both accessibility and functionality. Organize items by category, placing frequently used items on middle shelves, heavy items on bottom tiers, and lesser-used items on top. Use clear containers and bins to group similar items together, maintaining visual organization while maximizing vertical space.
For optimal organization, dedicate specific tiers to different categories: toiletries, cleaning supplies, extra toilet paper, or beauty products. Install hooks on the sides for hanging items like hair tools or washcloths. If using the cart for cleaning supplies, consider adding a tension rod to hang spray bottles. Label all containers clearly to maintain organization long-term.
Additional Tips: Regularly audit the contents of your rolling cart to prevent clutter accumulation. Install drawer liners to prevent items from sliding when moving the cart. Consider using waterproof containers in bathrooms with high humidity, and ensure the cart’s wheels are locked when not in use.
Place frequently used items at eye level and establish a cleaning schedule to maintain both the cart and its contents.
Incorporate Wall-Mounted Storage Solutions
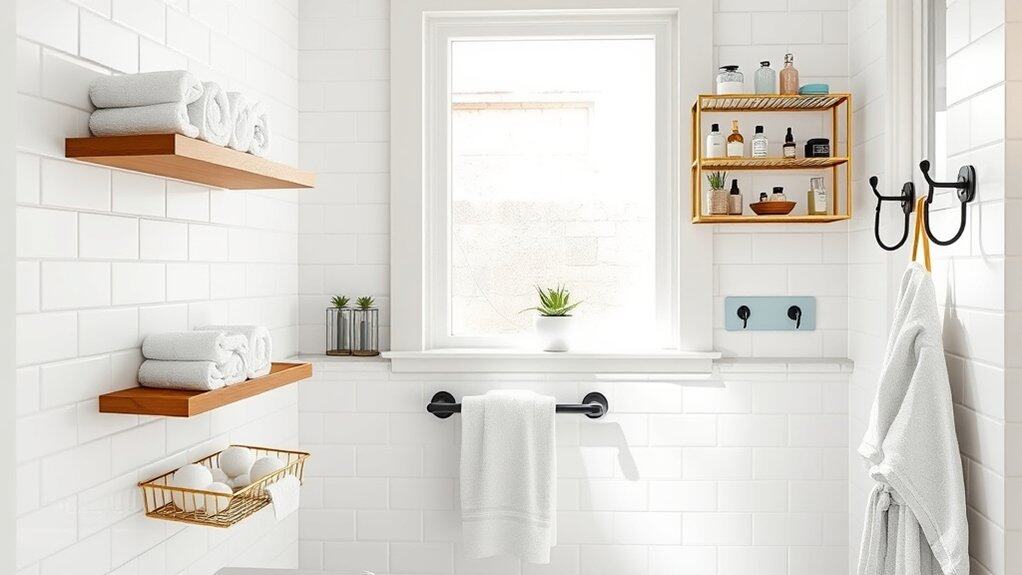
Wall-mounted storage solutions represent one of the most effective ways to maximize bathroom space while maintaining a clean, organized aesthetic. By utilizing vertical space, these installations help keep essential items within reach while freeing up valuable counter and floor space, creating a more spacious and functional environment.
In smaller bathrooms especially, wall-mounted storage can transform a cramped space into an efficiently organized room. These solutions not only serve practical purposes but can also contribute to the overall design scheme, offering opportunities to display decorative items while keeping necessities neatly tucked away.
Required Items:
- Wall anchors and screws
- Power drill
- Level
- Measuring tape
- Pencil
- Wall-mounted shelves
- Towel bars or hooks
- Cabinet organizers
- Over-the-door organizers
- Adhesive hooks
- Storage baskets or containers
- Cleaning supplies
Installation and organization should begin with careful planning and measurement of your wall space. Mark potential mounting locations, ensuring they don’t interfere with door swings or bathroom fixtures. Install larger items like cabinets or shelving units first, using appropriate wall anchors for secure mounting.
Position frequently used items at eye level, while storing less-used items higher up. For optimal organization, group similar items together in designated zones. Install towel bars or hooks near the shower area, mount a medicine cabinet above the sink, and consider adding floating shelves for decorative storage.
Use baskets or containers to keep smaller items contained and organized within the mounted storage units.
Additional Tips: Consider moisture-resistant materials for all storage solutions and maintain adequate ventilation around stored items. Label containers clearly and implement a regular cleaning schedule to prevent dust accumulation. Periodically reassess your storage needs and adjust the organization system accordingly, removing items that are no longer needed or used regularly.
Organize Your Shower Space With Elegant Caddies
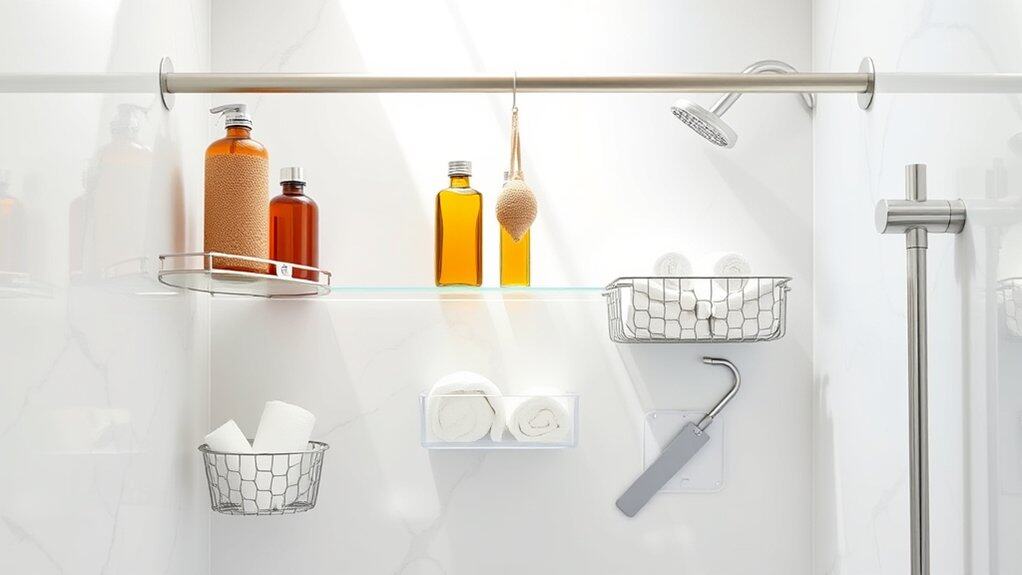
A well-organized shower space transforms your daily routine from chaotic to serene. When shampoo bottles, soaps, and other bath essentials are thoughtfully arranged, you eliminate the frustration of searching for items while creating a spa-like atmosphere that enhances your shower experience.
Shower organization goes beyond mere aesthetics – it’s about creating a functional system that prevents water accumulation, reduces mildew growth, and maintains the longevity of your bath products. An organized shower space also maximizes limited real estate while keeping everything within arm’s reach.
Required Items:
- Corner shower caddy
- Tension rod caddy
- Suction cup hooks
- Waterproof adhesive strips
- Wire baskets
- Clear containers
- Rust-resistant storage solutions
- Shower squeegee
- Waterproof labels
- Mesh storage bags
Start by removing all items from your shower and thoroughly cleaning the space. Install your main storage solution – either a tension rod caddy or corner caddy – ensuring it’s securely mounted. Position the caddy at a height that makes frequently used items easily accessible.
Arrange products by category: hair care, body care, and specialty items. Place heavier items on lower shelves for stability and safety.
For additional storage, mount suction cup hooks or adhesive strips on shower walls to hang loofahs, washcloths, or mesh bags. Utilize clear containers to store smaller items like razors or bath bombs, keeping them visible yet protected from water. Consider installing a secondary smaller caddy specifically for children’s bath items if needed.
Additional Tips: Regularly assess and declutter your shower items, removing empty containers and expired products. Position items with labels facing outward for easy identification. Install a squeegee nearby to maintain cleanliness between deep cleanings.
Consider rotating seasonal items (like special treatments or exfoliators) to prevent overcrowding. Use rust-resistant solutions exclusively, as standard metal organizers will deteriorate quickly in the humid environment.
Add Drawer Dividers for Clutter-Free Storage
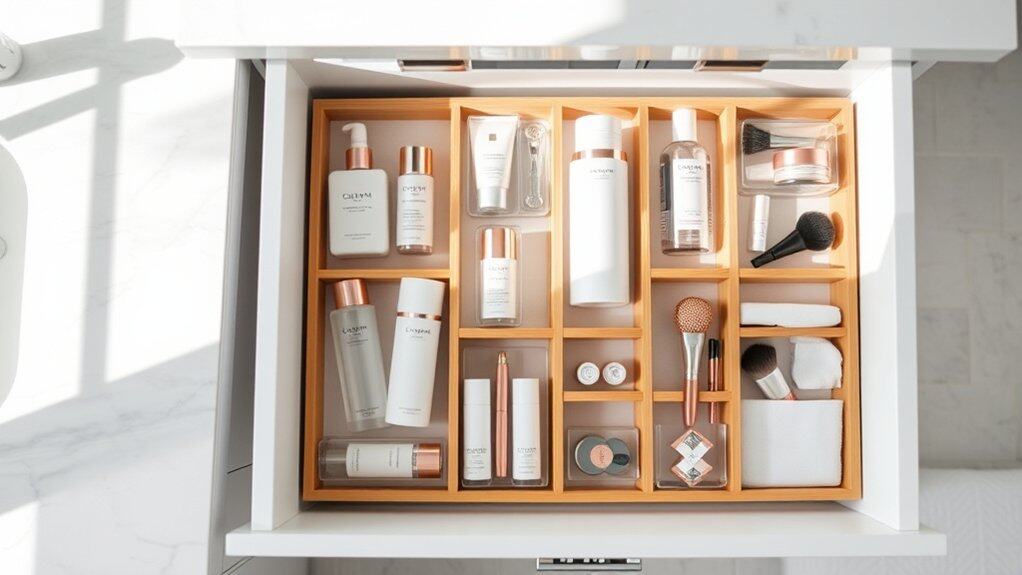
Drawer dividers represent one of the most transformative yet underutilized bathroom organization solutions. Without proper compartmentalization, bathroom drawers quickly become chaotic catch-alls for toiletries, cosmetics, and personal care items, making it frustrating to find what you need when you need it.
Installing drawer dividers creates designated spaces for specific items, preventing them from sliding around and becoming disorganized. This system not only maximizes storage space but also helps maintain order long-term, reducing morning stress and making cleanup more efficient.
Required Items:
- Drawer dividers (adjustable or fixed)
- Measuring tape
- Drawer liner (non-slip)
- Small containers or organizer bins
- Labels (optional)
- Cleaning supplies
- Garbage bag
Empty the drawer completely and clean it thoroughly with appropriate cleaning supplies. Measure the drawer’s interior dimensions and install non-slip liner to prevent dividers from shifting. Select dividers that fit your drawer measurements, considering both width and height.
For adjustable dividers, position them to create appropriately sized compartments for your items. Create zones based on frequency of use and item categories – daily essentials in front, occasional items in back. Group similar items together, such as dental care, hair accessories, or cosmetics.
Consider creating a layout diagram before final placement to ensure optimal organization. Test the configuration by placing items in their designated spaces and adjust divider positions as needed for the perfect fit. Once satisfied, secure any adjustable dividers firmly in place.
For lasting organization success, implement a regular maintenance schedule to prevent clutter accumulation. Review contents monthly, disposing of expired products and reorganizing as needed.
Consider using clear containers within divided sections for smaller items, and label compartments to maintain the system. Keep frequently used items in easily accessible spots and store rarely used items in secondary storage locations to maximize drawer space.

