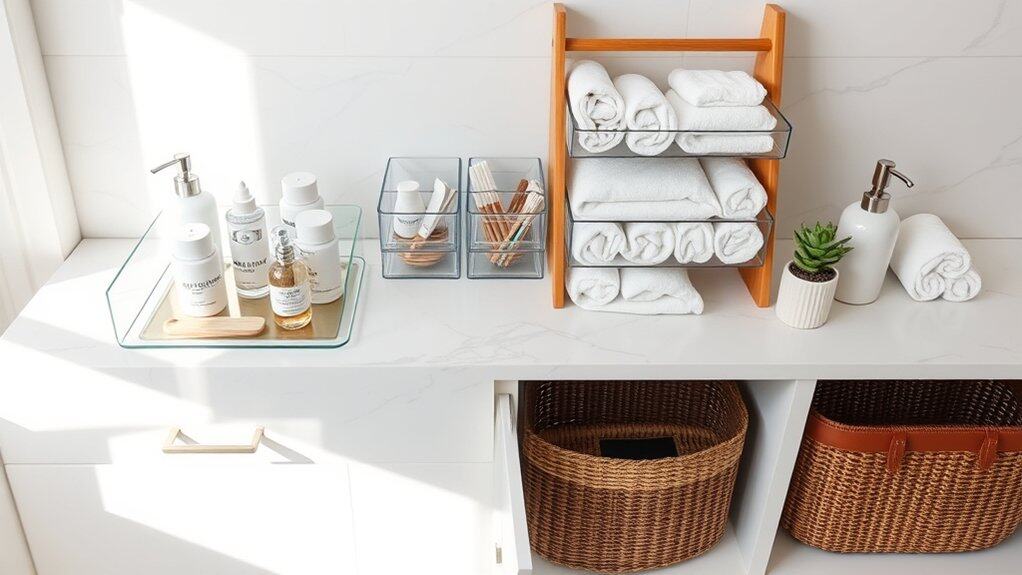
Picture Sarah’s bathroom counter before she implemented these organization hacks – a cluttered mess of toiletries, makeup scattered everywhere, and barely enough space to set down her morning coffee. Like Sarah, you’re probably tired of playing “find the face wash” every morning. Don’t worry – I’ve tested these eight clever storage solutions that’ll transform your bathroom counter from chaos to calm, and they’re so simple you’ll wonder why you didn’t try them sooner!
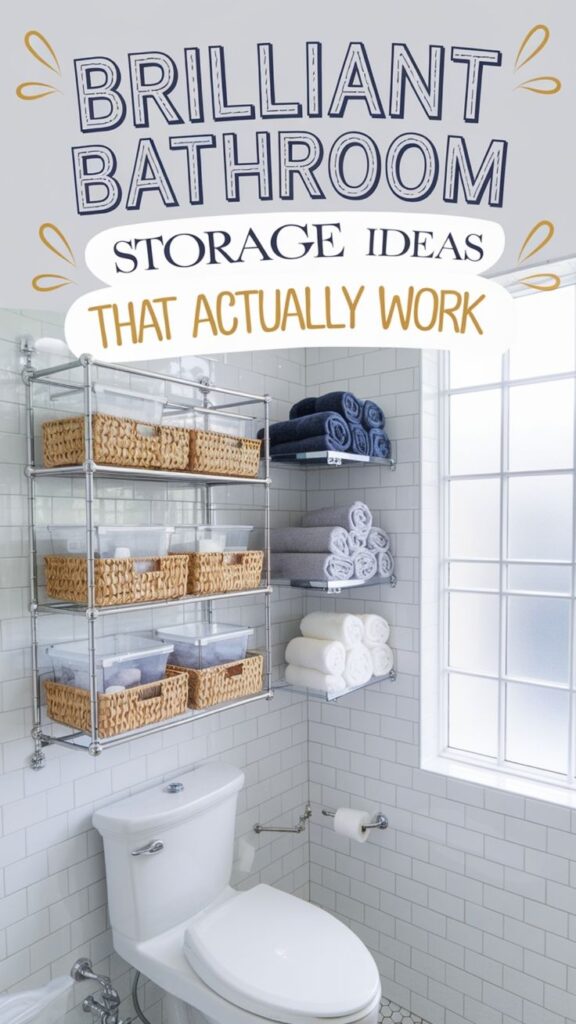
Create Designated Zones for Daily Essentials
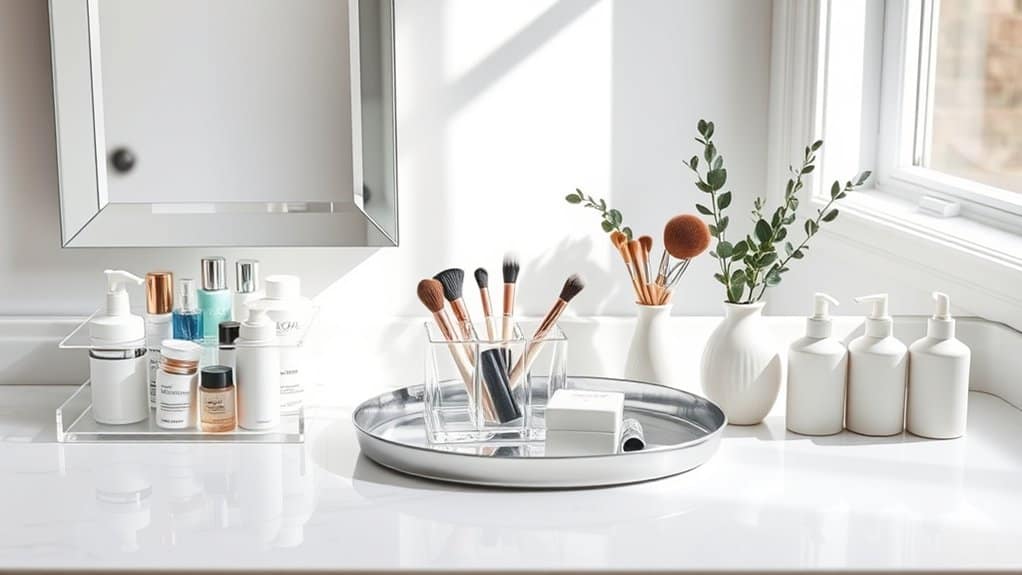
Organizing your bathroom countertop into designated zones transforms a cluttered space into an efficient, spa-like environment where every item has its proper place. When daily essentials are thoughtfully arranged in specific areas, morning and evening routines become smoother, and maintaining order becomes second nature.
Creating designated zones eliminates the frustration of searching for items and prevents cross-contamination between different types of products. This systematic approach not only saves time but also maximizes counter space and creates a more visually appealing bathroom environment that’s easier to clean and maintain.
Required Items:
- Clear acrylic organizers
- Small trays or decorative plates
- Mason jars or glass containers
- Drawer dividers
- Small baskets
- Labels
- Cleaning supplies
- Storage containers with lids
- Drawer inserts
- Vanity-top lazy Susan
Start by completely clearing the countertop and thoroughly cleaning the surface. Group similar items together based on their function and frequency of use – daily skincare products, makeup, hair care items, and dental hygiene supplies.
Assess which items truly need to be on the counter versus those that can be stored in drawers or cabinets.
Create distinct zones by placing daily essentials in appropriate containers and positioning them strategically on the counter. Establish a morning routine zone near the sink with items like toothbrush holders and face wash. Set up a grooming zone with frequently used makeup and hair products.
Consider vertical storage solutions to maximize space, such as tiered organizers or wall-mounted holders.
Additional Tips: Regularly audit your zones to ensure they continue to serve your needs effectively. Keep daily-use items at the front of each zone and less frequently used items toward the back.
Consider using clear containers to easily identify contents, and implement a cleaning schedule to maintain the organization system. Remember to adjust zones seasonally as your routine and product needs change throughout the year.
Maximize Vertical Space With Tiered Storage
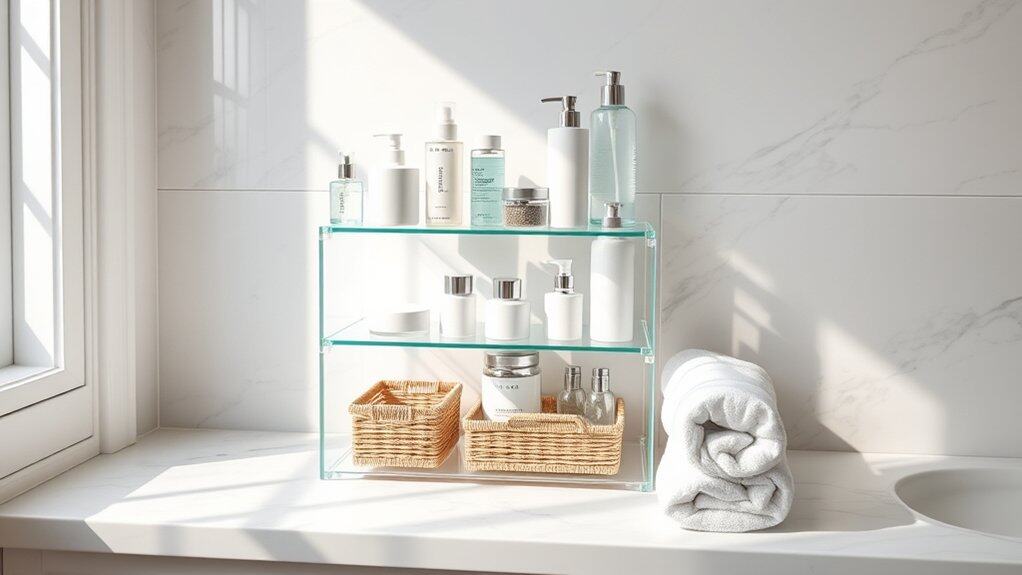
Making the most of vertical space in your bathroom is crucial for maintaining a clutter-free and functional environment. With limited counter space in most bathrooms, expanding upward allows you to store more items while keeping frequently used products easily accessible.
Tiered storage solutions transform unused vertical space into valuable storage real estate, creating designated zones for different categories of items. This organizational approach not only maximizes space efficiency but also makes it easier to locate and access your daily essentials while maintaining a clean, organized appearance.
Required Items:
- Tiered bathroom organizer or shelf unit
- Clear storage containers
- Labels or label maker
- Non-slip shelf liner
- Command strips or mounting hardware
- Measuring tape
- Small storage baskets
- Drawer organizers
- Cleaning supplies
Start by measuring your available vertical space and selecting an appropriately sized tiered organizer that fits your counter dimensions. Clean the counter thoroughly and apply non-slip liner where the organizer will sit.
Arrange your items by frequency of use, placing daily essentials on the most accessible middle tier, less frequently used items on the bottom tier, and occasional-use products on the top tier.
Sort items into categories such as skincare, dental care, hair products, and cosmetics. Use clear containers or small baskets within each tier to further compartmentalize items and prevent them from falling or becoming disorganized. Label each container clearly to maintain the system long-term.
Additional Tips: Regularly assess and rotate items based on seasonal needs or changing routines. Consider using drawer organizers or small lazy Susans within the tiers for better access to items stored toward the back.
Clean the organizer and containers monthly to prevent product buildup and maintain hygiene. Keep a small amount of empty space on each tier to accommodate new items or temporary storage needs.
Declutter and Keep Only Essential Items
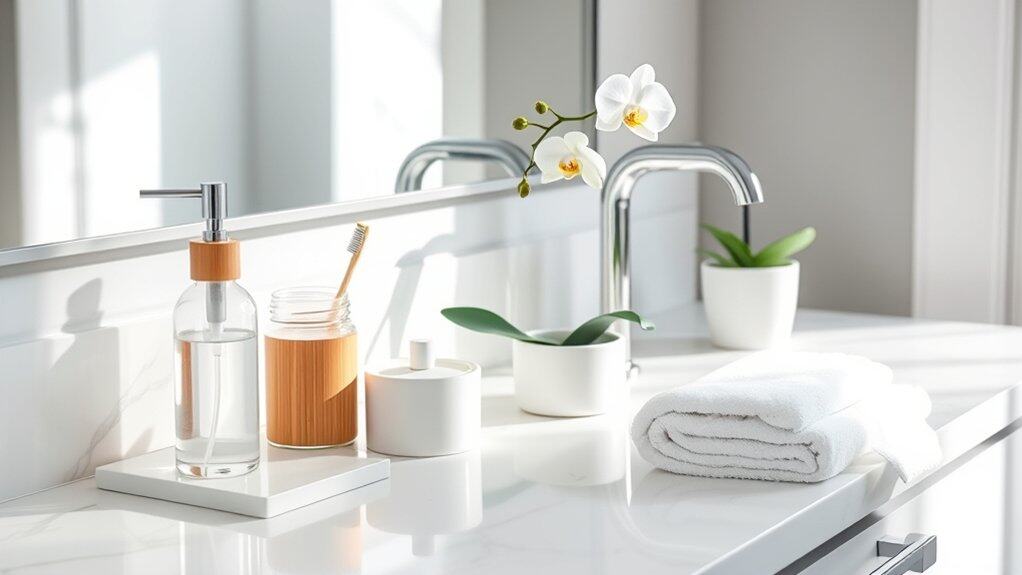
A cluttered bathroom counter creates unnecessary stress, wastes valuable time during daily routines, and makes cleaning more difficult. The space around your sink should be a functional area that supports your daily hygiene and grooming needs without becoming a catch-all for rarely used products and expired items.
The key to maintaining an organized bathroom counter lies in being ruthless about what deserves premium counter space. By limiting counter items to daily essentials, you create a more serene environment and ensure easy access to frequently used products while maintaining a clean, spa-like atmosphere in your bathroom.
Required Items:
- Storage bins or containers
- Drawer organizers
- Cleaning supplies
- Trash bag
- Labels
- Timer (optional)
- Storage baskets
- Clear containers for daily items
Start by removing everything from your countertop and sorting items into three categories: daily use, weekly use, and rarely/never used. Immediately discard expired products, empty containers, and items you haven’t used in the past six months.
Clean the counter thoroughly before deciding which items earn their place back on the surface. Daily essentials typically include toothbrush, toothpaste, face wash, and moisturizer – items used at least once every day.
For items that don’t make the cut but still need to be kept, designate appropriate storage spaces in cabinets or drawers. Consider using drawer organizers or small bins to keep these items neat and accessible. The goal is to maintain only 5-7 essential items on your counter, positioning them thoughtfully to create an efficient morning and evening routine flow.
To maintain this organized system, implement a weekly quick-check routine where you assess counter items and return wandering products to their designated spaces. Use clear containers for daily items to maintain visual appeal, and consider installing a small shelf or magnetic strip on the wall if additional accessible storage is needed.
Remember that a well-organized counter starts with mindful purchasing – resist buying new products until existing ones are finished.
Use Clear Containers for Better Visibility
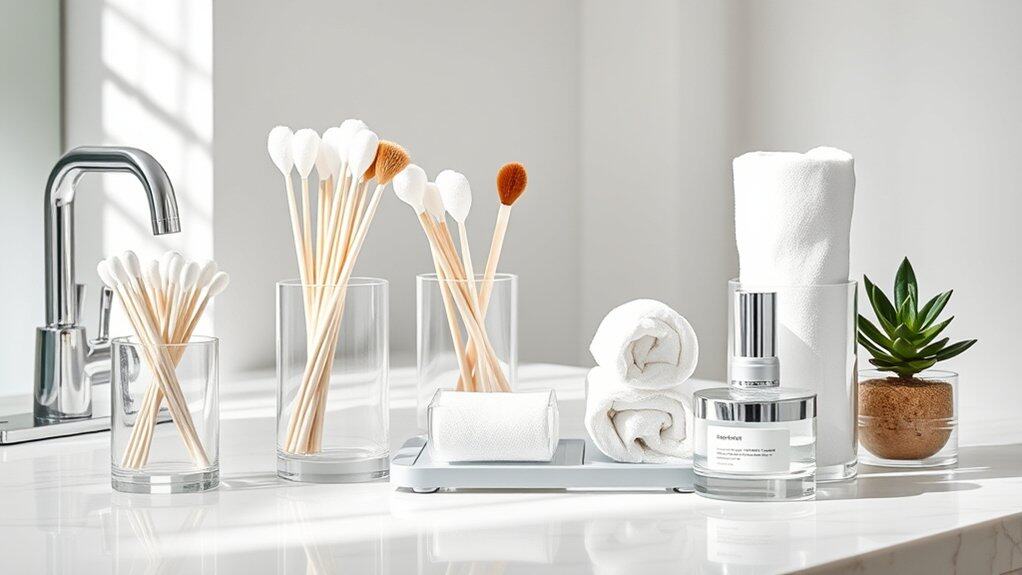
Organizing bathroom countertops with clear containers is a game-changing solution that transforms cluttered surfaces into efficient, accessible spaces. When items are visible, they’re more likely to be used regularly and replaced when running low, preventing unnecessary duplicate purchases and reducing waste.
Clear containers create an aesthetically pleasing environment while maintaining functionality, allowing you to quickly locate items during your daily routine. This systematic approach not only saves time but also helps maintain cleanliness by keeping items contained and protected from bathroom moisture and dust.
Required Items:
- Various sizes of clear acrylic containers
- Clear drawer organizers
- Clear makeup holders
- Clear bathroom canisters with lids
- Label maker or waterproof labels
- Measuring tape
- Cleaning cloths
- Multi-surface cleaner
Start by thoroughly cleaning your countertop and measuring the available space. Group similar items together: skincare products, dental care, hair accessories, and daily essentials. Select appropriately sized clear containers for each category, ensuring they fit your counter space and accommodate the items’ heights.
Place frequently used items in easily accessible containers at the front of the counter, while storing less-used items toward the back. For optimal organization, implement a size-gradient system, positioning taller containers against the wall and shorter ones in front for easy reach. Use divided organizers for smaller items like cotton swabs, makeup brushes, or hair ties.
Consider stackable containers to maximize vertical space when horizontal space is limited.
Additional Tips: Regularly audit container contents to prevent accumulation of expired products. Clean containers monthly with non-abrasive cleaners to maintain clarity. Consider adding silicon grip pads underneath containers to prevent sliding, especially in humid conditions.
Label the bottom of containers rather than the sides to maintain a clean aesthetic while ensuring proper item placement during cleaning sessions.
Transform Mason Jars Into Stylish Storage
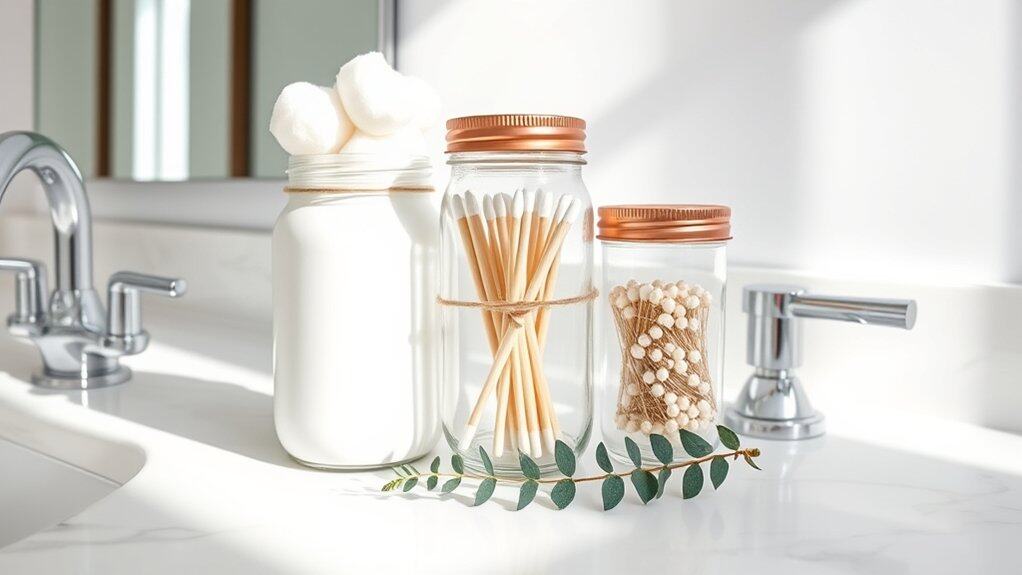
Mason jars have become a versatile storage solution for modern bathrooms, offering both functionality and aesthetic appeal. These classic glass containers can transform a cluttered countertop into an organized, cohesive space while adding a touch of vintage charm or contemporary style, depending on how they’re customized.
Organizing bathroom essentials in mason jars not only creates a more visually appealing space but also makes items easily accessible and protected from bathroom moisture. This practical storage method helps maintain cleanliness and reduces the visual chaos of multiple product containers, leading to a more serene bathroom environment.
Required Items:
- Mason jars (various sizes)
- Spray paint (optional)
- Adhesive labels
- Waterproof marker
- Decorative ribbon or twine
- Rust-resistant lids
- Clear sealant
- Cleaning supplies
- Sand paper
- Cotton balls, Q-tips, and other bathroom items
- Small funnel (for transferring products)
Start by thoroughly cleaning and drying the mason jars, ensuring they’re free from any residue. If painting the jars, sand the surface lightly and apply even coats of spray paint in a well-ventilated area, allowing proper drying time between coats.
For unpainted jars, consider adding decorative elements like twine wrapping or adhesive labels to create a cohesive look.
Sort bathroom items by category and determine which items will go in each jar. Cotton products, such as cotton balls and Q-tips, work well in wide-mouth jars, while smaller items like hair ties or bobby pins can go in smaller containers.
For liquid products, ensure the lids are properly sealed with clear sealant to prevent leakage. Arrange the filled jars in groups based on frequency of use, keeping daily items most accessible.
Additional Tips: Consider using jar organizer trays or tiered stands to maximize counter space and create visual interest through varying heights. Place frequently used items in jars with wide openings for easy access, and use clear jars for items you need to monitor for restocking.
Remember to clean and dry the jars thoroughly before refilling to prevent mold growth, and periodically check that lids remain properly sealed, especially for liquid products.
Install a Magnetic Strip for Metal Items
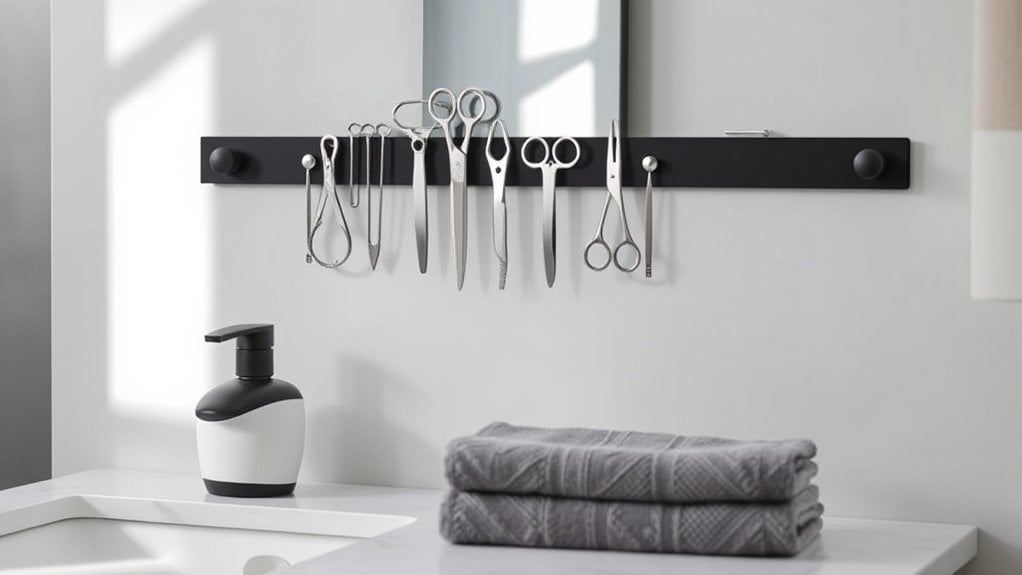
A magnetic strip system creates instant vertical storage space for metal grooming tools, freeing up valuable counter real estate while keeping frequently used items easily accessible. This organization method transforms cluttered surfaces into a sleek, functional space where tools are visible and within reach.
Installing a magnetic strip specifically designed for bathroom items eliminates the frustration of digging through drawers or containers for tweezers, nail clippers, or bobby pins. This solution is particularly effective in smaller bathrooms where counter space is limited, and it adds a modern, intentional aesthetic to your grooming area.
Required Items:
- Heavy-duty magnetic strip (12-24 inches)
- Mounting screws and anchors
- Power drill
- Level
- Pencil
- Measuring tape
- Screwdriver
- Metal grooming tools
- Wall cleaner
- Clean cloth
Installation begins with selecting an appropriate wall space near your countertop, ideally at eye level and within easy reach. Clean the chosen wall area thoroughly and allow it to dry completely. Measure and mark the desired height and length for your magnetic strip, using a level to ensure straight placement.
If installing into drywall, drill pilot holes and insert wall anchors at the marked points. Secure the magnetic strip to the wall using the provided mounting hardware, double-checking level alignment during installation. Test the magnetic strength by carefully placing a few metal items on the strip before organizing all your tools.
Arrange items by frequency of use, keeping daily-use items at the most convenient height and position. For optimal longevity and functionality, periodically clean both the magnetic strip and metal items to maintain strong magnetic contact. Consider grouping similar items together (grooming tools, hair accessories, etc.) and rotate items seasonally based on usage patterns.
To prevent rust, ensure all metal items are completely dry before placing them on the strip, and apply a thin coat of mineral oil to susceptible items every few months.
Add a Small Lazy Susan for Corner Access
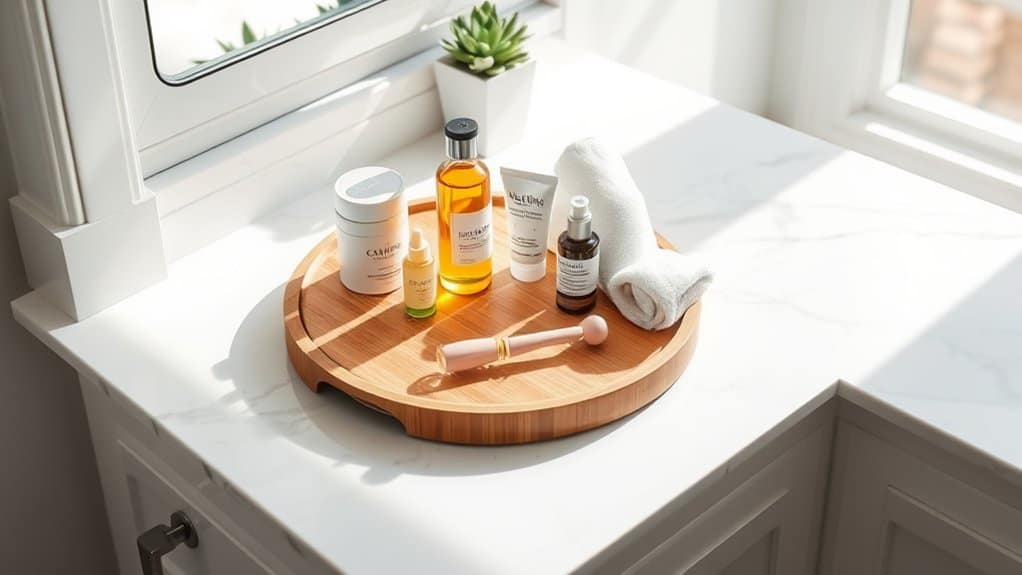
Making the most of corner spaces in your bathroom is crucial for maximizing counter space and maintaining an organized environment. Corner areas often become dead zones where items get pushed back and forgotten, leading to cluttered countertops and wasted space.
A small lazy Susan transforms these awkward corners into functional storage areas, allowing easy access to frequently used items while keeping them neatly contained. This rotating organizer prevents products from getting lost in the back of corners and makes it simple to find what you need quickly during your daily routine.
Required Items:
- Small lazy Susan (6-12 inches in diameter)
- Non-slip liner or pad
- Measuring tape
- Cleaning supplies
- Optional dividers or small containers
- Optional label maker
Position your lazy Susan in the corner of your bathroom counter, ensuring it fits comfortably without overlapping edges. Start by cleaning both the counter surface and the lazy Susan thoroughly. Apply non-slip liner to the bottom of the lazy Susan to prevent unwanted movement.
Group similar items together, such as skincare products, hair accessories, or daily essentials. Place taller items toward the center and shorter items around the edges for better visibility and balance. Consider using small containers or dividers within the lazy Susan to keep items upright and separated.
For optimal organization and longevity of your corner lazy Susan system, regularly clean both the surface and the rotating mechanism. Choose items that you use frequently to place on the lazy Susan, keeping occasional-use products stored elsewhere.
Consider seasonal rotation of items based on your changing needs, and always maintain weight distribution to ensure smooth spinning action. Label sections if desired to maintain organized categories and make it easier for family members to maintain the system.
Utilize Over-the-Door Cabinet Storage
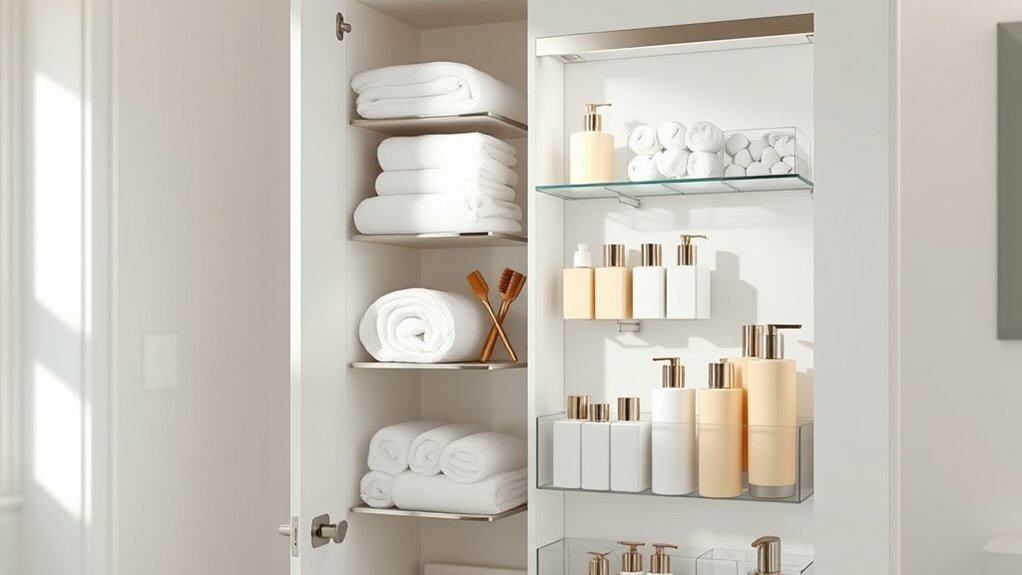
Making the most of vertical storage space in your bathroom cabinet doors is a game-changer for countertop organization. When bathroom counters become cluttered with daily essentials, it can make your morning routine more stressful and time-consuming, while also detracting from the overall appearance of your bathroom.
Over-the-door cabinet storage solutions offer a practical way to maximize space while keeping frequently used items easily accessible. This organization method helps maintain a clutter-free countertop while ensuring everything has a designated spot, making it easier to maintain tidiness and find items quickly.
Required Items:
- Over-the-door cabinet organizer
- Command hooks or mounting hardware
- Measuring tape
- Pencil
- Level
- Screwdriver (if needed)
- Storage bins or baskets
- Labels
- Cleaning supplies
Start by measuring the interior of your cabinet door to ensure proper fit of the over-the-door organizer. Clean both the door surface and organizer thoroughly before installation. If using an adhesive-mounted system, carefully follow the manufacturer’s instructions for proper placement.
For screw-mounted options, use the level to mark mounting points and secure the organizer firmly to the door. Sort items by frequency of use and category, placing daily essentials at eye level. Consider using clear containers or labeled bins within the organizer to keep smaller items contained and easily identifiable.
Position heavier items at the bottom of the organizer to maintain stability and prevent door strain. Ensure the door can still close properly with items stored inside the organizer.
Additional Tips:
Regularly review and adjust the organization system as needed, removing items that are no longer used. Consider using drawer liners or non-slip mats to prevent items from shifting when opening and closing the door.
Keep a small basket at the bottom of the organizer to catch any items that may fall, and periodically check mounting hardware or adhesive strips to ensure they remain secure.

