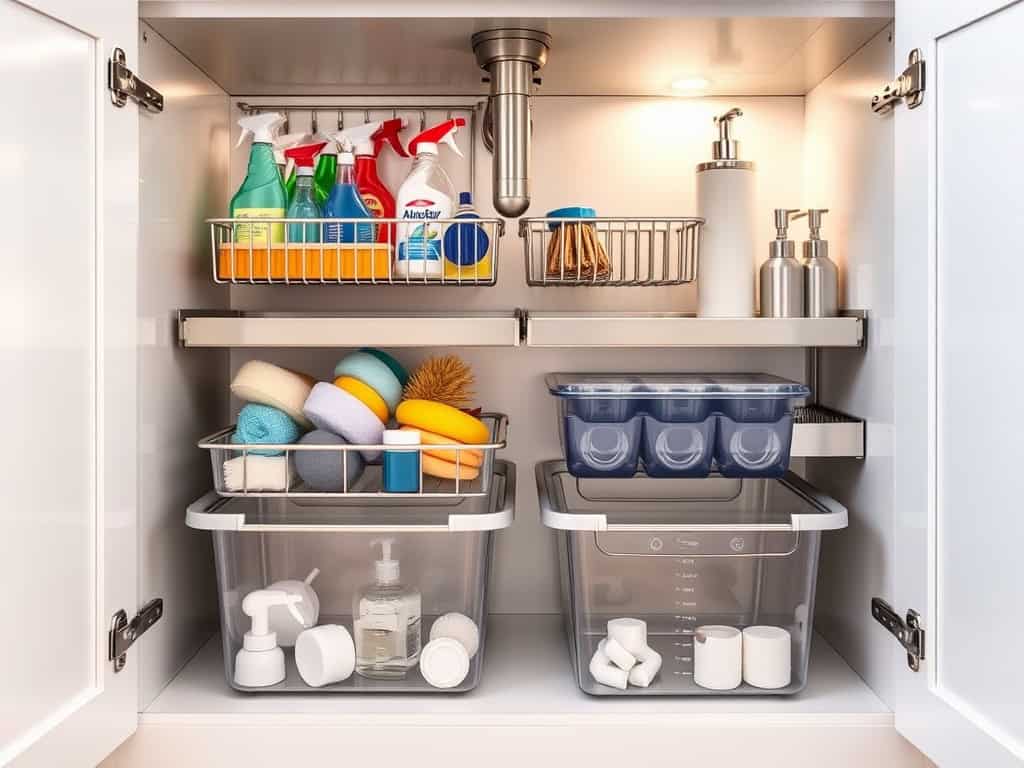
If you’re tired of the chaos under your kitchen sink, you’re not alone! I used to dread opening those cabinet doors, only to have cleaning supplies tumble out like an avalanche. But after testing dozens of organization methods, I’ve discovered seven game-changing hacks that’ll transform that jumbled space into an efficient storage system. These aren’t just Pinterest-pretty solutions – they’re practical fixes that’ll save you time and frustration. Ready to turn your under-sink nightmare into an organized dream?
Start With a Clean Slate by Decluttering and Deep Cleaning
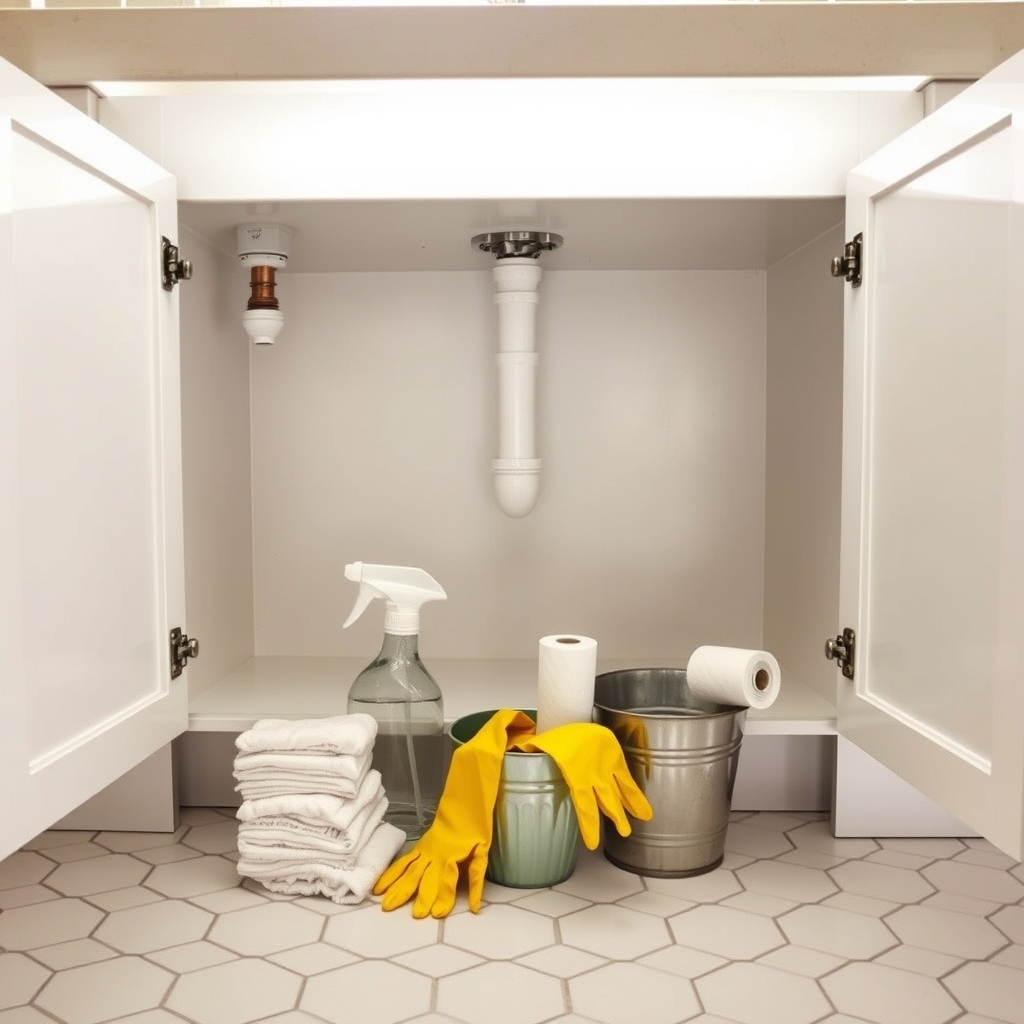
A cluttered under-sink area can quickly become a chaotic catch-all for cleaning supplies, extra toiletries, and forgotten items. This hidden space represents valuable storage real estate in your home, and maintaining its organization is crucial for easy access to everyday essentials and efficient use of space.
Starting with a clean slate through thorough decluttering and deep cleaning sets the foundation for lasting organization. This initial investment of time prevents the accumulation of expired products, eliminates moisture-related issues, and allows you to properly assess the available space before implementing any organization systems.
Required Items:
- Garbage bags
- Cleaning cloths or paper towels
- All-purpose cleaner
- Disinfectant
- Bucket
- Rubber gloves
- Flashlight
- Container for sorting items
- Old newspaper or drop cloth
- Leak detection strips (optional)
Remove everything from under the sink and sort items into three categories: keep, discard, and relocate. Check expiration dates on all products and immediately dispose of expired items. Inspect containers for leaks or damage.
Once empty, thoroughly clean the cabinet interior, paying special attention to corners and areas around pipes. Clean and dry the cabinet walls, floor, and any shelf liner. Check for signs of water damage, mold, or pest activity.
For items you’re keeping, group similar products together (cleaning supplies, personal care items, etc.). Clean each container’s exterior before returning it to the space. This is also the perfect time to note which products you actually use and which have been sitting untouched, helping inform future purchasing decisions.
Additional Tips: Consider installing a waterproof mat or new shelf liner to protect the cabinet bottom. Take photos of your cleaned and organized space to use as a reference for maintaining the organization system.
Create a regular schedule (every 3-6 months) to repeat this process, preventing the gradual return of clutter and ensuring early detection of any potential plumbing issues.
Install Pull-Out Drawers for Maximum Space Efficiency
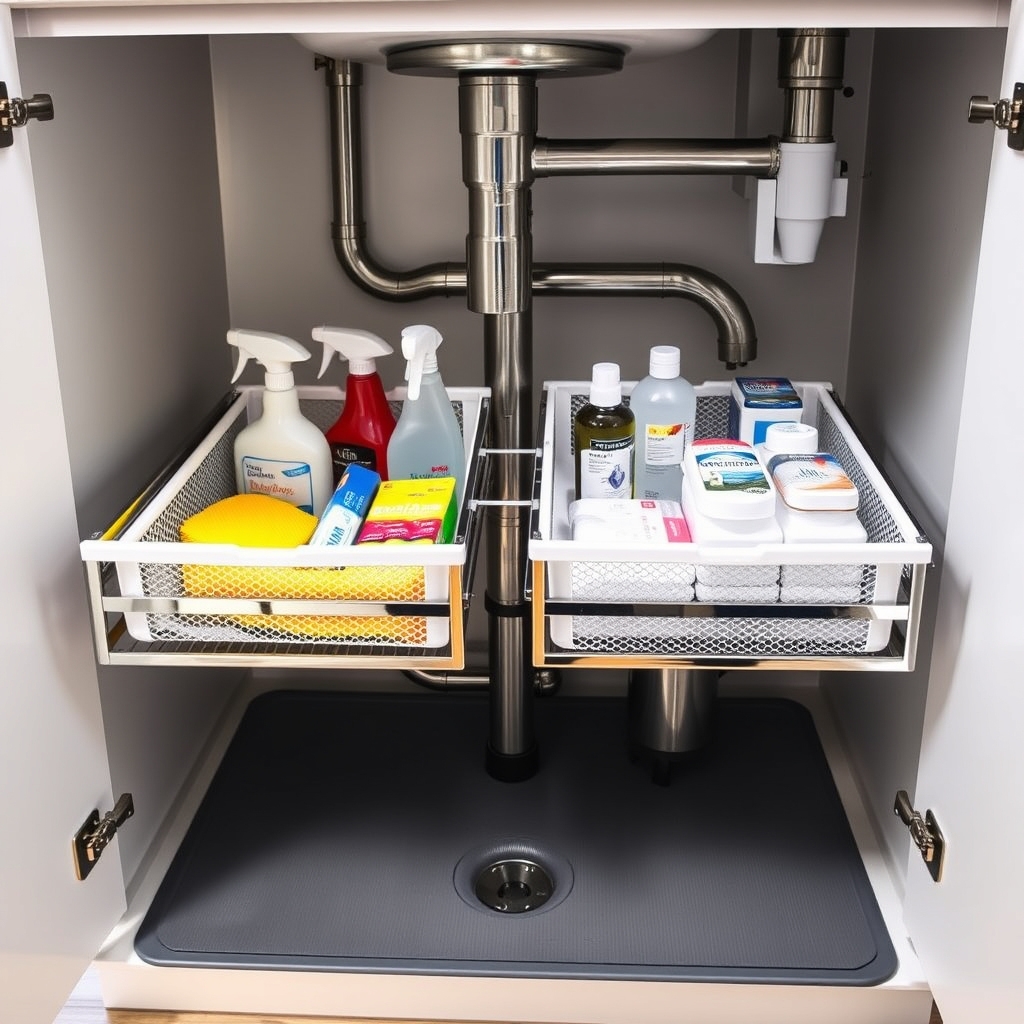
The area under your kitchen sink is prime real estate that often becomes a chaotic catch-all for cleaning supplies, extra bags, and miscellaneous items. Installing pull-out drawers transforms this awkward space into an efficiently organized storage solution that maximizes every inch while making items easily accessible.
Pull-out drawers eliminate the need to reach blindly into dark corners or stack items precariously around plumbing fixtures. This system creates designated zones for different categories of items, allowing you to see and access everything at a glance while utilizing the full depth of the cabinet space.
Required Items:
- Pull-out drawer units (sized to fit your cabinet)
- Measuring tape
- Screwdriver
- Drill and drill bits
- Cabinet screws
- Level
- Pencil
- Safety glasses
- Installation template (usually included with drawer unit)
- Mounting brackets
- Pliers
Installation and organization begins with careful measurement of your under-sink space, accounting for plumbing fixtures and disposal units. Remove everything from under the sink and clean thoroughly.
Mount the sliding track hardware according to manufacturer specifications, ensuring they’re level and properly secured. Install the pull-out units, testing their smooth operation before adding weight.
Create zones within the drawers using the natural divisions or additional organizers – designate areas for cleaning supplies, dishwashing items, and frequently used products in the front drawer, while placing less-used items in the back drawer.
Once installation is complete, sort items by category and frequency of use. Position frequently used items in easily accessible spots, and consider using additional containers or bins within the pull-out drawers to prevent items from shifting.
Label sections clearly to maintain organization long-term. To maximize the effectiveness of your pull-out drawer system, regularly review and purge unused items.
Install child-safety locks if necessary, and use drawer liners to protect against potential leaks or spills. Consider mounting a small tension rod between drawer units to hang spray bottles, keeping them upright and maximizing vertical space.
Use Clear Storage Bins to Group Similar Items
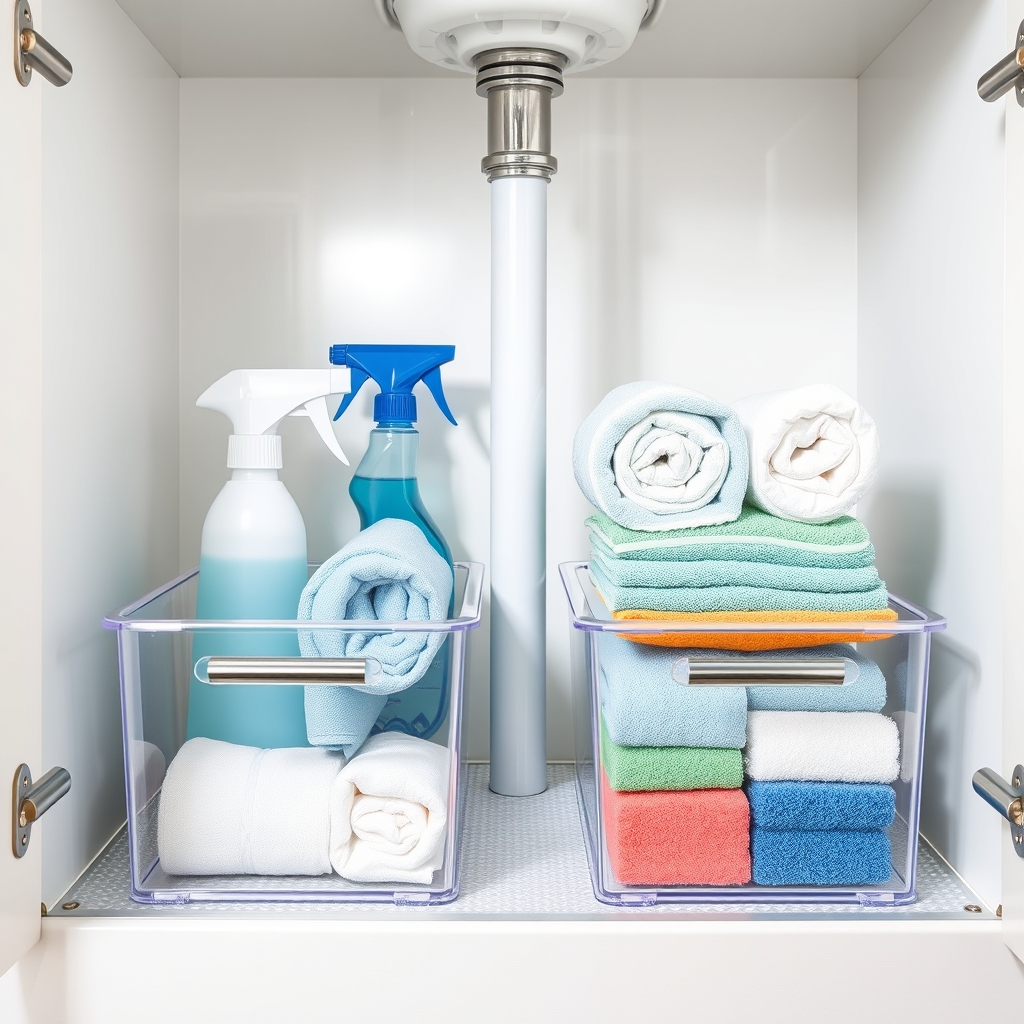
Organizing the space under your sink is crucial for maintaining an efficient and functional kitchen or bathroom. The chaotic mix of cleaning supplies, tools, and household items can quickly become overwhelming, making it difficult to find what you need when you need it. Clear storage bins provide an ideal solution by creating visible, designated spaces for different categories of items.
Clear bins transform a cluttered under-sink area into an organized system that maximizes space utilization while keeping everything easily accessible. When similar items are grouped together in transparent containers, you can quickly identify and retrieve products without moving multiple items or forgetting what’s stored in the back of the cabinet.
Required Items:
- Clear plastic storage bins (various sizes)
- Label maker or waterproof labels
- Measuring tape
- Paper and pen for inventory
- Optional drawer organizers
- Non-slip cabinet liner
- Cleaning supplies for initial cabinet cleaning
First, remove everything from under the sink and thoroughly clean the space. Measure the cabinet’s dimensions, accounting for pipes and other fixed elements. Sort all items into categories such as cleaning supplies, dishwashing items, trash bags, and spare products.
Select appropriately sized clear bins that fit your cabinet measurements and accommodate your grouped items. When placing items back, position frequently used products in easily accessible bins at the front of the cabinet. Arrange bins so that labels face forward and items can be grabbed without removing the entire container.
Stack bins strategically to utilize vertical space, but avoid blocking access to plumbing or making lower bins difficult to reach. For optimal organization maintenance, implement a regular review system every three months. Remove expired products, restock essentials, and adjust bin arrangements as needed.
Consider using stackable bins with handles for easier access and installing a tension rod near the top of the cabinet to hang spray bottles, freeing up valuable bin space below.
Mount a Tension Rod for Hanging Spray Bottles
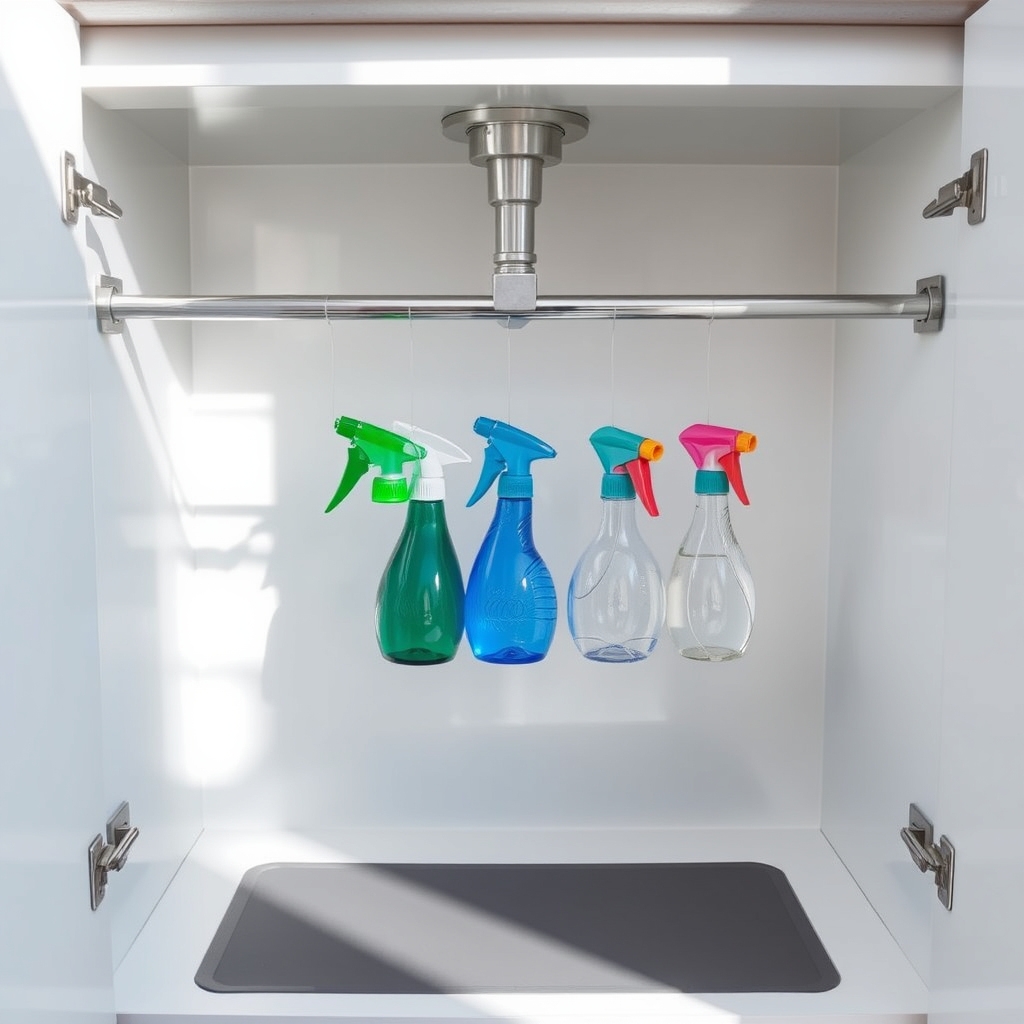
The space under the kitchen sink often becomes a chaotic collection of cleaning supplies, with spray bottles scattered and toppled over. This disorganization not only makes it difficult to find what you need but can also lead to spills and wasted storage space. A tension rod installation creates an instant hanging solution that transforms this awkward space into an efficient storage area.
By mounting a tension rod under your sink, you create a dedicated zone for spray bottles that keeps them upright, accessible, and neatly arranged. This simple hack utilizes vertical space that typically goes unused while keeping the cabinet floor free for other cleaning supplies or storage containers.
Required Items:
- Tension rod (spring-loaded)
- Measuring tape
- Cleaning supplies with spray triggers
- Paper towels or cleaning cloth
- Cabinet liner (optional)
Installation and Organization Process:
First, clear out the area under your sink and measure the width of the cabinet interior. Select a tension rod that extends slightly beyond these measurements to ensure a secure fit.
Position the rod about 6-8 inches from the top of the cabinet, leaving enough space for spray bottles to hang freely without touching the bottom. Test the rod’s stability by gently pulling downward before hanging any bottles.
Arrange your spray bottles by hanging them from their triggers, positioning frequently used items toward the front for easy access.
Additional Tips:
Group similar cleaning products together on the rod (kitchen cleaners, bathroom supplies, etc.) and consider labeling the tops of the bottles for quick identification from above.
To prevent potential water damage, place a cabinet liner underneath the hanging bottles to catch any drips. Periodically check the tension rod’s stability and adjust as needed, especially if you notice any slipping or sagging over time.
Add Door-Mounted Organizers for Small Items
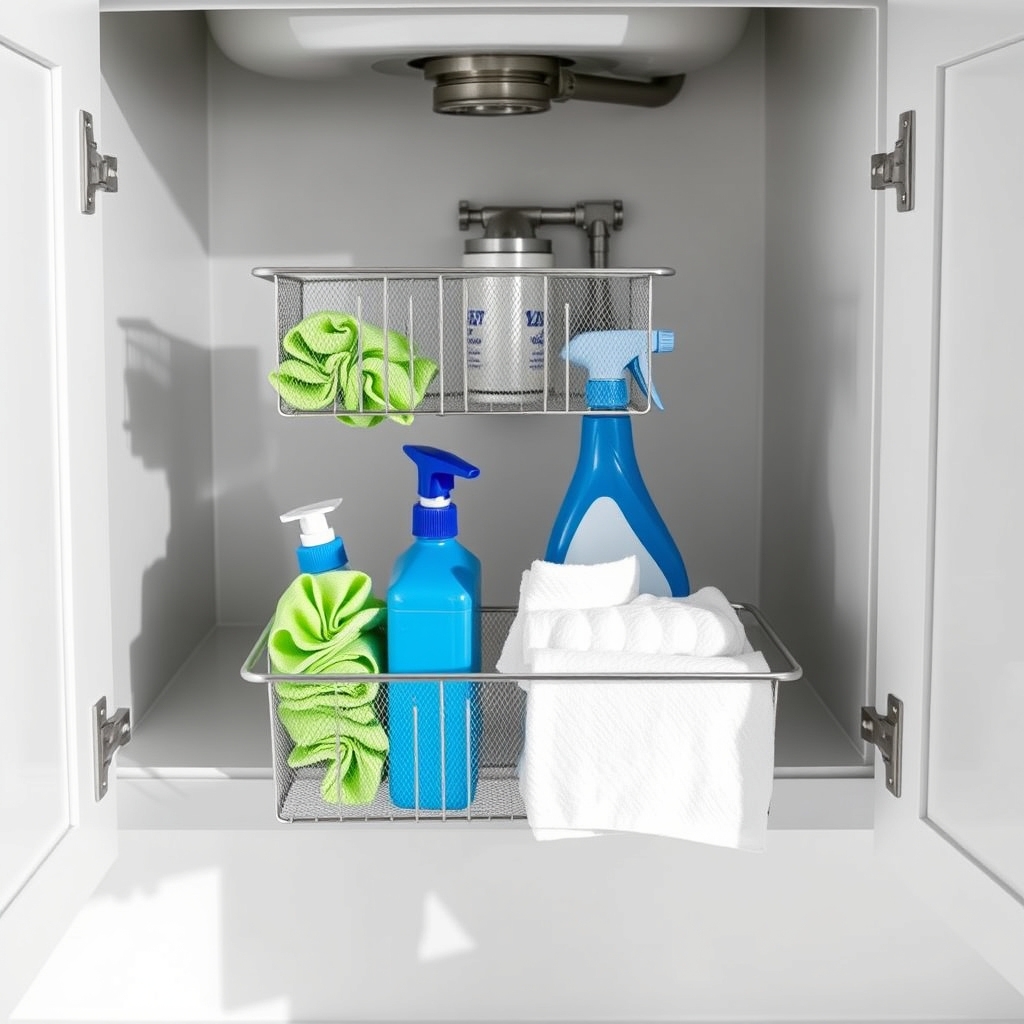
Making the most of cabinet door space under your sink is a game-changer for maximizing storage in typically cluttered areas. Door-mounted organizers create valuable vertical storage space that keeps frequently used items easily accessible while freeing up the cabinet floor for larger items.
Door-mounted organization is particularly effective for storing cleaning supplies, sponges, dishwashing tools, and other small items that tend to get lost in the depths of under-sink cabinets. This system allows you to categorize items logically while protecting cabinet surfaces from wet cleaning tools.
Required Items:
- Over-the-door hanging organizer or basket system
- Command hooks or mounting hardware
- Measuring tape
- Pencil
- Screwdriver
- Level
- Clear bins or containers (optional)
- Label maker (optional)
Position the door-mounted organizer by first measuring the cabinet door’s width and height to ensure proper fit. Mark mounting points, keeping in mind the location of pipes and other obstacles when the door closes. Install the organizer using appropriate hardware, ensuring it’s level and secure.
Test the door’s closure several times to confirm the organizer doesn’t interfere with pipes or other cabinet contents. Sort items by frequency of use, placing most-used items at eye level. Group similar items together, such as dish cleaning supplies in one section and hand soaps in another.
For maximum functionality, place frequently used items in easily accessible spots and reserve bottom sections for backup supplies. Consider using clear containers within the organizer to prevent small items from falling through. Label each section clearly to maintain organization long-term.
Allow space between items for proper door closure and avoid overloading the organizer beyond its weight capacity.
Additional Tips: Regularly inspect mounting hardware to ensure it remains secure, and periodically clean both the organizer and cabinet door to prevent moisture buildup. Remove items that haven’t been used in three months to maintain efficient use of space.
Consider using waterproof liners behind the organizer to protect the cabinet door from moisture damage, especially when storing wet cleaning tools.
Create Zones With Stackable Storage Solutions
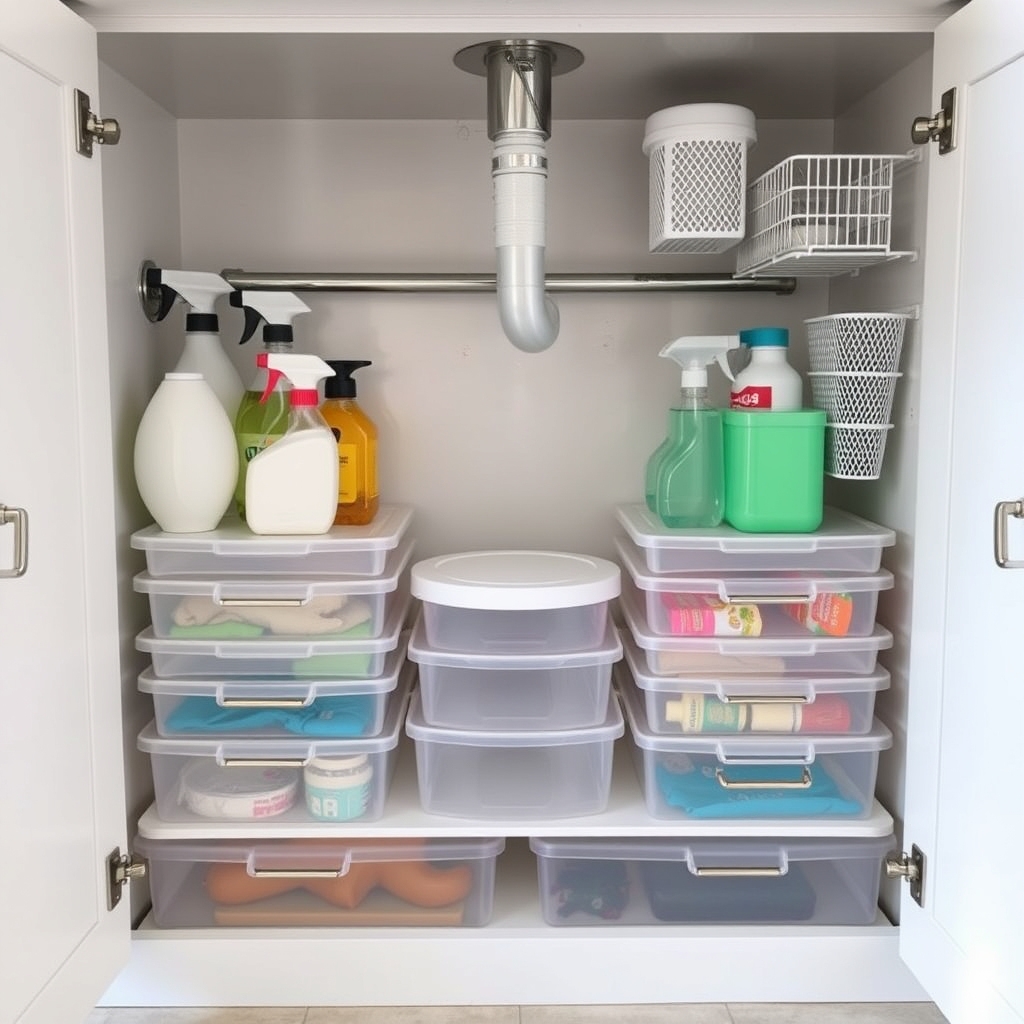
The space under your kitchen sink often becomes a chaotic collection of cleaning supplies, extra bags, and miscellaneous household items. Without proper organization, this valuable storage area can quickly transform into an inefficient mess where items get lost or forgotten, leading to unnecessary duplicate purchases and wasted time searching for needed supplies.
Creating organized zones with stackable storage solutions transforms this challenging space into a functional storage system. By maximizing vertical space and implementing designated areas for specific items, you can double your storage capacity while maintaining easy access to frequently used products.
Required Items:
- Stackable plastic storage bins
- Pull-out drawer organizers
- Clear storage containers
- Label maker or labels
- Measuring tape
- Tension rods
- Small lazy Susan (optional)
- Over-cabinet door organizers
- Plastic bins with handles
- Command hooks
Start by removing everything from under the sink and measuring the available space, accounting for pipes and disposal units. Install stackable drawer units on one side, ensuring they can slide out fully without hitting pipes. Position taller units toward the back and shorter ones in front for easy access.
Create specific zones based on frequency of use: cleaning supplies in front, extra supplies in back, and specialty items on a separate level. Group similar items together within these zones. Place daily cleaning supplies in easily accessible front containers, while storing backup supplies in stackable bins toward the back.
Utilize vertical space by adding tension rods for spray bottles and hanging organizers on cabinet doors for smaller items like sponges and scrub brushes. Consider installing a small lazy Susan in corner areas that are hard to reach, and use clear containers to easily identify contents.
Label each container and zone clearly to maintain the system long-term, and leave some flexible space for future additions. Review the organization system every few months, adjusting zones as needed based on changing household needs and removing expired or unused products.
Protect the Space With Liner and Leak Protection
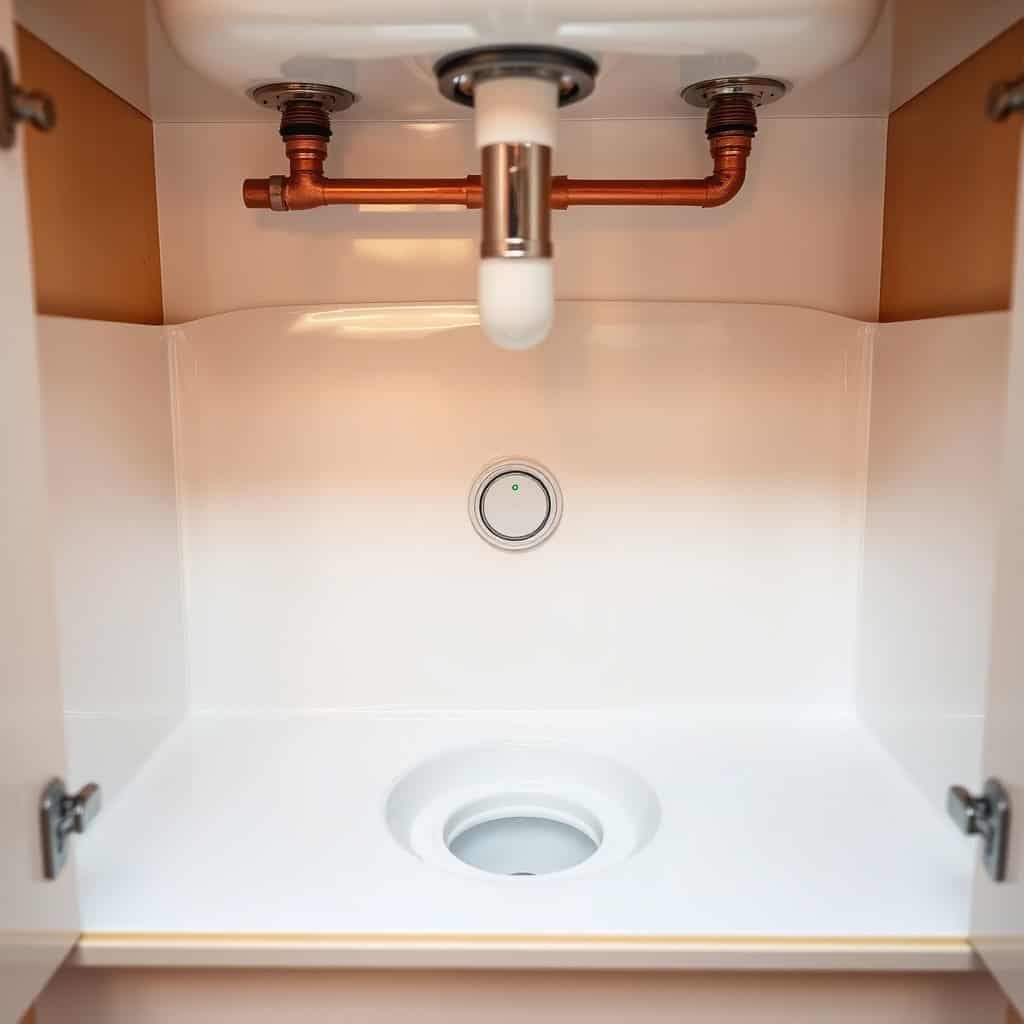
Water damage under the sink can lead to costly repairs, mold growth, and damaged belongings. Taking preventive measures to protect this space is essential for maintaining both the integrity of your cabinetry and the safety of stored items. Proper protection not only safeguards against potential leaks but also makes cleaning easier and extends the life of your cabinet’s interior.
Creating a protective barrier transforms your under-sink area into a more resilient storage space that can withstand minor spills and leaks. This organization step is particularly crucial because plumbing connections can develop slow leaks over time, often going unnoticed until significant damage has occurred.
Required Materials:
- Cabinet liner material (vinyl or rubber)
- Scissors
- Measuring tape
- Waterproof caulk
- Leak detection sensors
- Plastic drain pan
- Double-sided tape
- Utility knife
- Pencil
Start by thoroughly cleaning and drying the cabinet interior. Measure the cabinet’s base, sides, and back wall carefully, adding an extra inch on all sides for proper coverage. Cut the liner material according to these measurements, ensuring precise fits around pipes and plumbing fixtures.
Install the main floor piece first, followed by the side walls, using double-sided tape to secure the liner in place. Place a plastic drain pan directly under the plumbing connections to catch any potential leaks.
For maximum protection, apply a thin bead of waterproof caulk along the edges where the liner meets the cabinet walls. This creates a complete seal and prevents water from seeping underneath. Install leak detection sensors in strategic locations – particularly near pipe connections and disposal units – ensuring they’re positioned to detect water at the earliest possible moment.
Additional Tips: Consider using clear liner material to make leak detection easier, and implement a quarterly inspection routine to check for any damage to the liner or signs of water accumulation.
Replace liners every 2-3 years or sooner if showing signs of wear. Mark the installation date on an inconspicuous corner of the liner for reference, and keep spare liner material for quick repairs if needed.

