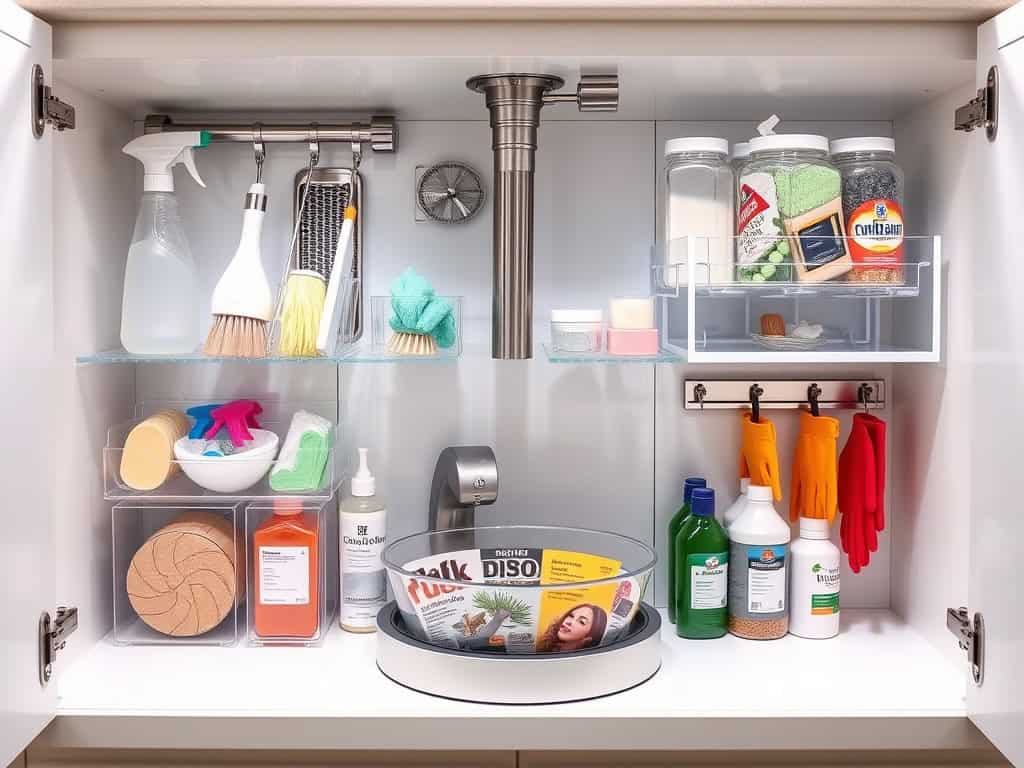
You know that chaotic under-sink space where cleaning supplies multiply and containers mysteriously vanish? I’ve been there, and let me tell you – transforming that dark abyss into an organized oasis isn’t just possible, it’s surprisingly simple! With a few clever DIY hacks and basic supplies you probably already have, you’ll discover how to maximize every inch of that valuable kitchen real estate. Let’s explore eight genius solutions that’ll make you wonder why you didn’t try them sooner.
Install Tension Rods for Hanging Spray Bottles
The space under your kitchen sink often becomes a cluttered maze of cleaning supplies, with spray bottles laying haphazardly or toppling over each other. This disorganization not only wastes valuable storage space but also makes it difficult to quickly locate and access the cleaning products you need.
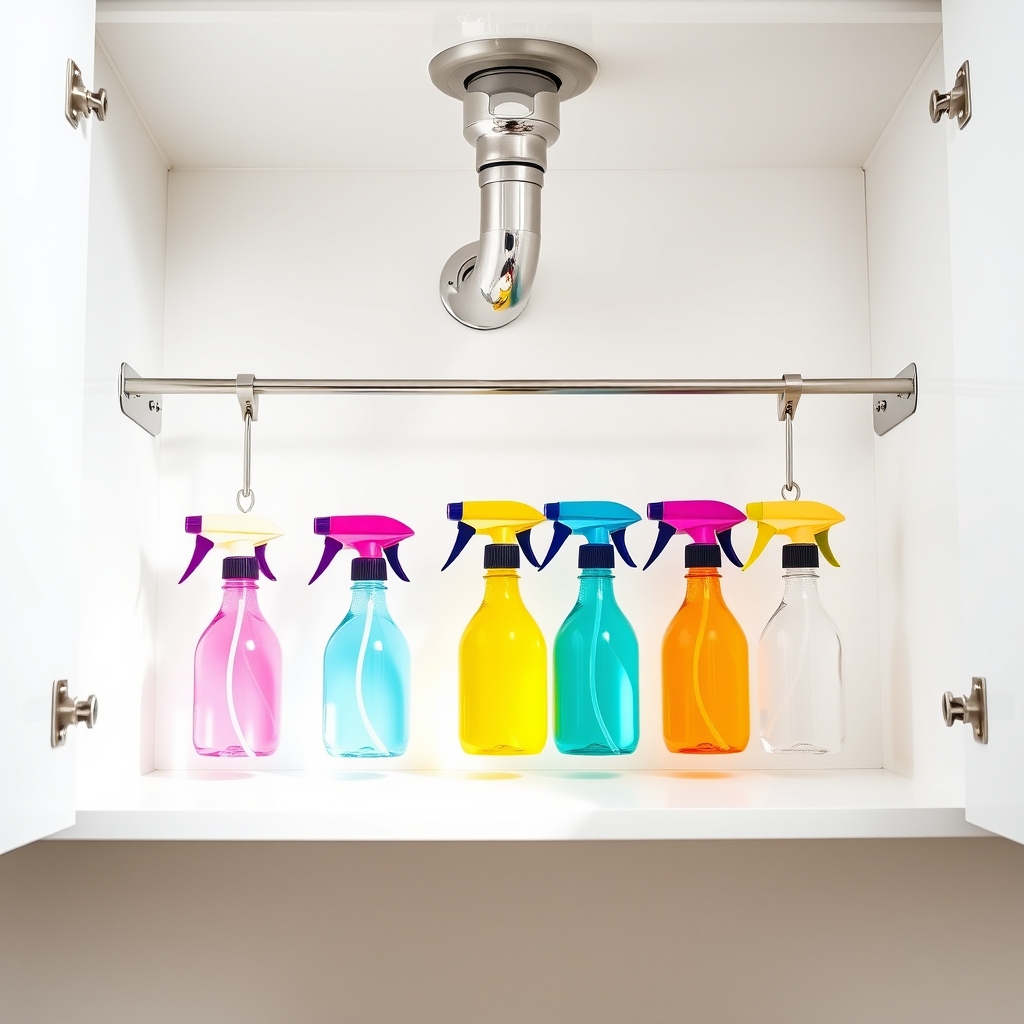
Installing tension rods under your sink creates an efficient hanging system for spray bottles, maximizing vertical space while keeping cleaning supplies neatly arranged and easily accessible. This simple solution transforms unused vertical space into functional storage, preventing bottles from getting lost in the back of the cabinet.
Required Items:
- 2-3 tension rods (depending on cabinet size)
- Measuring tape
- Level
- Clean cloth
- Optional: rubber grip pads
- Optional: label maker
Begin by measuring the width and height of your under-sink cabinet, noting any pipes or fixtures that may affect rod placement. Clean the cabinet sides thoroughly where the tension rods will be placed.
Install the first tension rod near the top of the cabinet, leaving enough clearance for spray bottle triggers. Position additional rods below the first, spacing them approximately 6-8 inches apart to accommodate different bottle sizes. Ensure each rod is level and secure by testing the tension.
Hang spray bottles by their triggers, arranging them by frequency of use or cleaning zone. For optimal organization and longevity, rotate bottles occasionally to prevent trigger mechanisms from weakening in one position.
Apply rubber grip pads to the tension rod ends to prevent slipping and protect cabinet walls. Label the front of each bottle for easy identification when hanging, and consider grouping similar products together (kitchen cleaners, bathroom supplies, etc.).
Periodically check the tension rods’ stability and adjust as needed to maintain a secure hold.
Create a Pull-Out Drawer System With Dollar Store Baskets
The space under your kitchen sink often becomes a chaotic collection of cleaning supplies, sponges, and miscellaneous items that get lost in the depths of the cabinet. Without proper organization, this valuable storage space can quickly transform into an inefficient mess where items become difficult to locate and access.
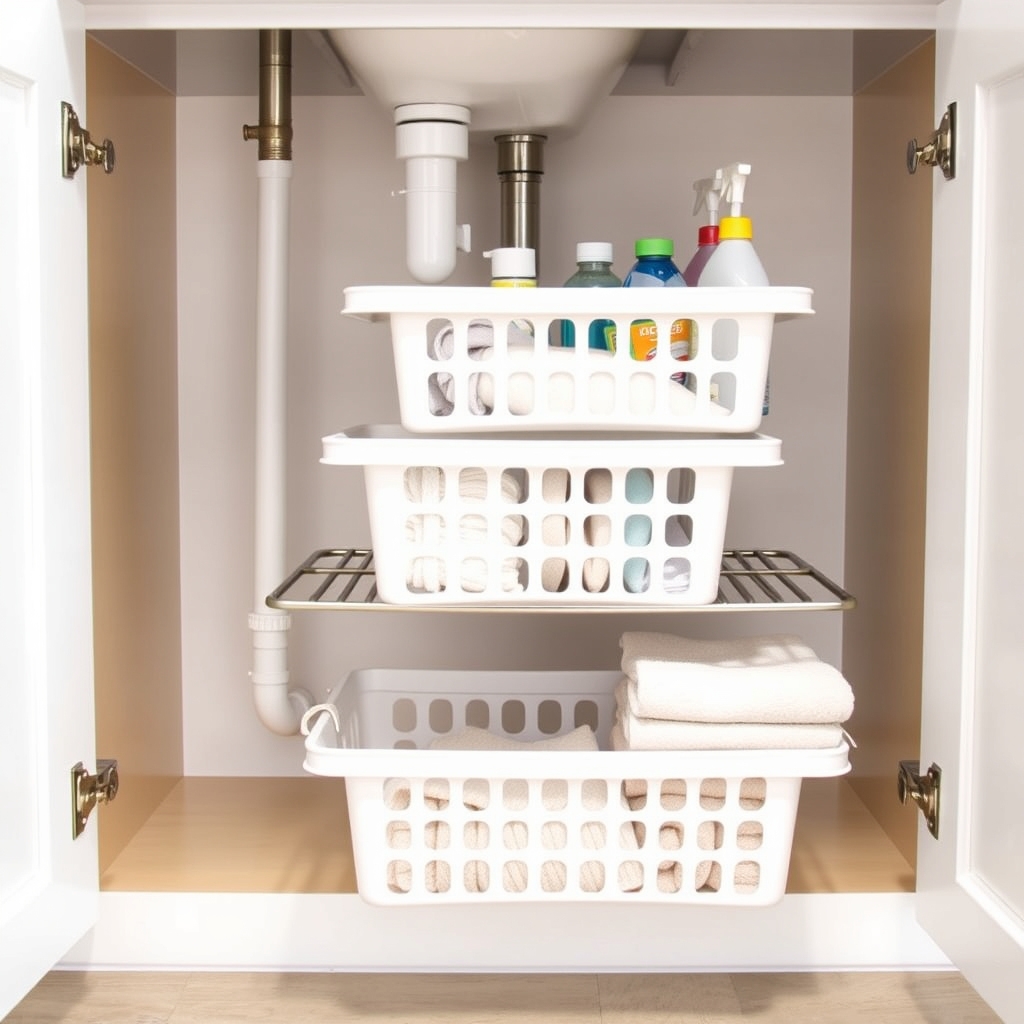
Creating a pull-out drawer system using dollar store baskets offers an affordable and practical solution to maximize this often-overlooked space. This system allows you to categorize items, access them easily, and maintain a clutter-free environment while making the most of your vertical and horizontal storage capacity.
Required Items:
- Dollar store plastic baskets (various sizes)
- Drawer slides (2 per basket)
- Mounting brackets
- Screws and anchors
- Power drill
- Screwdriver
- Measuring tape
- Pencil
- Level
- Zip ties (optional)
Install the pull-out drawer system by first measuring the cabinet’s interior width and depth to determine appropriate basket sizes and slide placement. Mount the drawer slides to the cabinet walls using brackets, ensuring they’re level and properly secured. Attach the corresponding slide components to your dollar store baskets, either by drilling through the basket sides or using strong zip ties for plastic baskets that can’t be drilled.
Space the drawer slides vertically to accommodate different basket heights and contents. Test each basket’s sliding motion before securing all components permanently.
To maximize organization, designate specific baskets for different categories: cleaning supplies, dishwashing items, trash bags, and tools. Consider installing shorter slides in front for frequently-used items and longer slides in back for less-used supplies.
Stack baskets vertically when possible, but ensure adequate clearance for pipes and disposal units. For optimal functionality, label each basket clearly, use basket dividers for smaller items, and consider adding non-slip liner to prevent items from shifting when drawers slide.
Regular maintenance of the slides and periodic cleaning of the baskets will ensure smooth operation and longevity of your organization system. Remember to keep heavier items in lower baskets to maintain stability and prevent strain on the sliding mechanisms.
Maximize Vertical Space With Stackable Storage Bins
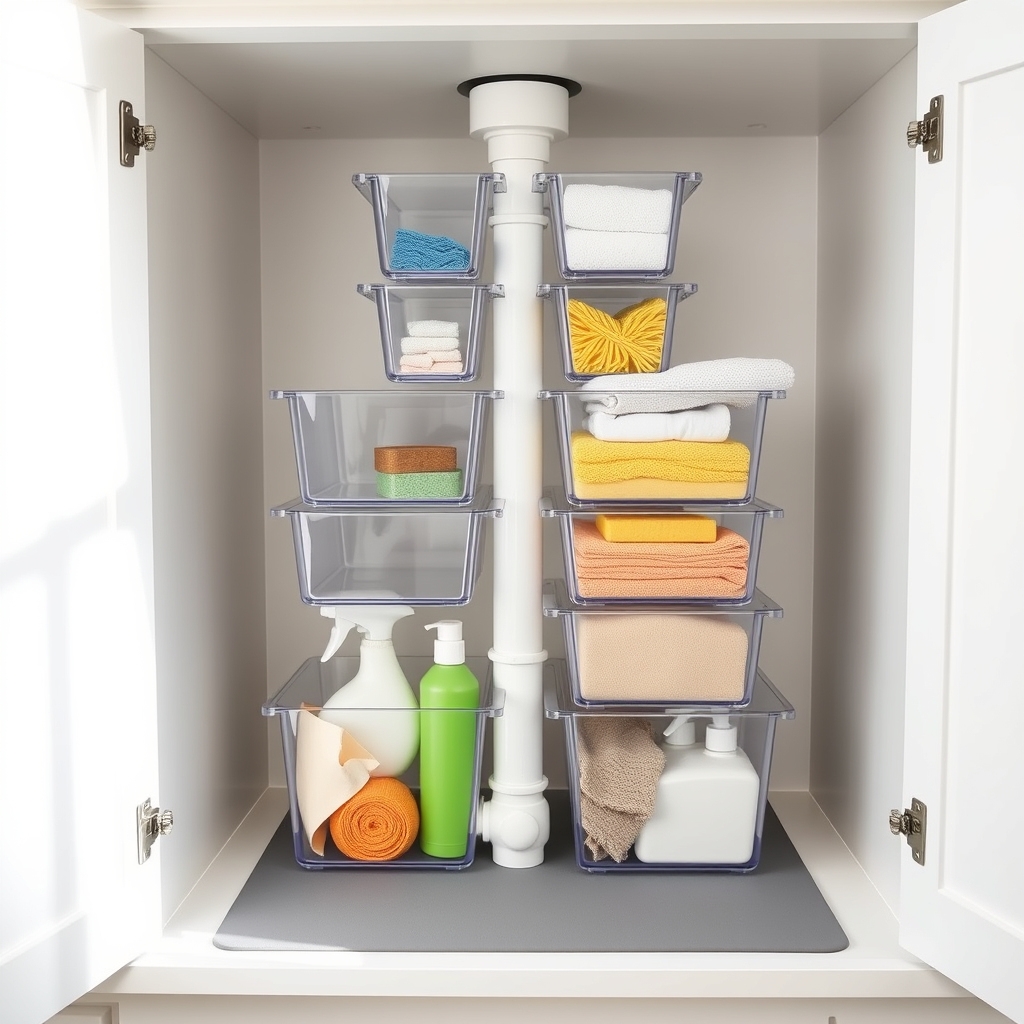
Making the most of under-sink space is crucial in any home, as this area often becomes a cluttered catch-all for cleaning supplies, hygiene products, and household essentials. The vertical space beneath your sink represents valuable real estate that, when properly utilized, can transform a chaotic storage area into an efficiently organized system.
Stackable storage bins are the perfect solution for maximizing vertical space, allowing you to take advantage of the full height available while keeping items easily accessible and properly categorized. This organization method prevents items from getting lost in the back of cabinets and eliminates the need to move multiple items to reach what you need.
Required Items:
- Stackable plastic storage bins
- Label maker or labels
- Measuring tape
- Cabinet liner (optional)
- Drawer organizers or small containers
- Clear bins (recommended)
- Shelf risers (if needed)
- Cleaning supplies for initial prep
The organization process begins with completely emptying the under-sink area and measuring the available space, accounting for pipes and other fixed elements. Select stackable bins that fit within these measurements, ensuring they can be easily removed without catching on pipes.
Arrange the bins by frequency of use, with daily items in front and occasional-use items toward the back. Create designated zones within the bins: cleaning supplies in one, personal care items in another, and household maintenance items in a third.
When stacking the bins, maintain stability by placing heavier items in bottom containers and lighter items on top. Ensure the bins are slightly graduated in size if necessary, with larger ones at the base. Position frequently accessed items at eye level for easy retrieval, and use clear bins when possible to quickly identify contents.
To maximize long-term success, implement a regular maintenance schedule where you review and adjust the organization system every three months. Consider using drawer organizers within larger bins to prevent smaller items from getting mixed up, and always keep toxic cleaning supplies in separate containers from personal care items.
Remember to leave some flexible space for future additions and seasonal items that may need temporary storage.
Mount Over-the-Door Organizers for Extra Storage
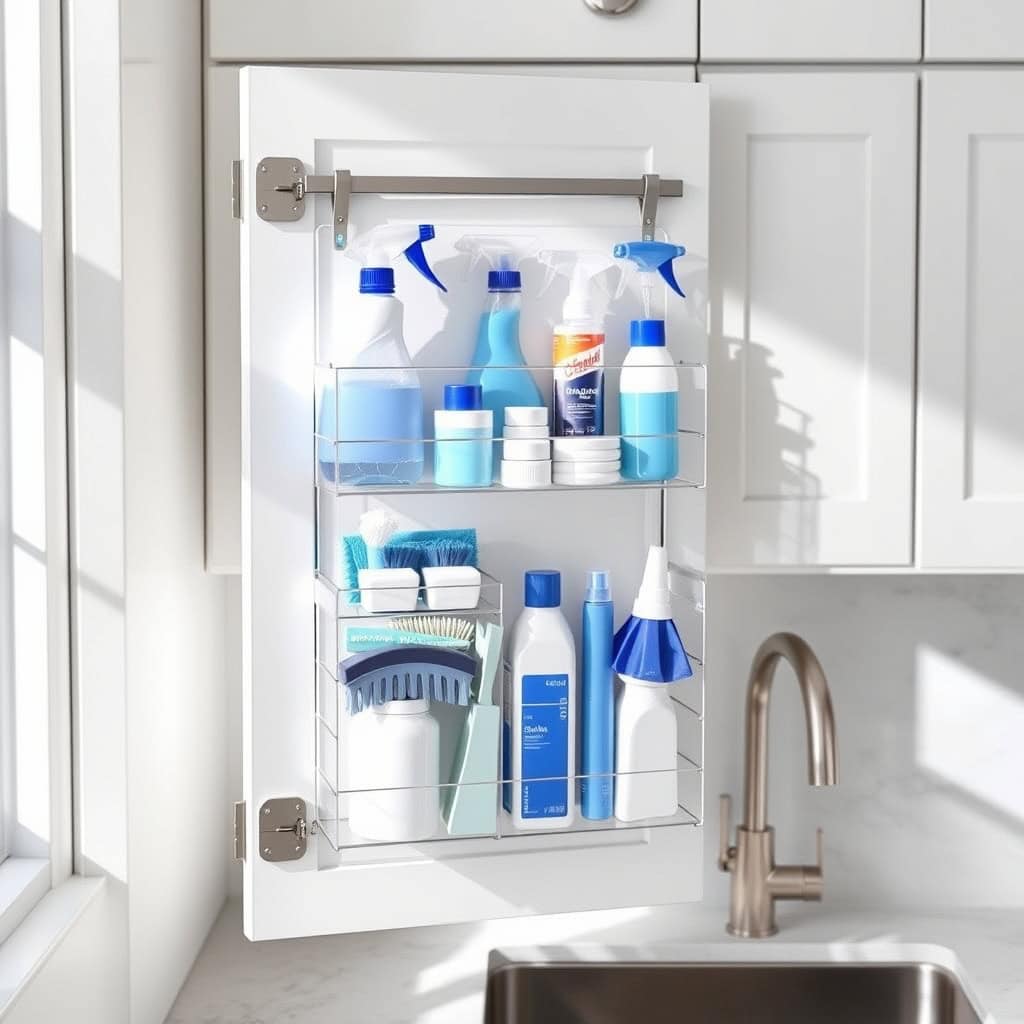
Making the most of cabinet door space under your sink is a game-changer for bathroom and kitchen organization. These often-overlooked surfaces can transform into valuable storage real estate, helping to declutter the cabinet floor and make items more accessible.
Over-the-door organizers maximize vertical space while keeping frequently used items within arm’s reach. This solution is particularly valuable for storing cleaning supplies, beauty products, or kitchen essentials that would otherwise create chaos in the cabinet’s interior.
Required Items:
- Over-the-door cabinet organizers
- Measuring tape
- Screwdriver
- Cabinet door hooks
- Adhesive strips (optional)
- Level
- Pencil
- Anchor screws (if needed)
Start by measuring both the interior and exterior of your cabinet doors to ensure proper fit of the organizers. Remove the cabinet doors and lay them flat on a work surface. Mark the mounting points for your organizers, ensuring they won’t interfere with the cabinet’s closing mechanism or interior shelves.
Install the hooks or mounting brackets according to the manufacturer’s instructions, making sure they’re level and secure. For added stability, especially with heavier items, consider using both hooks and screws to mount the organizers. If your cabinet doors are particularly thin, use anchor screws to prevent damage.
Once mounted, test the door’s movement to ensure smooth operation without catching or scraping.
Additional Tips: Sort items by frequency of use, placing daily essentials at eye level and less-used items toward the bottom. Consider using clear containers or labels within the organizers to maintain order. Regularly check the mounting hardware’s security, especially if storing heavier items, and adjust as needed to prevent sagging or damage to the cabinet doors.
Build a Custom PVC Pipe Storage Solution
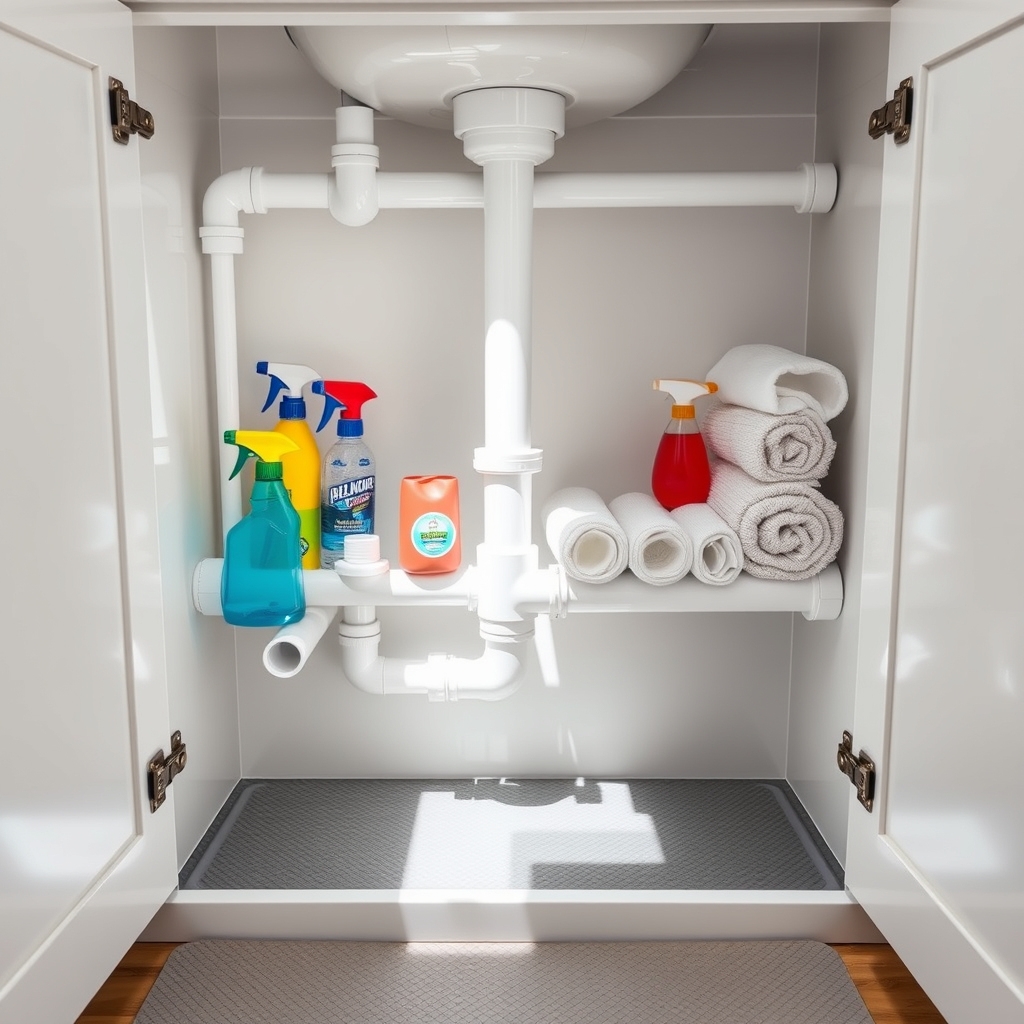
The space under your kitchen sink often becomes a chaotic collection of cleaning supplies, with bottles and tools scattered haphazardly. This disorganization not only wastes valuable storage space but also makes it difficult to locate items when needed, leading to unnecessary purchases of duplicate products.
A custom PVC pipe storage solution transforms this traditionally awkward space into an efficient, accessible storage system. By utilizing vertical space and creating designated compartments, this DIY approach maximizes the area while working around existing plumbing fixtures.
Required Materials:
- PVC pipes (2-inch and 3-inch diameter)
- PVC pipe cutter or saw
- Measuring tape
- Marker
- PVC cement
- PVC connectors (T-joints and elbows)
- Mounting brackets
- Screws
- Power drill
- Level
- Sandpaper
The construction process begins with measuring the available space under your sink, accounting for plumbing fixtures and cabinet dimensions. Cut PVC pipes to desired lengths, typically 8-12 inches for spray bottles and 4-6 inches for smaller items.
Sand the cut edges smooth and dry-fit the pieces together using connectors to create a configuration that maximizes your space. Once satisfied with the layout, permanently join the pieces using PVC cement, following the manufacturer’s instructions.
Mount the completed structure to the cabinet walls using brackets, ensuring it’s level and secure. Position taller sections toward the back of the cabinet and shorter ones in front for easy access.
Create different zones within the structure – designated areas for cleaning supplies, dishwashing items, and trash bags.
For optimal results, label each compartment clearly and consider adding non-slip shelf liner at the bottom of each tube to prevent items from sliding.
Regularly assess the effectiveness of your organization system and adjust the configuration as needed to accommodate new items or changing storage needs. This modular design allows for future modifications and expansions as your storage requirements evolve.
Add a Lazy Susan for Easy Access to Supplies
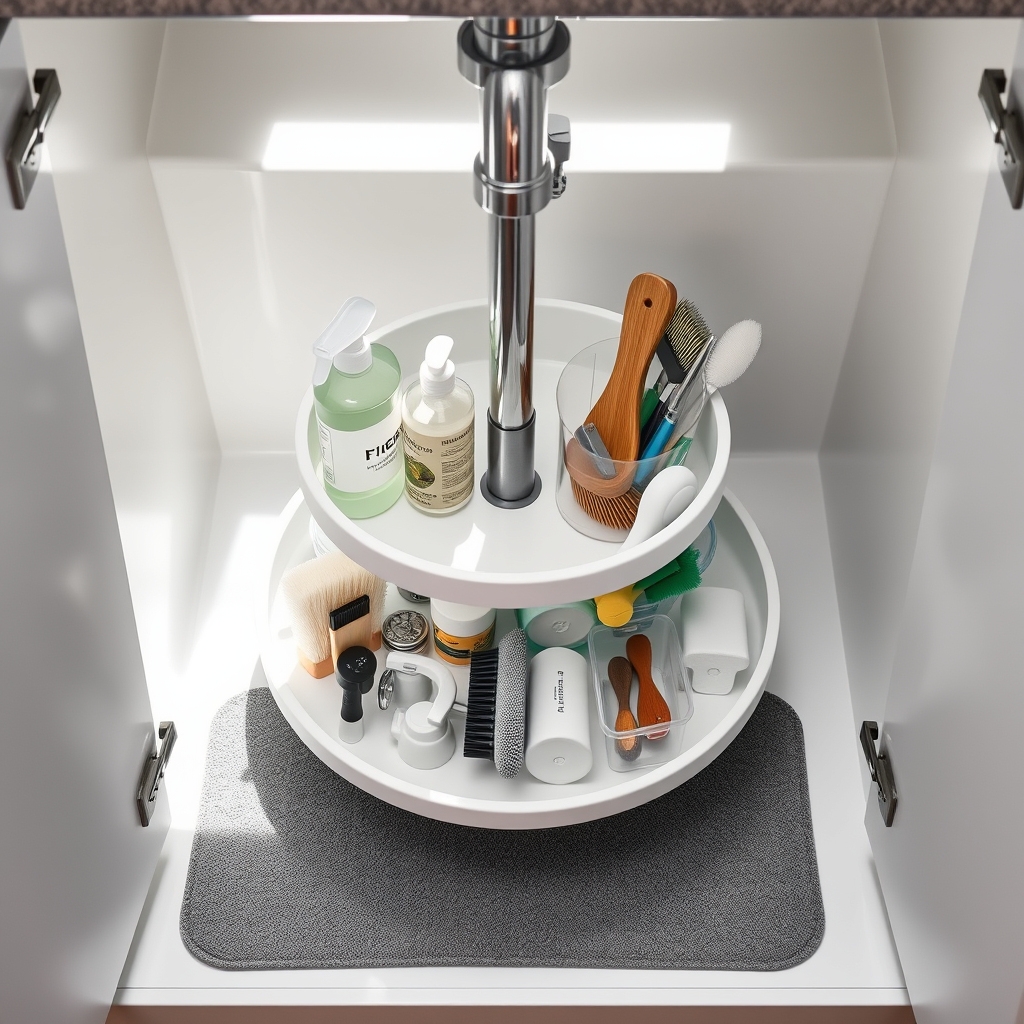
The space under your kitchen sink often becomes a chaotic collection of cleaning supplies, making it difficult to locate items when needed. A well-organized under-sink area not only saves time but also prevents forgotten products from expiring unused in the back corners.
Installing a Lazy Susan under your sink transforms this traditionally awkward space into an efficient storage solution. The rotating design eliminates the need to reach deep into dark corners or move multiple items to access what you need, making cleaning tasks more streamlined and maintenance more likely to stay consistent.
Required Items:
- Lazy Susan (single or multi-tier)
- Measuring tape
- Cleaning supplies
- Storage bins or containers
- Labels and marker
- Non-slip mat
- Plumbing-friendly mounting hardware (if applicable)
Start by removing everything from under the sink and measuring the available space, accounting for pipes and disposal units. Select a Lazy Susan that fits within these dimensions, leaving adequate clearance for rotation.
Position the Lazy Susan in the center of the available space, ensuring it can spin freely without hitting pipes or cabinet walls. Group similar items together on the rotating tray – cleaning sprays on one section, sponges and scrubbers on another, and frequently used items toward the front for easy access.
Consider adding small containers or bins on the Lazy Susan to prevent items from tipping during rotation. For optimal organization, place taller items toward the center of the Lazy Susan where height clearance is typically greatest.
Install a non-slip mat underneath to prevent movement, and consider anchoring the unit if it comes with mounting hardware. Use any remaining cabinet space around the Lazy Susan for items that don’t fit or aren’t frequently accessed.
Additional Success Tips: Label sections of your Lazy Susan to maintain organization long-term and conduct monthly reviews to remove expired products or reorganize as needed.
Consider using clear containers on the Lazy Susan to easily identify contents and maximize vertical space by choosing a multi-tier model if your cabinet height allows.
Utilize Command Hooks for Cleaning Tools
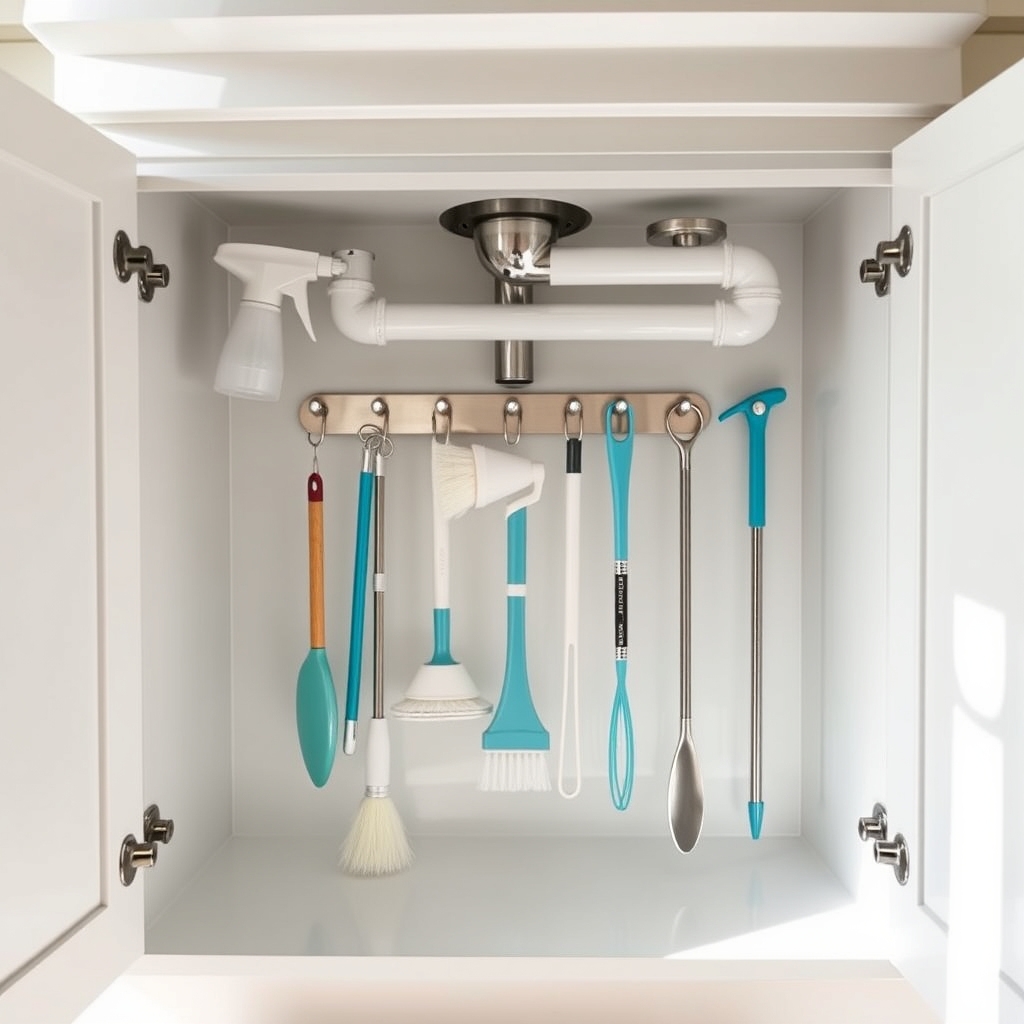
Organizing cleaning tools under the sink is often overlooked, yet it’s one of the most crucial aspects of maintaining an efficient kitchen or bathroom space. When cleaning supplies are scattered or laying flat under the sink, they not only create chaos but also waste valuable storage space that could be better utilized.
Command hooks provide an innovative solution to this common organization challenge, transforming vertical wall space into functional storage areas. This approach keeps cleaning tools easily accessible, prevents them from creating clutter at the bottom of the cabinet, and helps extend the life of your cleaning tools by keeping them properly positioned and dry.
Required Items:
- Command hooks (various sizes)
- Measuring tape
- Pencil
- Cleaning wipes
- Paper towels
- Level (optional)
- Scissors
- Cleaning tools to be hung
The installation process begins by thoroughly cleaning the interior cabinet walls with cleaning wipes and allowing them to dry completely. Measure and mark optimal positions for each hook, ensuring adequate spacing between tools and accounting for handle lengths.
Remove the adhesive backing from the Command hooks and press firmly against the marked spots, holding each in place for 30 seconds to ensure proper adhesion. Wait at least one hour before hanging any cleaning tools to allow the adhesive to properly set.
When mounting the hooks, consider the weight capacity of each hook and match it appropriately to your cleaning tools. Position frequently used items at the front of the cabinet for easy access, while storing lesser-used items toward the back. Arrange tools so that handles don’t interfere with each other when items are removed or replaced.
To maximize this organization system, regularly inspect the hooks for secure attachment and clean both the hooks and the surrounding areas to maintain adhesive strength. Consider labeling the wall above each hook to maintain designated spots for specific tools, and rotate cleaning tools seasonally to ensure even wear on the hooks.
Replace any hooks showing signs of wear before they fail to prevent cleaning tools from falling and creating unexpected messes.
Design a Sliding Caddy System With Wire Baskets
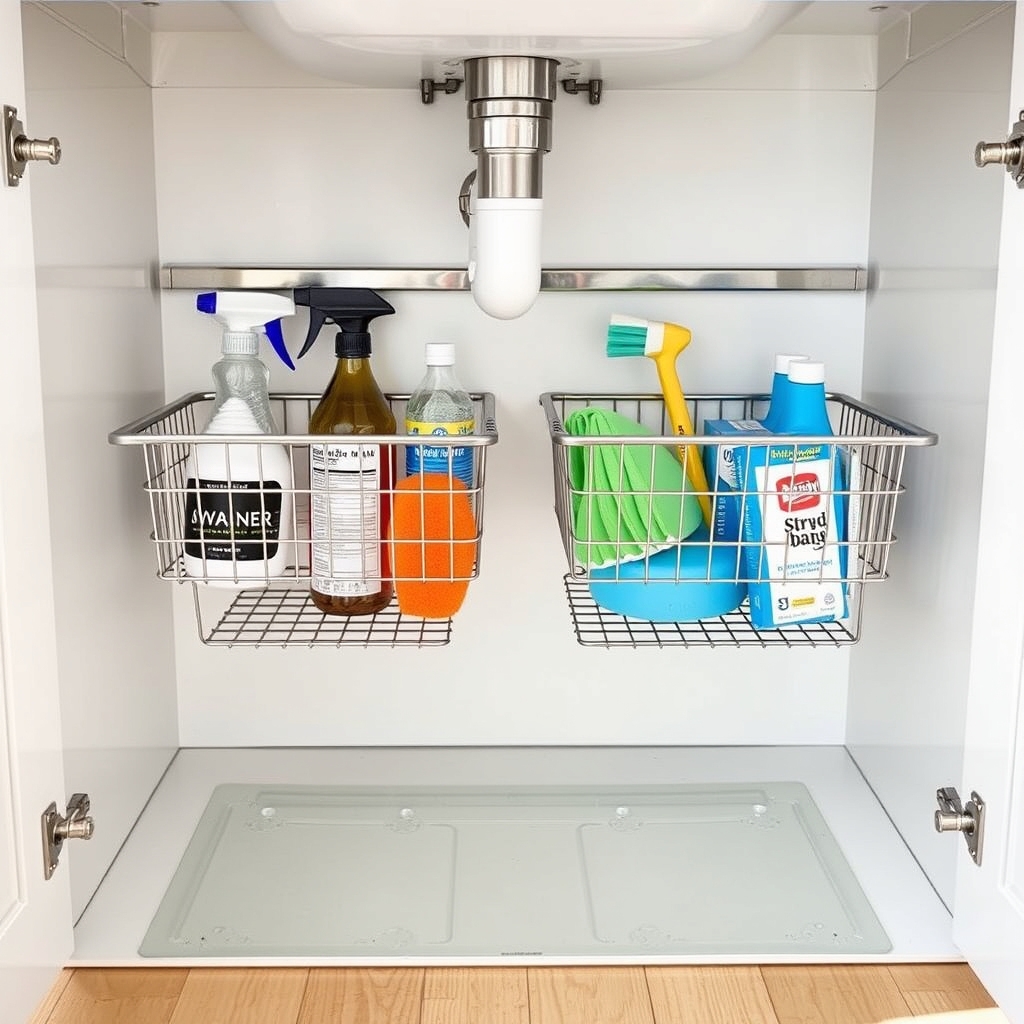
The space under your kitchen sink is prime real estate for storing cleaning supplies, but it often becomes a chaotic jumble of bottles, sponges, and cleaning tools. A sliding caddy system with wire baskets transforms this awkward space into an efficiently organized storage solution that maximizes every inch while keeping supplies easily accessible.
Installing a sliding caddy system eliminates the need to crawl on hands and knees to reach items tucked in the back of the cabinet. Wire baskets allow for visibility and ventilation, preventing moisture buildup that can damage both the cabinet and stored items, while sliding mechanisms ensure smooth access to all your supplies.
Required Items:
- Sliding cabinet organizer tracks
- Wire baskets (2-3 depending on cabinet size)
- Mounting screws
- Drill and drill bits
- Screwdriver
- Measuring tape
- Pencil
- Level
- Safety glasses
- Cabinet liner (optional)
Installation begins with measuring the cabinet interior width and depth to ensure proper fit of the sliding tracks. Mount the tracks to the cabinet base, ensuring they’re level and parallel to each other.
Attach the wire baskets to the sliding mechanisms according to manufacturer instructions, testing the sliding action before loading items. Organize cleaning supplies by category – placing frequently used items in the front basket and less common items toward the back.
Consider the height of stored items to prevent interference with plumbing. For optimal functionality, incorporate adjustable dividers within the wire baskets to prevent items from tipping over.
Position taller items toward the back of each basket and shorter items in front for better visibility. Consider adding a spill-proof liner beneath the system to protect the cabinet base from potential leaks or spills.

