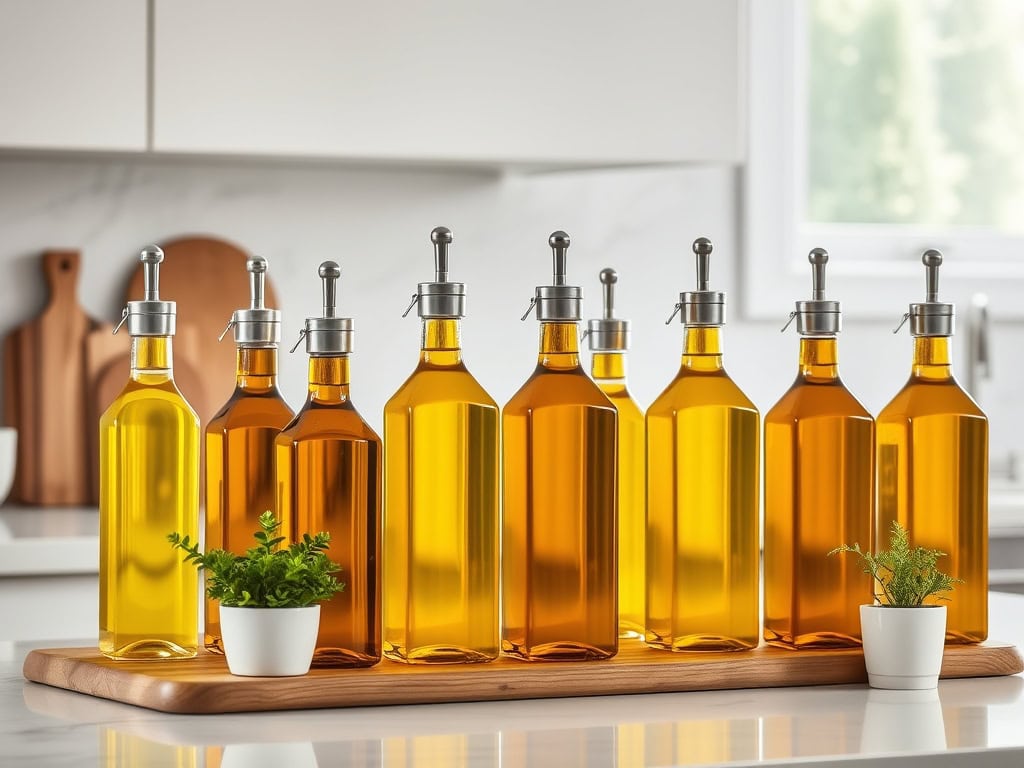
Did you know that the average home cook wastes nearly 20% of their cooking time searching for the right oil among cluttered cabinets? I’ve been there too, frantically pushing aside bottles while my garlic threatens to burn! Whether you’re working with olive, sesame, or avocado oil, having an organized system isn’t just about looking good—it’s about cooking efficiency. Let me share eight clever storage solutions that’ll transform your kitchen from chaotic to professional-grade, while keeping your favorite oils within arm’s reach.
Sleek Glass Dispensers and Pour Spouts
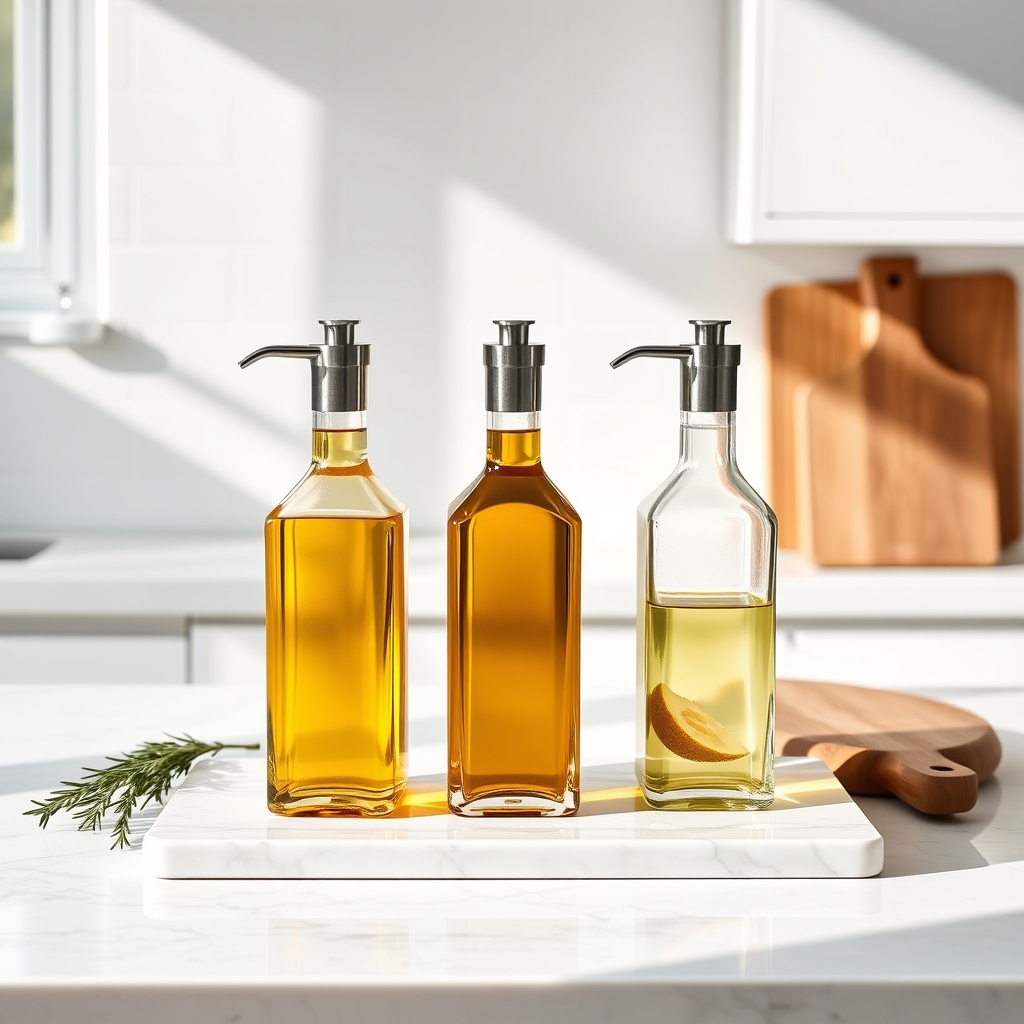
Proper organization of cooking oils not only enhances the aesthetic appeal of your kitchen but also ensures better preservation of these essential ingredients. When oils are stored in their original plastic containers, they can look cluttered and may degrade faster due to light exposure and inconsistent pouring mechanisms.
Transferring oils to elegant glass dispensers with proper pour spouts transforms your cooking experience by providing precise control during use and creating a cohesive, professional look on your countertop. This system also makes it easier to monitor oil levels and maintain freshness, while reducing the likelihood of spills and drips that can make your cooking area messy.
Required Items:
- Clear or amber glass oil dispensers
- Funnel
- Pour spouts or bottle stoppers
- Labels or label maker
- Cleaning supplies
- Small tray or organizing platform
- Measuring cup
- Paper towels
Select appropriately sized glass dispensers based on your oil usage patterns, ideally choosing bottles between 16-32 ounces. Clean the bottles thoroughly and ensure they’re completely dry before filling. Using a funnel, carefully transfer oils from their original containers into the glass dispensers, leaving some headspace at the top.
Install pour spouts or stoppers, ensuring they fit securely. Create clear labels indicating the type of oil and date of transfer. Position the bottles on a designated tray or platform, keeping frequently used oils at the front and specialty oils toward the back.
For optimal results, store oil dispensers away from direct sunlight and heat sources to prevent degradation. Clean pour spouts monthly to prevent buildup and ensure smooth flow. Replace oils every 3-6 months depending on type and usage, and always wipe bottles clean after each use to prevent oil residue from attracting dust or becoming rancid.
Wall-Mounted Magnetic Storage Solutions
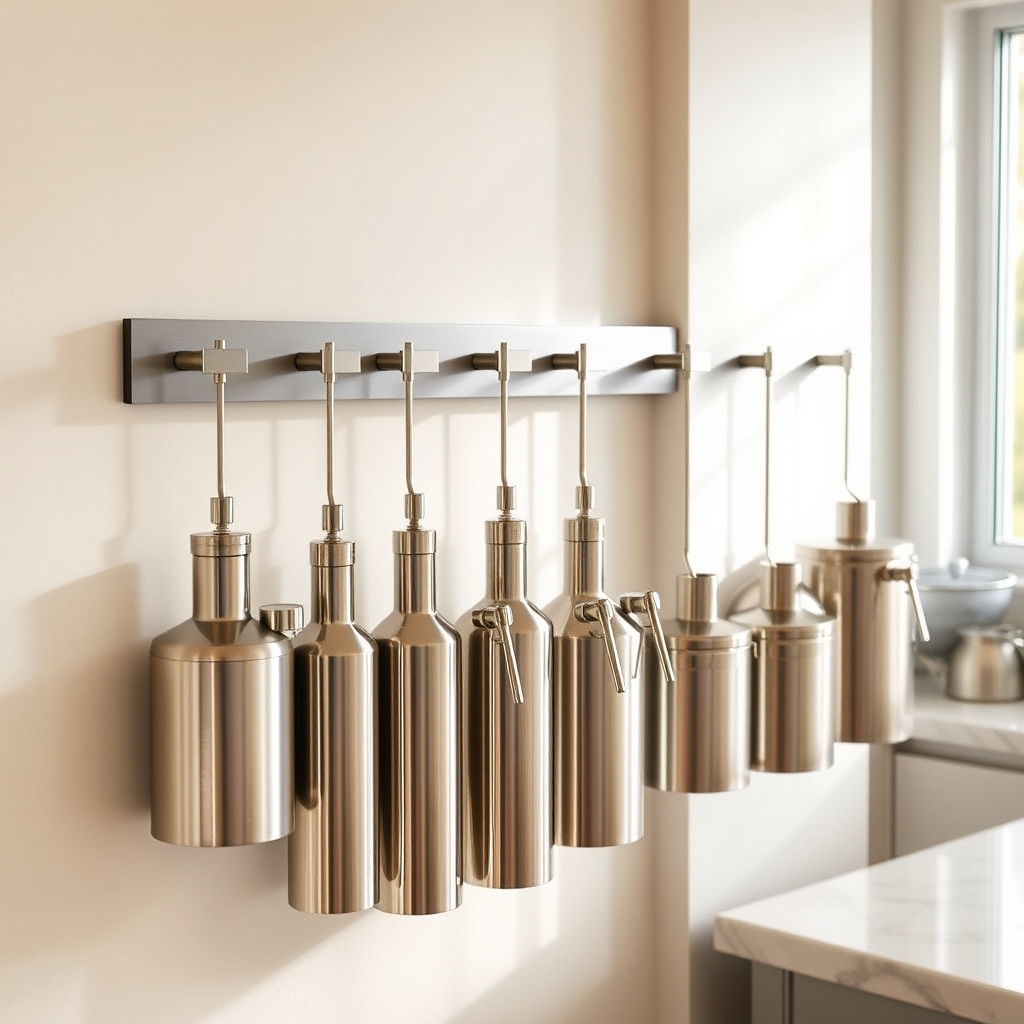
Organizing cooking oils in the kitchen is crucial for both functionality and safety. Proper storage helps prevent rancidity, maintains oil quality, and ensures easy access during meal preparation. A wall-mounted magnetic system maximizes vertical space while keeping oils within arm’s reach.
Magnetic storage solutions transform unused wall space into an efficient organization system, creating a sleek, modern look while protecting oils from heat and light exposure. This method also frees up valuable counter and cabinet space, making it an ideal solution for kitchens of any size.
Required Items:
- Magnetic strip or board (food-grade)
- Mounting hardware
- Level
- Drill and drill bits
- Screwdriver
- Metal containers with tight-fitting lids
- Labels and marker
- Small magnetic spouts (optional)
- Cleaning supplies
The installation process begins with selecting an appropriate wall space away from direct heat sources and sunlight. Mount the magnetic strip or board at eye level, ensuring it’s perfectly level and securely attached to wall studs or using appropriate anchors.
Transfer oils into metal containers, making sure they’re completely clean and dry before use. Label each container clearly with the oil type and date of transfer.
For optimal organization, arrange oils based on frequency of use, with everyday oils placed at easy-reaching height. Consider using magnetic pourers or spouts for frequently used oils to prevent drips and ensure precise pouring. Keep heavier containers on the lower portion of the magnetic surface for added stability.
To maintain this organization system, regularly check oil freshness dates, wipe down containers and the magnetic surface weekly to prevent oil residue buildup, and adjust the arrangement as needed based on usage patterns.
Consider keeping a small inventory list nearby to track when oils need replacement or replenishment.
Multi-Tier Rotating Carousel Organizers
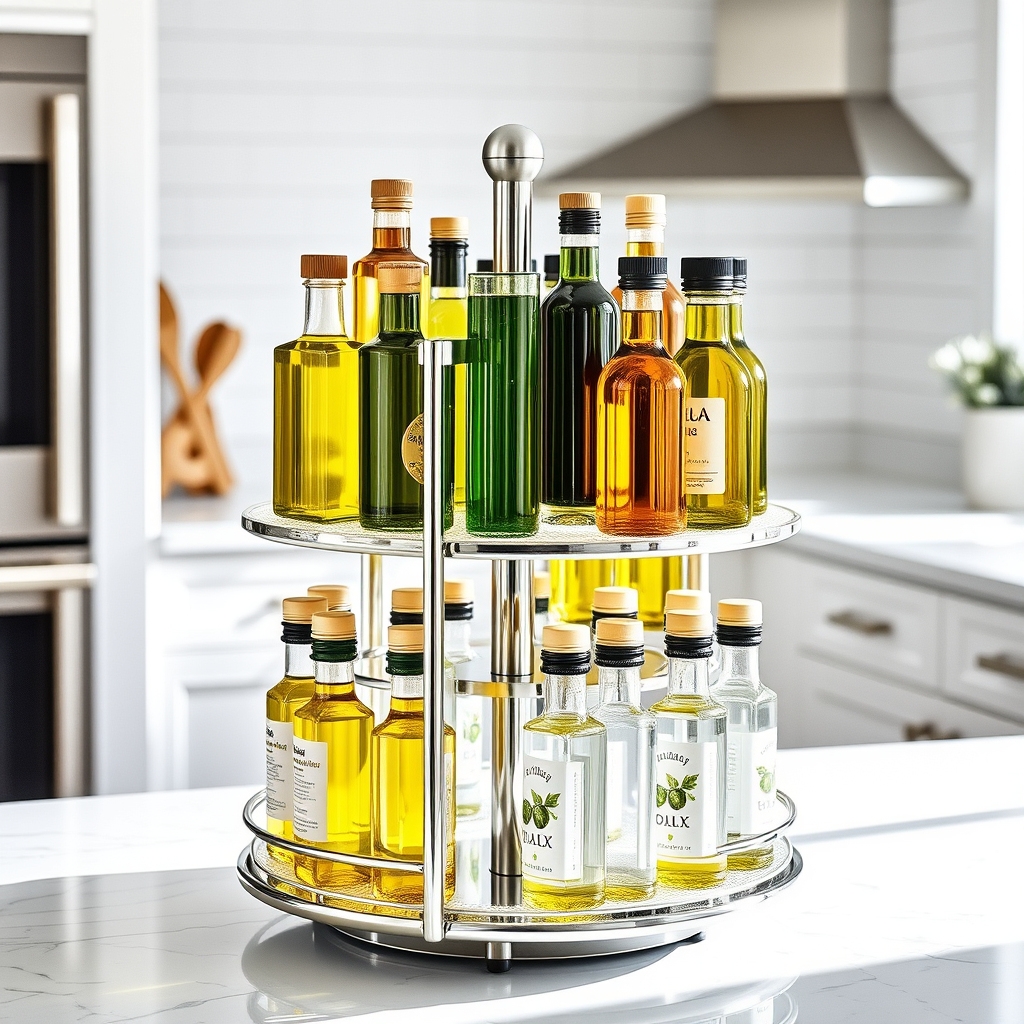
A well-organized oil collection is essential for any home cook, and a multi-tier rotating carousel organizer offers an elegant solution to the common problem of cluttered cooking oils.
These versatile storage systems maximize vertical space while keeping oils easily accessible and visible, preventing waste and ensuring you can quickly grab what you need during meal preparation.
The rotating feature of carousel organizers is particularly valuable when dealing with various cooking oils, as it eliminates the need to reach behind bottles or move multiple items to access what you need.
This organization method also helps protect oils from light exposure and heat, which can affect their quality and shelf life.
Required Items:
- Multi-tier rotating carousel organizer
- Measuring tape
- Cleaning cloth
- Label maker or labels
- Container for excess oils
- Rubber shelf liner (optional)
- Small baskets or dividers (optional)
Start by measuring your cabinet or counter space to ensure proper fit of the carousel. Clean the designated area thoroughly and install the carousel, making sure it rotates freely.
Sort oils by type and frequency of use, placing everyday cooking oils on the middle tier for easiest access. Position specialty oils on the upper tier and larger, backup bottles on the bottom tier.
Group similar oils together (such as all nut oils in one section) and ensure labels face outward for easy identification. For optimal organization, consider height variations when placing bottles, with taller bottles at the back of each tier and shorter ones in front.
If using optional dividers or baskets, arrange them to create designated zones for different oil categories. Leave enough space between bottles to prevent clanking when rotating the carousel.
Additional Tips: Line each tier with rubber shelf liner to prevent bottles from sliding and reduce noise. Store oils away from heat sources and direct sunlight to maintain freshness.
Regularly check expiration dates and rotate stock by placing newer bottles behind older ones. Clean the carousel monthly to prevent oil residue buildup and maintain smooth rotation.
Under-Cabinet Pull-Out Racks
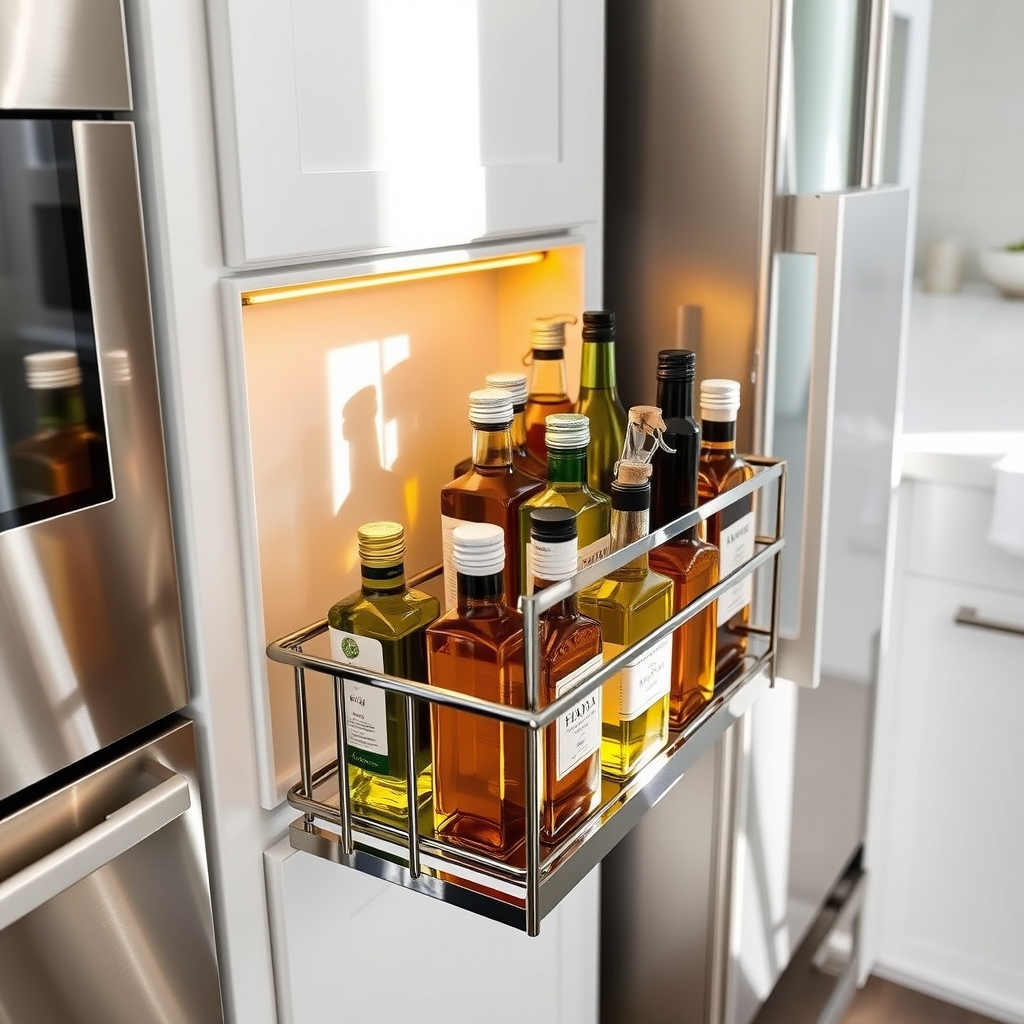
Storing cooking oils properly is crucial for maintaining their quality and ensuring easy access while cooking. Disorganized oil bottles can create clutter on countertops and make it difficult to find the right oil when needed, leading to cooking delays and frustration.
Under-cabinet pull-out racks offer an elegant solution to oil storage, keeping bottles within easy reach while maximizing vertical space. This organization method protects oils from light exposure and heat, which can degrade their quality, while maintaining a clean, streamlined kitchen appearance.
Required Items:
- Under-cabinet pull-out rack system
- Mounting hardware
- Screwdriver
- Level
- Measuring tape
- Pencil
- Oil bottle holders or dividers
- Non-slip liner
- Cabinet door bumpers
The installation and organization process begins with measuring the cabinet space and selecting an appropriately sized pull-out rack system. Install the rack according to manufacturer specifications, ensuring it’s level and securely mounted.
Place non-slip liner material on the rack surface to prevent bottles from sliding. Arrange oils by frequency of use, with everyday oils at the front and specialized oils toward the back. Consider grouping similar oils together (cooking oils, finishing oils, infused oils) for logical access.
If the pull-out rack includes multiple tiers, utilize the bottom shelf for larger, heavier bottles and the upper shelves for smaller, lighter containers. Install bottle holders or dividers to prevent containers from tipping when the rack is pulled out or pushed in. Ensure adequate clearance between bottles to prevent clinking and potential breakage.
Additional Tips: Label the front edge of each shelf section to identify oil types quickly. Regularly check the rack’s sliding mechanism and tighten any loose screws. Keep a maintenance schedule for wiping down the rack and checking oil expiration dates.
Consider installing small LED strips under the cabinet to illuminate the oils when the rack is extended, making selection easier during evening cooking sessions.
Countertop Display Trays and Caddy Sets
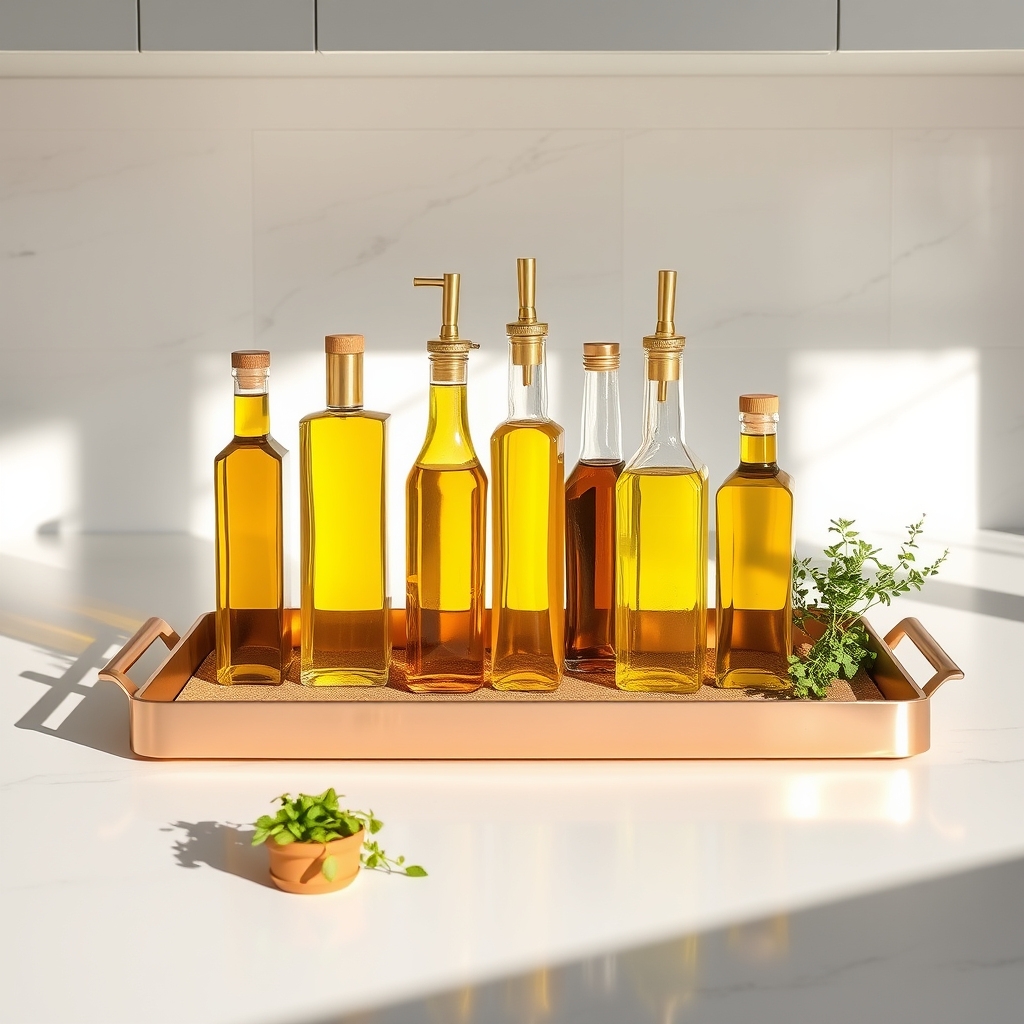
Organizing cooking oils on the countertop is essential for both functionality and aesthetic appeal in any kitchen. Well-arranged oils not only create an attractive display but also ensure that frequently used ingredients are within easy reach while cooking, saving valuable time during meal preparation.
A properly organized oil display system prevents bottles from creating unsightly rings on countertops and protects the oils from direct sunlight and heat, which can compromise their quality. Strategic placement and appropriate storage solutions can transform cluttered countertops into an efficient cooking station that enhances the overall kitchen experience.
Required Items:
- Decorative tray or caddy
- Non-slip mat or liner
- Oil bottles or dispensers
- Labels or tags
- Measuring spoons (optional)
- Small funnels (optional)
- Bottle stoppers or pourers
- Cleaning cloth
Select a suitable location on your countertop that’s away from direct sunlight and heat sources. Place a non-slip mat on your chosen tray or caddy to prevent bottles from sliding. Arrange oils by frequency of use, keeping everyday oils at the front and specialized oils toward the back.
Group similar oils together, such as cooking oils separate from finishing oils. Install pourers or stoppers in frequently used bottles to ensure consistent flow and prevent drips. Consider using matching dispensers or bottles for a cohesive look, and clearly label each container with the type of oil and purchase date.
Position the tray near your primary cooking area but far enough from the stove to avoid heat exposure. If using a multi-tiered caddy, place heavier or larger bottles on the bottom tier for stability.
Additional Tips: Rotate oils periodically to ensure even exposure to light and heat. Clean the tray and bottles regularly to prevent oil buildup and maintain a pristine appearance. Consider keeping a small notepad nearby to track when oils need replenishing.
During seasonal cleaning, check oil expiration dates and rearrange bottles based on current cooking needs and frequency of use.
Custom Cabinet Door Storage Systems
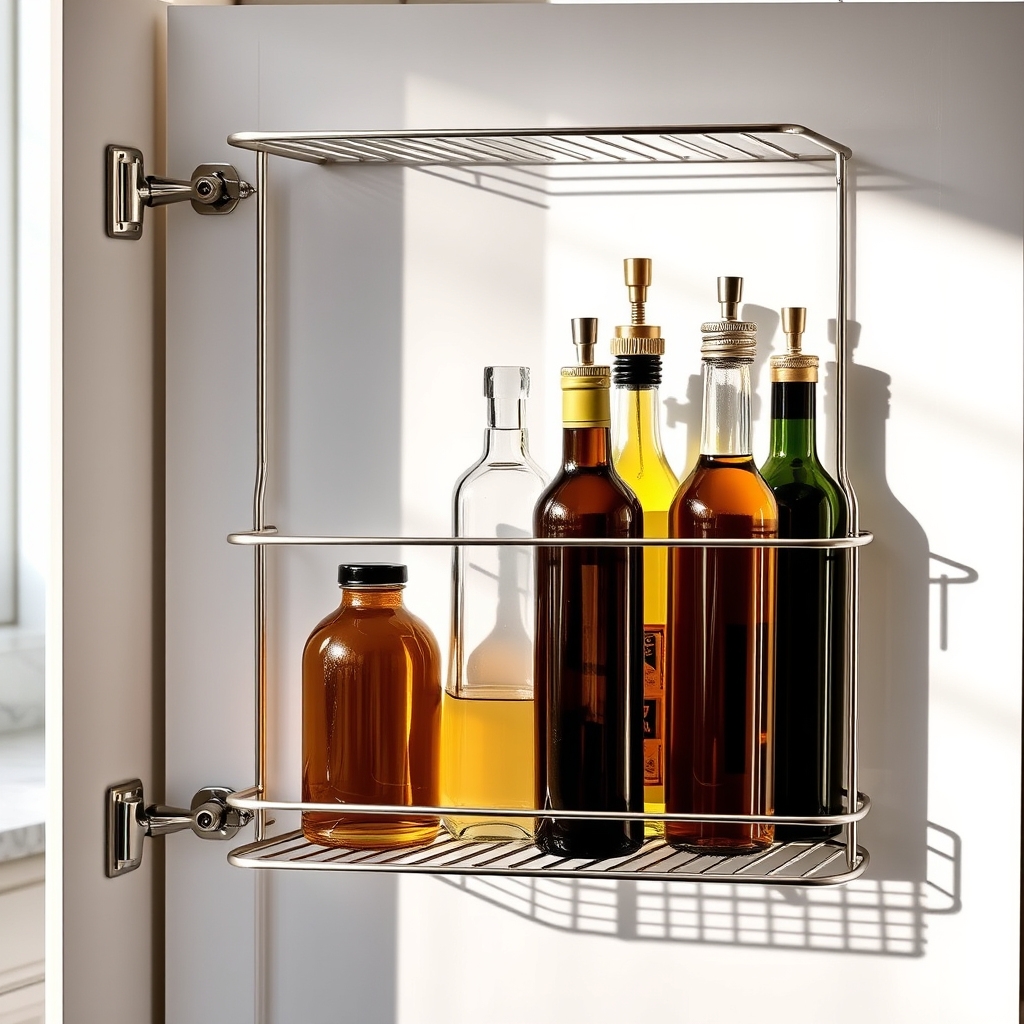
Organizing oils on cabinet doors is a game-changing solution for kitchens of any size, transforming previously unused space into valuable storage real estate. By utilizing the interior of cabinet doors, you can keep cooking oils within easy reach while freeing up precious counter and shelf space.
A well-organized cabinet door storage system not only makes cooking more efficient but also helps prevent oil spoilage by keeping bottles upright and away from heat and light. This system allows you to quickly identify and access exactly what you need, making meal preparation smoother and more enjoyable.
Required Items:
- Over-the-door wire racks
- Cabinet door mounting brackets
- Screws and anchors
- Measuring tape
- Pencil
- Drill
- Level
- Clear adhesive hooks
- Non-slip shelf liner
- Cable ties or velcro straps
Start by measuring the interior dimensions of your cabinet door, accounting for any hinges or existing hardware. Install mounting brackets at the top and bottom of the door, ensuring they’re level and securely fastened. Attach the wire rack system to these brackets, making sure it doesn’t interfere with the cabinet’s closing mechanism.
For additional stability, consider adding rubber bumpers where the rack meets the door to prevent rattling. Line the wire shelves with non-slip liner to prevent bottles from sliding. Organize oils by frequency of use, placing everyday oils at eye level and specialty oils on lower shelves.
If using adhesive hooks instead of a wire system, space them evenly and test their weight capacity before trusting them with full bottles. For maximum effectiveness, label the spots for each oil type and maintain a rotation system where newer bottles go to the back.
Consider installing a small LED battery-operated light nearby to help identify oils in low-light conditions. Regularly check that all mounting hardware remains tight and secure, as the weight of oil bottles can strain the system over time.
Labeled Shelf Risers and Platforms
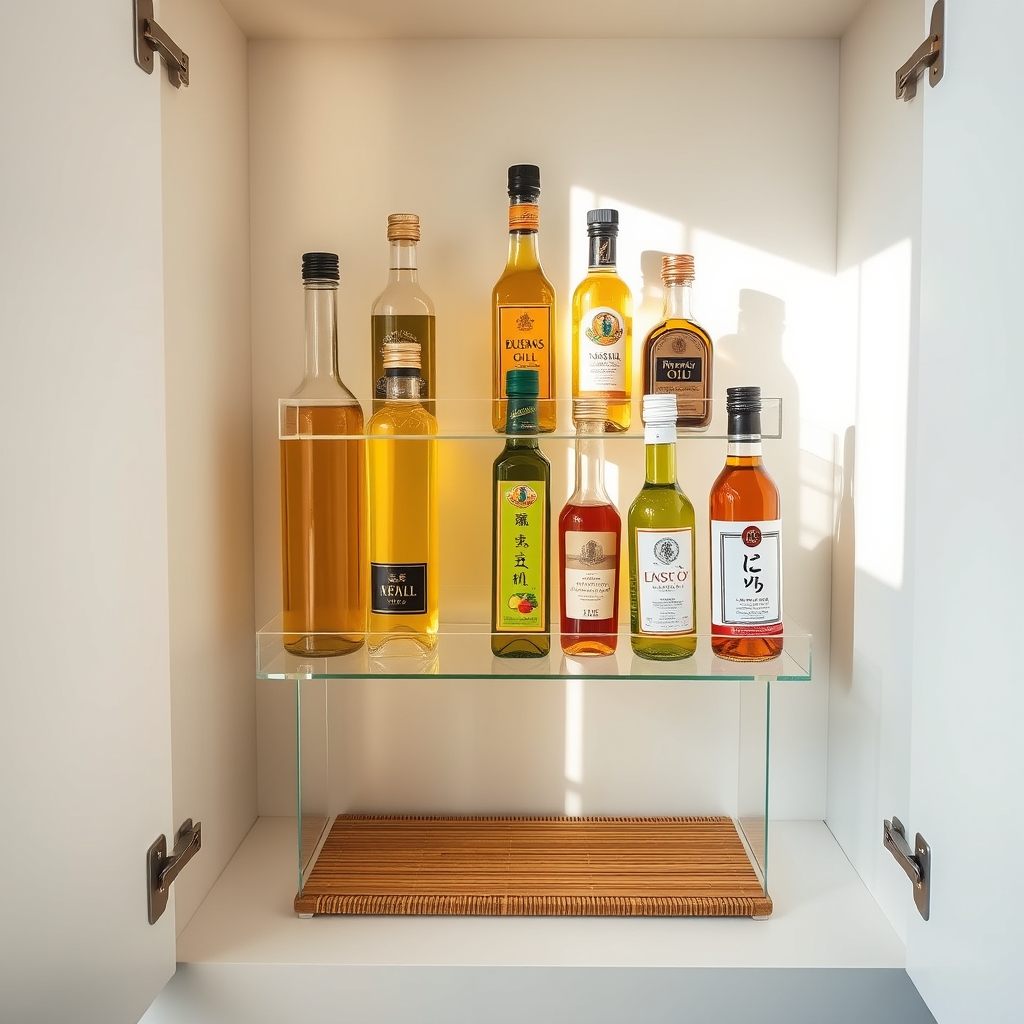
Organizing cooking oils with labeled shelf risers and platforms transforms a cluttered cabinet into an easily accessible cooking station. When oils are properly arranged on different levels, you can quickly identify and grab exactly what you need without moving multiple bottles or struggling to read labels in the back of a dark cabinet.
Well-organized shelf risers eliminate the frustration of knocking over bottles or accidentally using the wrong oil for a recipe. This system not only protects your investment in quality cooking oils but also streamlines the cooking process, making meal preparation more efficient and enjoyable.
Required Items:
- Acrylic or bamboo shelf risers
- Label maker or waterproof labels
- Measuring tape
- Cabinet liner or non-slip mat
- Cleaning cloth
- All-purpose cleaner
- Storage containers (optional)
- Clear bins (optional)
Start by removing all oil bottles and thoroughly cleaning the cabinet space. Measure the cabinet dimensions and determine the best configuration for your shelf risers. Place non-slip mats on each level to prevent bottles from sliding.
Arrange the tallest bottles on the back riser and shorter ones in front for optimal visibility. Group oils by type: cooking oils on one level, specialty oils on another, and frequently used oils within easy reach.
Create clear, easy-to-read labels for each section of your risers. Consider categories such as “High-Heat Cooking,” “Finishing Oils,” or “Specialty Oils.” Position bottles with labels facing forward, and ensure adequate space between bottles to prevent overcrowding and allow for easy removal.
Additional Tips: Rotate your oil stock by placing newer bottles behind older ones. Keep heat-sensitive oils away from areas that might get warm (such as above the stove). Review your organization system every three months to ensure it still meets your needs and to check for any expired products.
Consider using clear containers with pour spouts for frequently used oils to maintain a uniform, clean appearance.
Space-Saving Corner Oil Stations
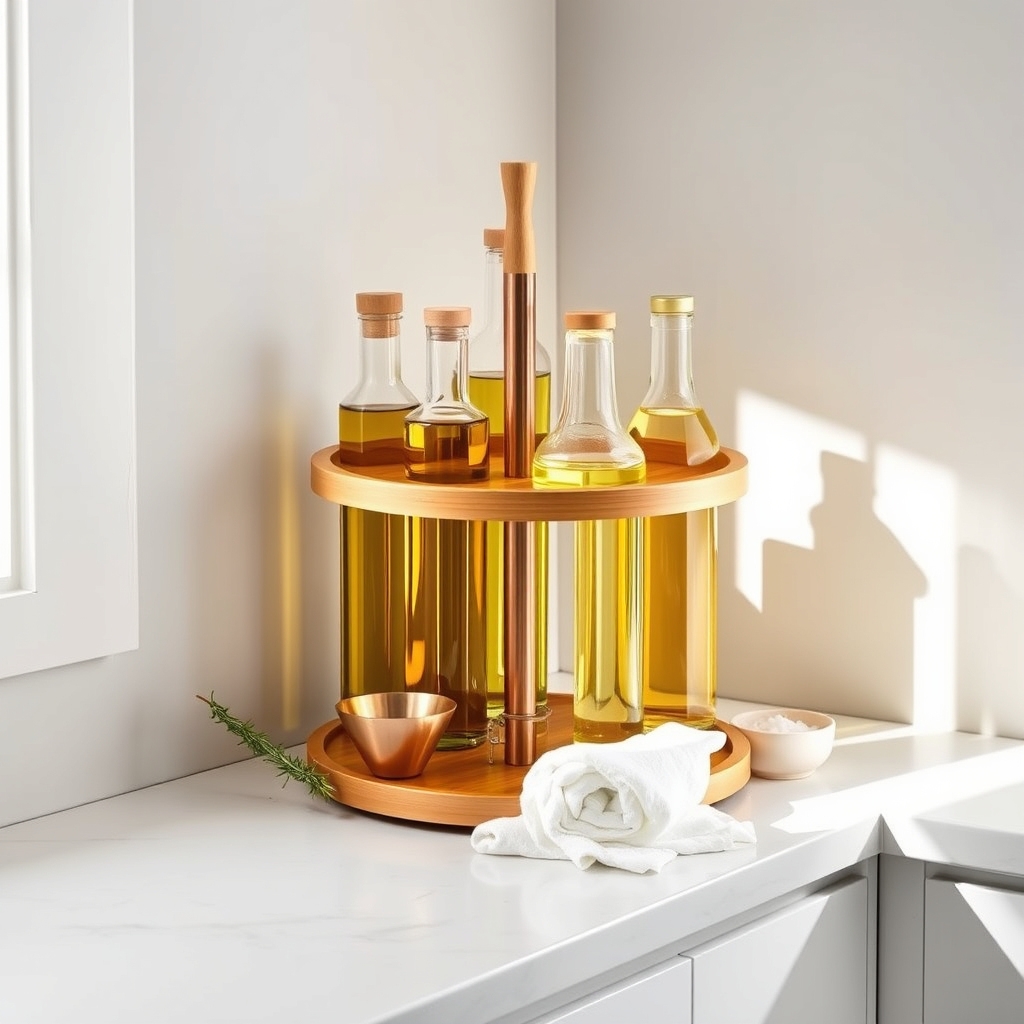
A well-organized corner oil station is essential for any functional kitchen, maximizing the often-underutilized corner space while keeping cooking oils easily accessible. By creating a dedicated area for oils, you prevent cluttered countertops and ensure that these essential ingredients are protected from heat and light, which can affect their quality and shelf life.
Corner spaces are particularly valuable for oil storage because they offer natural protection from direct sunlight and can accommodate various bottle sizes while maintaining a streamlined appearance. A properly organized corner oil station also helps prevent accidents and spills while cooking, as oils are systematically arranged and readily available when needed.
Required Items:
- Tiered corner shelf or lazy Susan
- Oil dispensers or bottles
- Labels and marker
- Non-slip liner
- Small tray or spill container
- Measuring spoons (optional)
- Funnel
- Cleaning cloths
- Storage containers for backup supplies
Position the tiered shelf or lazy Susan in your chosen corner space, ensuring it’s away from direct heat sources and sunlight. Line the surfaces with non-slip material to prevent bottle movement. Transfer oils into designated dispensers, clearly labeling each with the type of oil and date of transfer.
Arrange bottles by frequency of use, placing everyday oils at the front or on the top tier, while keeping specialty oils in the back or lower tiers. Include a small tray beneath frequently used oils to catch any potential drips.
Store backup oil supplies in a cool, dark place nearby, and maintain a rotation system to ensure oils are used within their optimal timeframe. Keep a cleaning cloth nearby for quick spill cleanup, and regularly check bottle spouts for cleanliness.
Consider grouping oils by their smoke points or culinary uses to create an intuitive arrangement that supports your cooking style.
Additional Tips: Perform monthly maintenance by wiping down bottles and the storage area, checking oil freshness, and updating labels as needed. Consider installing under-cabinet lighting to improve visibility without exposing oils to harmful direct light.
Keep a small notepad nearby to track when oils need replenishing, ensuring you never run out of essential cooking oils during meal preparation.

