Did you know that the average person spends nearly 4 hours per week at their kitchen sink? As someone who’s transformed countless chaotic sink areas into organized sanctuaries, I can tell you that a well-organized setup isn’t just about looks – it’s about making those hours more efficient and enjoyable. Whether you’re battling an overflow of dish soap bottles or searching for that forever-disappearing sponge, these seven proven tips will turn your sink area into the streamlined space you’ve always wanted.
Install an Under-Sink Storage System
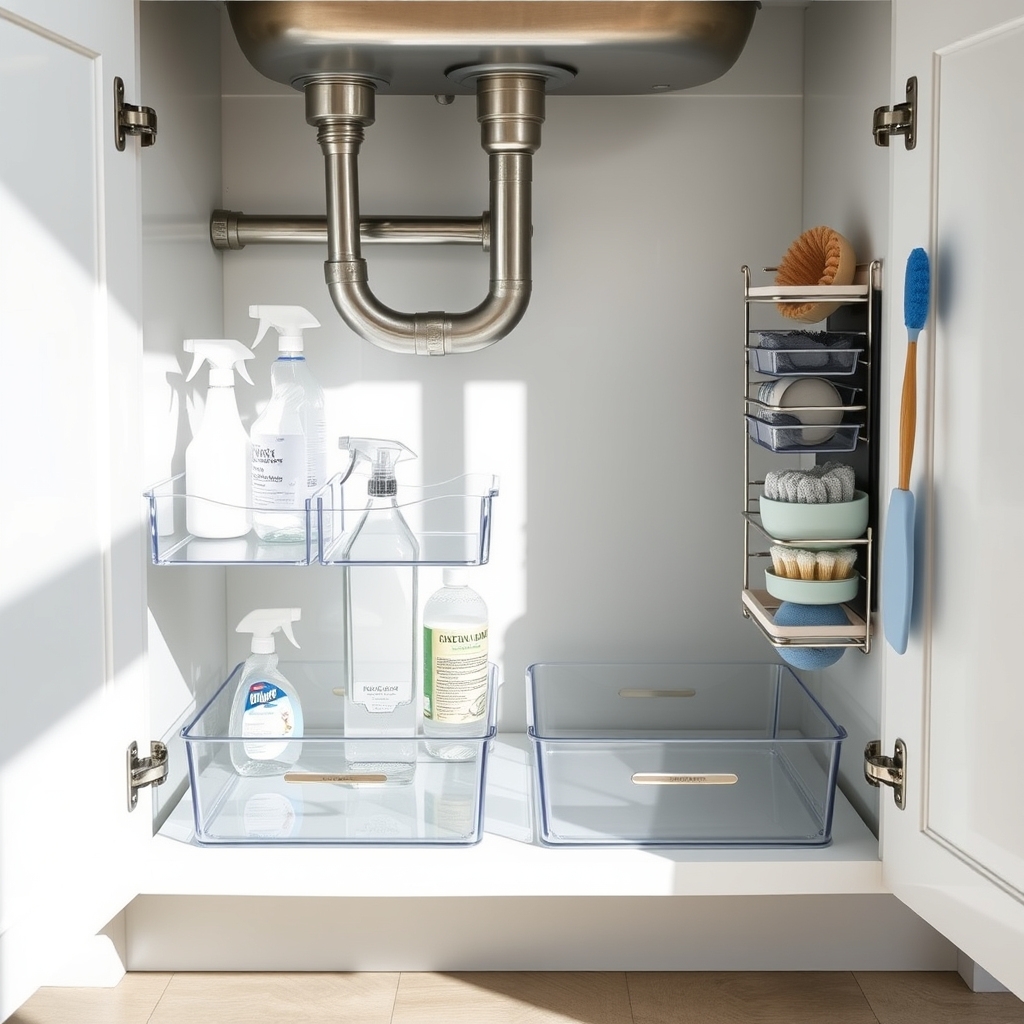
The area under the kitchen sink often becomes a chaotic collection of cleaning supplies, trash bags, and miscellaneous items, making it difficult to find what you need when you need it. This frequently used space requires thoughtful organization to maximize its potential and make daily tasks more efficient.
A well-organized under-sink storage system not only saves time but also protects your cabinets from potential leaks and spills. By implementing a proper storage solution, you can transform this typically cluttered space into a functional and accessible area that accommodates all your essential supplies while maintaining clear access to plumbing.
Required Items:
- Pull-out drawer organizers or sliding shelves
- Tension rods
- Clear plastic bins or containers
- Cabinet liner
- Label maker or labels
- Cleaning caddy
- Small hooks
- Measuring tape
- Screwdriver
- Drill (if mounting hardware required)
Start by completely emptying the under-sink area and measuring the available space, accounting for pipes and other fixed elements. Install a water-resistant cabinet liner to protect the cabinet base from spills and moisture.
Mount pull-out drawers or sliding shelves according to manufacturer instructions, ensuring they clear all plumbing fixtures when extended. Position tension rods vertically to create hanging space for spray bottles, and arrange clear bins to categorize and contain similar items.
Group items by function, placing frequently used cleaning supplies at the front for easy access. Install hooks on cabinet walls or doors for hanging cleaning tools and gloves. Use the back of the cabinet for rarely accessed items, and consider stacking clear containers to maximize vertical space.
Ensure all storage solutions allow proper clearance around pipes and maintain accessibility for potential plumbing maintenance. For optimal long-term organization, implement a regular maintenance schedule to check for expired products and reorganize as needed.
Consider using drawer dividers within pull-out units to prevent items from shifting, and always keep cleaning products in leak-proof containers to protect the cabinet interior. Label everything clearly and maintain a designated spot for each category of items to ensure the system remains functional and efficient over time.
Choose the Right Sink Caddy
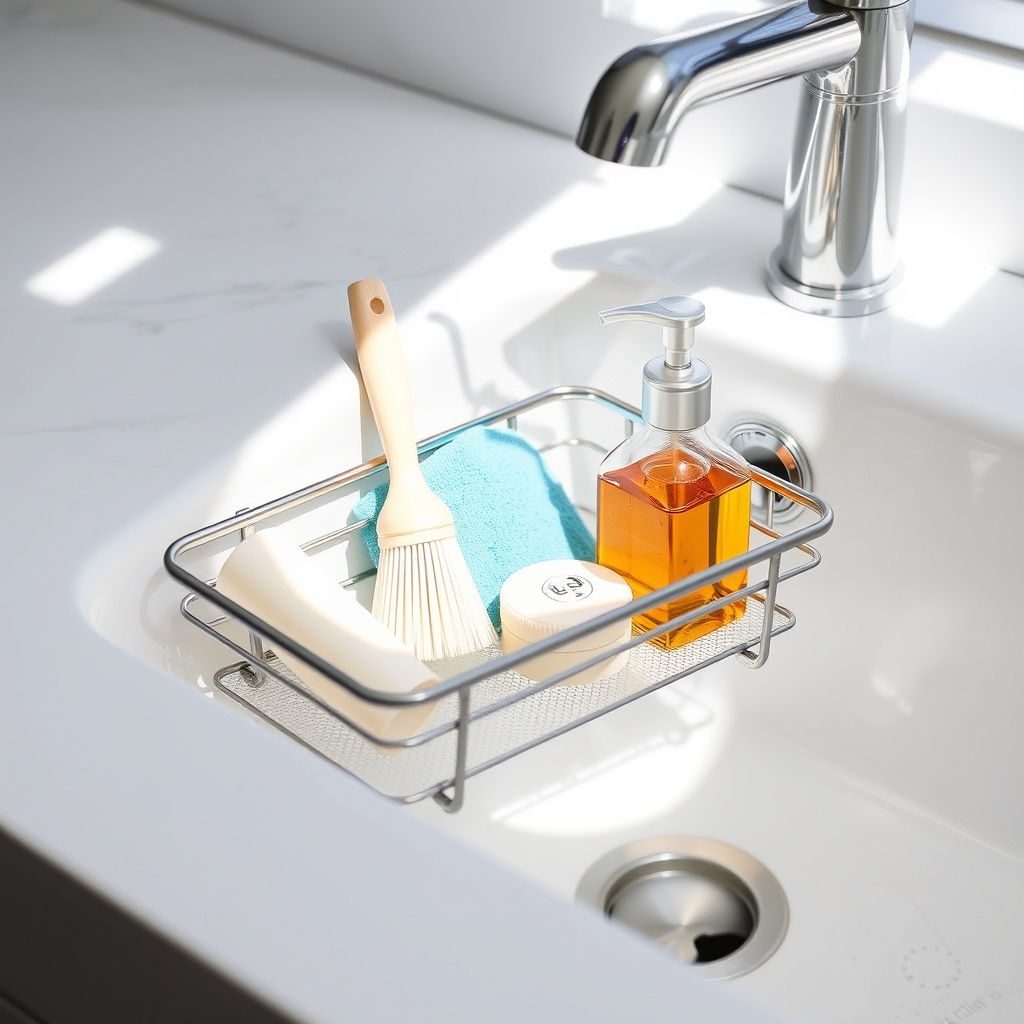
A well-organized sink caddy is the cornerstone of an efficient kitchen workspace, serving as a central hub for daily dishwashing and cleaning tasks. Without proper organization, essential items like sponges, brushes, and dish soap can create clutter around the sink area, leading to water accumulation and potential bacterial growth.
Selecting and setting up the right sink caddy not only keeps cleaning supplies readily accessible but also extends their lifespan by allowing proper drainage and air circulation. An organized caddy system helps maintain a clean, hygienic environment while streamlining your dishwashing routine.
Required Items:
- Sink caddy (plastic, metal, or silicone)
- Drain holes or ventilation
- Suction cups or adhesive strips
- Measuring tape
- Cleaning supplies to be stored
- Non-slip mat (optional)
- Sink divider (optional)
The process of choosing and setting up the perfect sink caddy starts with measuring your available sink space, ensuring at least two inches of clearance from the faucet and sink edges.
Select a caddy material that complements your sink type – stainless steel caddies work well with metal sinks, while plastic or silicone options are versatile for any surface. Position the caddy using either suction cups or adhesive strips, ensuring it’s secure and level.
Arrange your cleaning supplies by frequency of use, placing daily items like dish soap and sponges in easily accessible spots. For optimal organization success, regularly clean and dry your sink caddy to prevent mold and mildew buildup.
Consider using compartmentalized caddies to separate different types of cleaning tools, and rotate items seasonally to prevent overcrowding. Implement a weekly maintenance routine to assess the condition of stored items and replace any worn-out tools promptly.
Maximize Counter Space With a Pull-Out Dish Rack
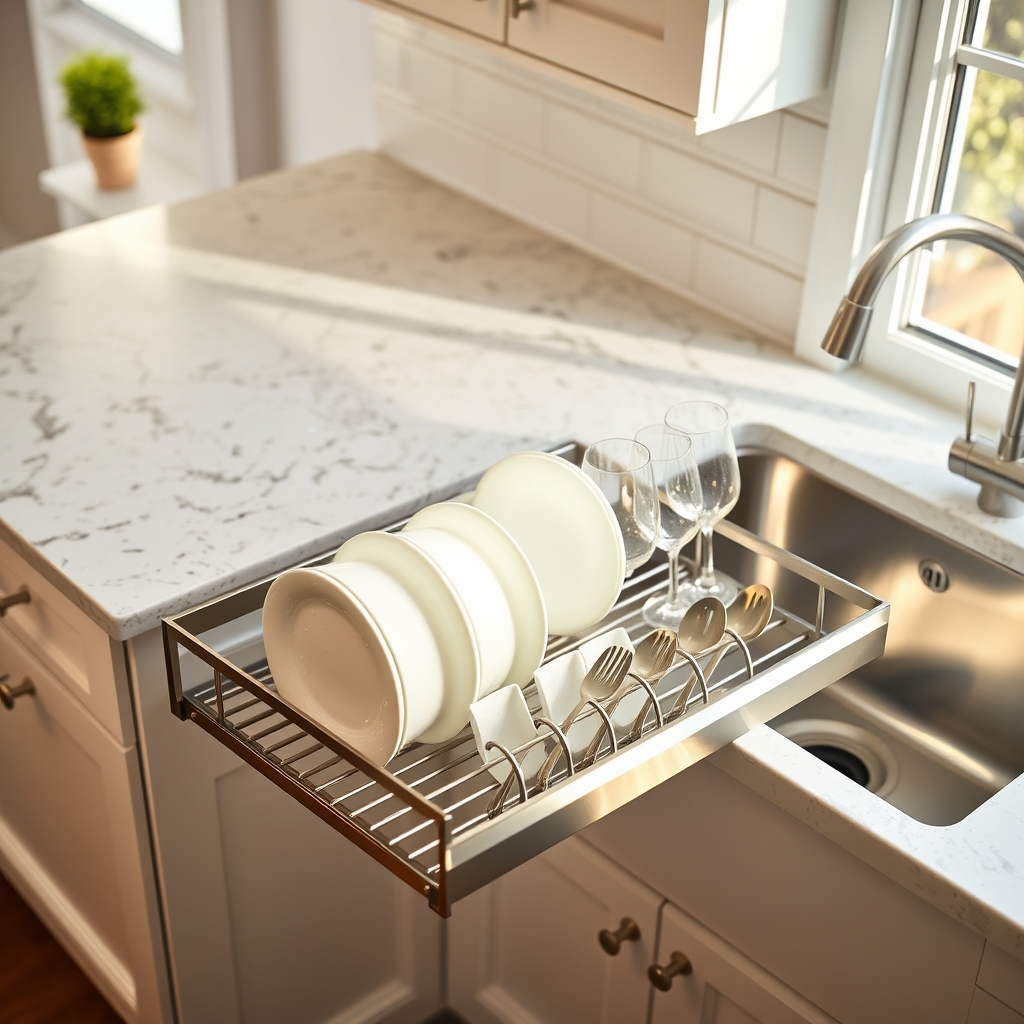
Counter space is one of the most valuable commodities in any kitchen, and the area around the sink often becomes cluttered with dish racks, cleaning supplies, and drying utensils. A pull-out dish rack system offers an innovative solution to this common problem, effectively utilizing the space under your sink or in adjacent cabinets while keeping your counter clear for food preparation and other tasks.
By implementing a pull-out dish rack, you can transform your kitchen workflow and maintain a clutter-free environment. This organization method not only maximizes your available space but also creates a more hygienic solution for drying dishes, as the rack can be tucked away when not in use, preventing dust accumulation and maintaining a clean appearance.
Required Items:
- Pull-out dish rack system
- Mounting brackets
- Screwdriver
- Measuring tape
- Level
- Pencil
- Cabinet liner (optional)
- Waterproof mat
- Mounting screws
- Drill
- Drill bits
Installation and organization begins with accurate measurements of your cabinet interior to ensure proper fit of the pull-out system. Once measurements are confirmed, mark the mounting points for the brackets, ensuring they’re level and properly aligned.
Install the mounting brackets according to the manufacturer’s specifications, typically requiring pre-drilled holes and secure attachment to the cabinet walls. After the framework is installed, attach the pull-out rack mechanism and test the sliding motion to ensure smooth operation.
Place the dish rack insert and any accompanying drip tray to complete the basic setup. For optimal results, arrange your dishes and utensils strategically within the pull-out rack. Position frequently used items toward the front for easy access, and arrange plates vertically to maximize space.
Consider adding a waterproof mat beneath the system to protect your cabinet from any water droplets. Ensure the pull-out mechanism extends fully for proper air circulation during dish drying, and always check that the rack is completely dry before storing it inside the cabinet.
Additional Tip: To maintain the system‘s effectiveness, regularly clean both the dish rack and the track mechanism. Apply food-grade lubricant to the slides every few months to ensure smooth operation, and periodically check the mounting brackets for tightness.
Consider installing a small battery-operated fan near the pull-out rack to improve air circulation and speed up drying time, particularly in humid environments.
Create Designated Zones for Daily Items
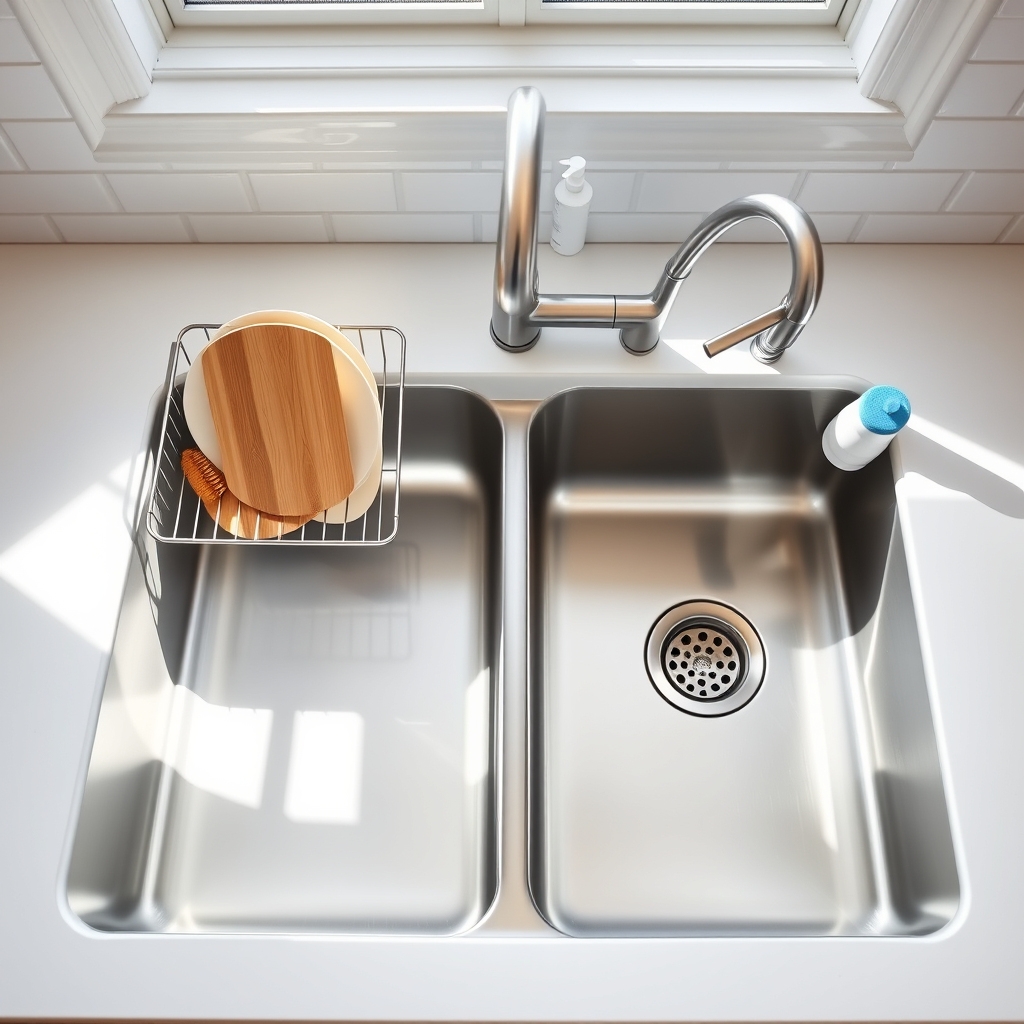
A well-organized sink area serves as the command center of any kitchen, streamlining daily tasks from meal prep to cleanup. When frequently used items have dedicated zones, you eliminate wasted time searching for essentials and create a more efficient workflow that makes cooking and cleaning less stressful.
Creating designated zones around your sink transforms a cluttered space into an organized system where everything has its place. This methodology not only keeps cleaning supplies, dish soap, and tools readily accessible but also helps maintain cleanliness by preventing water damage and reducing bacterial growth from improperly stored wet items.
Required Items:
- Sink caddy or organizer
- Dish soap dispenser
- Sponge holder
- Small drawer organizers
- Non-slip shelf liner
- Cabinet bins or containers
- Label maker
- Measuring tape
- Cleaning cloths
- Paper towel holder
Start by measuring the available space around your sink and under-sink cabinet area. Divide the sink area into three main zones: cleaning supplies zone (dish soap, sponges, scrubbers), drying zone (dish rack or mat), and prep zone (cutting boards, colanders).
Install a sink caddy on the right or left side of the sink, depending on your dominant hand, to hold everyday cleaning supplies. Position the dish drying rack on the opposite side to create a natural workflow. Under the sink, use stackable containers to separate cleaning supplies from garbage bags and extra sponges, maintaining clear boundaries between zones.
Implement a vertical storage system by mounting hooks or installing a tension rod under the sink for hanging spray bottles. Place frequently used items at the front of each zone for easy access, while storing backup supplies toward the back. Use drawer organizers or small bins to prevent items from sliding around, and apply non-slip liner to protect surfaces and keep items in place.
Additional organizational success relies on regular maintenance and reassessment. Every three months, review the zones to ensure they still serve your needs effectively. Discard expired products, sanitize containers and organizers, and adjust zones based on changing habits or seasonal needs.
Consider implementing a rotation system for sponges and cleaning cloths to maintain hygiene standards.
Keep Essential Tools Within Arm’s Reach
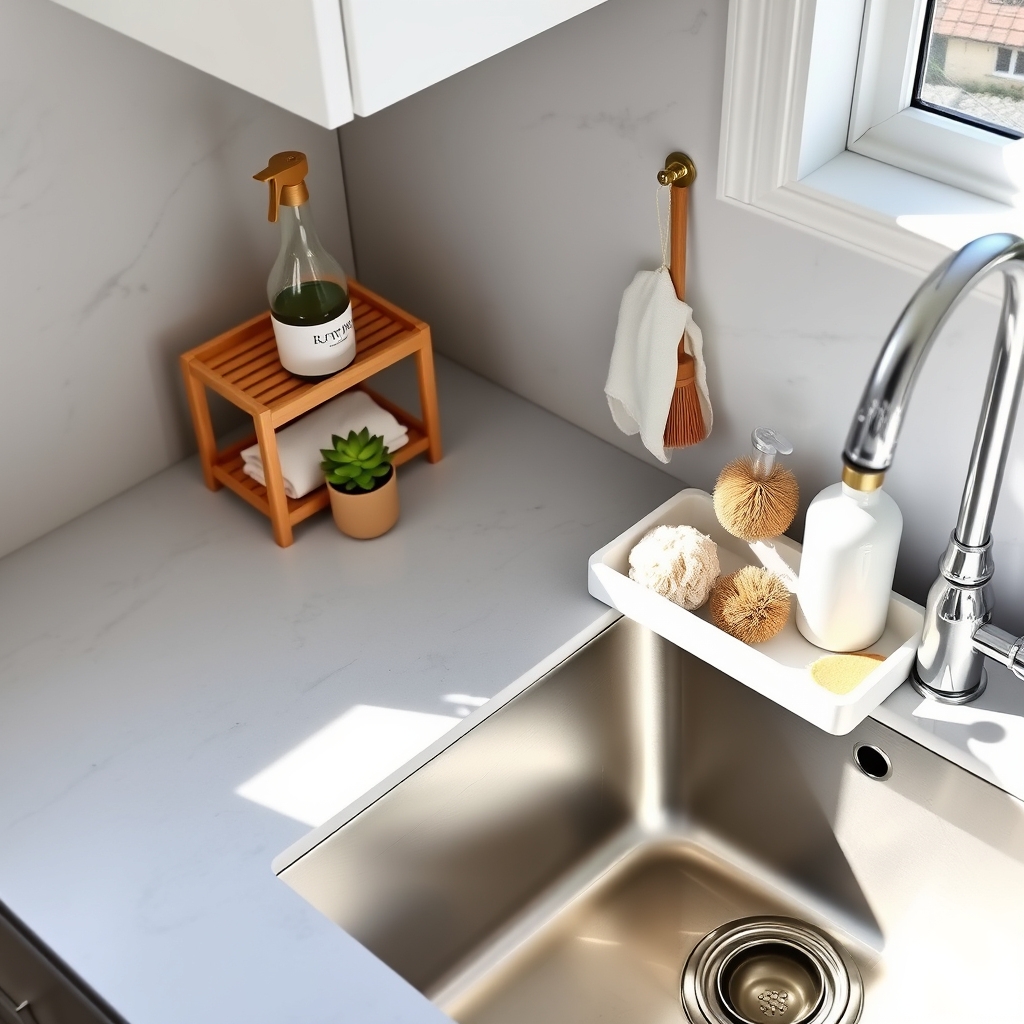
Having frequently used tools within arm’s reach of your kitchen sink creates an efficient workspace that saves time and reduces frustration during daily kitchen tasks. When essential items are strategically placed around the sink area, you can maintain a smooth workflow while cooking, cleaning, and preparing meals.
Proper organization of sink-side tools not only improves functionality but also helps maintain a clutter-free counter space. A well-organized sink area becomes a command center for kitchen activities, allowing you to complete tasks more quickly while keeping cleaning supplies and tools readily accessible.
Required Items:
- Sink caddy or organizer
- Dish soap dispenser
- Sponge holder
- Small utensil holder
- Command hooks or adhesive strips
- Under-sink organizer
- Small shelf or tiered stand
- Drawer organizers
- Waterproof labels
Position the sink caddy on the right or left side of your sink, depending on your dominant hand. Install a sturdy dish soap dispenser and sponge holder within the caddy or directly on the sink’s edge.
Mount Command hooks on the backsplash or side of cabinets to hang frequently used tools like bottle brushes or scrubbers. Place a small shelf or tiered stand next to the sink for dish soap, hand soap, and other cleaning supplies.
Utilize the under-sink area by installing an organizer to store backup supplies and less frequently used items. Keep dish towels in a nearby drawer, organized with drawer dividers.
Create designated zones within arm’s reach: cleaning supplies on one side, dish-drying equipment on the other, and frequently used tools in the center.
Additional organization tips: Rotate items seasonally and reassess their placement every few months to ensure the system still works efficiently. Label containers and spaces to maintain organization, and consider using clear containers to easily monitor supply levels.
Clean and sanitize organizers regularly to prevent buildup and maintain a hygienic sink area.
Implement a Daily Cleaning Routine
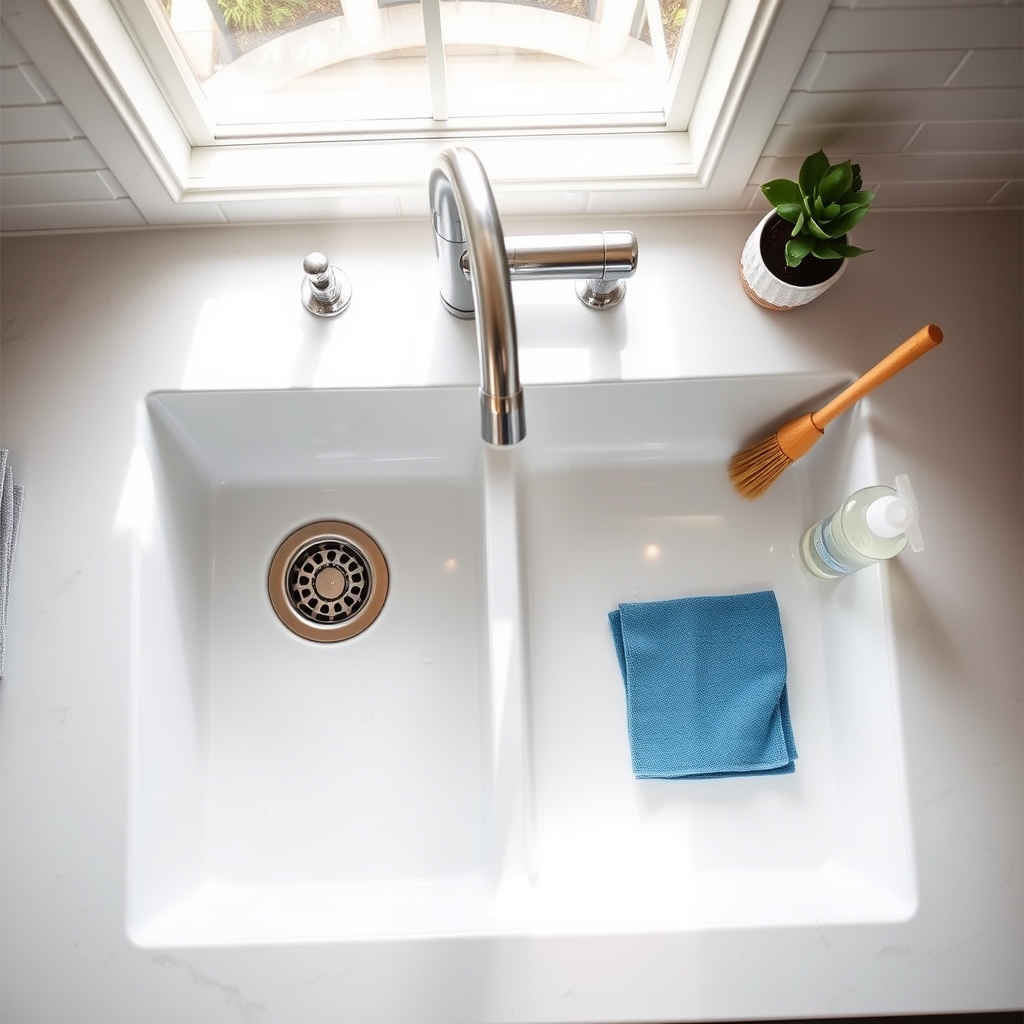
A well-maintained kitchen sink is the cornerstone of an efficient kitchen. When neglected, dishes pile up, bacteria multiply, and the entire kitchen workflow becomes disrupted.
A daily cleaning routine not only keeps your sink sparkling but also prevents long-term damage to your plumbing and maintains a more hygienic food preparation environment.
Establishing a consistent sink cleaning routine transforms kitchen maintenance from an overwhelming chore into a manageable task. Regular cleaning prevents soap scum buildup, eliminates unpleasant odors, and ensures your sink remains a functional workspace rather than a cluttered catch-all for dirty dishes and food debris.
Required Items:
- Dish soap
- Sponge or dish cloth
- Sink strainer
- Microfiber cleaning cloth
- All-purpose cleaner
- White vinegar
- Baking soda
- Small scrub brush
- Drain cleaning tool
- Paper towels
The daily sink cleaning routine should be divided into morning and evening tasks. Start each morning by removing any dishes from the previous night and wiping down sink surfaces with hot, soapy water.
Throughout the day, maintain cleanliness by immediately rinsing the sink after use and placing dirty dishes directly into the dishwasher or washing them promptly.
In the evening, perform a more thorough cleaning by scrubbing the sink with an all-purpose cleaner, paying special attention to corners and around the faucet. Clean the drain strainer and run hot water to flush the drain.
Weekly, deep clean the sink by sprinkling baking soda throughout the basin and scrubbing with a mixture of dish soap and hot water.
Follow with a vinegar rinse to disinfect and shine the surface. Remember to clean and sanitize the garbage disposal if you have one, and check under-sink areas for any leaks or moisture.
Success Tip: Set a specific time each day for sink maintenance and stick to it religiously.
Keep cleaning supplies easily accessible in a caddy under the sink, and consider setting a timer for quick cleaning sessions to prevent the task from becoming overwhelming.
Teaching all household members to follow the “clean as you go” principle will significantly reduce the daily cleaning burden and maintain an organized sink area.
Add Vertical Storage Solutions
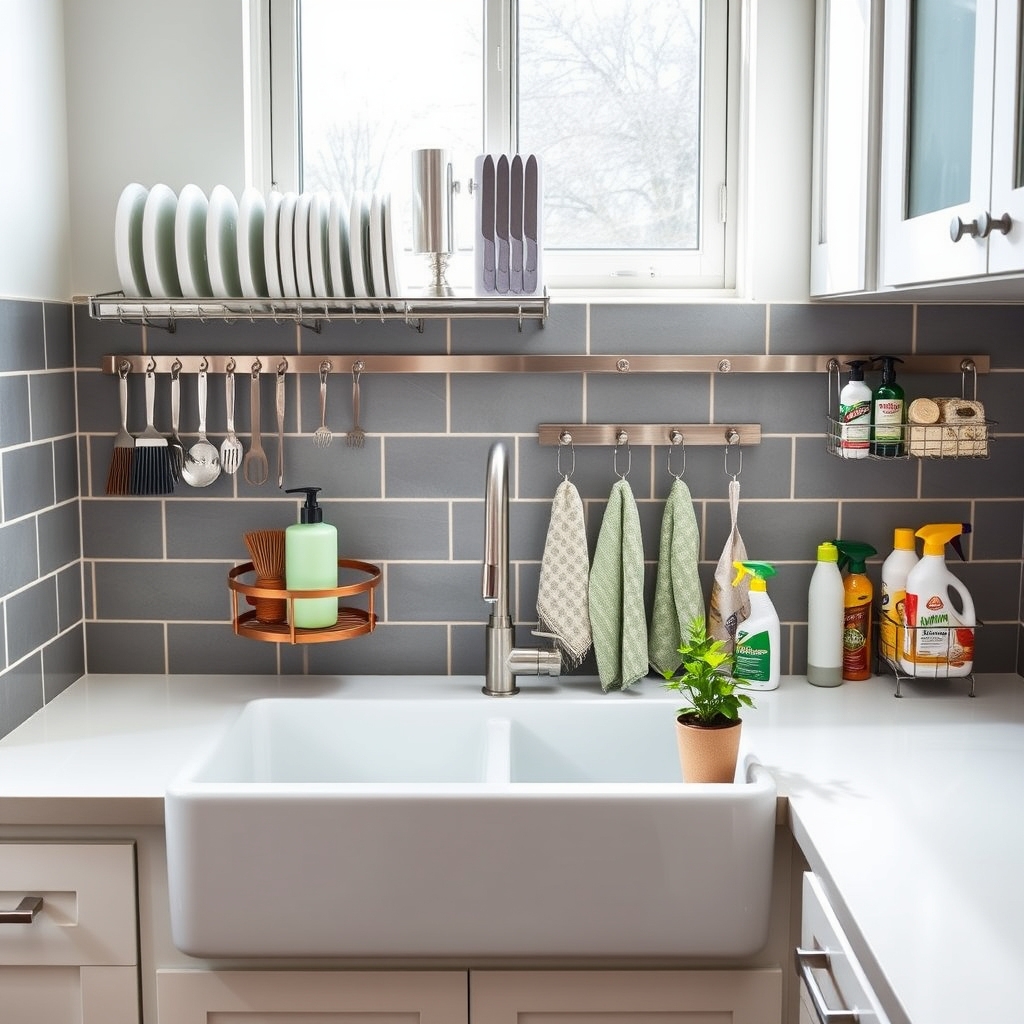
Making the most of vertical space around your sink area is crucial for maintaining an organized and efficient kitchen. Most people only utilize the horizontal space under their sink, leaving valuable vertical real estate unused and wasting potential storage opportunities.
Vertical storage solutions can transform your sink area into a highly functional workspace by keeping frequently used items within arm’s reach while maximizing space efficiency. This organization method helps reduce counter clutter and creates a more streamlined workflow for cooking and cleaning tasks.
Required Items:
- Over-the-sink dish rack
- Adhesive hooks
- Tension rods
- Sink caddy
- Magnetic strips
- Suction cup holders
- Wire baskets
- Command strips
- Mounting hardware
- Measuring tape
Start by measuring the available space around your sink area, including the height of the backsplash and width of the surrounding walls. Install an over-the-sink dish rack to create an immediate vertical drying and storage solution.
Mount magnetic strips on the backsplash for holding metal utensils and knife storage. Position tension rods under the sink cabinet to hang spray bottles and cleaning supplies, creating multiple levels of storage.
For the exterior sink area, attach adhesive hooks or suction cup holders to the backsplash or nearby tiles for hanging scrubbers, dish cloths, and small tools. Install wire baskets on the cabinet doors to store sponges, brushes, and other cleaning supplies.
Consider mounting a sink caddy to the edge of your sink for immediate access to dish soap and sponges.
Additional Tips:
Consider the weight capacity of adhesive solutions before mounting items, and ensure all mounted items are secured properly.
Rotate stored items periodically to prevent water damage and mildew buildup. Group similar items together and place frequently used items at eye level for easy access. Clean and dry all surfaces thoroughly before installing any adhesive storage solutions to ensure maximum holding power.

